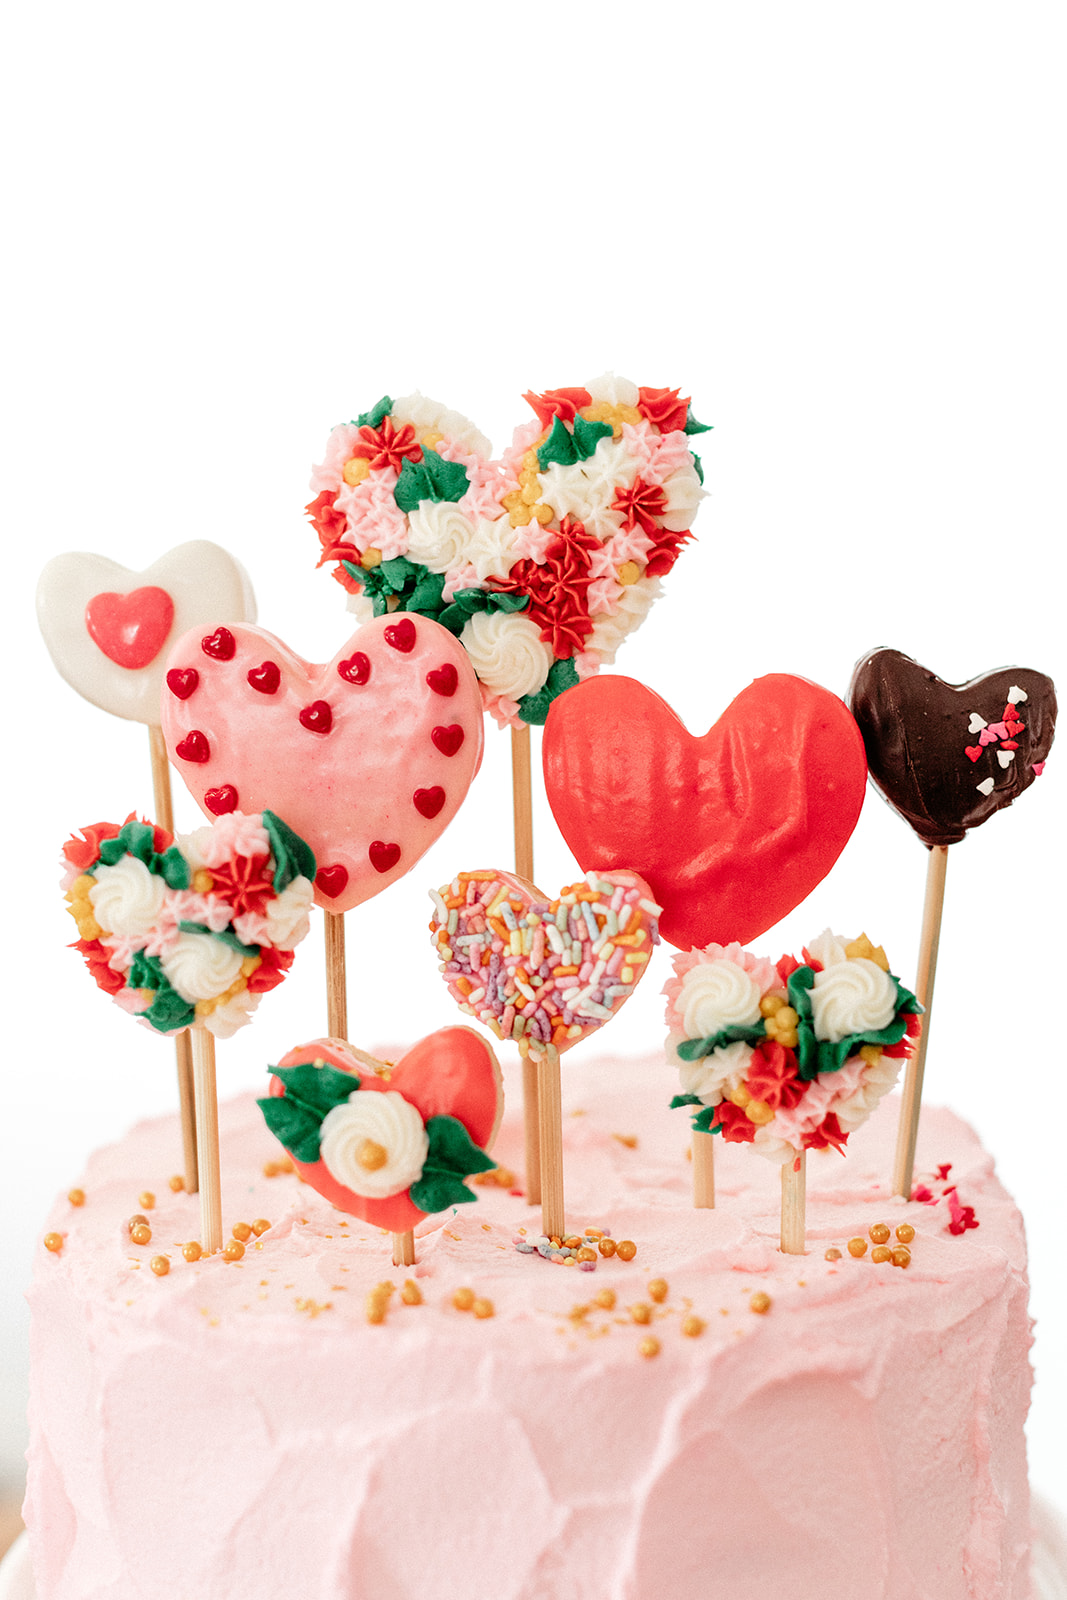
10 years ago this week, this blog was born! I feel like I should make a speech?? I’m terrible at speeches (see: the time I officiated Stoop’s wedding and made the speech about farts), but I’ll give it a try anyway because I’ve been getting a little emotional reflecting on these past 10 years and thinking about how much fun and fulfilling it’s been to keep this blog. She’s been with me through so much! My bangs and eyeliner phase, my schnitzel eating phase, my lunch packing bike riding phase! The first layer cake I ever made is buried in these archives, as is the first recipe I ever wrote. I blogged about my first date with Eggboy, our move to the farm, our wedding, our Bernie... I’ve made so many of my closest friends through my blog and documented adventure after adventure after weeeeeeird adventure. And seriously now that I think of it, I really would have no friends here if I didn’t meet them through my blog haha.
This blog has led to my book and my show and helped me cobble together a job that I wake up every day excited to go to and I couldn’t be more grateful for that. I am also so extremely grateful for the connections I’ve made to you. I feel like I have pen pals all over the world! The internet and social media world has changed so much in the past 10 years (can you believe that this constituted a blog post back in the day?!) and it’ll continue to change but this blog is like a roach, it’ll never die because it’s my diary and since I was 7, I haven’t been able to *not* keep a diary. I just have always had this wild urge to document, no matter how normal my week was.
Thank you for being here and reading and following along and sending over your sweet comments. You really do make the world feel like a smaller warmer cozier place.
Ok that’s the end of my speech, I’m done being mushy, let’s celebrate with cake!!!
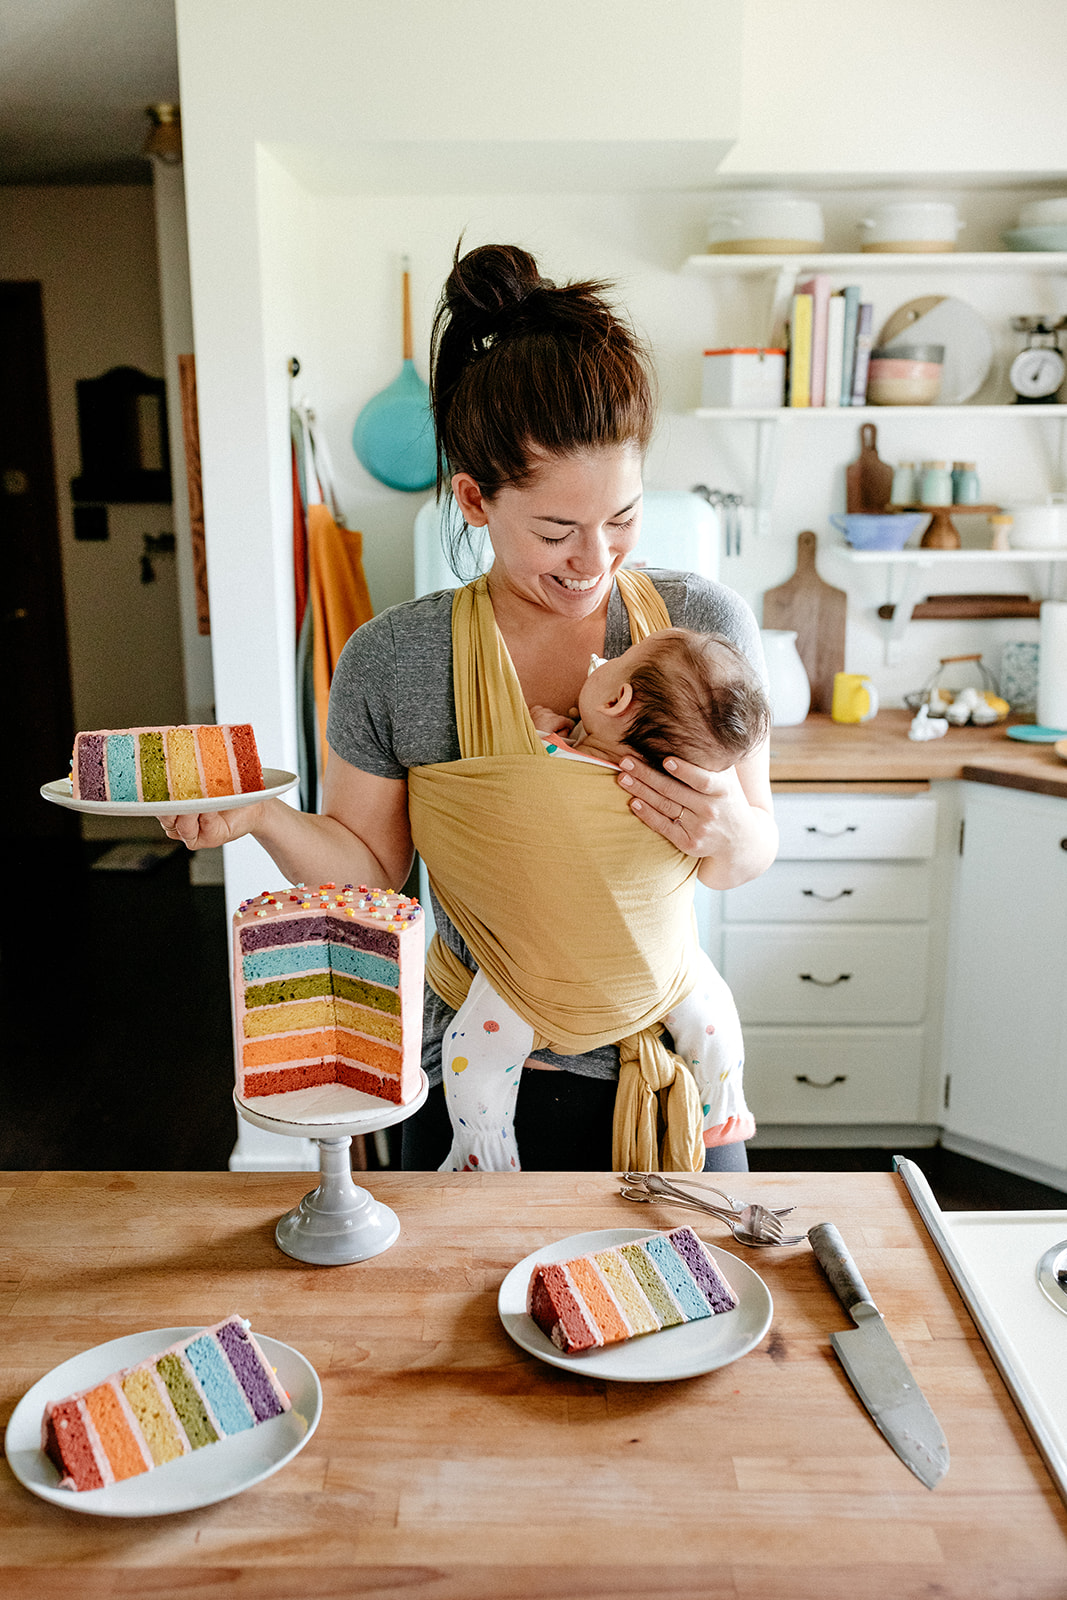
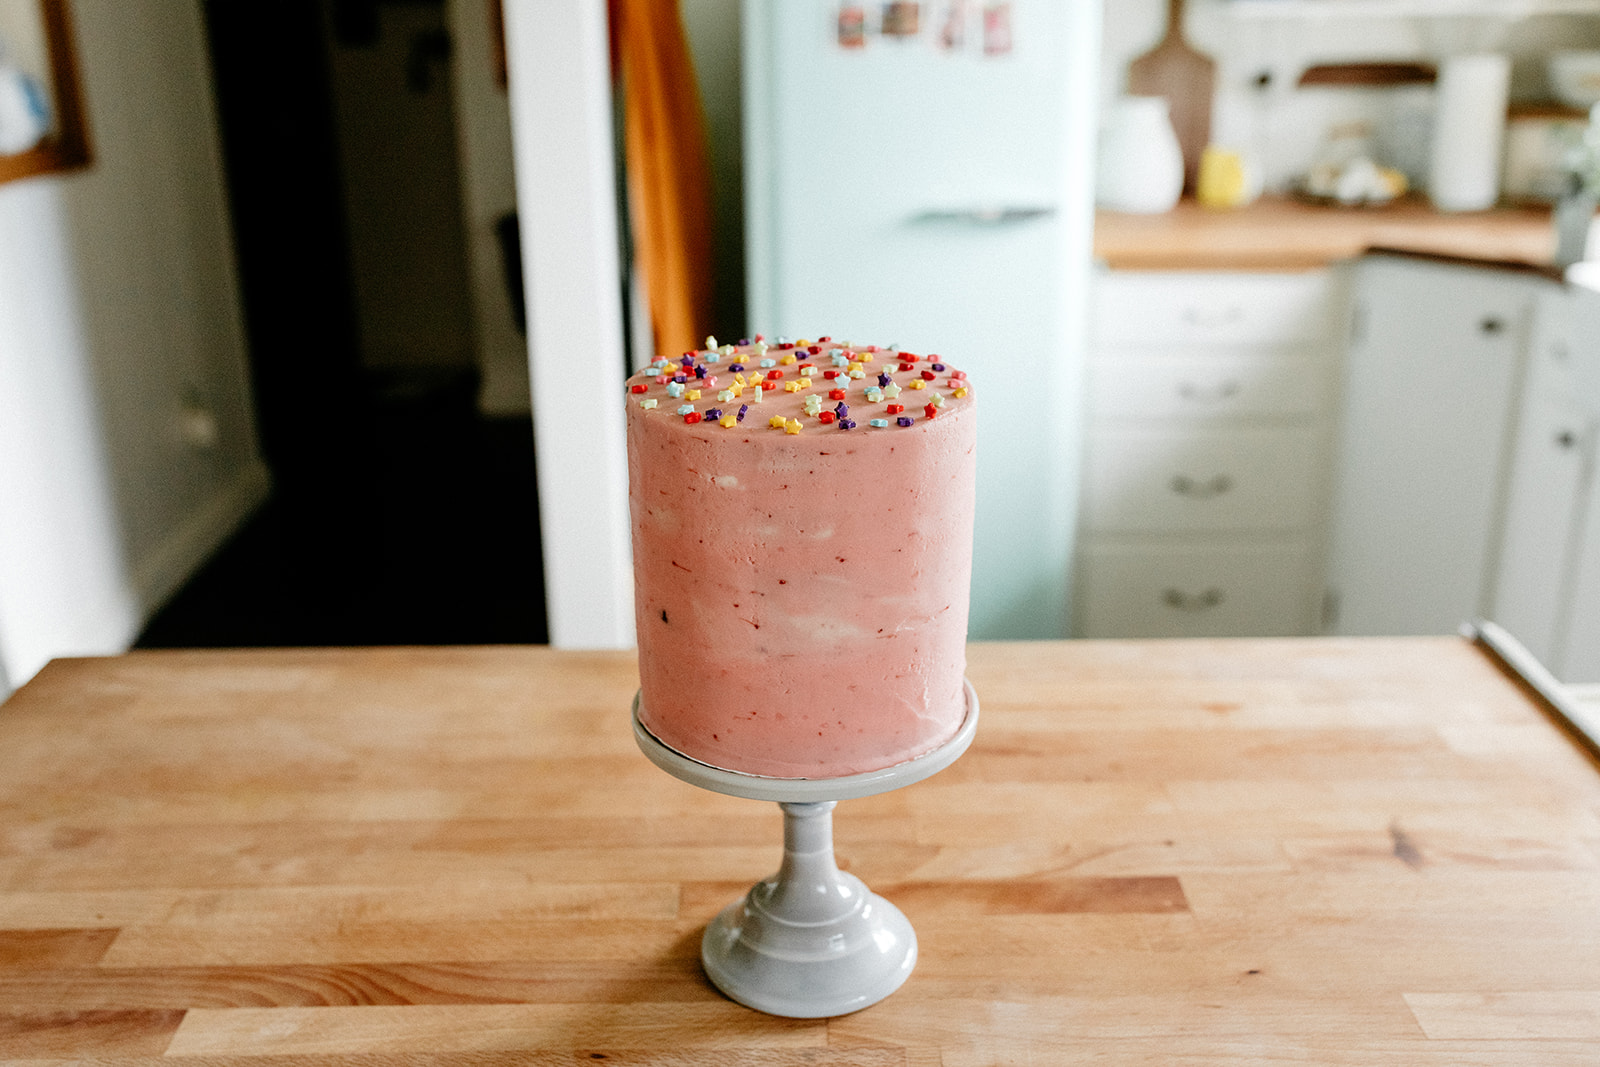
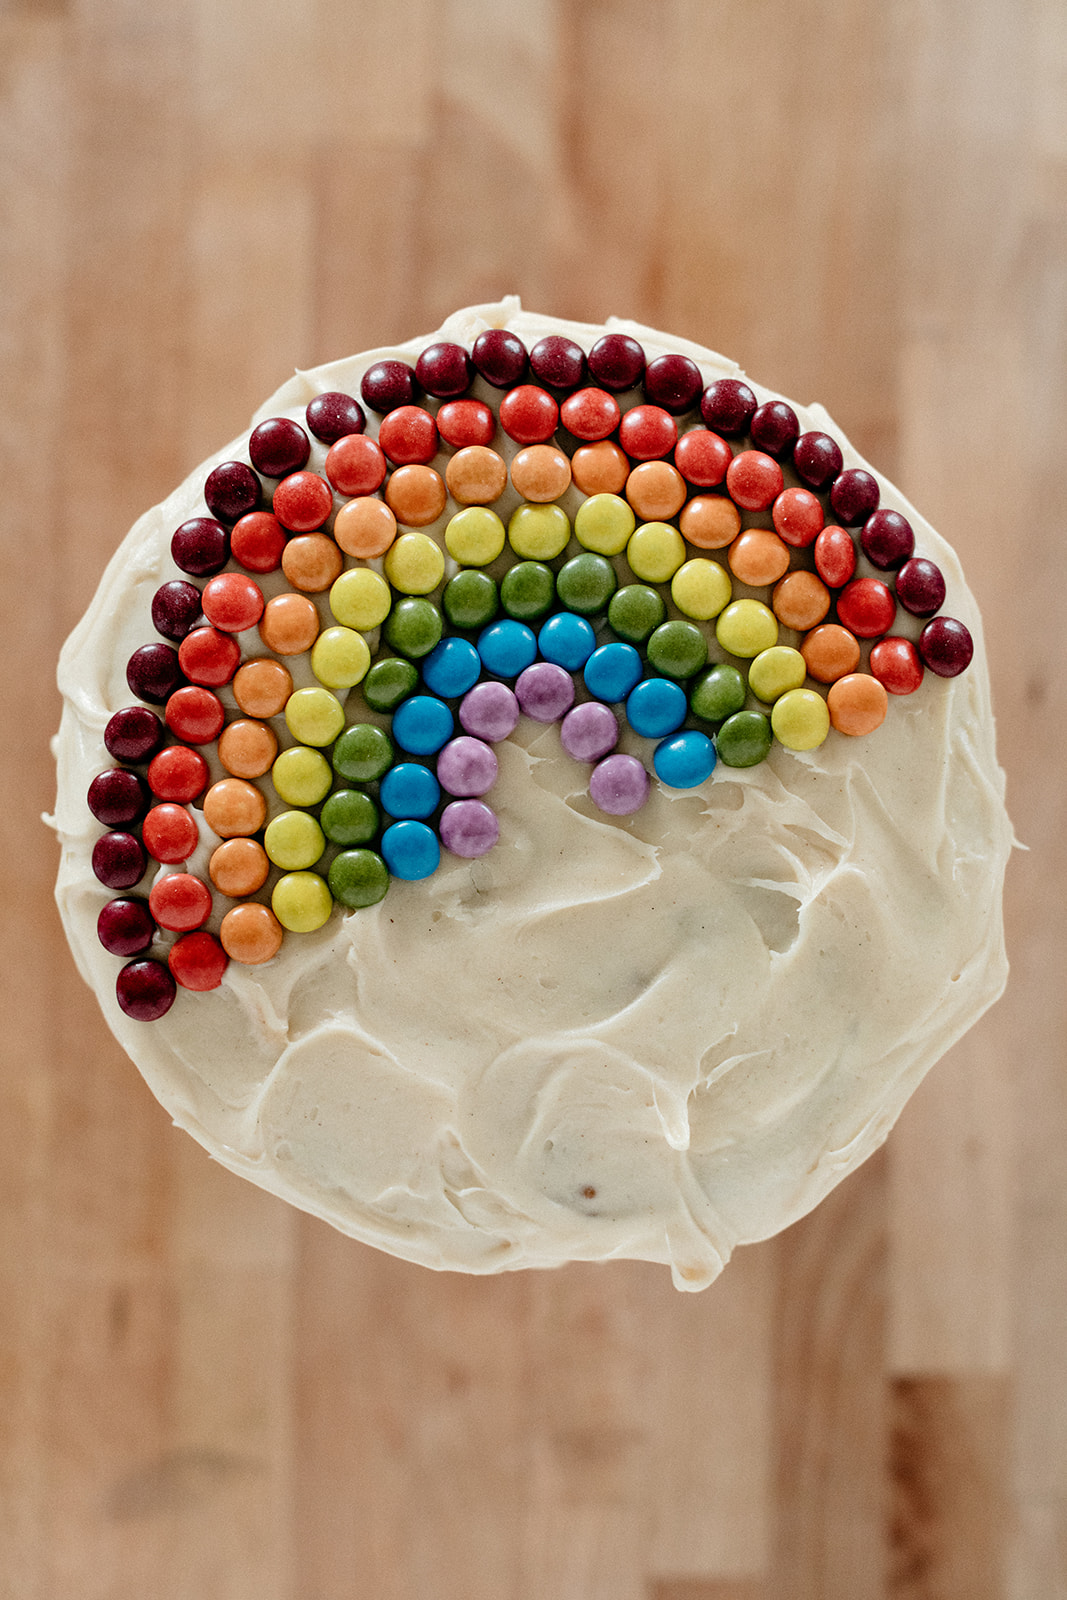
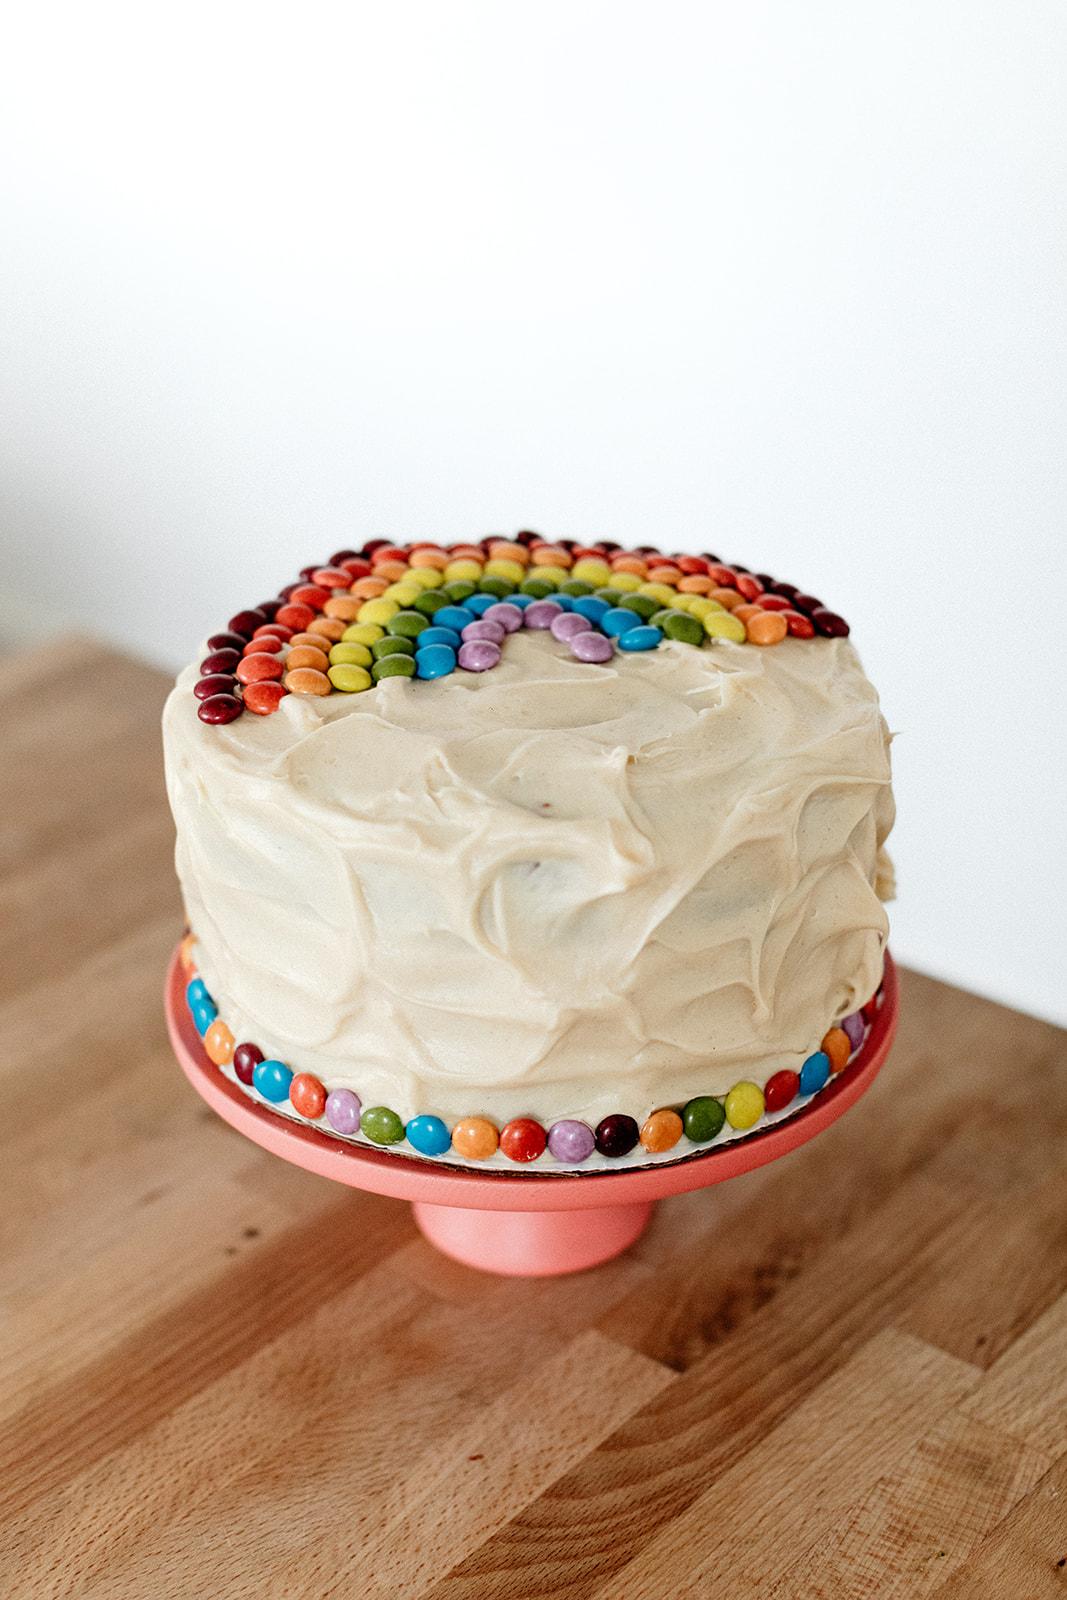
This is my first layer cake postpartum! Making it was a journey. it took like three days! I wasn’t even sure I’d be able to, with all of my time now spent singing Baby Beluga and changing diapers, but finally I put Bernie in the sling and committed. We walked around the house collecting ingredients and remembering where I put the measuring spoons, and the stand mixer white noise sound was like music to her ears. I stuck some cake scraps under her nose so she could smell them and I think she liked it! I also tried to make the colors good and bright so that she could appreciate them.
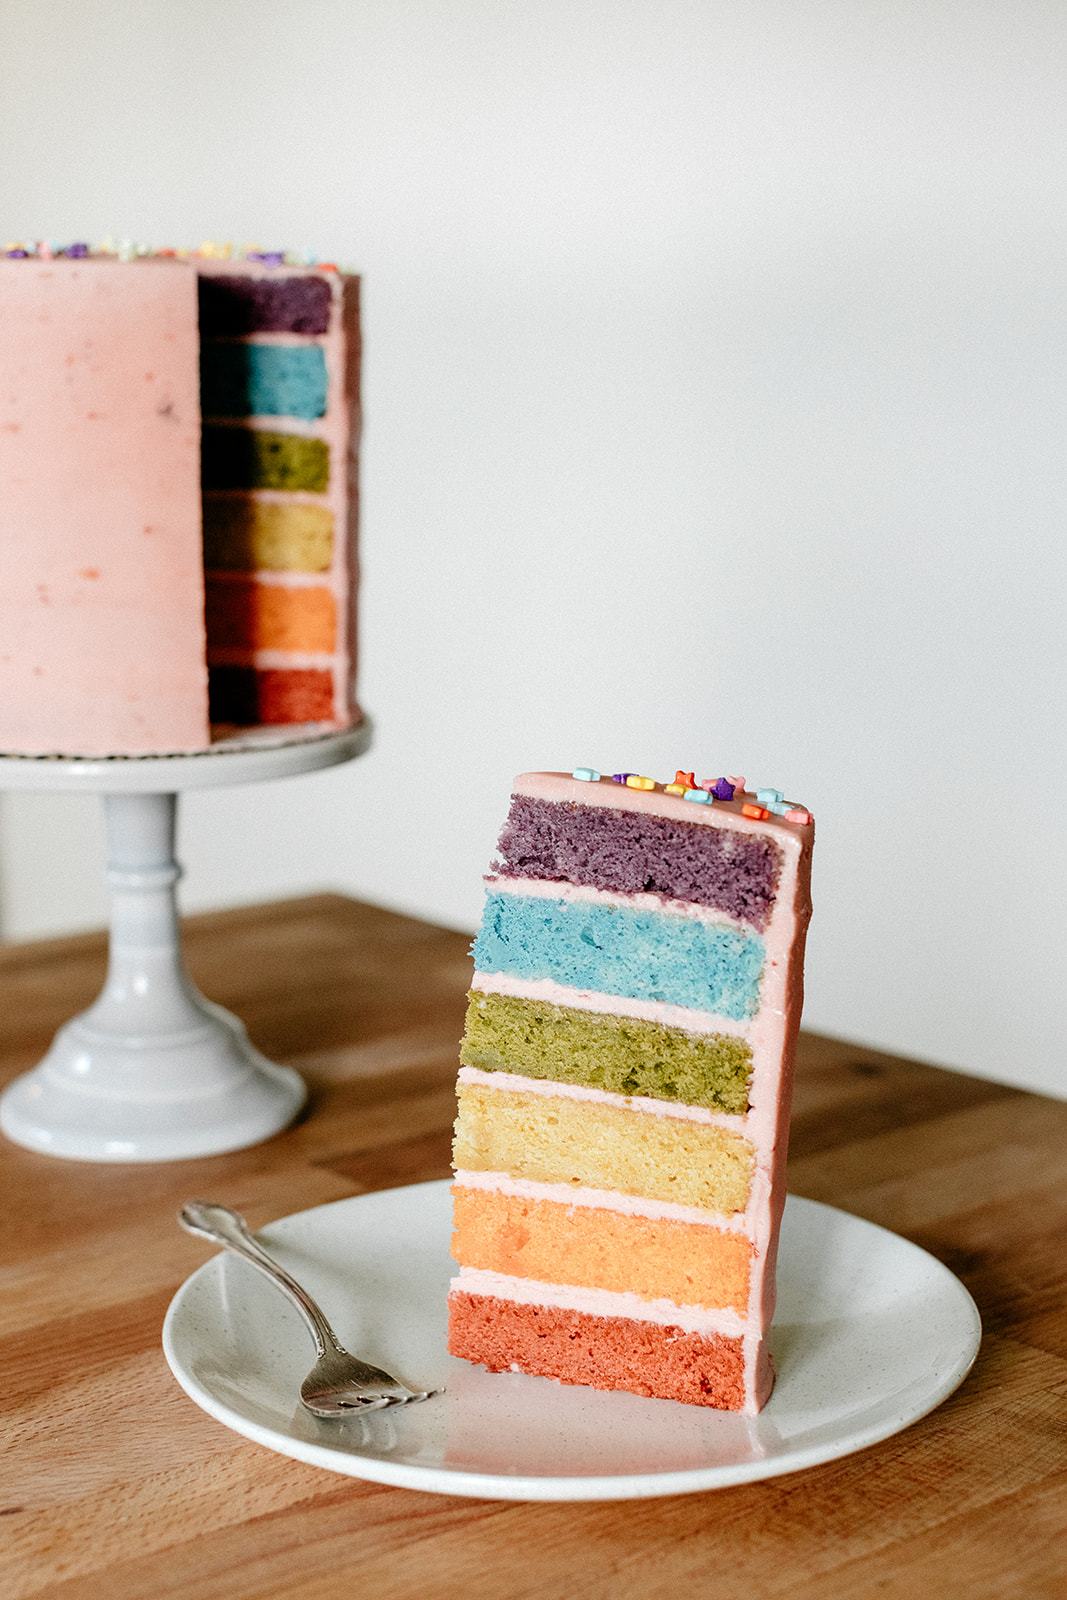
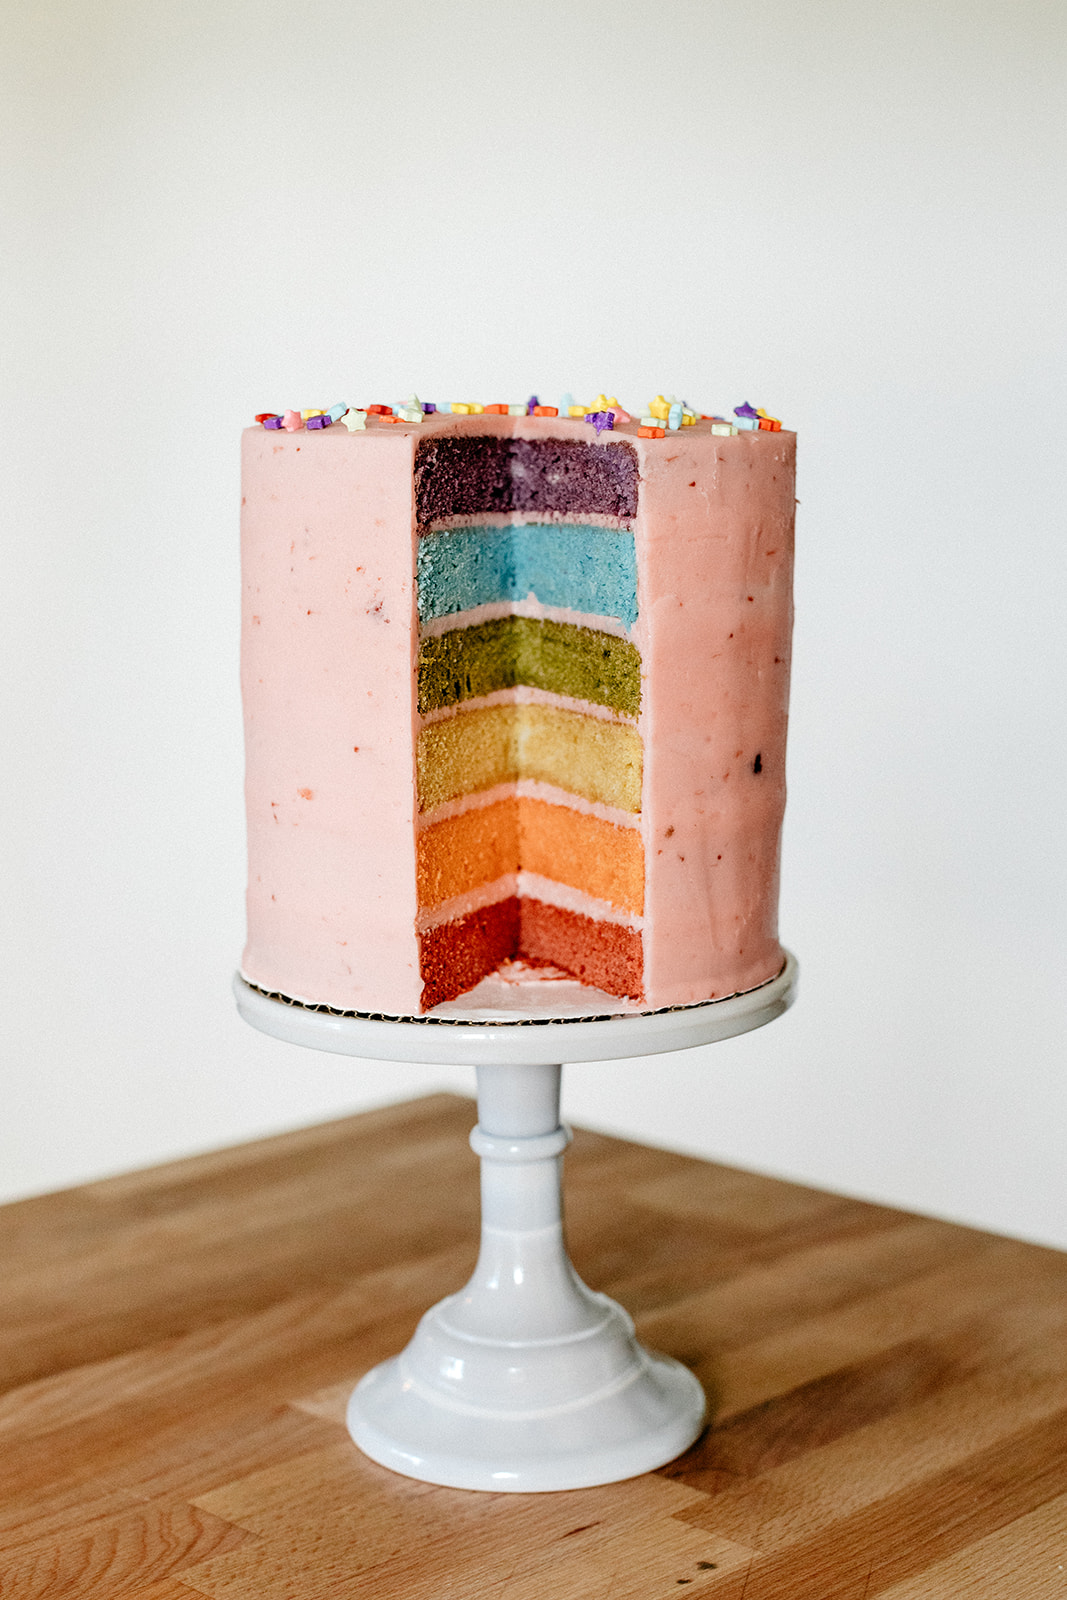
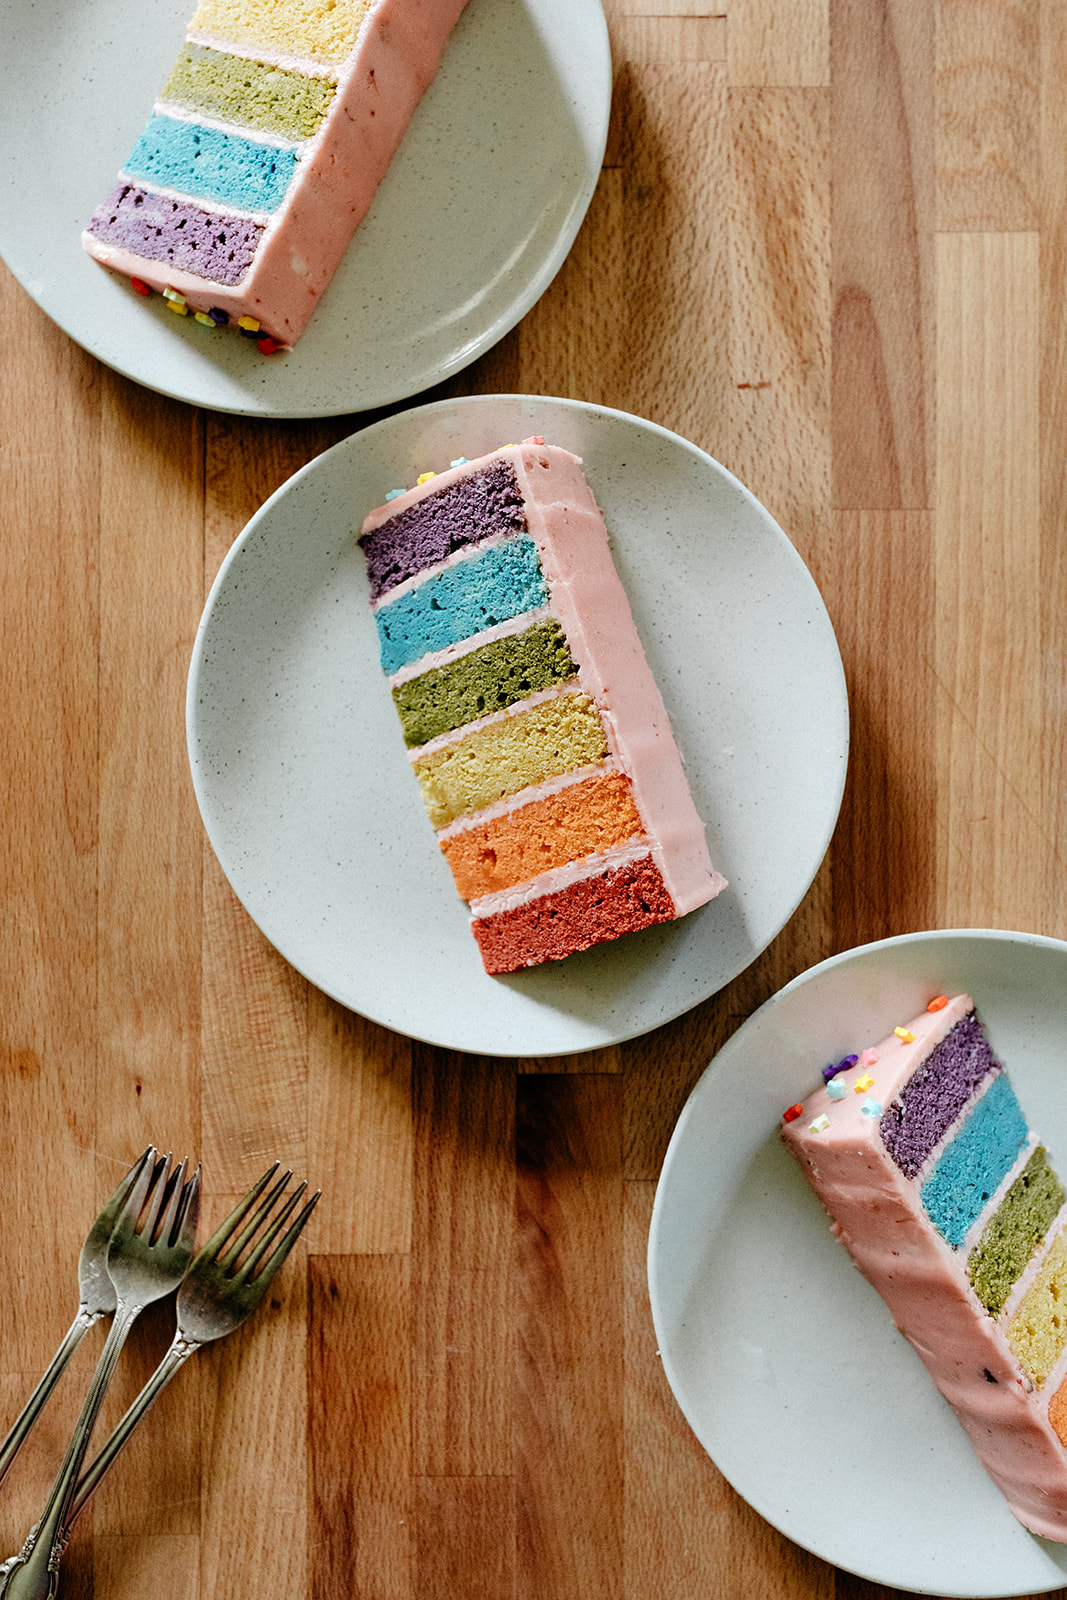
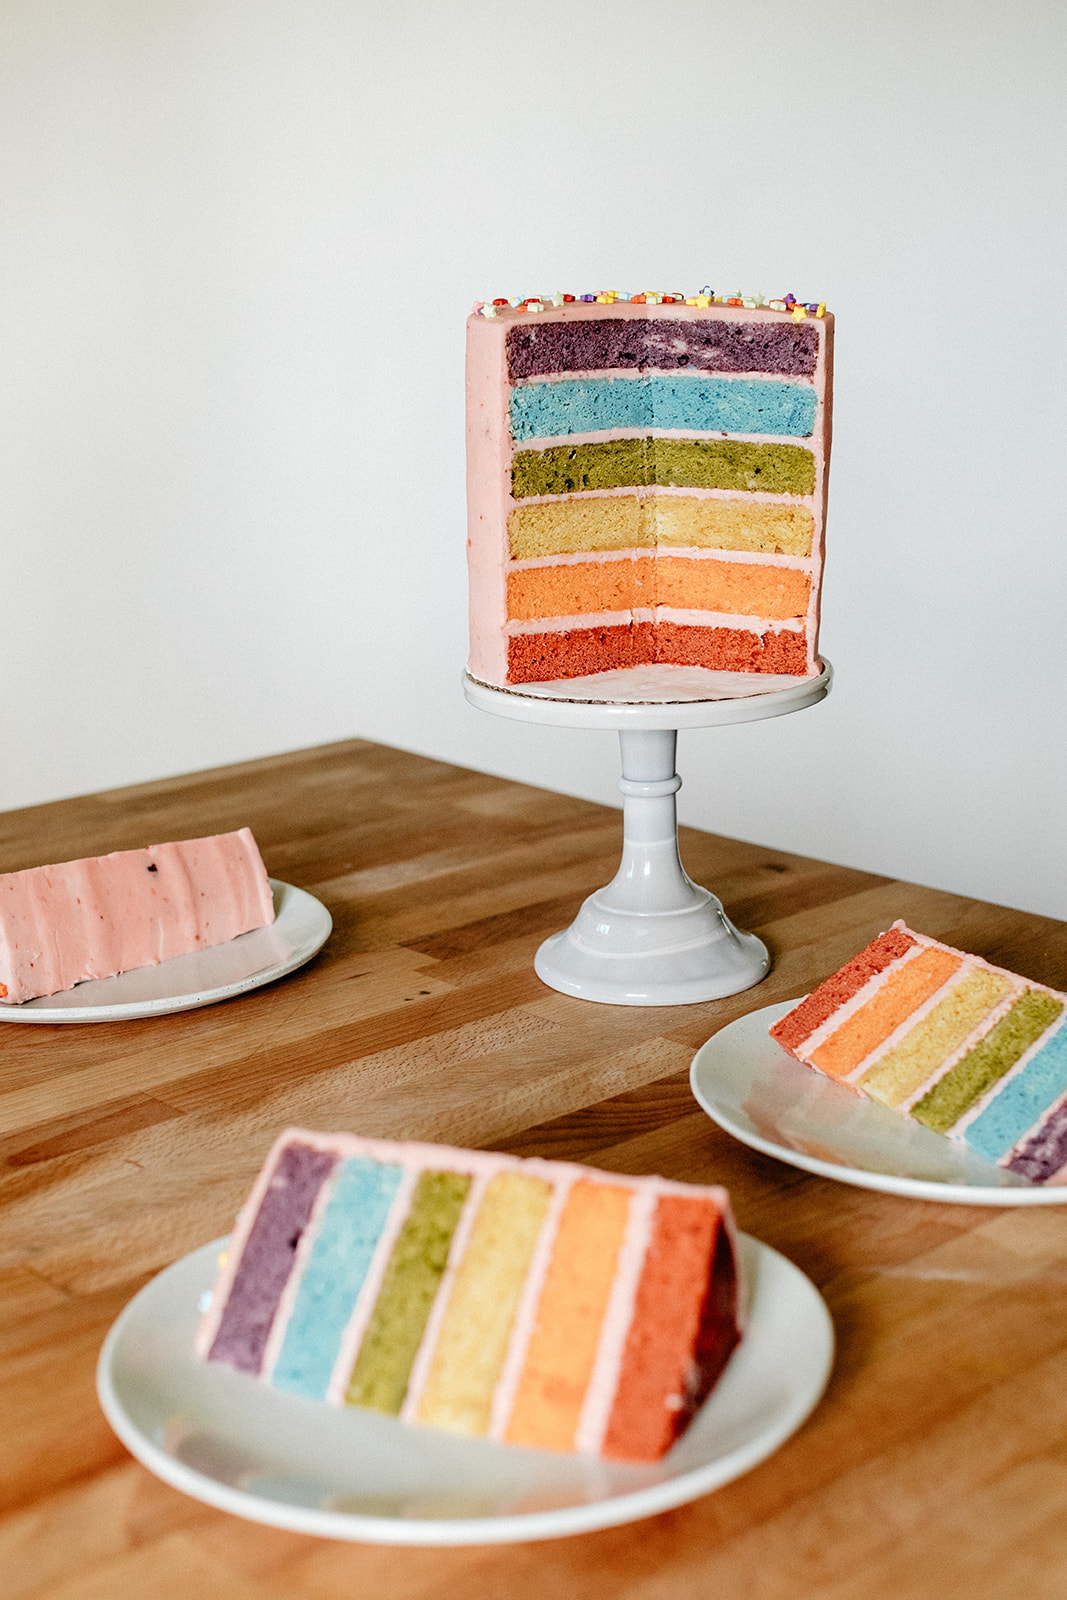
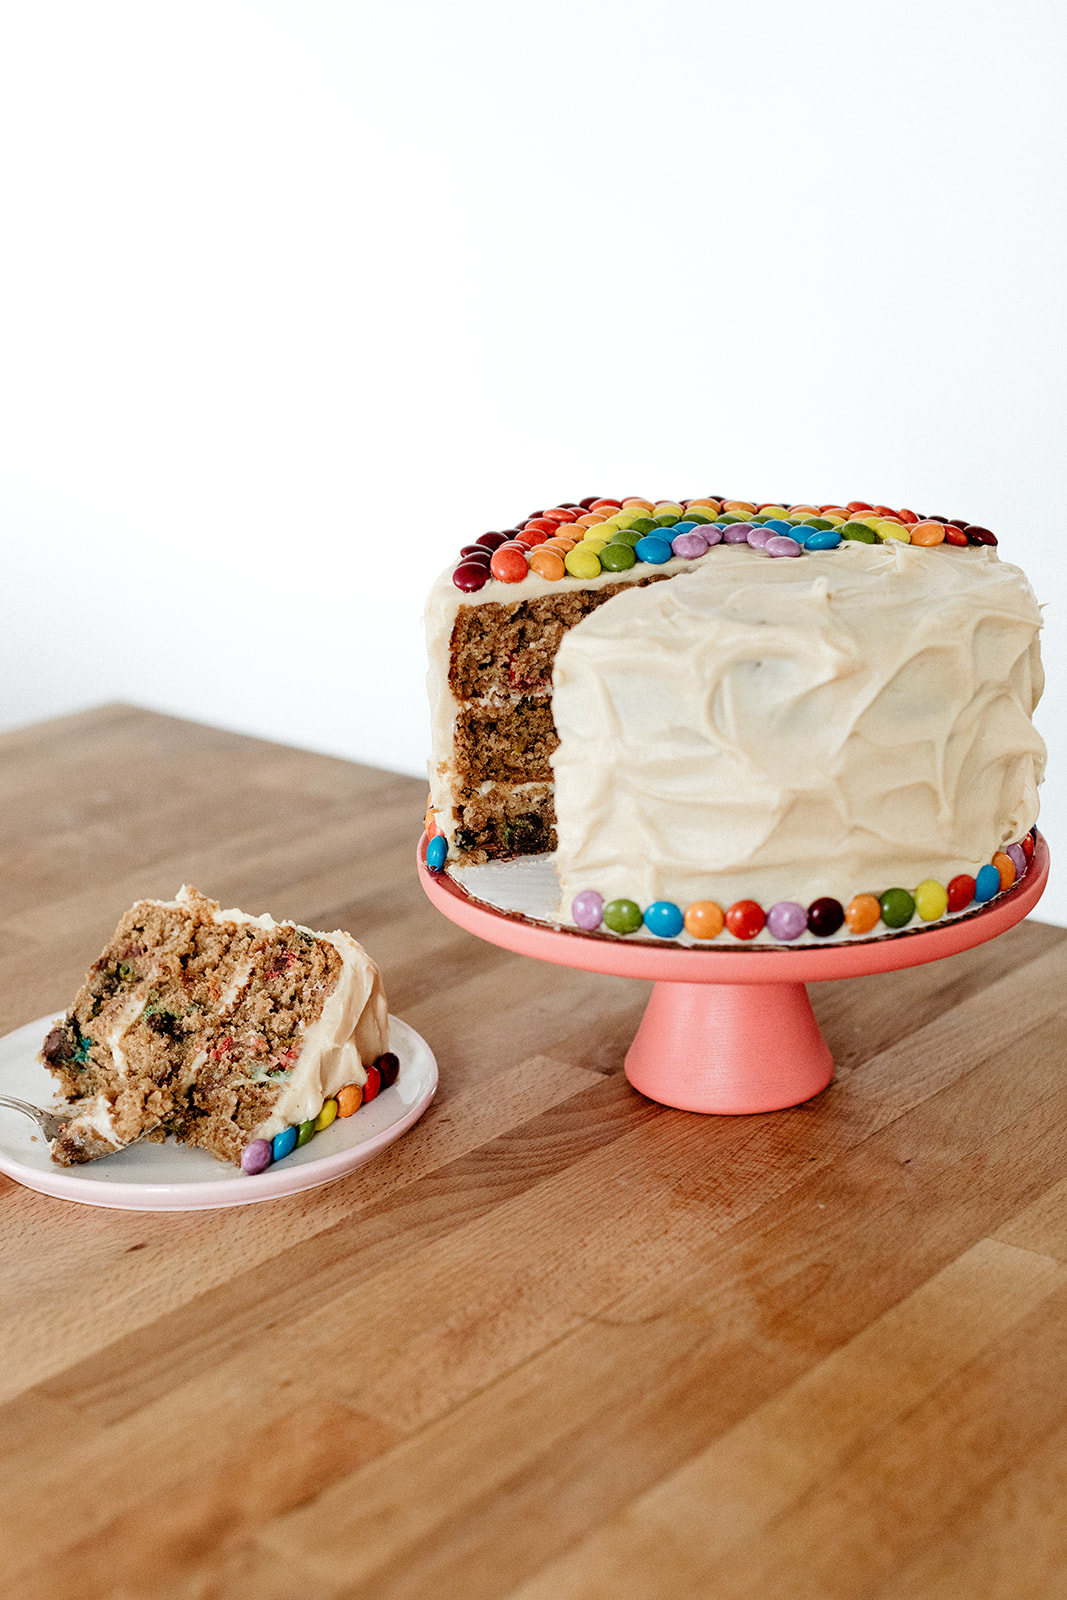
I am so happy with the end result, both aesthetically and texturally. I was admittedly nervous about the texture since adding food coloring to batter requires so much extra stirring (and an over-stirred batter can lead to a gummy weird cake) but I ended up basically saving the last stir until I divided the batter between the six bowls and added the food coloring, and that kept the texture just how I like it: fluffy, dense, and moist! This cake is sooo rich, delicious, buttery, and sweet. I like adding coconut oil in addition to butter to up the richness. I typically use refined coconut oil, which doesn’t have any coconutty flavor, but this time I went with unrefined and the tiny hint of coconut flavor was so good, almost almondy. The frosting is flavored with a plop of strawberry preserves which adds a hint of sourness that balances the sweetness quite nicely. I loved eating this cake! I would have eaten way too much of it if I didn’t have the Girl Meets Farm crew here to share it with.
The colors that I used were all Americolor and in ROYGBV order, they are: chili pepper, pumpkin, dijon, moss, wedgewood, and eggplant. In another world I would have maybe tried to go the all-natural coloring route with matcha and freeze dried berries and turmeric but there was only so much Baby Beluga singing time that I was able to give up so I figured this was an OK compromise!
Obvi you can forego the food coloring all together and just make a hella good vanilla cake with strawberry frosting and maybe even add a layer of strawberry preserves between the cake layers, ooh that’d be good.
Happy baking!
Rainbow Cake with Strawberry Buttercream
makes one 6-layer 6” cake
ingredients
3 1/2 c (450g) all-purpose flour
1 tb baking powder
1 1/2 tsp kosher salt
1 1/4 c (300g) heavy cream, room temperature
1/2 c (120g) sour cream, room temperature
1 c (225g) unsalted butter, room temperature
1/2 c (100g) refined or unrefined coconut oil, soft but not melted
2 1/4 c (450g) sugar
4 large eggs, room temperature
1 tb vanilla bean paste or extract
1/2 tsp almond extract, optional
food coloring (see notes above for specific colors that I used)
strawberry buttercream:
1 c (225g) unsalted butter, room temperature
1/4 c (80g) strawberry preserves
5 c (600g) powdered sugar
1/8 tsp kosher salt
1 1/2 tsp vanilla bean paste or extract
6 tb (90g) heavy cream
a drop of pink food coloring, optional
clues
to make the cake:
preheat the oven to 350ºf. grease and line the bottoms of six 6” cake pans with parchment and set aside (if you don’t have six pans, you can bake in batches).
in a large bowl, sift together the flour and baking powder, and then lightly stir in the salt and set aside. in a large measuring cup, whisk together the heavy cream and sour cream and set aside.
in a stand mixer fitted with a paddle attachment, cream together the butter, coconut oil, and sugar on medium high for 3-4 minutes, until light and fluffy. add the eggs, one at a time, beating well after each. add the vanilla and almond extract, if using. reduce the mixer to medium low and add the dry mixture and cream mixture in 3 alternating additions, stopping right after you add the last of the dry mixture and cream mixture- don’t mix them in completely because when you mix in the food coloring you’ll continue to mix and that’s when everything will get combined. (the reason for this is that you want to prevent over-mixing at all costs!) divide the batter between 6 medium bowls (using a scale is the most efficient way to do this) and stir in good big plops of food coloring until the batter is bright. distribute the batter evenly between the cake pans and spread it out evenly.
bake until the tops of the cakes are set and a toothpick inserted into the center comes out with a few crumbs on it; begin checking for doneness at 22 minutes and try your darnedest not to let it overbake. let cool in the pans for 10 minutes and then transfer to a wire rack to cool completely.
to make the buttercream:
in a stand mixer fitted with a paddle attachment, beat together the butter and preserves until creamy. gradually add the powdered sugar, and then mix in the salt, vanilla, and heavy cream. mix until creamy.
to frost the cake, level the tops of the layers and then stack them up with a thin layer of frosting in between. frost all over and decorate as desired! enjoy!
-yeh!
photos by chantell and brett quernemoen

