valentine's day

valentine's day almond cake

Season 3 of Girl Meets Farm is a go!!!

We are working on the first six episodes right now and the remaining episodes will be filmed after Poppy Seed arrives, in the summer! It’s been so much fun! Of course, there are a few things weird about filming while eight months pregnant, like my arms get tired more easily since there is a growing baby the size of [checks pregnancy tracker app] three croissants in between me and the counter, and I’ve gotten some lame-o carpal tunnel action so sprinkling sprinkles takes some more effort, and of course my belly catches all of the food falling out of my mouth that would otherwise fall to the floor (I didn’t realize how much food fell from my face until there was something there to catch it?!) so it’s necessary for me to have two of every shirt that I wear. But, in general it’s been awesome because there is so much food everywhere!! Taco pizza, coconut cream pie, salt and vinegar potatoes, freezer friendly bagel breakfast sandwiches… this season is pregnant lady approved and sooo (!!!) tasty.

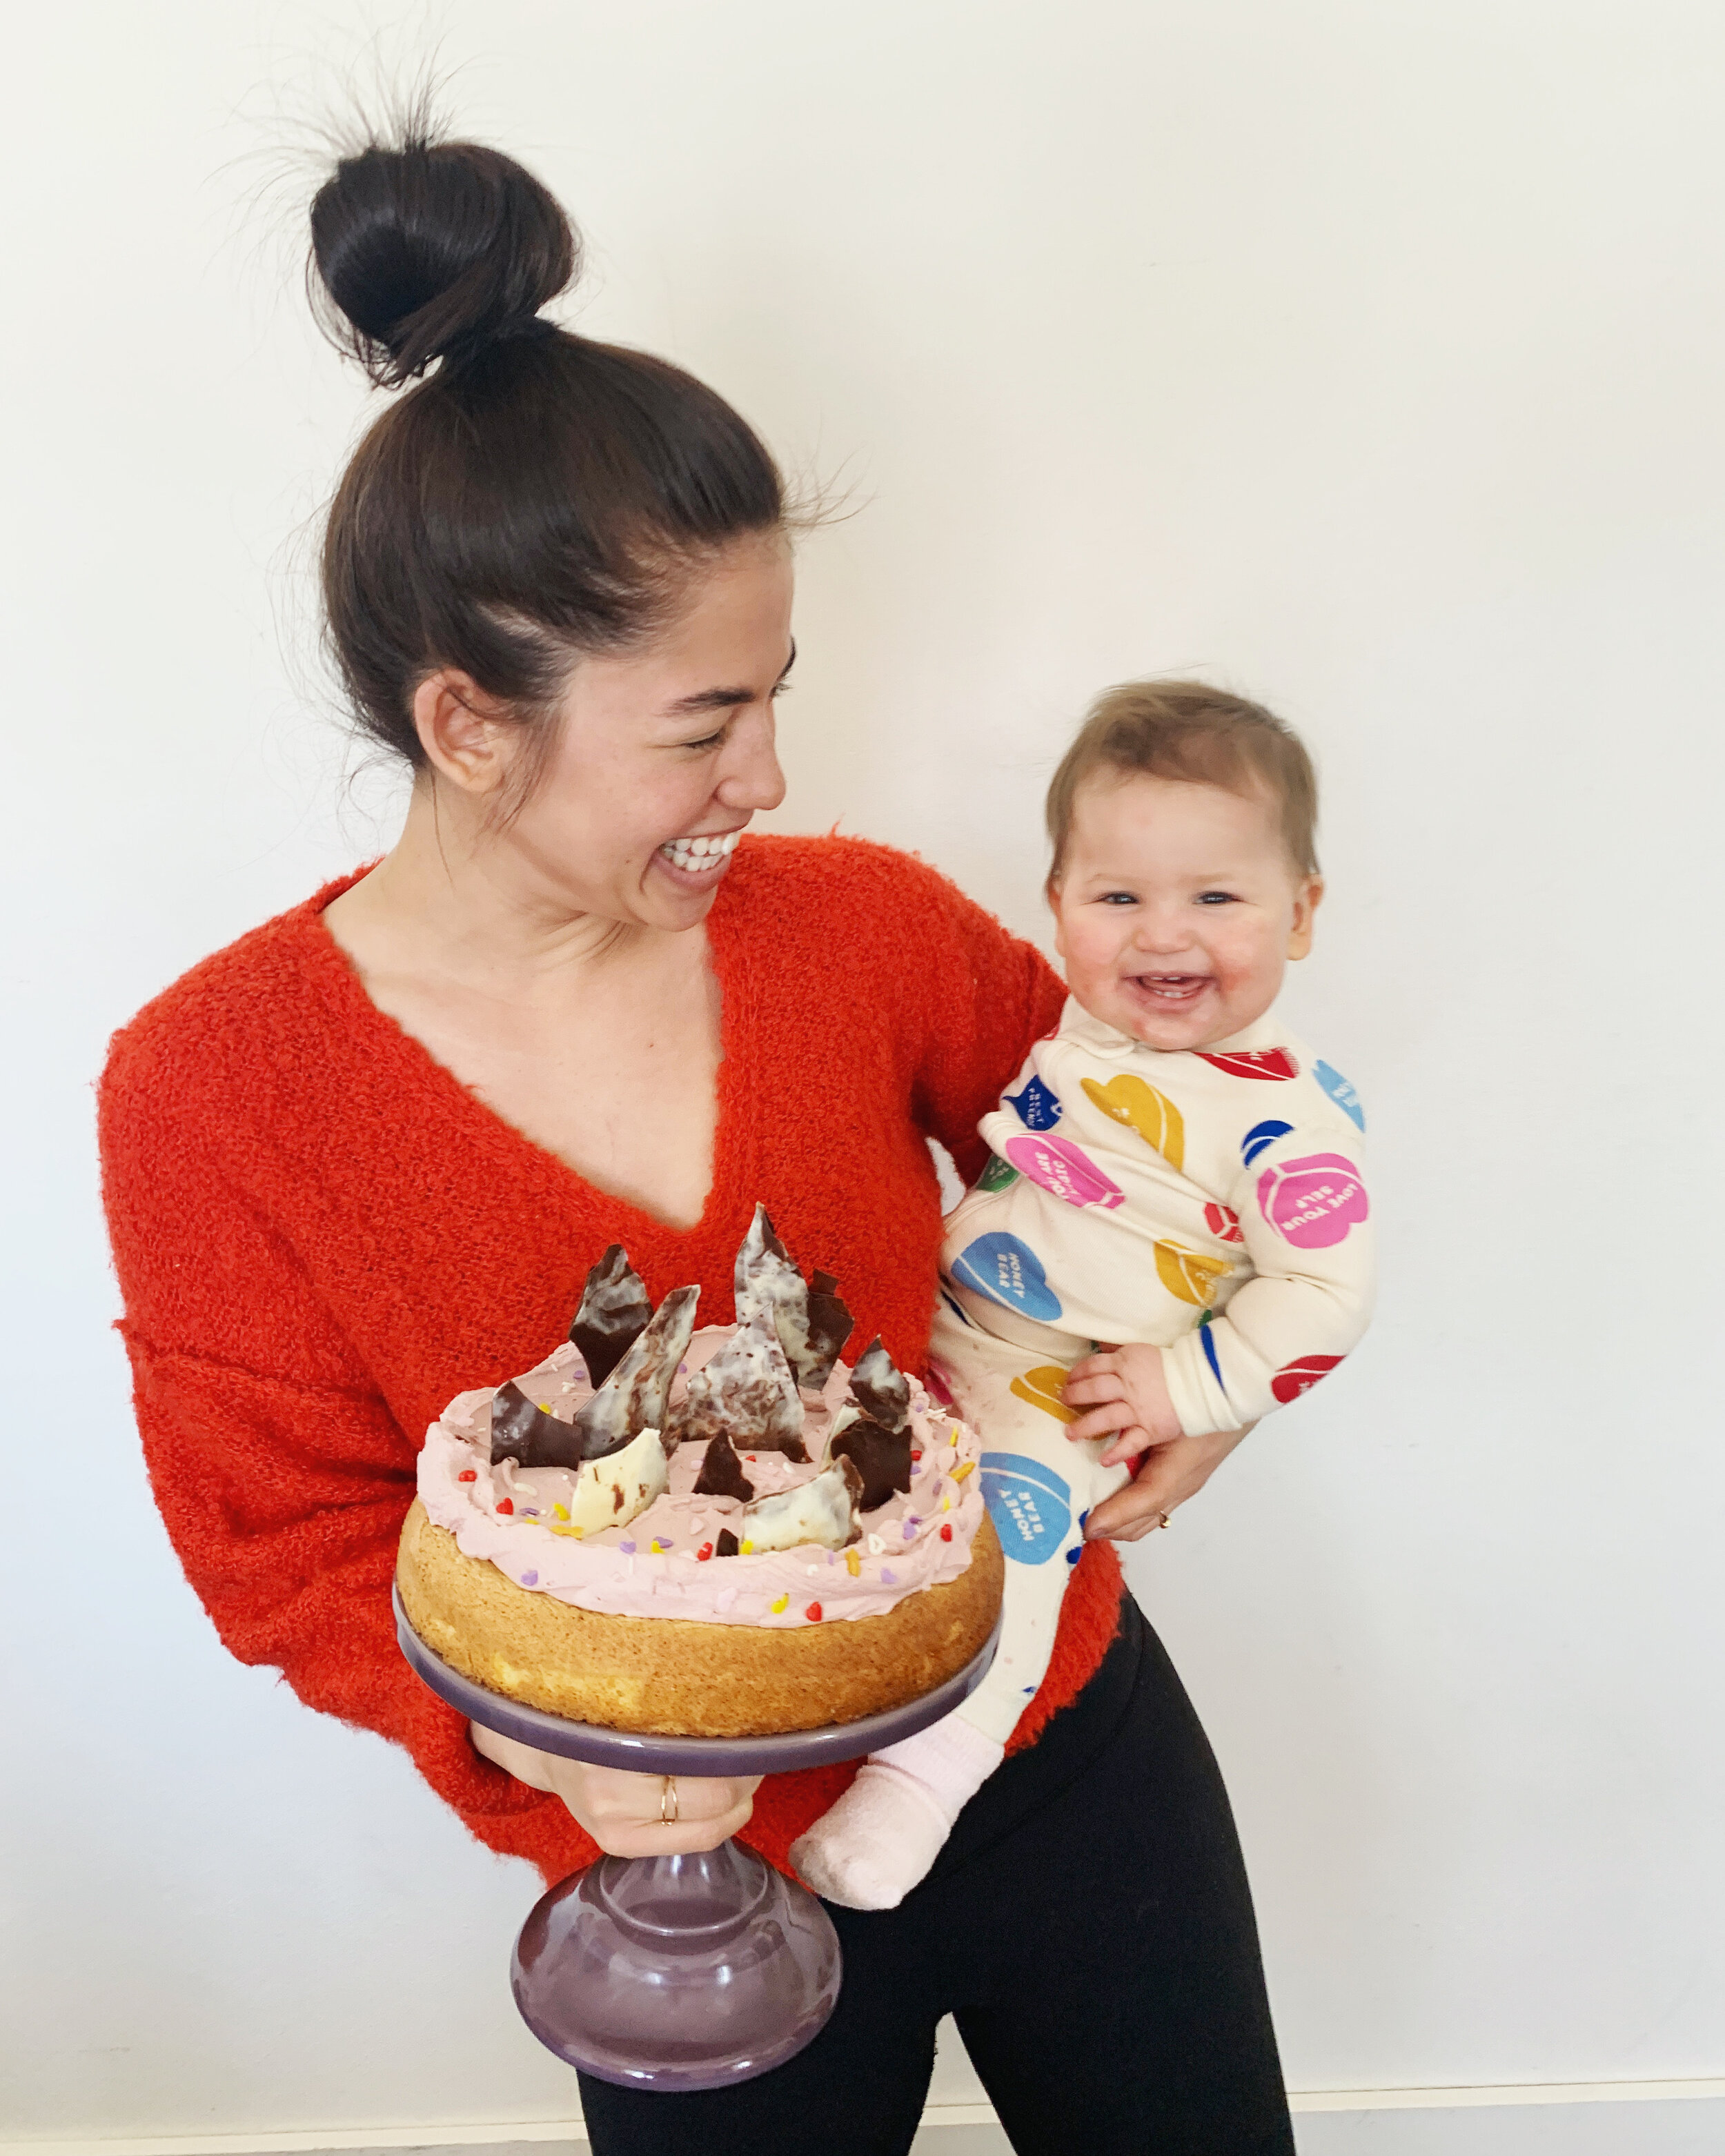
And of course, hanging out with the crew, being cozied up in my house and filming all day while it blizzards outside is kind of like my winter camp dreams come true. I love these people. And I’m excited that later this week I get to spend Valentine’s Day with them and introduce them to my annual Valentine’s Day almond cake. My mom will also be in town on Valentine’s Day, filming her guest episode, so it’s going to be the best day ever!!! Oh gosh I hope there’s enough of this cake to go around… It just occurred to me that I should maybe make a second one…

Anyway, this Valentine’s Day cake is extra special for two reasons: my Chrismukkah gift from Eggboy this year was a set of paintings of my Valentine’s cakes by our amazing artist friend Mollie. Mollie makes the most incredible watercolors, they’re miniature and beautiful, I have a corn dog that she made for me last year and I cherish it. When Eggboy presented me with her paintings of my cakes, I was floored! They’re not all literal, some of them are interpretations, and part of the gift was that Mollie is going to paint my future cakes as well! So one day when we’re all old and crusty, there will be a wall in our house covered with paintings of Valentine’s cakes. Oh geez, I’m so excited. 

Also, Better Homes and Gardens did a story on my tradition with their own beautiful rendition of this cake!! Pick up this month’s issue to read it!!

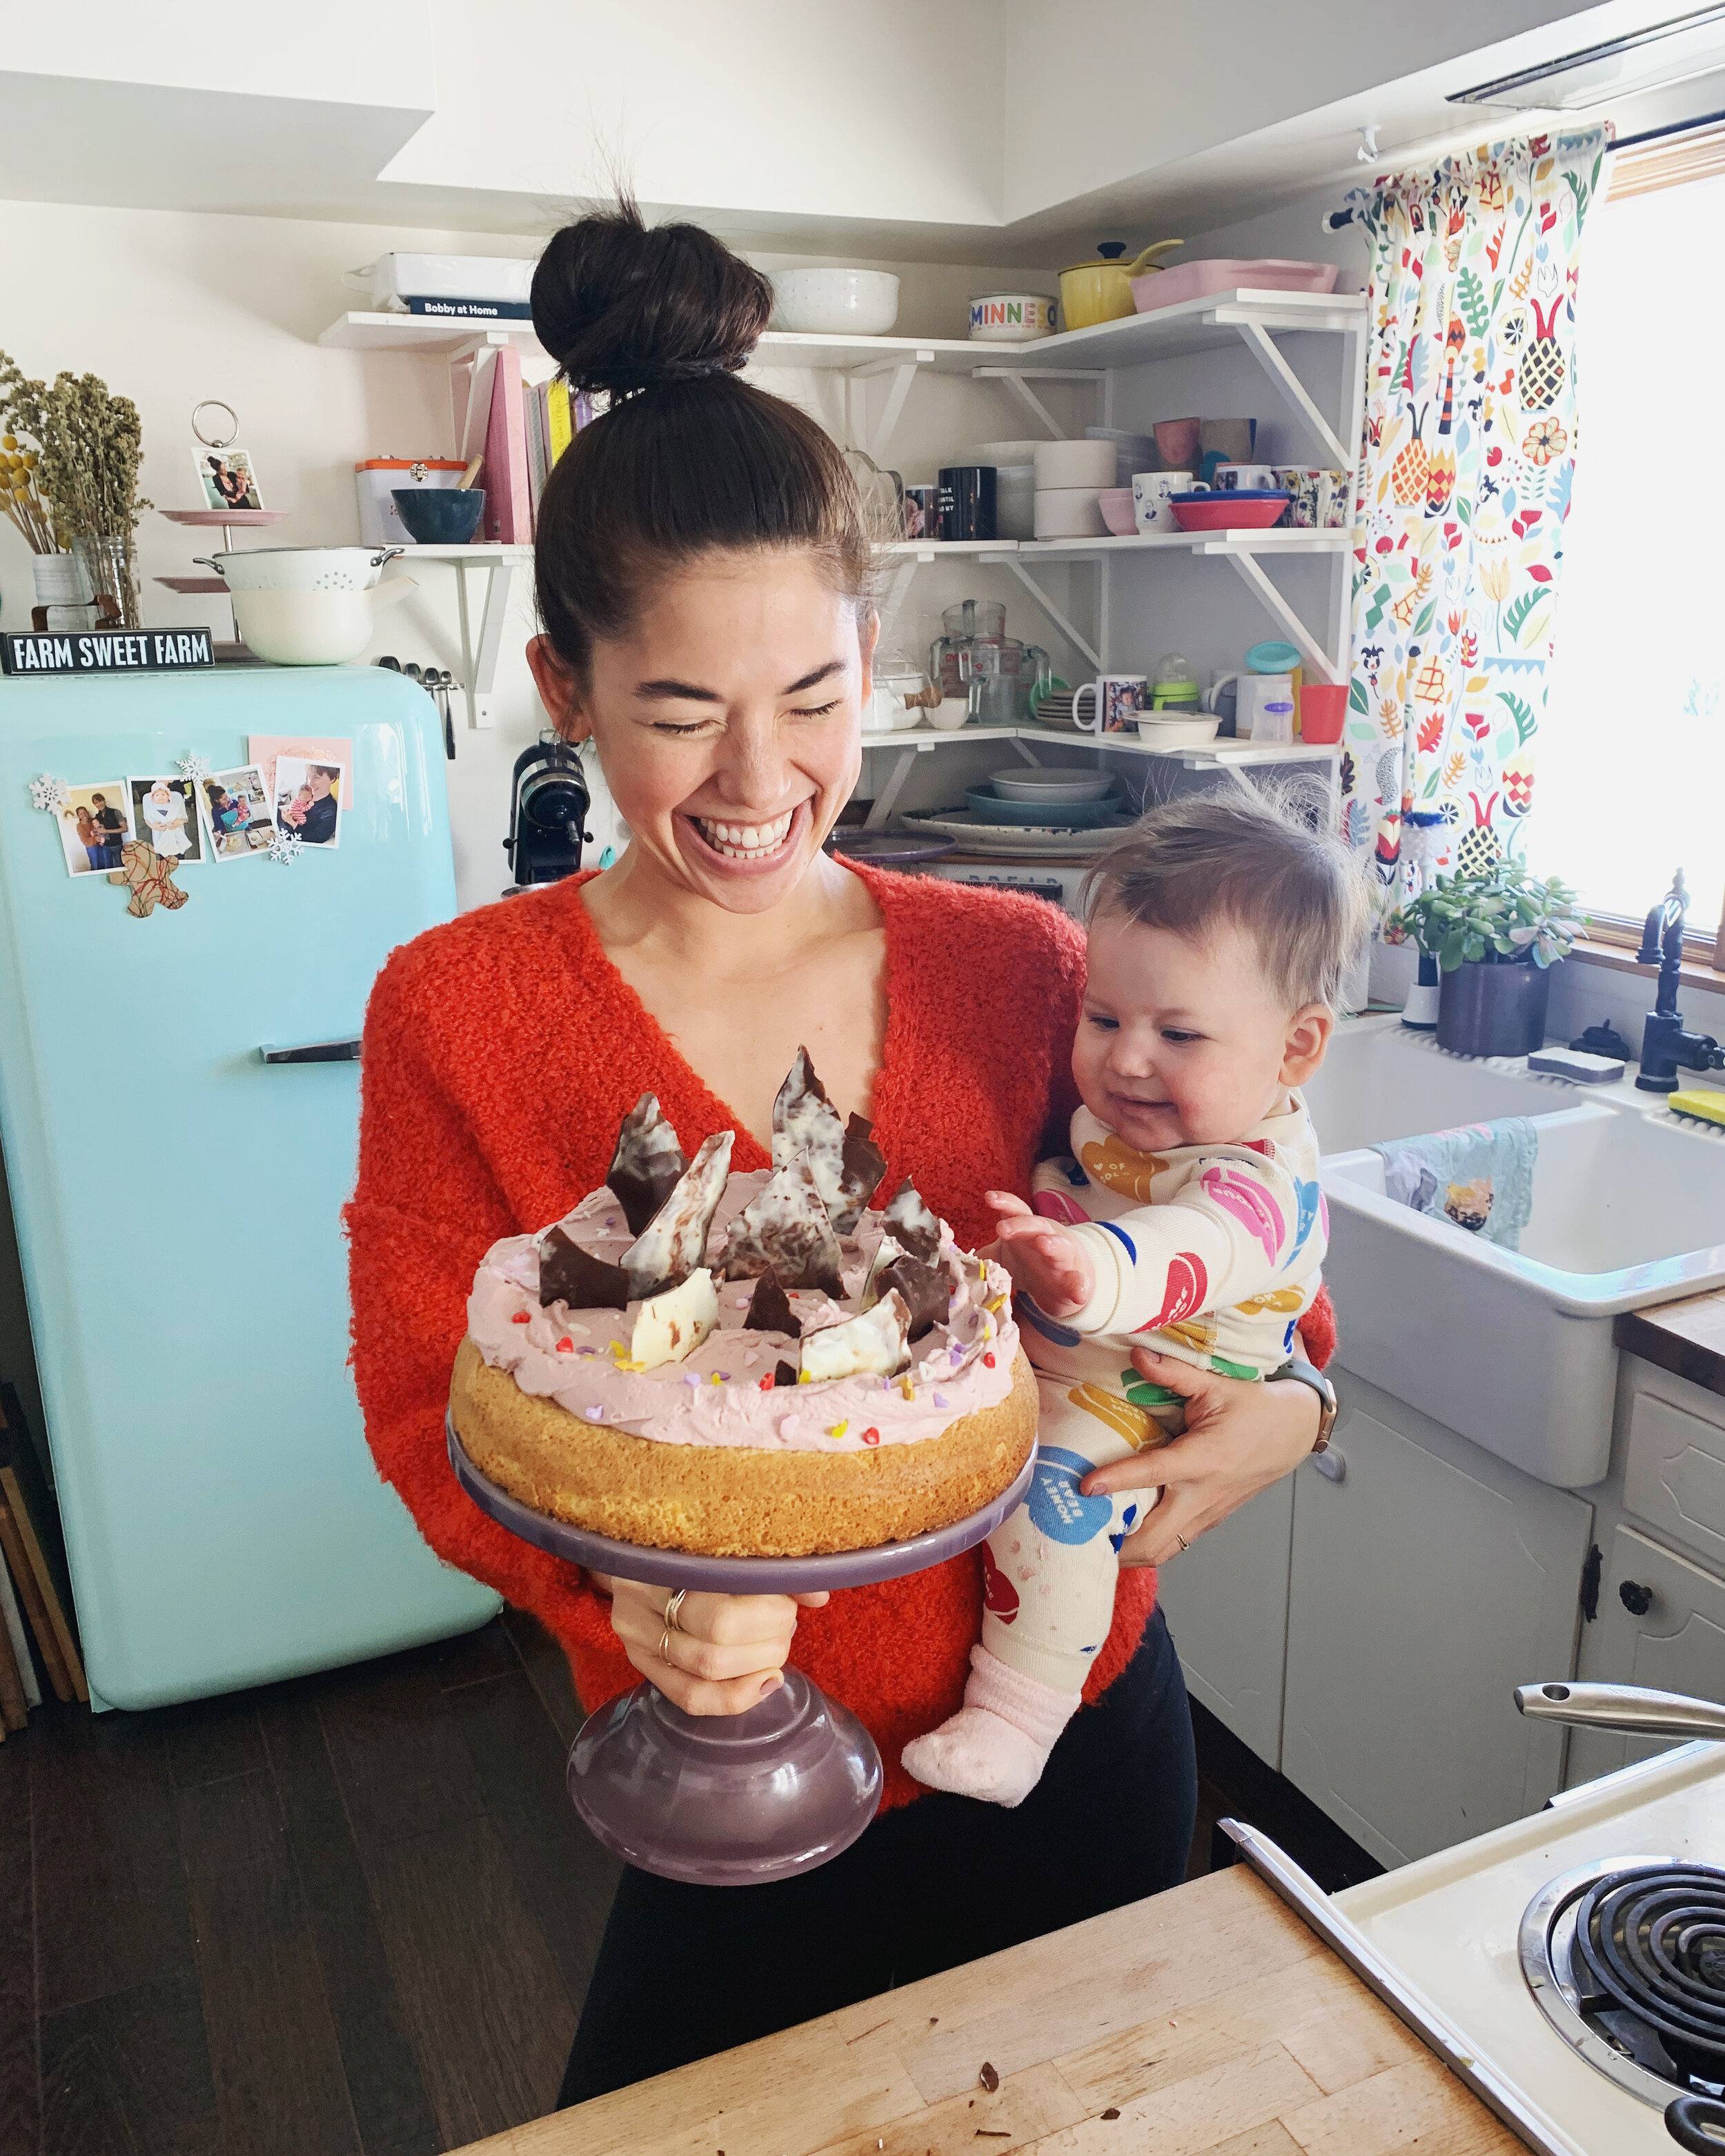
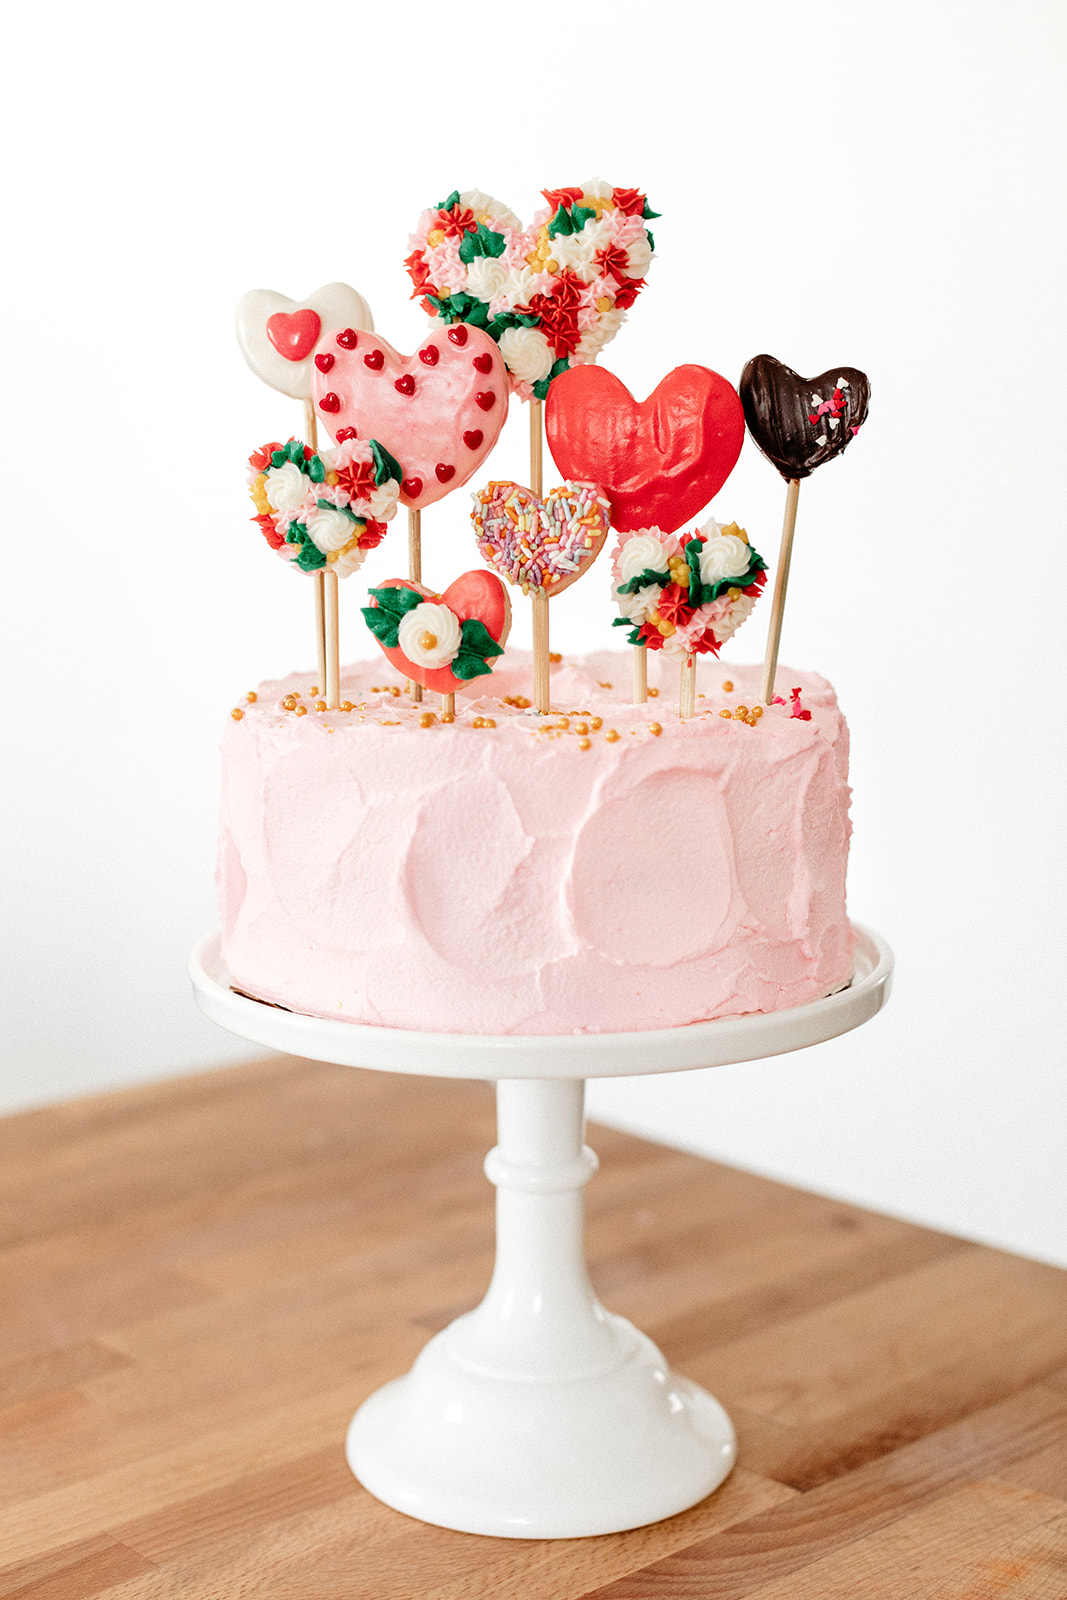
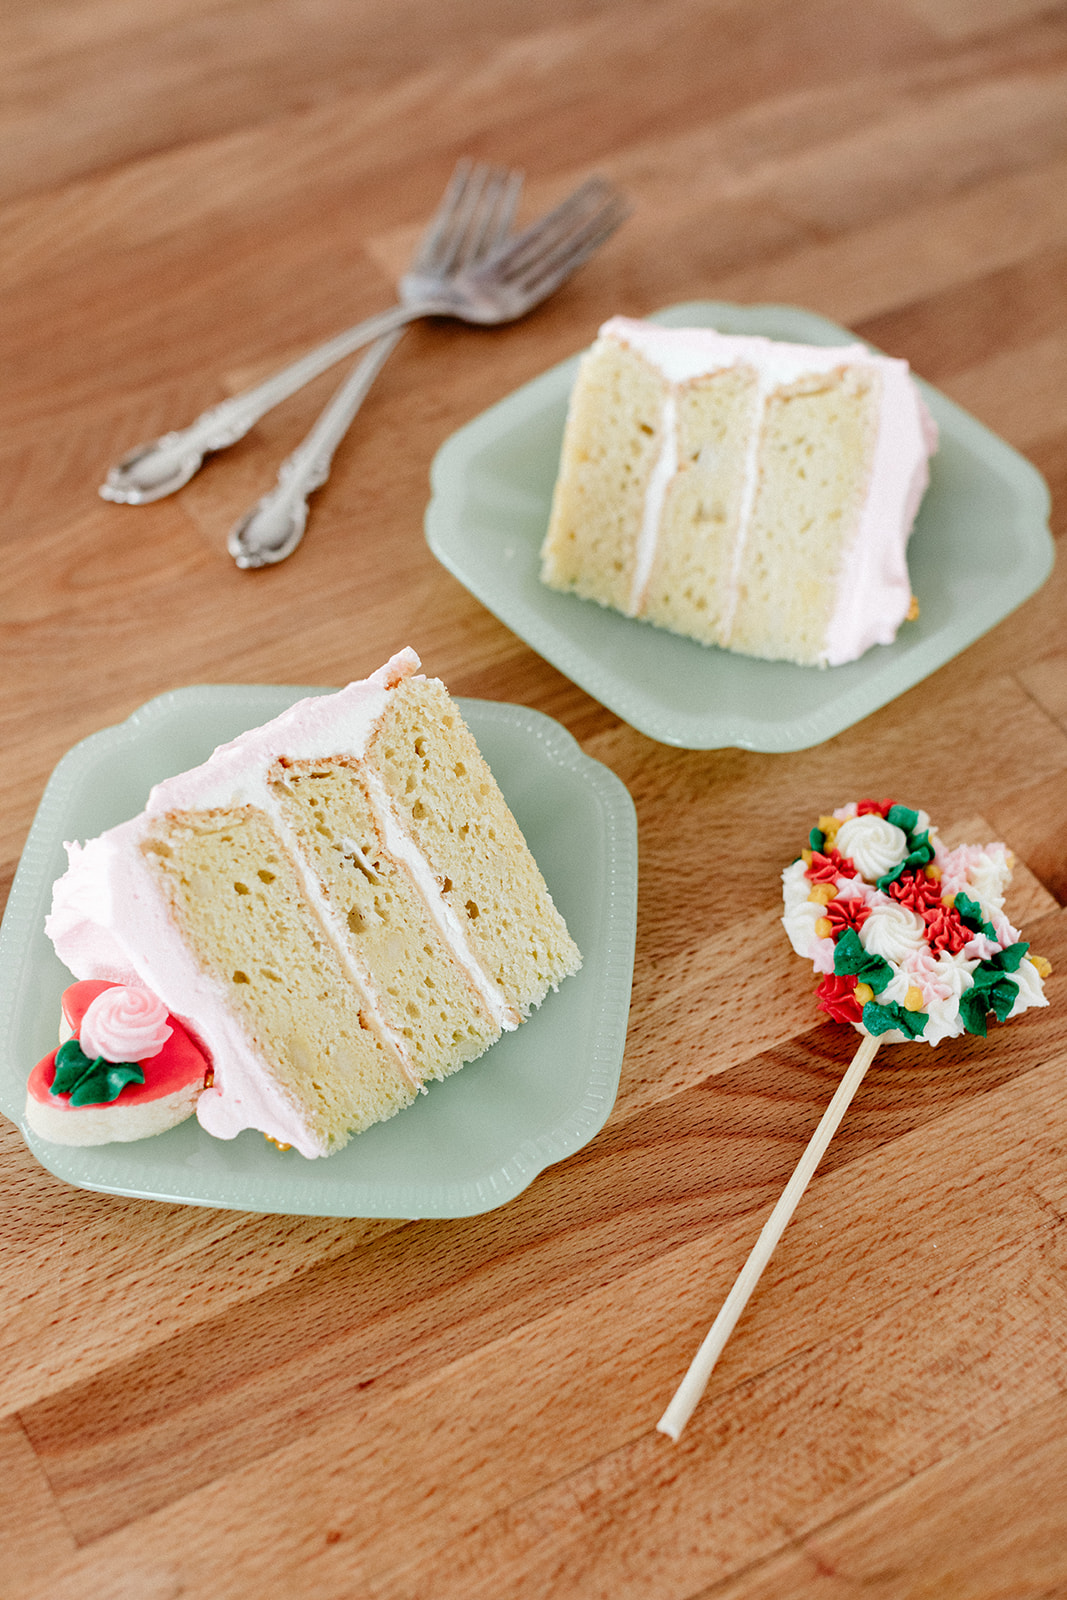
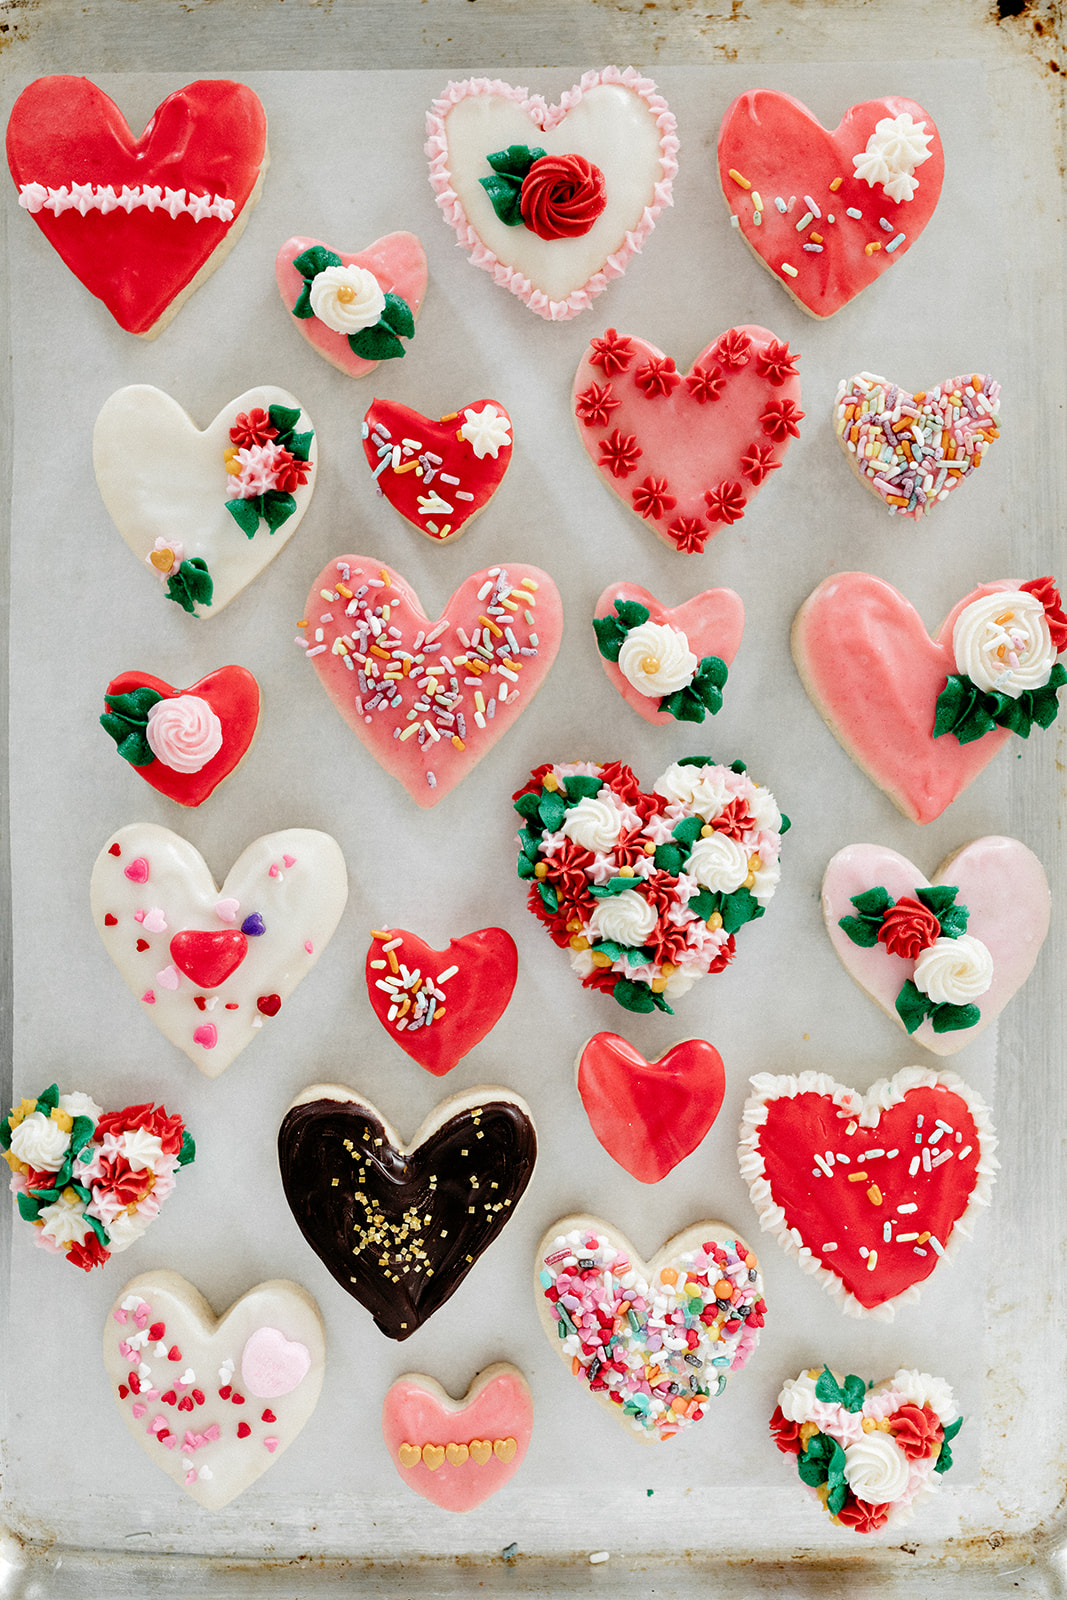
My cake this year was actually inspired by the cake that BHG did. I loved their idea of doing a layer cake and sticking cookies into the top. I wanted all of the cookies to be different, so during the polar vortex, I just took a whole afternoon and decorated these cookies and it was the best. Some are flower-inspired to look like little bouquets, but the others I just played around with. And of course the actual cake itself is the same fluffy almond cake that I make every year (it’s heavy on the almond paste chunks this year because I was suuper careful not to over beat it), covered with almond fresh whip that is the essential flavor of Valentine’s Day. It’s sitting in my deep freeze right now so that I can defrost it on Thursday. Because if there’s one rule I have about this holiday, it’s that Valentine’s Day cannot exist without this cake!

(You can see all of my past Valentine’s cakes here! 2018 / 2017 / 2016 / 2015 / 2014 / 2013 / 2012 / 2011 / 2010)


valentine's day almond cake

makes one 3-layer 8” cake

ingredients

cake:

1c (96g) all-purpose flour
1 1/2 tsp baking powder
12 oz almond paste
9 large eggs, separated
3/4 tsp kosher salt
3/4 c (150g) sugar
1 1/2 tsp vanilla extract
3/4 tsp almond extract

whipped cream:

2 c (480g) heavy whipping cream
1/2 c (60g) powdered sugar
1 tsp almond extract

pink food coloring, optional

assembly:
sprinkles of all sorts

my soft almond sugar cookies, baked with wooden skewers sticking out the bottom

clues

Preheat the oven to 350ºF. Grease and line the bottoms of three 8” cake pans and set aside.

In a small bowl, whisk together the flour and baking powder.

In the bowl of a stand mixer fitted with a whisk attachment, beat the egg whites and salt to soft peaks and then gradually beat in the sugar, about 1 tablespoon at a time. Continue beating to stiff peaks and then set aside.

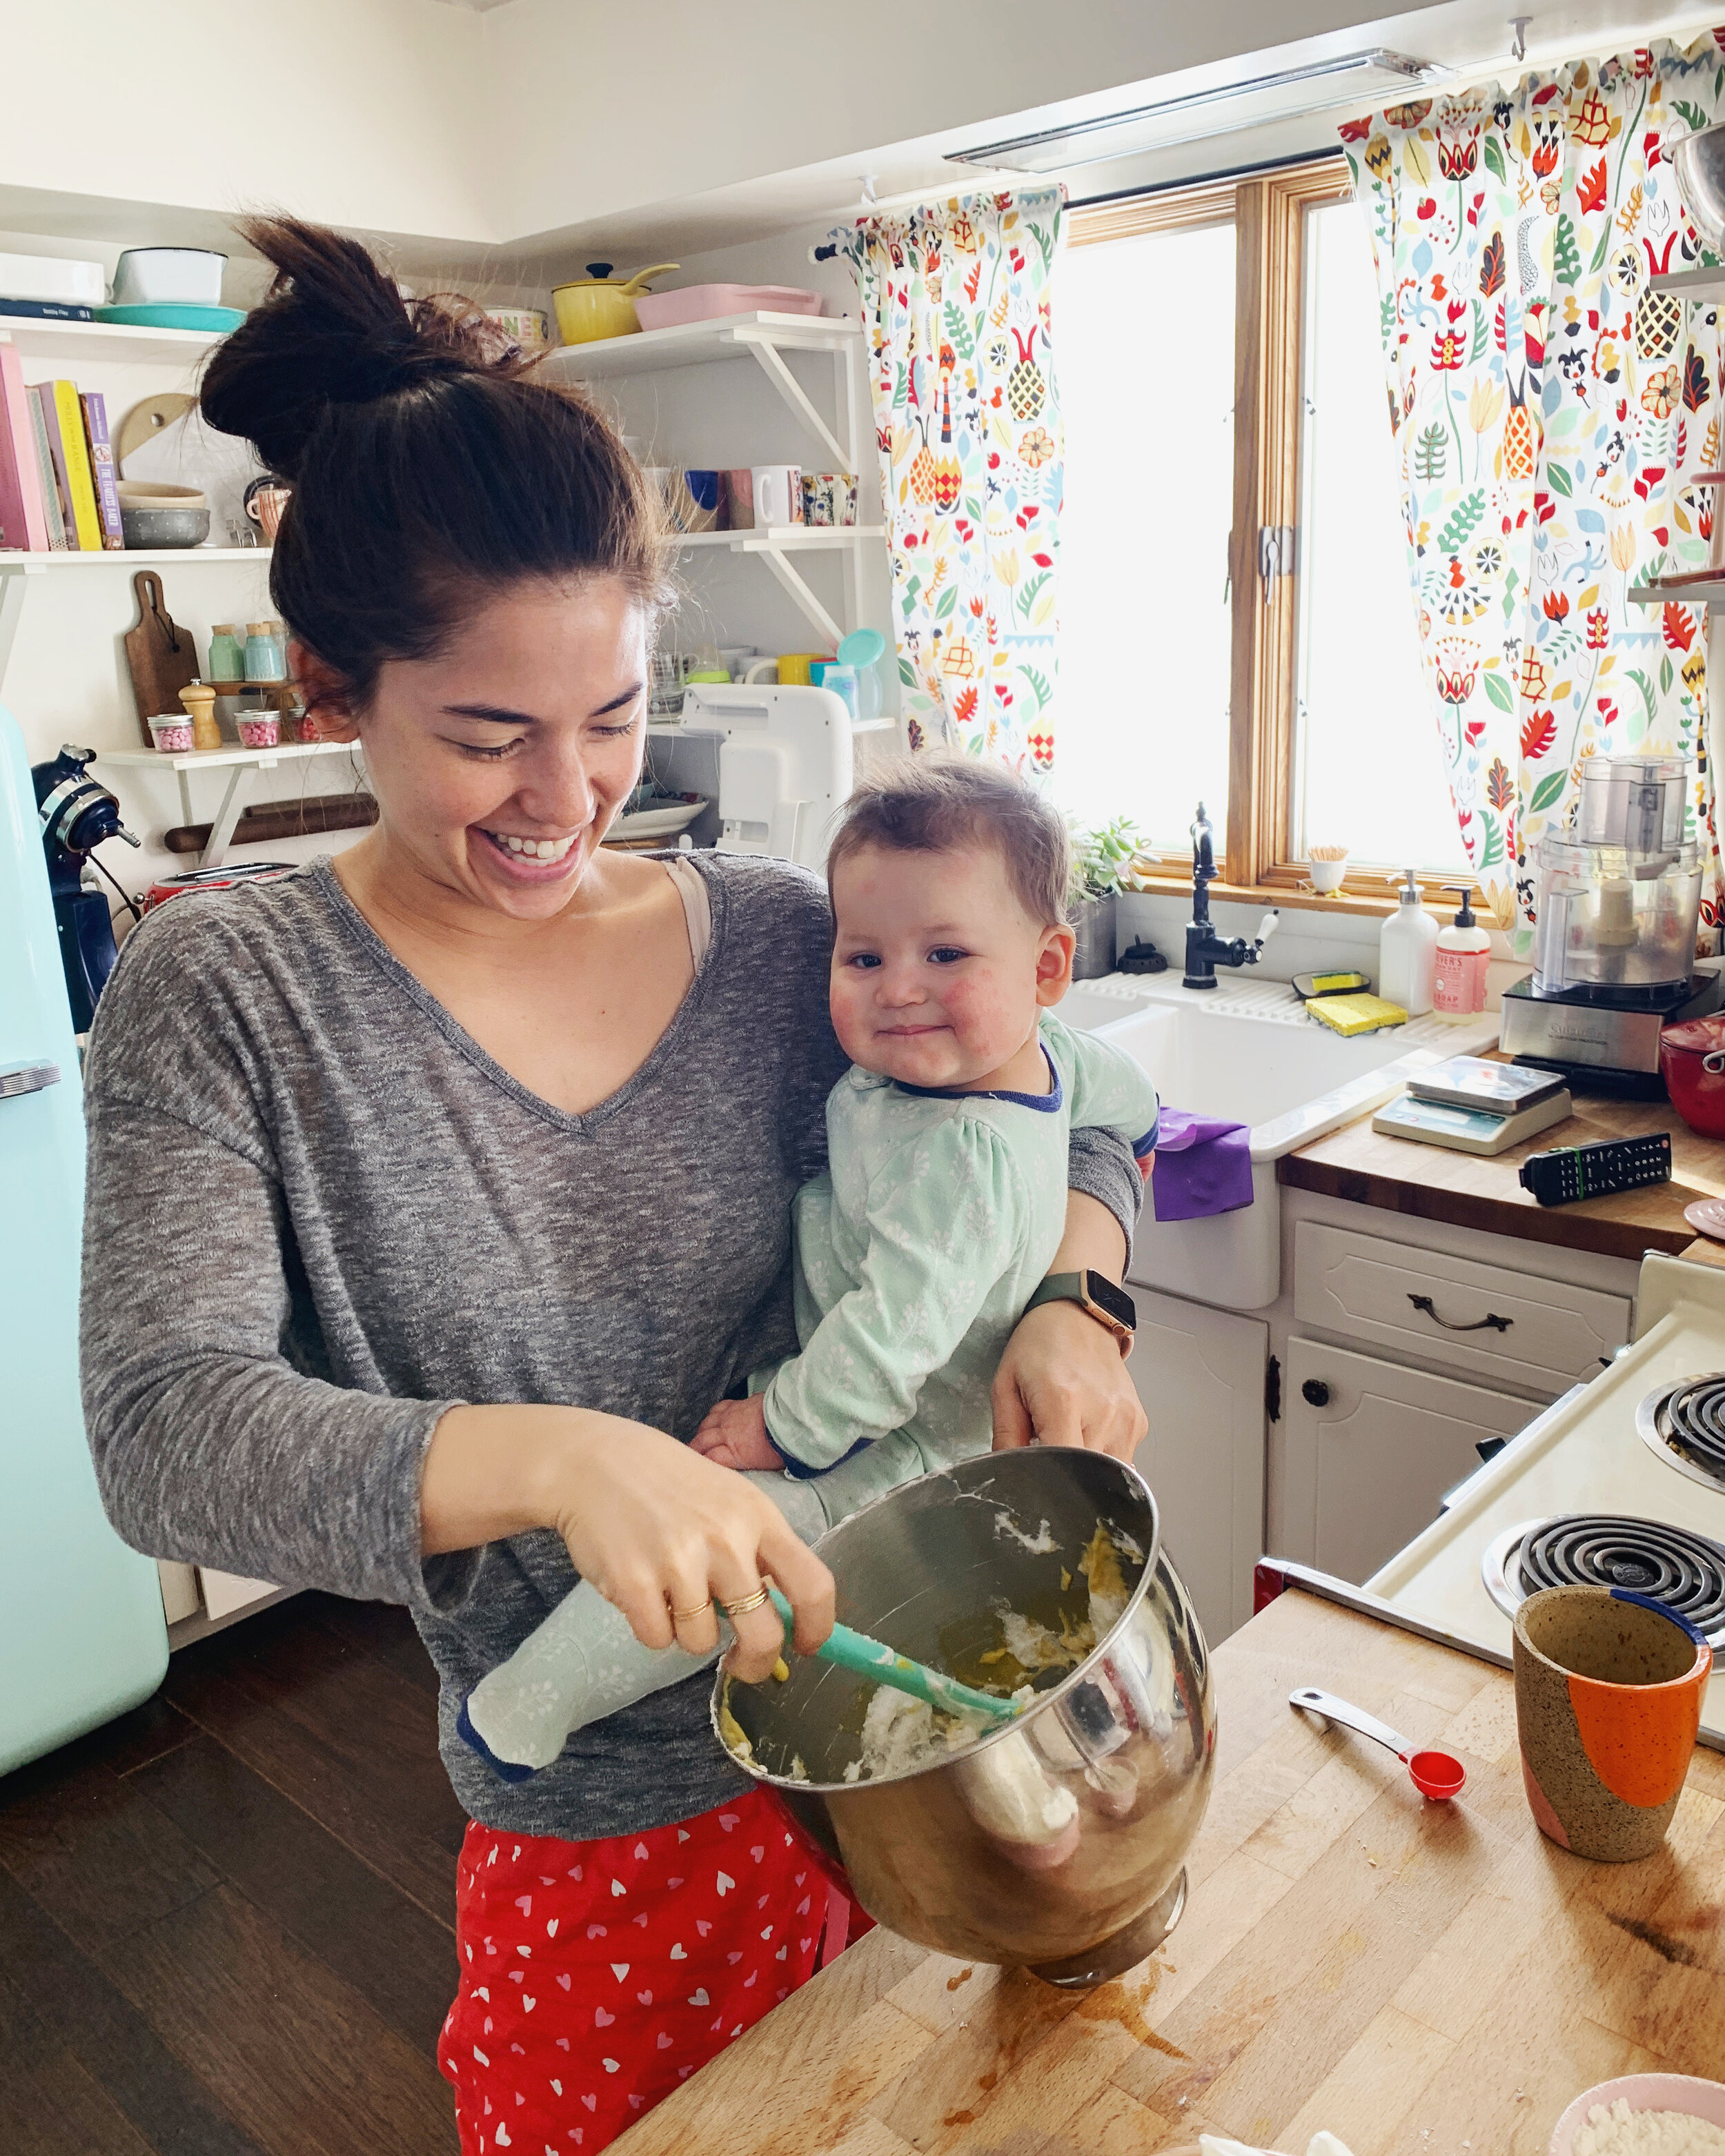
In the bowl of a stand mixer fitted with a paddle attachment (I usually just scoop the whites out of the bowl and transfer them to a separate bowl and then reuse my stand mixer bowl without having to wash it for this step), combine the almond paste and egg yolks and beat on high for 2 minutes until pale and fluffy (but allow some almond paste chunks to remain in tact), scraping down the sides of the bowl as needed. Mix in the vanilla and almond extract. Gently fold the whites into the yolk mixture and then fold in the flour mixture. Pour the batter into the pans, spread it out evenly with a spatula, and then bake until a toothpick inserted into the center comes out clean; begin checking for doneness at 20 minutes.

Cool in the pans on a rack for 10 minutes and then remove to the rack to cool fully.

To make the whipped cream, in the bowl of a stand mixer fitted with a whisk attachment, beat the heavy cream, powdered sugar, and almond extract to stiff peaks. Add a few drops of pink food coloring if desired.

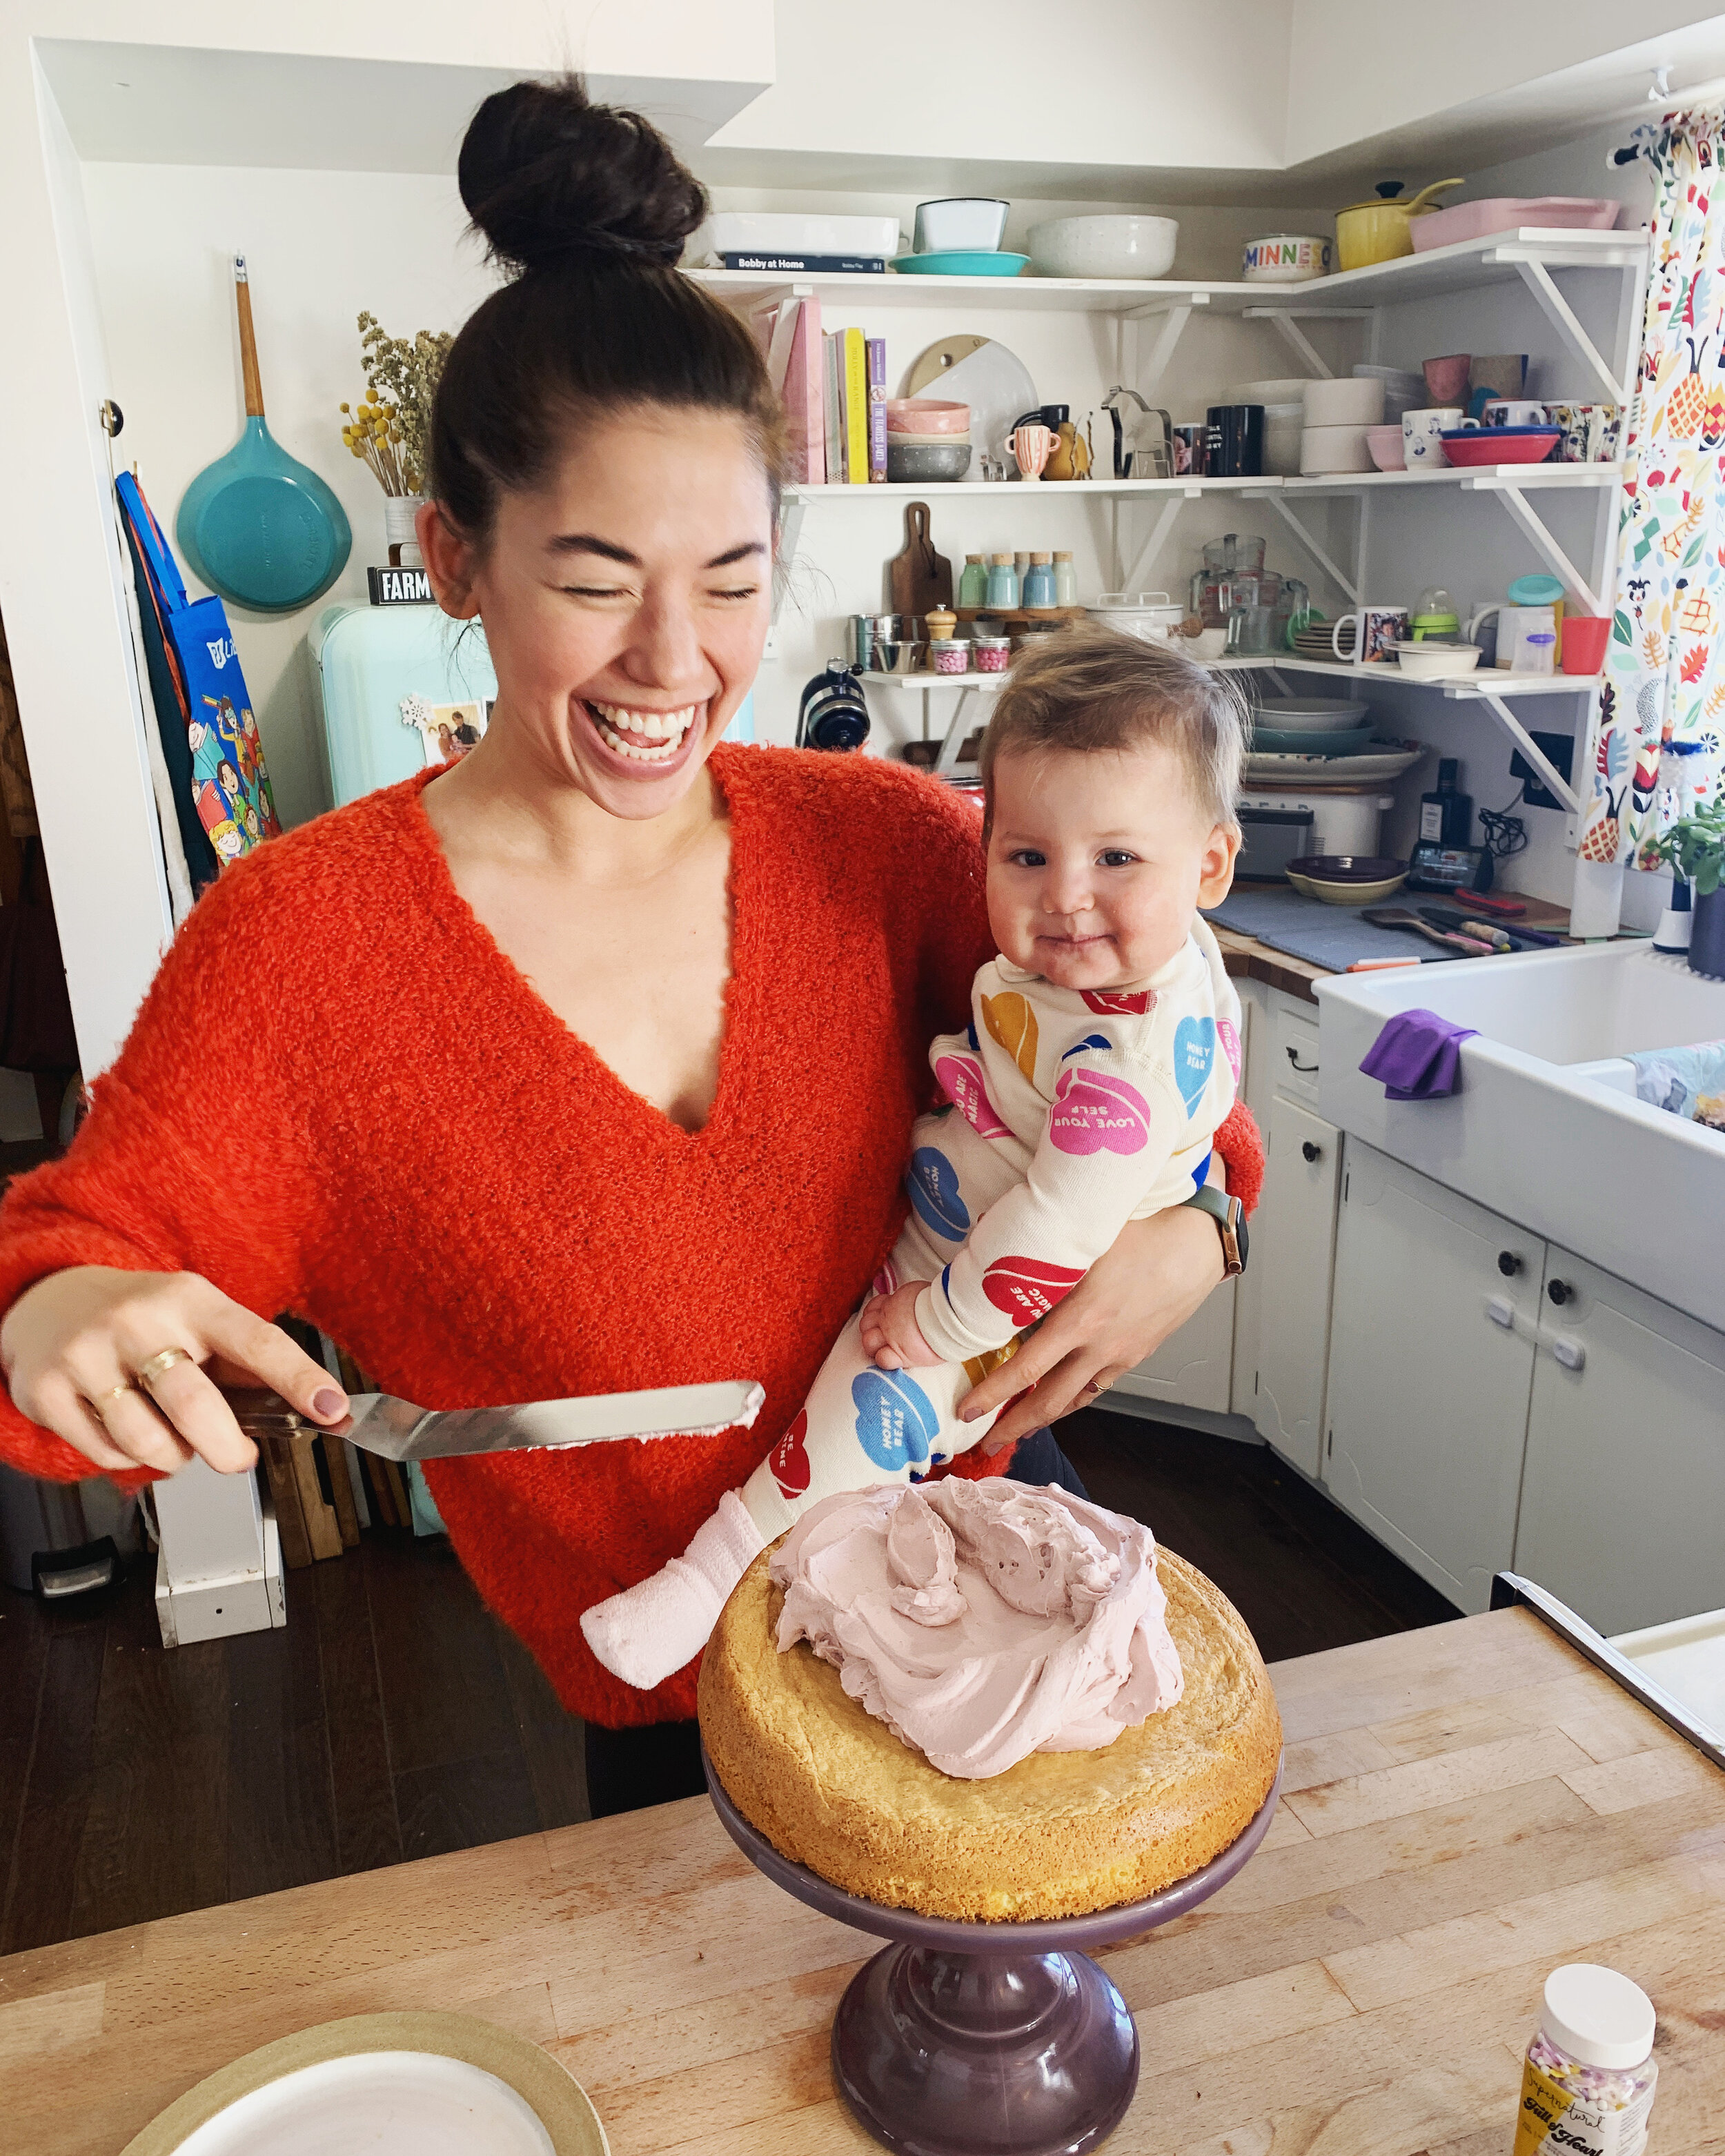
Stack up the layers with a thin layer of whipped cream between them and then frost all over with the remaining whipped cream. Decorate as desired with cookies, sprinkles, chocolate, etc., and enjoy!

Store decorated cake in the fridge until ready to serve. Leftovers can be stored in the fridge for up to a few days.


-yeh!

photos by chantell and brett!

valentine's day almond cake

After last year's Valentine's cake disaster, there were some things at stake: my pride, my confidence in my ability to carry on my family's decades old tradition, my craving for this almond cake which had only grown stronger after having to practically miss out on it last year. Sure, it wasn’t the worst Valentine’s day situation there ever was (that’s what boys are for! hahaha, jkjk Eggboy), and sure I’d recovered from effed up Valentine’s cakes in the past, but gosh geez I just really wanted to make a fun pretty cake and once again justify my annual Valentine’s day candy aisle raid. 

My friend Randi asked me how I get through the winters up here. Usually when someone asks me that my knee jerk reaction is similar to how some people go gaga over the ~summer~ and that whole summer afternoon—summer afternoon; to me those have always been the two most beautiful words in the English language Henry James mushy shit. My version of that is WINTER EVENING! WINTER EVENING! GOIN TO BED @ 8, F YEAH! But *I* will even admit that this winter has been particularly nutso bonkers extreme stir crazy-ish and there were some mornings when I woke up with a hint of that dragging feeling that I’d wake up with in Januaries during college when I’d have to put on clothes and go to orchestra rehearsal and sit through three hours of Alfred Schnittke. 

So I threw even more weight behind Valentine’s Day. And decided that’s just what I’m going to do from now on anytime I have a winter blue and don’t have the option of weekending in Hawaii. I put out all of our red mugs, our heart shaped cocotte, the red tea pot, etc., and day dreamed endlessly about my cake. 

I knew I wanted to use this opportunity to get a cake ring and acetate and make a milk bar-inspired cake. But past that I was stumped. Should it have a border? Should there be lovey dovey animals on it? Should I add a couple of roses? I spent weeks looking for inspiration and nothing felt right. 

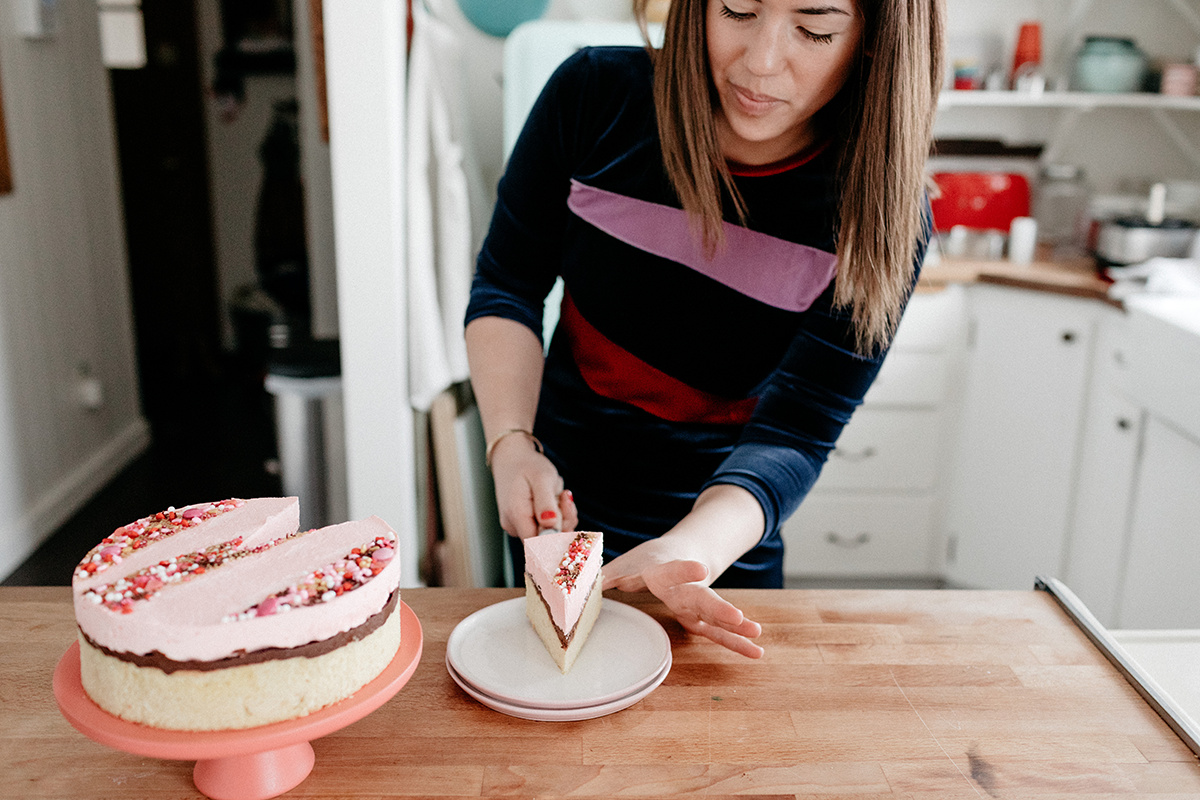
Until this dress arrived from Carleen

Kelsy, the designer, is a friend of a friend and she makes the coolest clothes, some are made out of reclaimed quilts, and they are all so lovable and unique. Valentine-y red has never been my color but I am so into the idea of a navy blue valentine sitch with just some red and purple. Navy is my color this year.

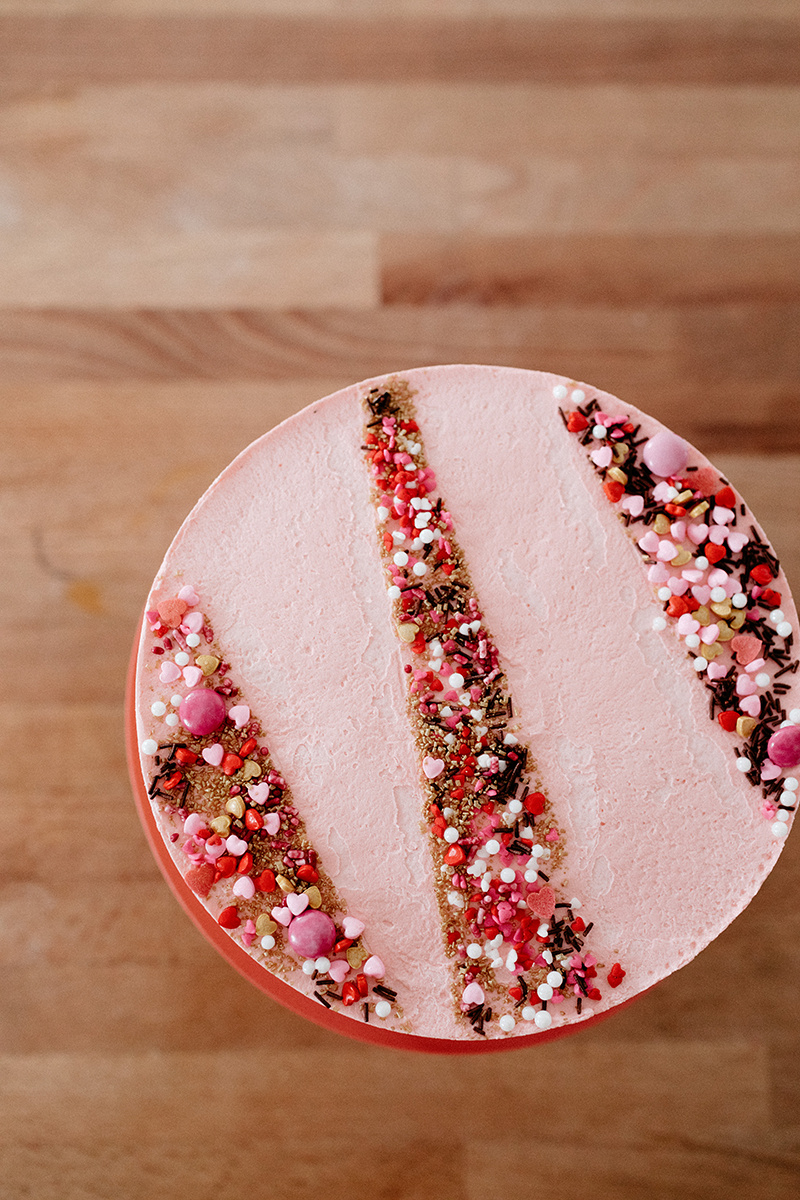
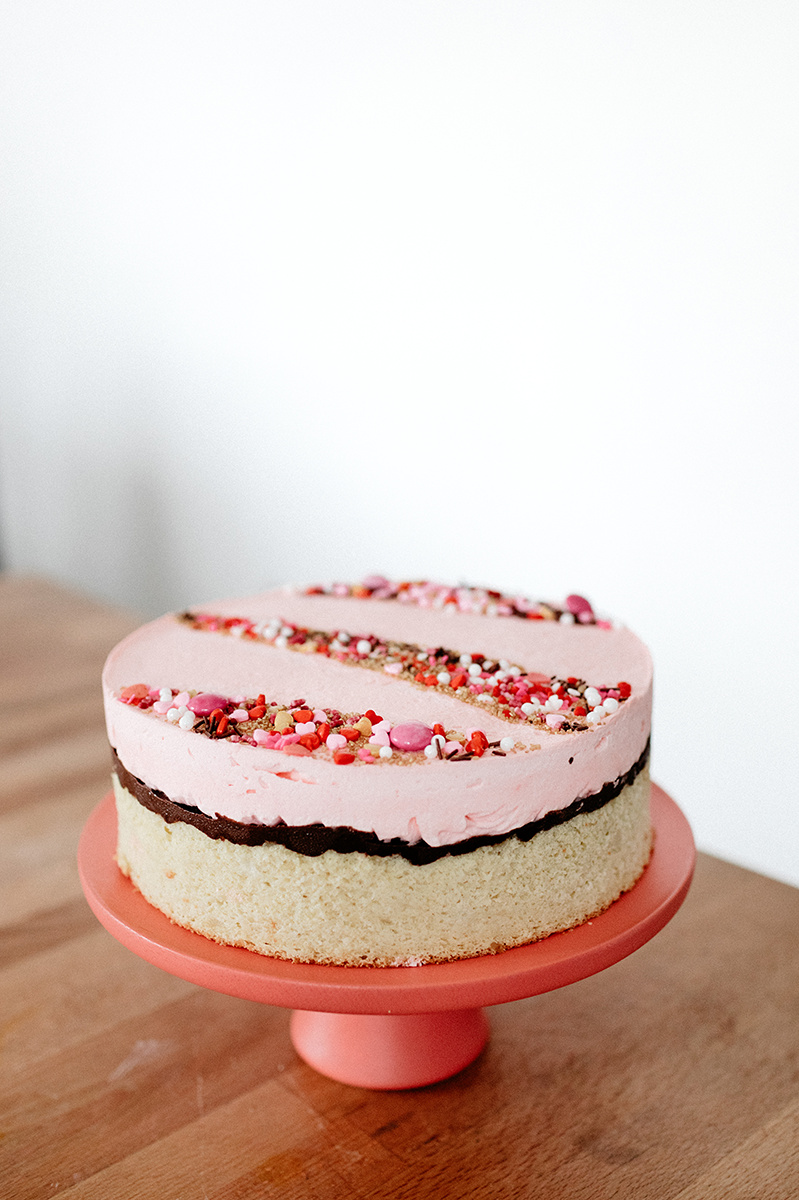
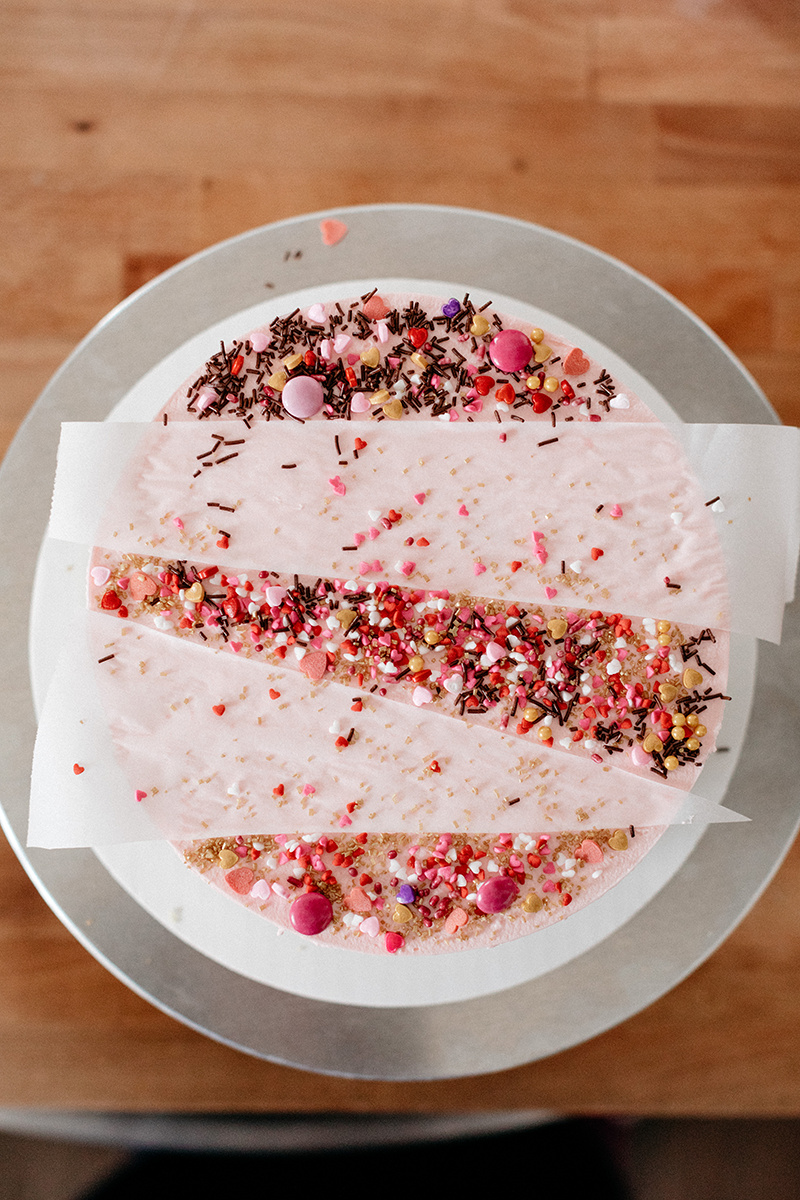
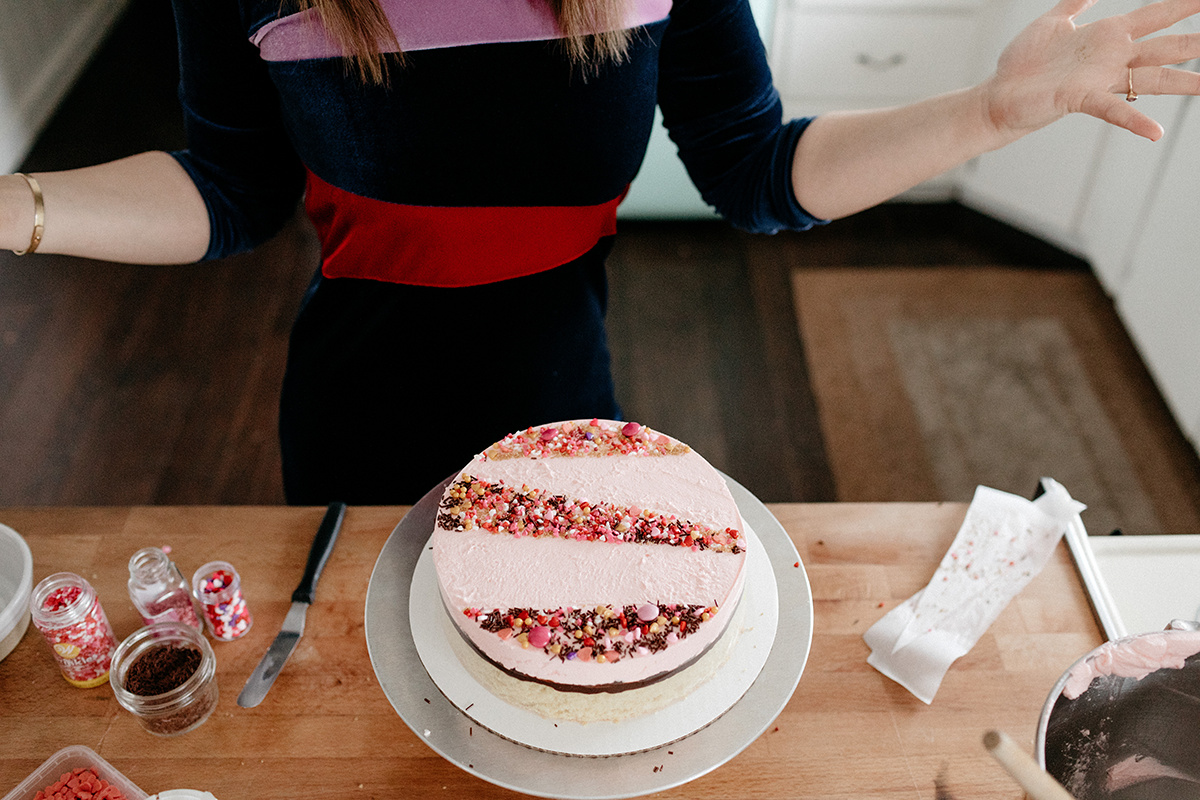
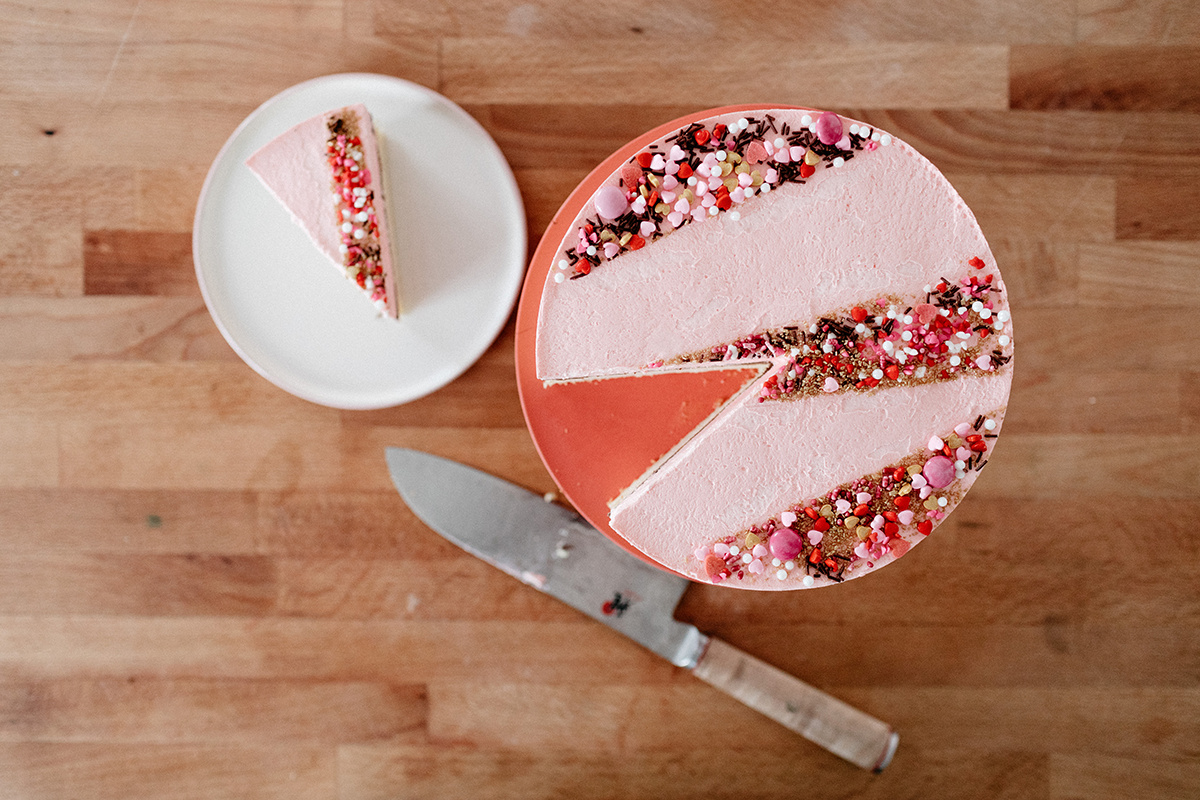
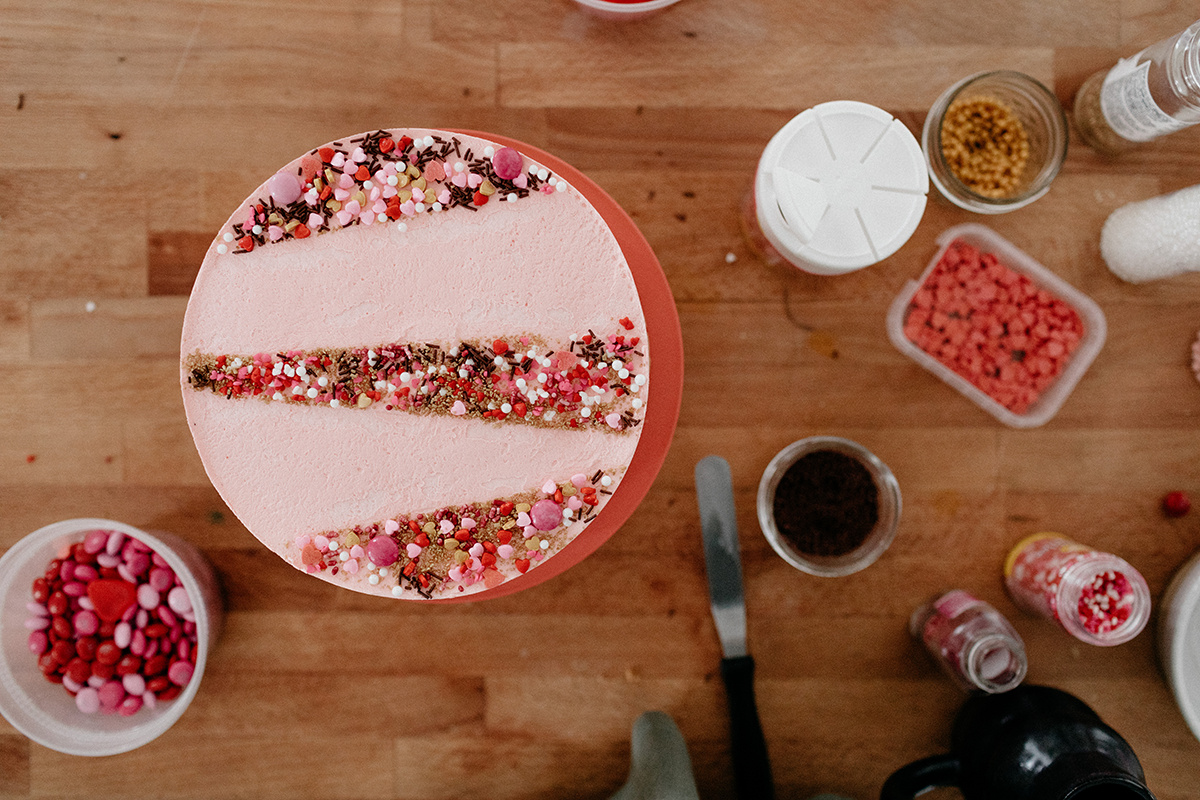
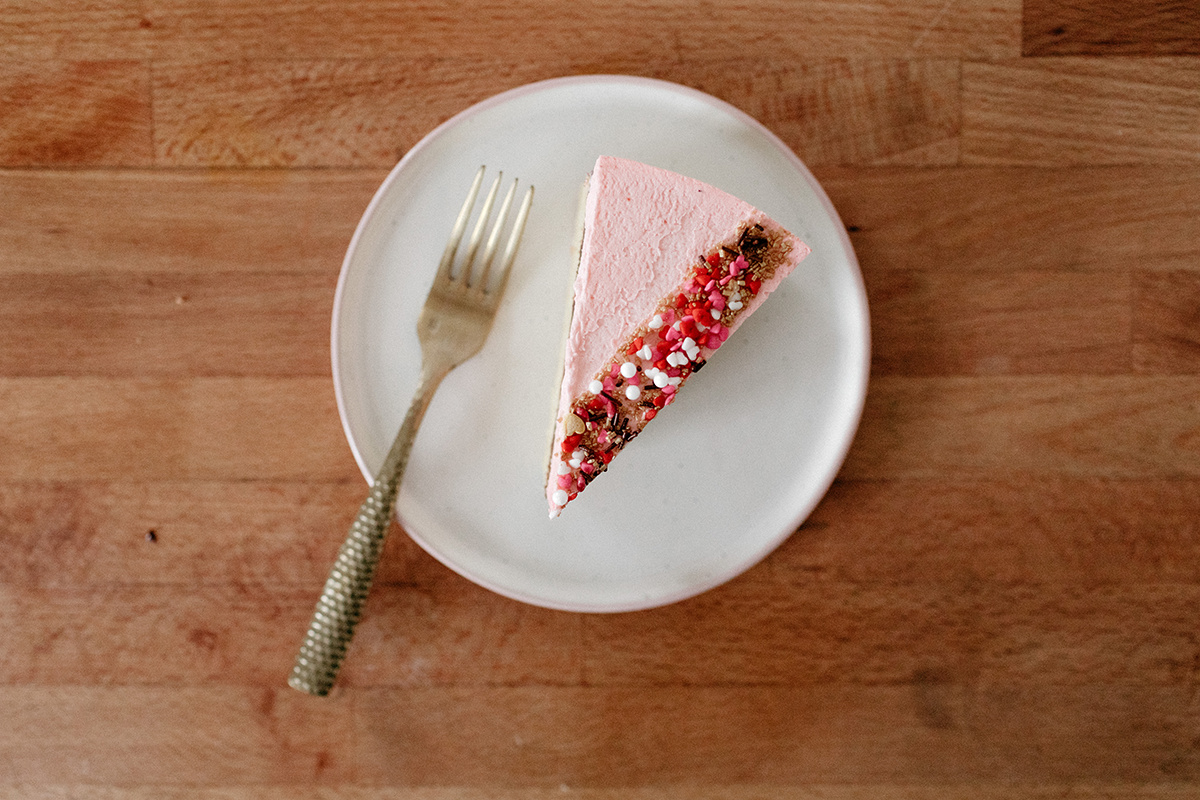
Anyway, so I drew from the pattern of the colors on this dress and used it as the inspiration for the sprinkle design on this cake. I used every sprinkle in my valentine’s day sprinkle collection and my 90s sand art training, and it was the most fun ever. The abundance of sprinkles added nice crunch. 

I was satisfied. I was also satisfied by the texture of the almond sponge cake. The more I think about it the more I think I over-beat last year’s yolks, not just the egg whites, which is why it was dry. One key is to not beat the yolks and the almond paste into such oblivion that the almond paste chunks disappear. You want some chunks because they’re good! They prevent the cake from being a sad dry one-dimensional thing. 

That’s all.

Ok, have a gander at Valentine’s day cakes through history: 2017's, 2016's2015's, 2014’s, 2013’s, 2012’s, 2011’s, and 2010’s.

And get to it.

Happy Valentine's Day!!!!! 


valentine's day almond cake

serves 10-12

ingredients

cake:

1/2 c (64g) all-purpose flour
1 tsp baking powder
8 oz almond paste
6 large eggs, separated
1/2 tsp kosher salt
1/2 c (100g) sugar
1 tsp vanilla extract
1/2 tsp almond extract

chocolate ganache:

5 oz semisweet or dark chocolate chips

1/4 c (60g) heavy whipping cream

whipped cream:

1 1/2 c (360g) heavy whipping cream
1/2 c (60g) powdered sugar
1 tsp almond extract

pink food coloring, optional

assembly:
sprinkles of all sorts

clues

Preheat the oven to 350ºF. Grease and line the bottom of a 9” springform pan and set aside.

In a small bowl, whisk together the flour and baking powder.

In the bowl of a stand mixer fitted with a whisk attachment, beat the egg whites and salt to soft peaks and then gradually beat in the sugar, about 1 tablespoon at a time. Continue beating to stiff peaks and then set aside.

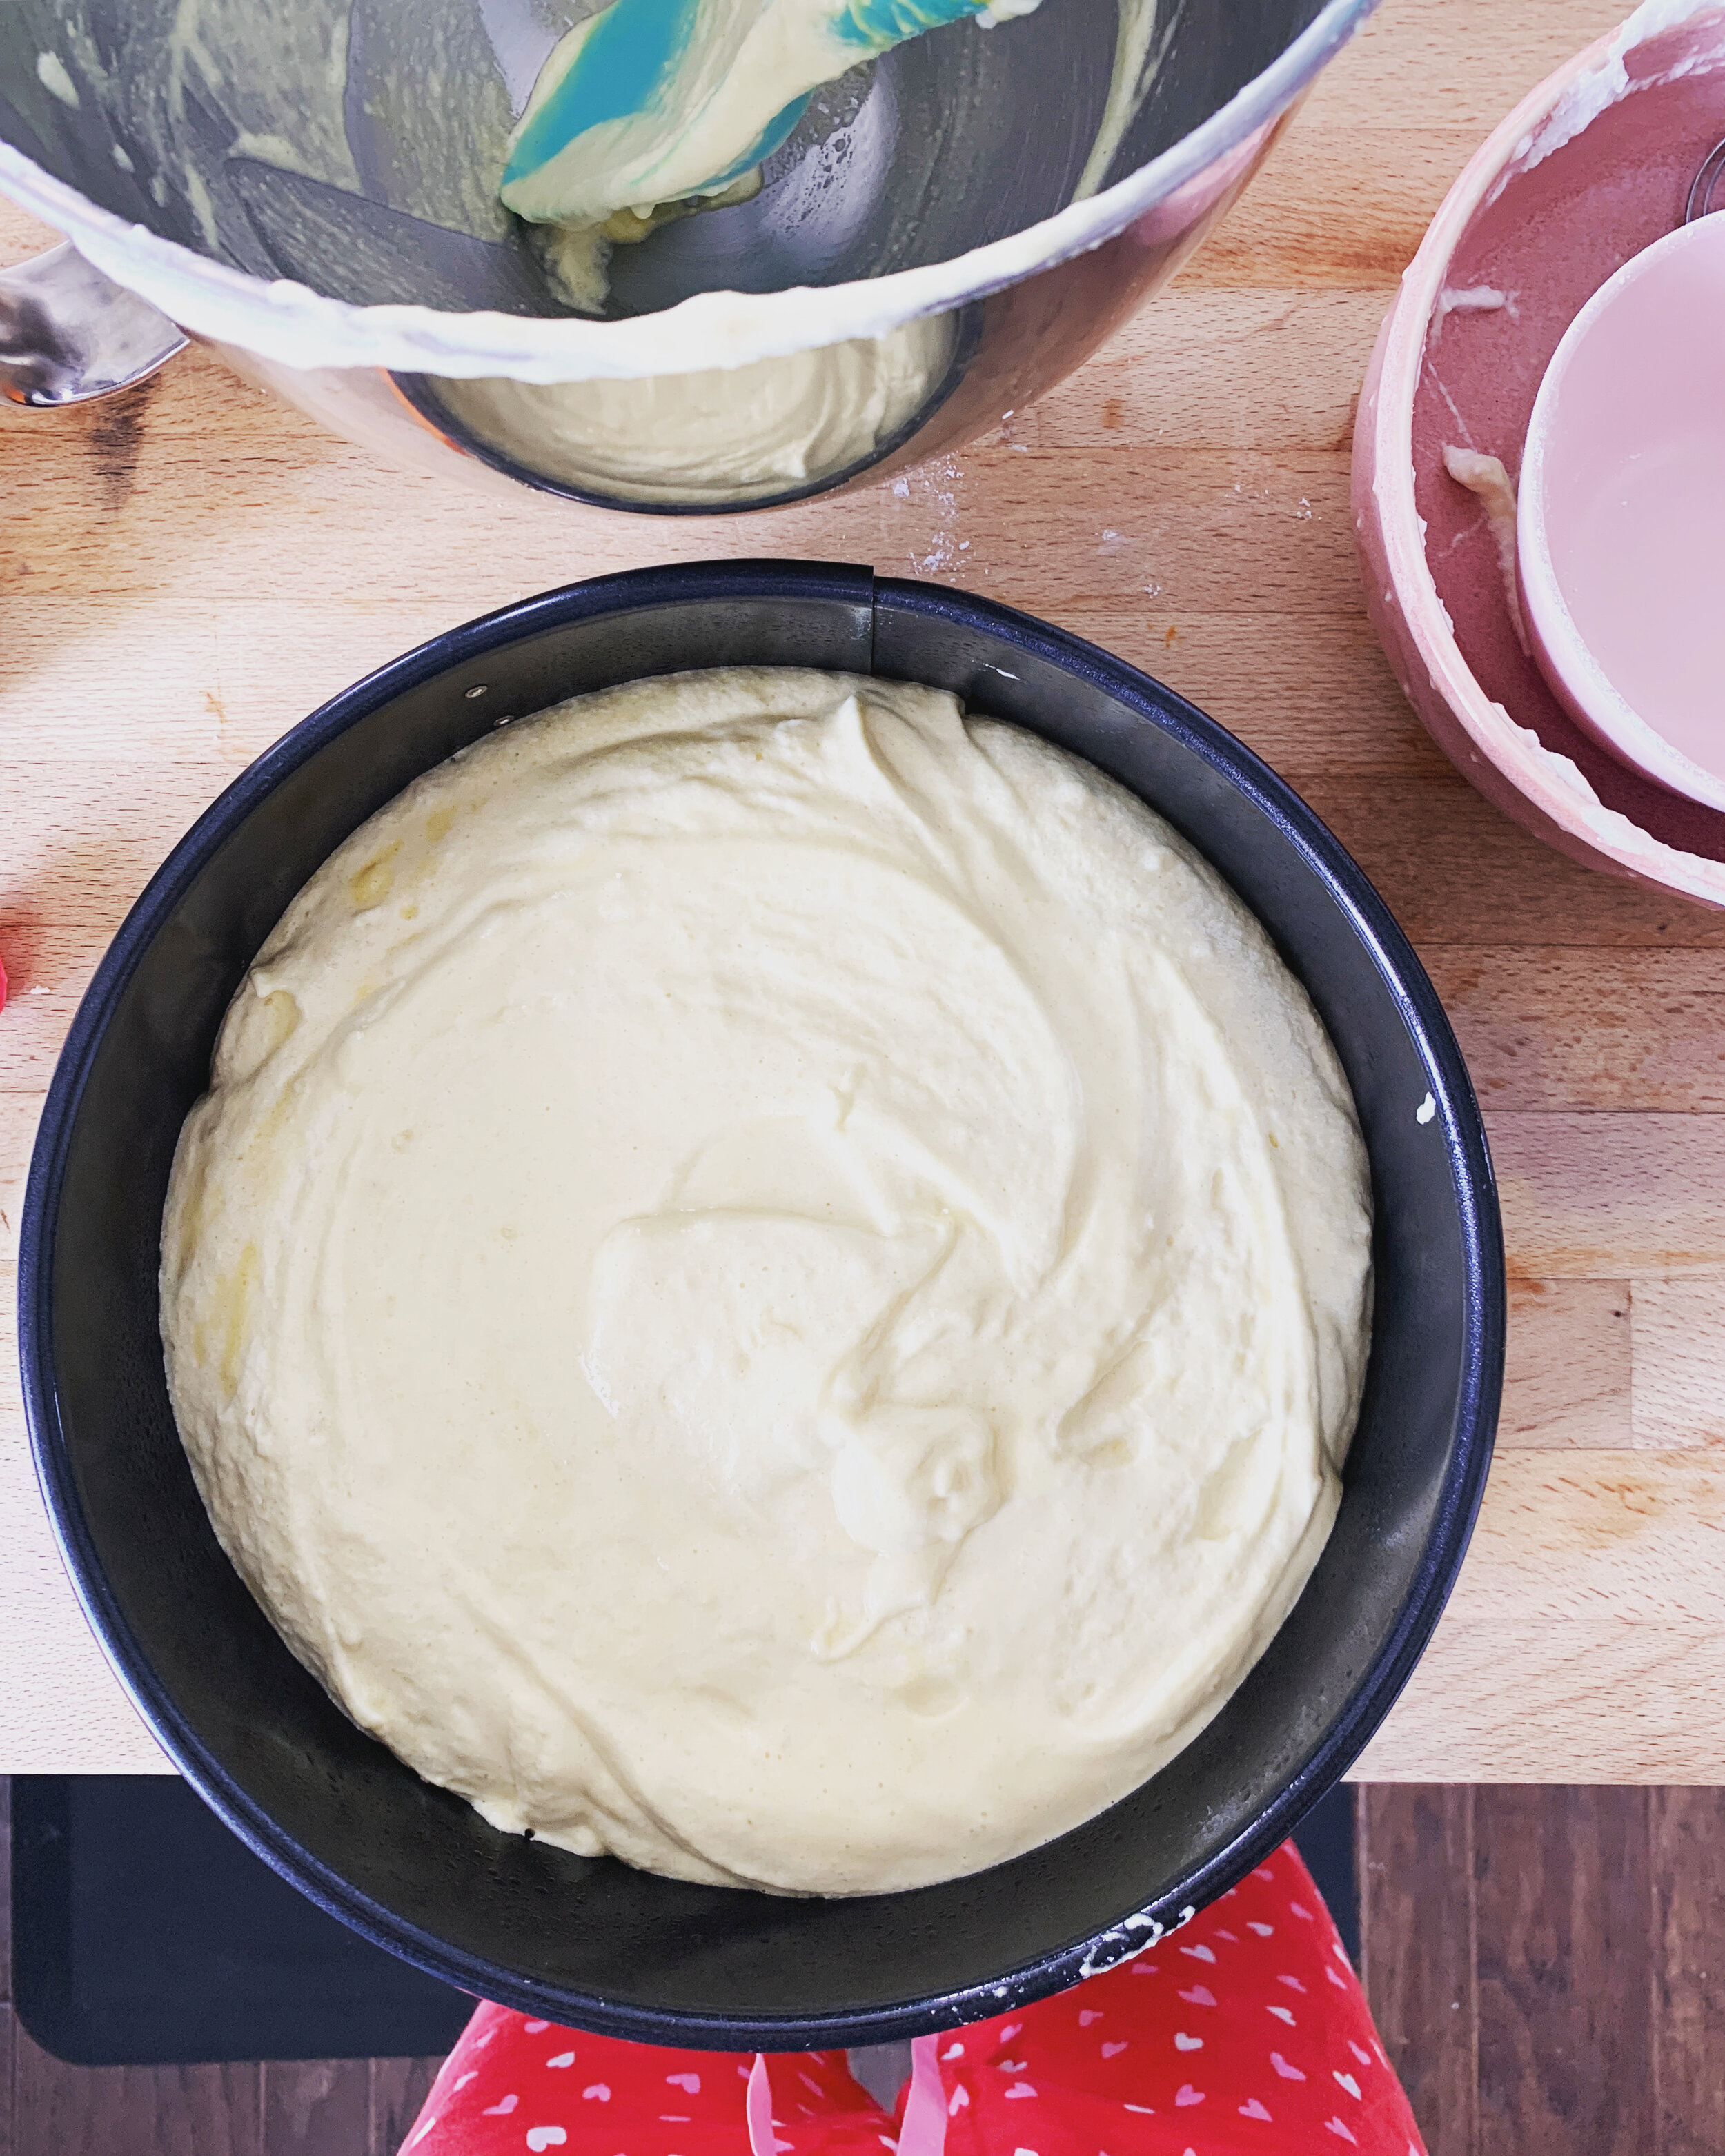
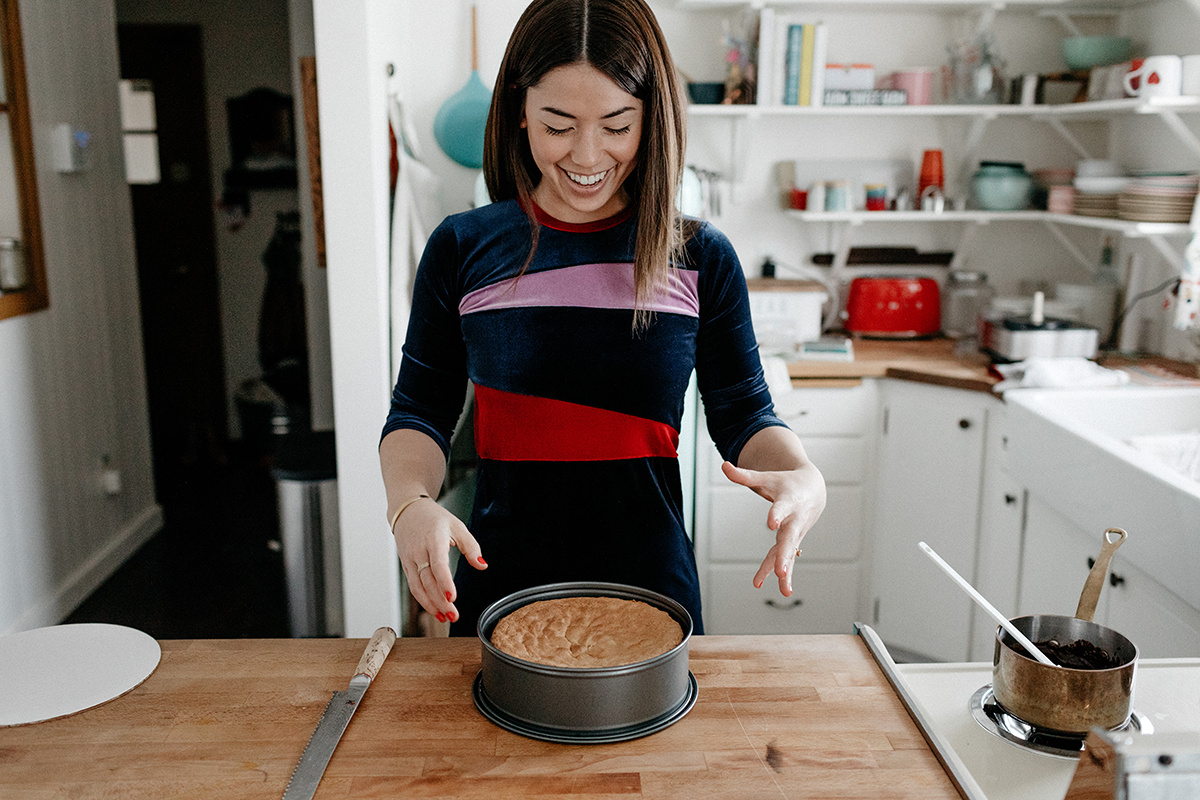
In the bowl of a stand mixer fitted with a paddle attachment (I usually just scoop the whites out of the bowl and transfer them to a separate bowl and then reuse my stand mixer bowl without having to wash it for this step), combine the almond paste and egg yolks and beat on high for 2 minutes until pale and fluffy (but allow some almond paste chunks to remain in tact), scraping down the sides of the bowl as needed. Mix in the vanilla and almond extract. Gently fold the whites into the yolk mixture and then fold in the flour mixture. Pour the batter into the pan and then bake until a toothpick inserted into the center comes out clean. Begin checking for doneness at 30 minutes.

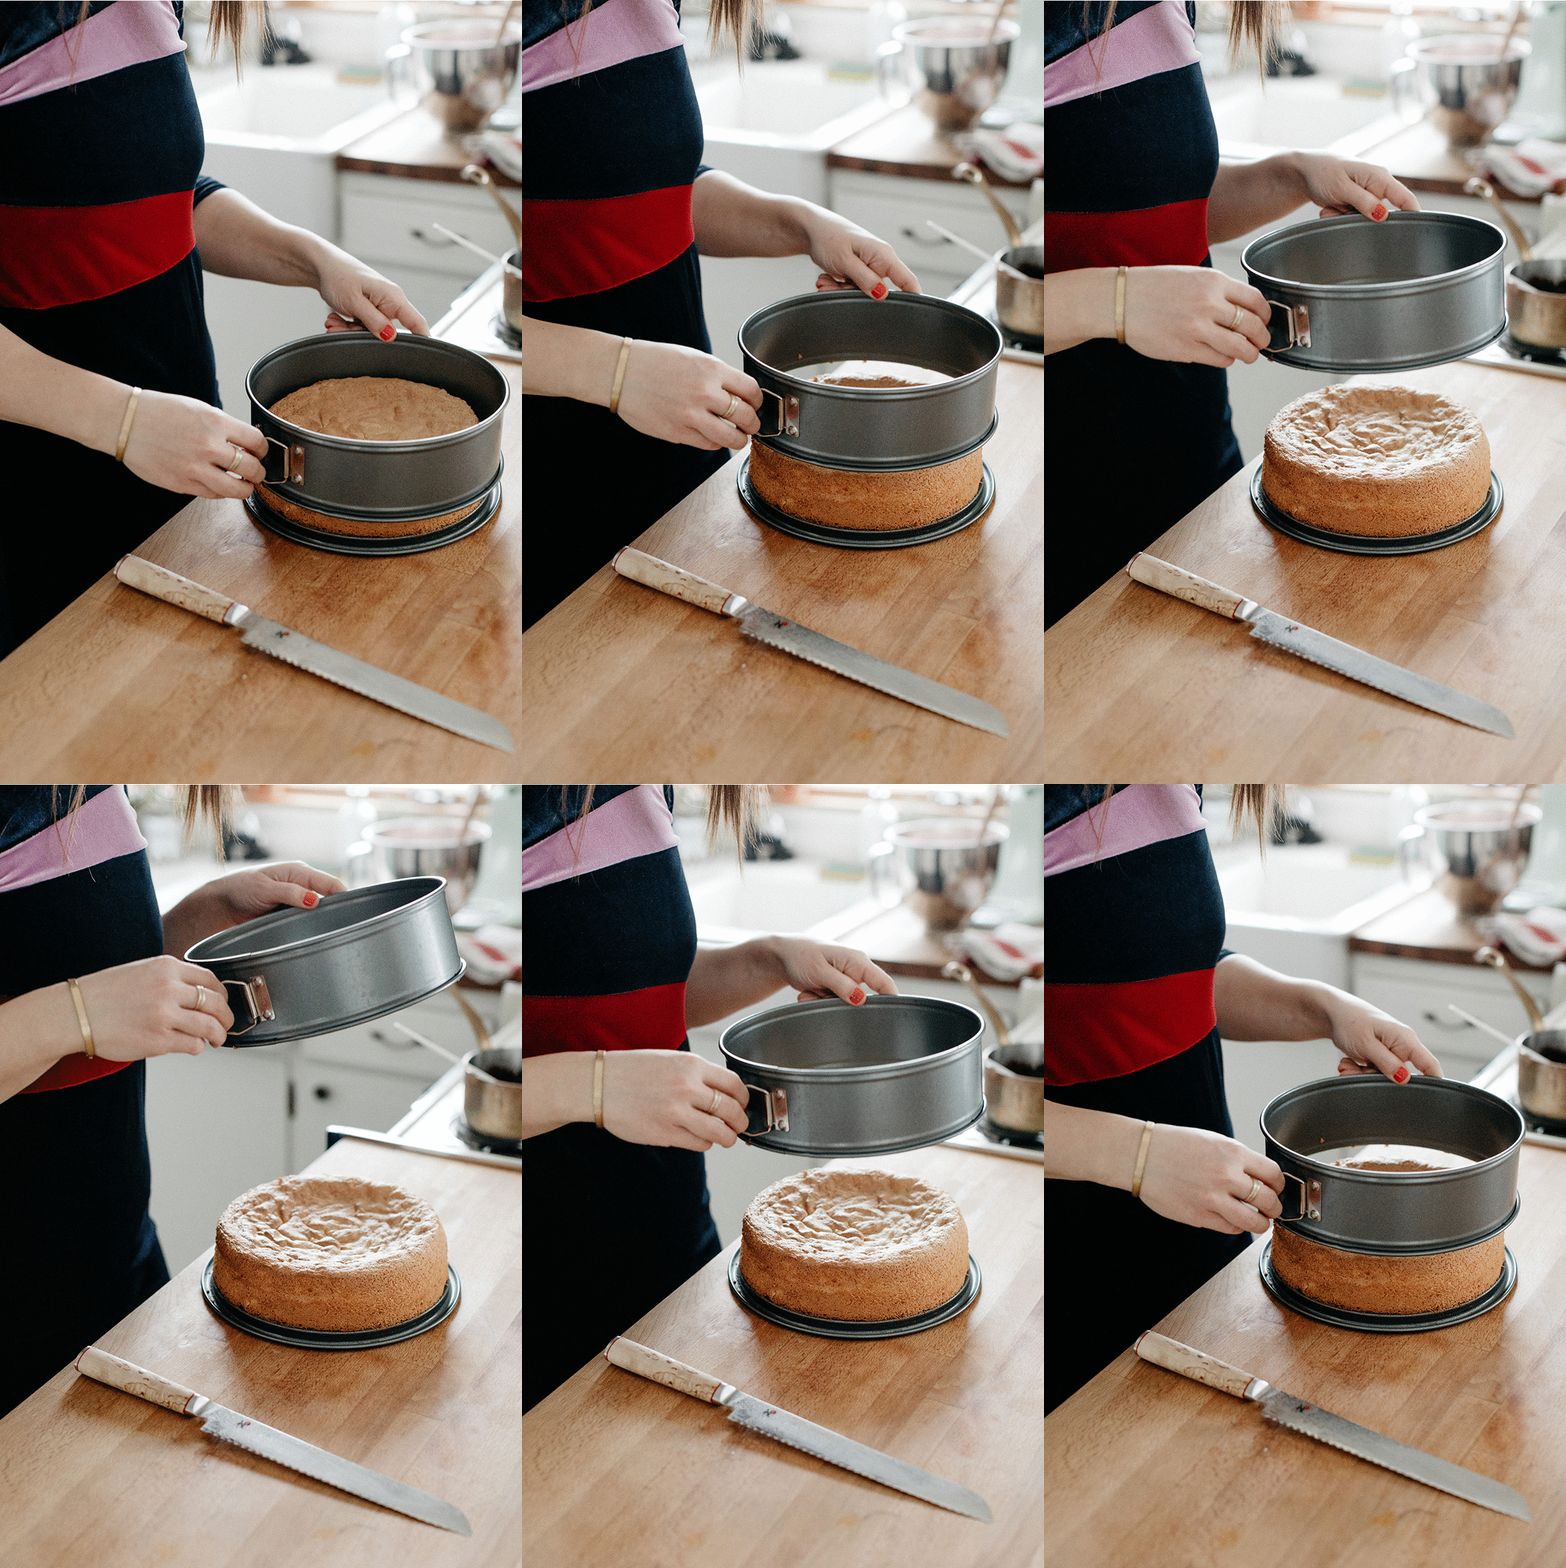
Cool in the pan on a rack for 10 minutes and then remove to the rack to cool fully.

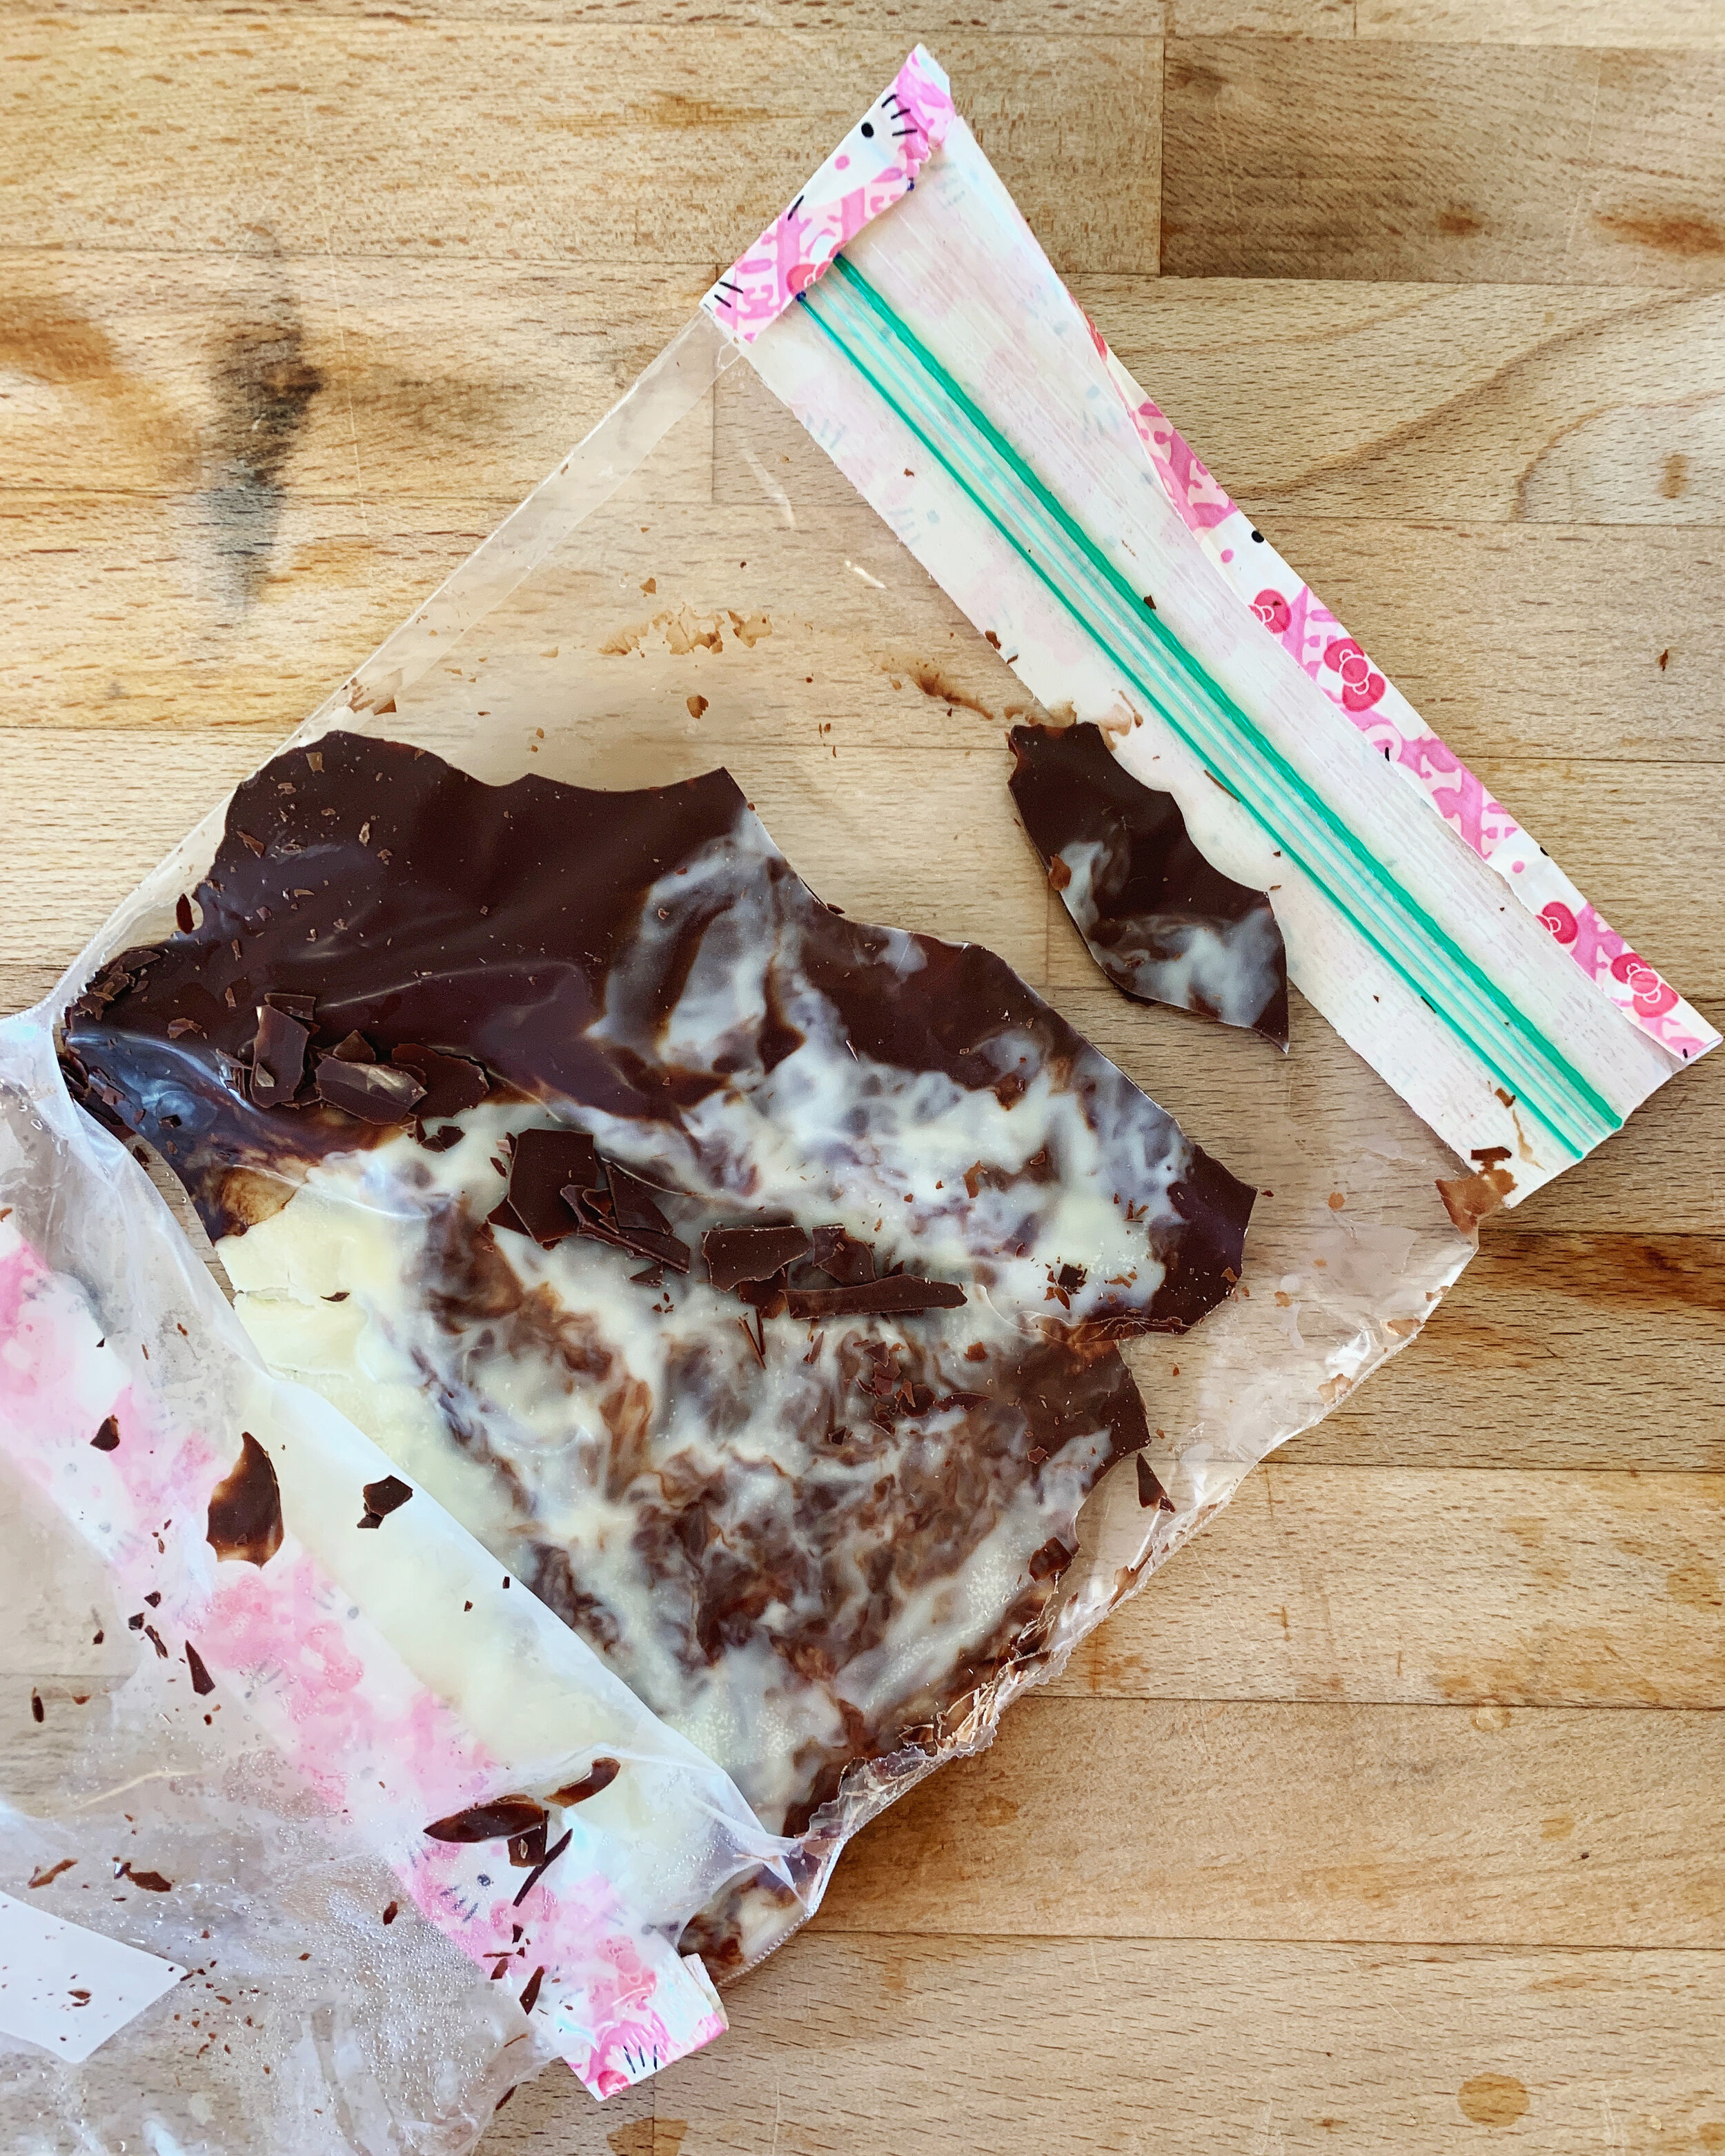
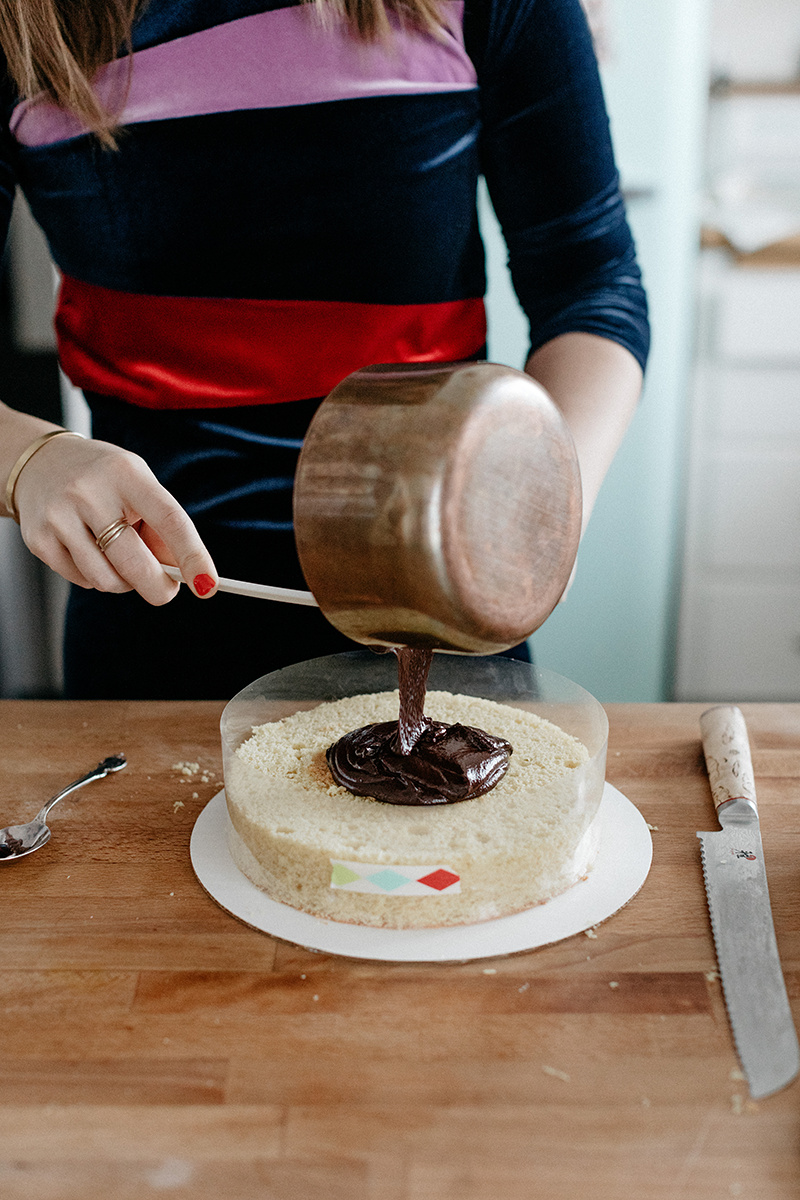
To make the ganache, combine the chocolate chips and heavy cream in a saucepan and heat over medium low, stirring continuously until melted.

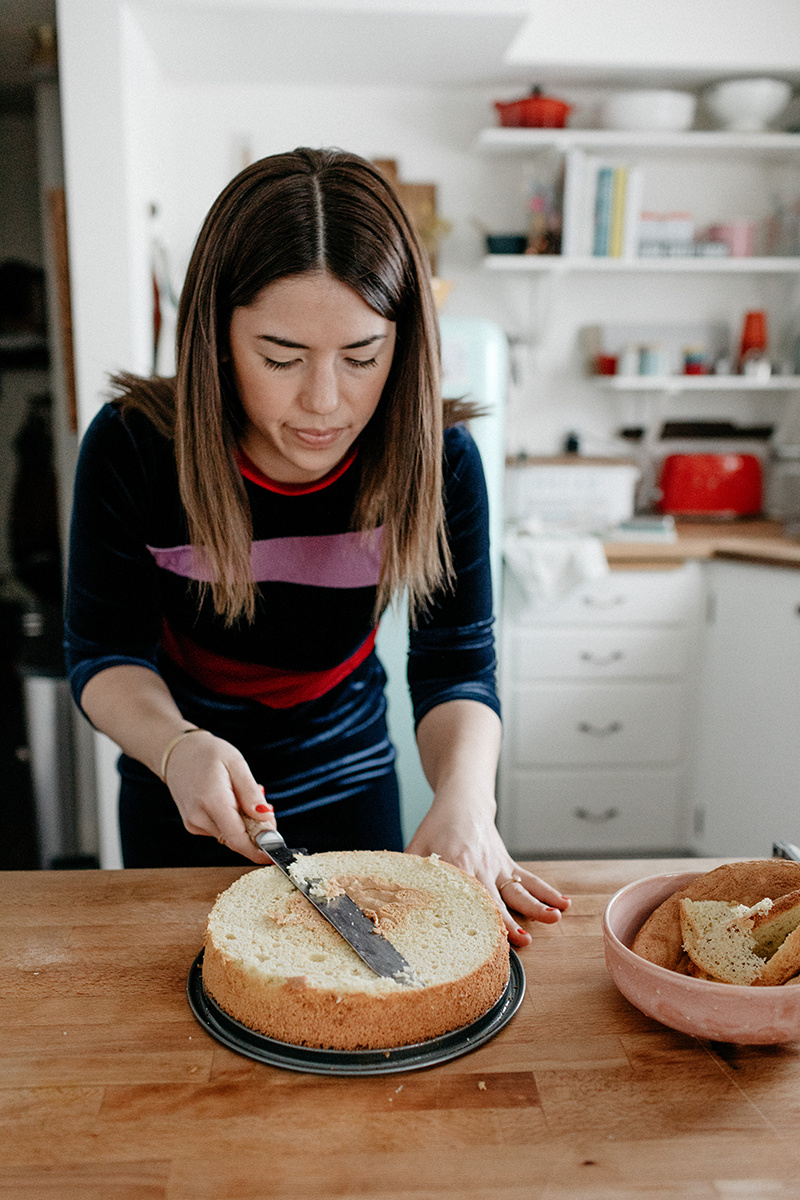
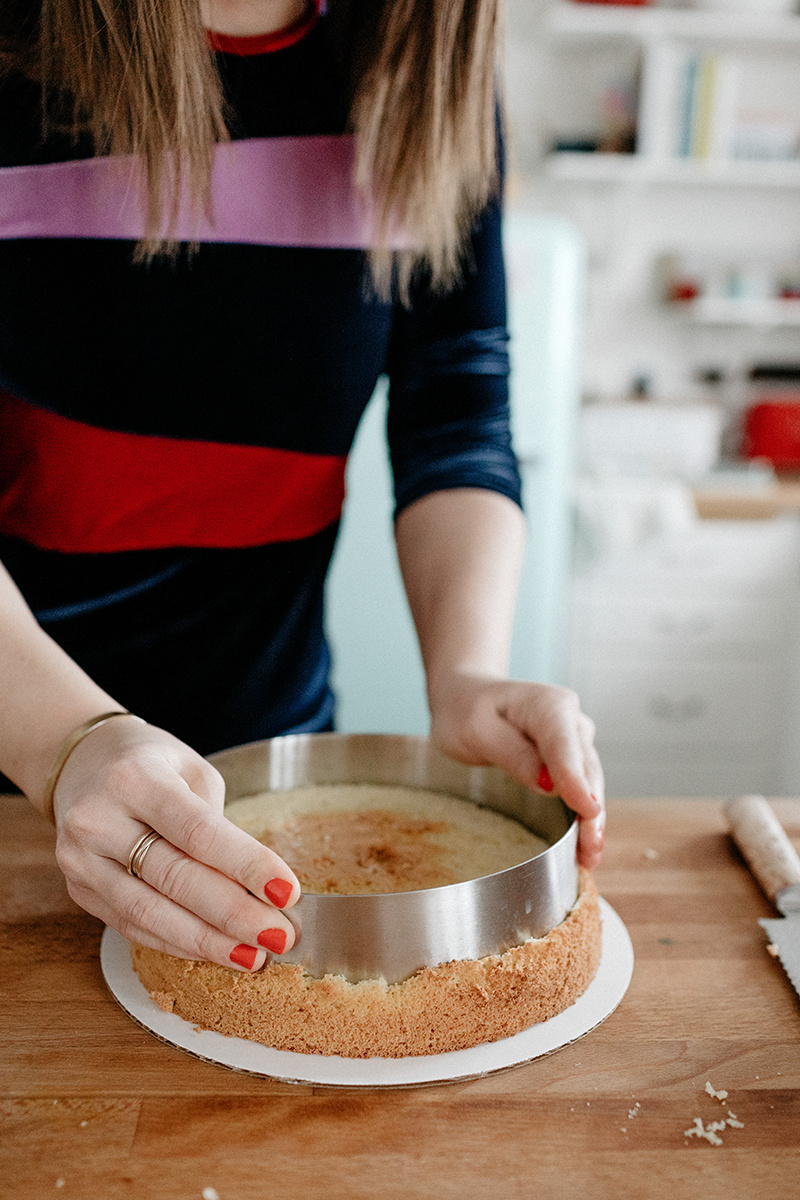
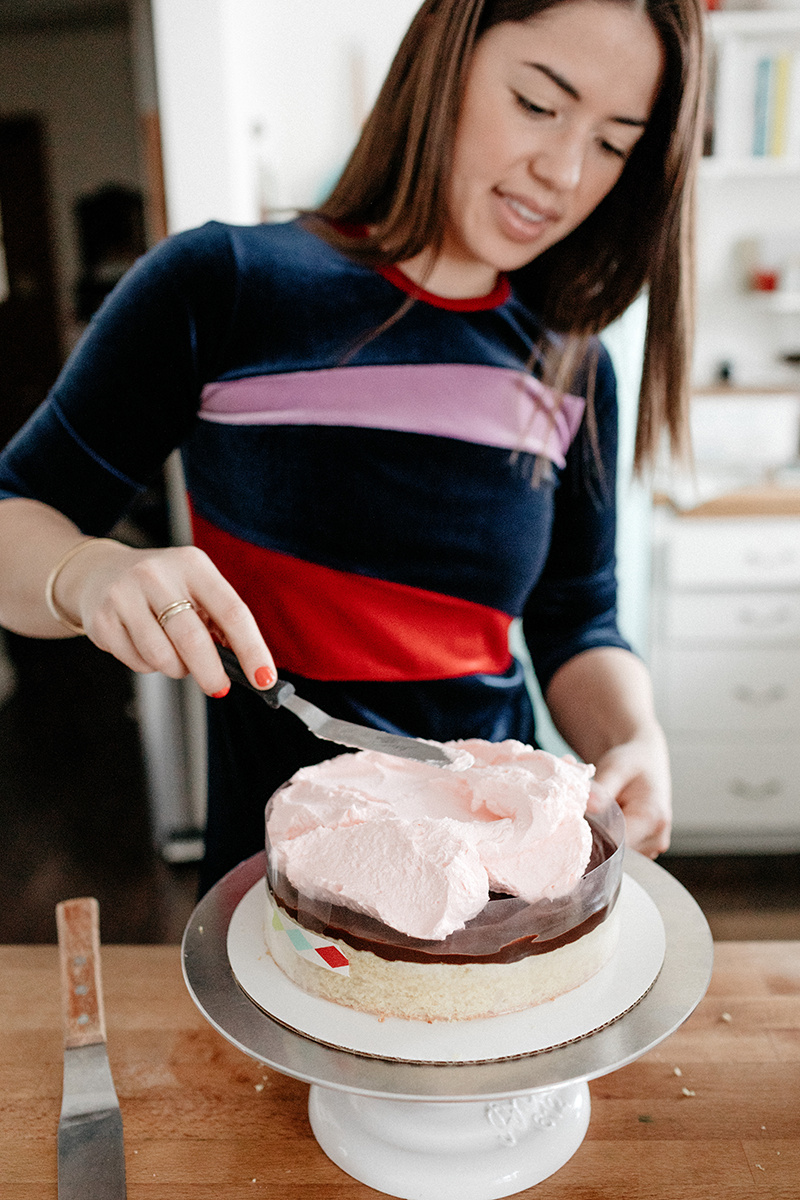
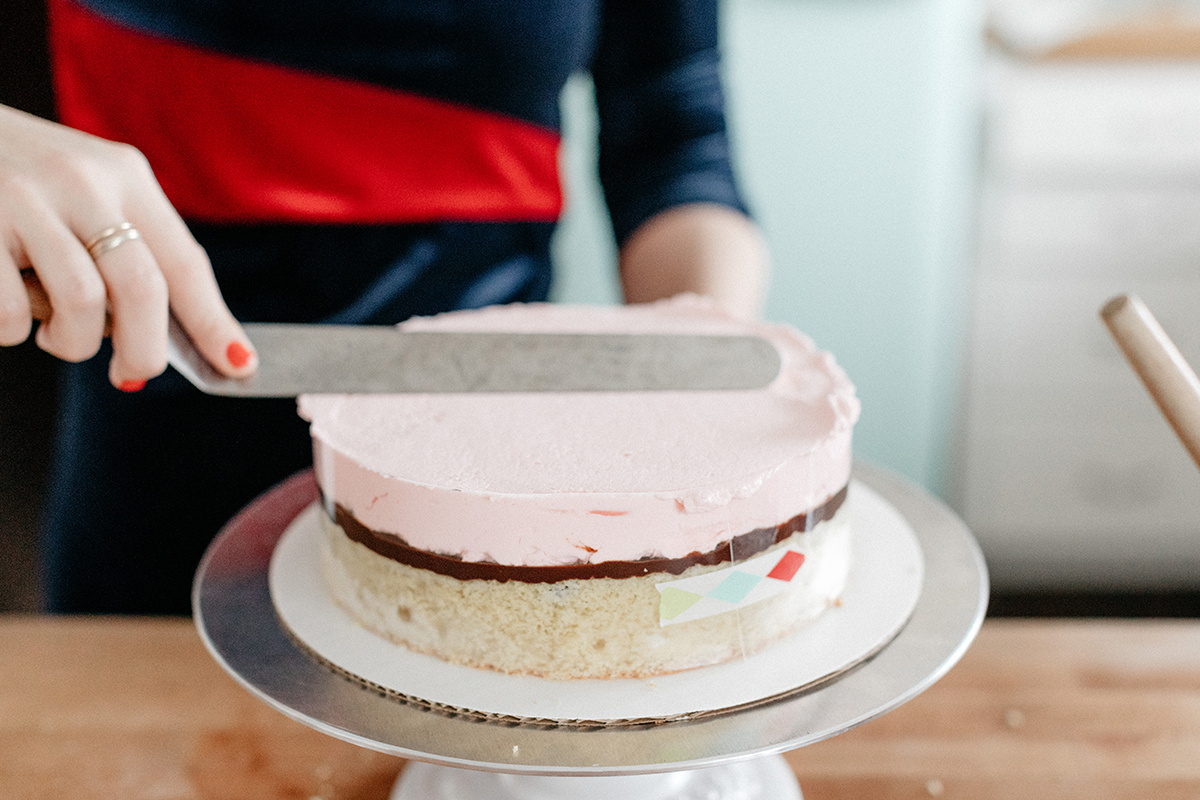
At this point you can refer to the photos above and use a cake ring and acetate to help decorate your cake, or you can just pour the ganache right over the cake. Let it cool in the fridge or freezer until it's no longer hot (it doesn't need to be totally firm) and then you can go onto the whipped cream step.

To make the whipped cream, in the bowl of a stand mixer fitted with a whisk attachment, beat the heavy cream, powdered sugar, and almond extract to stiff peaks. Add a few drops of pink food coloring if desired.

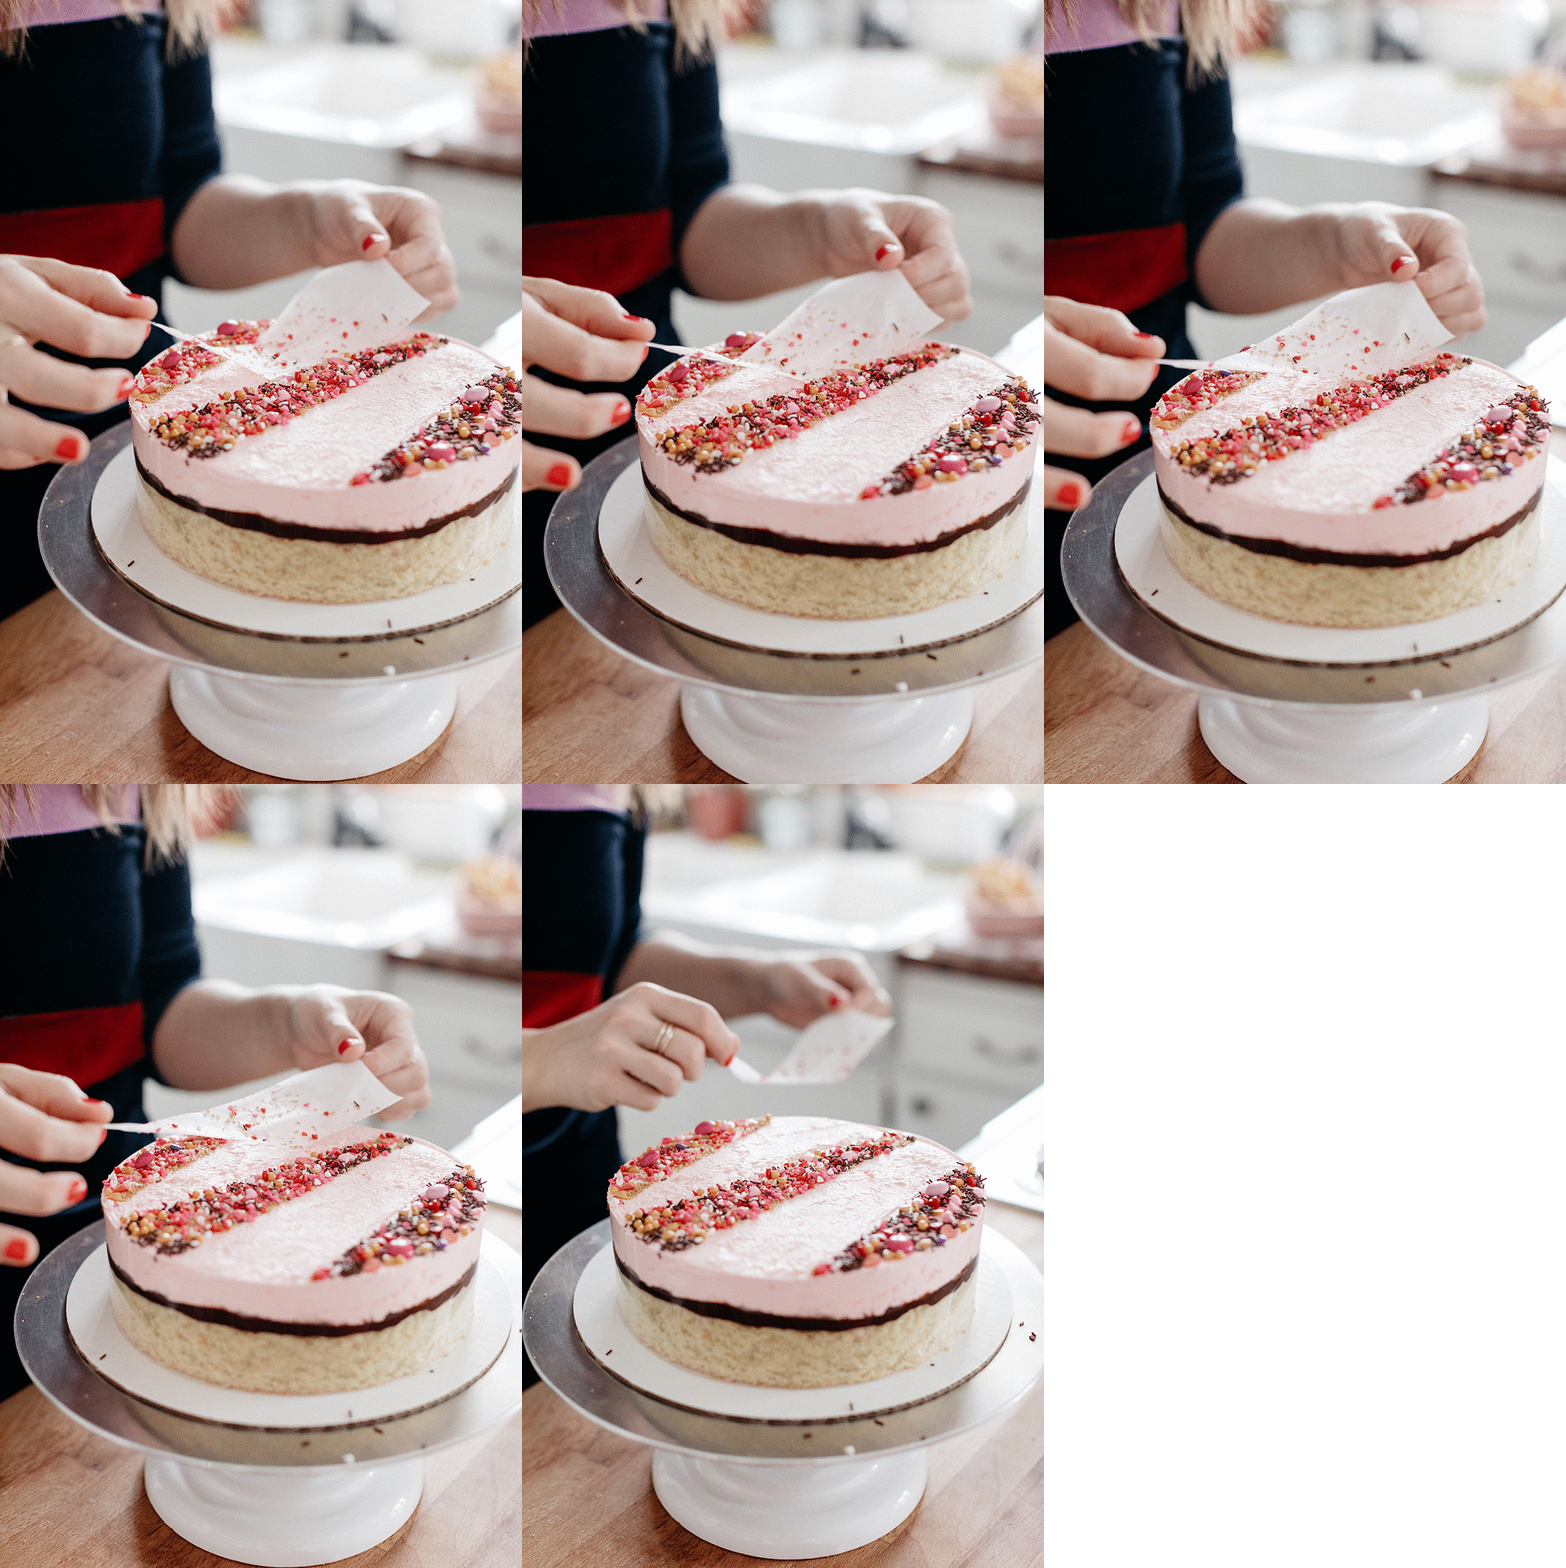
Spread the whipped cream on top of the cake. To do some sprinkle-y sand art, freeze the cake for about 20-30 minutes, or until the whipped cream is mostly firm (it doesn't need to be totally hard--rather, it shouldn't be so that the sprinkles stick, but if you do freeze it solid then let it soften just slightly before moving on) and then stick some parchment shapes or stripes on it, cover it with sprinkles, brush off any stray sprinkles that are lingering on the parchment, and then carefully lift the parchment off. Voila! 

Store leftovers in the fridge for up to a few days.


-yeh!
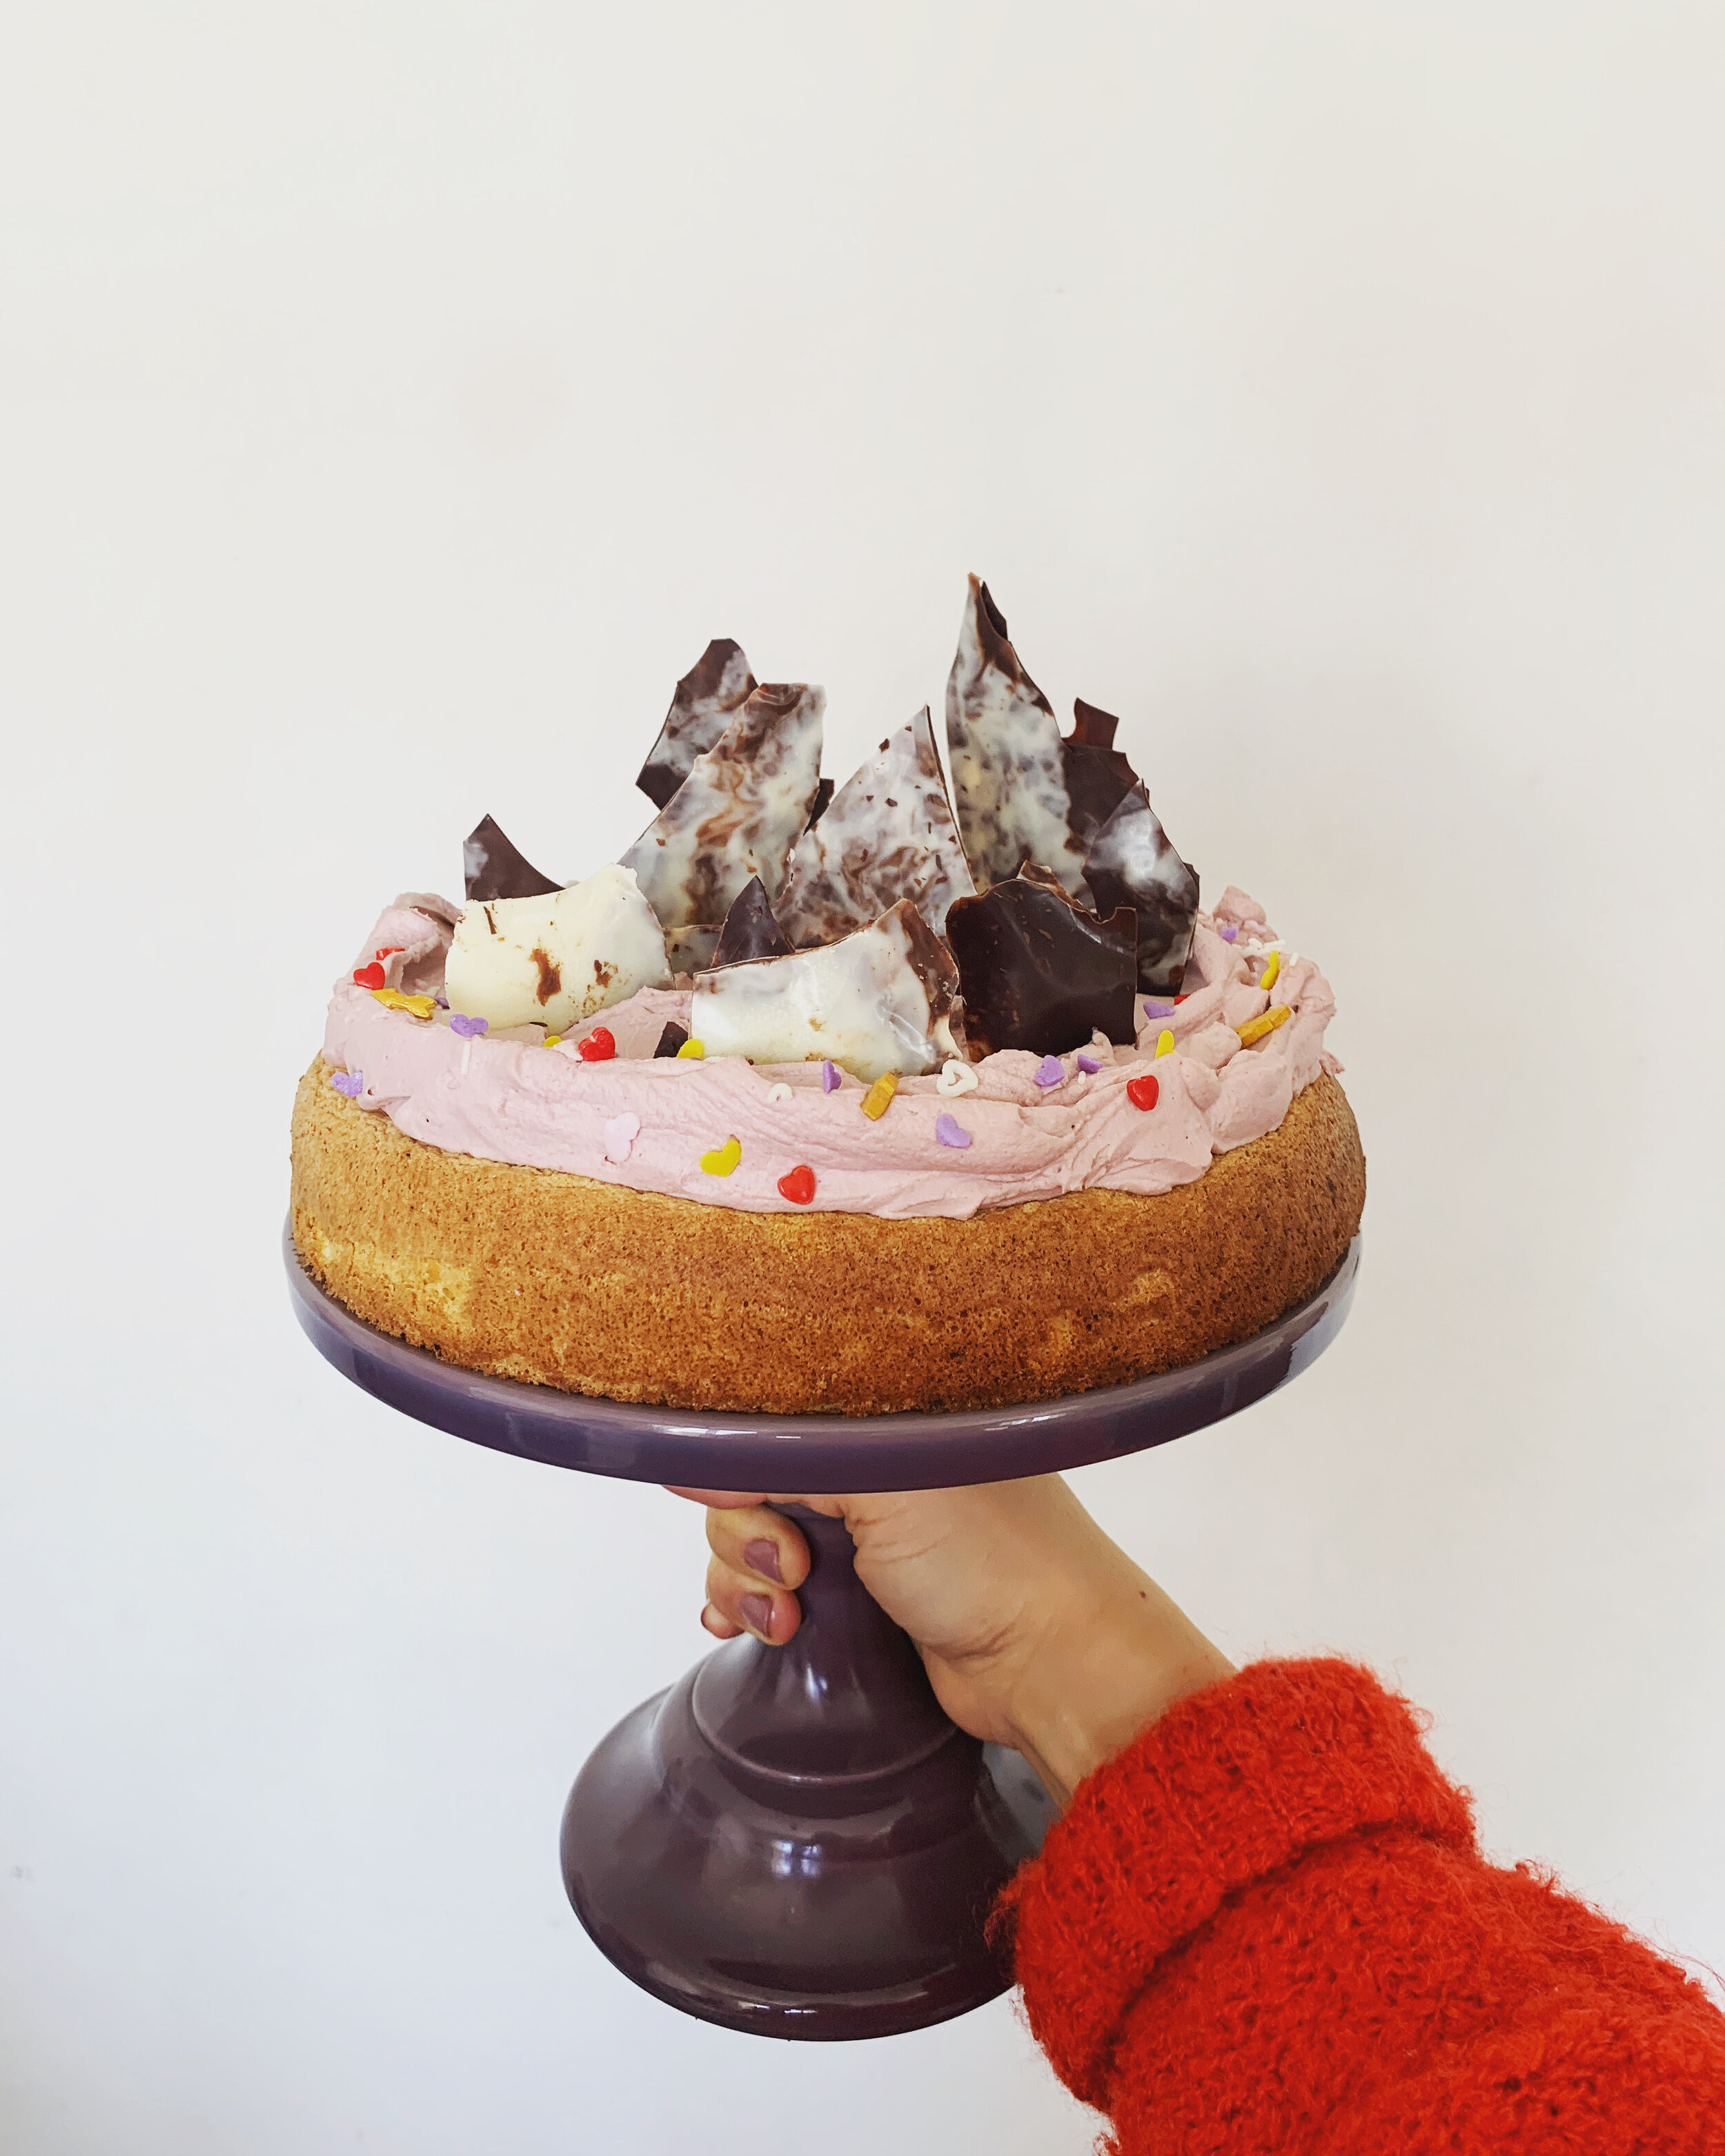
photos by chantell and brett!
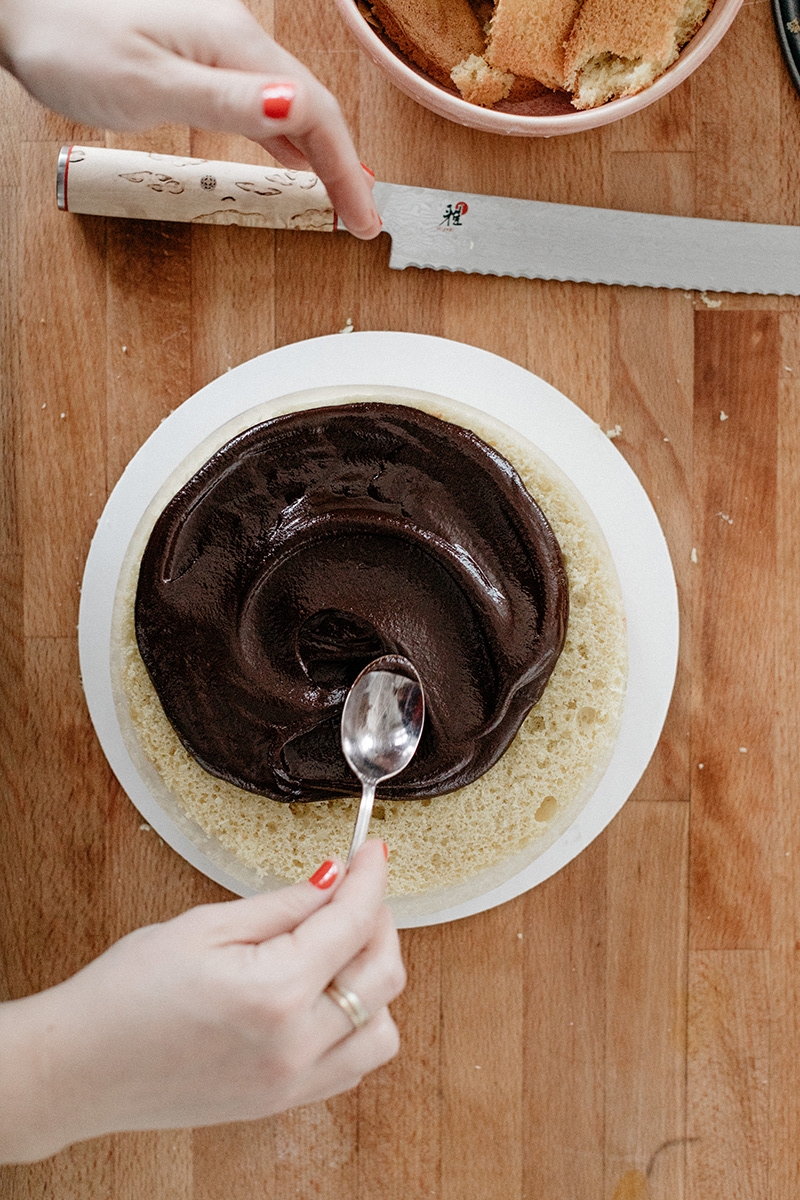
soft almond sugar cookie cutouts that are very thick and glazed and fun

hello from korea, friends!!!!!!!! the last few days have been totally bonkers as the olympic channel has made every single one of my dreams come true and brought me over to pyeongchang to help cover the olympics. i am freaking out, it is still soaking in, and i have no idea what time it is where you are, but for now i have to dash over to gangnueng to watch nathan chen's short program, so i will tell you more about this later! follow along on instagram!

i really need to quickly tell you about these valentine's day cookies though because they are our new favorite cookies hands down. they are so freaking soft and thick and almondy, and i realize that i should just admit that this is an almond flavored blog already (yes, the annual almond cake is coming soon!!) but i know as soon as i do that i'm going to start hating almond. (haha, never!) but if you do hate almond, rest assured, this is actually about to become an ice skating blog this week.

i like these cookies because you can cut out thick shapes with them and you don't have to worry about refrigerating the dough (you can if you want) so these come together extremely quickly. the trick to getting the best texture is to take them out of the oven when they are just starting to think about turning brown but haven't yet. or maybe they have around the bottom edges but that's it. they will be too soft to handle immediately out of the oven but as they cool they'll firm up just slightly and achieve that perfect softness that's lofthouse-esque but way denser.

the thing i'm still working on is the decorating part. when i pipe freehand glaze lines i feel really clumsy! and i'm trying to figure out how to get the outlines of the glaze to zhoosh into the rest of the glaze better. michelle says to use a toothpick to help blend it. i tried it for two cookies and then got impatient! oh well, the good thing is that clumsy lines and poorly zhooshed glaze still taste really good but if you have ideas for how to make the outlines blend in better, please @ me.


soft almond sugar cookie cutouts

makes about 22 large (3" ish) cookies or 30 smaller (2" ish) ones

ingredients

For the cookies:

3 1/2 c (448g) all-purpose flour, plus more for dusting

1 1/3 c (150g) almond flour

1 tsp baking powder

3/4 tsp kosher salt

1 c (226g) unsalted butter, softened

2/3 c (137g) granulated sugar

2/3 c (80g) powdered sugar

zest from 1/2 of a lemon, optional

2 large eggs

1 tsp vanilla extract

1 tsp princess emulsion (or another tsp vanilla)

3/4 tsp almond extract

for the glaze:

2 cups (240g) powdered sugar
2 tb (40g) corn syrup
2-3 tb whole milk
1/2 tsp vanilla extract
1/4 tsp almond extract
Pinch of kosher salt
Food coloring

Sprinkles!
 

clues

To make the cookies, in a medium bowl, combine the flour, almond flour, baking powder, and salt and set aside. In the bowl of your stand mixer fitted with the paddle attachment, cream together the butter and the sugars until pale and fluffy, about 3-4 minutes. Add in the lemon zest if using and mix to combine. Add the eggs, one at a time, beating after each, and then add the extracts.


Add the flour mixture to the butter mixture, mixing until blended. At this point you can wrap the dough in plastic wrap and refrigerate for an hour, or up to two days, or you can get going on rolling out your dough and cutting out your cookies immediately. 

When ready to bake, preheat the oven to 350ºf. Line two baking sheets with parchment or a silicone mat and set aside. Working with half of the dough at a time, roll it out on a lightly floured surface to 1/2” thick. Cut out your shapes and then transfer to a baking sheet, 1" apart. Re-roll scraps and cut out more shapes. Bake until they’re just thinking about starting to turn brown, begin checking larger cookies for doneness at 12 minutes, and smaller cookies at 10 minutes. Let cool on the baking sheets for 5 minutes and then carefully transfer to a wire rack to cool completely. 

To make the glaze, whisk together the powdered sugar, corn syrup, 2 tablespoons milk, vanilla, almond extract, salt, and a few drops of food coloring until smooth. It should be very thick but just thin enough that when you lift up your spoon it falls off in smooth ribbons. If it’s too thick, add a couple more drops of milk, and if it’s too thin, add a few more spoonfuls of powdered sugar. Spoon a couple of spoonfuls into a piping bag and snip off 1/4" tip. Pipe around the borders of your cookies to make an outline. Thin the remaining glaze out with another teaspoon or so of milk, until it's easily spreadable. Fill in the outlines with the thinner glaze and top with sprinkles immediately before the glaze dries.

Let dry and enjoy!! 

These will keep at room temperature for a good few days, but you can also freeze them once the glaze is dry and they'll stay fresher longer!


-yeh!