Rainbow Cake with Strawberry Buttercream + My Blog is Ten!

10 years ago this week, this blog was born! I feel like I should make a speech?? I’m terrible at speeches (see: the time I officiated Stoop’s wedding and made the speech about farts), but I’ll give it a try anyway because I’ve been getting a little emotional reflecting on these past 10 years and thinking about how much fun and fulfilling it’s been to keep this blog. She’s been with me through so much! My bangs and eyeliner phase, my schnitzel eating phase, my lunch packing bike riding phase! The first layer cake I ever made is buried in these archives, as is the first recipe I ever wrote. I blogged about my first date with Eggboy, our move to the farm, our wedding, our Bernie... I’ve made so many of my closest friends through my blog and documented adventure after adventure after weeeeeeird adventure. And seriously now that I think of it, I really would have no friends here if I didn’t meet them through my blog haha. 

This blog has led to my book and my show and helped me cobble together a job that I wake up every day excited to go to and I couldn’t be more grateful for that. I am also so extremely grateful for the connections I’ve made to you. I feel like I have pen pals all over the world! The internet and social media world has changed so much in the past 10 years (can you believe that this constituted a blog post back in the day?!) and it’ll continue to change but this blog is like a roach, it’ll never die because it’s my diary and since I was 7, I haven’t been able to *not* keep a diary. I just have always had this wild urge to document, no matter how normal my week was.

Thank you for being here and reading and following along and sending over your sweet comments. You really do make the world feel like a smaller warmer cozier place. 

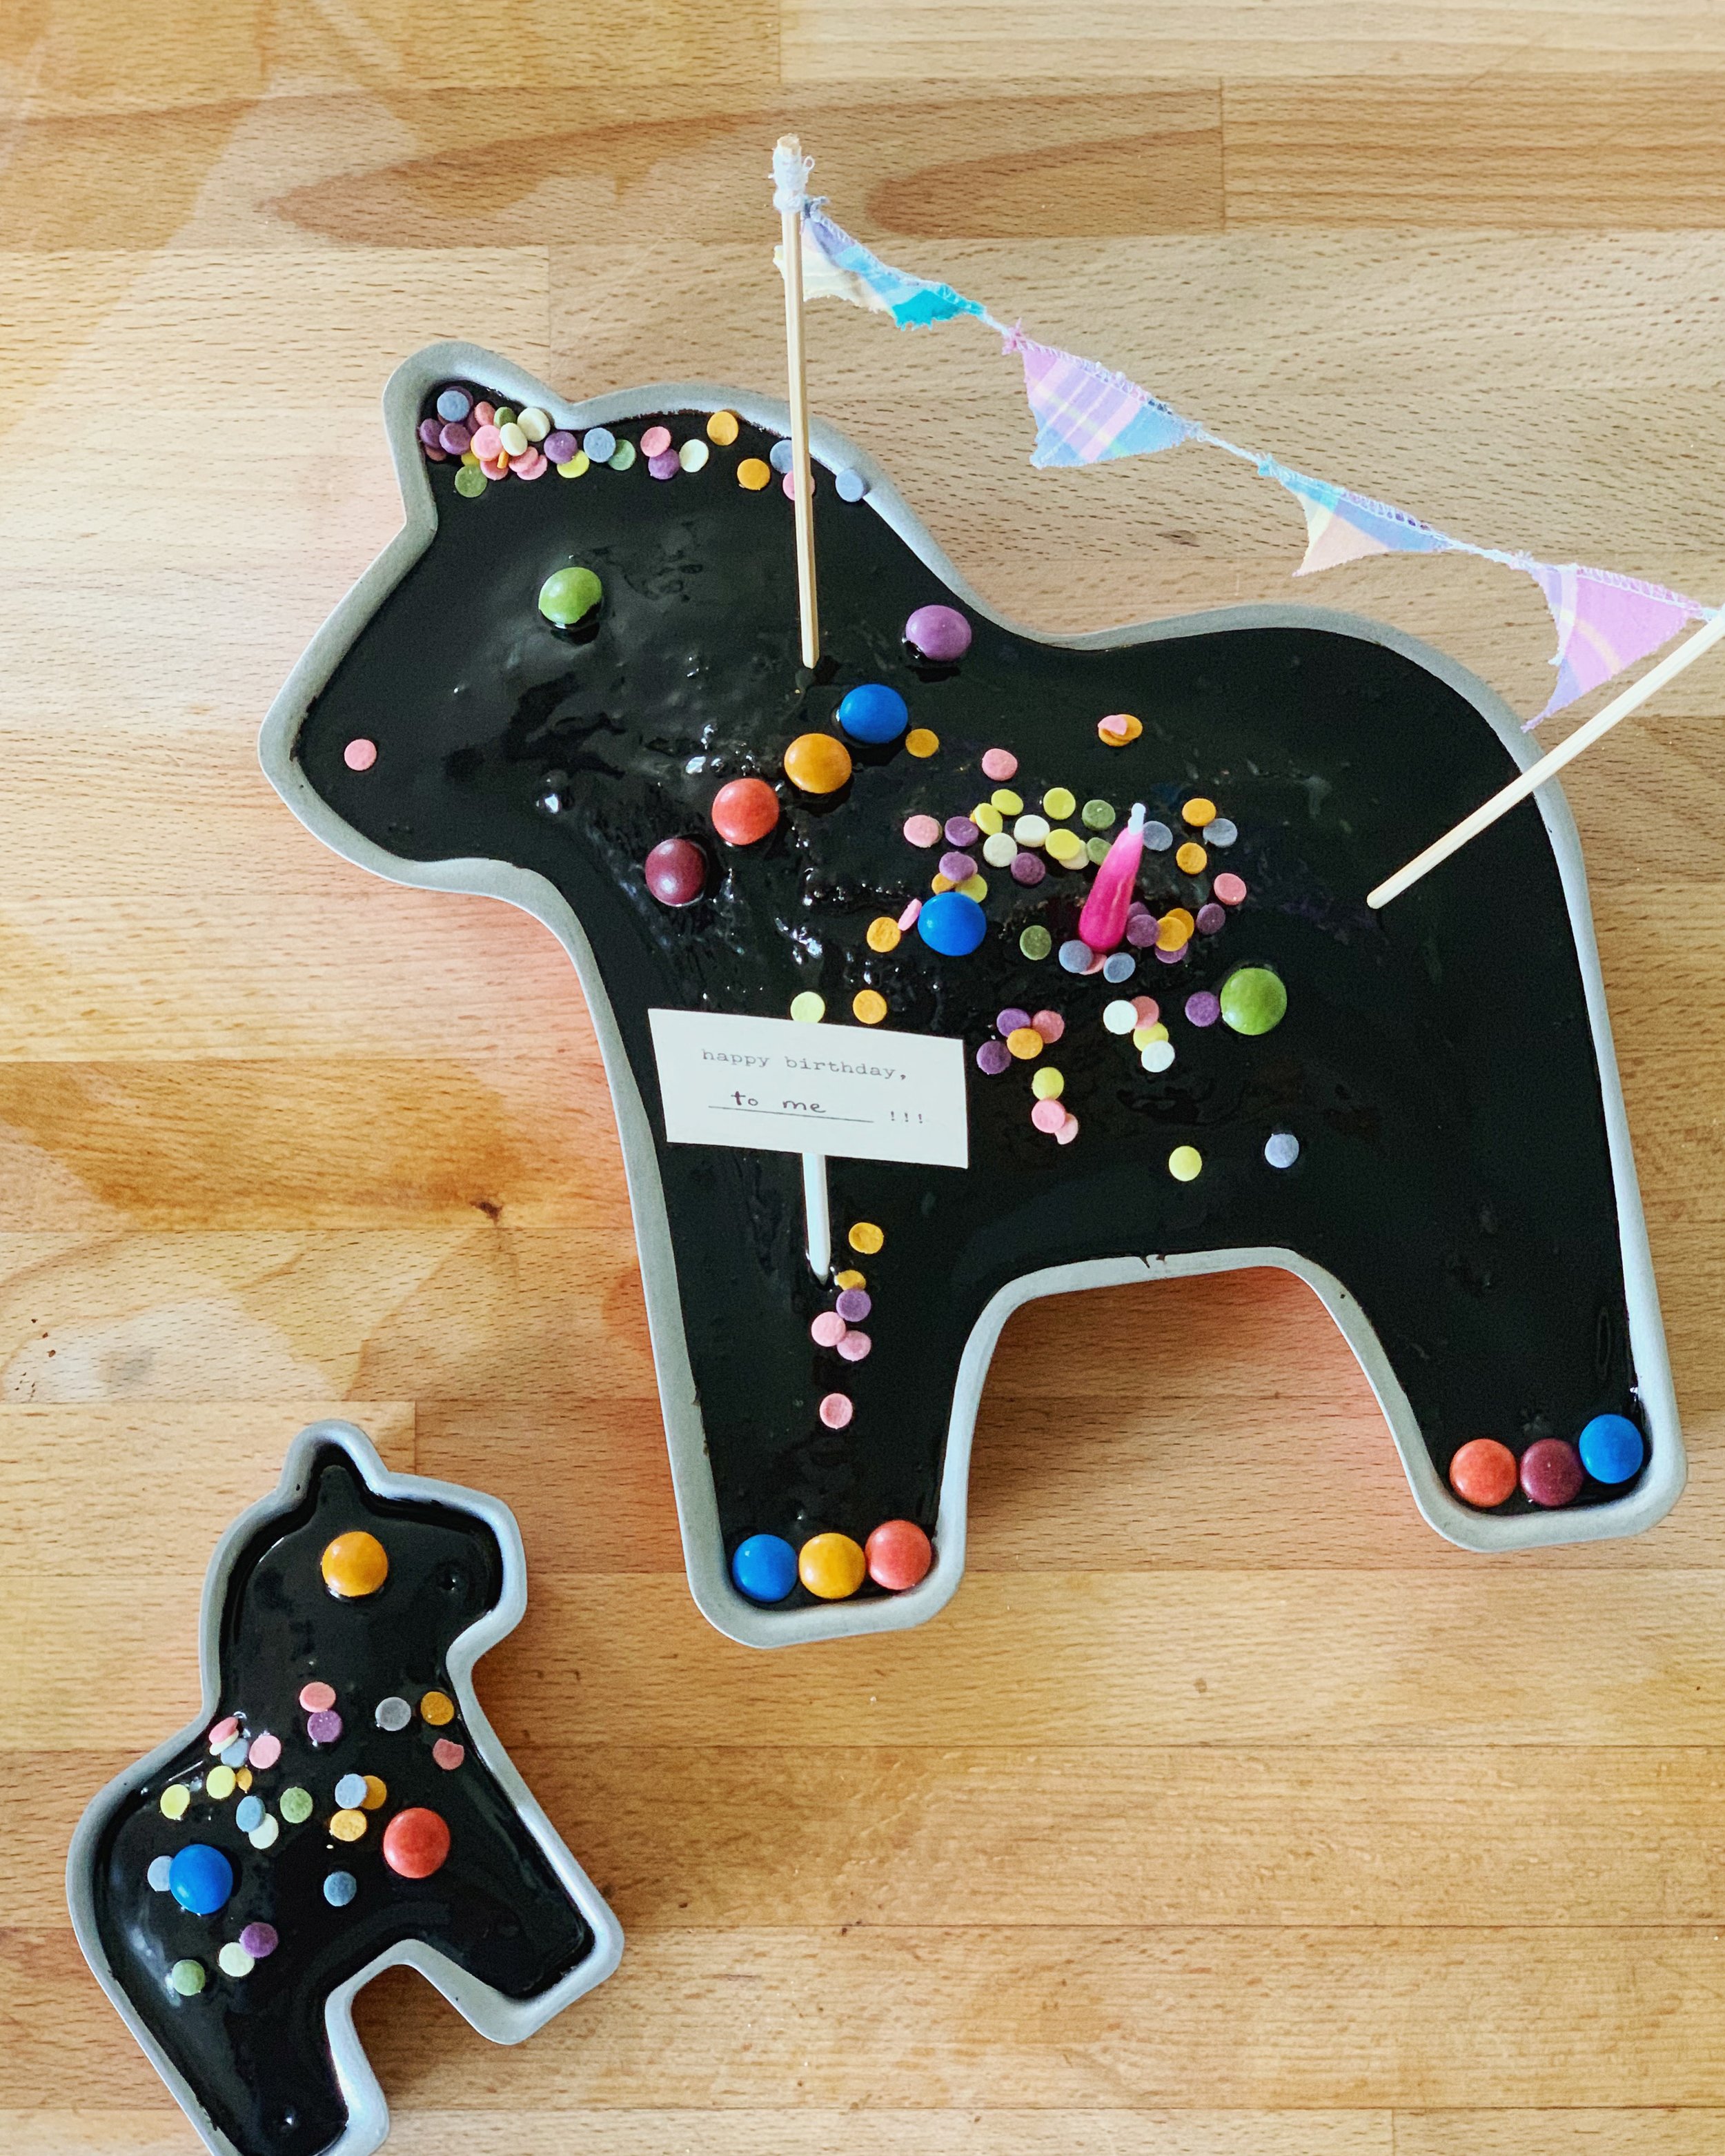
Ok that’s the end of my speech, I’m done being mushy, let’s celebrate with cake!!!

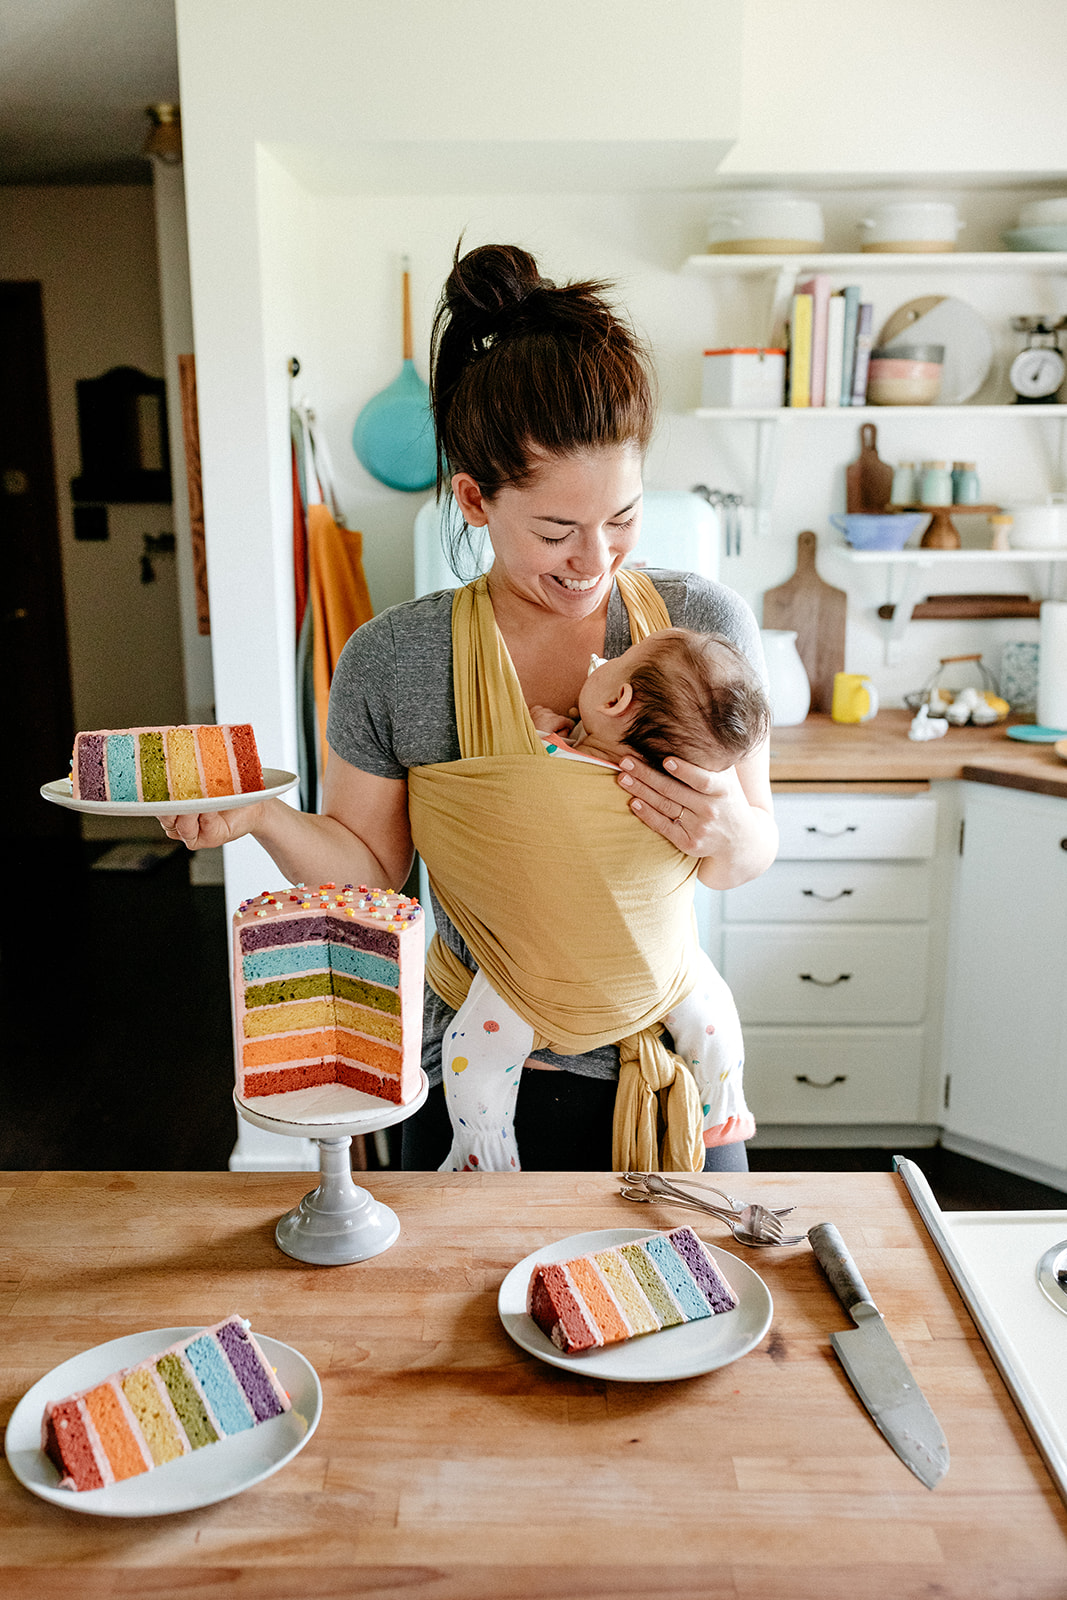
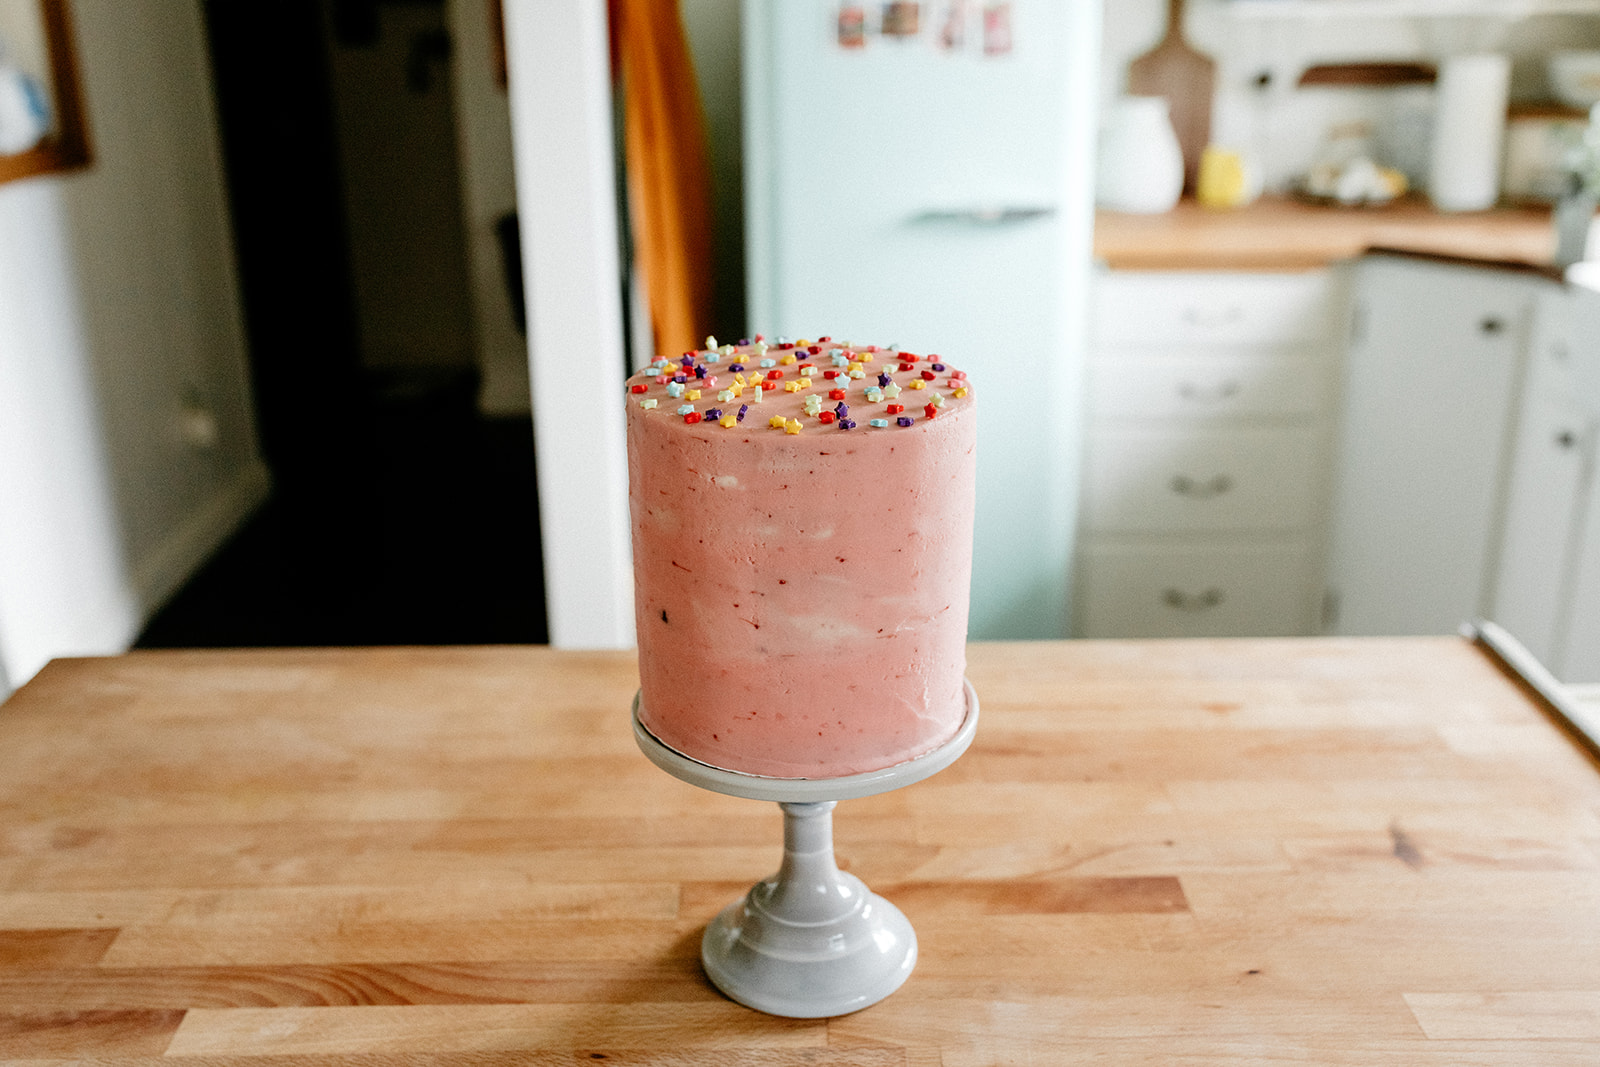
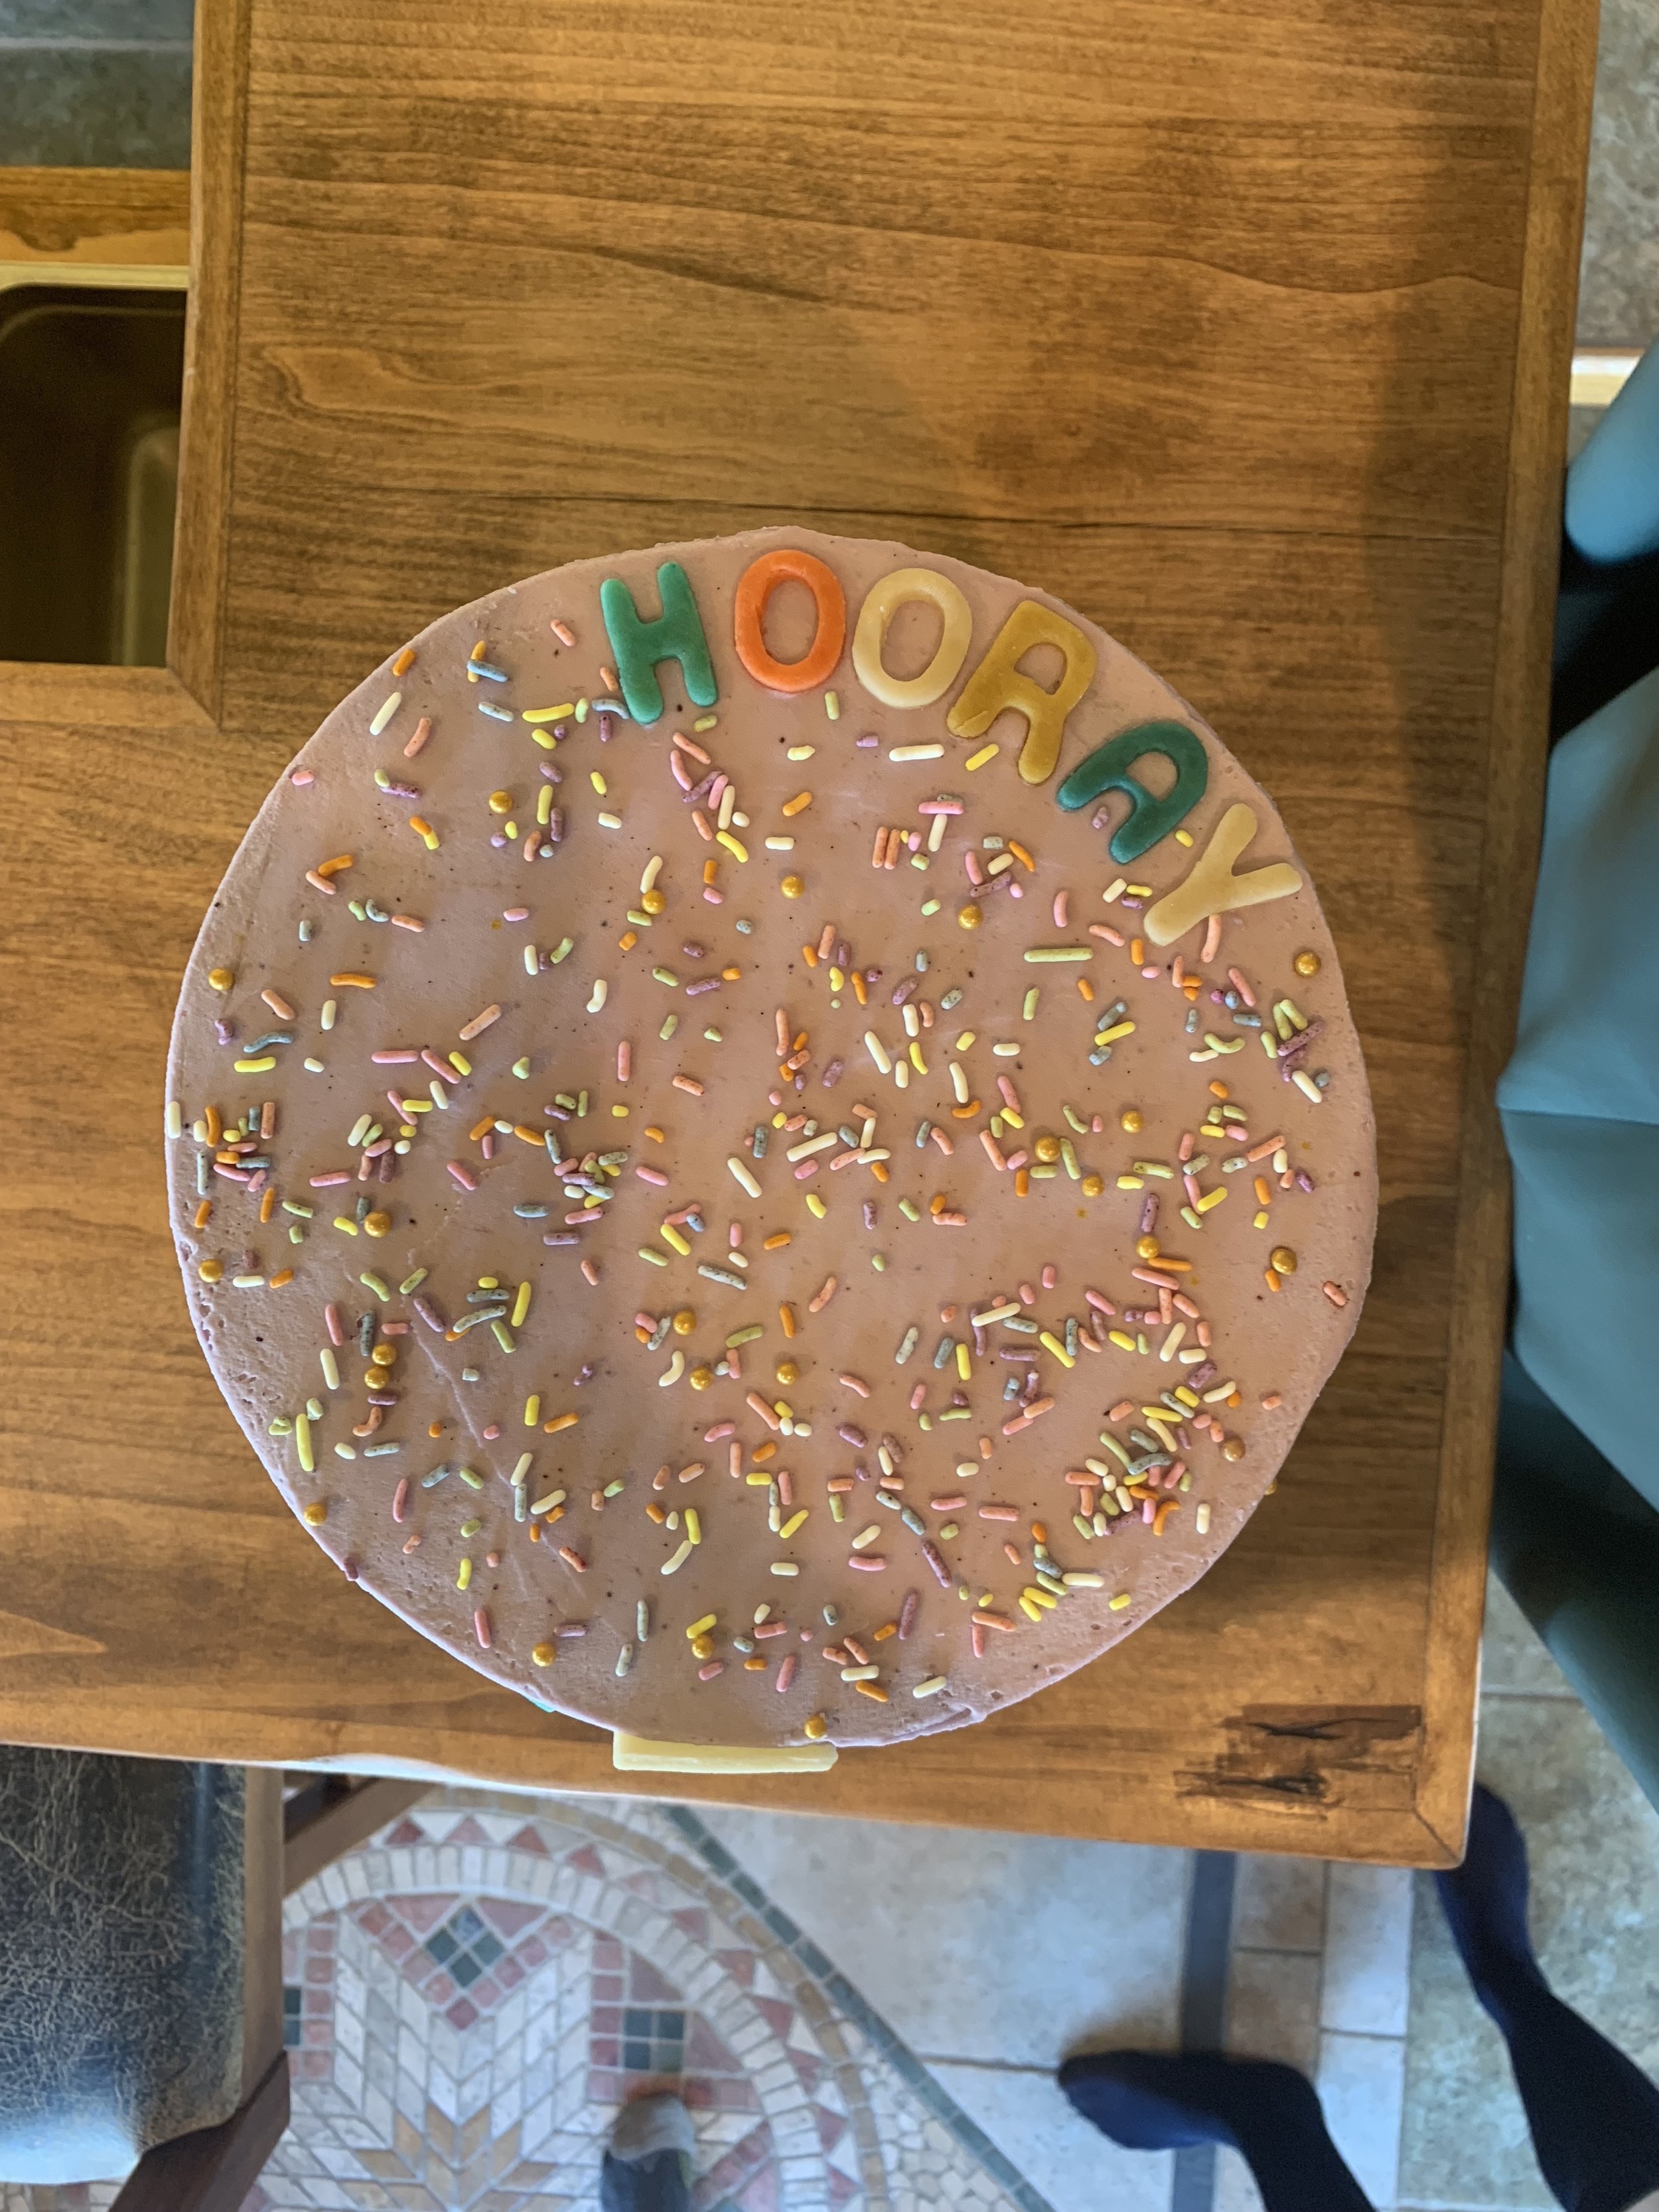
This is my first layer cake postpartum! Making it was a journey. it took like three days! I wasn’t even sure I’d be able to, with all of my time now spent singing Baby Beluga and changing diapers, but finally I put Bernie in the sling and committed. We walked around the house collecting ingredients and remembering where I put the measuring spoons, and the stand mixer white noise sound was like music to her ears. I stuck some cake scraps under her nose so she could smell them and I think she liked it! I also tried to make the colors good and bright so that she could appreciate them. 

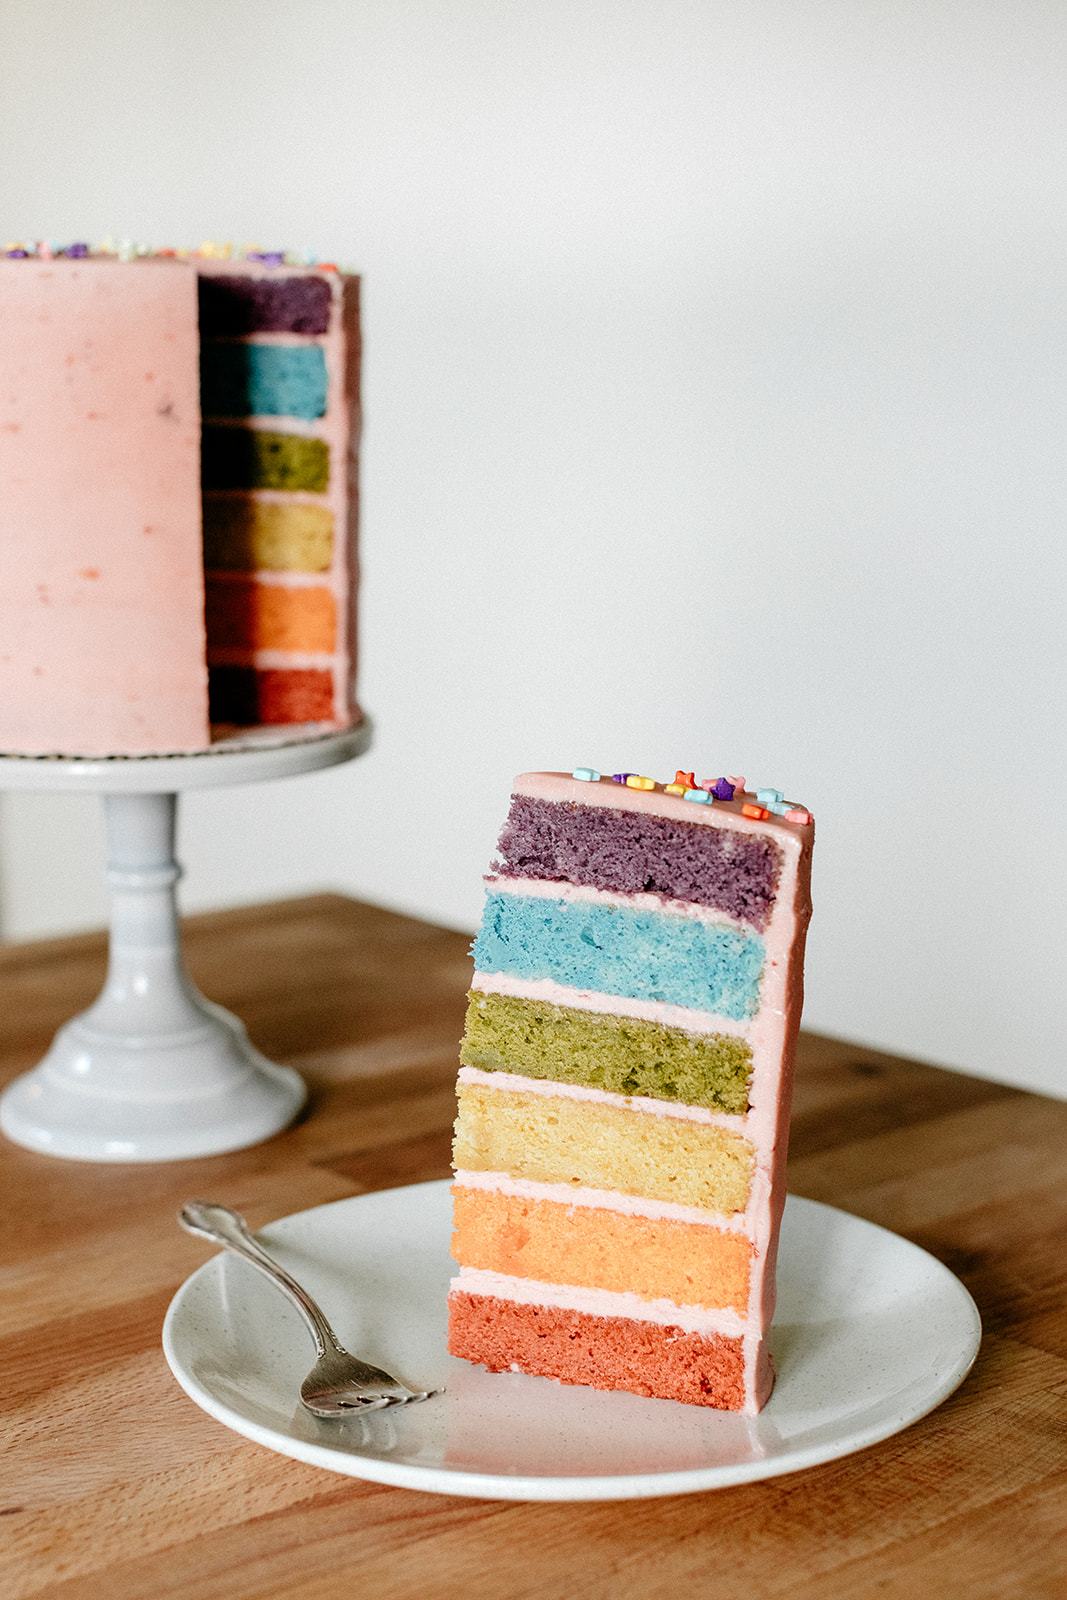
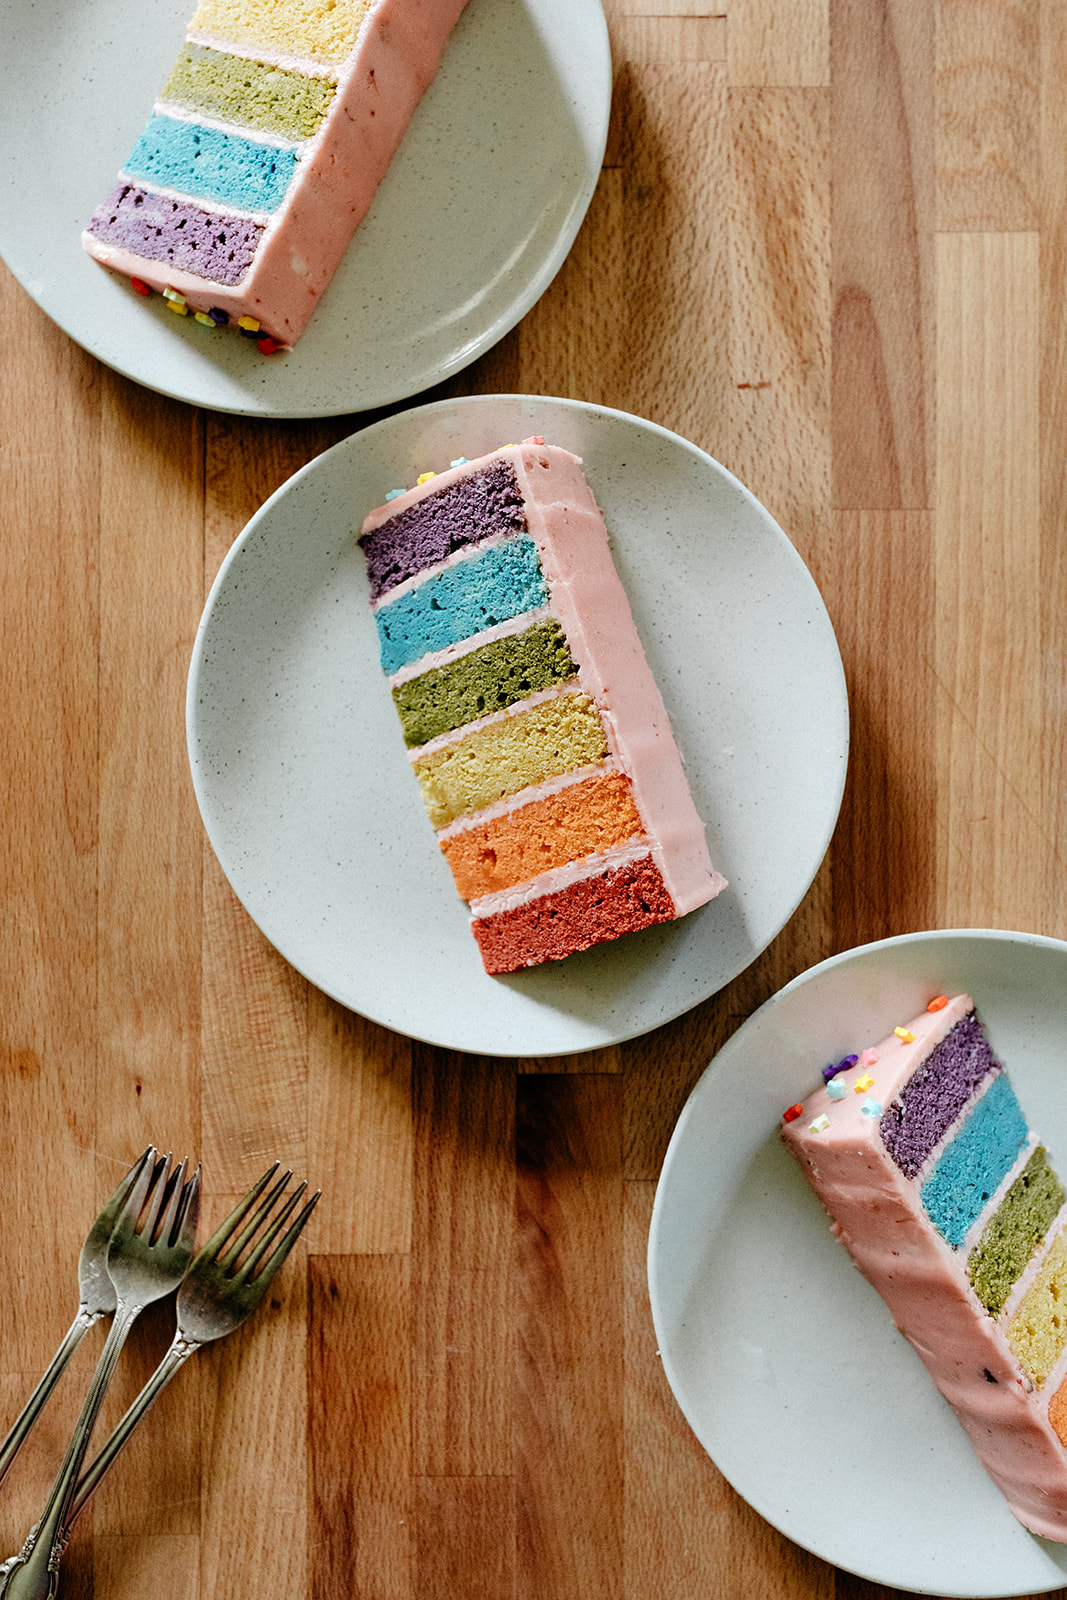
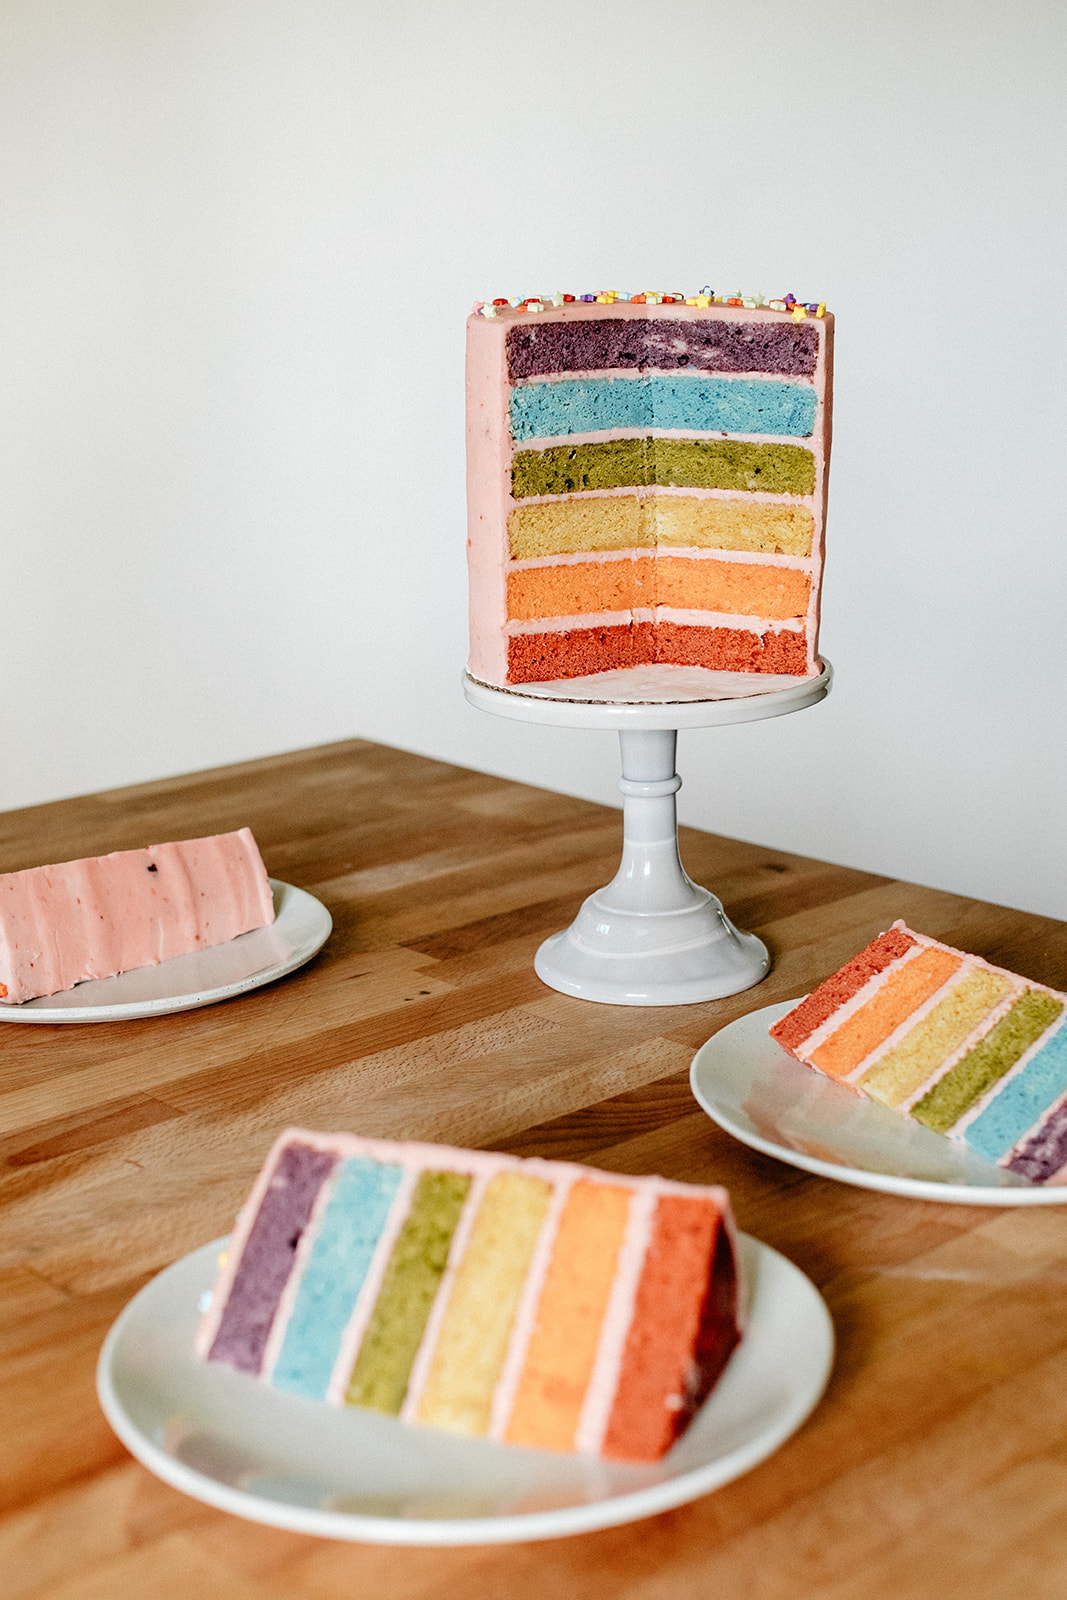
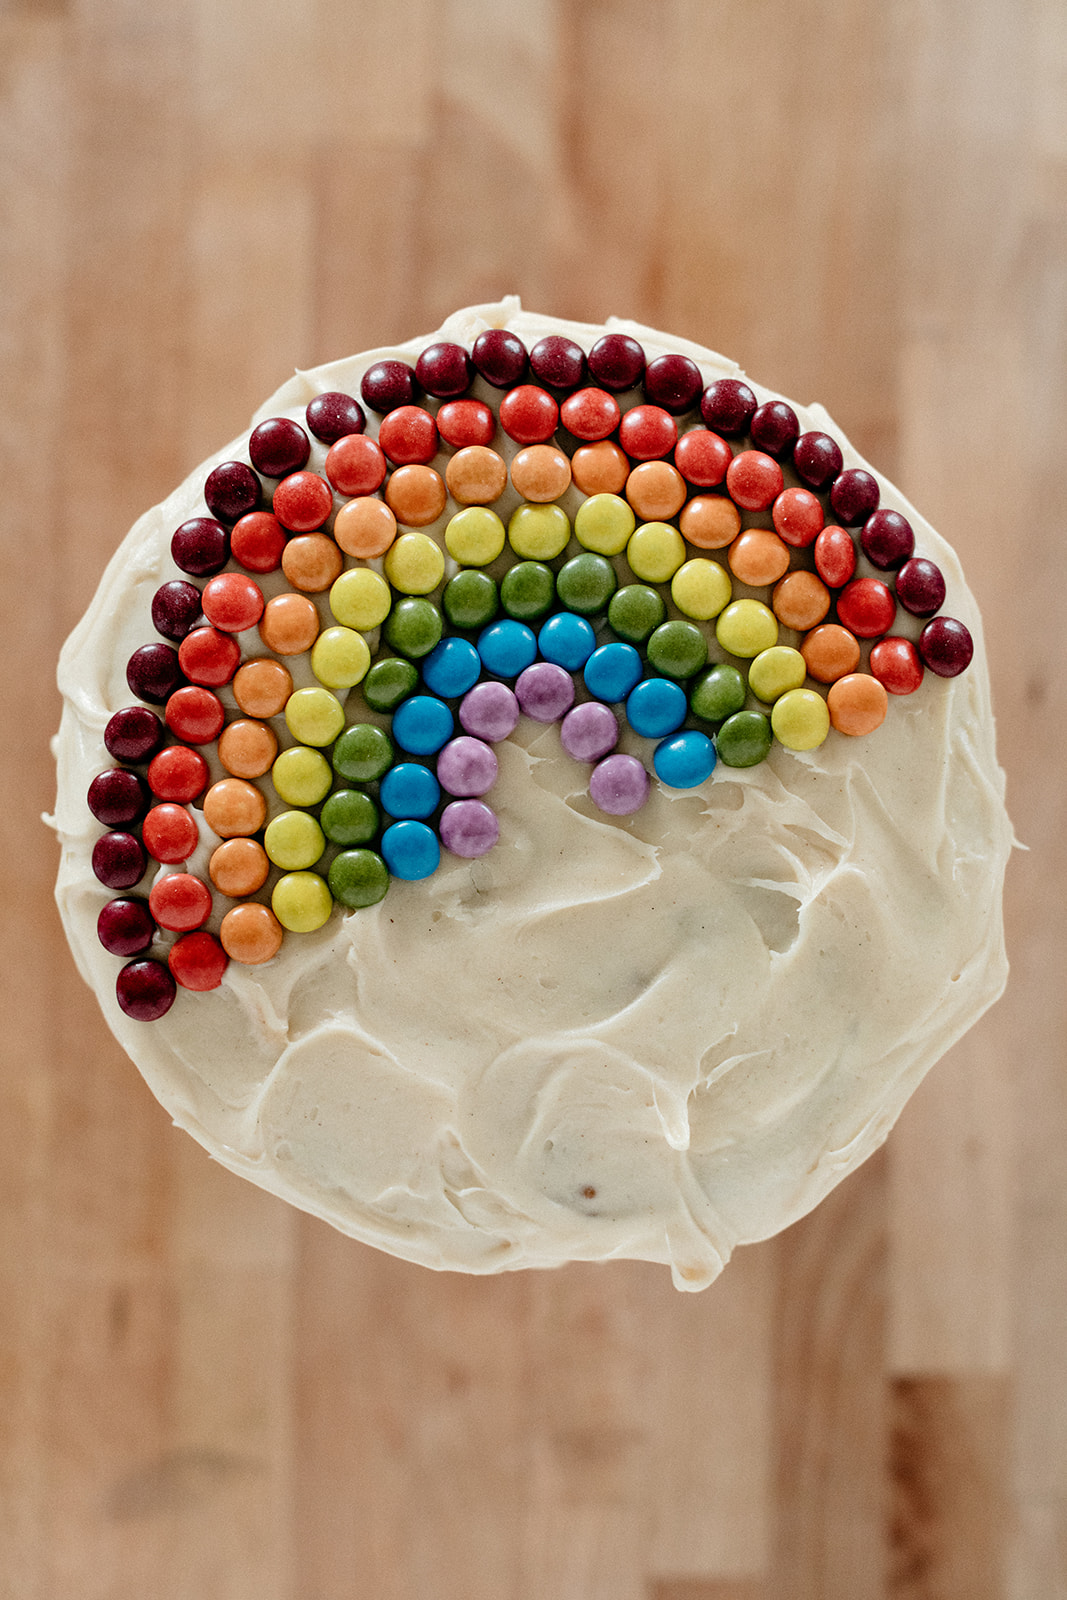
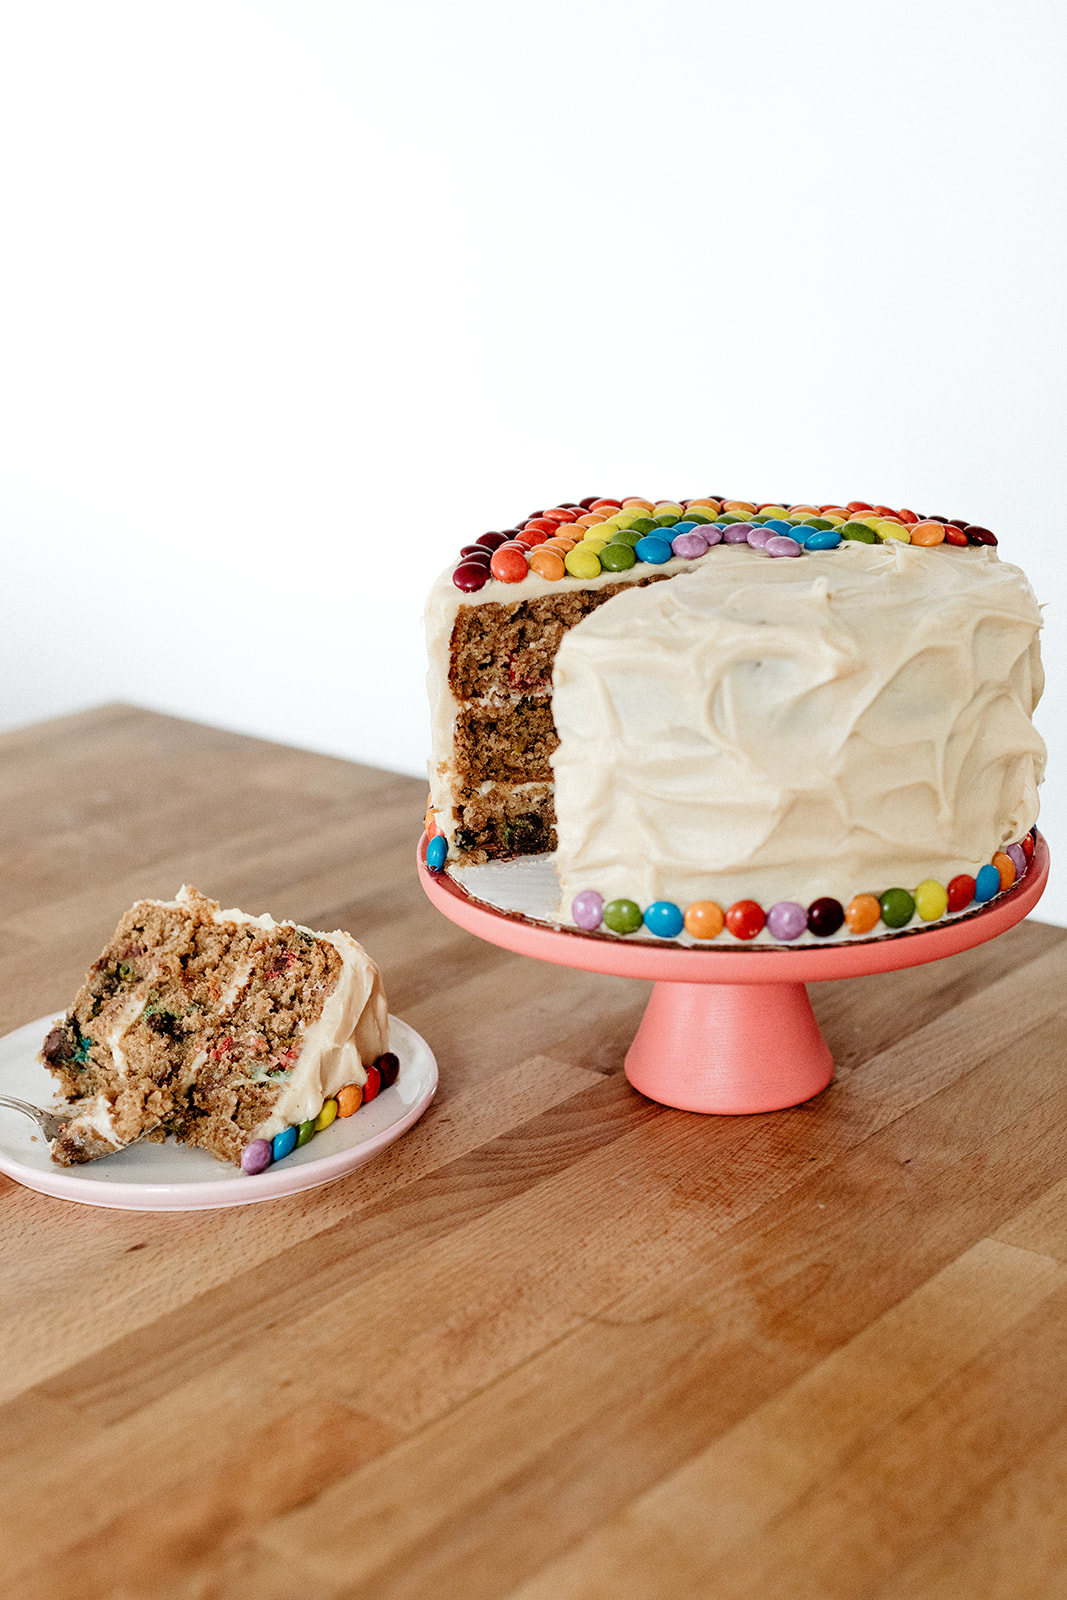
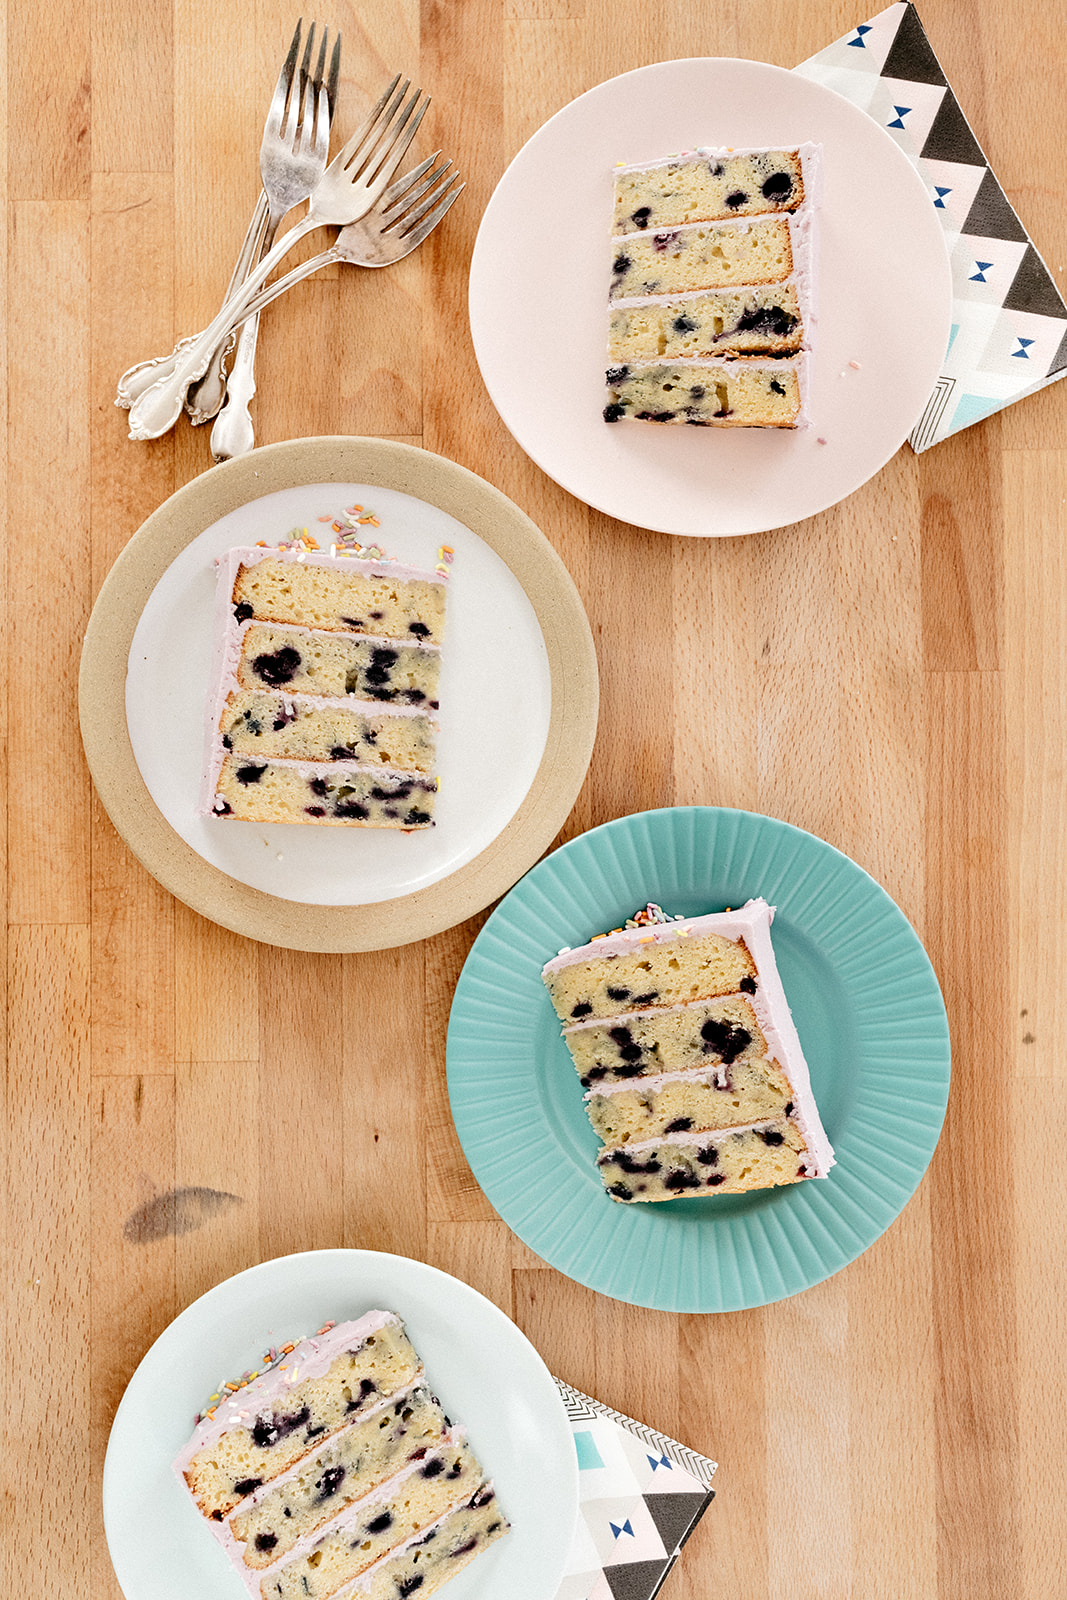
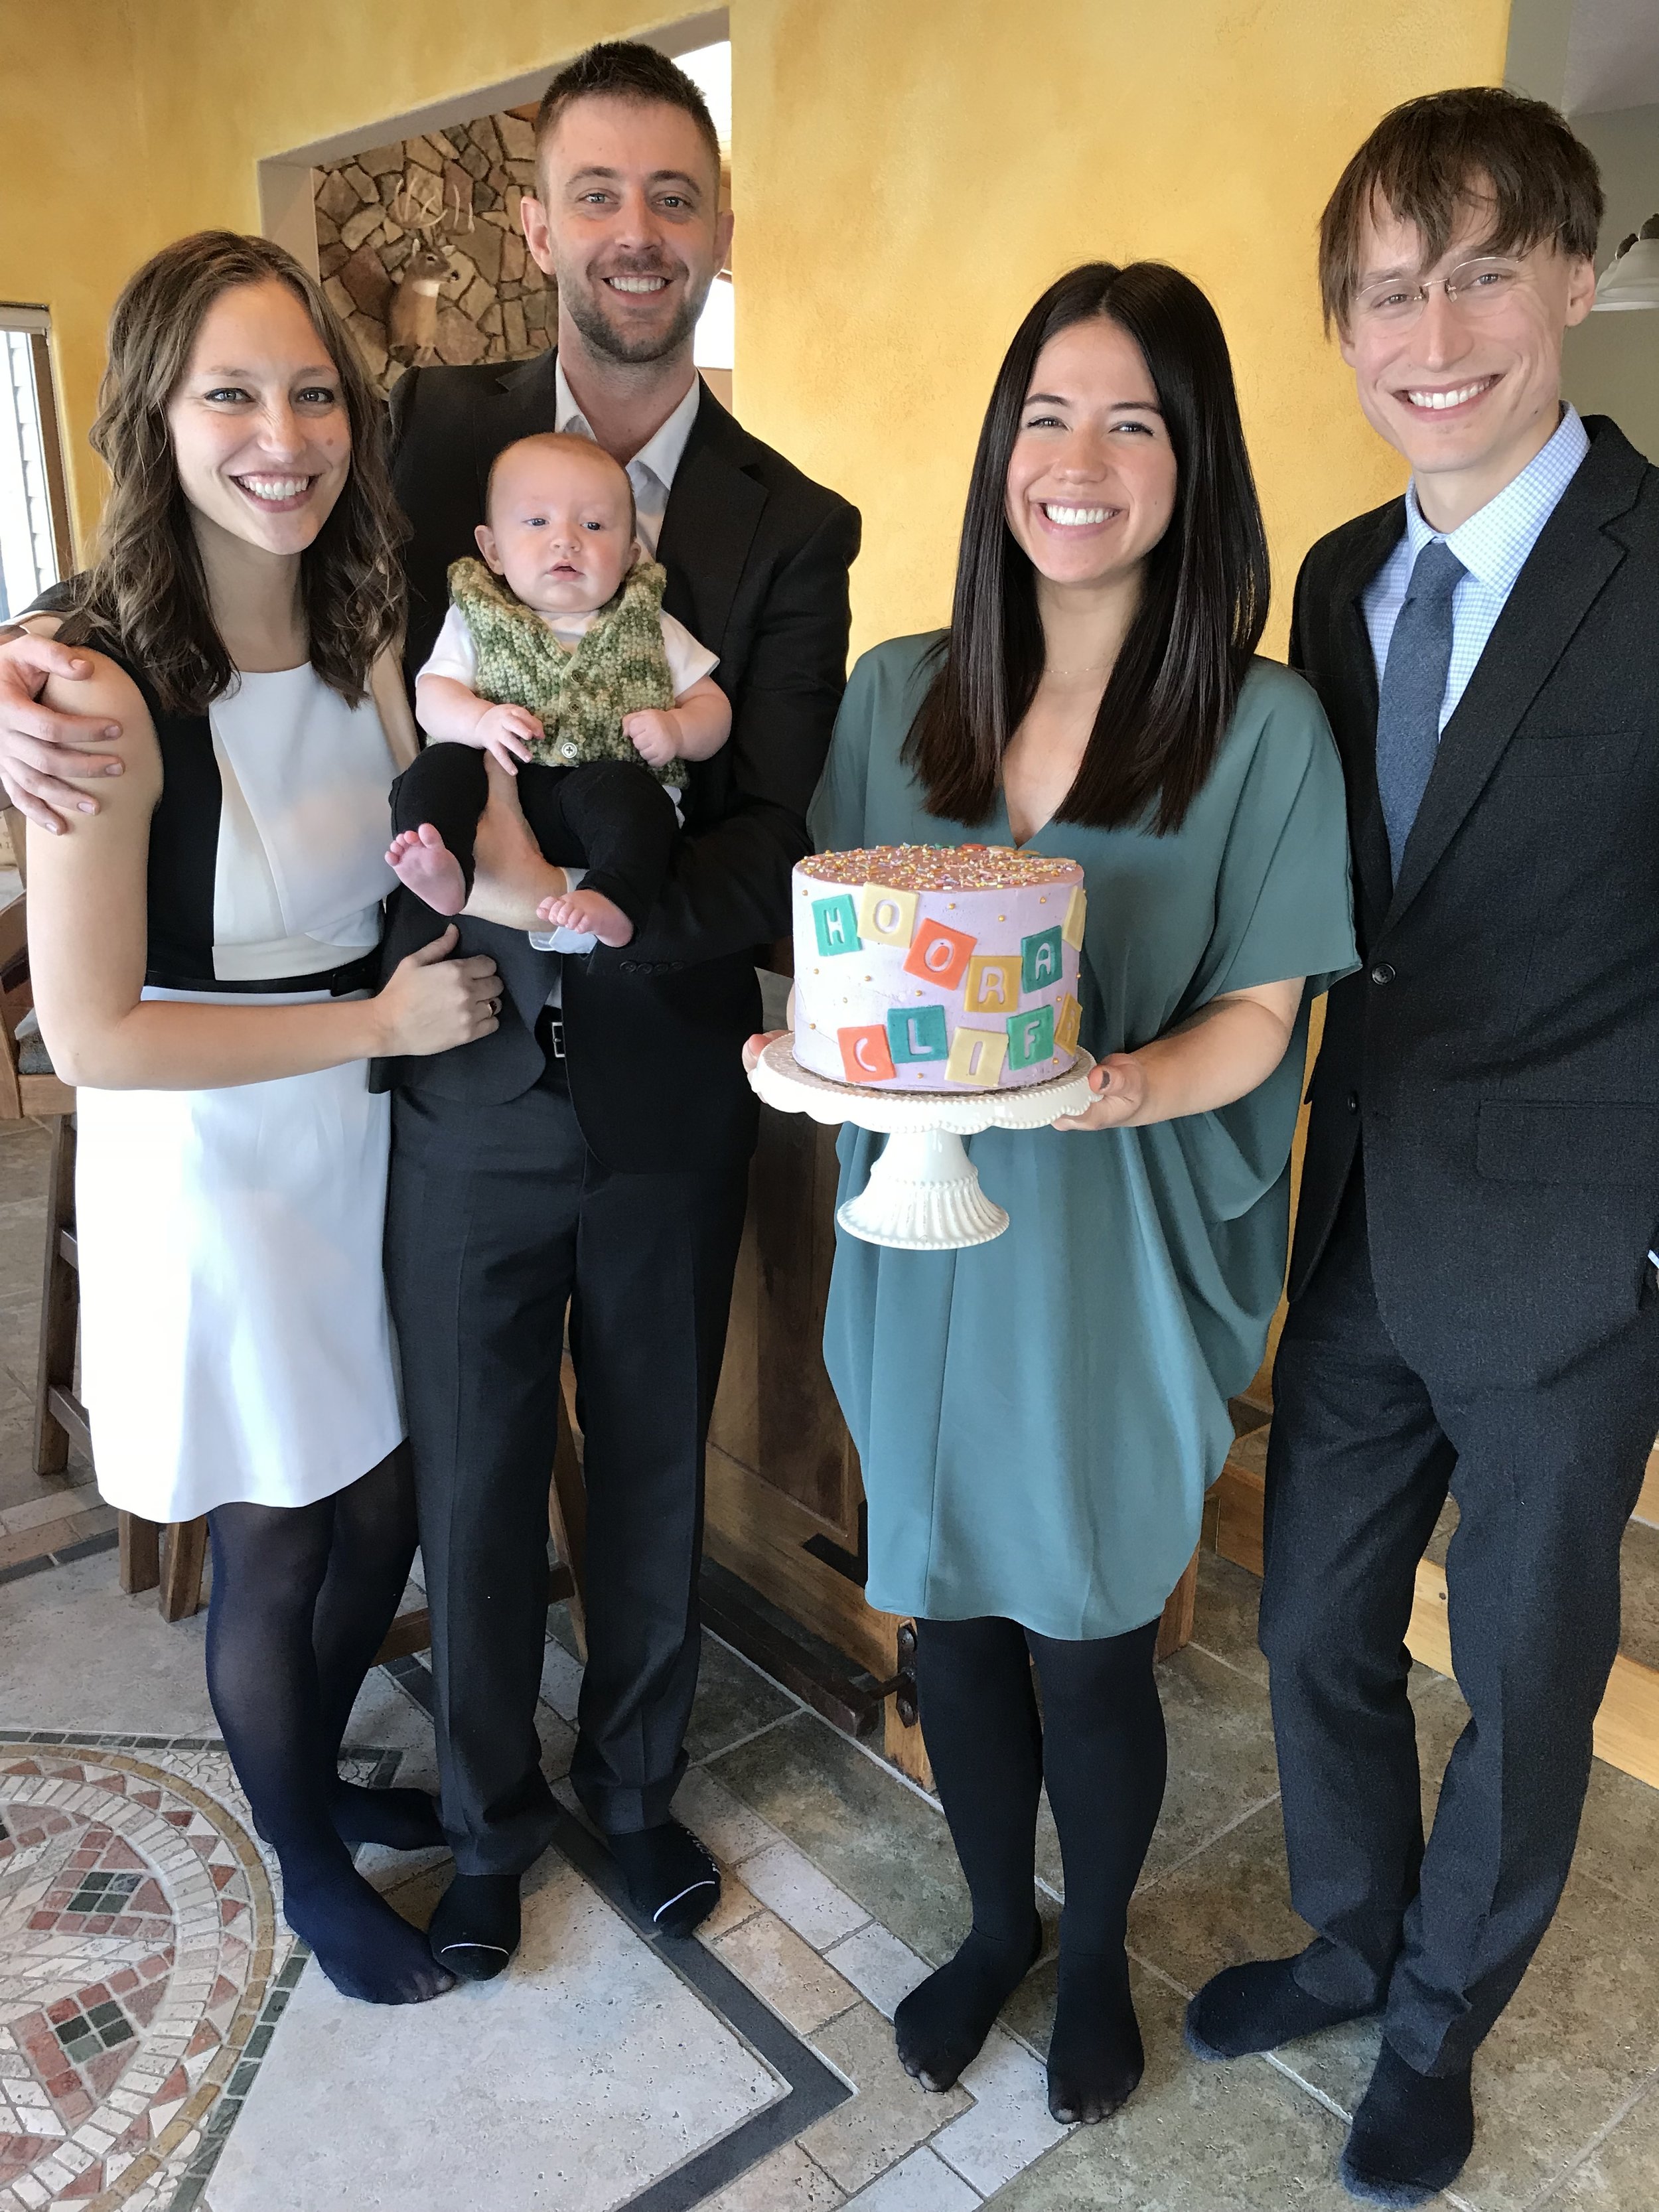
I am so happy with the end result, both aesthetically and texturally. I was admittedly nervous about the texture since adding food coloring to batter requires so much extra stirring (and an over-stirred batter can lead to a gummy weird cake) but I ended up basically saving the last stir until I divided the batter between the six bowls and added the food coloring, and that kept the texture just how I like it: fluffy, dense, and moist! This cake is sooo rich, delicious, buttery, and sweet. I like adding coconut oil in addition to butter to up the richness. I typically use refined coconut oil, which doesn’t have any coconutty flavor, but this time I went with unrefined and the tiny hint of coconut flavor was so good, almost almondy. The frosting is flavored with a plop of strawberry preserves which adds a hint of sourness that balances the sweetness quite nicely. I loved eating this cake! I would have eaten way too much of it if I didn’t have the Girl Meets Farm crew here to share it with. 

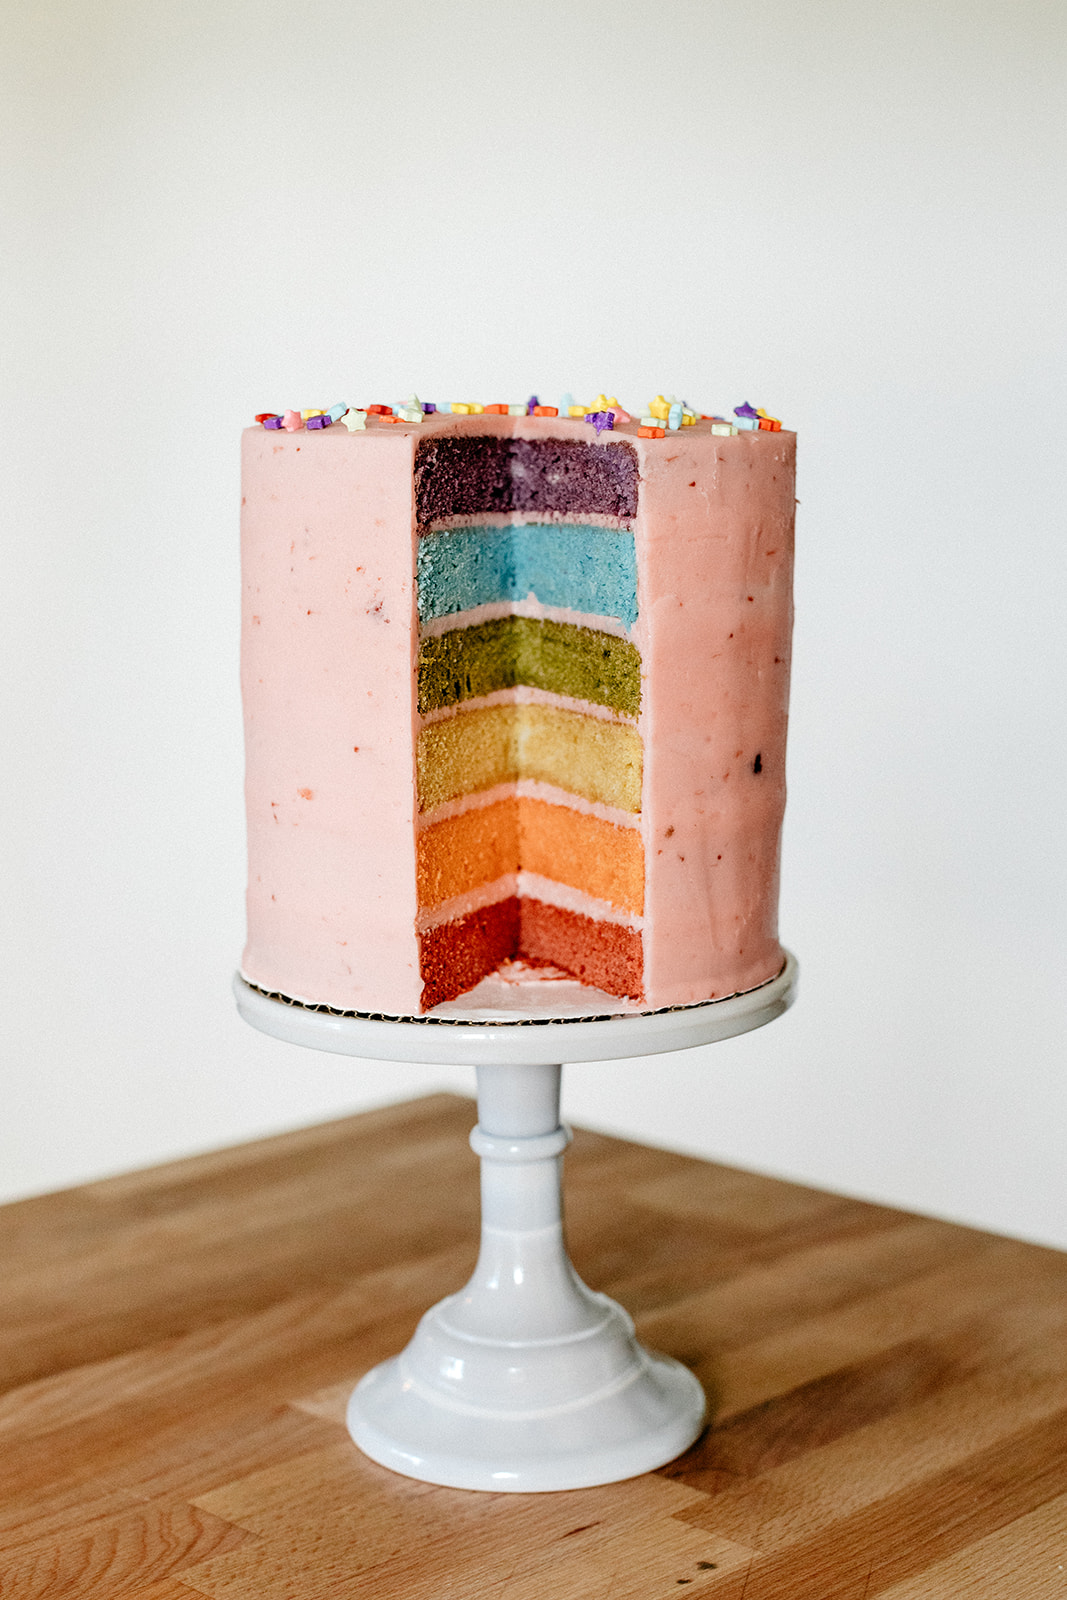
The colors that I used were all Americolor and in ROYGBV order, they are: chili pepper, pumpkin, dijon, moss, wedgewood, and eggplant. In another world I would have maybe tried to go the all-natural coloring route with matcha and freeze dried berries and turmeric but there was only so much Baby Beluga singing time that I was able to give up so I figured this was an OK compromise!

Obvi you can forego the food coloring all together and just make a hella good vanilla cake with strawberry frosting and maybe even add a layer of strawberry preserves between the cake layers, ooh that’d be good. 

Happy baking!


Rainbow Cake with Strawberry Buttercream

makes one 6-layer 6” cake

ingredients

3 1/2 c (450g) all-purpose flour

1 tb baking powder

1 1/2 tsp kosher salt

1 1/4 c (300g) heavy cream, room temperature

1/2 c (120g) sour cream, room temperature

1 c (225g) unsalted butter, room temperature

1/2 c (100g) refined or unrefined coconut oil, soft but not melted

2 1/4 c (450g) sugar

4 large eggs, room temperature

1 tb vanilla bean paste or extract

1/2 tsp almond extract, optional

food coloring (see notes above for specific colors that I used)


strawberry buttercream:

1 c (225g) unsalted butter, room temperature

1/4 c (80g) strawberry preserves

5 c (600g) powdered sugar

1/8 tsp kosher salt

1 1/2 tsp vanilla bean paste or extract

6 tb (90g) heavy cream

a drop of pink food coloring, optional

clues

to make the cake:

preheat the oven to 350ºf. grease and line the bottoms of six 6” cake pans with parchment and set aside (if you don’t have six pans, you can bake in batches).

in a large bowl, sift together the flour and baking powder, and then lightly stir in the salt and set aside. in a large measuring cup, whisk together the heavy cream and sour cream and set aside. 

in a stand mixer fitted with a paddle attachment, cream together the butter, coconut oil, and sugar on medium high for 3-4 minutes, until light and fluffy. add the eggs, one at a time, beating well after each. add the vanilla and almond extract, if using. reduce the mixer to medium low and add the dry mixture and cream mixture in 3 alternating additions, stopping right after you add the last of the dry mixture and cream mixture- don’t mix them in completely because when you mix in the food coloring you’ll continue to mix and that’s when everything will get combined. (the reason for this is that you want to prevent over-mixing at all costs!) divide the batter between 6 medium bowls (using a scale is the most efficient way to do this) and stir in good big plops of food coloring until the batter is bright. distribute the batter evenly between the cake pans and spread it out evenly.

bake until the tops of the cakes are set and a toothpick inserted into the center comes out with a few crumbs on it; begin checking for doneness at 22 minutes and try your darnedest not to let it overbake. let cool in the pans for 10 minutes and then transfer to a wire rack to cool completely. 

to make the buttercream: 

in a stand mixer fitted with a paddle attachment, beat together the butter and preserves until creamy. gradually add the powdered sugar, and then mix in the salt, vanilla, and heavy cream. mix until creamy.

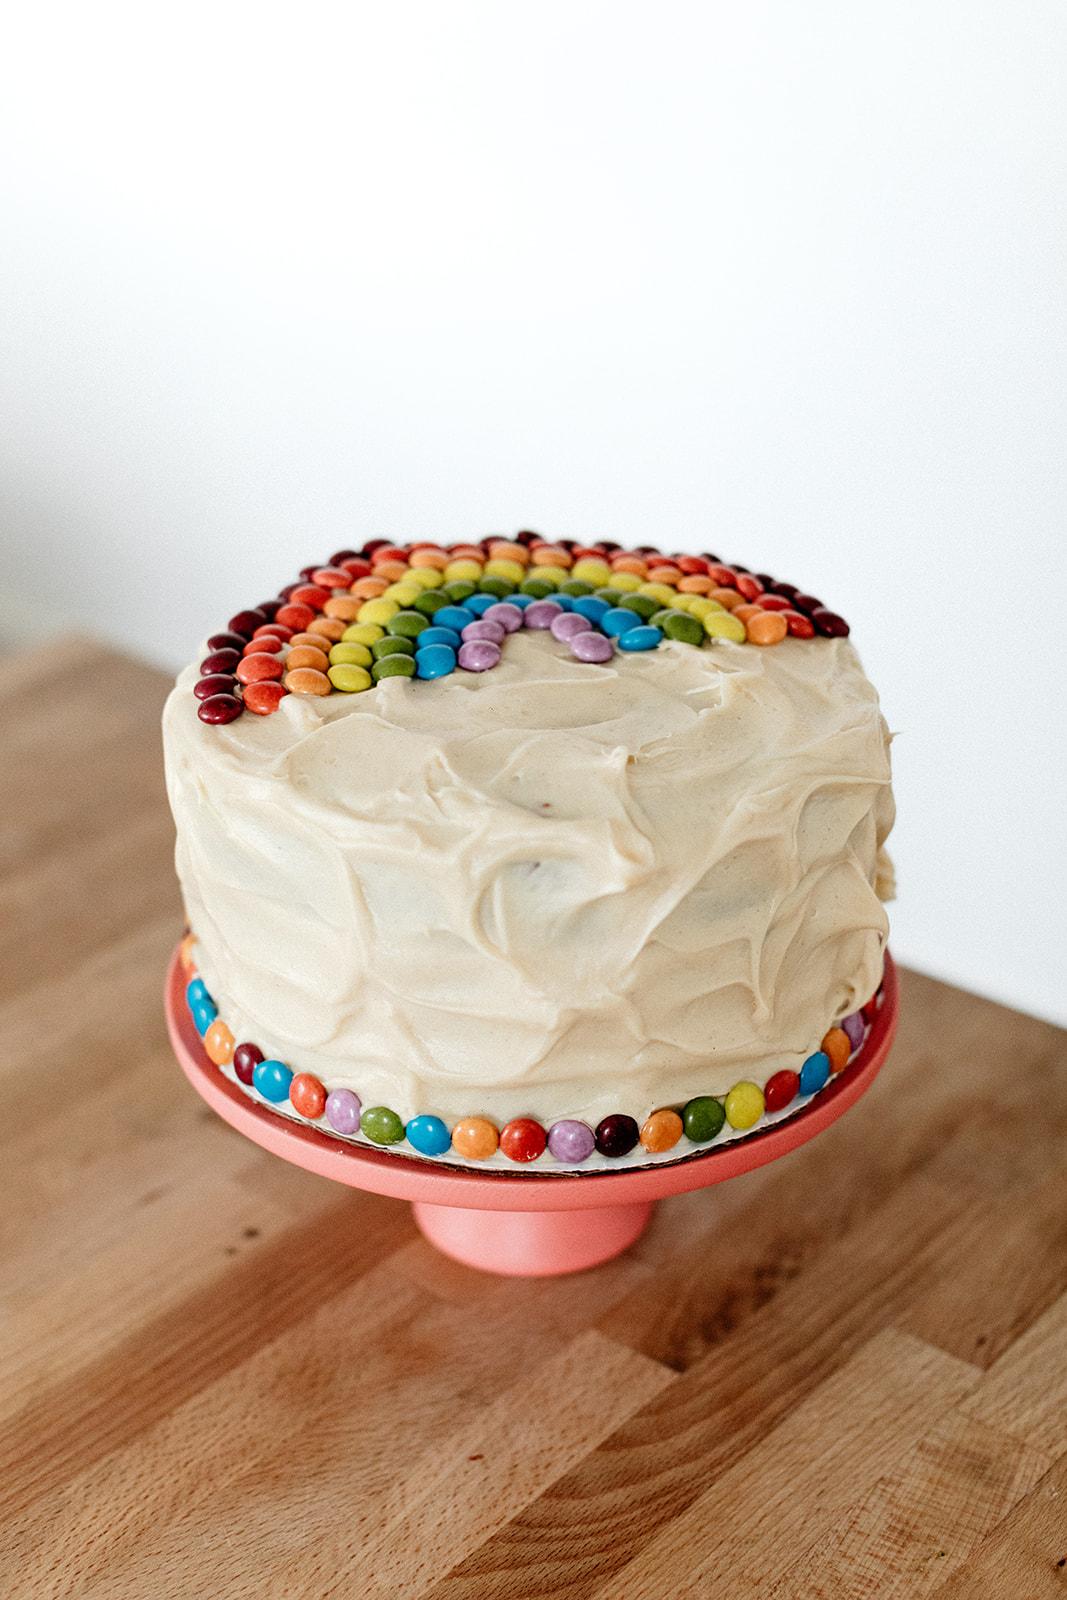
to frost the cake, level the tops of the layers and then stack them up with a thin layer of frosting in between. frost all over and decorate as desired! enjoy!


Homemade Cake Mix for Peanut Butter Cake with Chocolate Glaze

Hello, I am so excited about this cake mix!!!! It’s everything I love in one tidy highly giftable package: cute jars, sprinkles, typewriter cards, string, peanut butter (!), a menorah candle disguised as a birthday wish, and the anticipation of cake! Developing this might have been my favorite part of meal prep especially because it’s the most fun and also, well, it’s for my birthday today! I just figured, who knows if Eggboy will have time to bake my annual yellow cake, and I’ll certainly be too busy to pipe a dang embroidery marzipan llama. So what’s the easiest next best option? A homemade peanut butter cake mix with chocolate glaze mix that I can whip up with a Bernie in one arm and a whisk in the other. I assembled the mix back in March and it’s been sitting in my pantry since. (I kind of feel like I should have half a dozen of these on hand for future cake emergencies, no?) I’d never made anything like it before but realized after looking at my peanut butter cake ingredients that most of the ingredients are easily available in powdered form. Powdered peanut butter and powdered milk were the only two things that I didn’t already have on hand but I bought some at the store and tried them out and they worked so well! So the only things that are required for assembly are an egg, oil, and water, just like a store-bought mix! The result is a really moist and fluffy cake with a shiny chocolatey glaze. I made a set of dala horse cakes, just enough for our little family, but this can be made in a round 8” cake pan or easily doubled and made into a sheet cake!


Homemade Cake Mix for Peanut Butter Cake with Chocolate Glaze

Makes 1 One-layer 8” Round Cake

Ingredients:

Cake:

3/4 c + 2 tb (175g) sugar

1/2 c + 2 tb (81g) all-purpose flour

1/2 c (65g) cake flour, or more all-purpose flour

1/4 c (28g) powdered peanut butter (such as PB2)

2 tb (14g) milk powder

1/2 tsp kosher salt

1 1/8 tsp baking powder

Glaze:

1 c (120g) powdered sugar

1/4 c (30g) unsweetened cocoa powder (I like dutch cocoa for the darker color)

2 tb (14g) powdered peanut butter

1 tb (7g) milk powder

Other bells and whistles:

A birthday candle

A card with directions (see below)

A packet of sprinkles and other colorful candy

Other decorations as desired

Clues

In a medium jar (I used a 1/2 L Weck jar), layer the sugar, flour, cake flour, peanut butter powder, milk powder, salt, and baking powder. In a separate smaller jar (I used a 1/4 L Weck jar), layer the powdered sugar, cocoa powder, peanut butter powder, and milk powder. Cover and wrap up cutely with a candle, directions card, a packet of sprinkles, and any other decorations. Go wild! Gift it to the birthday person! 

Directions To Bake (print this out or make a card on a typewriter if you’re into that)

Cake:

  1. Preheat oven to 350ºf. Grease an 8” round cake pan.

  2. Dump the large jar into a bowl and whisk to combine. Add 1 large egg, 1 cup water, and 1/4 cup oil and whisk to combine. 

  3. Pour into pan and bake for 30 minutes, or until a toothpick stuck in the center comes out clean. Let cool in pan.

Glaze:

  1. Add 3 tablespoons water to the small jar and mix until spreadable, adding an additional tablespoon of water if it’s too thick to spread. Pour over cake.

  2. Decorate and enjoy!


-yeh!

photos by chantell and brett quernemoen

monster cookie cake

I am officially 9 months pregnant and officially in major freakout nesting mode!!!!! I am of the textbook vibe: please-move-the-crib-there-no-please-move-it-there-or-maybe-this-wall-needs-to-be-painted-a-dark-mustard-color-ohmyguhhhhhh-we-don’t-have-enough-toys!!! *Sits in the gym parking lot and orders the playpen in the most frantic manner* *Can’t decide on any of the nursing bras so buys all of them* *Cries in the Old Navy baby department!!!!*

The good thing is that I’ve had the energy to get worked up about everything. Aside from the average two nights a week when I’m up all night long obsessing about things like rocking chairs versus gliders, I’ve been sleeping like a rock. I was totally bracing myself for the return of first trimester fatigue during my third trimester, as I’ve read is often the case, but I truly do not have the time to be tired right now. I have a list of meals to be prepped (I’ll blog about this soon!), a bunch of furniture to rearrange (or rather, direct Eggboy to rearrange), and a slew of recipes to edit for both Girl Meets Farm and blog posts that I’ll schedule to go live during my maternity leave. And I need to stay current on the Bachelor which is taking up so much time, gosh geez. Luckily I’ve been able to focus a lot of this energy into keeping up with my workouts which have consisted of lifting itty bitty weights and doing resistance stuff and also waddling quickly around the track (while listening to Unorthodox, obviously). Which I think has been key in not driving everyone around me too crazy. I think. They haven’t told me otherwise. But then again what monster calls a 9-month pregnant lady crazy to her face?

Speaking of monsters, I made a monster cookie cake! It was for Eggmom’s birthday! I didn’t know what a monster cookie was until I moved here and kept hearing about the gigantic gooey ones at the UND cafeteria. I’ve never actually had one because I’m afraid of getting caught sneaking onto campus but I’ve had others and they are sooo good: peanut butter, oatmeal, and M&M’s all folded into a soft chewy delicious cookie. It occurred to me that it needed to be turned into a cake when I was brainstorming cakes for Eggmom’s birthday earlier this year. She loves M&M’s. And has oatmeal every morning. And ate peanuts by the handful when she was pregnant with Eggboy. So a monster cookie cake seemed perfect!! The oats and peanut butter in the batter here make it extra dense and moist, and the chocolates (I went with Trader Joe’s naturally colored candy coated chocolates) add good textural excitement. This is a super heavy cake! It’s slathered with peanut butter cream cheese frosting which drives home the peanut flavor and also adds a hint of sourness that’s the perfect balance to the cake. This frosting is sooooo goooood, you might want to make extra so you can just eat it with a spoon. You can totally bake this batter into cupcakes (it’ll make a lot, like 40!) and if you’re really feeling the monster energy, I feel like a few marzipan monsters around the sides would be cute. Or you can just go the normcore rainbow route like I did!

I made this cake using Our Family ingredients, which was especially fitting since I made it for family!! <3


monster cookie cake

makes one 3-layer, 8-inch cake

Ingredients

Cake

2 c (472g) boiling water

1 1/3 c (106g) rolled oats

2 c (260g) all-purpose flour

1/2 c (64g) whole wheat flour, or more all-purpose flour

1 1/2 tsp kosher salt

1 1/2 tsp baking powder

1 1/2 tsp baking soda

1 1/2 tsp cinnamon

1 c (200g) granulated sugar

1 c (200g) brown sugar

1/2 c (100g) flavorless oil, like canola

1 c (256g) creamy unsweetened peanut butter

2 large eggs

1 tb vanilla extract

1 c (240g) buttermilk 

2 c (320g) candy coated chocolates, plus more for decorating

Frosting

1/2 c (113g) unsalted butter, room temperature

1 c (226g) our family cream cheese, room temperature

1/4 c (64g) creamy unsweetened peanut butter

3 c (360g) powdered sugar

A pinch of kosher salt

1 1/2 tsp vanilla bean paste or extract

2 tb (30g) heavy cream

clues

Preheat the oven to 350ºf. Line the bottoms of three 8” round cake pans with parchment, grease the parchment and sides of the pans and set aside.

In a medium bowl, combine the boiling water and oats, cover, and let sit for 20 minutes.

In a separate medium bowl, whisk together the flours, salt, baking powder, baking soda, and cinnamon. 

In a large bowl, whisk together the sugars, oil, and peanut butter. Add the eggs one at a time, whisking after each. Whisk in the vanilla and buttermilk and then stir in the dry ingredients and then the oats. Fold in the candy chocolates (quickly, to prevent the colors from bleeding), and then transfer to the cake pans. Bake until a toothpick inserted into the center comes out clean; begin checking for doneness at 30 minutes.

Let cool in the pans for 10 minutes and then transfer to a wire rack to cool completely.

To make the frosting, beat together the butter, cream cheese, and peanut butter until smooth. Add the powdered sugar, salt, and vanilla and beat to combine. Beat in the heavy cream.

Stack up the cake layers with a layer of frosting between each and then frost all over. Decorate with candy coated chocolates. Enjoy!


-yeh!

This recipe was developed in partnership with Our Family!

photos by chantell and brett quernemoen

wild blueberry cake with cream cheese frosting

We are babymooning in Hawaii right now! 

What happens on a babymoon? 

You sit by a pool and eat. And then waddle to the beach, eat some more, and apply more sunscreen. You space out, look over at Eggboy and his stack of newspapers and you ask what’s happening in the world today? And he tells you about some fun storyline about an obscure sports championship that’s going on or a record that’s about to be broken or discovery that might have just been made. Or he shows you John Mayer’s latest Instagram Story. Then you plan your next meal.  

Then you come home, put the car seat in the car, and have a baby! 

Or something like that?? (I dunno, Molly of last week wrote this, Molly of this week is not here right now.) My point is, even though I’m totally away this week, I wanted to leave you with this blueberry cake because I made it recently and the only thing that stopped me from eating it all was visions of failing my gestational diabetes test. I made it for Eggnephew Cliff’s baptism!

When I asked Eggsis what kind of cake I should make, she said blue! And I said, …berry?? And we got really excited. Blueberries have become kind of a default craving of mine since they go so well with my top craving of cream cheese. And I love that they work so nicely as a natural food coloring, even though their color skews more purple. This cake is a variation of my go-to rich buttery vanilla cake, which is the richest densest cake in all the land, and I’ve added some flavors that play nicely with blueberries: lemon zest for brightness, cream cheese for tanginess, and cinnamon for a muffin-like warmth. I also like using unrefined coconut oil in this for the faintest coconut flavor, it’s not overpowering and really lovely. It’s a lot like eating a party version of a blueberry muffin. I decorated it with marzipan cutouts inspired by those wooden toy letter blocks because… babies. 

Even though I haven’t tried it yet, I imagine that this recipe would be tasty with other fruits and berries. A strawberry cake or raspberry cake would be delicious. Or a mixed berry cake! 


wild blueberry cake with cream cheese frosting

makes one 3-layer, 8-inch cake (the cake pictured has an extra layer since I needed to make it bigger to feed all of Cliff’s friends)

ingredients

cake:

4 c (520g) + 1 tb all-purpose flour, divided

1 tb baking powder

1/2 tsp cinnamon

1 1/2 tsp kosher salt

1 1/4 c (300g) heavy cream, room temperature

1/2 c (120g) sour cream, room temperature

1 c (225g) unsalted butter, softened

1/2 c (100g) unrefined coconut oil, soft but not melted

2 1/4 c (450g) sugar

zest of 1 lemon

4 large eggs, room temperature

1 tb vanilla bean paste or extract

1/2 tsp almond extract, optional

1 1/2 c (210g) frozen wild blueberries

frosting:

1/2 c (70g) frozen wild blueberries

2 tb water

1 c (225g) unsalted butter, softened

3/4 c (168g) cream cheese, softened

4 c (480g) powdered sugar

a pinch kosher salt

1 1/2 tsp vanilla bean paste or extract

3 tb heavy cream

clues

to make the cake layers: preheat the oven to 350ºf. grease and line the bottoms of three 8” cake pans with parchment and set aside.

in a large bowl, sift together the 4 cups of flour, baking powder, and cinnamon, and then lightly stir in the salt and set aside. in a large measuring cup, whisk together the heavy cream and sour cream and set aside. 

in a stand mixer fitted with a paddle attachment, cream together the butter, coconut oil, sugar, and lemon zest on medium high for 3-4 minutes, until light and fluffy. add the eggs, one at a time, beating well after each. add the vanilla and almond extract, if using. reduce the mixer to medium low and add the dry mixture and cream mixture in 3 alternating additions, mixing until just combined. toss the frozen blueberries with the remaining tablespoon of flour and fold them in (don’t rinse the blueberries). distribute the batter evenly between the cake pans, and spread it out evenly (don’t be alarmed if the frozen blueberries cause the cake batter to firm up, that’s ok!). 

bake until the tops of the cakes are starting to brown and a toothpick inserted into the center comes out with a few crumbs on it; begin checking for doneness at 33 minutes and try your darnedest not to let it over-bake. let cool in the pans for 10 minutes and then transfer to a wire rack to cool completely. 

to make the frosting:

combine the frozen blueberries with the water in a medium saucepan and heat over medium for about 10 minutes, stirring and mashing occasionally with a rubber spatula, until the blueberries have broken down and released their juices. strain the juices through a fine mesh sieve into a bowl or measuring cup, using your rubber spatula to mash the blueberries and wring out any juices that they’re still holding onto. you should get around 3 tablespoons of liquid (if it’s much more than that, discard any excess or reserve it for another use). 

in a stand mixer fitted with a paddle attachment, beat together the butter and cream cheese until creamy. gradually add the powdered sugar, and then mix in the salt, vanilla, blueberry juice, and heavy cream. mix until creamy.

to frost the cake, level the top of the layers and then stack them up with a layer of frosting in between. frost all over and decorate as desired! enjoy!


-yeh!

photos by chantell and brett!