
Baby Meal Prep Guide
/


I have been looking forward to baby prep since, like, I myself was a baby. I love making prepackaged foods with labels and stuff, it’s the same part of me that explodes with excitement whenever I remember that in a few years I’ll get to start packing cute little lunchboxes every day. I currently have enough meals prepped for a good couple of months, including specific dishes for Passover, Father’s Day, Mother’s Day, and my birthday. (You’re going crazy, says Eggboy. But we’ll see who the crazy one is when he’s eating a nice hot burrito at 3am while holding a screaming baby!) Not every aspect of my impending life as a mother is as ready as my freezer, of course, seriously how do I change a diaper, but since I’ve learned so much and had so much fun preparing all of these meals, here is a post about it!
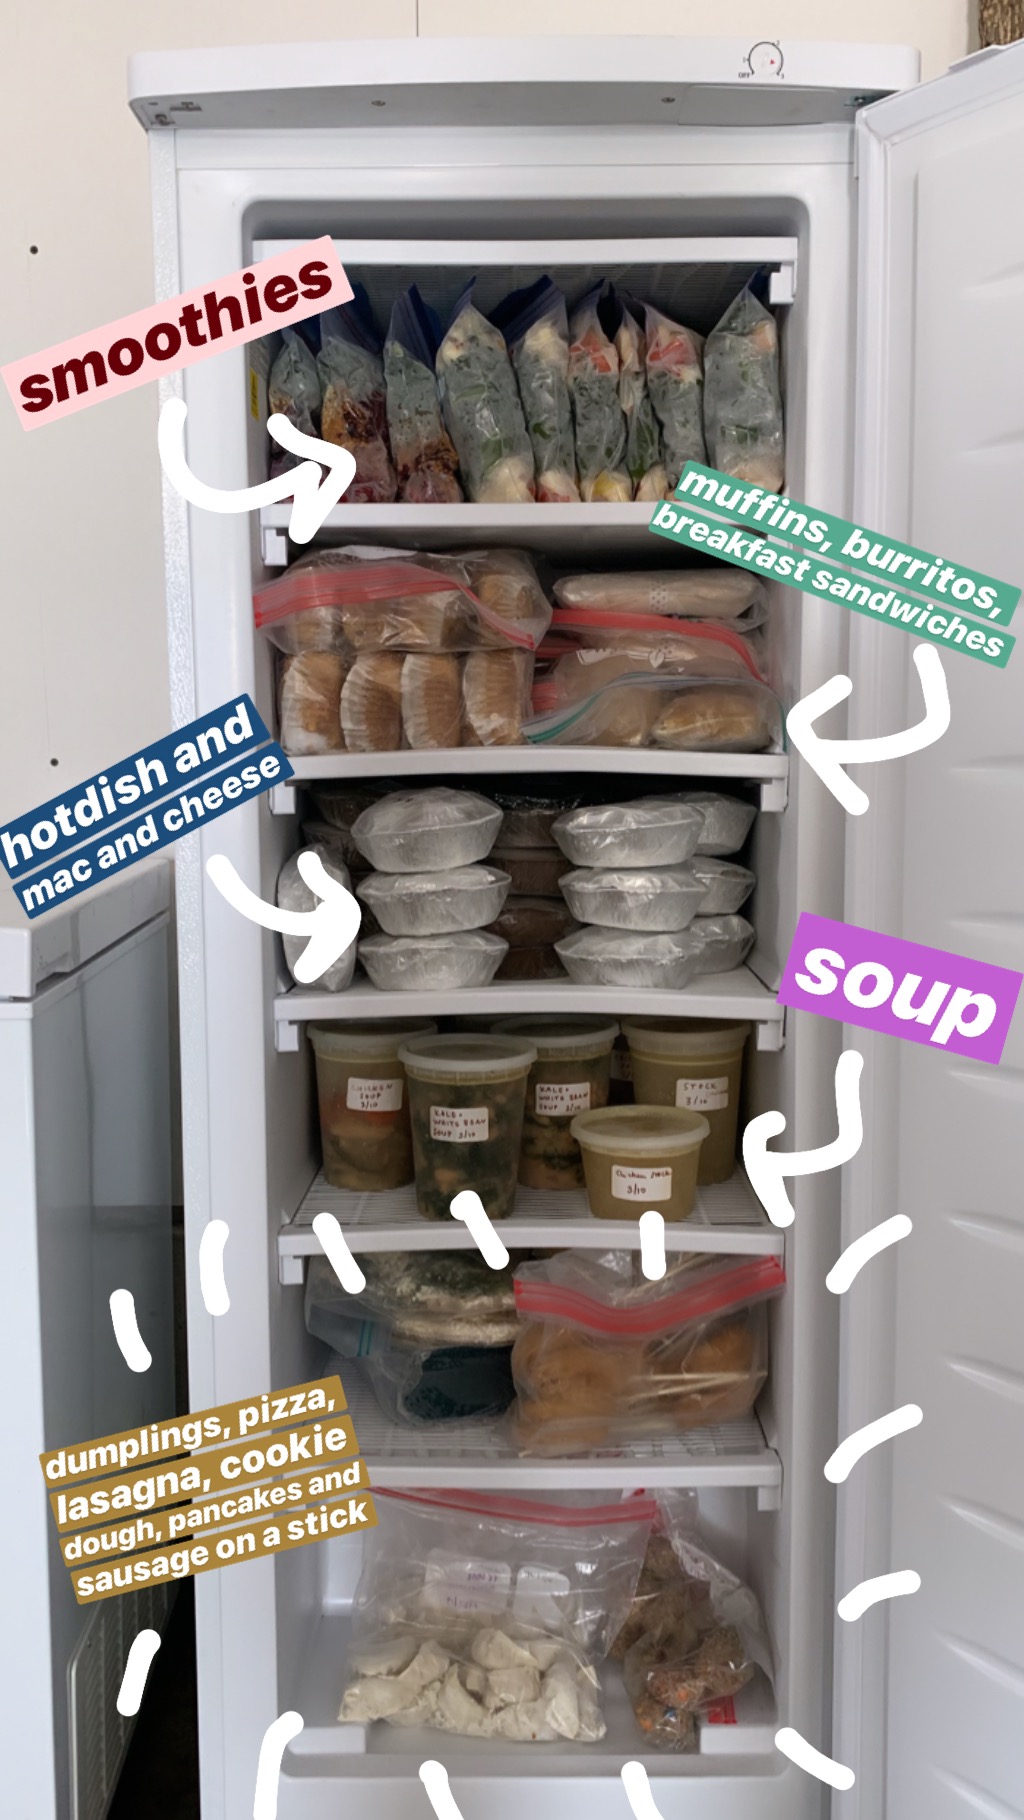
As soon as I learned of Poppy Seed’s existence, I started a list on my phone of prep-ahead-able foods that I wanted to make and also blog about, since I figured this would be a great way to organize all of the recipes that I wanted to post during my maternity leave. (So a lot of the recipes that are mentioned here will be posted over the next 3-4 months.) My goals for this list were to find foods that were comforting and delicious, but that were also going to pack some nutrition and not be too heavy. I didn’t want to just fill my freezer with hotdishes and mac and cheese, so I made sure to also add things like smoothie packs, veggie dumplings, and spinach-packed meatballs. I also asked Instagram for suggestions and the most suggested things were:
-Handheld foods
-Oatmeal muffins, to aid with lactation
-Everything on Pinch of Yum’s freezer meal guide
-Carby/comforting things like mac and cheese, lasagna, and chicken pot pies (and individual portions of them)
-Soups
-Breakfast sandwiches and burritos
So I compiled my master list! Here it is. Not everything is frozen, some of it is just shelf stable, and there are also lists of other grocery store items that I plan to have on hand as well. I’ve prepped most of these things so far. I have another week before my due date to try to get to the rest of it, but if I don’t we’ll be ok.
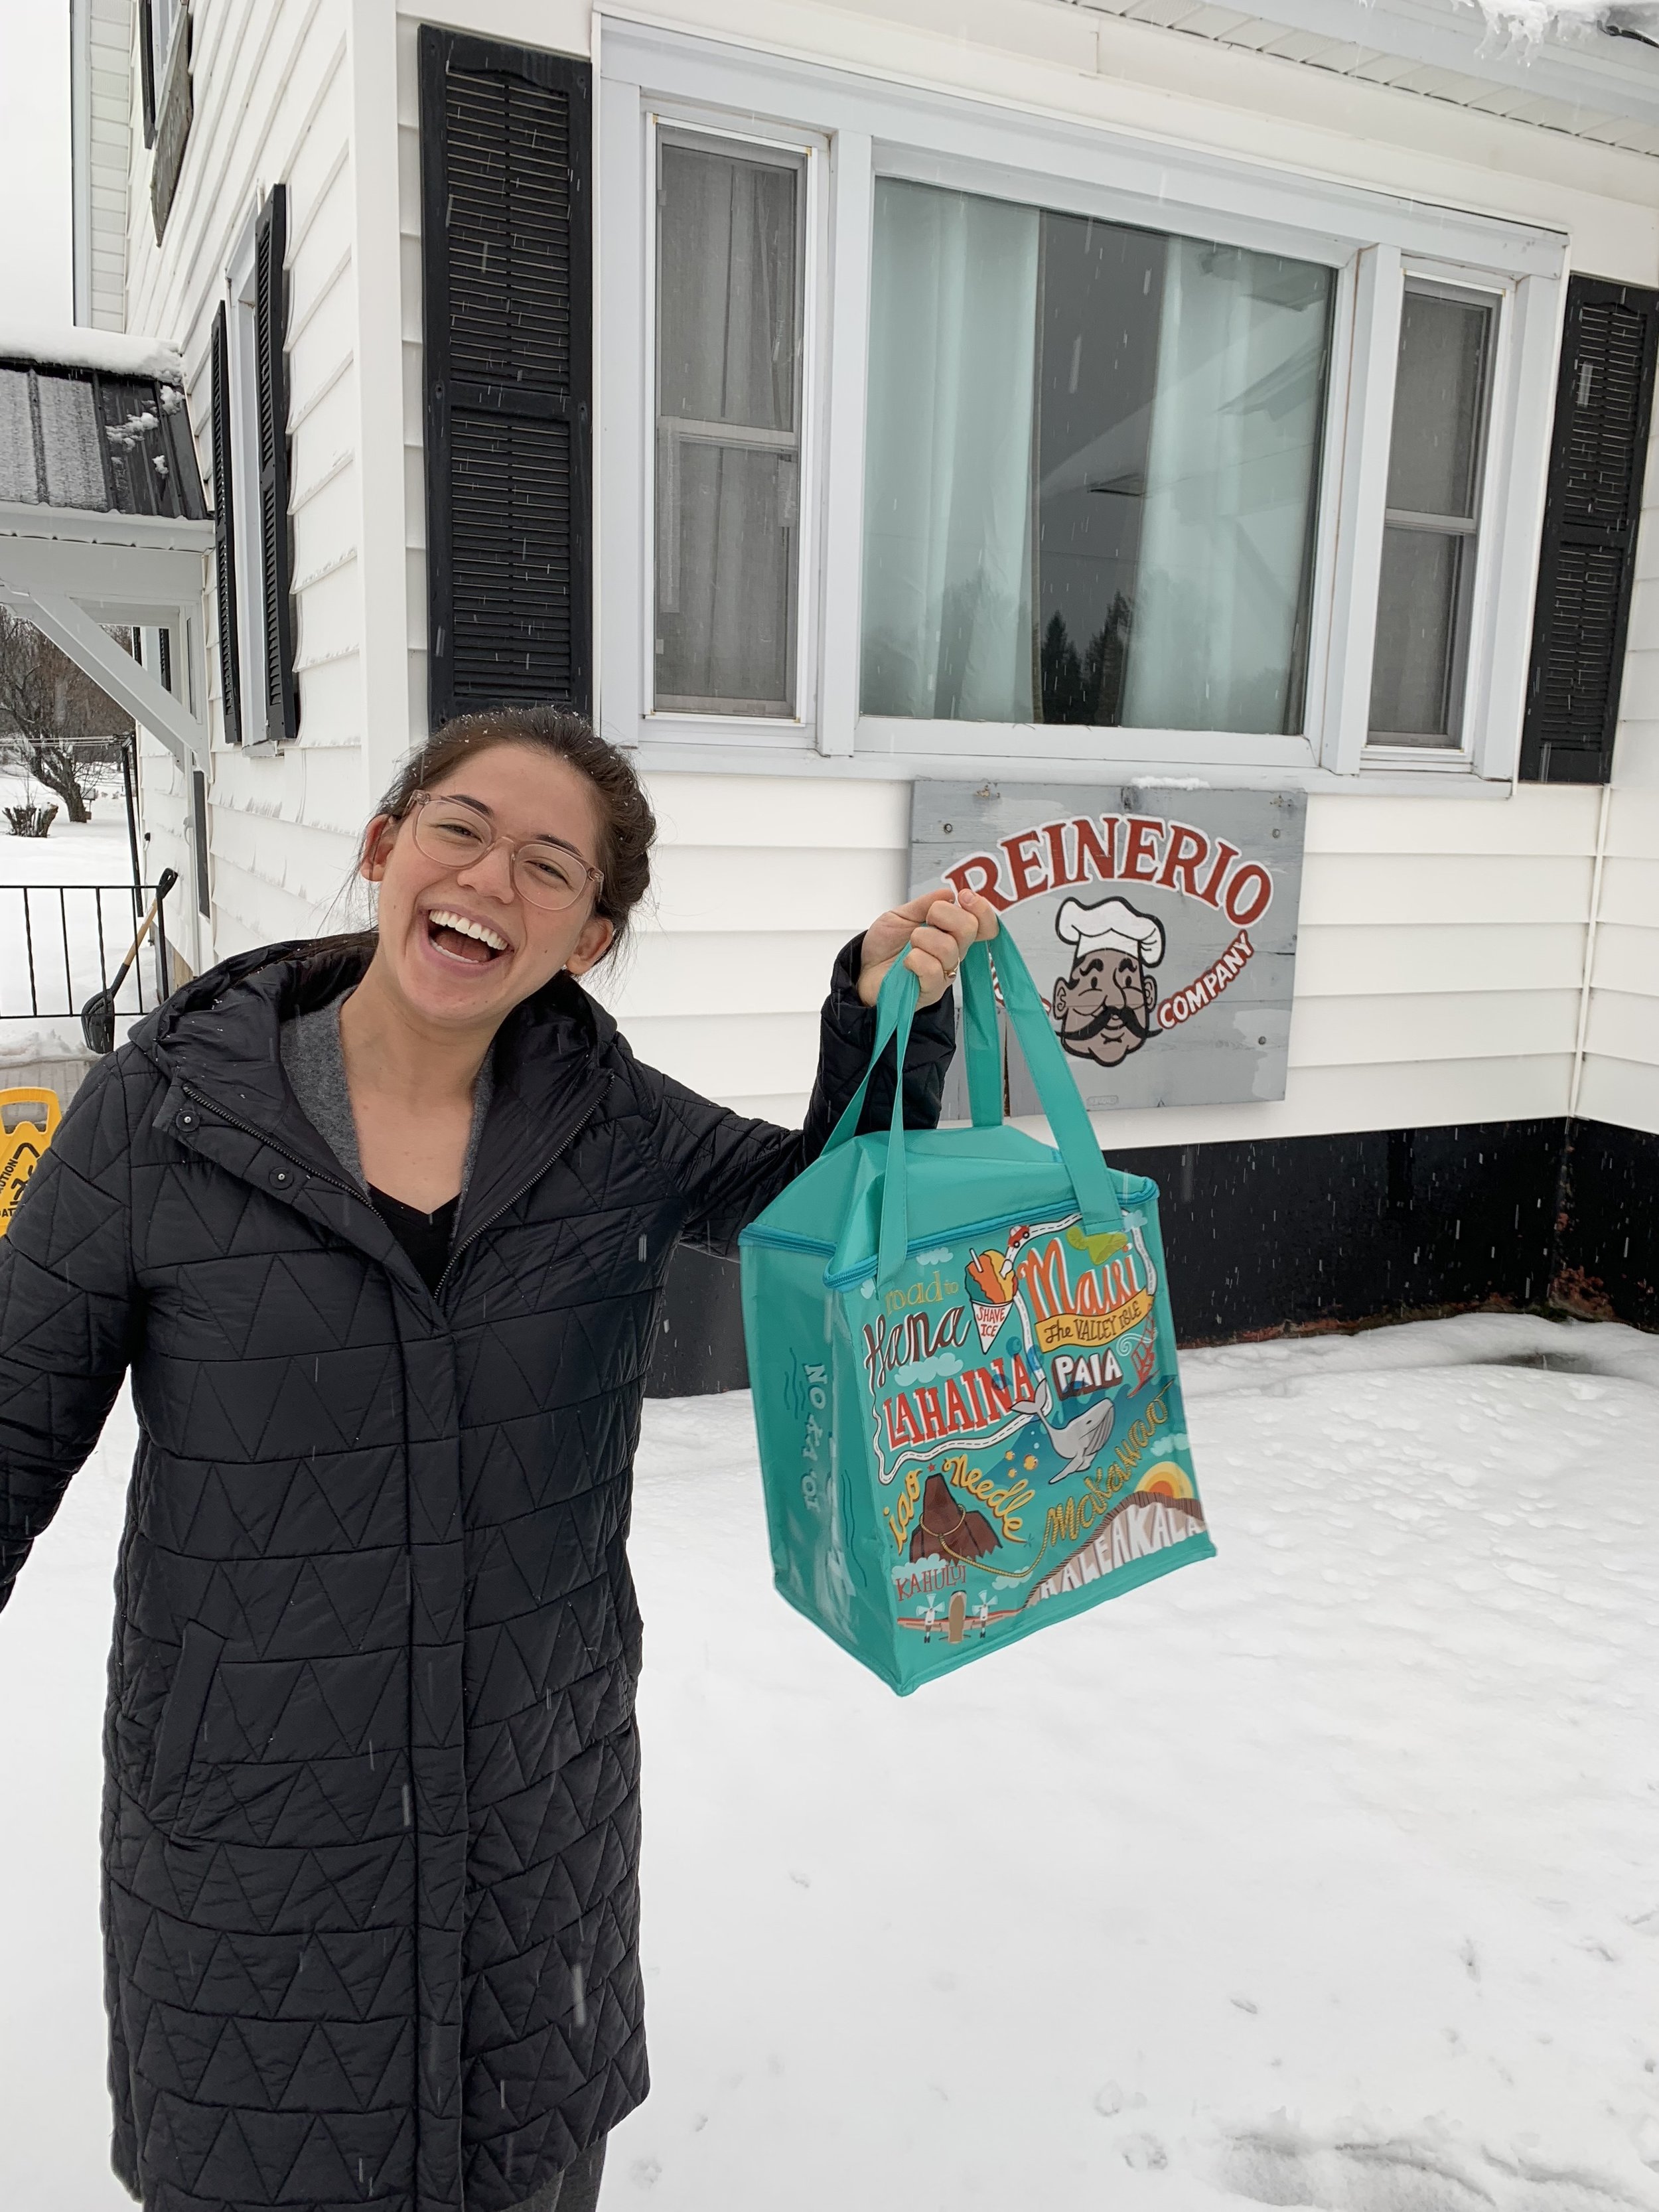
Oh and here’s a confession: we recently bought a new freezer that was on sale at Sam’s Club on the premise that it’ll definitely get put to use in the future for cakes, preserving rhubarb, and meal prep for my next 12 kids. So between that, the chest deep freeze that we inherited from Egggrandma, the little shoebox-sized freezer in my Smeg fridge, and the other fridge/freezer that we inherited from other Egggrandma, we have four freezers. 4! Here’s the new one that’s holding most of the meal prep stuff, the other ones are too messy for a photo op.
My Meal Prep Master List
* = recipe coming soon. I’ll post links here as they get posted!
Breakfast:
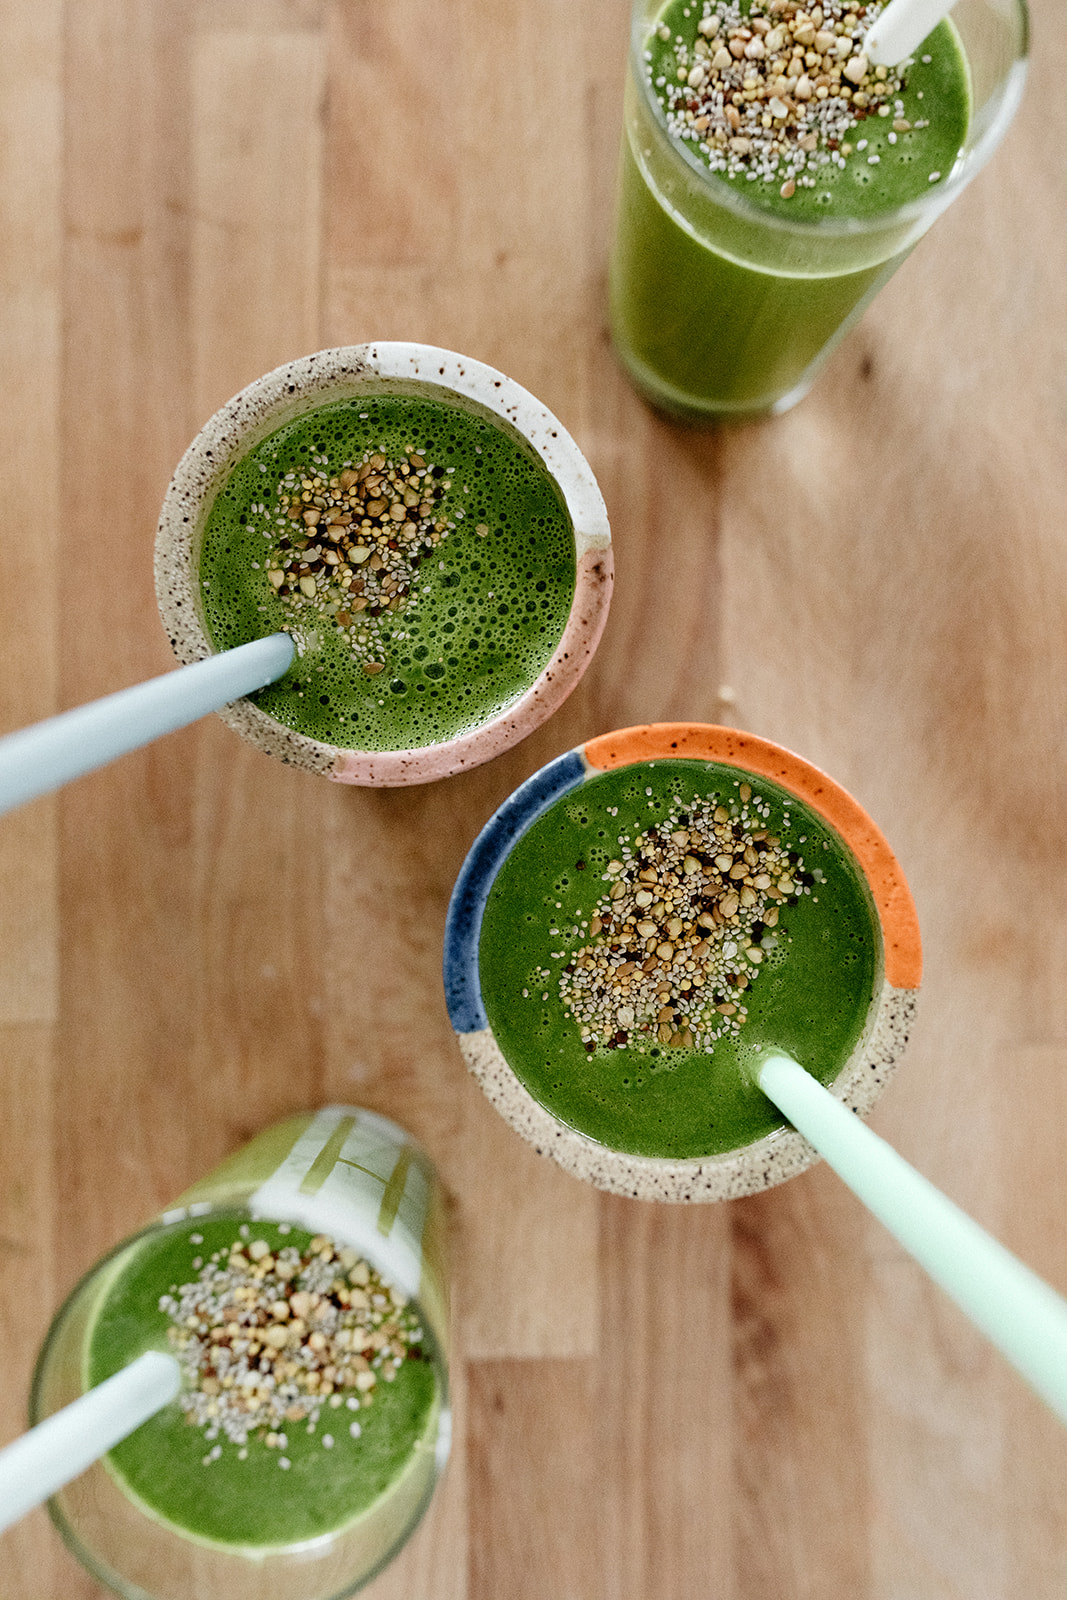
Cocoa berry smoothie packs (the recipe is in my Instagram Meal Prep story highlights)
Potato bagel breakfast sandwiches*
Chocolate peanut butter oatmeal muffins
Other things I plan to have on hand: avocados, oranges, apples, berries, yogurt, ezekiel/seedy bread, matzo, peanut butter, jam, sliced cheese
Lunch:
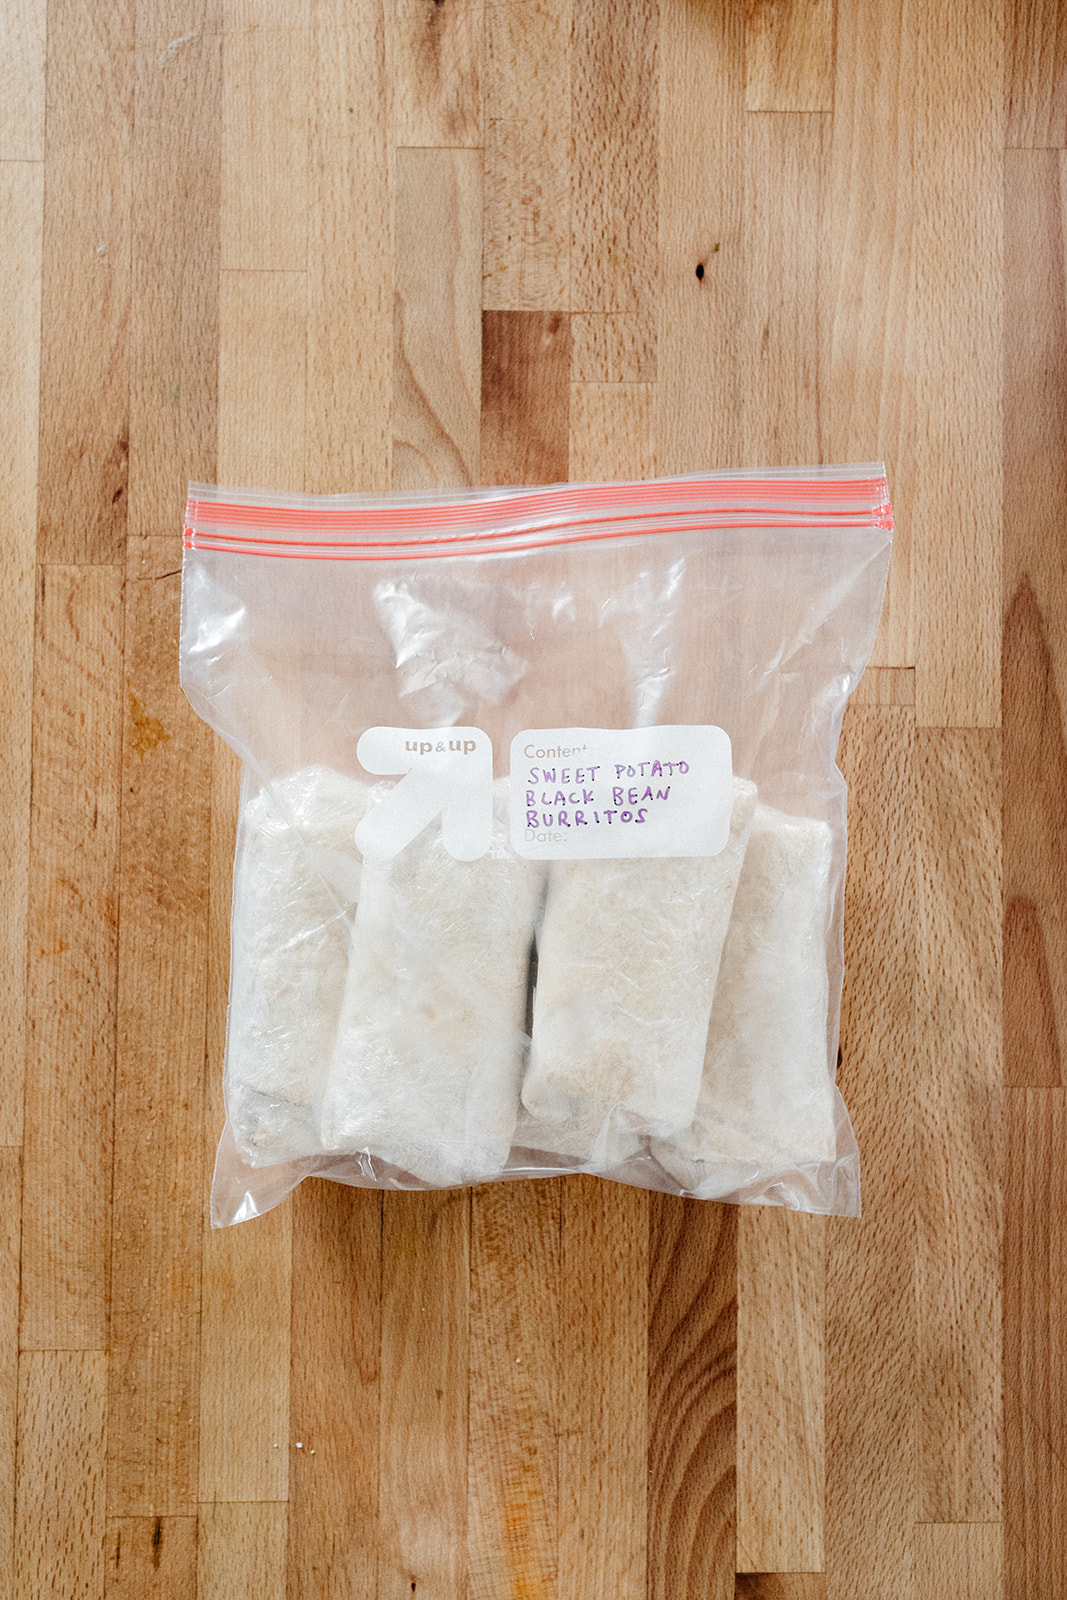
Black bean sweet potato burritos*
Everything bagel mac and cheese
Mozzarella pesto mac and cheese
Other things I plan to have on hand: salad kits, sandwich stuff (COLD CUTS GET @ ME), baby carrots, celery
Dinner:
Turkey bean chili and cornbread
Spinach and artichoke chicken and biscuits
Other things I plan to have on hand: salad kids, broccoli/other quick cooking vegetables, Rao’s marinara sauce (my fave!), pasta, rice, frozen cauliflower/sweet potato rice
Desserts, snacks, and occasion things:
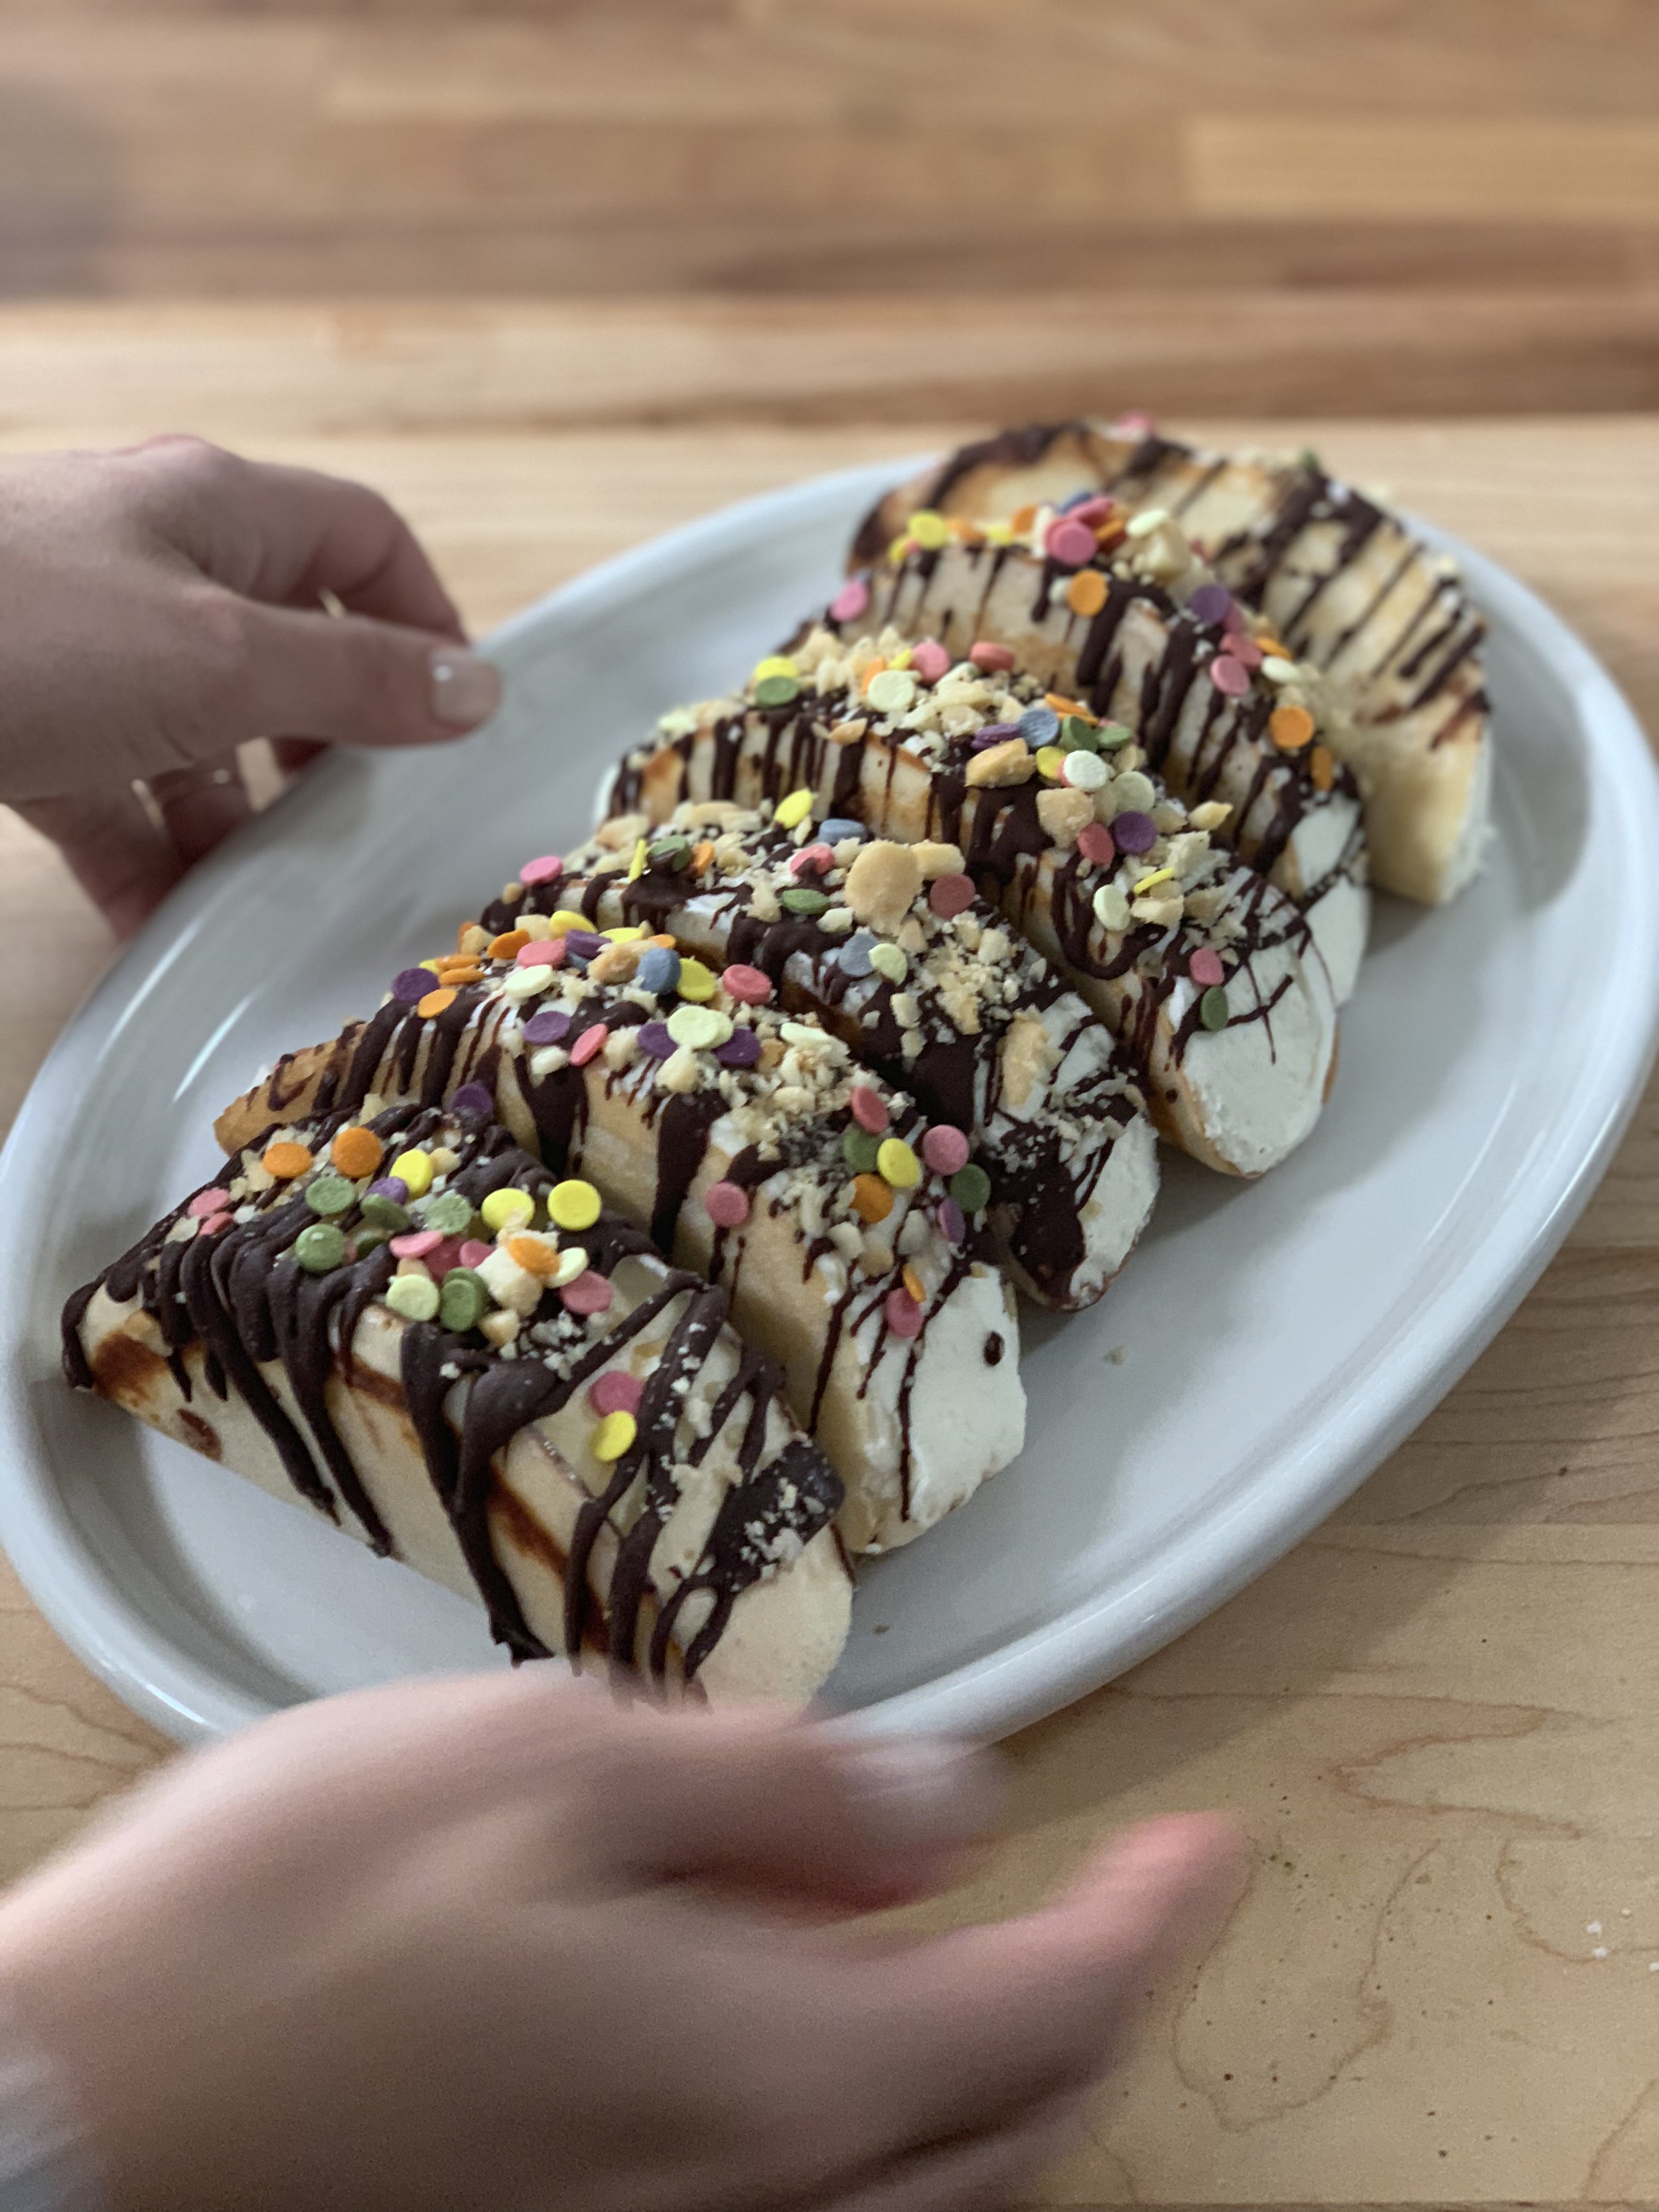
Sausage and pancakes on a stick
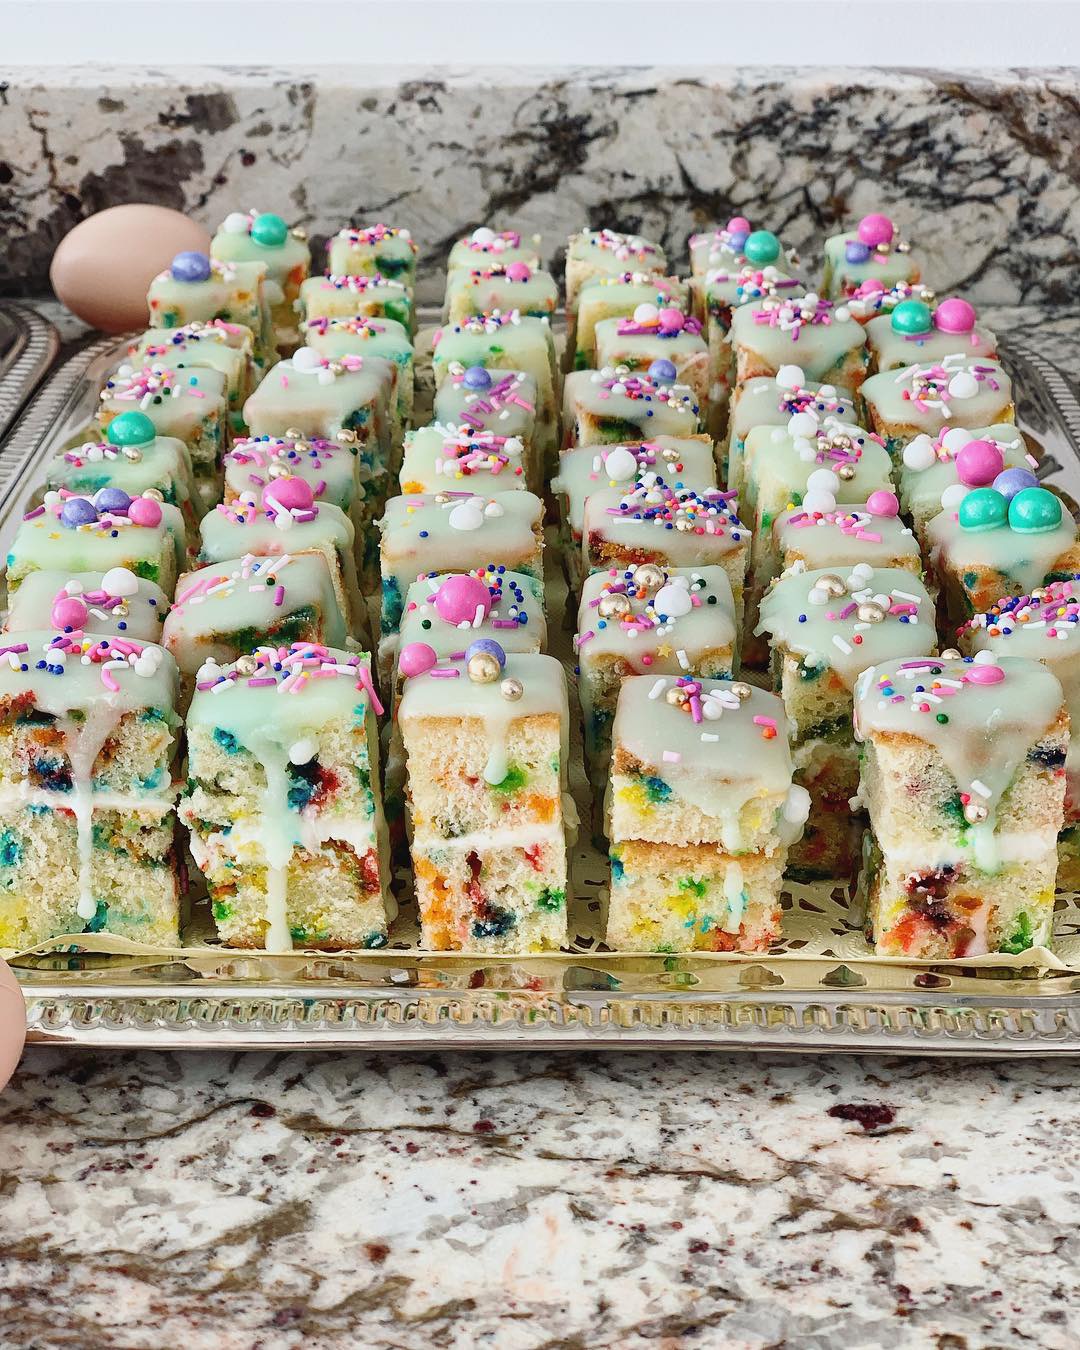
Sarah's chocolate chip cookie dough
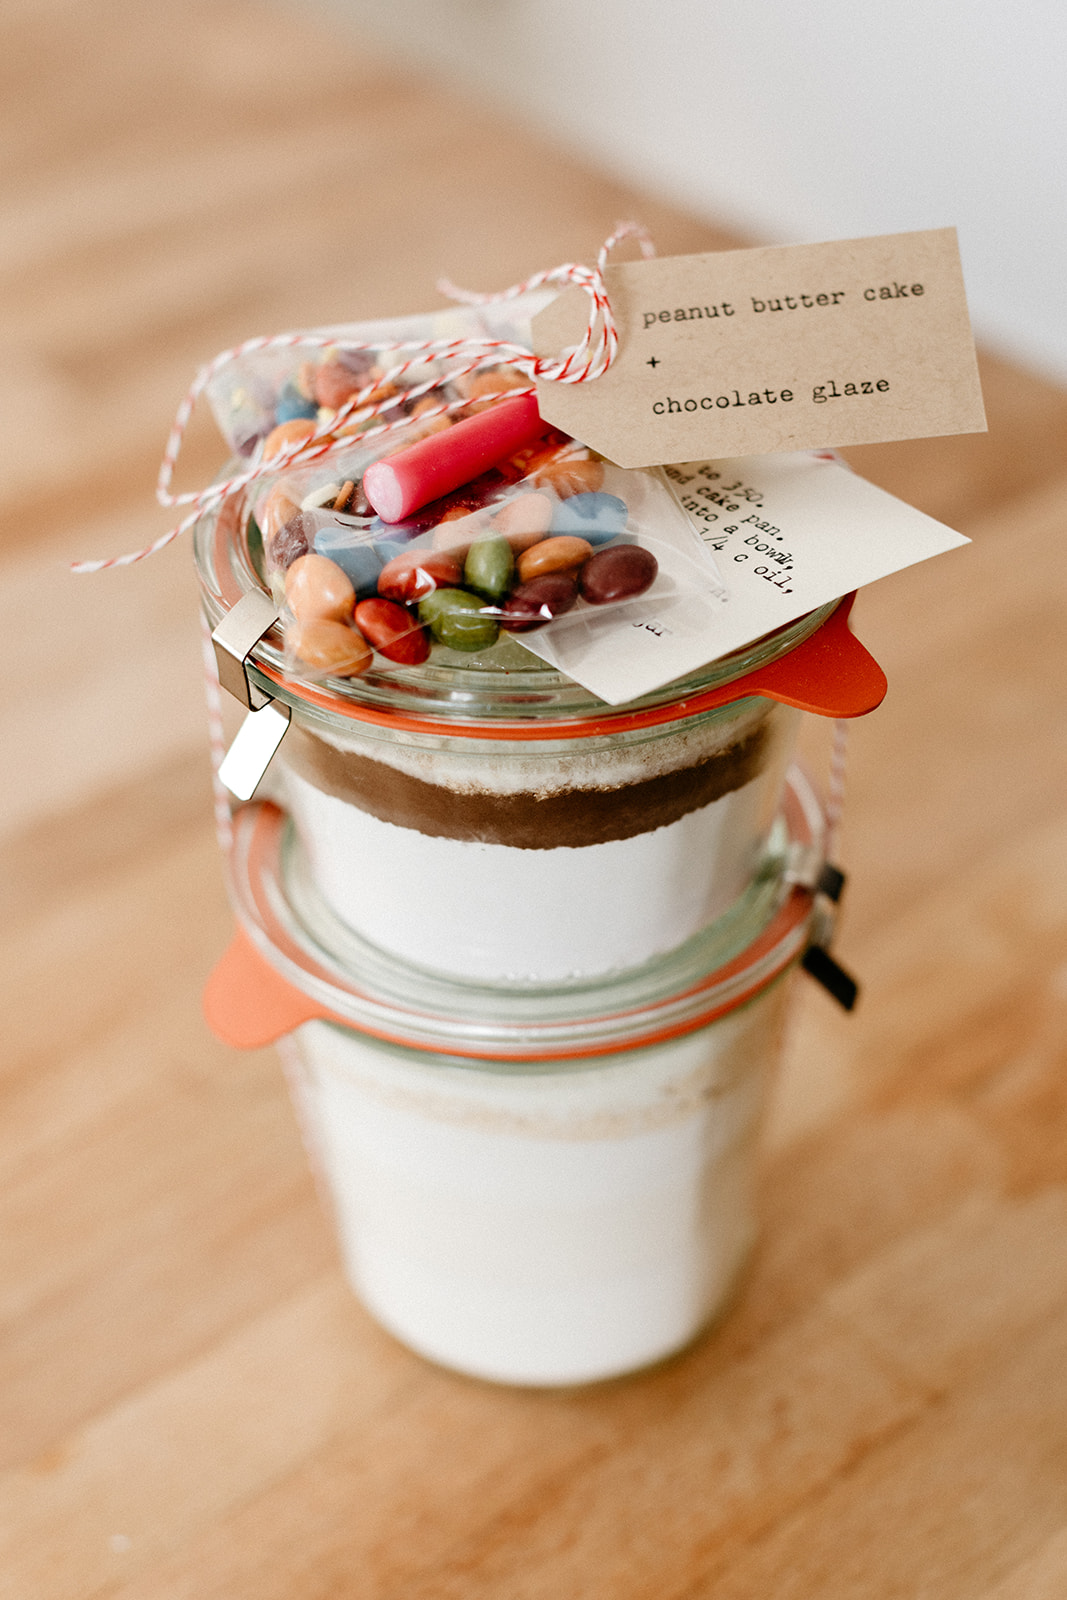
Homemade peanut butter cake mix
Passover:
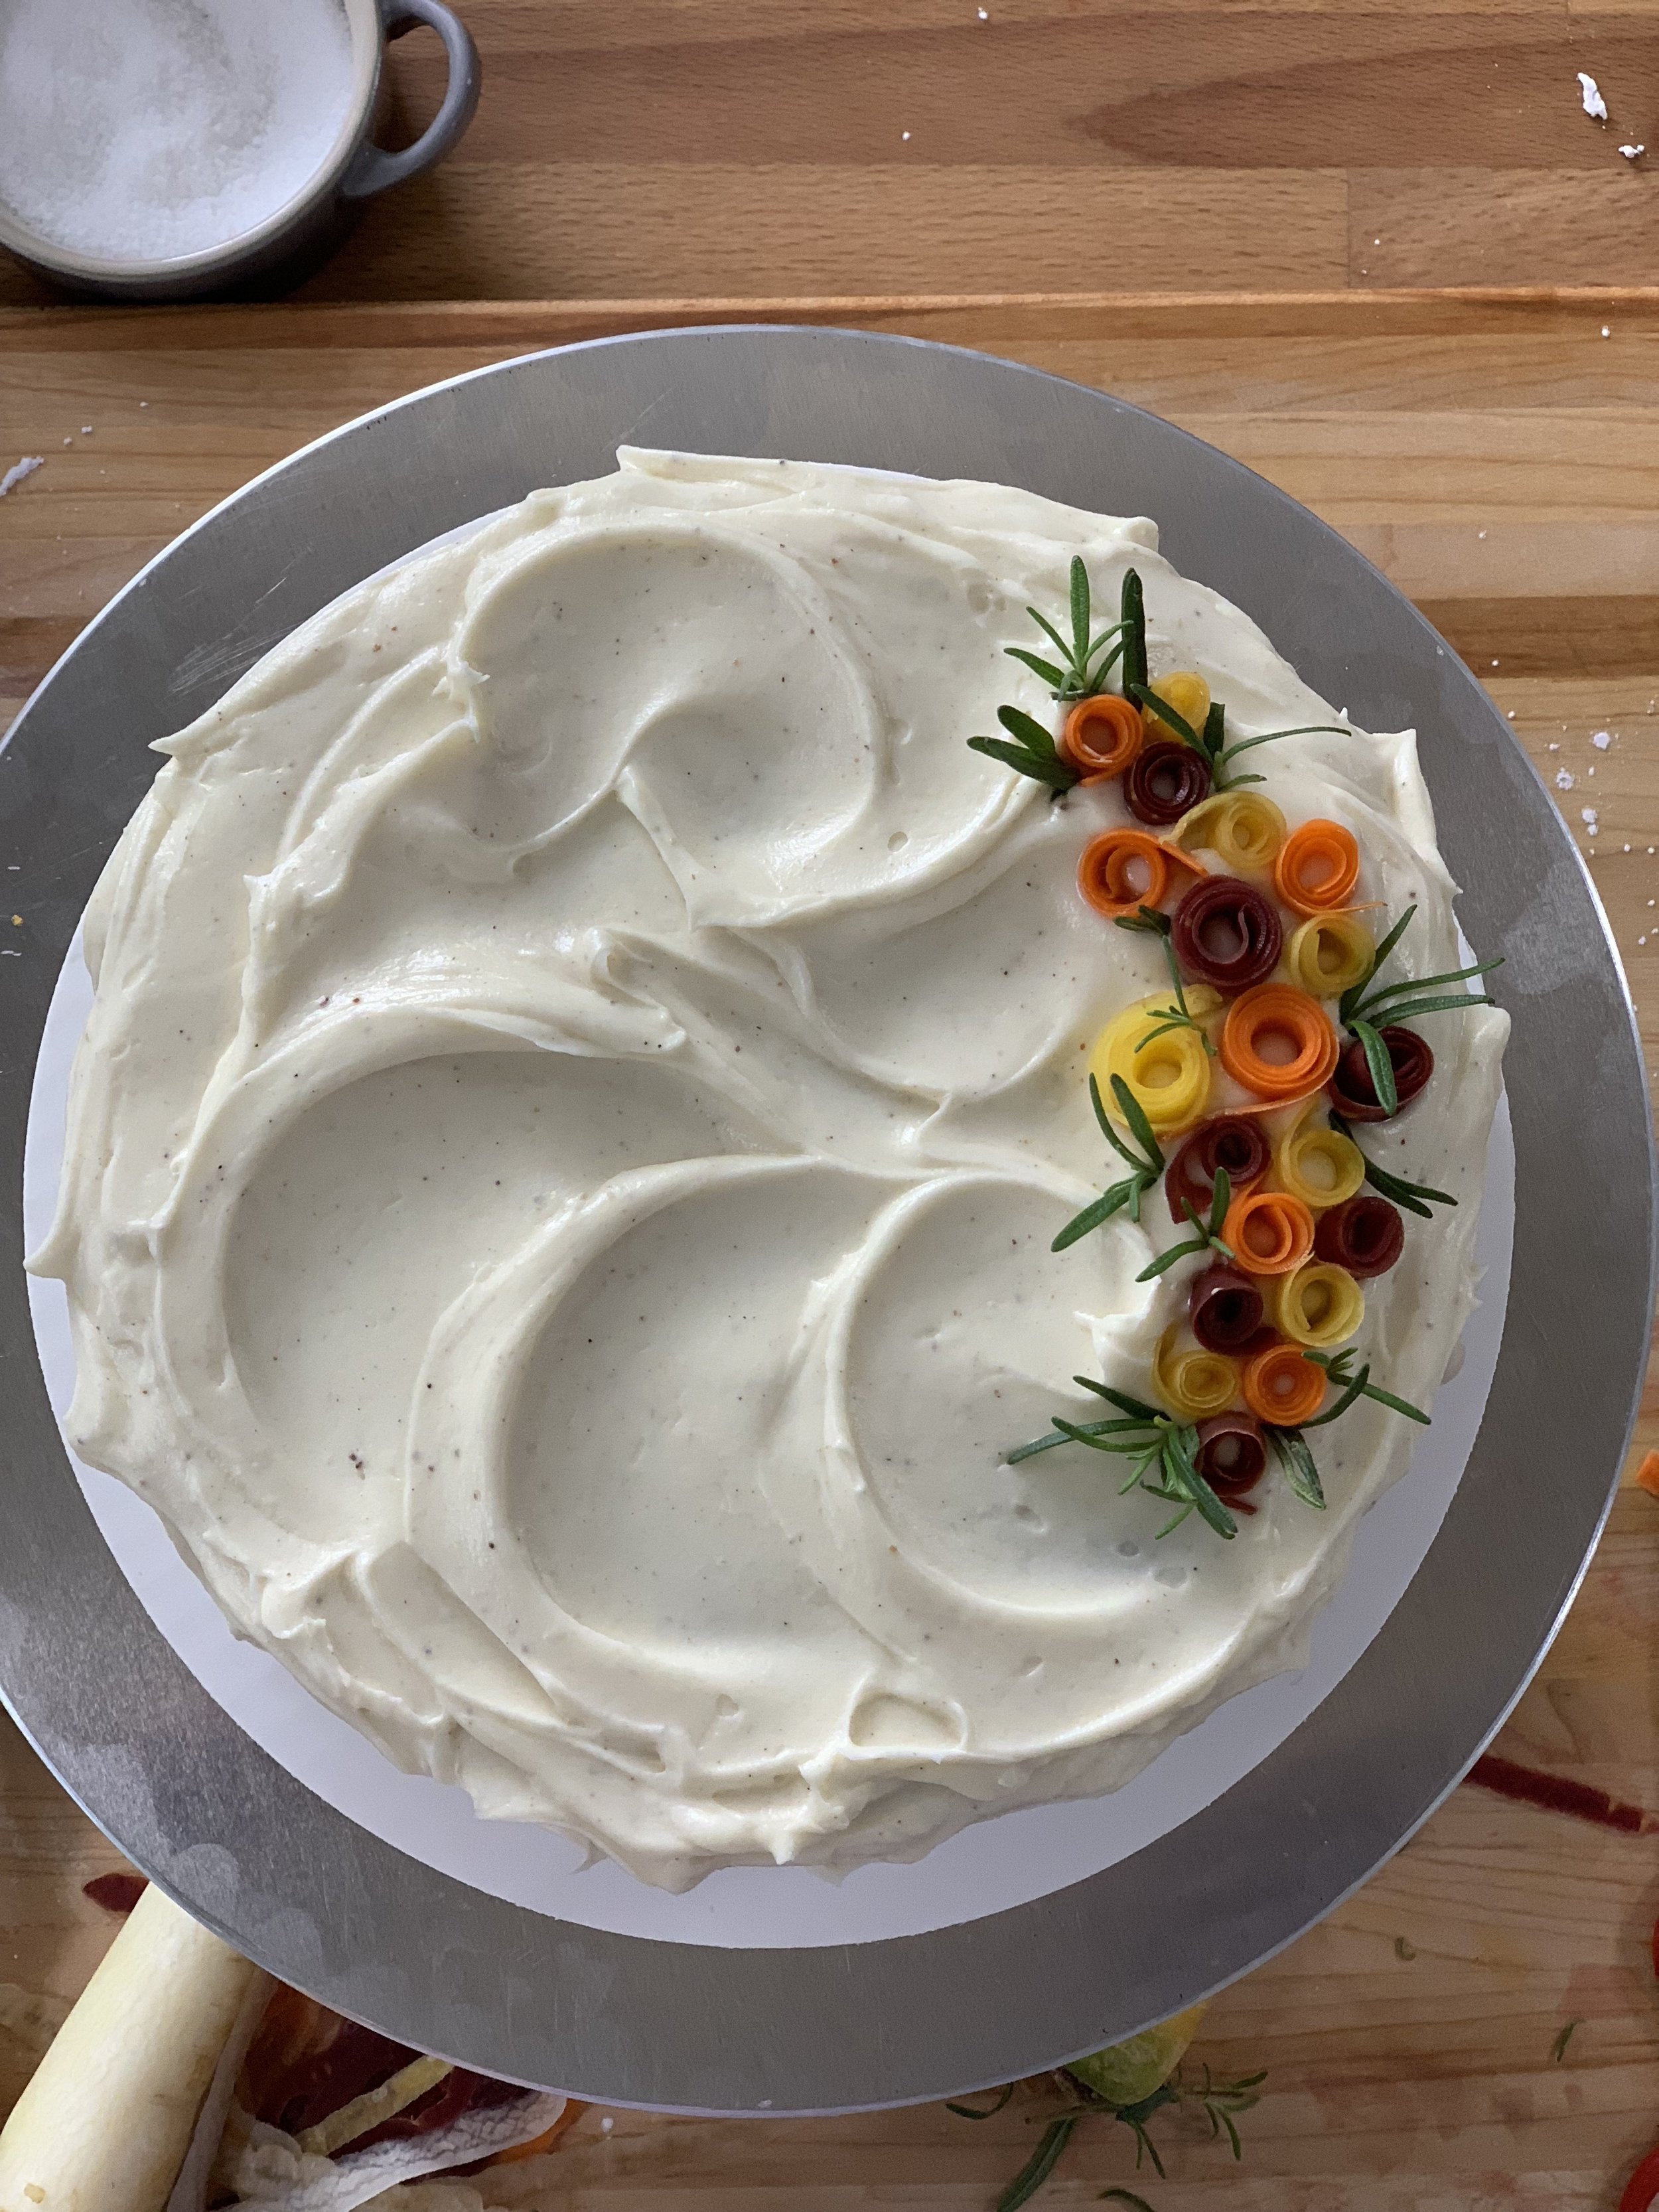
Spring veggie white matzo lasagna
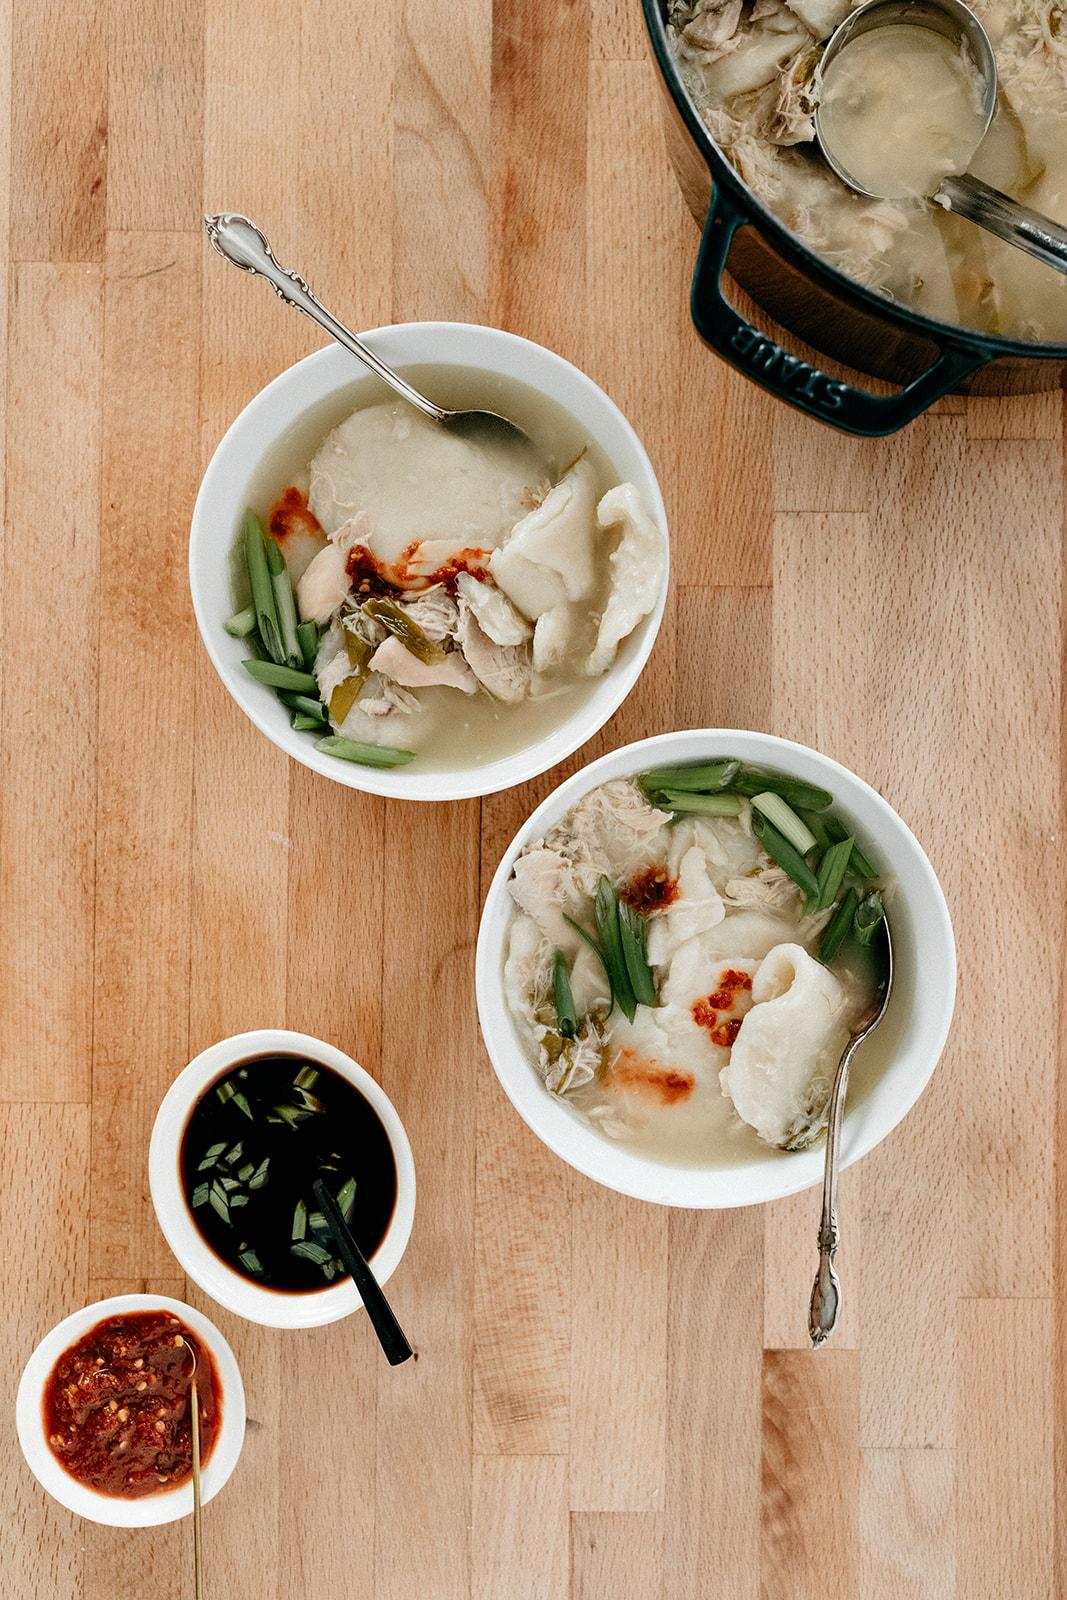
Chicken soup
Meatless meatballs (recipe in Molly on the Range)
Passover chocolate chip cookie dough
Brisket: I’ll probably only get to this if Poppy Seed is like 2 weeks late, but braised meats, including brisket, do freeze and reheat incredibly well.
Here are some general rules for freezing and reheating certain types of foods! They might not be exact for every single recipe (use your nose/your best judgment) but consider this a roadmap to help get you started.
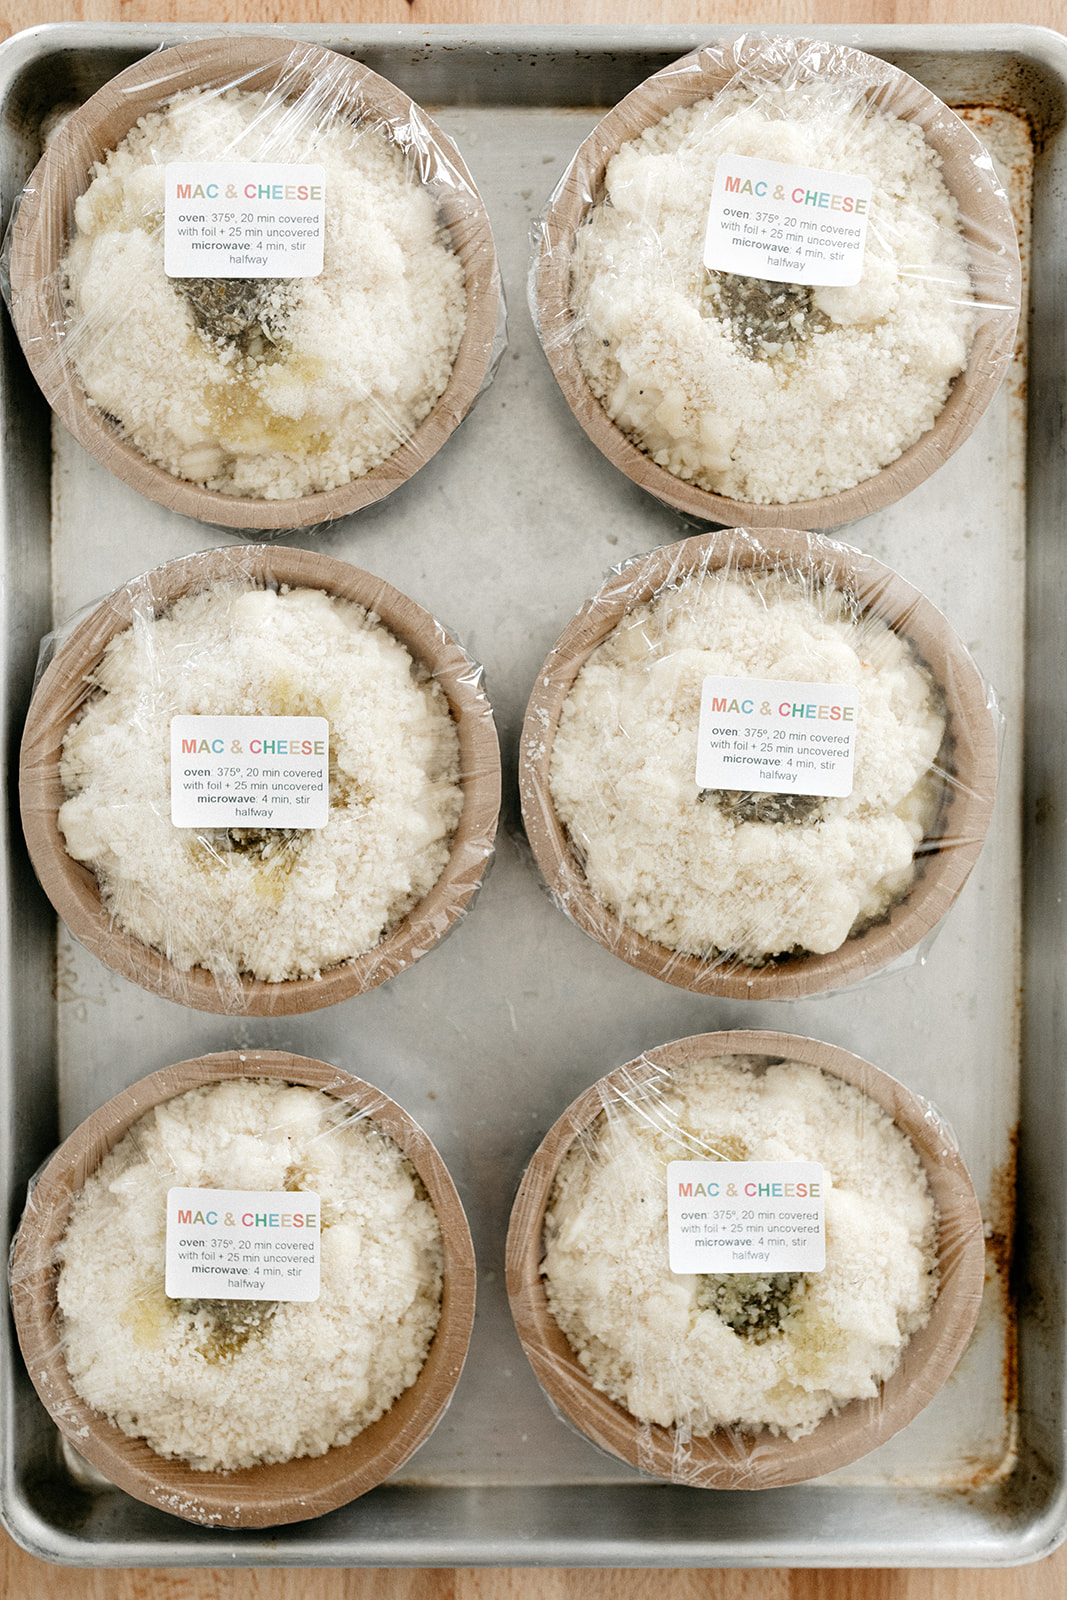
Mac and cheese
How to freeze: Prep up to the baking step, transfer to containers, let cool, cover, label, and freeze for up to 3 months.
Ideal container: Containers that are both oven safe and microwave safe (these 10oz kraft paper cups are my favorite). Glass would also work but you want to be careful with drastic temperature changes, like going from the freezer to the oven immediately (check the manufacturer’s notes) or defrost in the fridge overnight before baking. Foil or metal containers, either individually sized or casserole sized will work but that eliminates the option of reheating in the microwave.
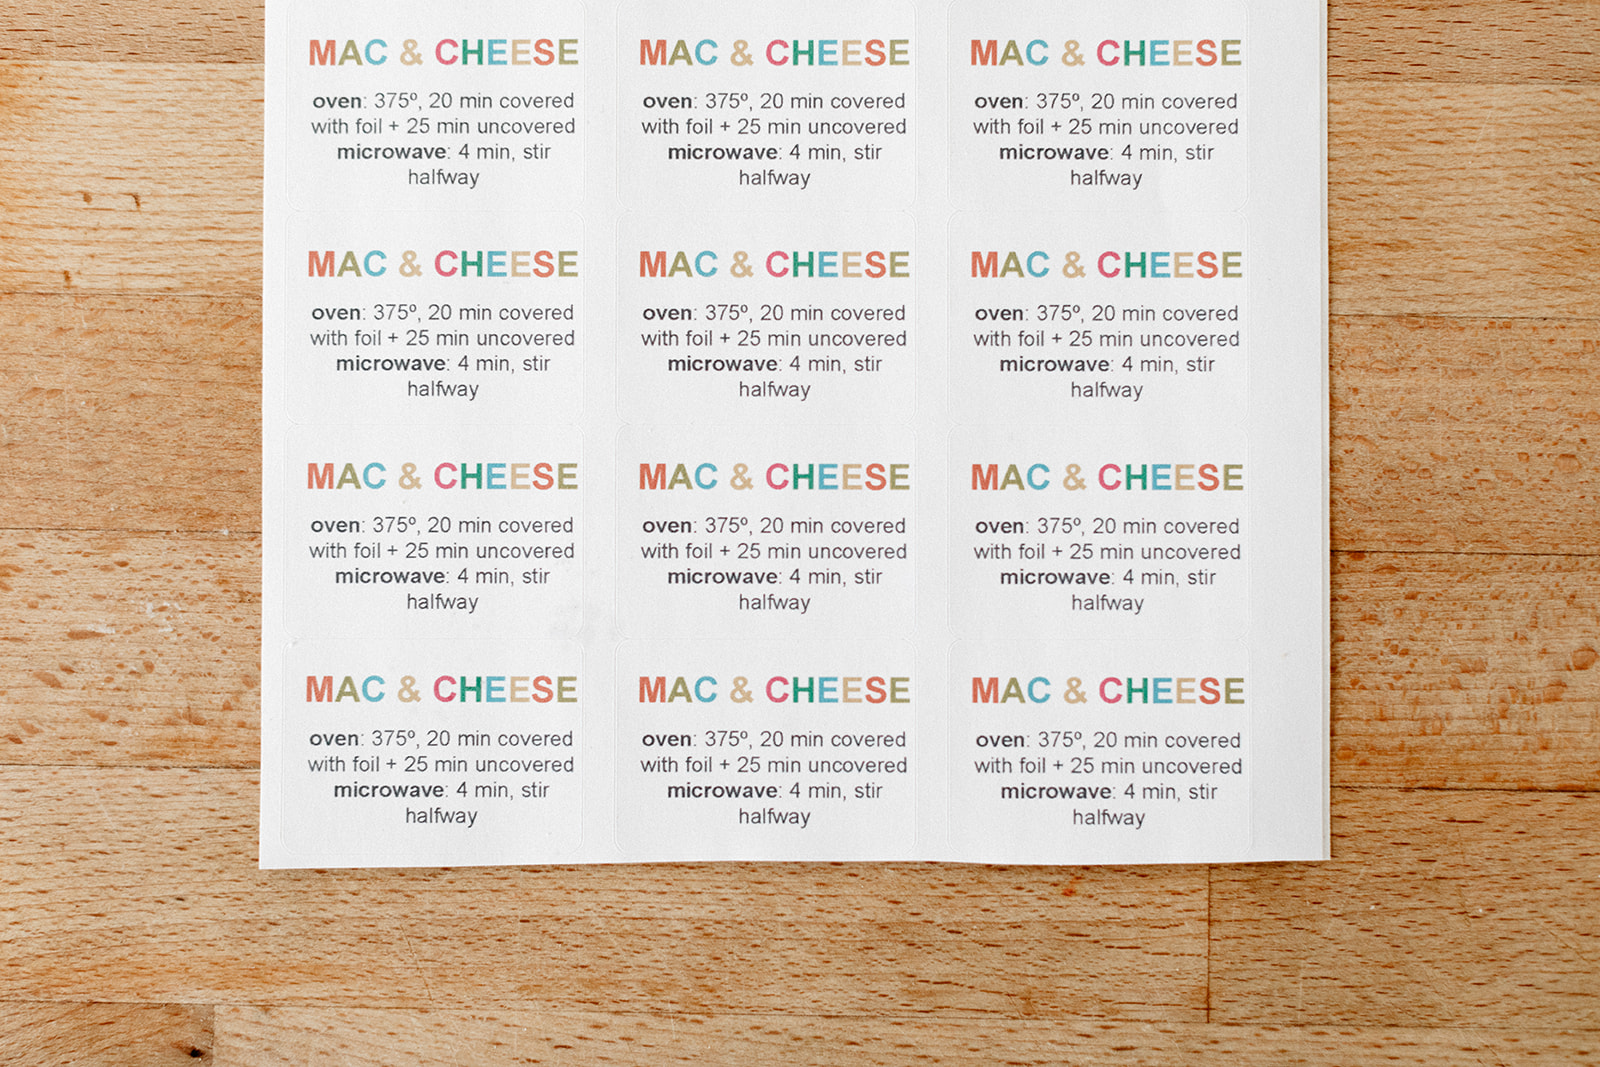
How to reheat individual portions: Oven at 375ºf for 25 minutes covered with foil + 20 minutes uncovered, or until heated through. Microwave for 4 minutes, stirring halfway through.
How to reheat full casseroles: Oven at 375º for about an hour covered with foil + 15-30 minutes uncovered, or until heated through.
Example recipes: Everything bagel mac and cheese, all of the mac and cheeses in Molly on the Range
Etc: Here are printable labels for individual portions, they are for Avery labels #6570.
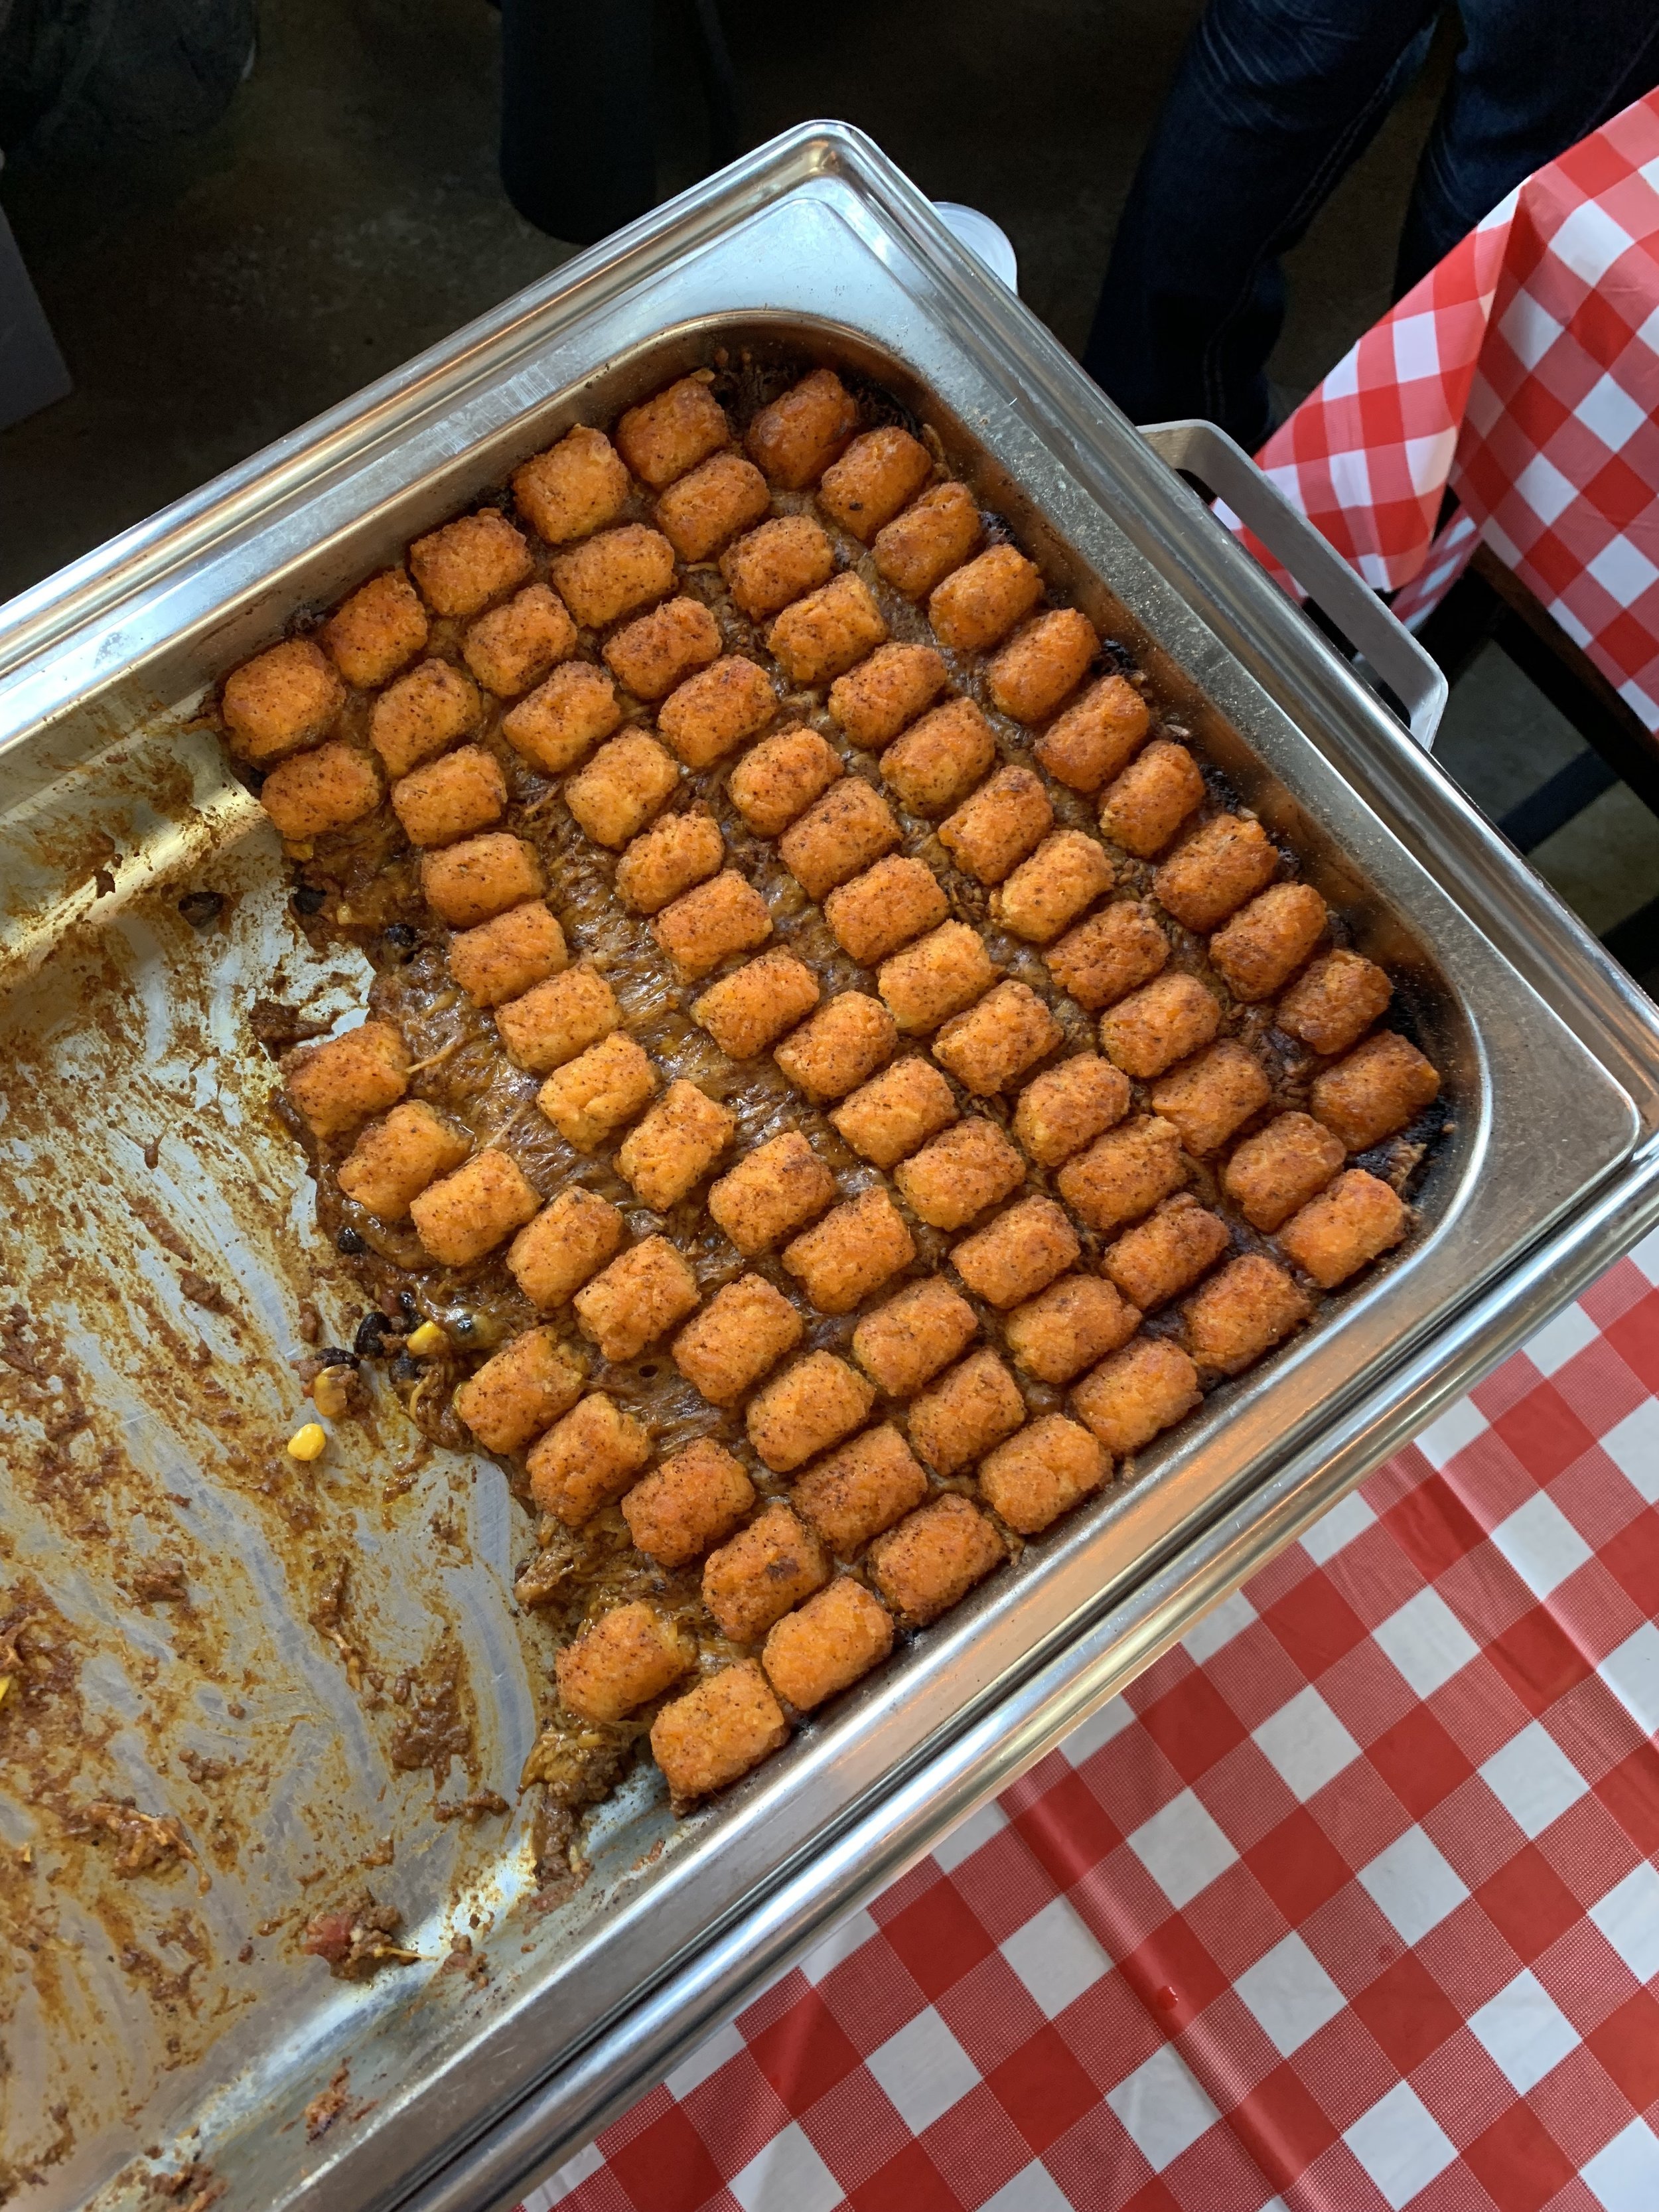
Hotdishes, casseroles, lasagnas, matzo lasagna
How to freeze: Prep up the baking step, transfer to containers, let cool, cover, label, and freeze for up to 3 months.
Ideal container: Foil or metal, either individual 8oz or 10oz sized or larger casserole sized. Glass would also work but you want to be careful with drastic temperature changes, like going from the freezer to the oven immediately (check the manufacturer’s notes), or make sure to defrost in the fridge overnight before baking. Individual kraft paper cups would also work.
How to reheat individual portions: Oven at 375ºf for 25 minutes covered with foil + 20 minutes uncovered, or until heated through.
How to reheat full casseroles: Oven at 375º for about an hour covered with foil + 15-30 minutes uncovered, or until heated through.
Example recipes: Chicken pot tater tot hotdish, paprikash hotdish, turkey wild rice hotdish, classic tater tot hotdish
Etc: Here are printable labels for individual portions, they are for Avery labels #6570.
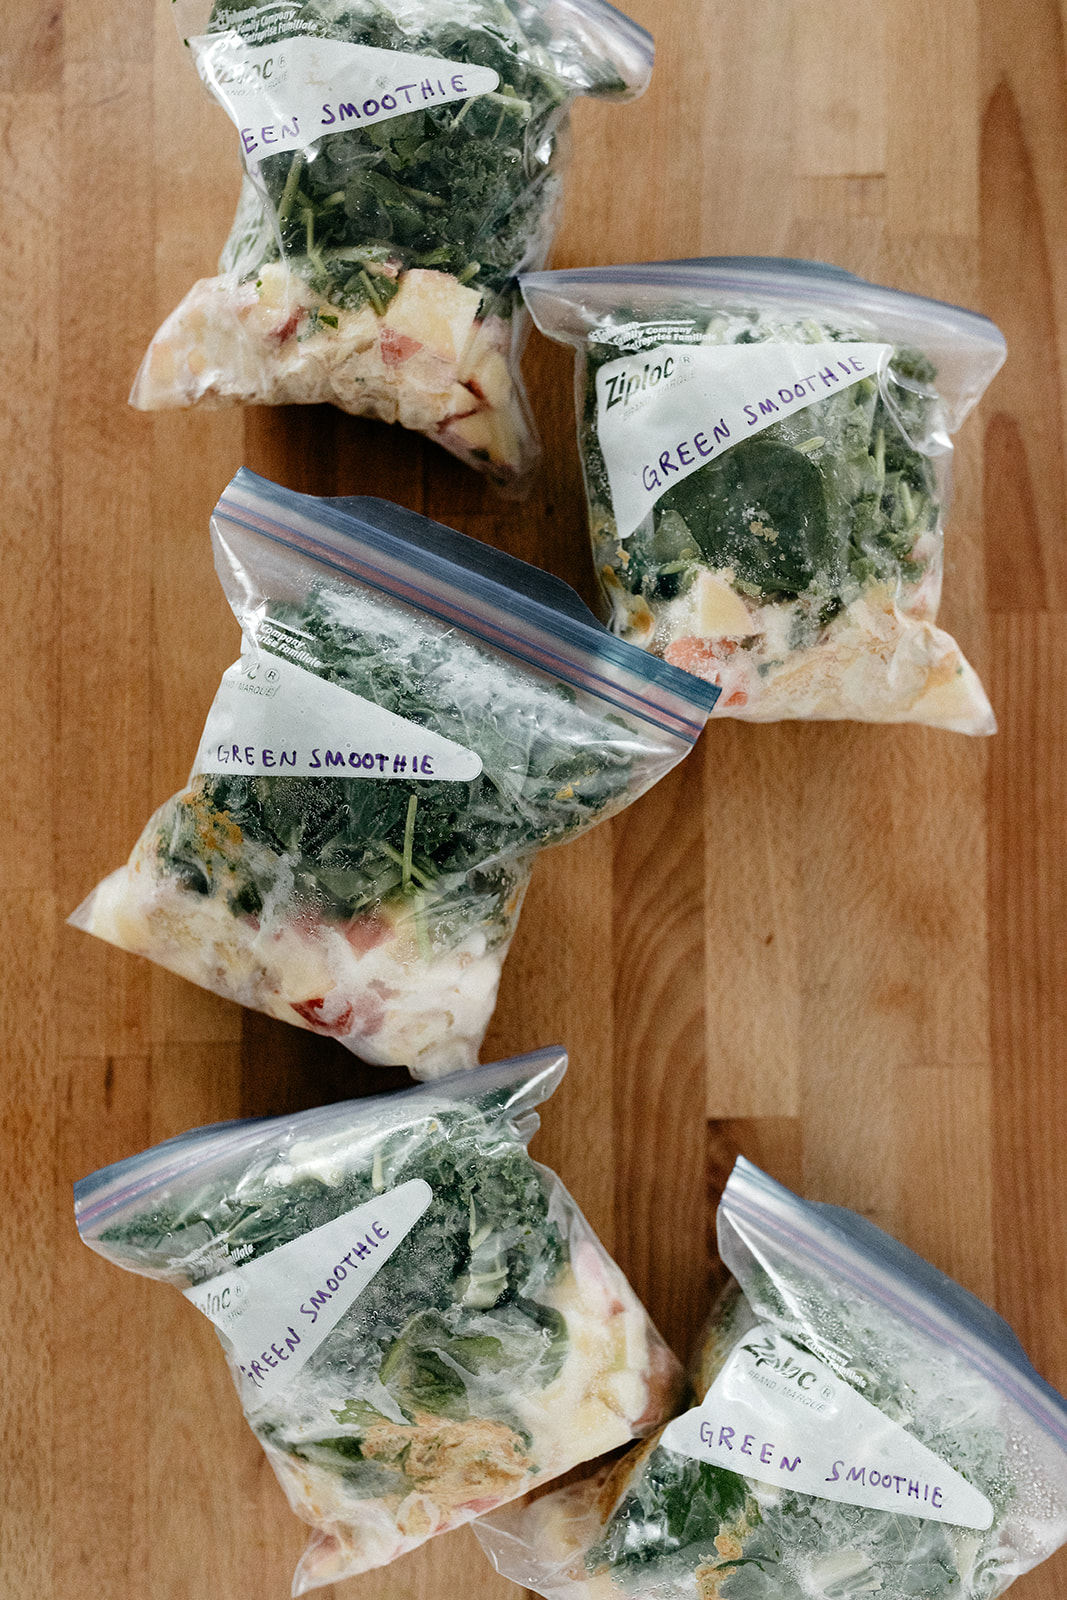
Smoothies
How to freeze: Put all ingredients (minus any liquid) in a freezer safe container, label, and freeze for up to 3 months.
Ideal container: Ziploc bags are the most efficient because you can squeeze all of the air out of them and store them flat. I use quart sized because I make two at a time, one for me and one for Eggboy, but sandwich size will work for just one. Deli containers or other freezer-safe containers will work too.
How to prep: dump into blender, add liquid (water, juice, milk), if you have a few minutes let it sit so it can thaw just for a bit, gently break up any larger chunks that have stuck together with a butter knife, and blend on high until very smooth. You’ll likely have to use the tamper to help it along.
Example recipe: apple and peanut butter green smoothie
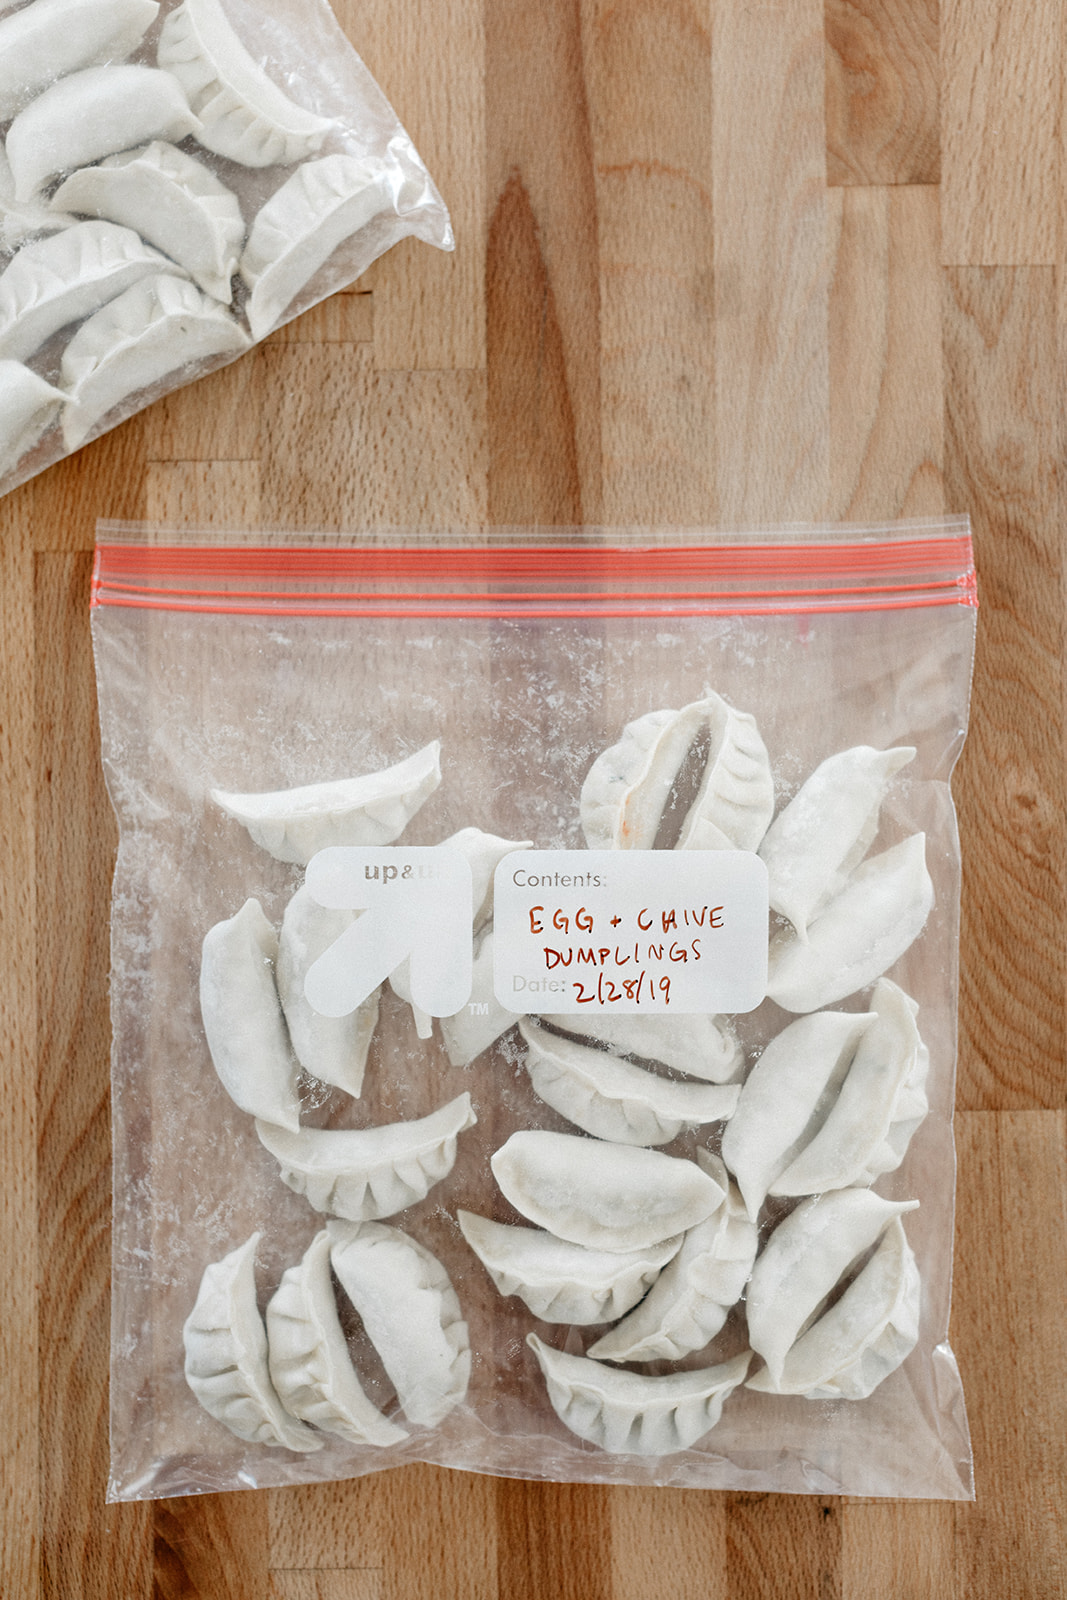
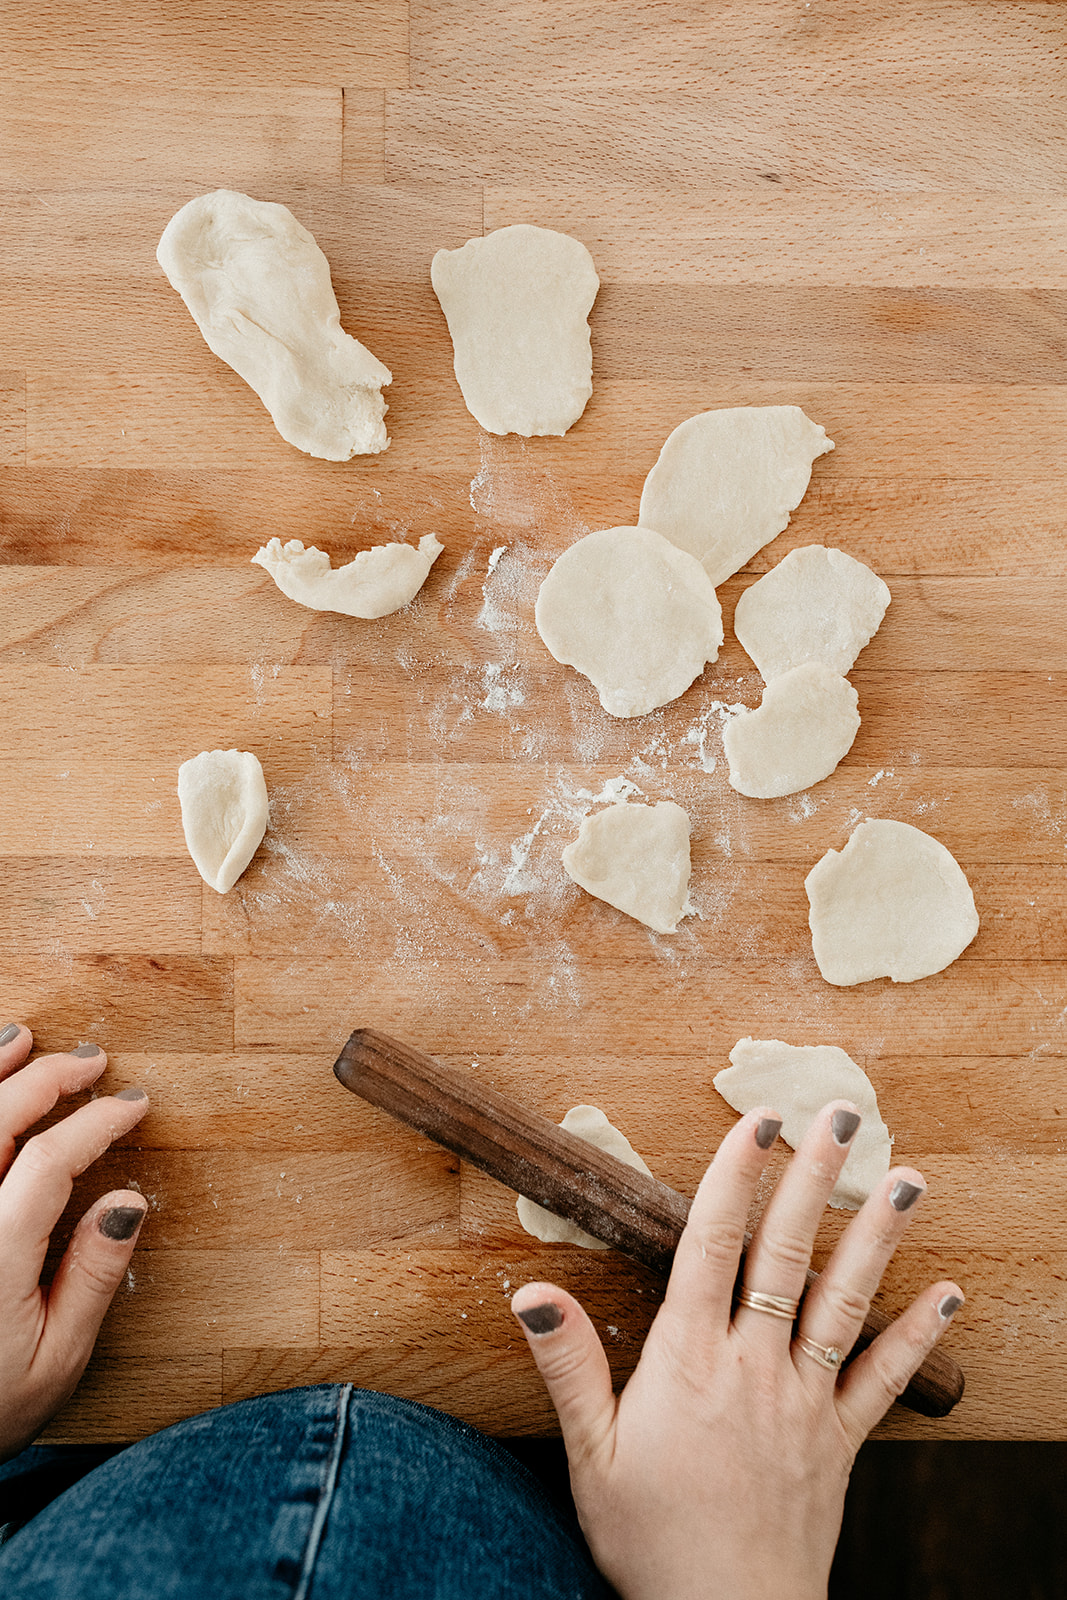
Potstickers
How to freeze: Prep dumplings up to the cooking step and place them on a parchment lined sheet pan that’s dusted with a little flour. Freeze them on the pan for an hour or so until solid and then transfer them to a Ziploc bag or other freezer safe container, label, and freeze for up to 3 months.
Ideal container: Ziploc bags are the most space efficient, but any freezer safe container will do.
How to reheat: Steam or fry! This is the ultimate dumpling reheating guide!
Chocolate Chip Cookies
How to freeze: Prep dough, scoop into balls, and place them on a parchment lined sheet pan. Freeze them on the pan for an hour or so until solid and then transfer them to a Ziploc bag or other freezer safe container, label, and freeze for up to 3 months.
Ideal container: Ziploc bags are the most space efficient, but any freezer safe container will do.
How to reheat: reheat pretty much exactly how you would bake them if they weren’t frozen, just add on a few minutes to the baking time.
Example recipes: Sarah’s Chocolate Chip Cookies, Tahini Chocolate Chip Cookies
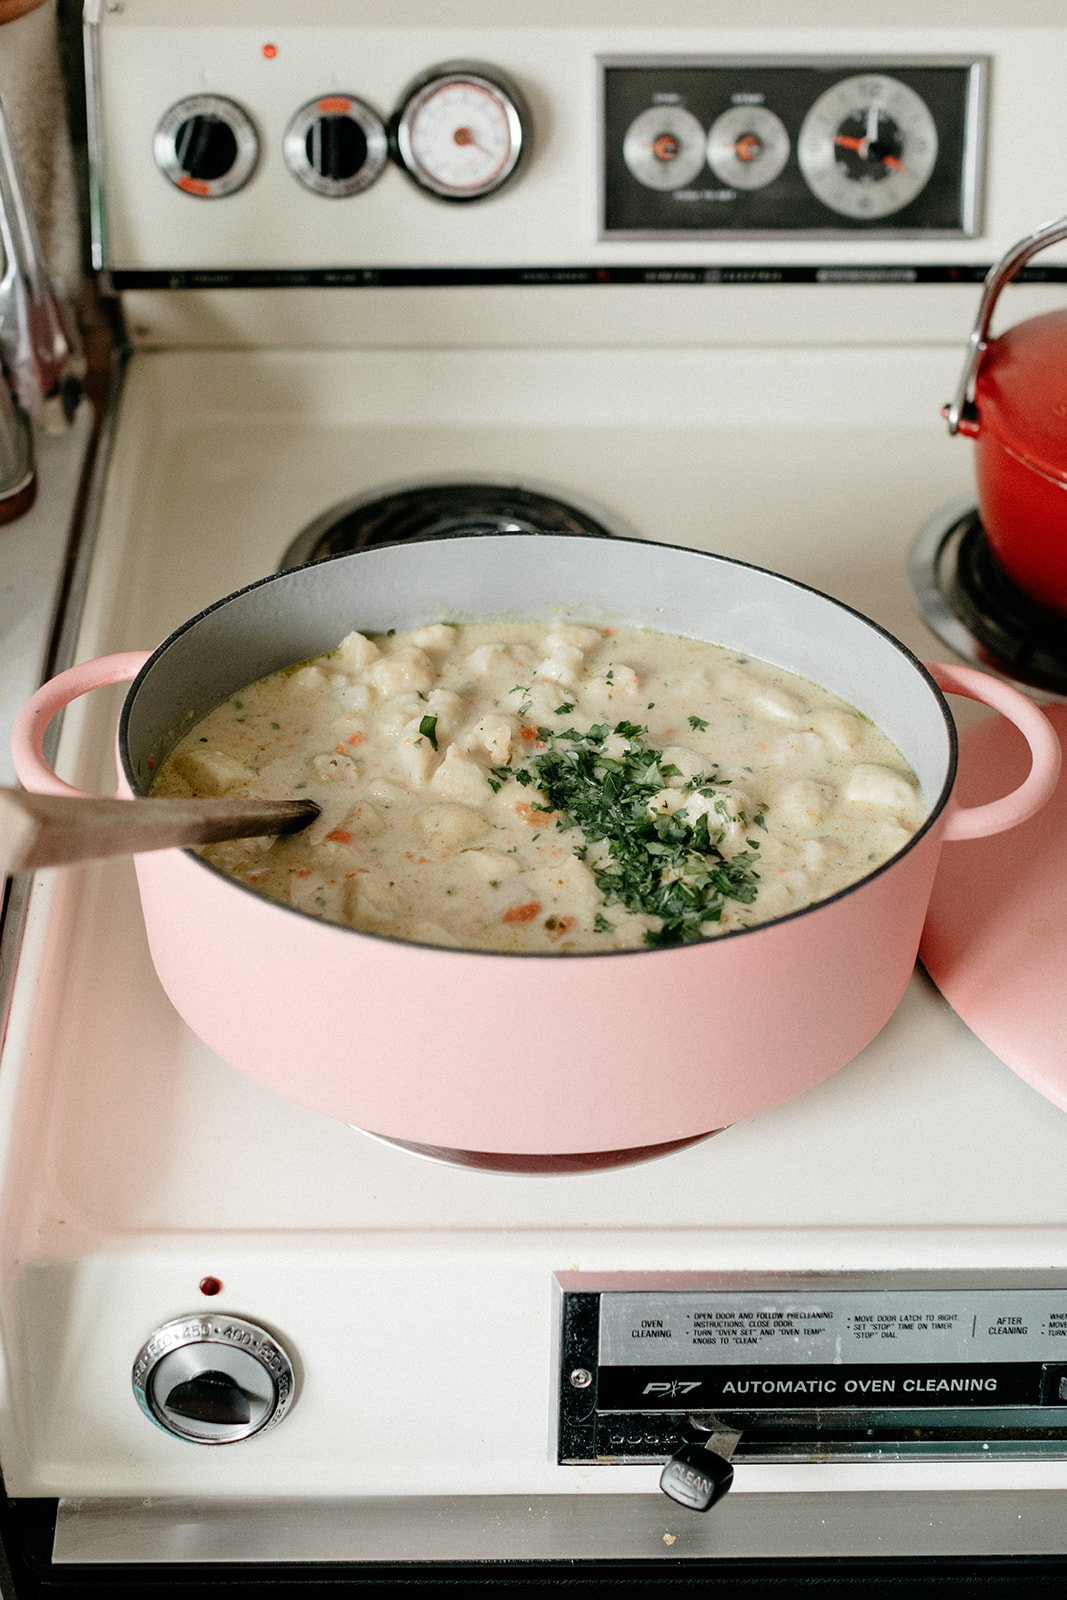
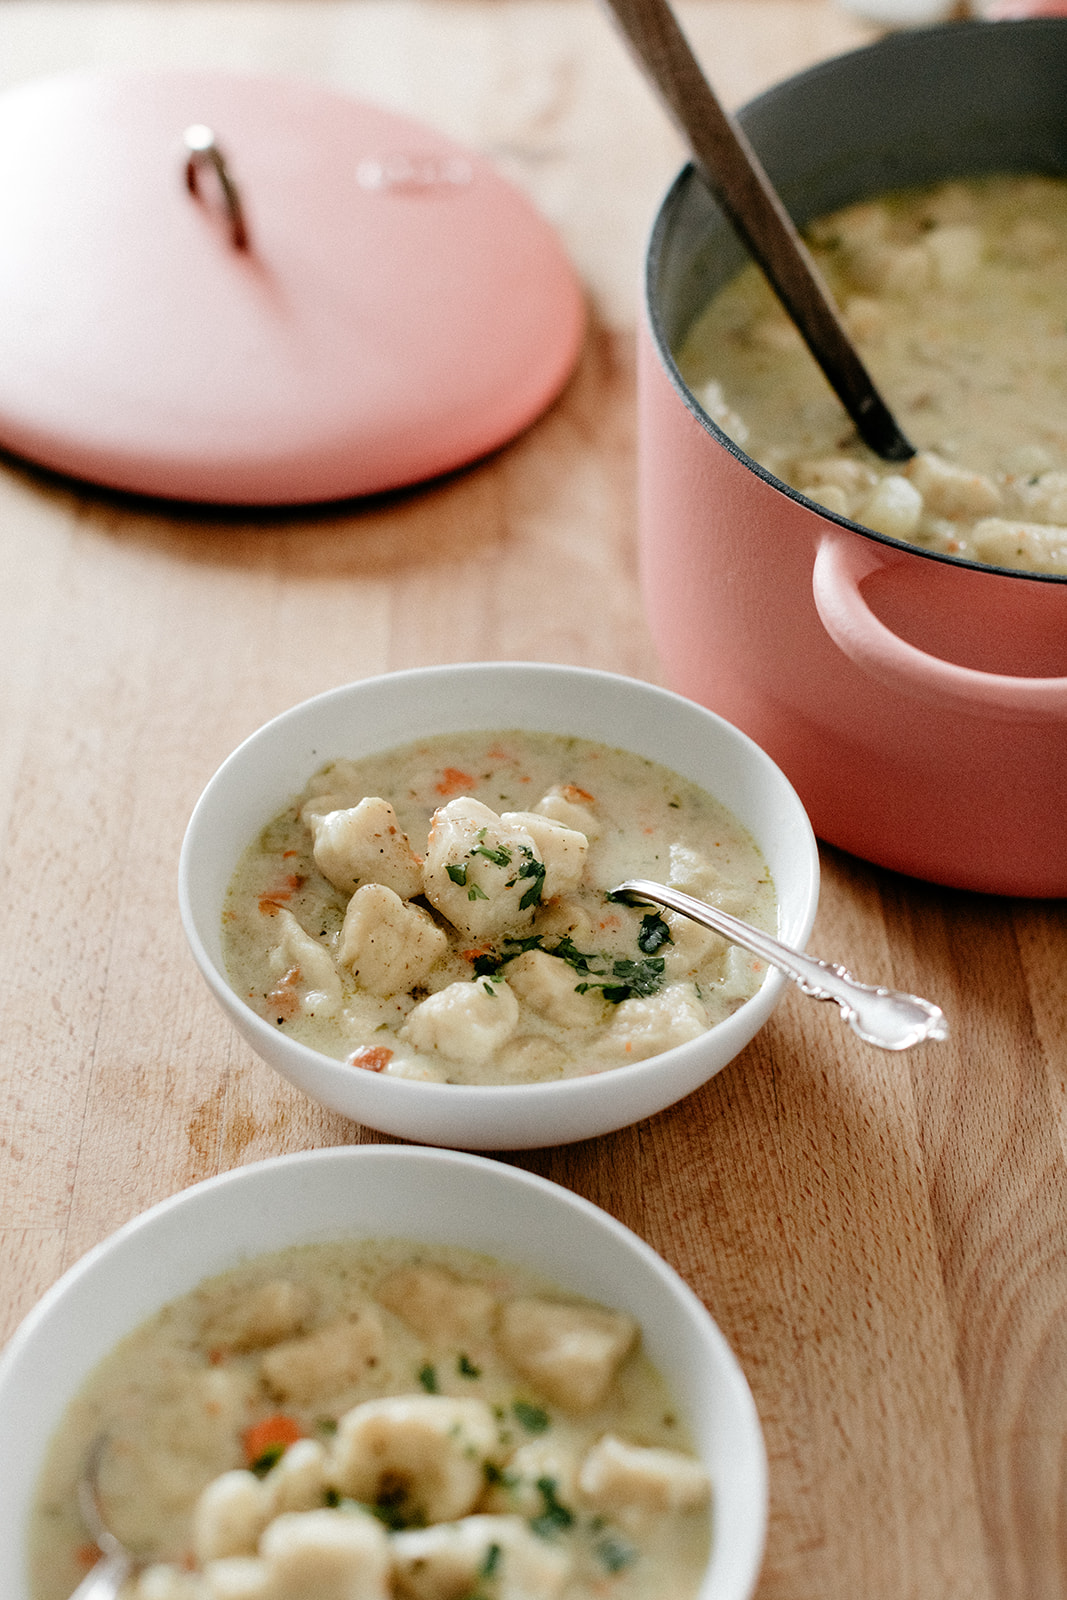
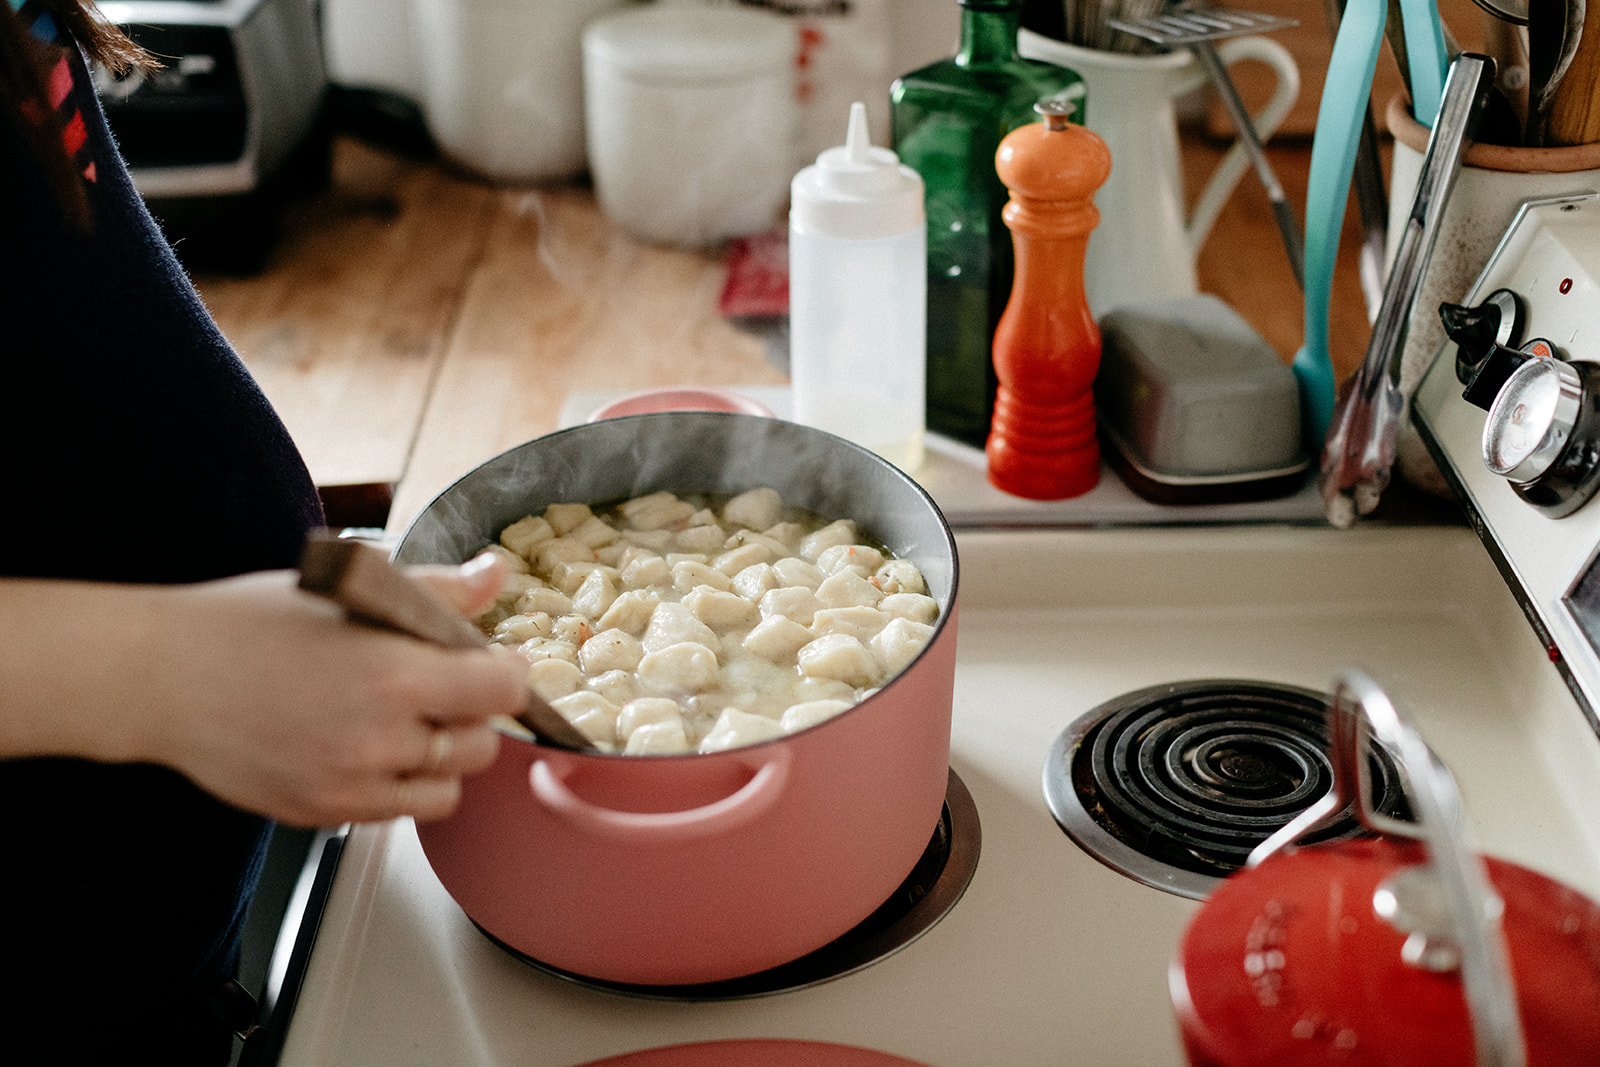
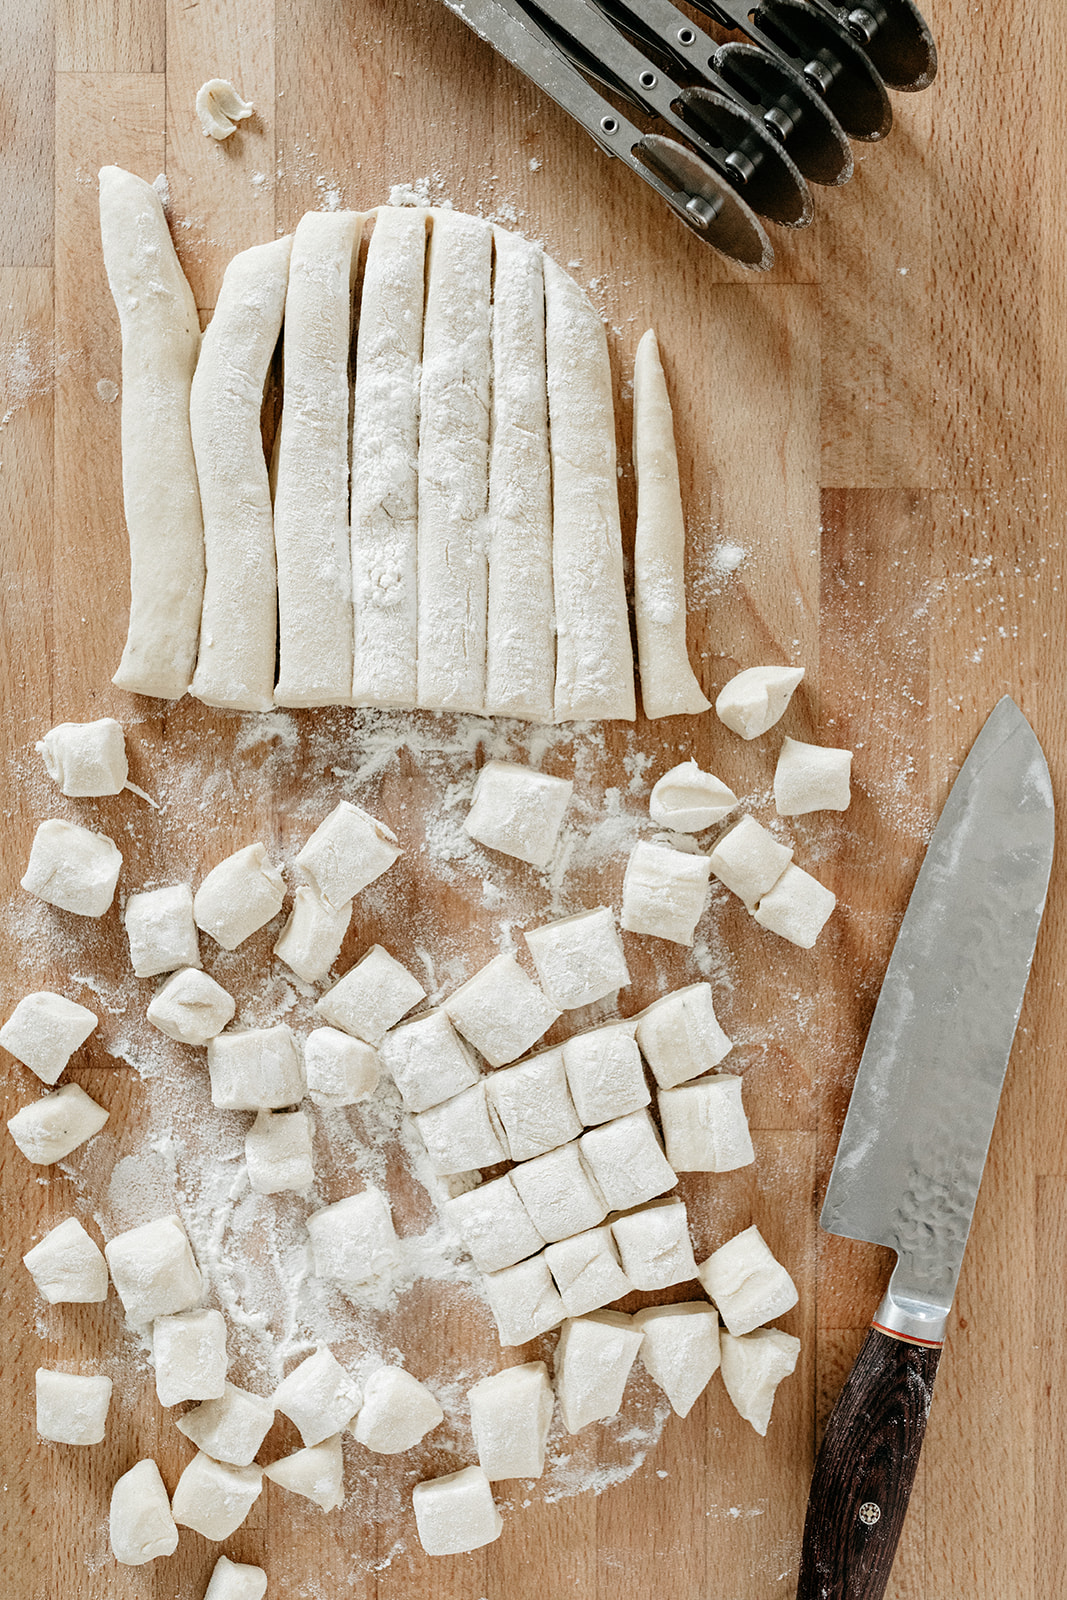
Soup (my old fashioned way)
How to freeze: Cook it fully, let it cool, transfer to a container, label, and freeze for up to 3 months.
Ideal container: Any freezer safe + microwave safe container. I use these quart deli containers.
How to reheat: Microwave on defrost for a few minutes until soft and then microwave on high or pour into a pot and heat on the stove until heated through. Or defrost in the fridge overnight and microwave on high or reheat on the stove until heated through.
Example recipes: Knoephla, Kale and white bean soup, pita ribollita
Soup (if you’re working with an Instant Pot or slow cooker)
See Pinch of Yum’s post. These recipes are so clever and delicious looking!
Meatballs
How to freeze: Cook them fully, let cool, transfer to a container, label, and freeze for up to 3 months.
Ideal container: Ziploc bags are the most space efficient, but any freezer safe container will do.
How to reheat: Stovetop- Simmer in red sauce until heated through. Oven- place on a sheet pan and cover with foil. Bake at 350º for about 15-20 minutes, or until heated through.
Burritos
How to freeze: Cook them fully (err on the side of keeping a bite in your veggies since they’ll continue to cook when reheated), wrap in parchment held together with tape or a rubber band or in plastic wrap, place them all in Ziploc bag, label, and freeze for up to 3 months.
How to reheat: Wrapped in parchment (remove tape or rubber band if that was on there) or a paper towel, microwave for about 2-3 minutes (for a burrito made in a standard 10” tortilla), flipping once, until heated through. If you have the time/energy, it’ll be even better if you then grill it in a pan on both sides until browned and a little crisp.
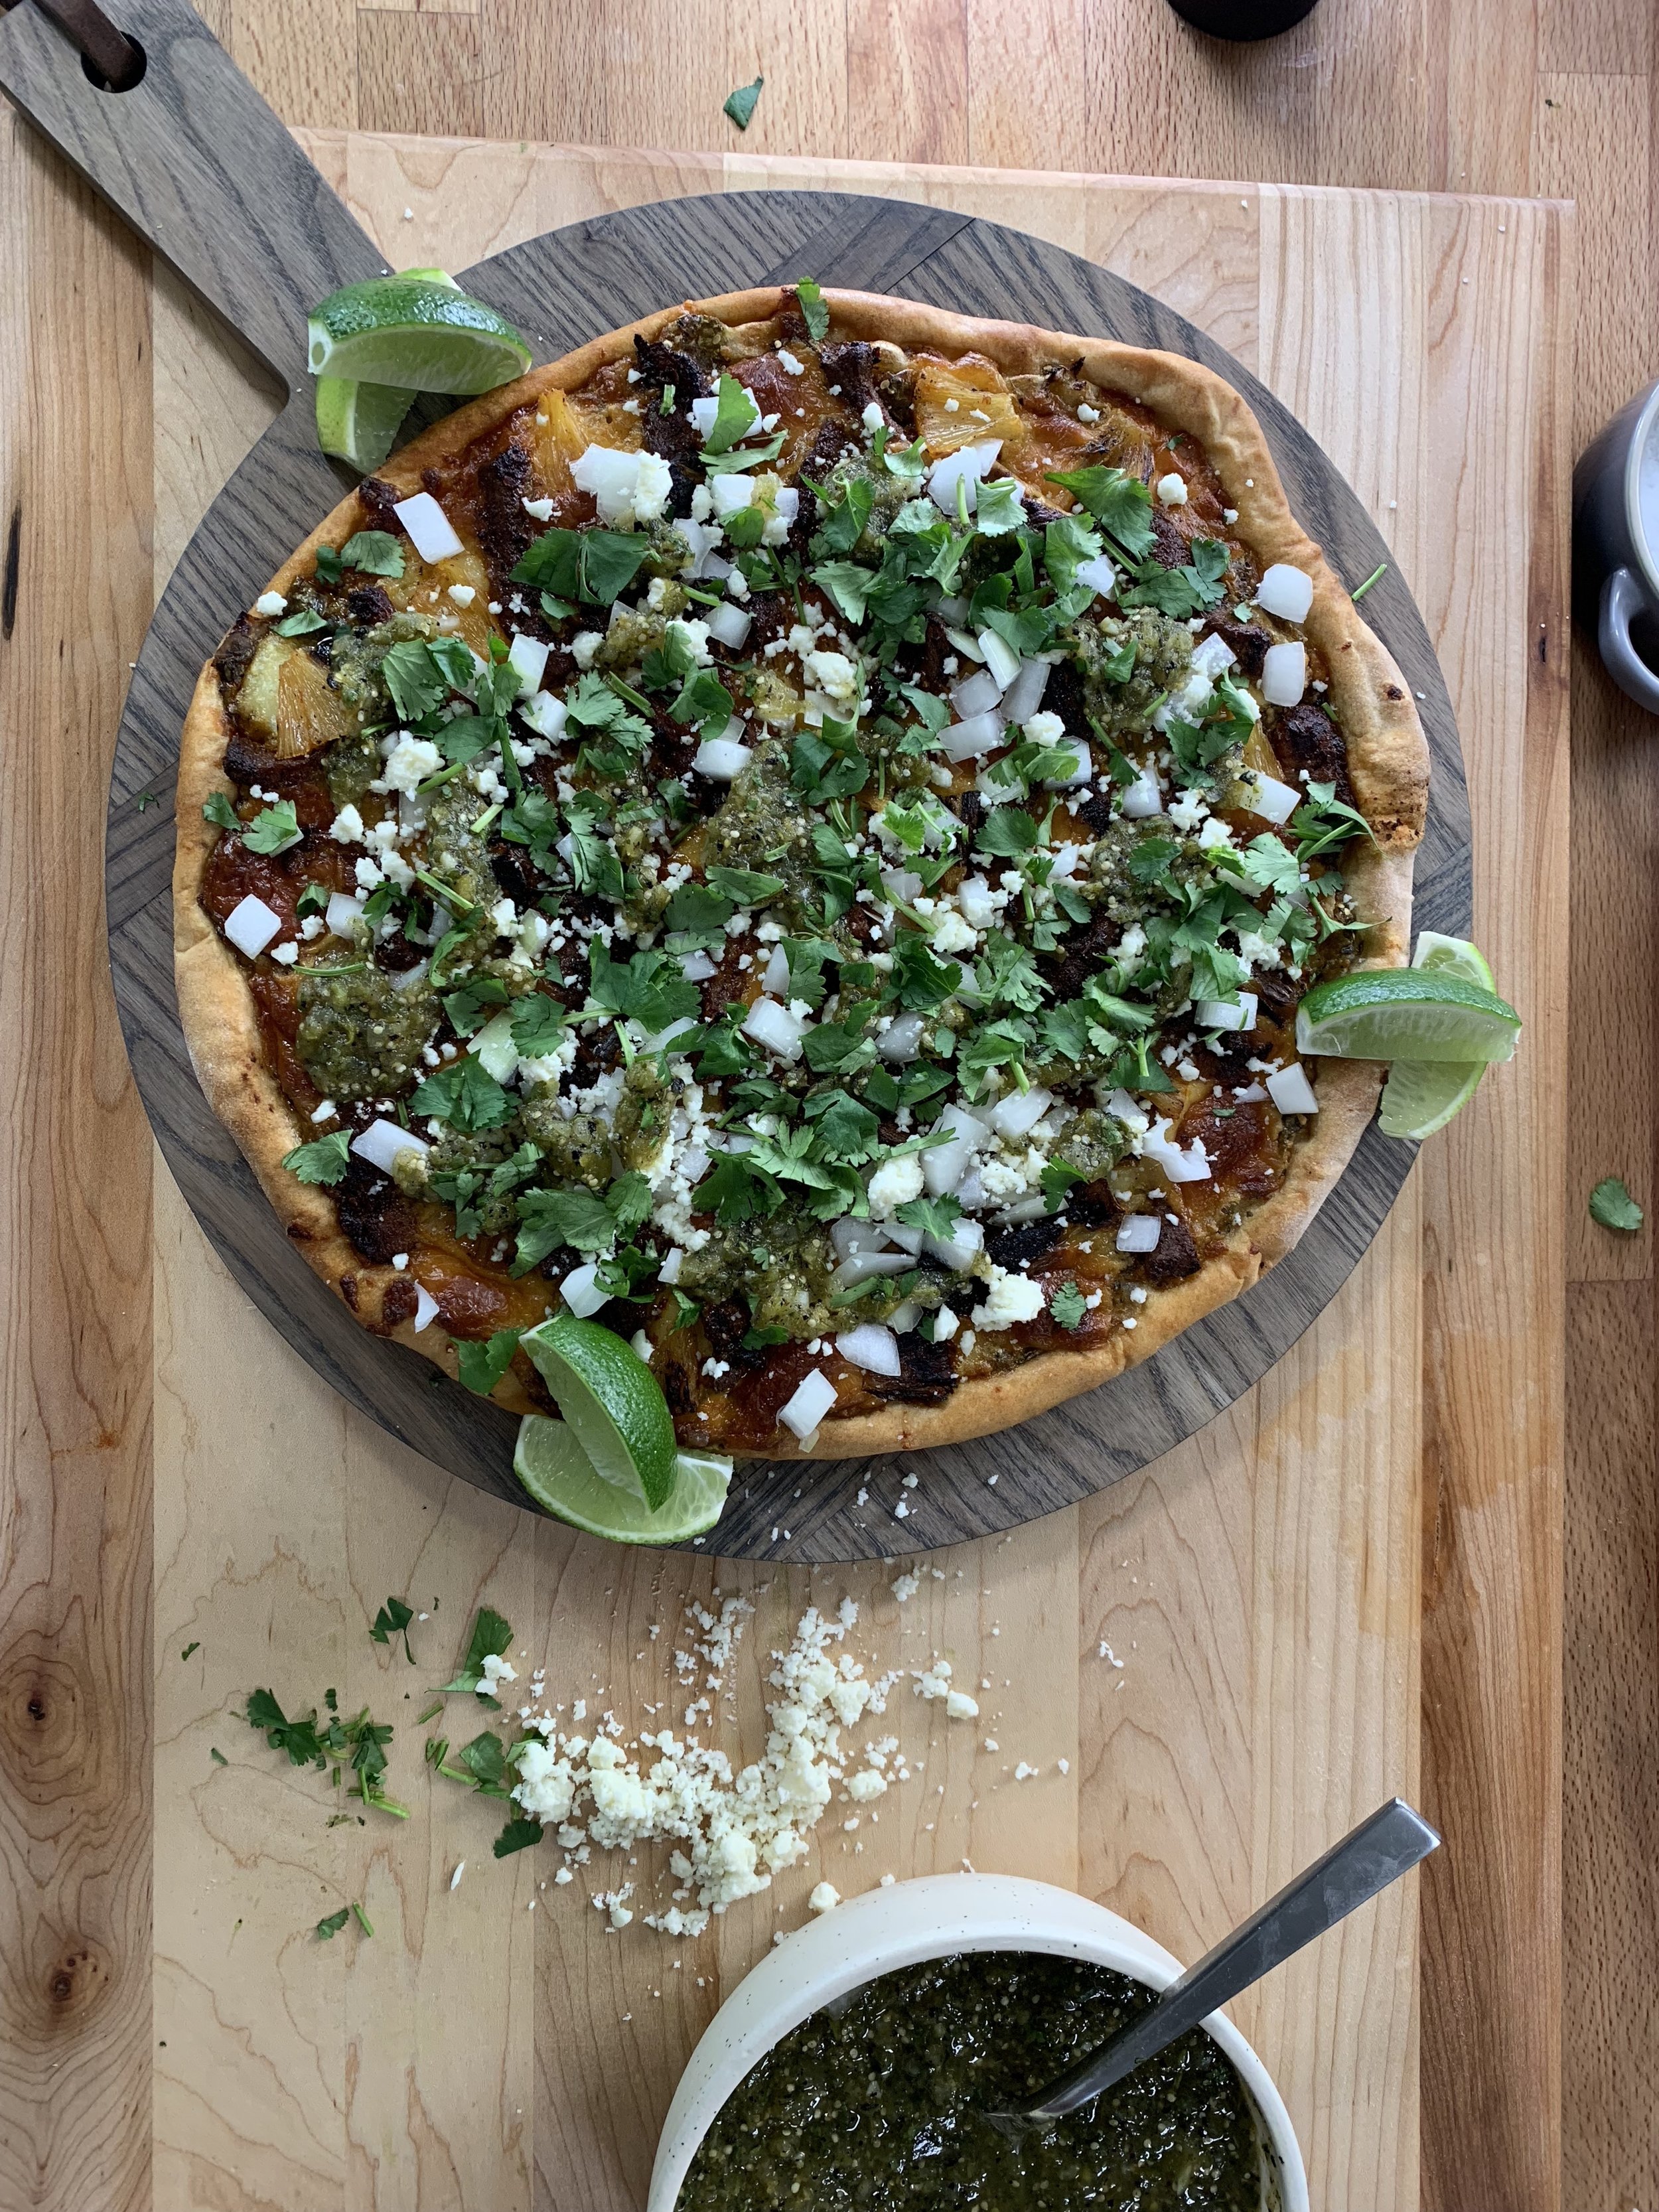
Pizza
How to freeze: Prep up to the baking step and place on a parchment lined sheet pan. Freeze for an hour or so until solid and then wrap in plastic wrap, label, and freeze for up to 3 months.
How to reheat: Remove plastic wrap, place on a baking sheet, and bake at a slightly reduced temperature (about 25º lower than the regular/non-freezer directions) until cheese is splotchy and the crust is golden. It will be a good few minutes longer than the regular/non-freezer directions, keep a close eye on it.
Example recipe: Mini veggie pizzas
Muffins
How to freeze: Bake them fully, let cool, transfer to a container, label, and freeze for up to 3 months.
Ideal container: Ziploc bags or plastic wrap are the most space efficient, but any freezer safe container will do.
How to reheat: Microwave until heated through or defrost at room temp.
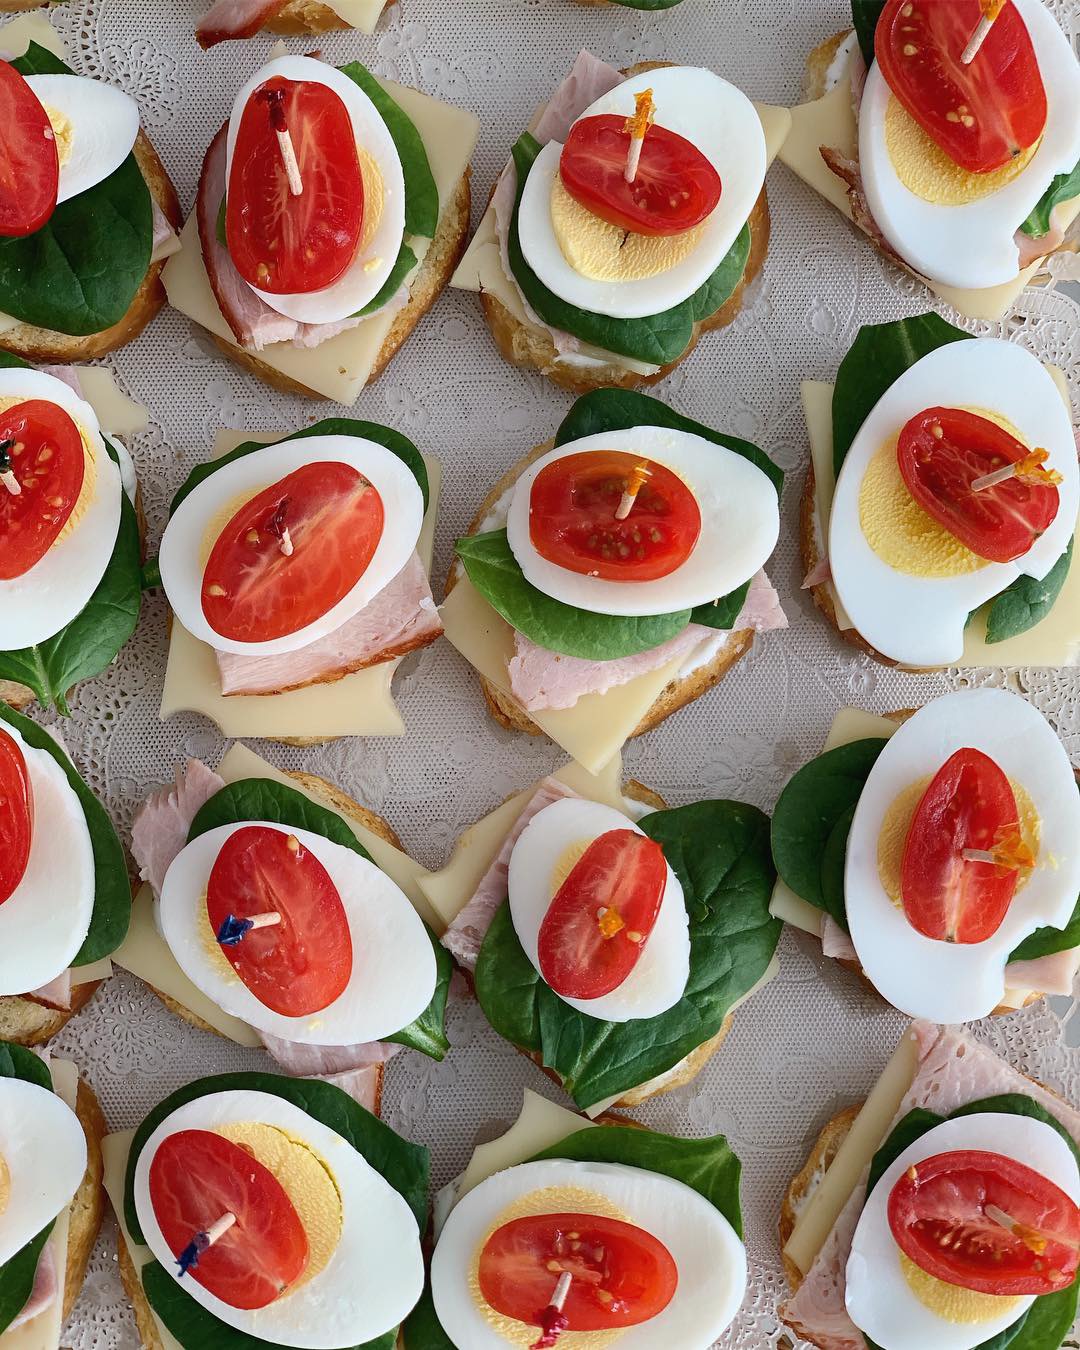
Breakfast Sandwiches
Breakfast sandwiches are hard!! I have one that I’ll be making on Girl Meets Farm in a few weeks that literally kept me up at night because figuring out a pre-cooked egg situation that would heat up at the same rate as the bread was a journey. Basically, if the egg is too thick, then the bread will be rock hard and overcooked by the time the egg is heated through. My solution: use a bagel, which is very sturdy and can withstand a longer amount of time in the microwave, and a layer of egg that is on the thinner side. Also go with bacon or Canadian bacon instead of a thick pieces of sausage. Reheat wrapped in parchment. My full microwaveable breakfast sandwich recipe is coming soon!!!
Another option: the breakfast bourekas from Molly on the Range. They freeze and reheat in the microwave or toaster oven beautifully.
Cauliflower Fried Rice
This is still in testing mode for me but as I was making some for dinner the other night I realized that cauliflower fried rice would be a really easy and healthy dinner to have in the freezer. I buy Green Giant’s cauliflower/sweet potato rice mix from the freezer section and all it needs is about 5 minutes in a skillet, so I figure that combining it with other finely chopped or small vegetables (alliums, kale, broccoli, peas, corn), pre-cooked proteins (scrambled eggs, cooked chopped bacon, chopped ham, cooked ground sausage, etc.), and flavorings (grated fresh ginger, soy sauce, kimchi brine, sesame oil, sriracha, black pepper, etc.) would make an easily reheat-able meal in a bag that you could just dump in a skillet, heat, and eat. That makes logical sense right? I’ll tell you how it goes!
Resources
Labels- It’s important to label everything with the date and the contents! Even if you’re 100% positive that you’ll remember, you want to be prepared for sleep deprivation brain and also make it easy for visiting friends/family members to heat stuff up if they’ve offered to help. A sharpie marker and masking tape does the trick, or you could make labels on the computer (Avery makes it really easy to make customizable labels).
Containers- The Webstaurant Store is my go-to for deli containers and kraft paper containers because they have tons of options and you can buy them in bulk. Most grocery stores also have a wide selection of foil containers. And of course trusted brands like Pyrex and Rubbermaid make great covered containers and covered casserole dishes.
Freezer guides- Pinch of Yum’s freezer guide! Also the Kitchn has a lot of freezer tutorials, and if you Google “how to freeze such and such,” you’ll usually find tons of results!
My Instagram meal prep story highlight- I’ll be posting more recipes and tips over the next few months here!
Phew! Ok I think that’s it! Since I’m about to go on maternity leave, I might not be able to answer many prep-related questions but I hope this guide helps!!!!
-Yeh!
photos by chantell and brett quernemoen


![IG_Story_1080x1920[2].jpg](https://images.squarespace-cdn.com/content/v1/515ecaf0e4b0875140cb8775/1529419018979-VR6FV7NTV4G7GEYGMFU4/IG_Story_1080x1920%5B2%5D.jpg)


