lefse

It has come to the point in the holiday season where I really just want to stick a straw into the balloon that is the month of December and blow it up a little. I’d like it to be two weeks longer, or maybe three. That’s the amount of time that I estimate I’d need to get all of the holiday things done that I want to get done, including just being able to sit comfortably in the holiday spirit without getting nervous that it’s going to end before I can have enough Sufjan Christmas moments.

I had a lot of mediumly grand plans this holiday season: adding rose nougat to my annual cookie boxes, throwing a Lefse and Latke Chrismukkah Party, making a Dala horse shaped stollen-y cake, and not having to pay for expedited shipping on the gifts I ordered online. At most, I only achieved abridged versions of these (thanks to these quick stollen bars and free shipping from Pendleton). But no party and no nougat. Which is fine because this season was still packed with other people’s parties, almond-heavy cookie swaps, and little Cliff’s Baptism bash. It also has yet to be packed with Christkindlmarket and an Upper Peninsula pasty tour. And I have a dentist appointment at the beginning of January so it’s probably best that I didn’t make nougat. 

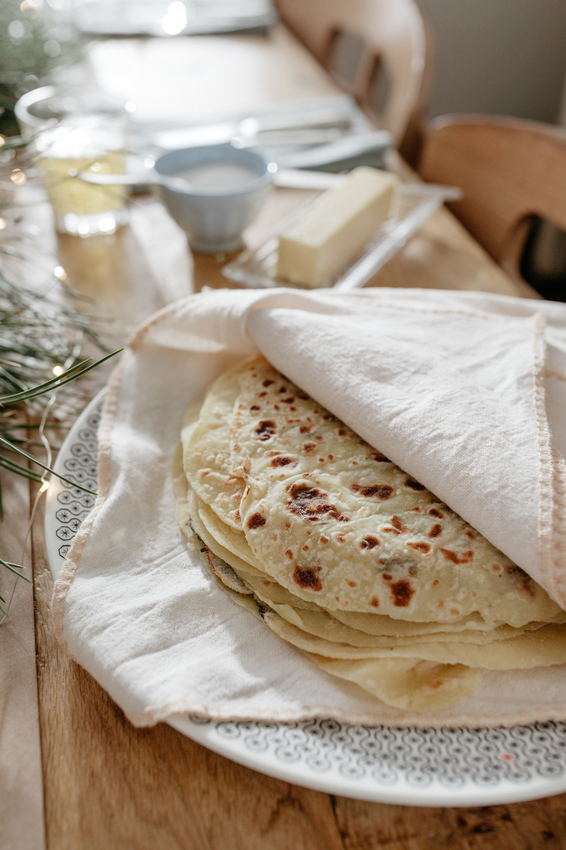
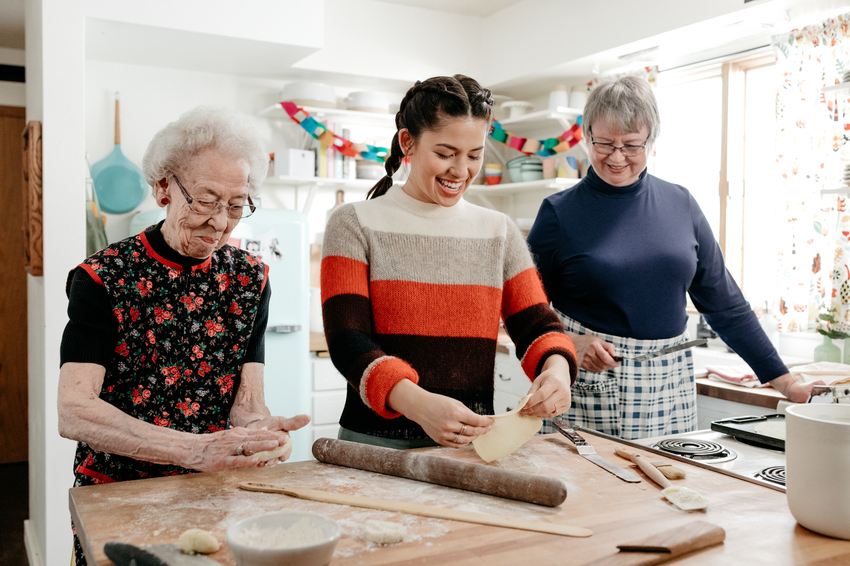
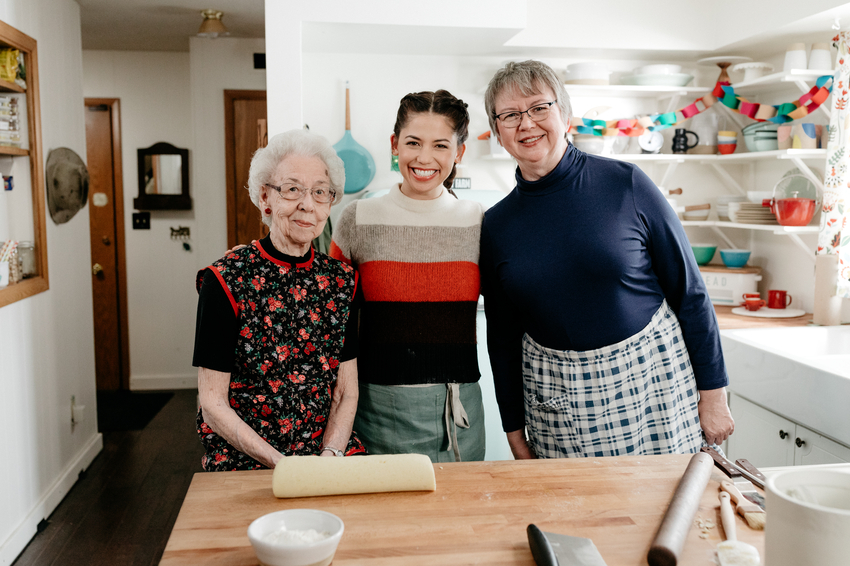
But the one thing that I would seriously schedule first in the event that my expansion of December by way of blowing it up with a straw plan actually worked is a lefse weekend. Ever since I learned about the lefse making tradition when I first moved here, I admired it (even despite the fact that the first time I made it, it ended in tears). Making lefse symbolizes the holidays in the upper Midwest, it’s a group activity that’s been happening year after year for generations, and there are so many stories surrounding it. But to be totally honest, it wasn’t until I made lefse with cousin Elaine and aunt Ethel when we filmed the Chrismukkah episode of Girl Meets Farm back in October that it became a food that I craved with all of my might. Is it because I’m pregnant? Maybe. Good things, especially potato-centric things, do tend to taste better these days. Or maybe it’s because the last few times I’ve had it, it was store-bought. When we made it on the show, I was reminded of how fluffy, soft, tender, and flavorful it is when it’s fresh off the grill and slathered with softened butter. I wish I could have eaten more of it during the filming. I wish I could have paused cameras for a minute so that I could run to my cabinet and pull down all of my jams, nut butters, Nutella, etc., and just sit there eating a bite of lefse with each. But we were on a schedule and I needed to pace myself because that was also spätzle week. 

And then after filming wrapped I had one ultimate foam-at-the-mouth pregnant lady epitome. It happened on the plane to Florida when I opened up the December Bon Appetit and saw the most drop dead beautiful spread of roast beef, pickles, a white creamy sauce, and salty buttery fluffy rolls, all set up for a party. It was simple and stunning. I shoved it in Eggboy’s face and he also started foaming at the mouth. The more I stared at that spread, the more I realized I had to do it… but replace the rolls with lefse. And replace the roast beef with ham (I’m going through a ham phase). I mean??!!! Just imagine a soft warm sheet of lefse slathered with mayo and wrapped around salty hot ham. The pickle could be in it too, or it could be on the side, it would be perfect either way. I am a little dead just thinking about it. I might need to schedule a random January party just to do this. But something tells me that lefse ham tacos would taste better without the vibe of New Year’s diet mishegas in the air. 

Anyway, that’s what I’ve been daydreaming of.

<3 Lefse and ham. <3

Here is our family lefse recipe, which was developed by Ollie Amundson, my second cousin three times removed in-law in-law. (Or, the wife of Eggboy’s great grandpa’s second cousin.) It has more sugar than many other lefse recipes, and the fact that it uses oil instead of butter has been raising some eyebrows. But it’s the family recipe that Ethel has scribbled on a very special notecard and I love it for its extra sweetness and soft moist texture. The following includes directions for if you have a lefse setup (a lefse grill + a lefse stick) and if you do not (you’ll need a low-sided skillet and a large offset spatula). FYI, my ham taco fantasy uses smaller, skillet-sized lefse. This is best made as a group activity and it is best eaten the day of, however it is very common to keep a stock of it in the freezer. For video help, check out the video that the New York Times filmed at our house a few years ago!


lefse

makes 18 large sheets or 36 smaller sheets

ingredients

5 lbs. (2.25kg) red-skinned potatoes, peeled and cut into 1-2” cubes

1/2 c (100g) sugar

2 tsp kosher salt

2/3 c (133g) neutral oil, such as canola

1 (5-oz) can evaporated milk

2 1/2-3 c (325-390g) all-purpose flour, plus quite a bit more for dusting

Softened butter, sugar, cinnamon sugar, jam, or any other toppings as desired (like ham.)

clues

Add the potatoes to a large pot and cover with water. Bring to a boil over high heat and boil until the potatoes are tender, 15-20 minutes. Drain the potatoes and rice them into a bowl, continuing until you have 8 cups. Add the sugar, salt, oil, and evaporated milk, and mix to combine. Let cool, then cover and refrigerate for a few hours or overnight. 

When you’re ready to grill, preheat a lefse grill to 400º or set a low-lipped skillet over medium high heat (I like using a cast iron pan, at least 10” big). Add the 2 1/2 cups of flour to the potato mixture and mix to combine. It should be sticky and hold together, but not so sticky that it’s impossible to work with, if so, add the remaining 1/2 cup of flour. Divide dough into two logs if you’re using a lefse grill, and four if you’re using a skillet. Cut each log into 9 pieces and place three of the logs on plates or a cutting board in the refrigerator. Keep the dough chilled while you’re not working with it, and work with one log at a time. 

Roll one ball of dough into a ball and place it on a work surface dusted with flour. Dust the top of the dough with flour as well and gently roll it out into a large thin circle, about 1/4” thick, adding more flour as needed. Rotate and flip the circle frequently as you’re rolling it out so that it doesn’t stick. And again- add more flour as needed! Not knowing to do this is what brought me to tears the first time. Using a lefse stick or a large offset spatula, transfer the circle to the grill or skillet and cook until small brown splotches appear on the bottom, about a minute. Using the lefse stick or spatula, flip it and cook on the other side, until small brown splotches appear. Transfer to a plate lined with a clean dish towel and cover it with another. Repeat with the remaining dough, stacking lefse on top of one another between the towels. 

Serve with toppings as desired. This is best eaten the day of but leftovers can be refrigerated in a ziploc back and reheated in the microwave until warm. Or frozen and then thawed/microwaved before eating.


-yeh!

photos by chantell and brett!

oh baby!

Friends! I am so soo excited that I can finally talk about our forthcoming little nugget!! Do you know how hard it was to keep this secret from you for almost four months?? Harder than sitting in front of a pile of cheese fries and not eating any of them. Or, harder than not eating bagels and matzo with cream cheese every other hour during my first trimester. I feel like we need to ketchup on a lot of things. 

Number one, zucchini is gross! Cream cheese, citrus fruits, bagels, matzo, and Sonic tater tots drenched in honey mustard after three hours of sitting at the hairdresser are… the most amazing things in the entire world. So is Korean BBQ with Aunt Lucy. And hand pulled noodles on Rob’s rooftop. And potstickers!!!!! Wow, eating while pregnant is incredible, as long as it’s not zucchini. At one point I did have to test a zucchini recipe for Girl Meets Farm, a recipe that I used to love, but it grossed me out so much. I think it was the only thing during the whole month of filming that I couldn’t scarf down in the meal scene at the end (aside from things that were just off limits, like the runny yolks in the scotch eggs and the salami on top of one of the salads). 

Cravings aside, nutrition was the first thing that I threw myself into after learning that I was pregnant. Eating immediately took on a new meaning to me since I felt like it was the biggest thing I had control over in that moment to take care of little Poppy Seed (oh, Poppy Seed is our nickname for him/her since that’s how big he/she was when we first learned of his/her existence). I read everything I could get my hands on about getting enough protein, calcium, carbs, omega-3s, iron, etc., etc., and found myself in a new world where I now get cheese on all of my sandwiches, drink milk every morning, and sprinkle Trader Joe’s super seed mix into my oatmeal. It was a slightly clumsy ride because in the beginning I miscalculated my protein and took in probably twice as much as I needed, so I puffed up like a puffer fish/body builder combo. There were days when I got a little stressed about it and just wanted to puff up in peace and sweatpants, and not in front of a camera and in TV clothes, but I got over it anytime I’d just think of how it’s all in the name of Poppy Seed. (And also I’ve just become more comfortable asking for a higher angle on any camera pointed at my face lol.) These days I think I’ve gotten a grip on what I should be eating, and it’s similar to before I was pregnant with just a few modifications, like a nice big breakfast since I’m often starving in the middle of the night and when I wake up.

Figuring out my wardrobe for Girl Meets Farm and Gingerbread Showdown (which was filmed in my first trimester) was a challenge because everything just fit differently, right from the beginning. It was all confusing. I suddenly didn’t know how things were supposed to fit or how they were going to look on camera, even little things like my aprons fit so differently. It all hit a head last week when I suddenly had to fit into fancier clothes for some events and everything exposed my belly! (Hatch saved me, and for basics, Old Navy and Gap saved me. And for my winter coat—this is my new favorite find—Bridge the Bump worked perfectly. So I’m slowing figuring it out!)

By far the biggest challenge though was how sleepy I was throughout my first trimester. I was glued to my couch. I’d sit and do work on my computer, and then nap a little, and work a little more, and then on most days Eggboy would peel me up and we’d go for evening walks that felt like I had lead strapped to my feet, but they almost always helped. Toward the end of the first trimester I got soo frustrated with how hard it was to be productive, but one day I woke up and all of my energy was back, like magic! Thankfully, that day happened about a week before filming for season two started.

Workout wise, I’ve been doing as much as I can with weights, resistance bands, and cardio, but it’s just bonkers how much easier it is to get worn out! My biggest inspiration with workouts has been the Lamoureaux twins (Monique and Jocelyne), who are due in a few months. They post tons of their workouts on IG. And In two weeks I’m going to start swim lessons, which I’m really excited about. 

These days, I am enjoying second trimester energy, the 300 extra calories I get to eat each day, and the little dances that Poppy Seed recently started doing! We’ve been researching cribs, bassinets, strollers, baby monitors, and baby names. It’s all so fun. I never thought I’d say the words “the sage green uppa baby vista stroller is absolutely gorgeous!” And yet, here I am. Nursery wise, I think Eggboy and I are both in agreement that it will basically be a library of baby books with a crib in the middle. Although we aren’t planning to go all out on the nursery until Poppy Seed is born. According to Jewish custom, doing anything extravagant for an unborn baby could cause very bad luck. So necessities will be set up, and everything else (like the insanely cute toddler-sized tractor from Eggparents, omgggg) will stay in our garage or another building on the farm. 


Next up on our to-do list is to read about baby sign language (my dad and stepmom did this with Mia and it was incredible!), breastfeeding, and doulas. And following mom/baby/maternity Instagram accounts with abandon. 

Ok, I think that’s everything that’s been on my brain for now. 

Thank you soo much for all of your sweet words on our announcement!!! Sending hugs to all of you <3 <3

-Yeh!

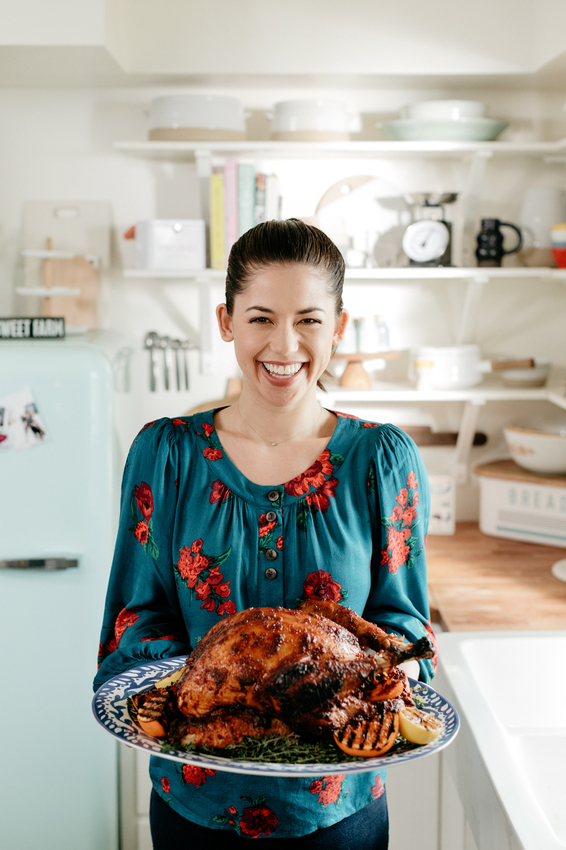
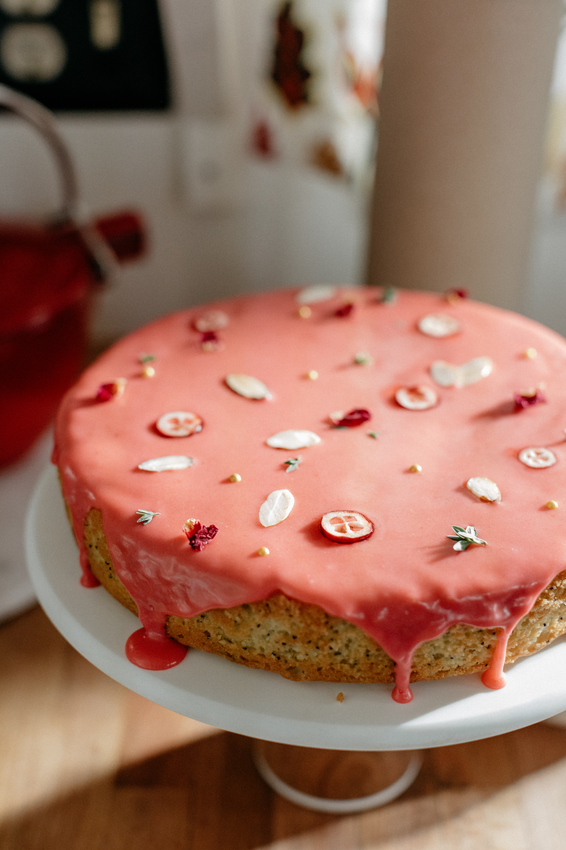
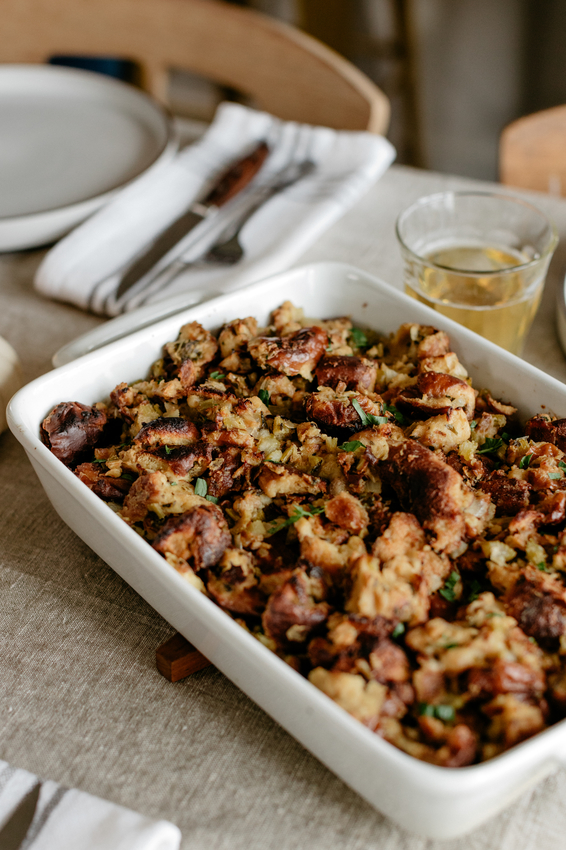
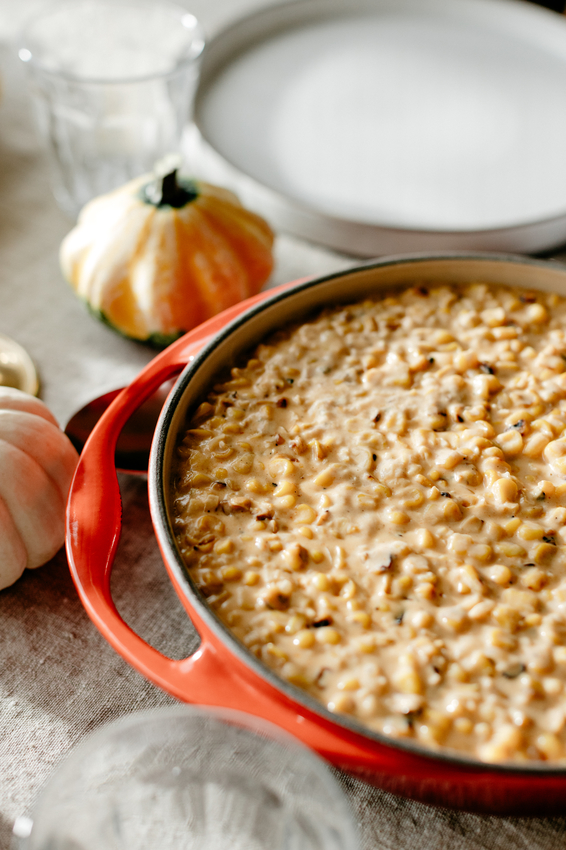
P.S. Here are some pics from this weekend’s GMF episode, Thanksgiving!!! I’m making a grilled sweet and smoky turkey, charred creamed corn, soft pretzel stuffing, and my lemon olive oil cake with cranberry glaze! And there are some very special guests :)

apple and honey pizza + wheat harvest!

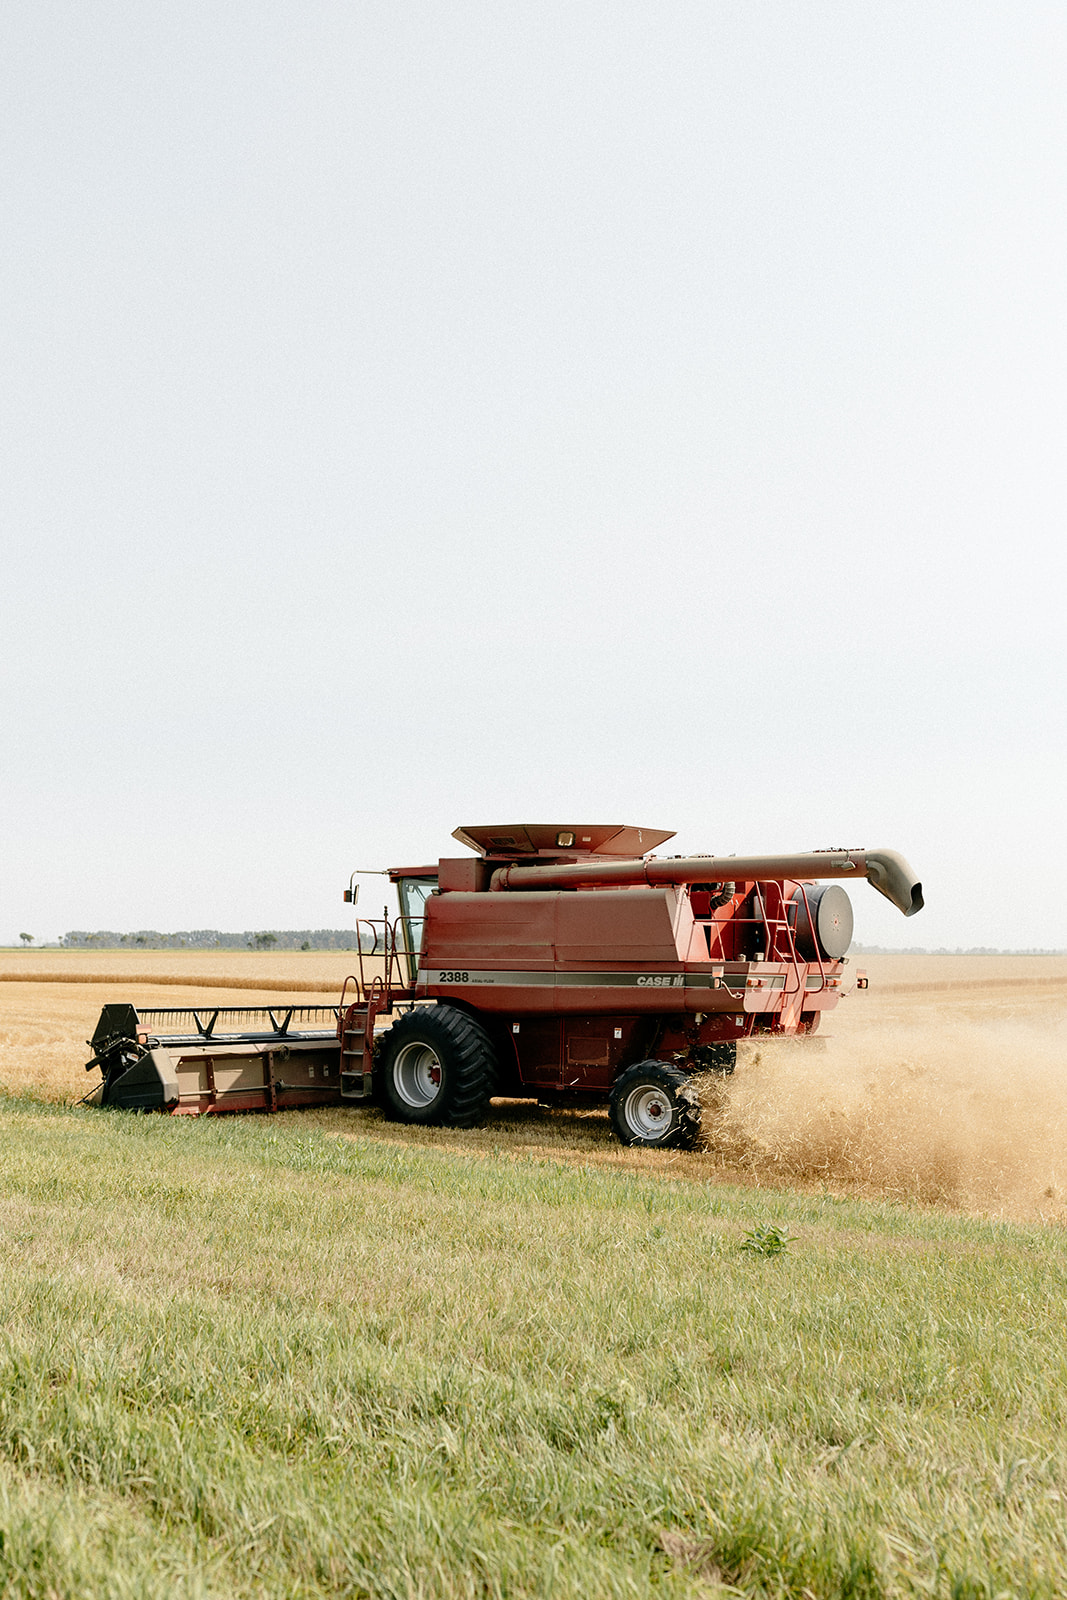
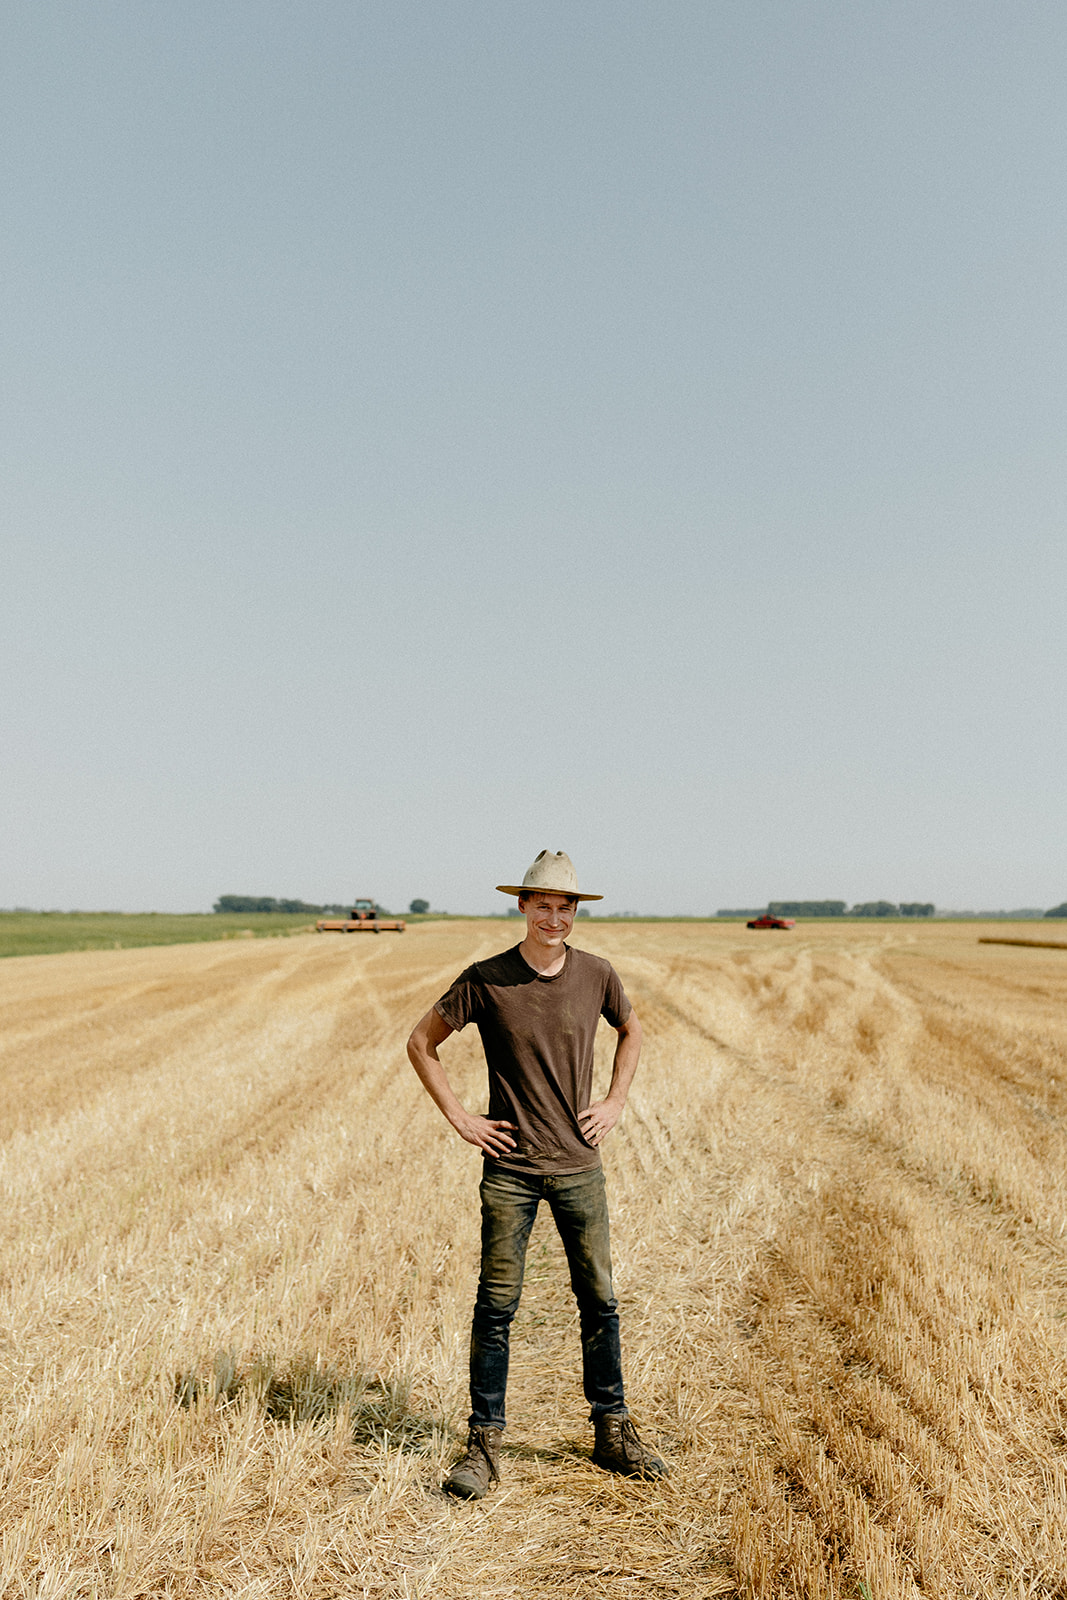
Today is the last day of wheat harvest! It was earlier than expected this year because it was such a hot and dry summer. The wheat fields are soooo pretty so I'm kind of sad they'll all be picked now but one perk of this earlier wheat harvest is that Eggboy will have some breathing time before beet harvest, some of which will be spent at summer camp!!! Since it’s been a good few years since I took a camera out to the fields, I thought it would be fun to have Chantell and Brett come out and capture the harvest, the wheat, and a fun thing to do with the wheat: mill it into flour and make pizza with it! 

Wheat harvest is less intense of a harvest than sugar beet harvest because you can only harvest the wheat when it’s very dry, meaning that you can’t really start until 11am, and then you have to stop at sundown, so there’s still time at night to sit on the couch and eat a taco and watch half an episode of Breaking Bad. (Sugar beet harvest goes 24 hours a day… no time for couch or TV.) But that doesn’t mean it’s less dramatic!! The way the fields are so golden and create big poofs of dust when the combines roll through creates the coolest scene. 

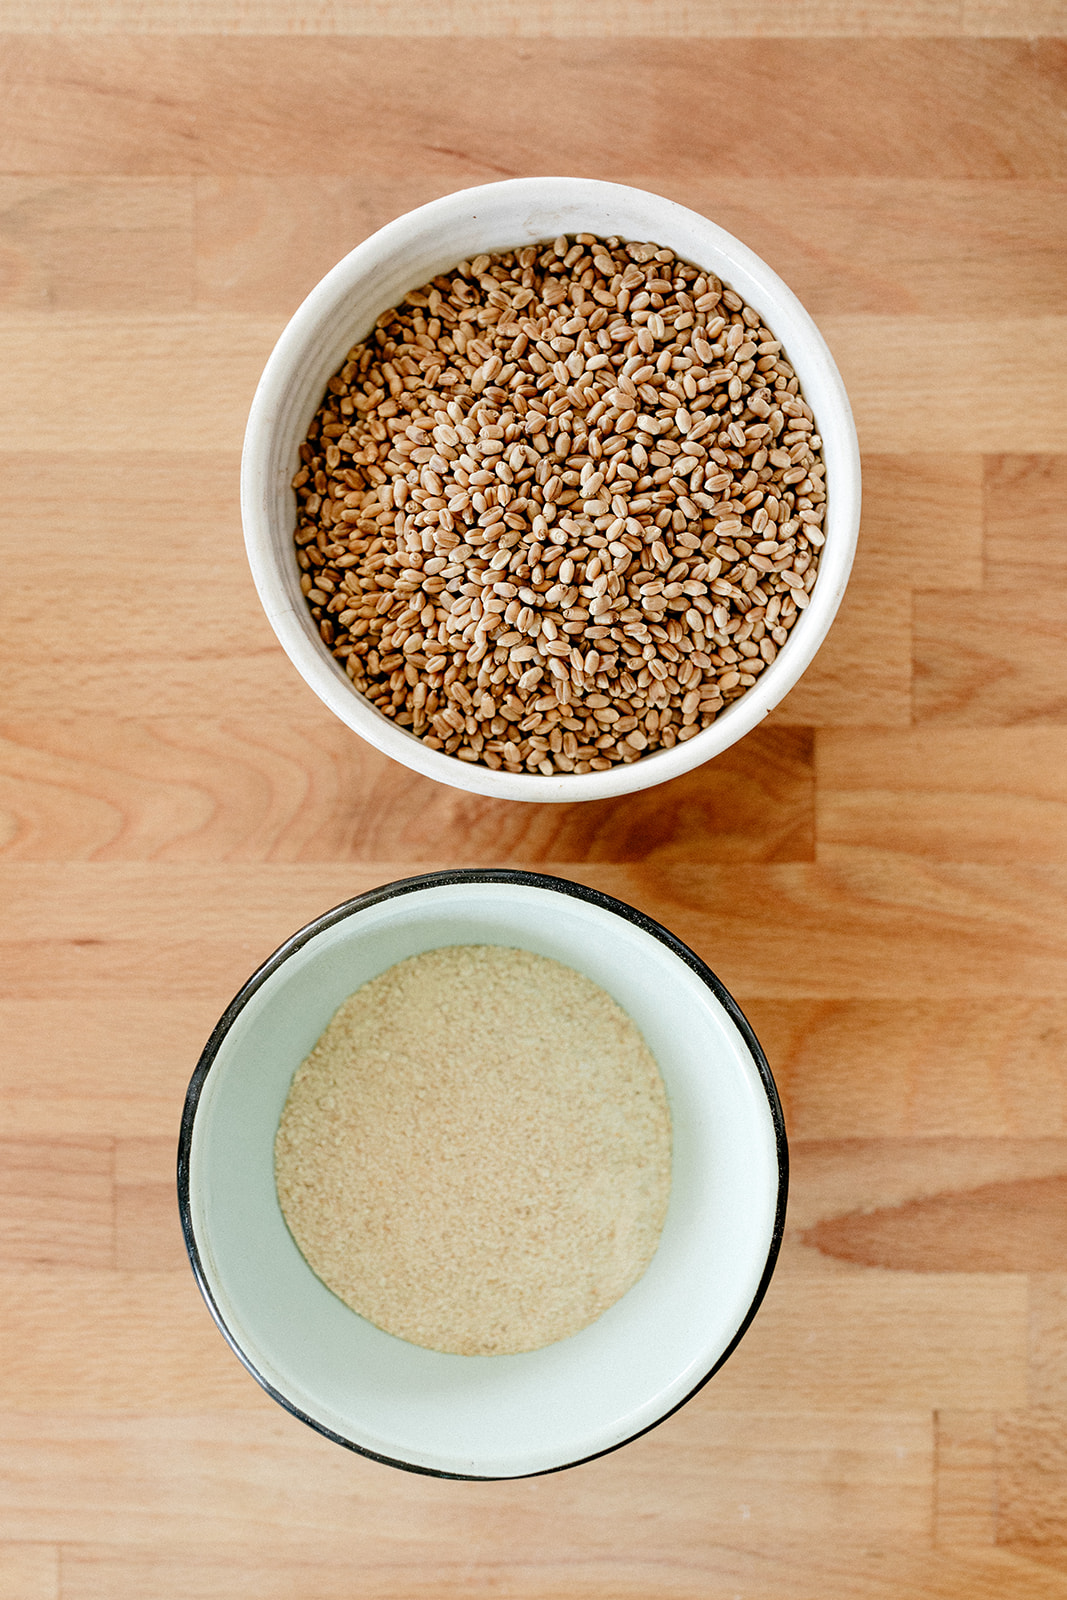
Once it’s harvested, the wheat, which is hard red spring wheat, gets brought to the mill in town where it’s ground into flour and shipped all over the country. Some of it becomes King Arthur Flour! Some goes into pancake mix. And some of it (the high protein variety) gets sent to the Bronx to make bagels!!!

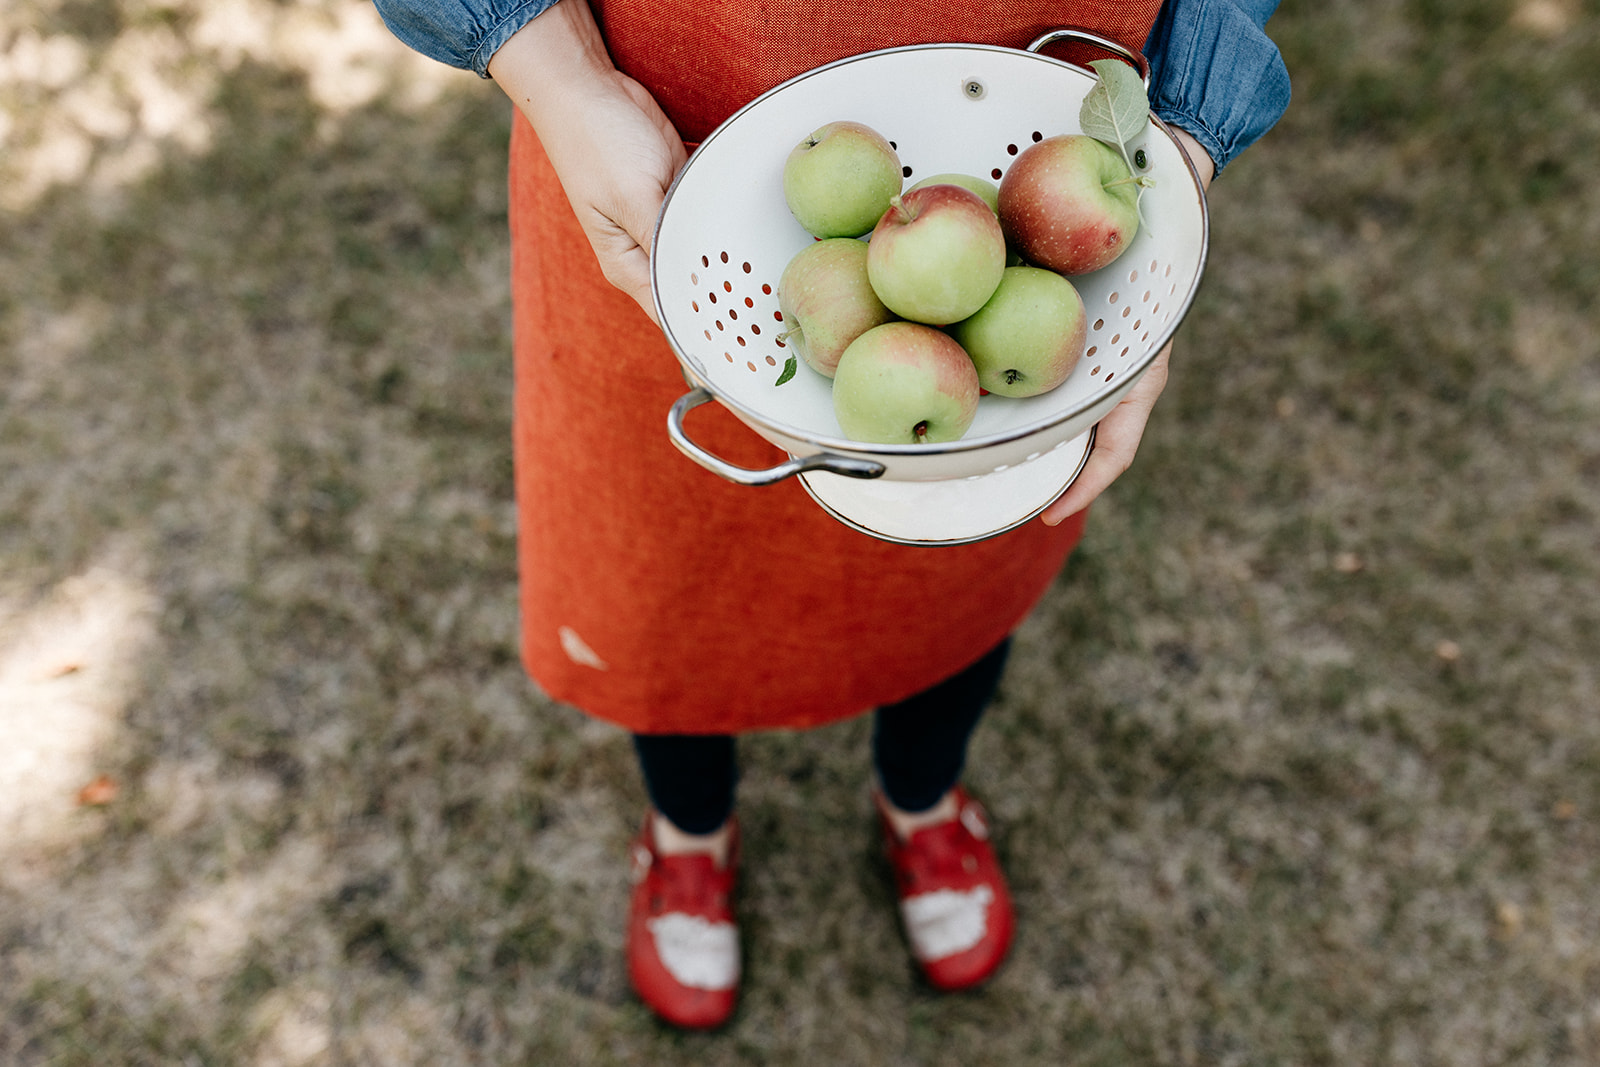
And then there’s like .00000001% of it that Eggboy has brought in for me to blend in the Vitamix and play around with. I added some to challah and it came out reeeeally dense. It was bad. But that density works really well in pizza dough, so I’ve been adding it to my current favorite pizza dough, which is based on the recipe in Bread Toast Crumbs. It’s a no-knead recipe that only needs to rise for an hour and a half, so it’s the best on pizza Fridays when I forget to make dough the day before. And the nutty whole wheatiness of our home-milled flour goes splendidly with this new concoction: apple and honey pizza! With apples from our trees!!!

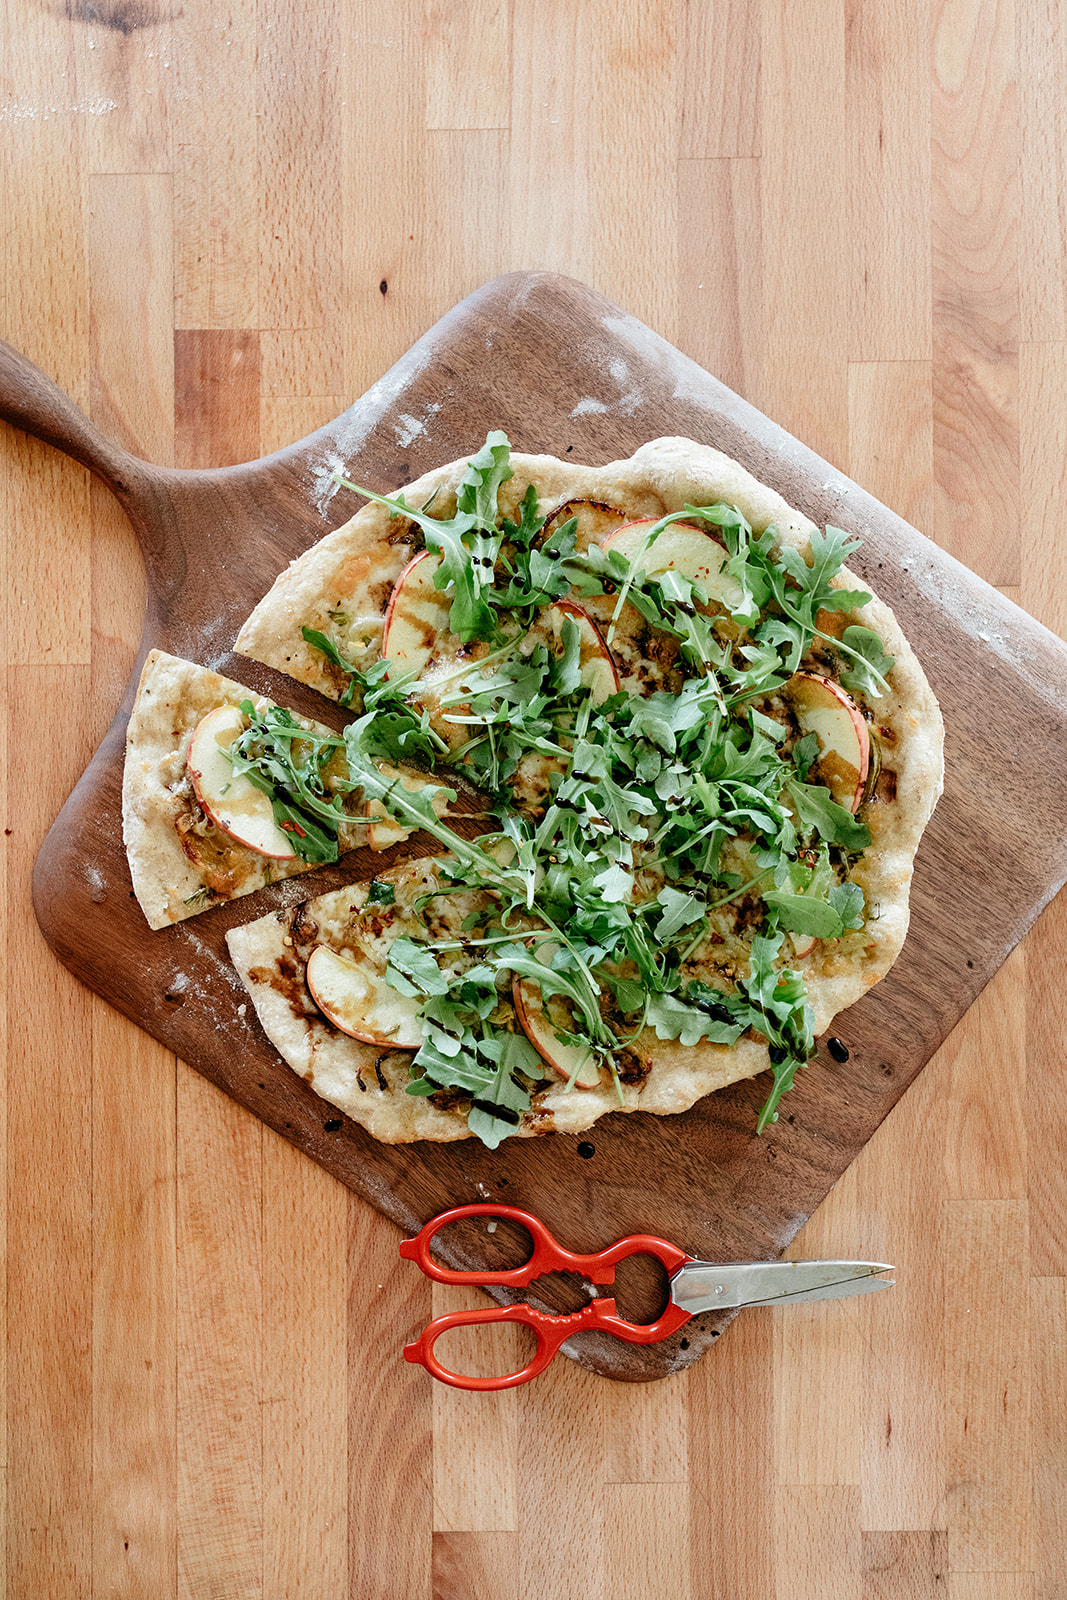
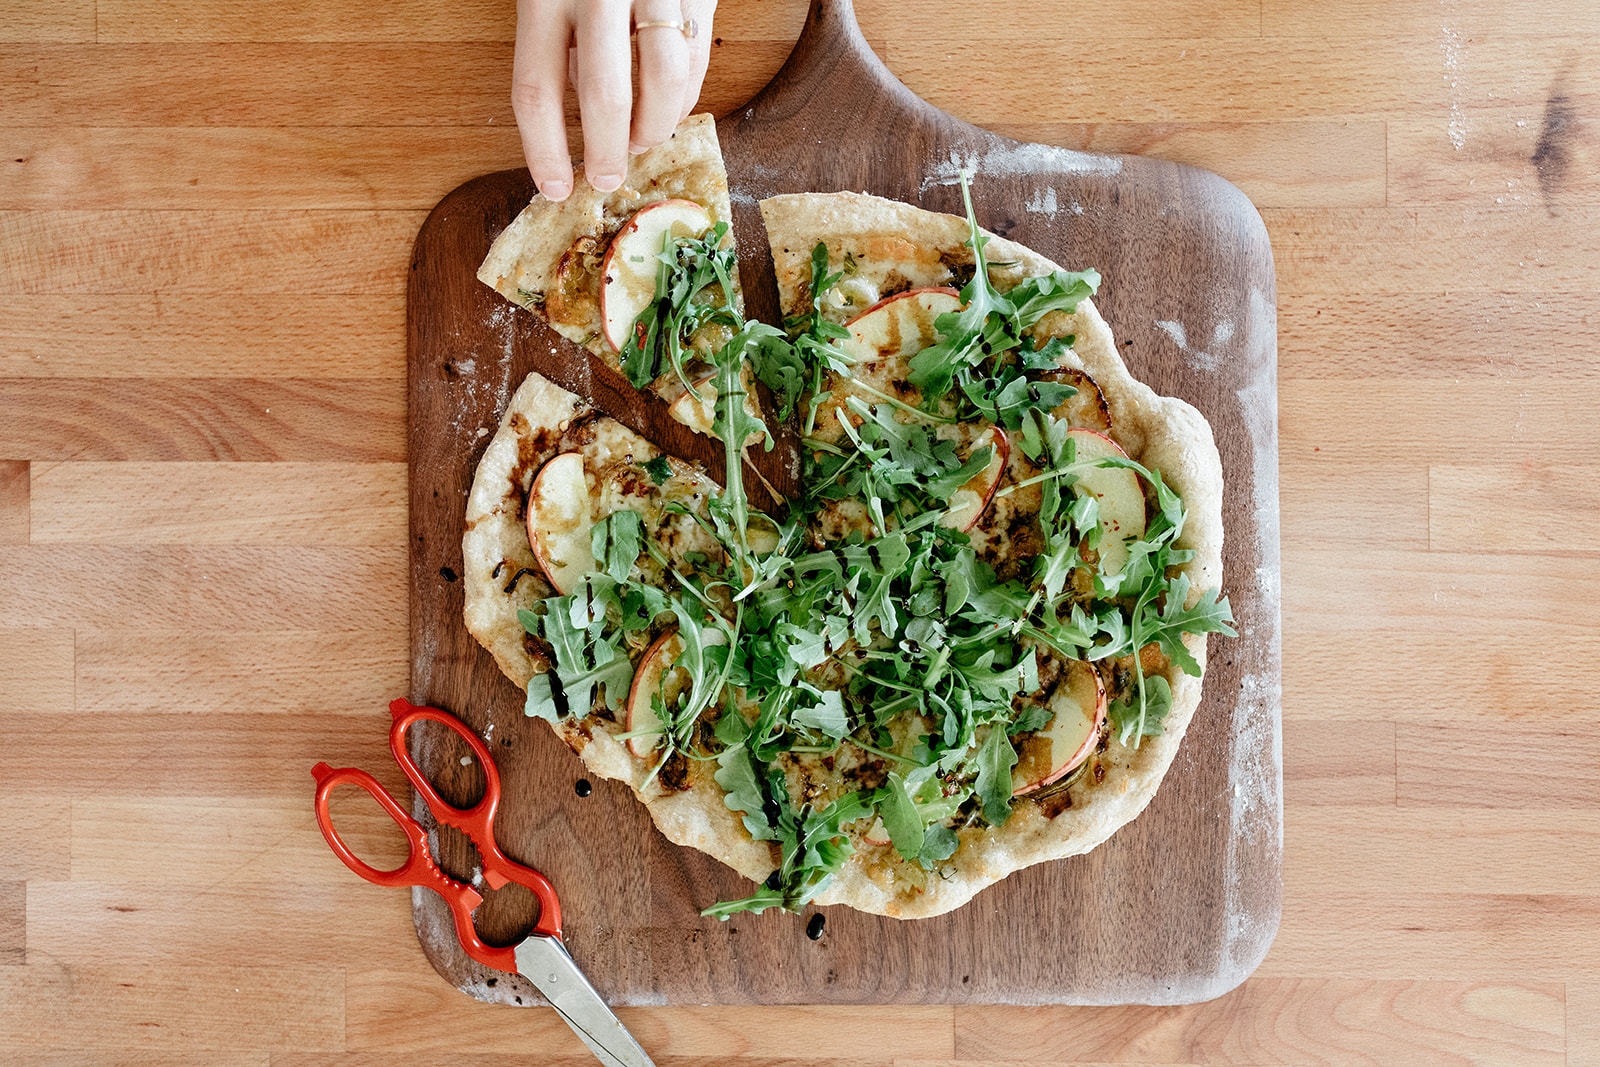
Apple and honey pizza is a Rosh Hashanah-ready recipe I’ve been wanting to make for a while and it works because sharp sharp cheddar, pepper-y arugula, and punchy balsamic all balance out the sweetness of the apples and honey so it definitely does still feel like a good salty savory situation. In a slightly dainty move, the crust here is really thin and crisp, so you could totally house the whole thing for supper or serve it as an appetizer flatbread thing. There’s no real sauce, just some slow cooked olive oily onions, and brie would be en excellent alternative to the sharp cheddar. Overall it strikes a perfect combo of sweet, salty, and acidic, so it's fully ready for a sweet (yet balanced!) new year!

apple and honey pizza

serves 2-4

ingredients

Dough:

1 1/3 c (173g) all-purpose flour, plus more for dusting
2/3 c (86g) whole wheat flour
1 tsp kosher salt
1/2 tsp instant yeast
1 c (236 ml) lukewarm water

Toppings:

1/4 c (50g) olive oil
1 yellow onion, thinly sliced
2 sprigs fresh thyme
6 oz (170g) sharp cheddar, shredded
1 apple, thinly sliced
leaves of 1 sprig of rosemary, chopped
Black pepper
Kosher salt
4 tsp honey
Crushed red pepper
2 handfuls of arugula
A drizzle of balsamic glaze
 

clues

In a medium bowl combine the flours, salt and yeast. Mix in the water until combined. Cover with plastic wrap and let rise for 1 1/2 hours (or overnight).

Meanwhile, heat the olive oil in a skillet over low heat and add the onion and thyme sprigs and cook for about 45 minutes, until very very soft.

Preheat the oven (ideally with a pizza stone) to 500ºf, cut out two big sheets with parchment paper, and dust liberally with flour. Divide the dough into two parts, and place each on a piece of parchment. The dough will be very sticky, so don't be shy in dusting it with enough flour as needed to handle it. Roll out until the dough is very thin, just a little thicker than 1/4” (and again, feel free to dust dust dust with flour as you're rolling). 

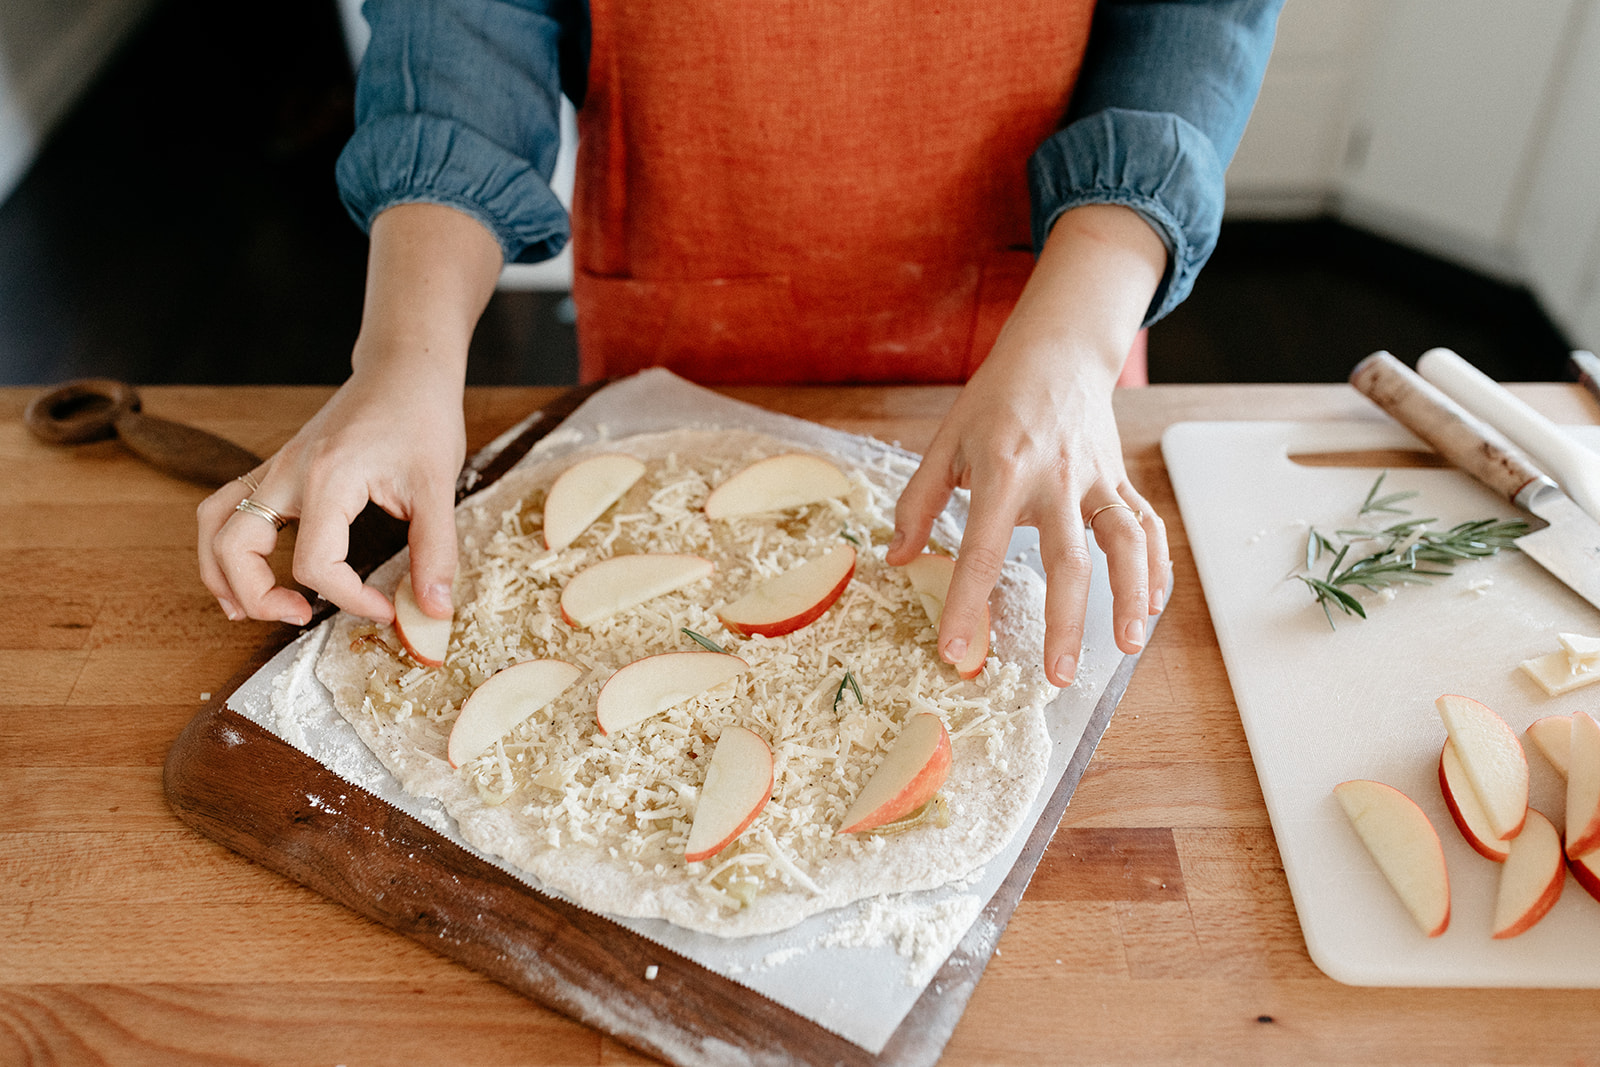
Discard the thyme leaves from the onion mixture and transfer the onions and the excess olive oil to the dough, spreading it around to distribute evenly. Top with the cheese, apple slices, rosemary, and black pepper, and sprinkle the edges with salt. Using a pizza peel or baking sheet, slide the dough onto baking stone and bake until the cheese is splotchy with brown marks; begin checking for doneness at 7 minutes. If you don’t have a baking stone, you can simply bake on a baking sheet. 

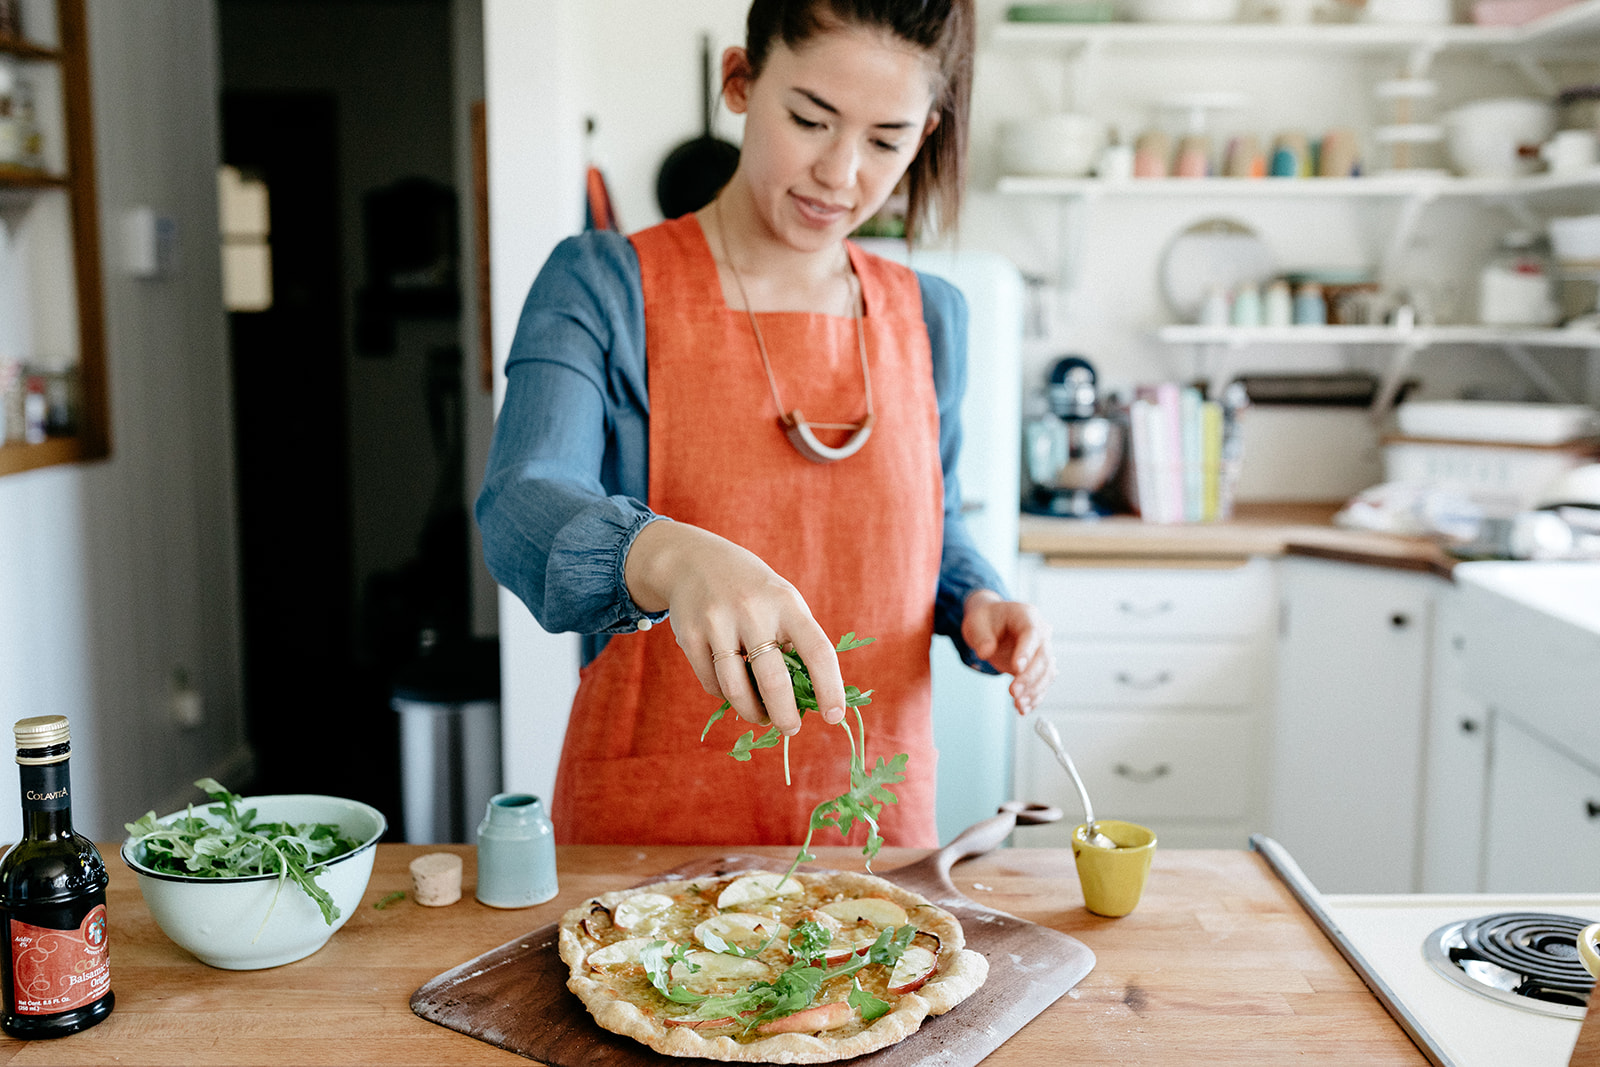
Drizzle the pizzas with honey, sprinkle with crushed red pepper, top with arugula, and a drizzle of balsamic glaze. Enjoy! 


-yeh!

photos by chantell and brett quernemoen

apron by enrich and endure, necklace by marian bull

farmhouse party quesadillas

To know Eggboy is to know that, when left to his own accord, lunchtime means dumping a can of beans into a bowl and topping it with raw walnuts and dinnertime means going across the street to eat Eggmom’s salmon and roasted vegetables. In the past year or so he’s started salting his beans so that’s a step up. I used to feel guilty when I’d go out of town without leaving a lasagna in the freezer but I’ve witnessed him do the beans for lunch thing enough times even when there is a perfectly good leftover soup in the fridge that I think he actually just… likes it? He’s the first person I’ve ever really gotten to know who basically just eats to survive and doesn’t seek out the best bakeries wherever he travels. And yeah, aside from the occasional egg and my annual birthday cake, he doesn’t really cook! At all. I’ve never had an issue with it because he is a great dishes doer and also I like cooking haha. 

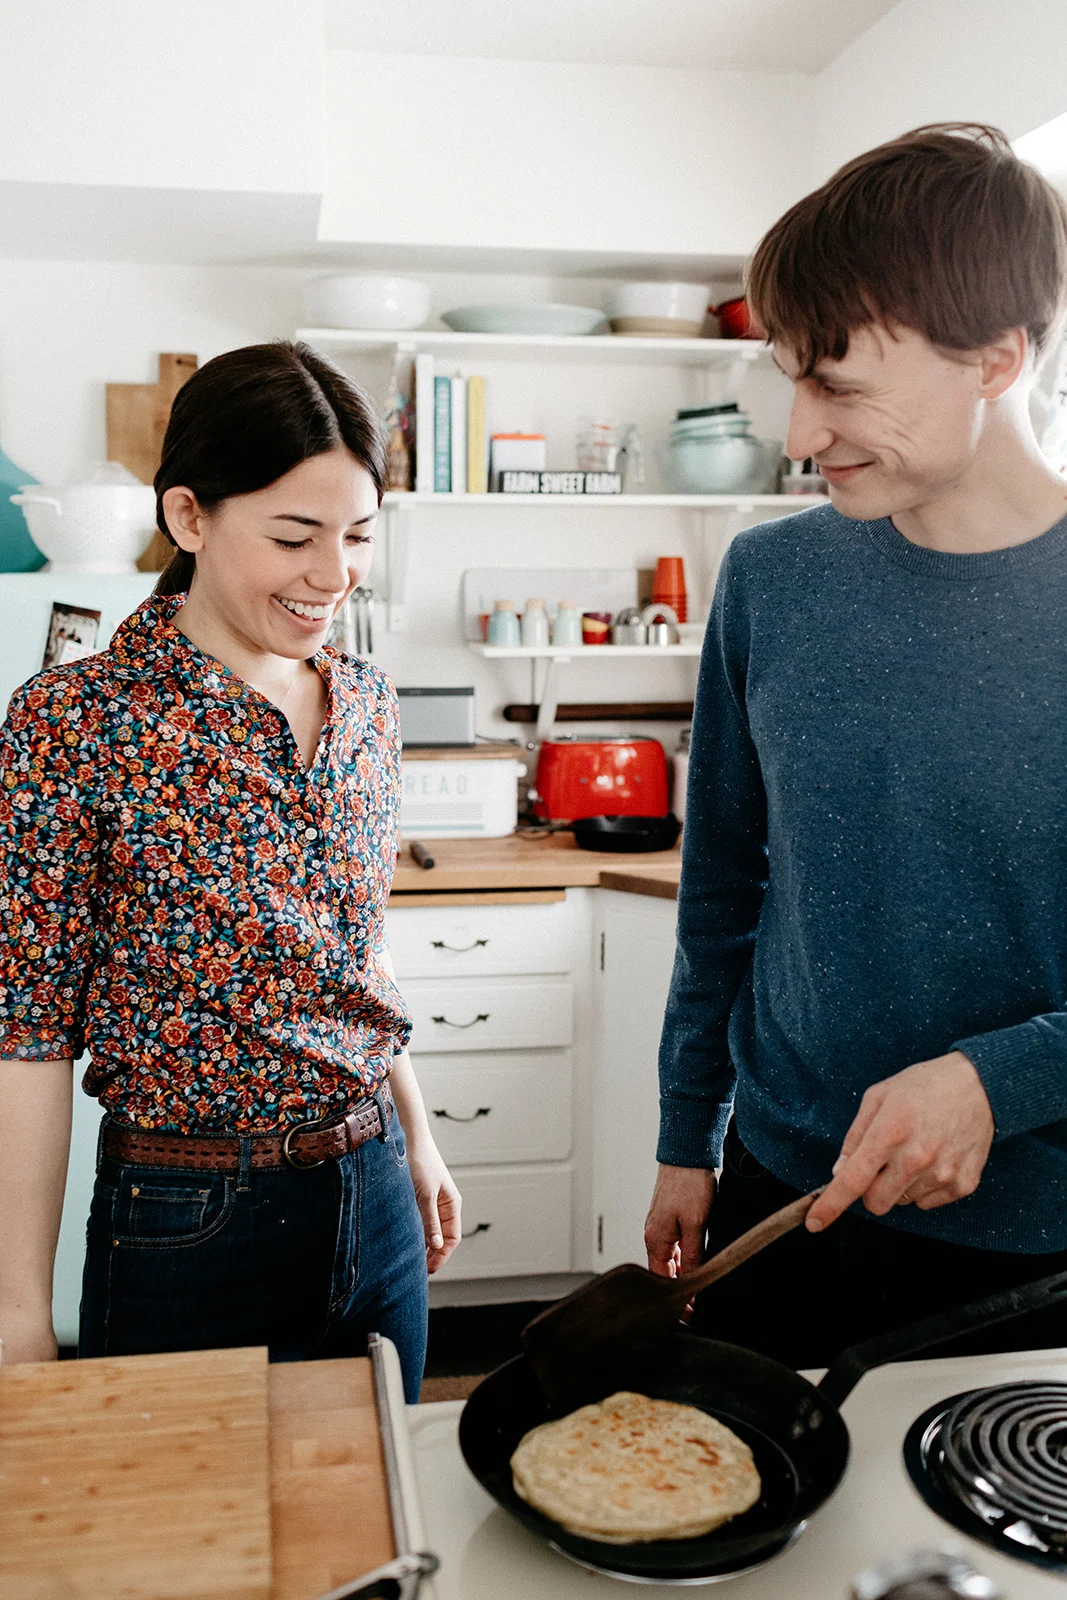
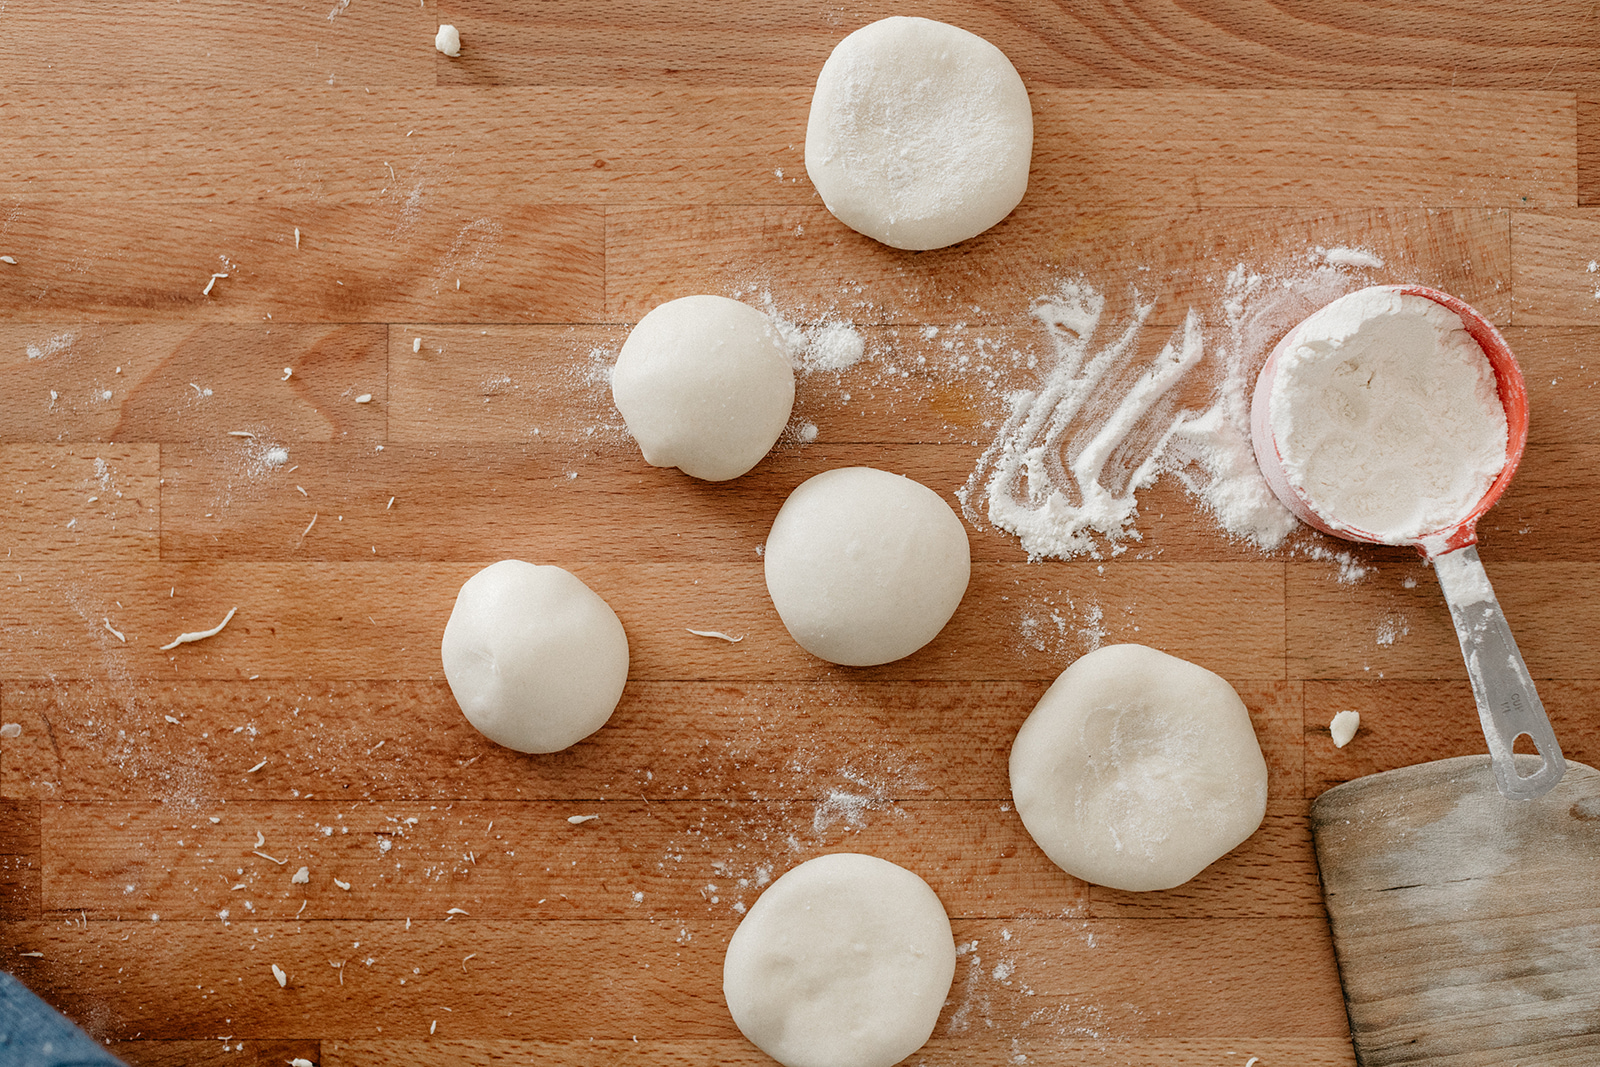
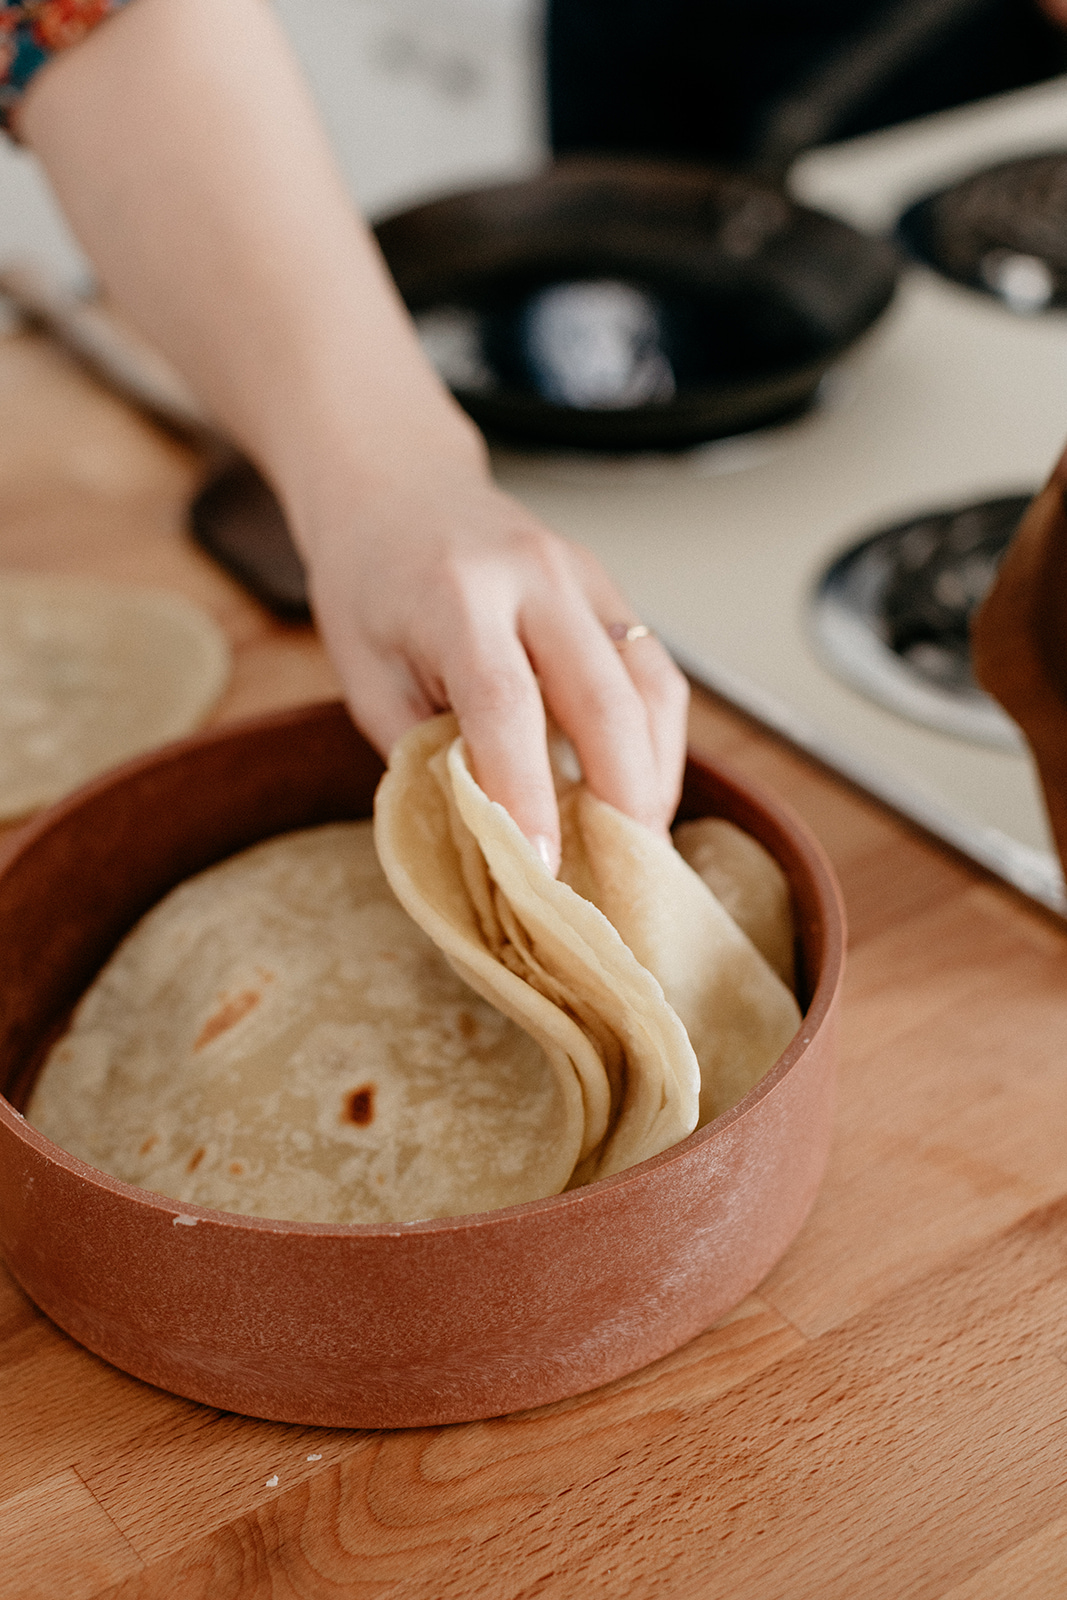
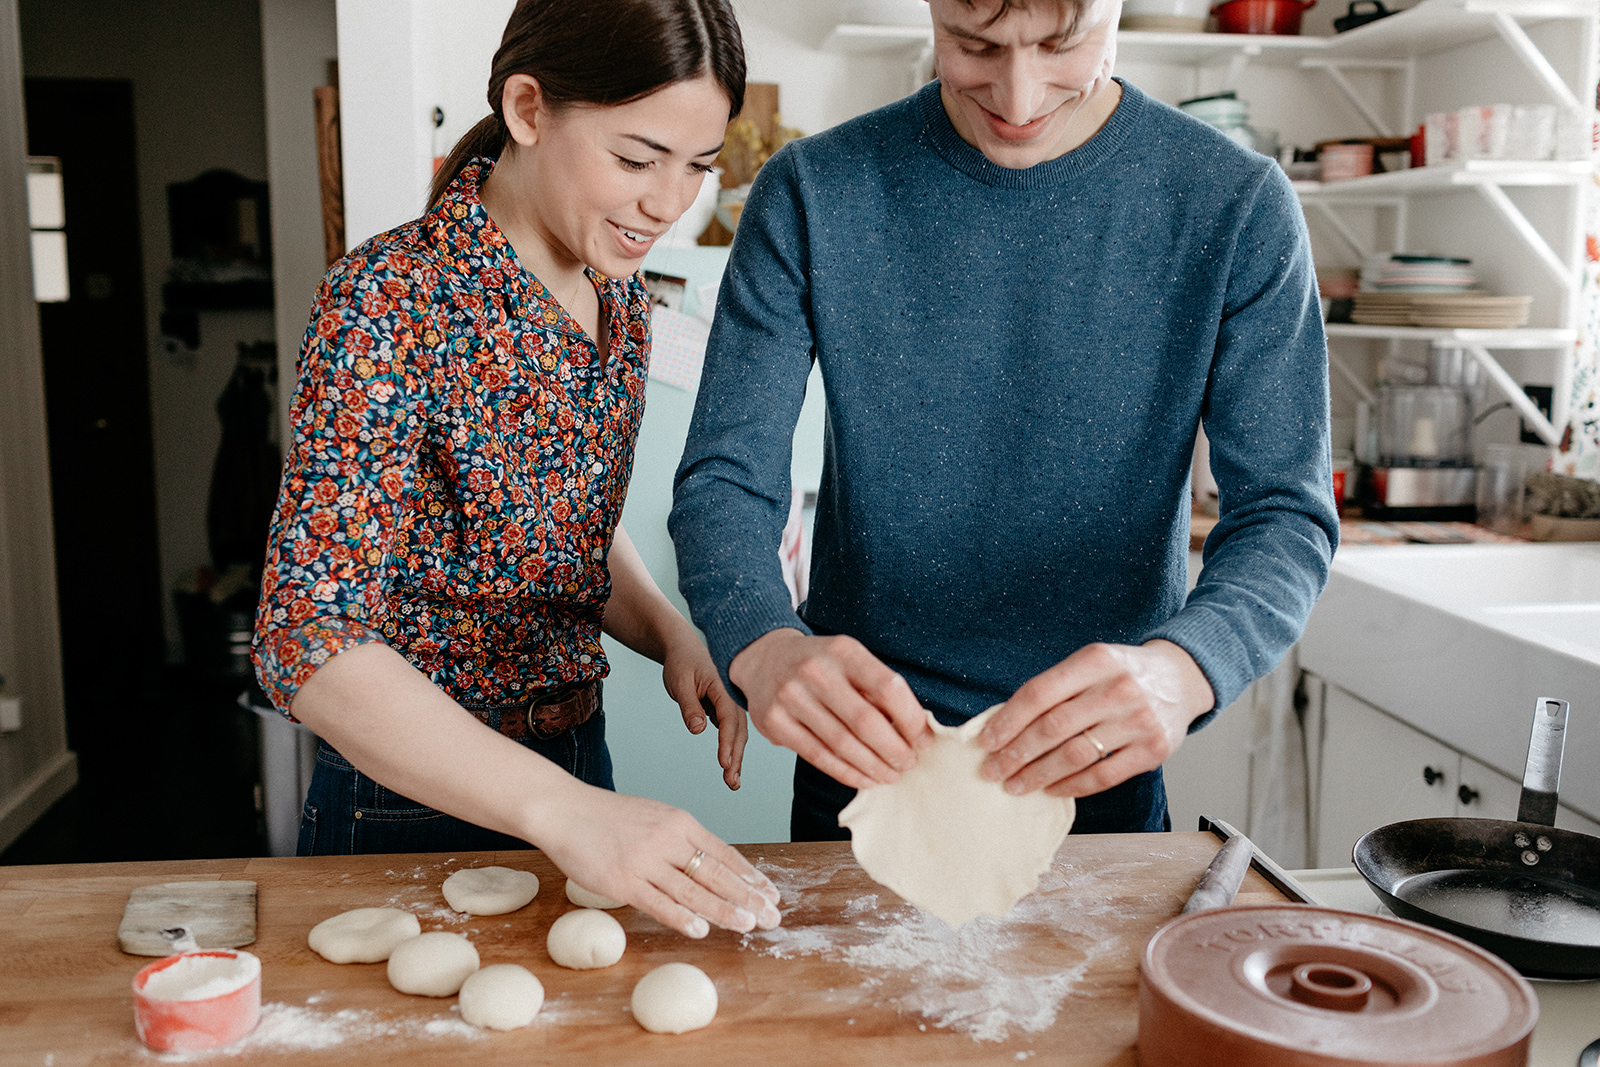
So imagine my surprise when he took up a tortilla making hobby! Last fall I returned home from a trip to find a baggie of really adorable amoeba shaped tortillas that were doughy and delicious. They were slightly thicker than the tortillas that we buy at the store and super dense. I thought it was a one off thing that he did while I was away but then there were multiple nights when I’d be standing at the stove stirring a pot of something and I’d turn around to find him kneading tortilla dough. It was so fun!!! I’d made Turkish Yufka before, which is super similar, and a few of our friends once had us over for tacos with homemade tortillas, but this was the first time we’d made tortillas at home and I can’t believe it took us this long. They are soo good. So for Chrismukkah I got him a few tortilla themed goodies like a server, a press, and a few taco holders to up our taco Tuesday game and we can never go back to store bought tortillas now. 

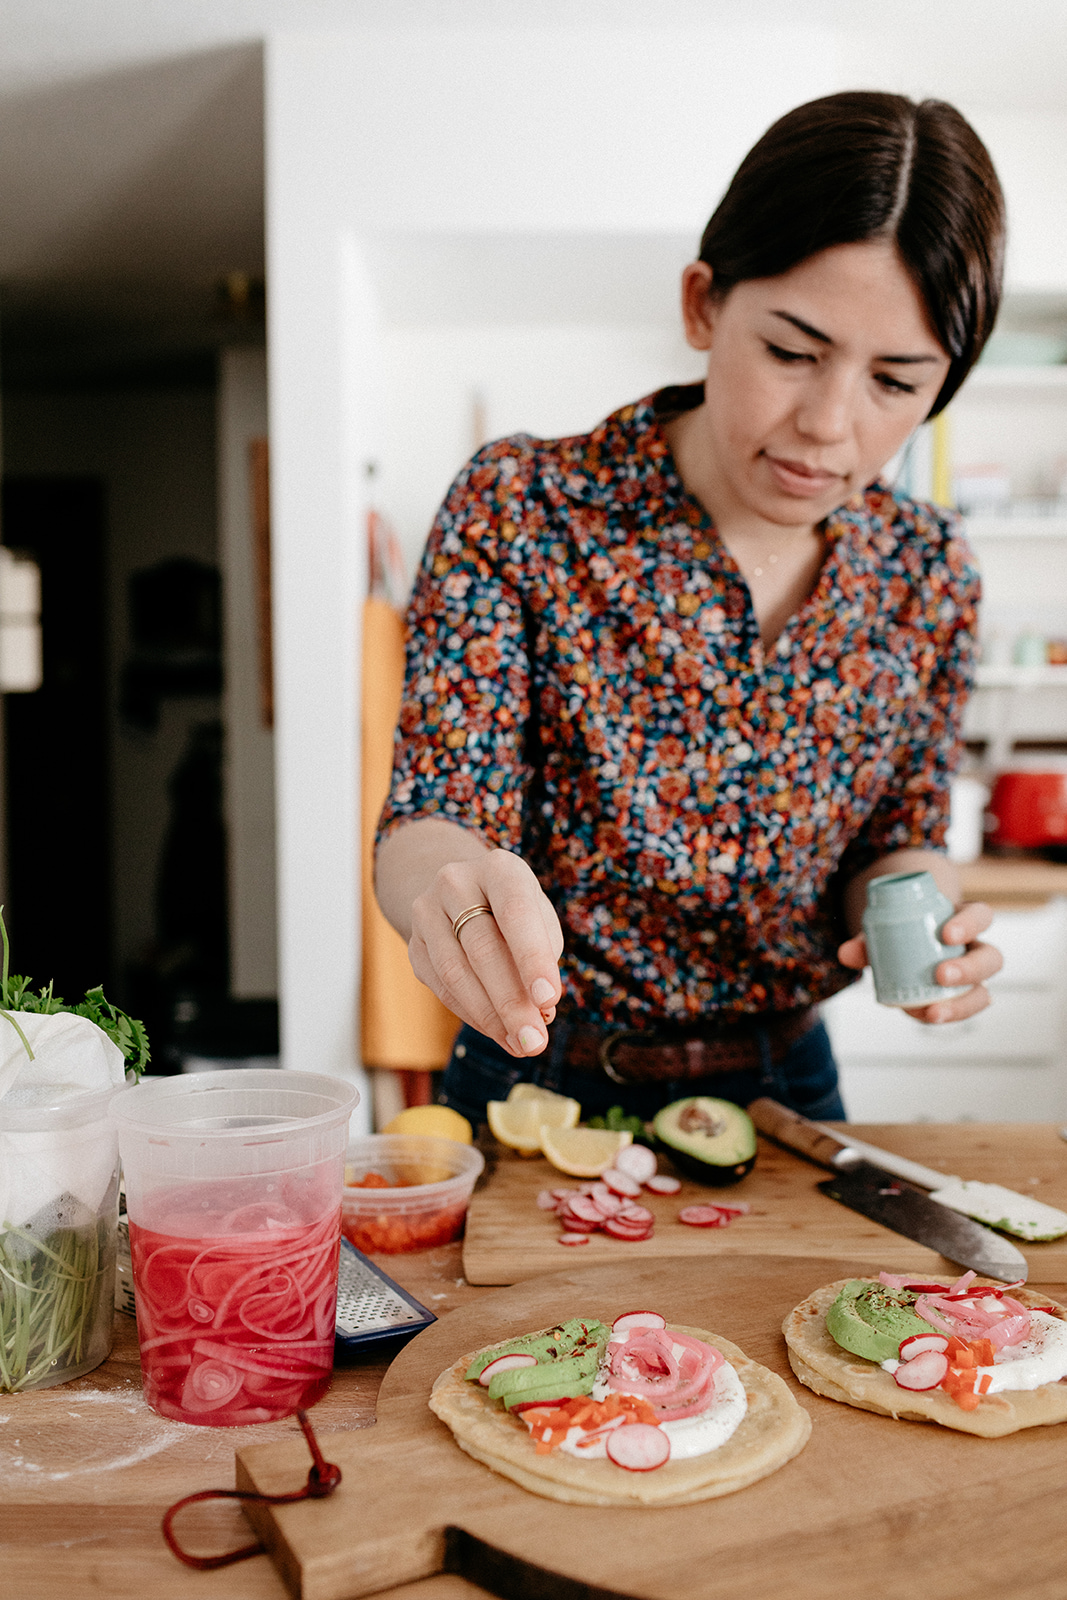
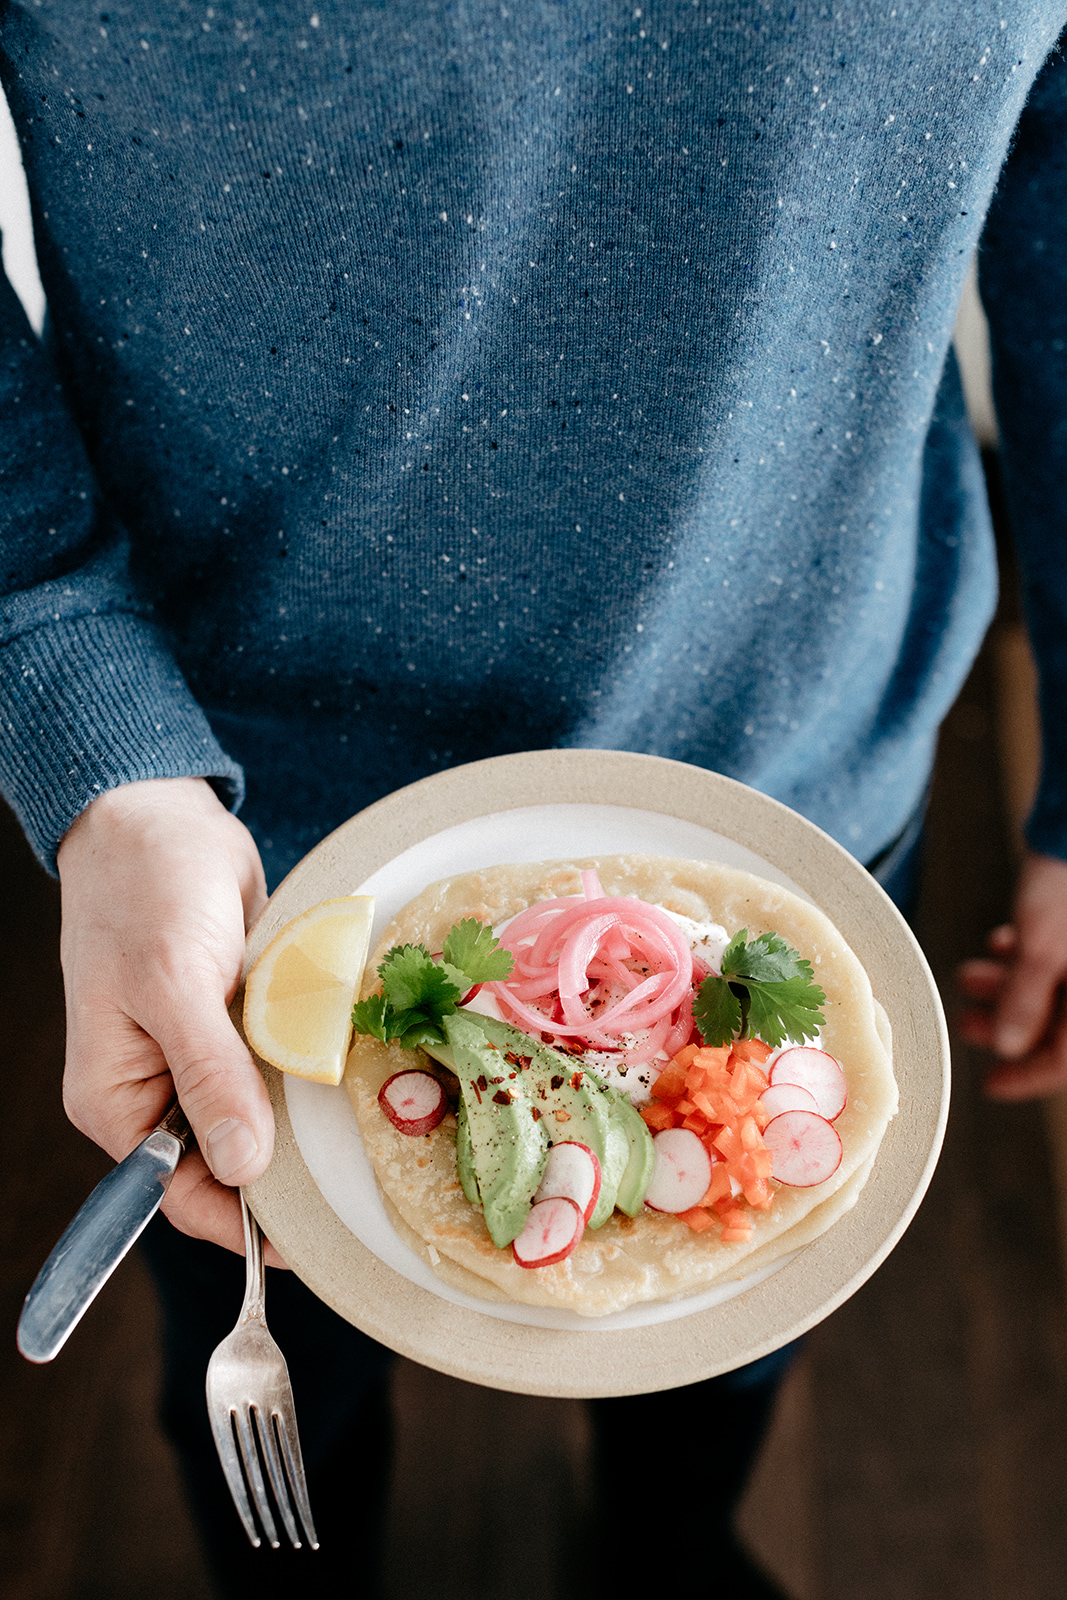
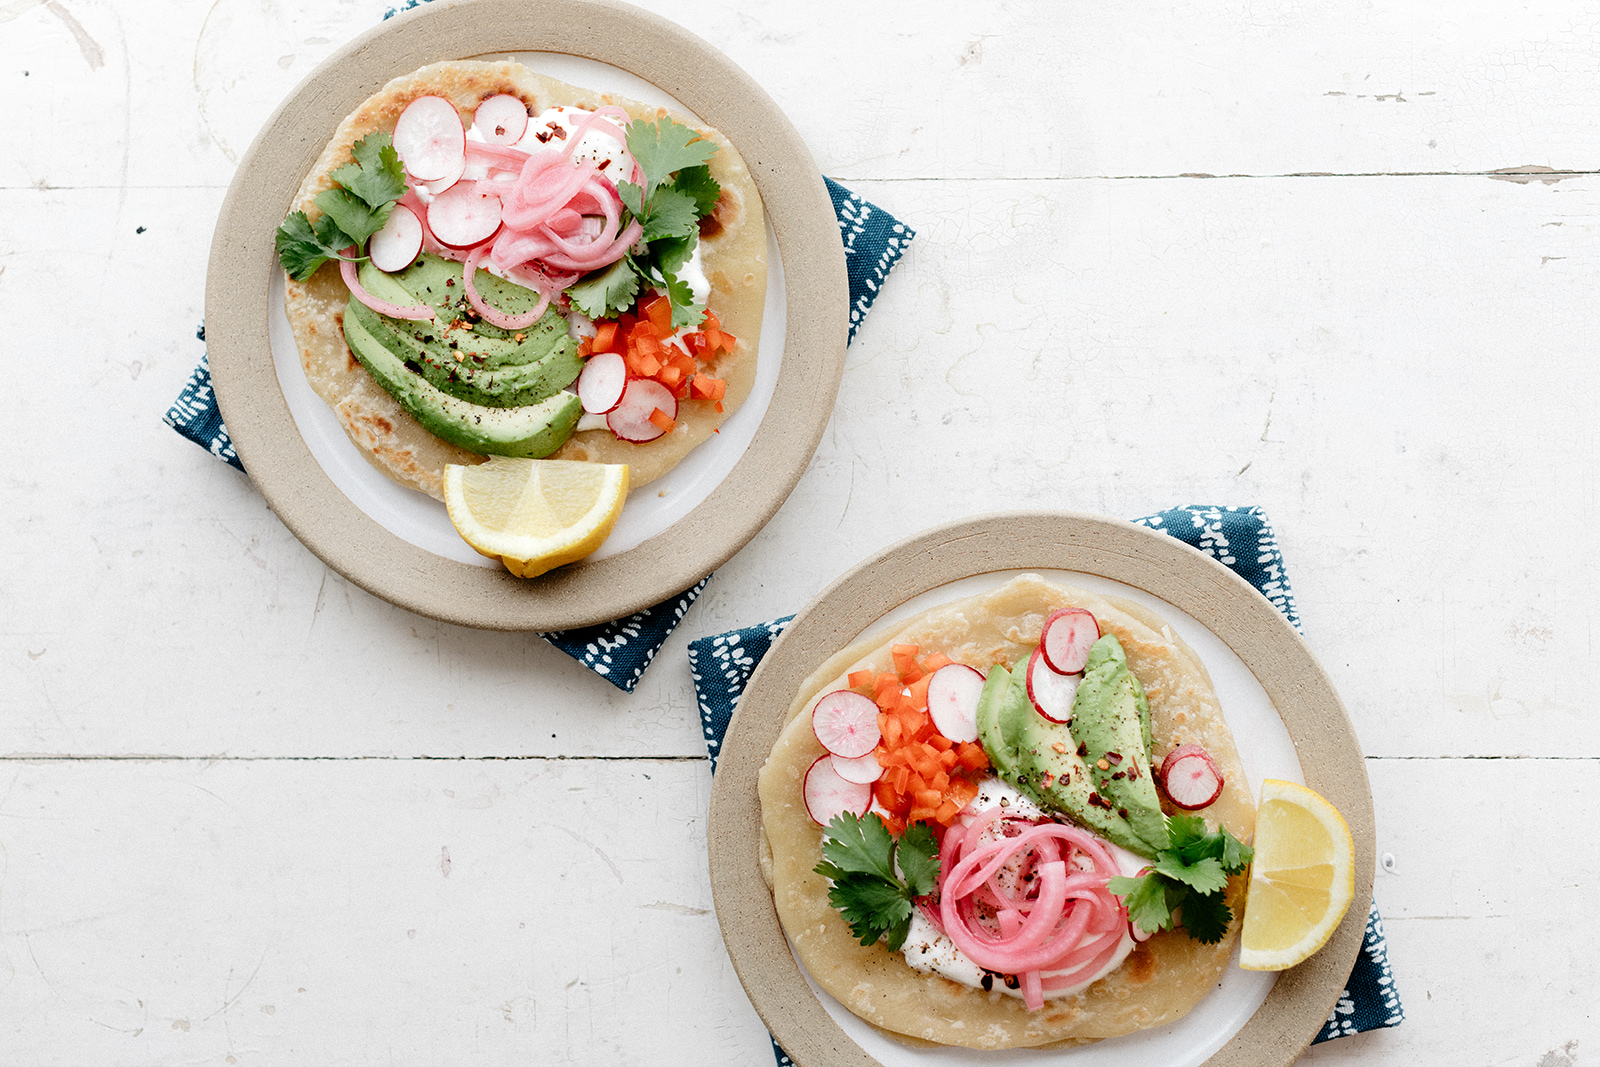
We always make a big batch to have some leftover, and when it’s lunchtime and we have leftover tortillas I usually make quesadillas. Quesadillas were the best already but when you throw in two thick doughy homemade tortillas, it is like, game over, it does not get much better. For the topping, I like to clean out the fridge of whatever vegetables we have on hand and pile them on top for a colorful fork and knife situation that is a total party. I usually start with a layer of something creamy, like yogurt or sour cream, and add some avocado, pickled onions, fresh herbs, chopped peppers, maybe some greens, a squeeze of lemon or lime, hot sauce, etc., etc., and when the tomatoes come back there will be those too. Inside the quesadilla, I have been using Cabot’s Farmhouse Cheddar which has a delicious sharpness that shines through brightly from under this bed of toppings. And it’s called Farmhouse! And Eggboy is a farmer! So it all checks out and I’m running with it! 


Note: lard is traditionally used in tortillas but we don’t typically have that on hand so we usually use canola or olive oil. I kinda wanna try schmaltz in a tortilla though?? Don’t tell Macaroni. 

Farmhouse Party Quesadillas

Makes 4

Ingredients

Tortillas

2 c (254g) all-purpose flour, plus more for dusting

1 tsp kosher salt

1 tsp sugar

3/4 c water

1/4 c flavorless oil or olive oil, plus more for cooking the quesadillas


Filling and Topping

6 oz cheese Cabot Farmhouse Cheddar, shredded

Plain Greek yogurt or sour cream

sliced onions, pickled or raw

Sliced avocados 

Sliced Radishes

Fresh herbs

Fresh greens

Other chopped veggies, as desired

Lemon or lime wedges

Hot sauce

Kosher salt

Black pepper

Clues

To make the tortillas, combine the flour, salt, and sugar in a medium bowl. Mix in the water and oil and stir to form a dough. Turn it out onto a surface and knead for 5-7 minutes to form a smooth, slightly sticky dough, adding more flour if needed. Cover it with plastic wrap or a towel and let it rest for 30 minutes. (Full disclosure, when we’re hungry we skip this step. But letting the dough rest does make it easier to roll these out.) Heat a dry skillet over medium heat. Divide the dough into 8 equal parts and roll them out until they’re really thin, keeping the dough balls covered until you roll them out. I like a 1/16” or 1/8” thickness but wouldn’t turn down a 3/16” thick one. Cook them in the skillet on both sides until they’re just starting to show some brown spots. Keep in mind that they’ll cook more when you’re making your quesadillas so don’t be afraid to keep them on the undercooked side. Immediately transfer cooked tortillas to a large ziploc bag, stacking them up, and keeping the bag mostly closed while you finish cooking the rest. This will steam them and make them nice and soft.

To make the quesadillas, keep your skillet hot but add a thin layer of oil. Top 4 of the tortillas with the cheese, distributing it evenly, and top them with the remaining tortillas. Cook on both sides until they’re splotchy and golden and the cheese is melted. Top with a blob of yogurt or sour cream, any and all veggies and herbs as desired, a squeeze of lemon or lime, a few shakes of hot sauce, and a sprinkle of salt and pepper. Enjoy! 

Any unused tortillas can be stored in a ziploc bag in the fridge!

thank you, cabot, for sponsoring this post! 

-yeh!! 

photos by chantell and brett!