salmon

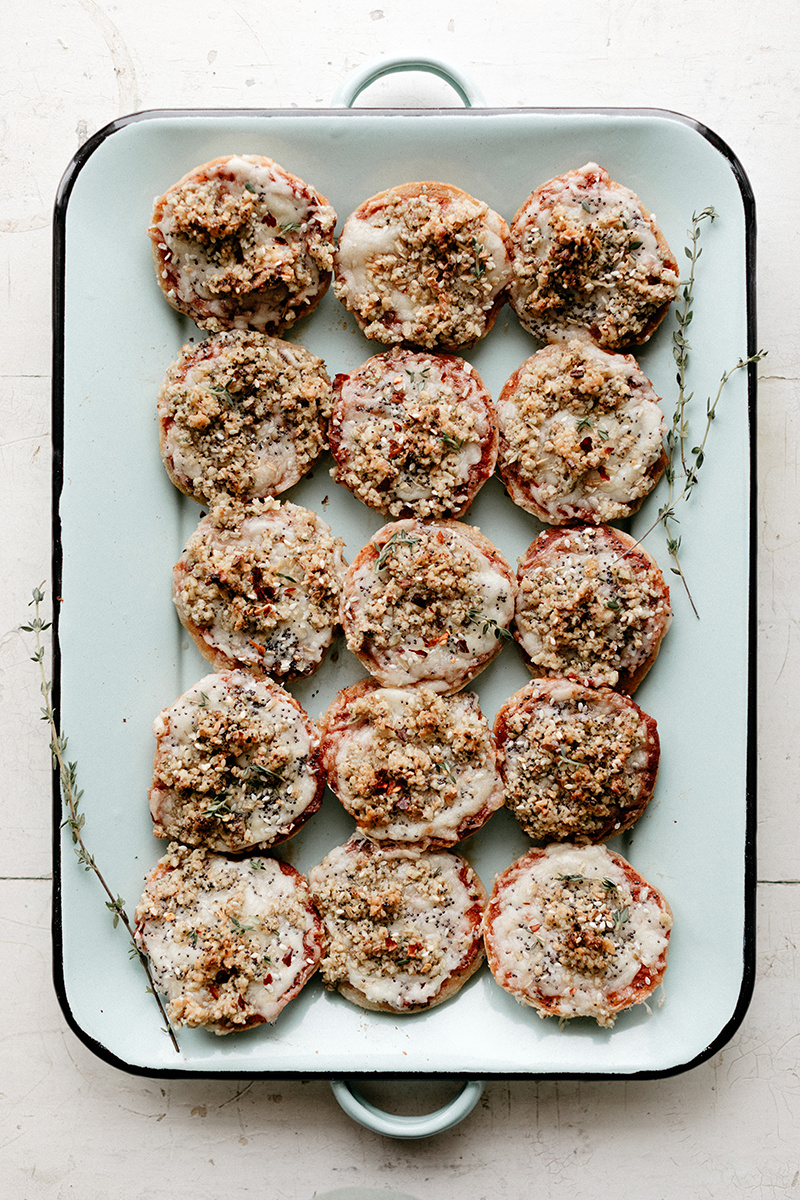
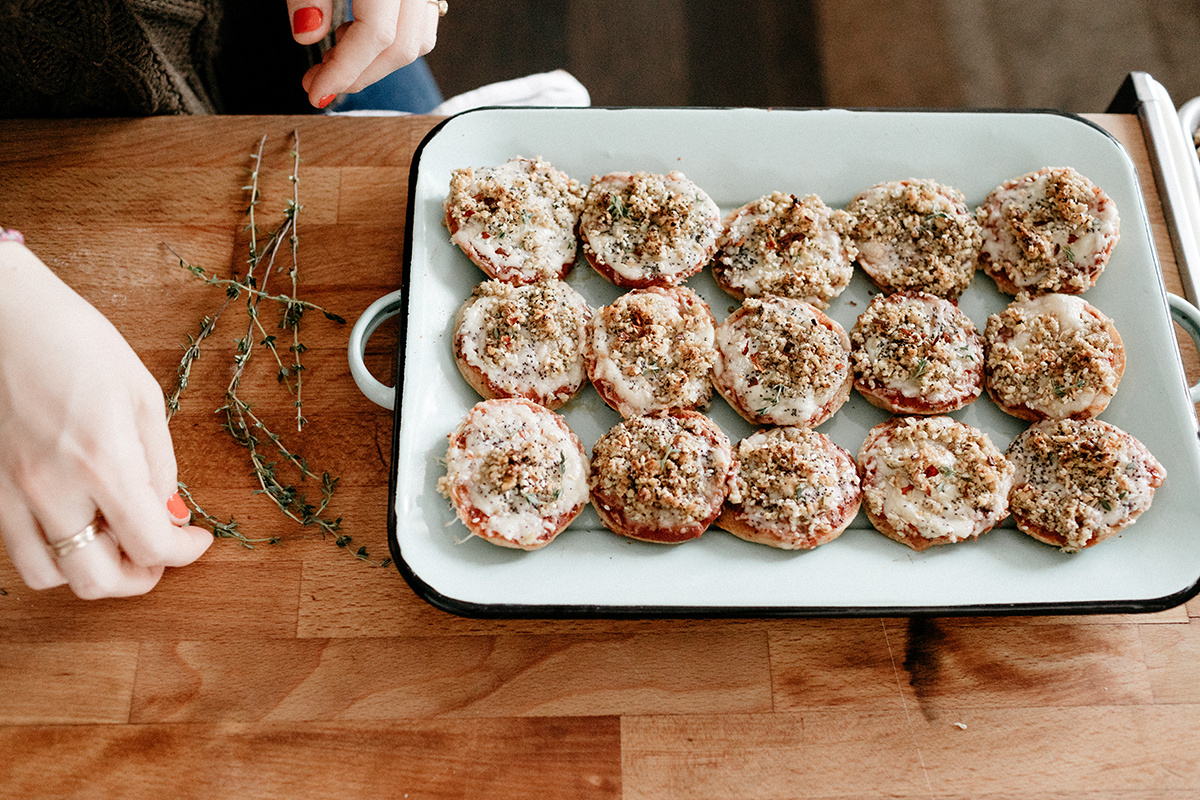
mini pizza bagels with sharp cheddar and walnut crumble

I have two scars on my face. One is boring and from a mole (#wearsunscreen! get your skin checked!) and the other is very old and from a pizza bagel! I was 7 years old and very impatient. The idea of waiting for a few minutes for a pizza bagel to cool down out of the microwave was complete lunacy to me and I dug in, only to have lava hot red sauce splat onto my chin, right below my lower lip. It left the tiniest little burn scar that’s not so big that I notice it all the time but when I look closely and do see that little raised bump I think about pizza bagels. It’s actually kind of so delightful that I’ve completely forgiven my impatient 7-year-old self (and pizza bagels and microwaves and red sauce). But despite the fact that I think about pizza bagels regularly, there was a really long time when I barely ate them at all. 

It’s because they’re a flawed food!

Common practice is that you retrieve an already made bagel, top it with pizza toppings, and cook it until the toppings are all melty and the pepperoni is crisp. Or someone else does this for you and all you have to do is open up your freezer and put the thing in an oven or microwave. The issue here is that both of these options start with a bagel that is already fully cooked, so by the time that it goes through more time in the oven or microwave to melt the cheese and crisp the meat, the bagel is overcooked and hard and awful. Allison called me a monster when I acknowledged this because she said that being over-baked is part of the experience. Which, as someone who secretly liked it when the TV dinner pudding overflowed and got on my macaroni and cheese, I can almost empathize with. But as a lover of doughy foods and, more specifically, appropriately chewy bagels, I say let’s make our bagels from scratch so we can par-bake those suckers and not make them turn into rocks in the oven!!

It’s true, my bagel journey is alive and well here on the farm and my belly is happier for it.

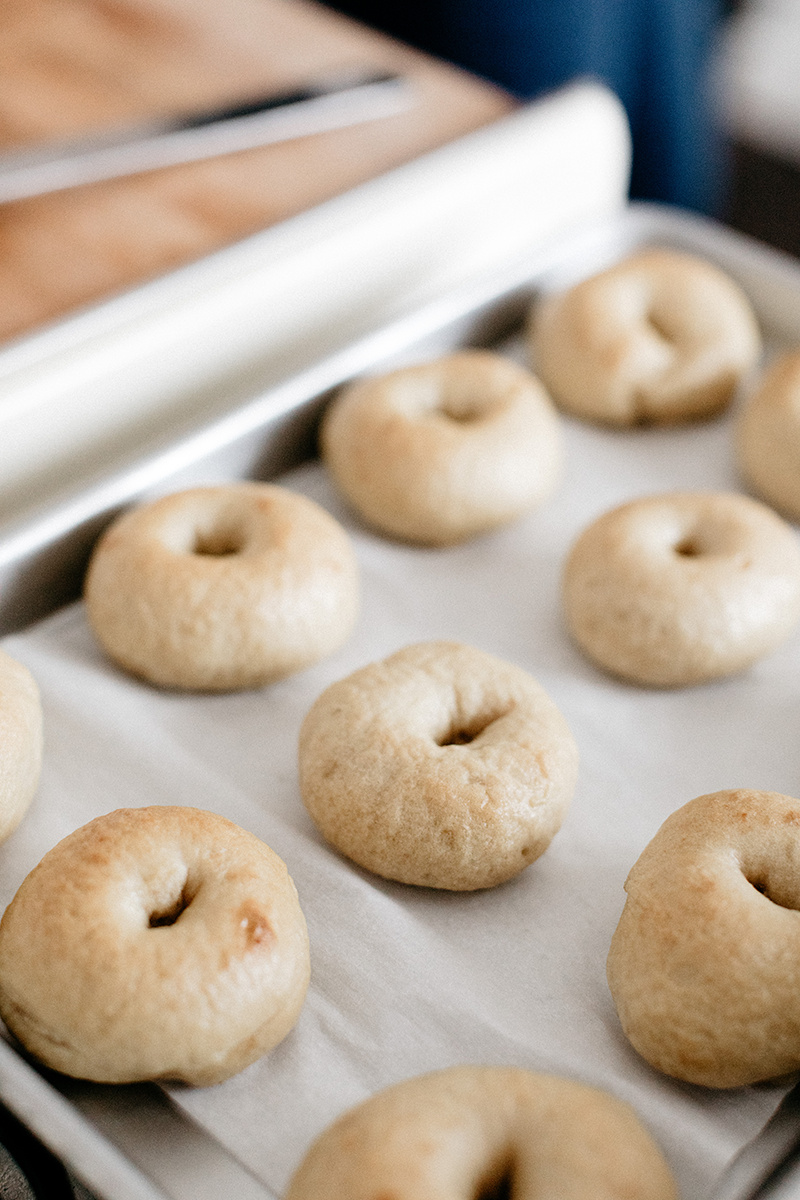
So here’s the rundown: all you have to do is make mini versions of these bagels and par-bake them until they’re jussssst starting to turn brown. Then you slice, top, and complete the bagel baking while the toppings are getting melty. Multitasking! There’s no need to fuss with an egg wash and everything bagel topping before you put the bagels in for their first bake because it’s way easier to just sprinkle some everything bagel topping on when you’re adding the rest of your pizza toppings. Or!!! You could use Cabot’s Everything Bagel Cheese, which I hoard like it’s going out of style. If you don’t have that, their Vermont Sharp Cheddar + topping works deliciously and it fits my need for a very sharp sharp cheddar. A little thyme at the end makes it all even better because cheddar and thyme are good friends.

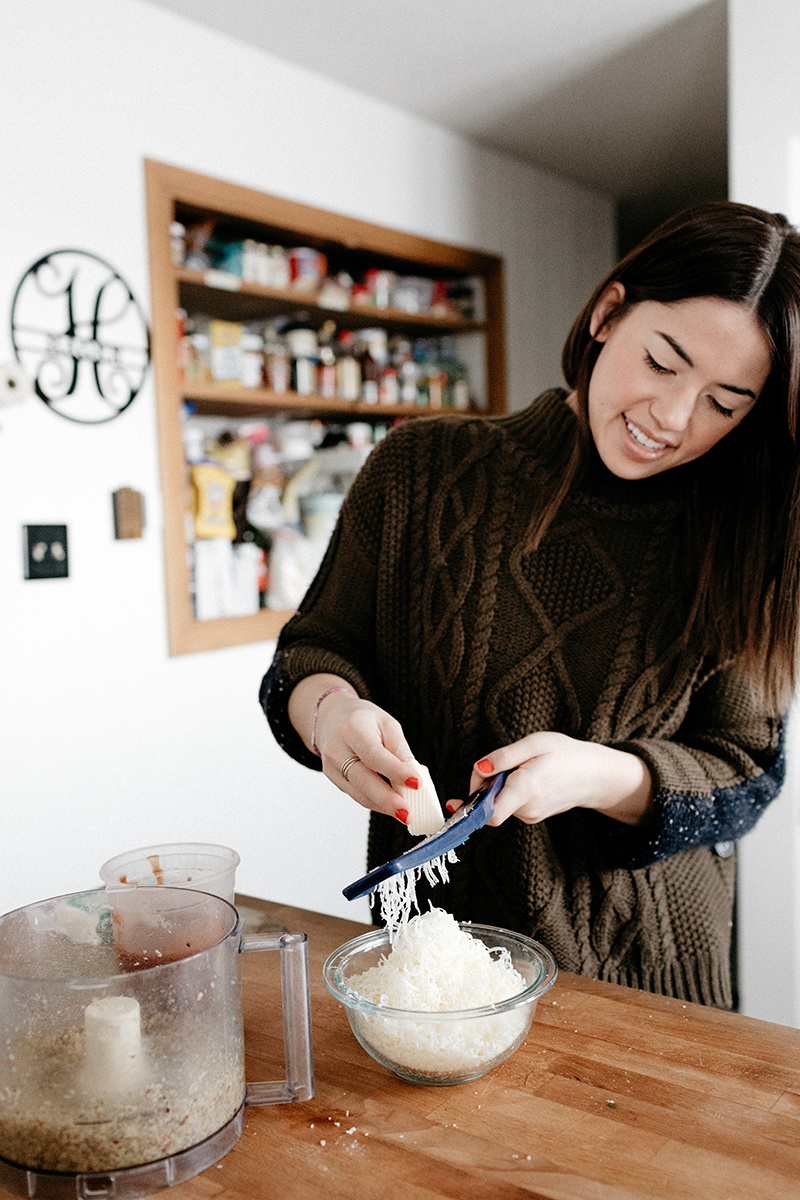
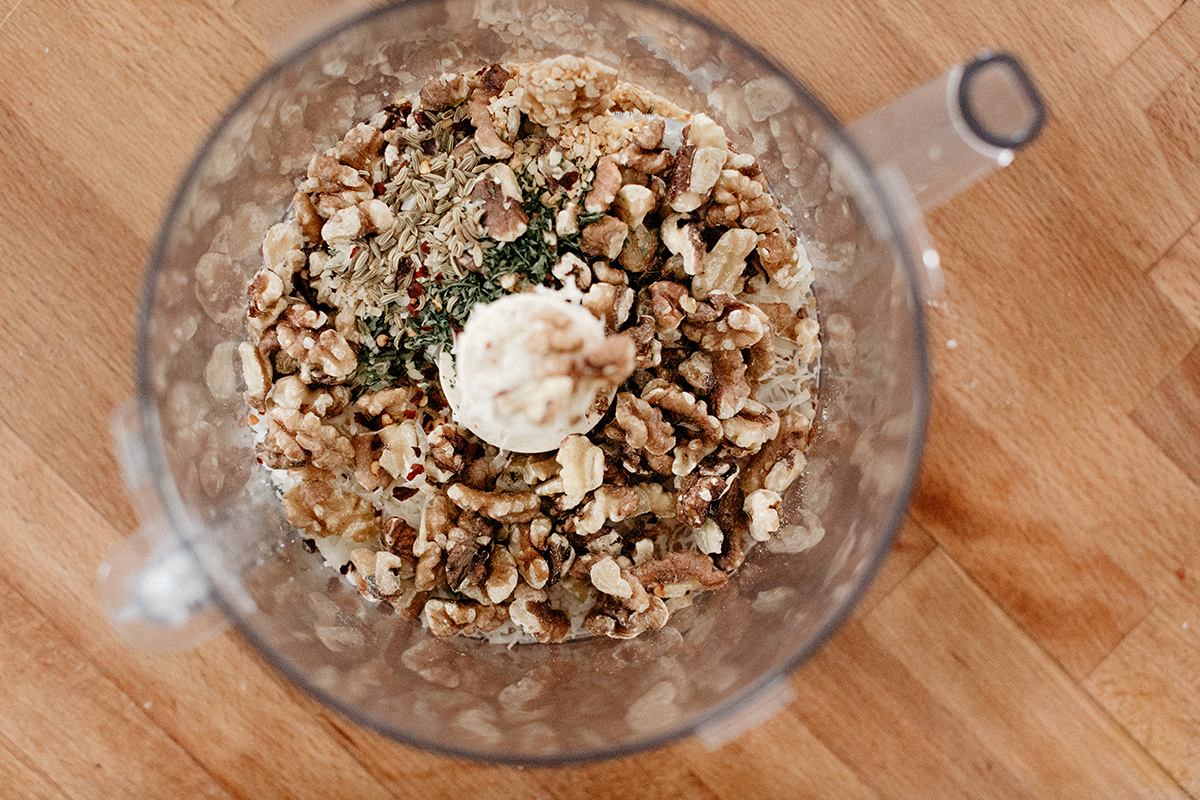
Another great element here is a crunchy nutty topping that is off the chain! This is a walnut-based crumble that’s been one of our favorite pizza toppings for years. It’s spiced similarly to an Italian sausage and is almost like a very coarse pesto. It gets a little crunchy in the oven and is just so tasty. Here’s a closeup of the ingredients:

All it is is toasted walnuts, spices, cheese, garlic, and olive oil. Easy!

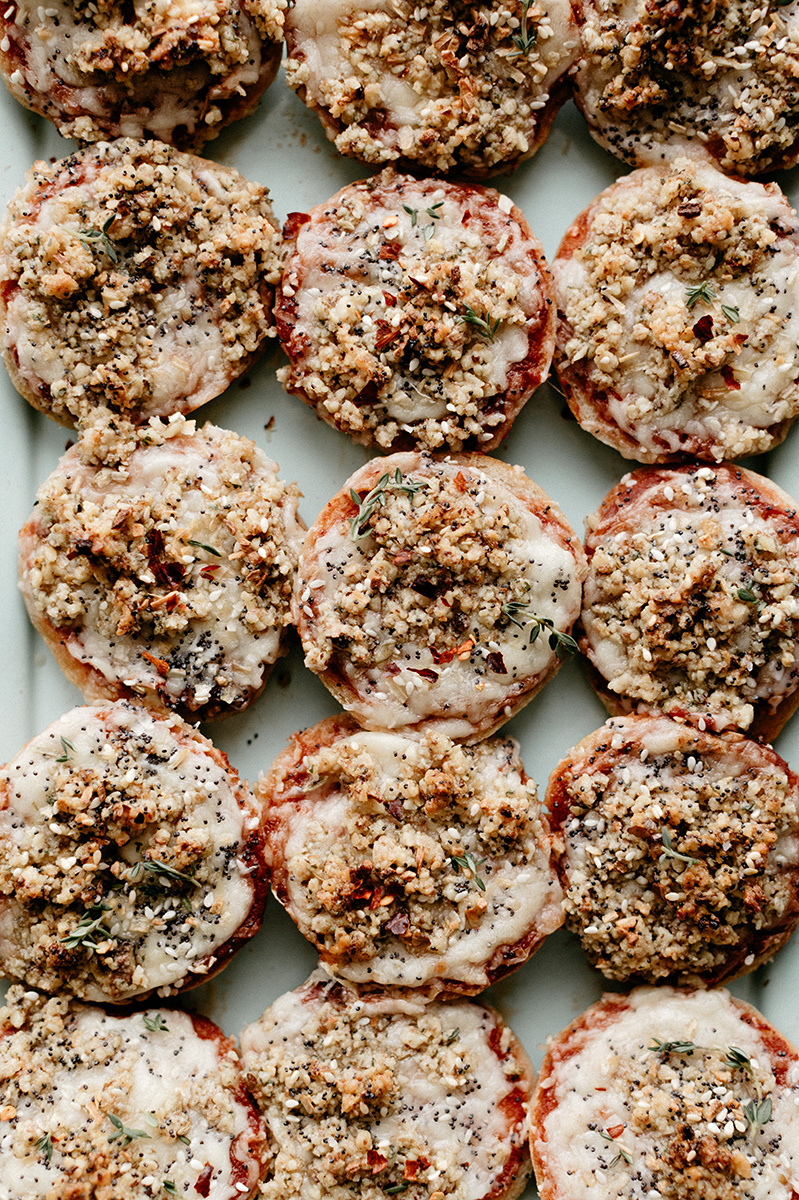
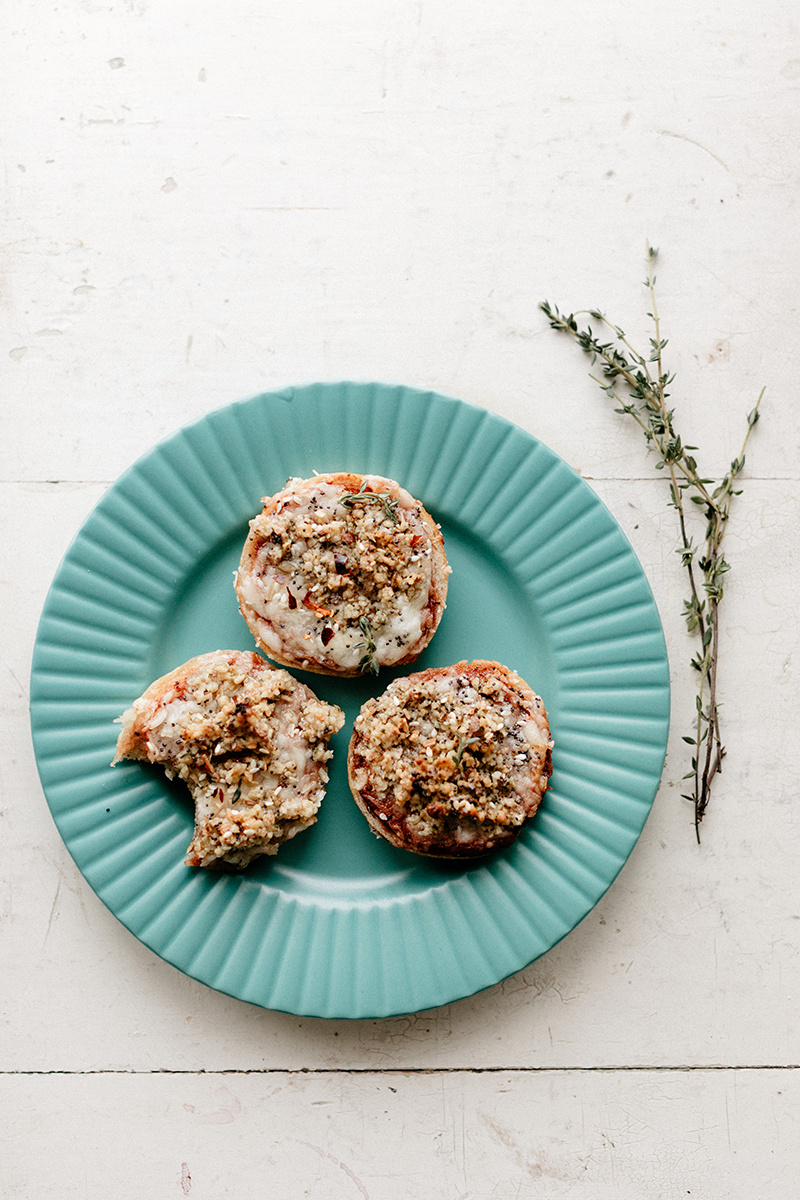
So all of these things result in the most deliciously chewy pizza bagel you never imagined could be possible. You’ll wish you didn’t invite so many people over to watch football so that you could eat them all yourself. Or you’ll just wish you made more. 

Note: These are super freezer friendly! Freeze the bagels after they’re par-baked and fully cooled and sliced, and then top and bake, or you can top the par-baked bagels and freeze them on a sheet tray, covered. Simply give them a few more minutes in the oven.


Mini Pizza Bagels with Sharp Cheddar and Walnut Crumble

Makes 24

Ingredients

Bagels

1 c (238g) warm water (105º-110º)

1 tsp active dry yeast

1 tsp + 1 tb (12g) brown sugar

1 1/2 tsp kosher salt

2 tb (42g) barley malt, divided

3 c (380g) high gluten flour, plus more for dusting

1 tb baking soda


Topping

1 c toasted walnuts

4 cloves garlic

1 tsp dried parsley

1 teaspoon dried onion

1/2 tsp fennel seeds

1/4 tsp crushed red pepper

1/4 tsp sweet paprika

1/4 tsp kosher salt

Black pepper

2 tb olive oil

8 oz Vermont Sharp Cheddar, shredded

8 oz pizza sauce

Everything bagel topping

Leaves from a couple of fresh thyme sprigs

Clues

In a large bowl, combine the water, yeast, and teaspoon of brown sugar and let sit until foamy, about 5 minutes. Add the remaining tablespoon of brown sugar, salt, 1 tablespoon barley malt, and flour and mix to form a stiff dough. Turn onto a floured surface and knead until smooth and slightly sticky. Transfer to an oiled bowl, cover with plastic wrap, and refrigerate overnight. 

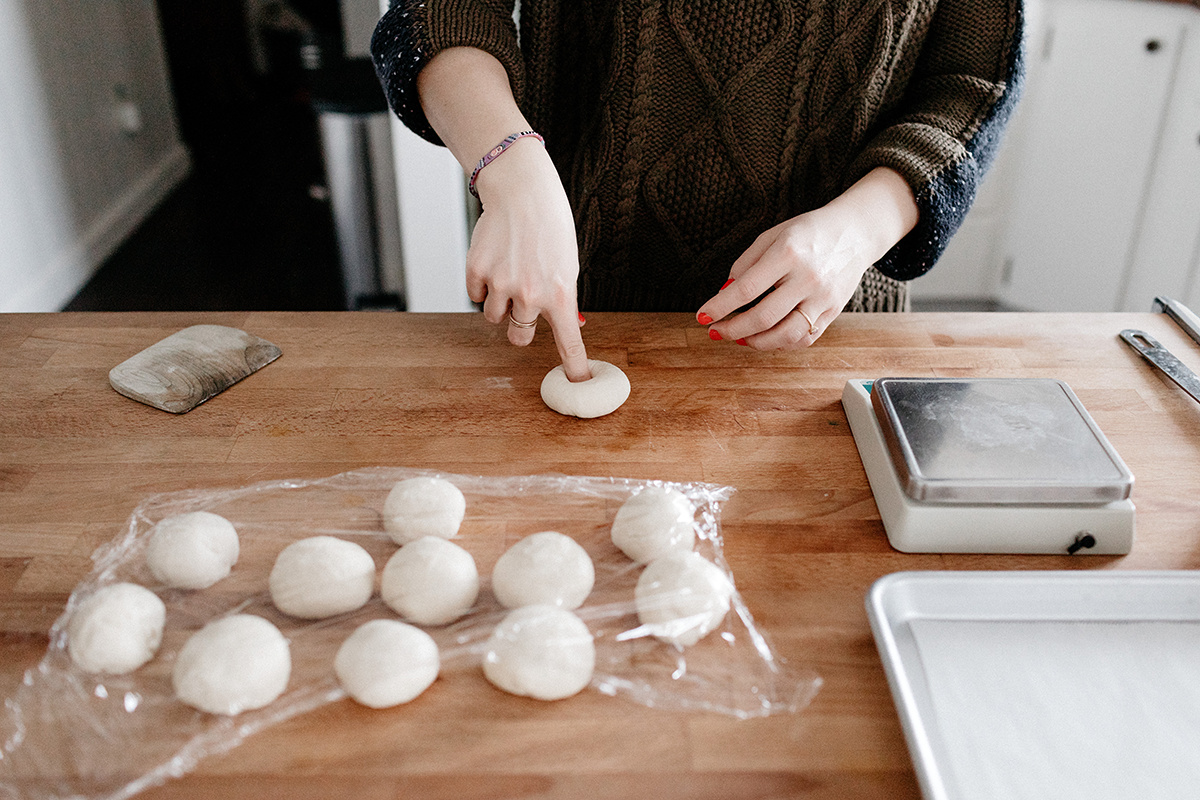
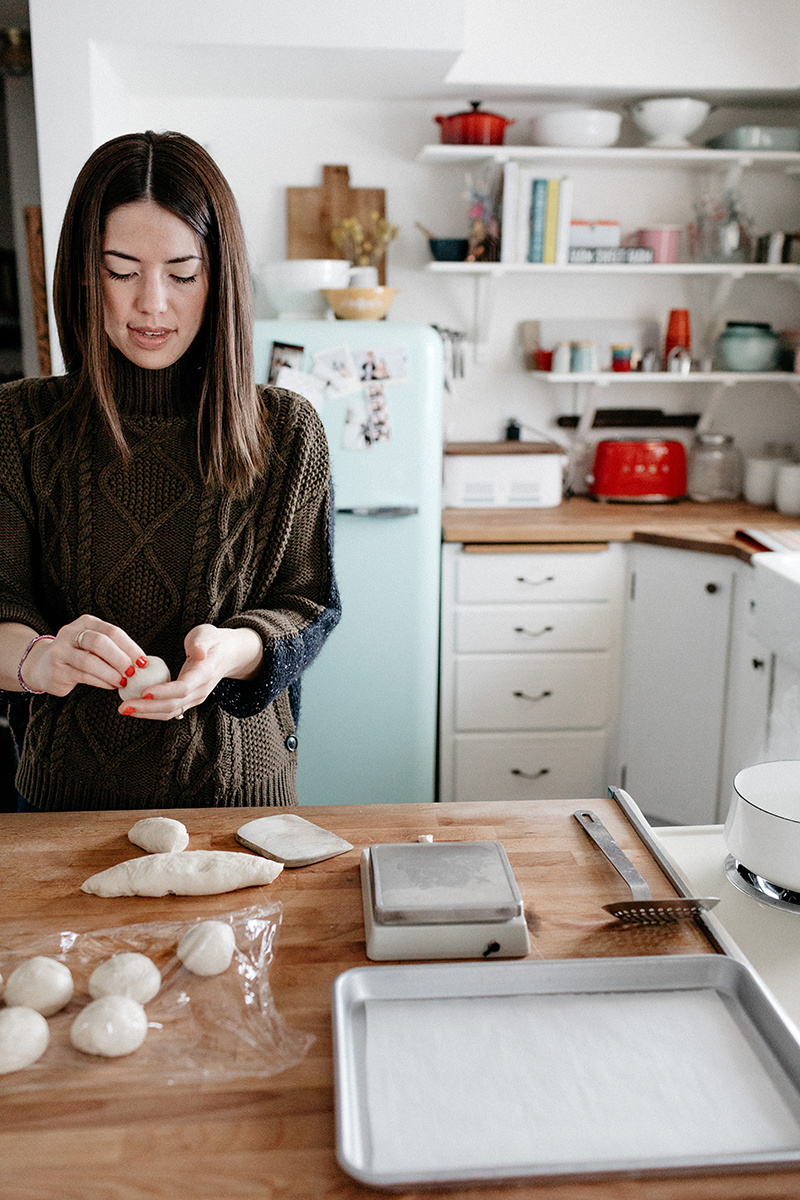
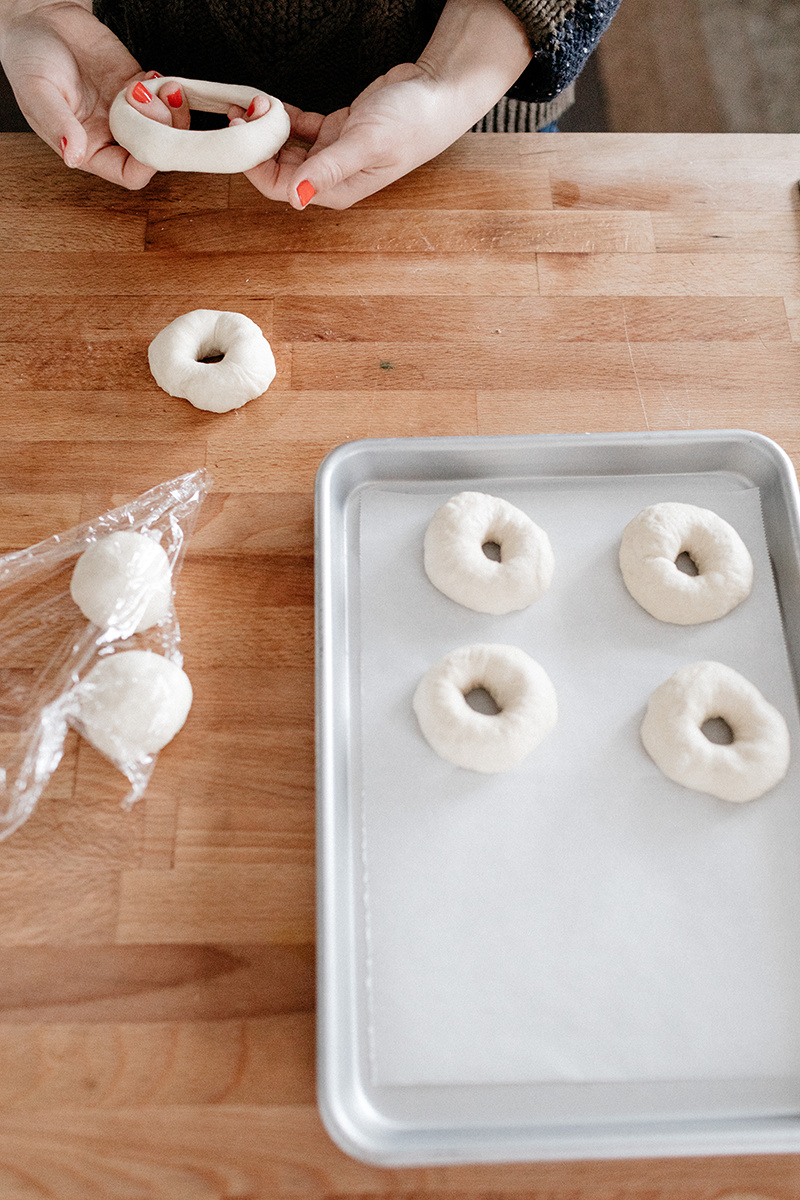
Let the dough sit at room temperature for an hour and then turn it out onto a clean work surface. Divide it into 24 equal parts and stretch them into smooth balls, making sure to seal any dough seams well. Shape the bagels by sticking your thumb through the center of each ball and using your fingers to gently stretch a 1” hole. Cover the bagels with a towel and let rise for 15 minutes.

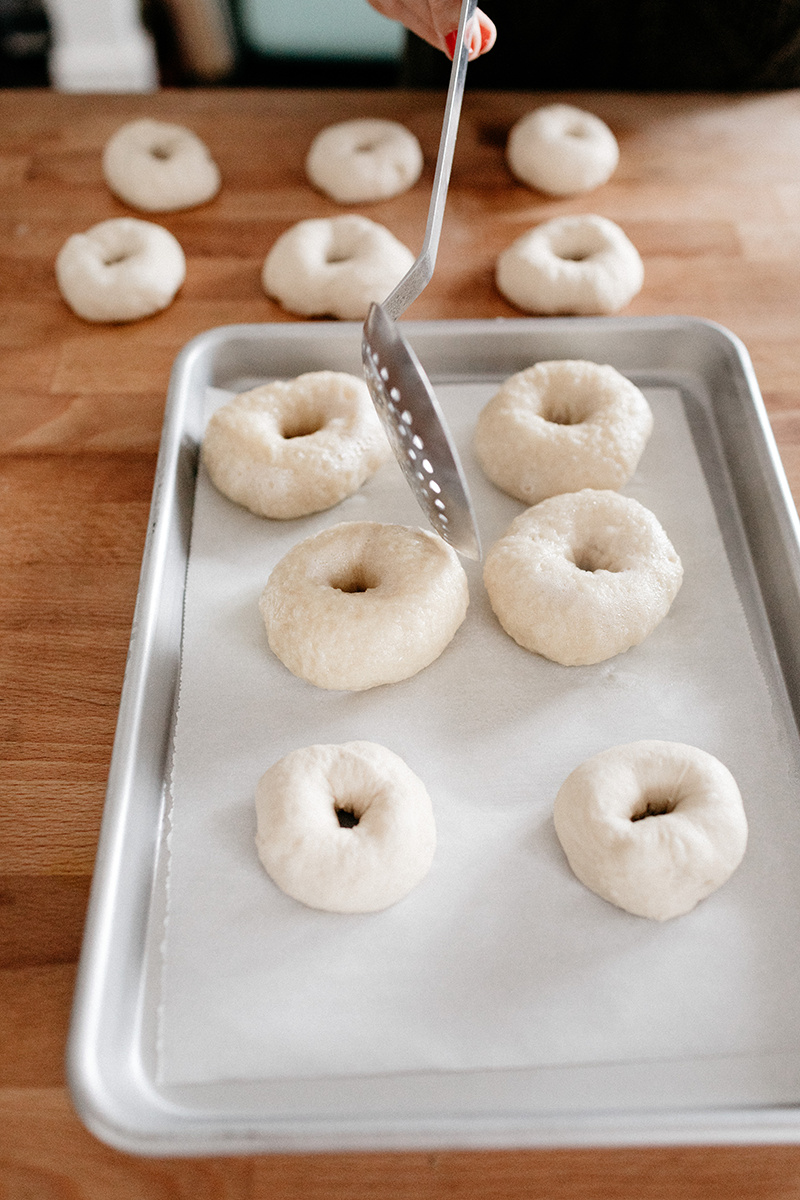
Meanwhile, preheat the oven to 450º. Bring a large pot of water to a boil and add the baking soda and remaining tablespoon of barley malt. Line two baking sheets with parchment paper and grease them well. Also lay out a clean kitchen towel near your pot of boiling water.

Working with 4 bagels at a time, boil them for 1 minute on each side (use a timer for this). With a slotted spoon or spatula, transfer them briefly to the kitchen towel to catch any excess moisture and then transfer them to the baking sheets. Bake for 8 minutes. Transfer them to a wire rack to cool slightly. (At this point you can let them cool fully, slice them, and then freeze them for future use).

Make the walnut crumble by combining the walnuts, garlic, dried parsley, dried onion, fennel, red, pepper, paprika, salt, a few turns of pepper, olive oil, and a heaping 1/2 cup (about 30g) of the shredded cheddar in a food processor. Pulse until the mixture clumps together. It will still look crumbly but it should hold together if you squeeze it in your hand. Taste and adjust seasoning as desired. 

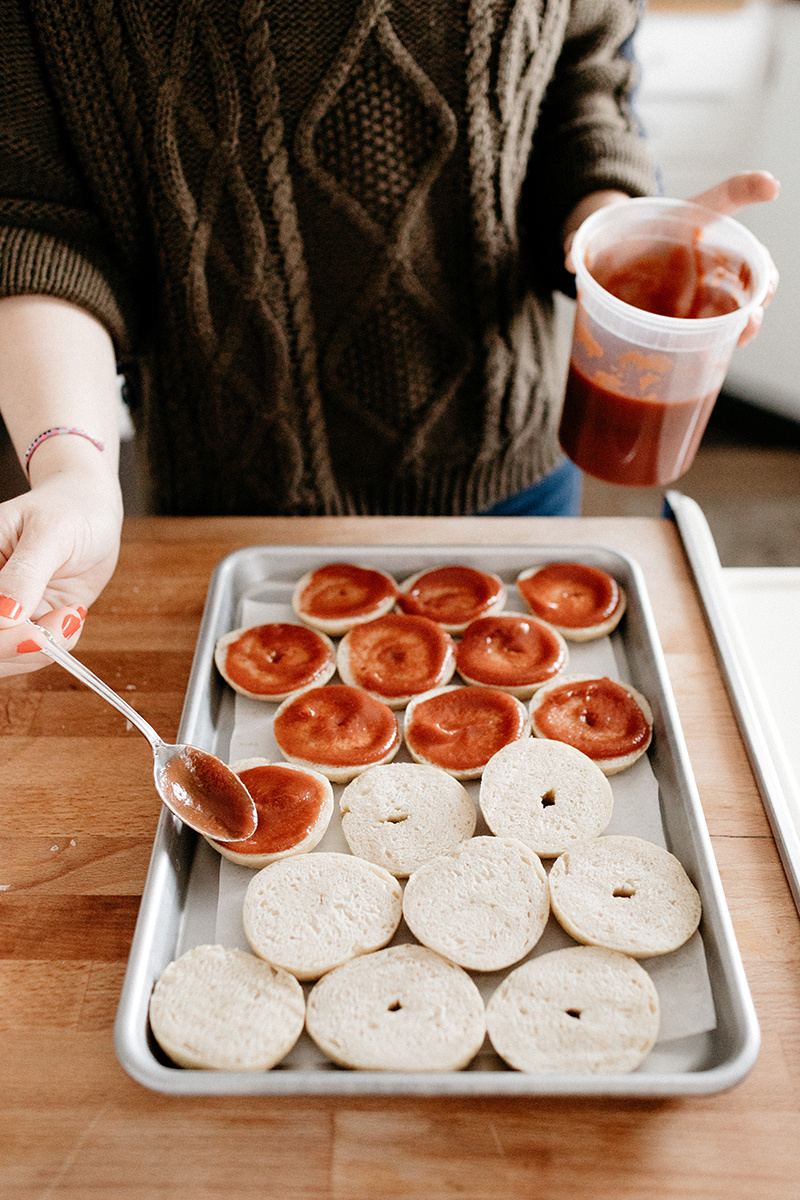
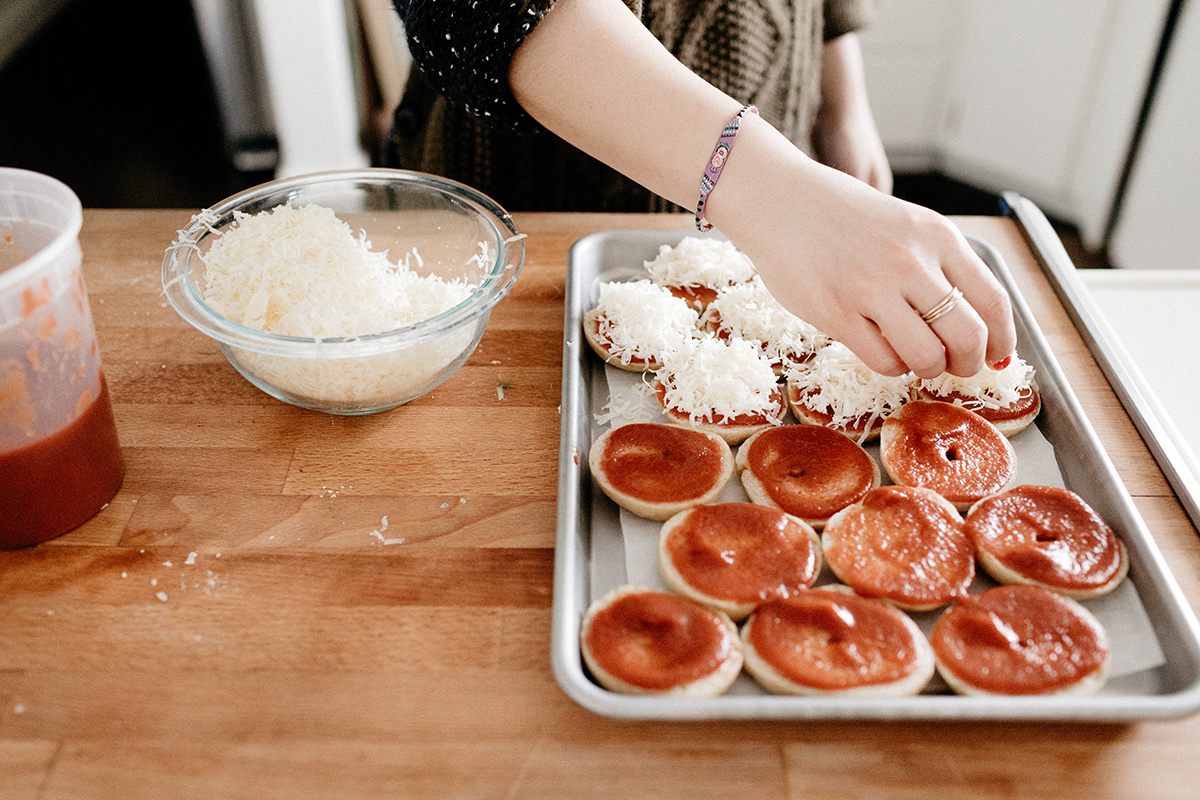
Slice the bagels in half and place them back on the baking sheets. Top each with a spoonful of pizza sauce, a pile of cheddar, and lightly packed plops of the walnut mixture. Shower them with everything bagel topping and bake until the cheese is melted, and the walnut crumbles and bagel edges are browned; begin checking for doneness at 8 minutes. Top with a few scatterings of thyme and serve. 


This post is sponsored by Cabot Creamery Co-operative, a farming co-op that is 99 years old as of this year! 

-yeh!! 

photos by chantell and brett!


everything bagels and blueberry lox!

Hi and welcome to a big moment in my personal bagel and lox journey! This journey began at the beginning of this year when I made the decision to move bagels and lox from the category of “things best left up to the experts and eaten only in new york” into the category of “things we can make at home because ughh flights to new york take so longgg and absolute bagel drone delivery doesn’t exist yet.” What took me so long to make this decision? A few things: 

-Requirements for special ingredients that aren't readily available at the Hugo's Family Marketplace down the road

-All this talk of maybe needing special “New York water”

-A general lack of fish knowledge

-Fear of recipes that require multiple days to make

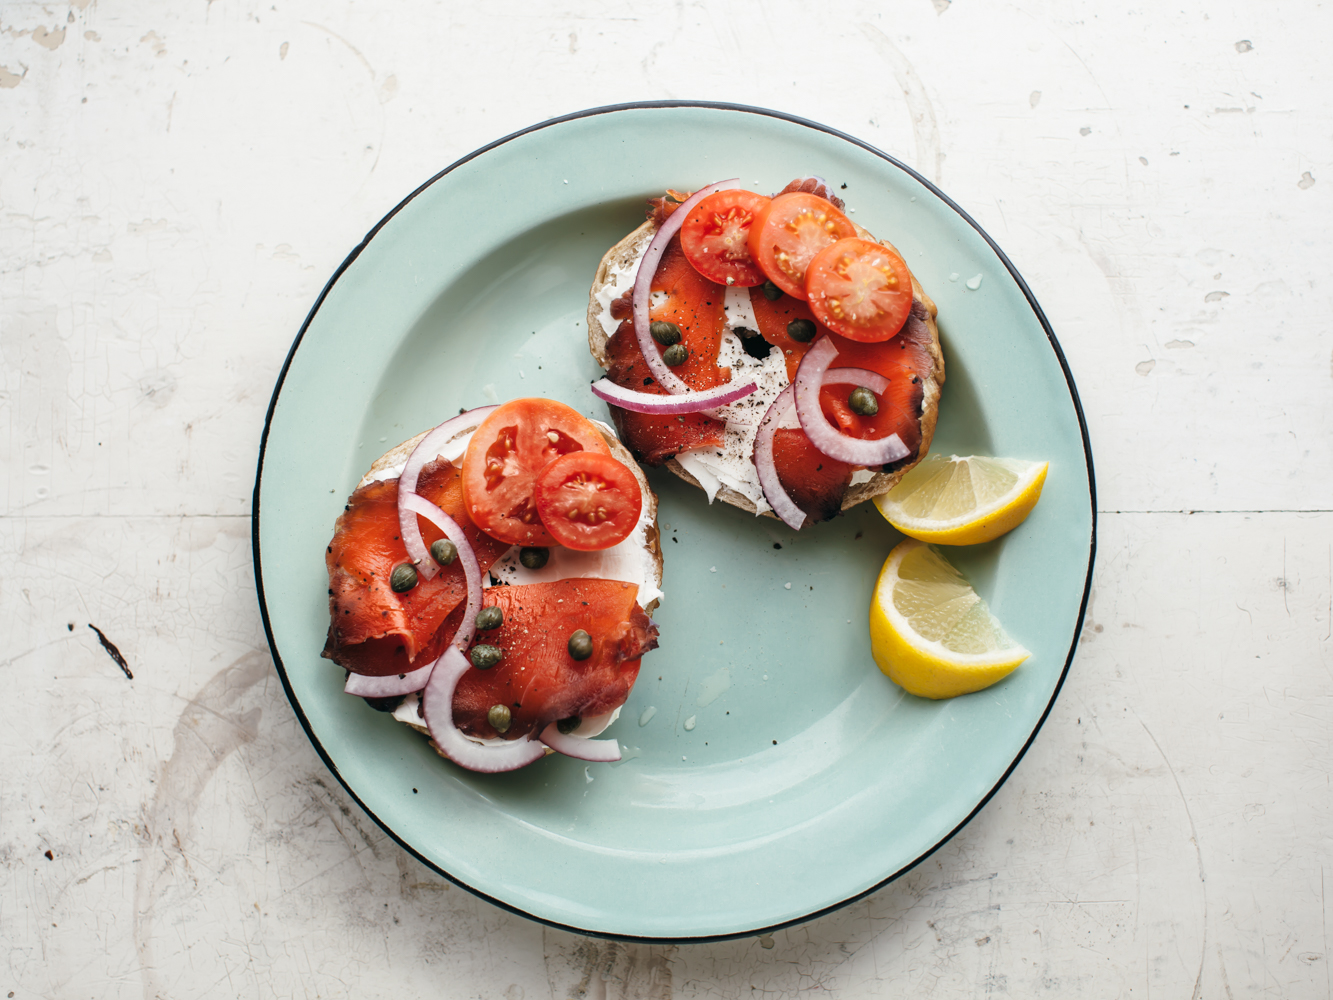
Eventually my bagel craving got too big however, so I started researching, listening to bagel podcasts, reading recipes, and talking about my imminent journey to anybody who would listen. Two bagel experts emerged in town: Robert, who used to own a bagel shop in Idaho, and my friend Dave, a New York native and fantastic bread maker. Robert and I began making bagels every Sunday at our sadly now closed co-op, and Dave served as my recipe and special ingredient consultant. I learned what I could about the bagel shops that used to be in Grand Forks (one of them apparently flew bagels in from New York every day?!) and started listing features of a good bagel and lox: chewiness, doughiness, plumpness, a bit of sweetness, some texture that fights you but not too much, a very small if not closed up hole, bagel-y flavor (whatever that is), fluffy cream cheese, thinly sliced aggressively salty lox, capers, tomatoes, onions, Sunday morning chill. At one point after I spoke about my journey on Unorthodox, this Star Tribune recipe appeared in my inbox from Jonathan, Mark the Host’s brother, affirming that this was my “path to bagel heaven.” (The recipe I now use is a descendent of this one!) 

All you need is high gluten flour and barley malt! Is what I learned from Dave. No New York water necessary. Just flour and a syrupy substance, two easily Amazonable things, and a few basic pantry staples, I had no excuse. So I bought 50 pounds of high gluten flour and got to work on my at-home bagel practice. 
Some things I learned about bagels:

-Barley Malt makes bagel-y flavor! I like adding it to the dough and to the water when boiling them. It lends that distinct bit of sweetness that makes bagel flavor so good. 

-Once the dough is formed into bagels, they get really sticky. So when I tell you in the instructions to line your pan with parchment and grease it, do that and do it well!

-But they don’t stick to the toppings! So Dave and I use egg wash to help them stick. (Vegan bagel-ers, what would be a good substitution for this?)

-One minute on each side is a perfect amount of time to boil your bagels to get a deliciously chewy crust and doughy inside. Any longer and the crust fights you a little too much.

-I’ve had the most success letting the dough proof overnight in the fridge and then shaping them and boiling. Some recipes have you shape the night before and then refrigerate and then boil and bake. Mine always fell flat when I did this. Any thoughts?

(flat bagel 👆🏼)

-Bread flour can be substituted for high gluten flour, says Dave, simply knead for a few minutes longer to develop more gluten in the dough. 

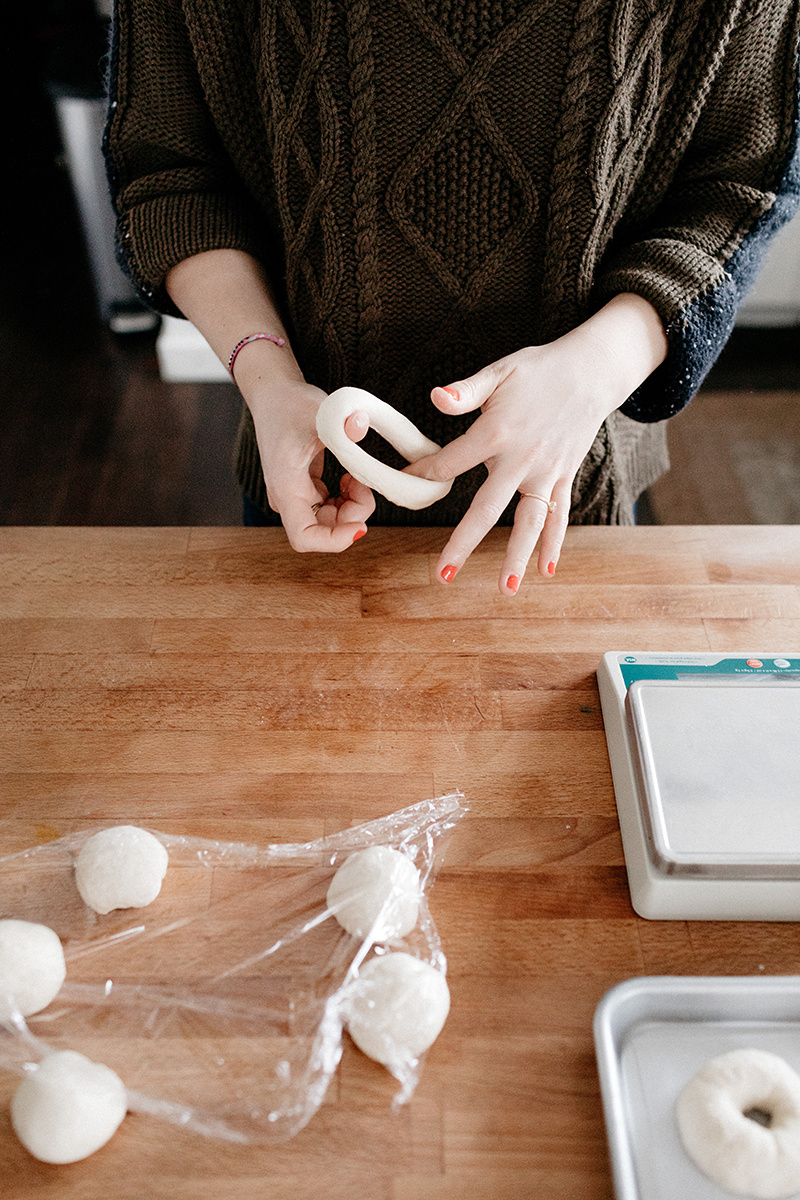
-I suck at the shaping method where you make a long snake and then roll the two ends together (I think this is more traditional??) so I stick to the method where you make a ball and poke your thumb through, as demonstrated in the above video. Both taste great :)

-These bagels freeze beautifully!! 

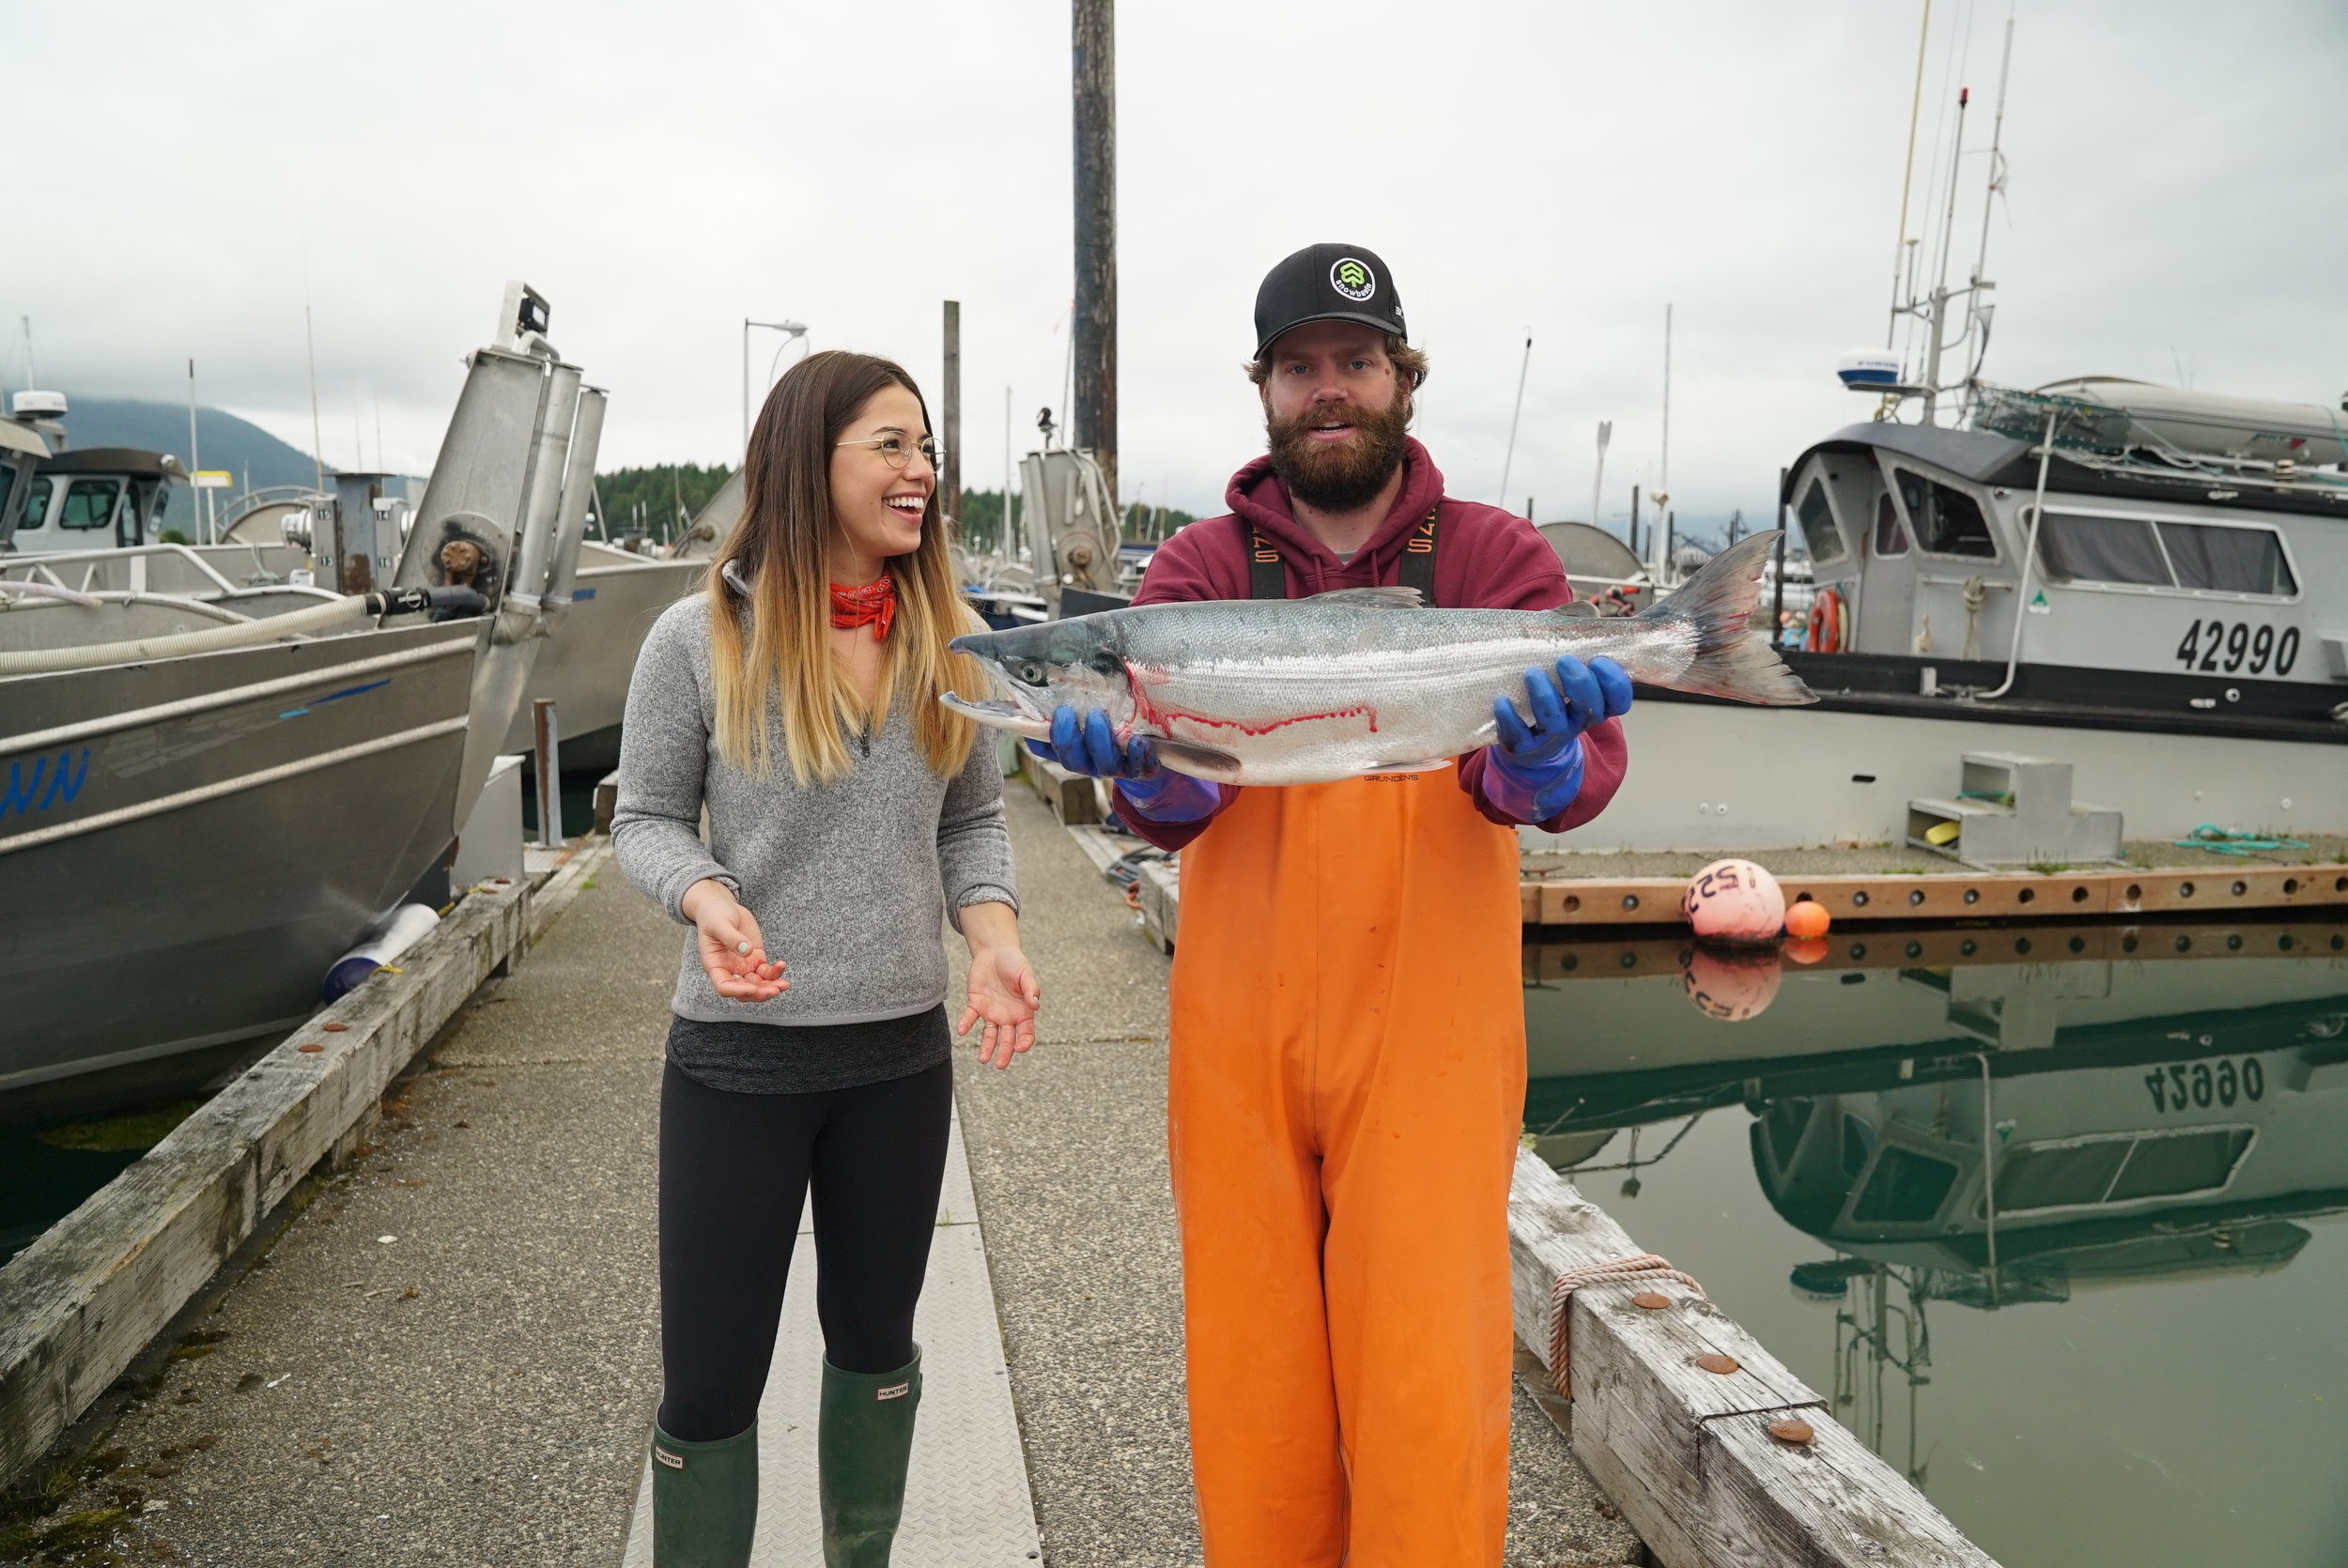
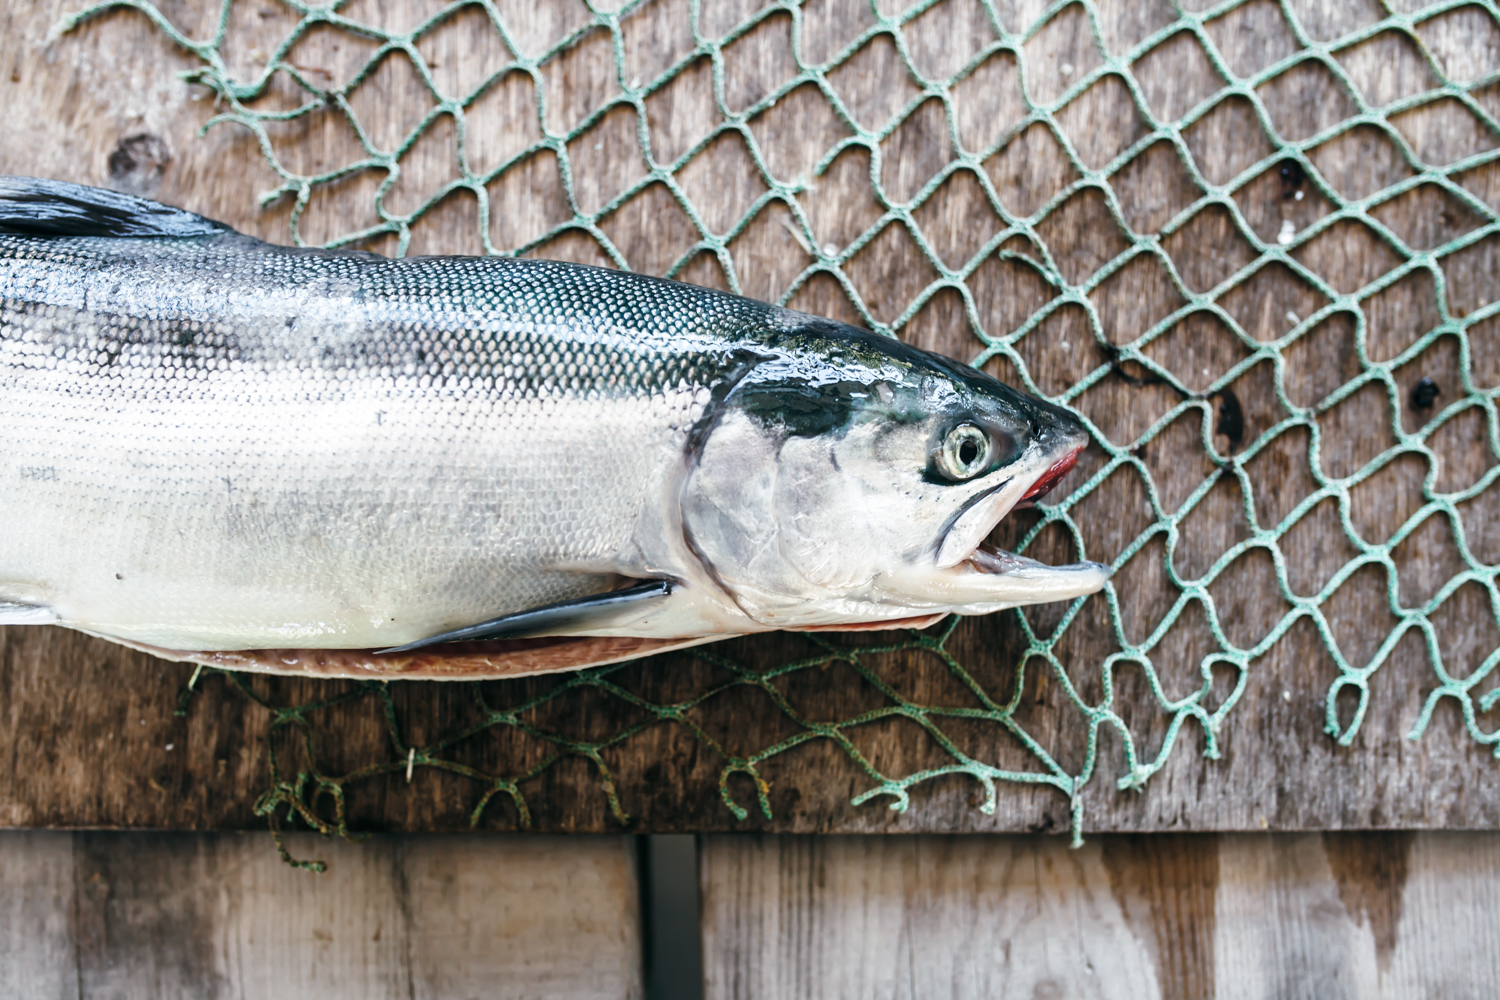
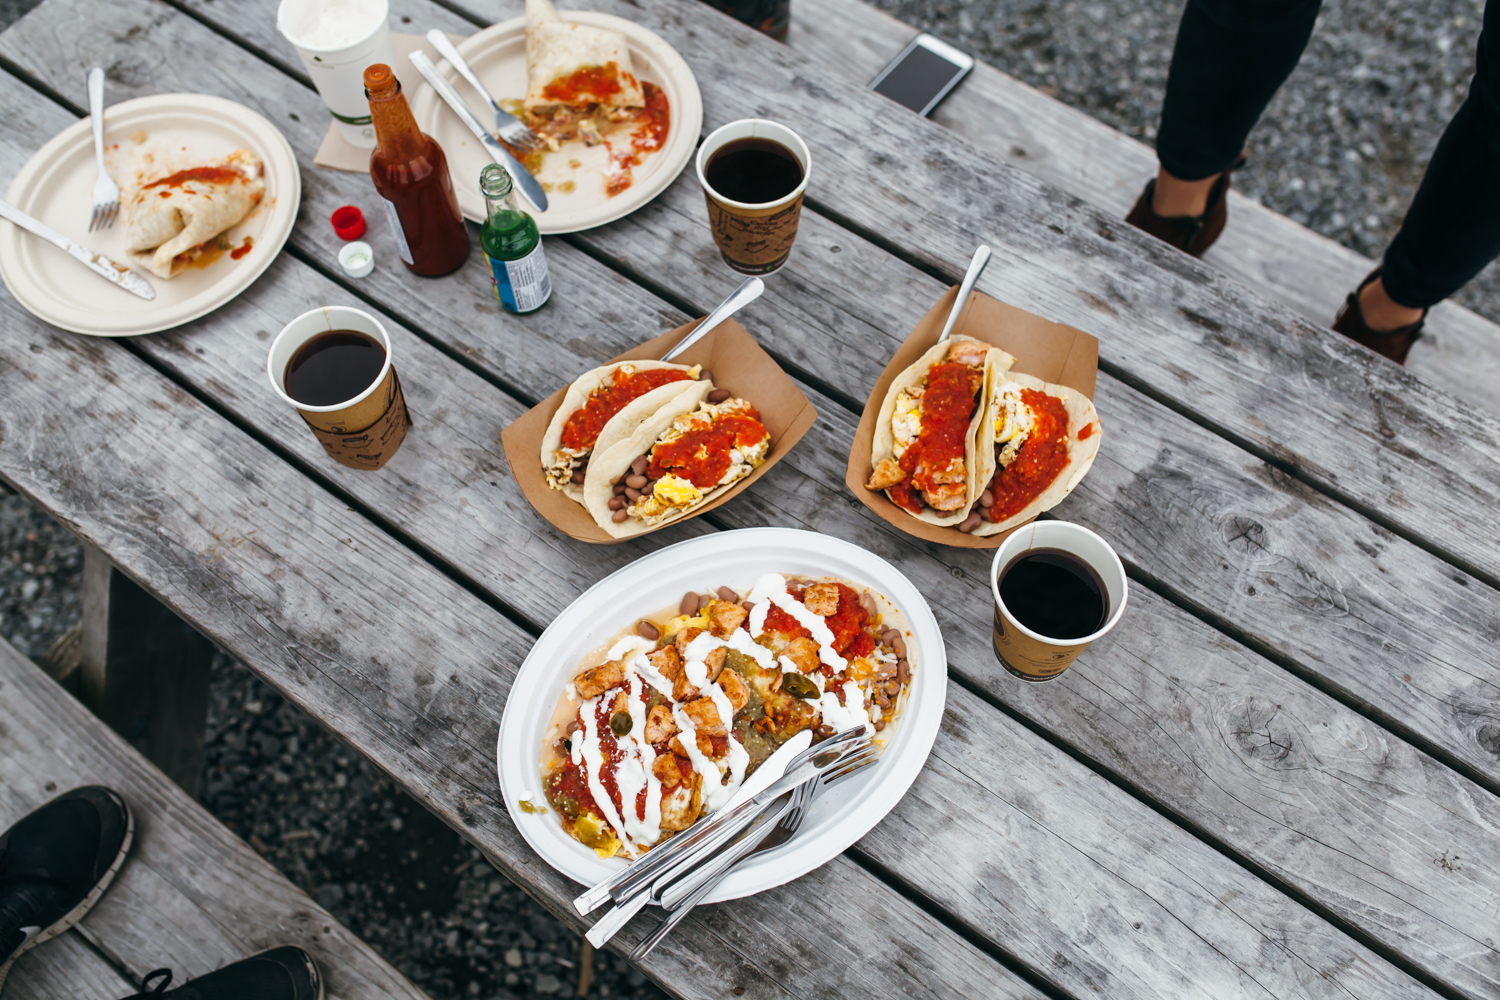
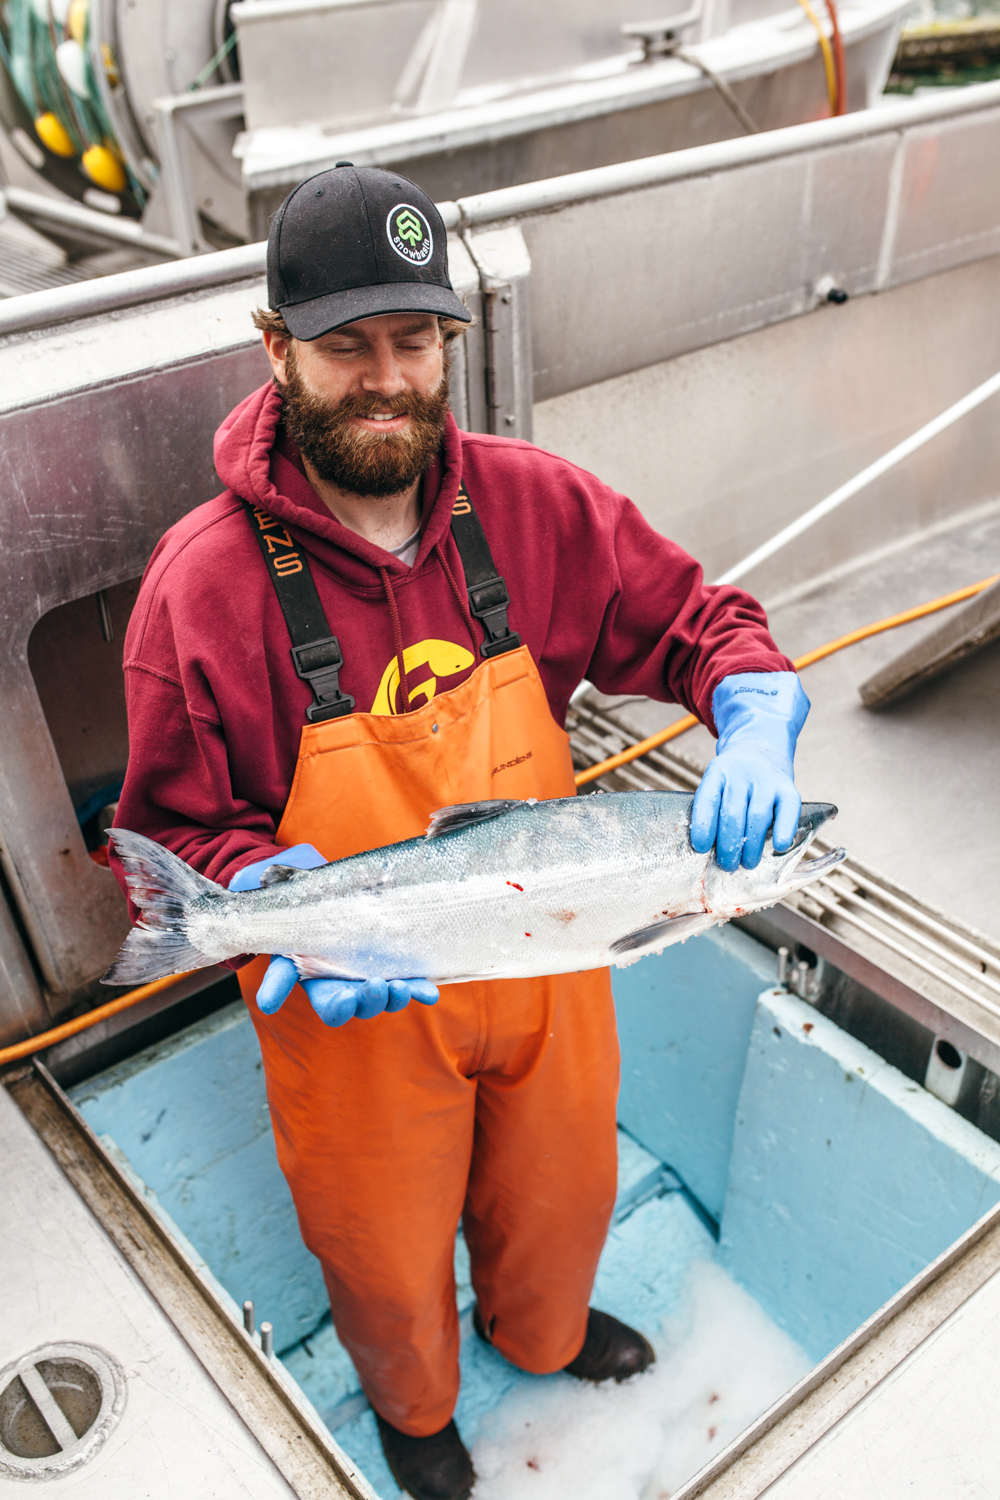
After a few months of bagel practice, my journey took me to Alaska for salmon!! It was one of the best trips of my life (thank you, Copper River!)! Gerry, Nik, Alana, Kristan, Rob, and I stayed in the itsy bitsy town of Cordova, right near the Copper River, where some of the world’s tastiest wild salmon is caught, and learned about and ate salmon all day. I knew nothing about salmon before this trip and I didn’t actually really like it except for in lox (omg I’m sorry!), but now I can’t get enough of it.

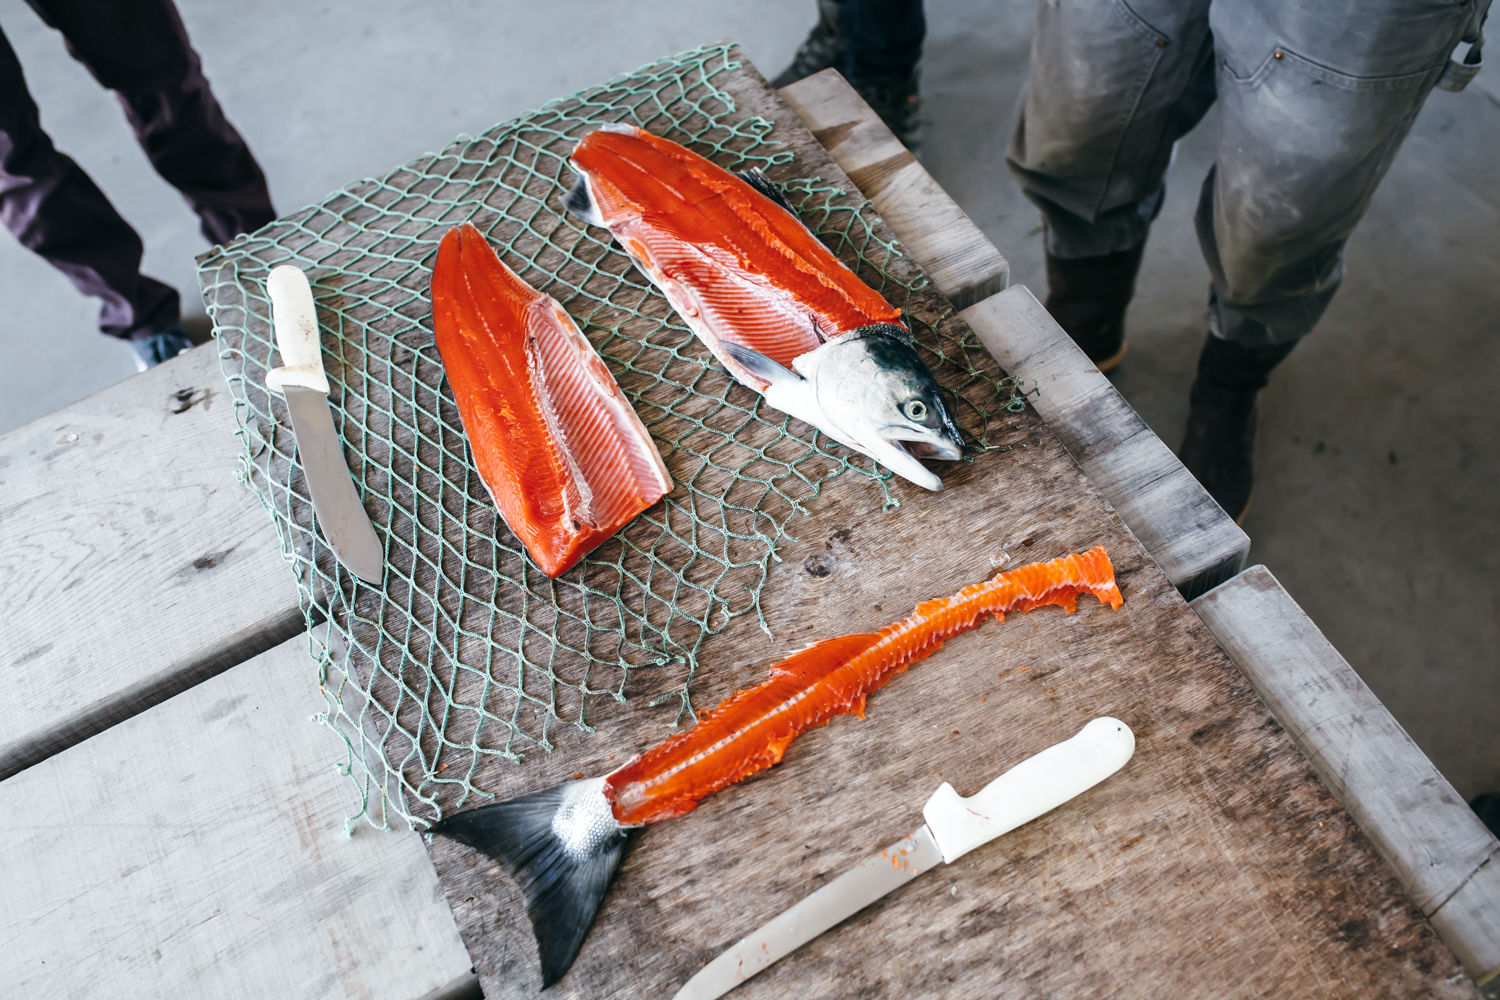
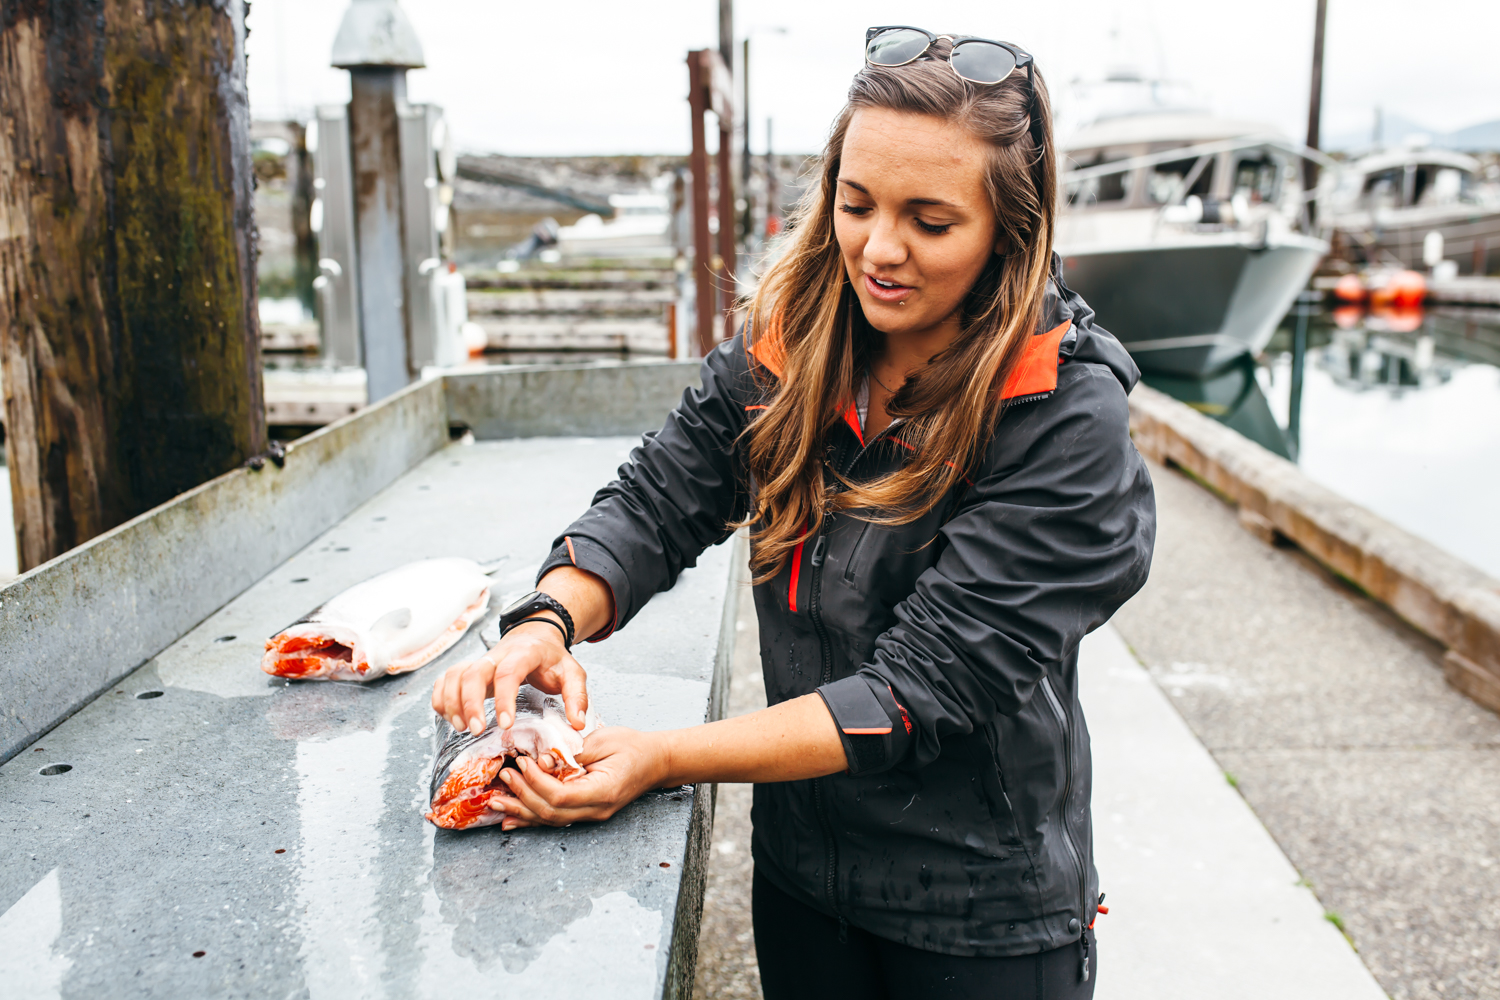
Here are some pics from my trip!

Some things I learned about salmon and lox:

-Lox = Salmon cured with salt. Gravlax = Salmon cured with salt, sugar, dill, and spices. I wasn’t sure what name to go with for this blueberry recipe at first, but since there are no spices or dill and since we’re eating this on a bagel, I’m going with lox. But I think gravlax will totally work too, right?

-Wild salmon is pretty much only caught in the Pacific Ocean. (Salmon from the Atlantic is usually farmed.) And most of the wild salmon that we eat in the states comes from Alaska.

-Wild salmon is caught at the end of its life cycle, while it’s making the journey back to its birth place (somehow it remembers and knows to do this?!). Since the Copper River is super long, salmon need to be extra fatty in order to make that journey, making it super flavorful. (Check out Gerry's and Nik's posts about our trip to learn more about this process!)

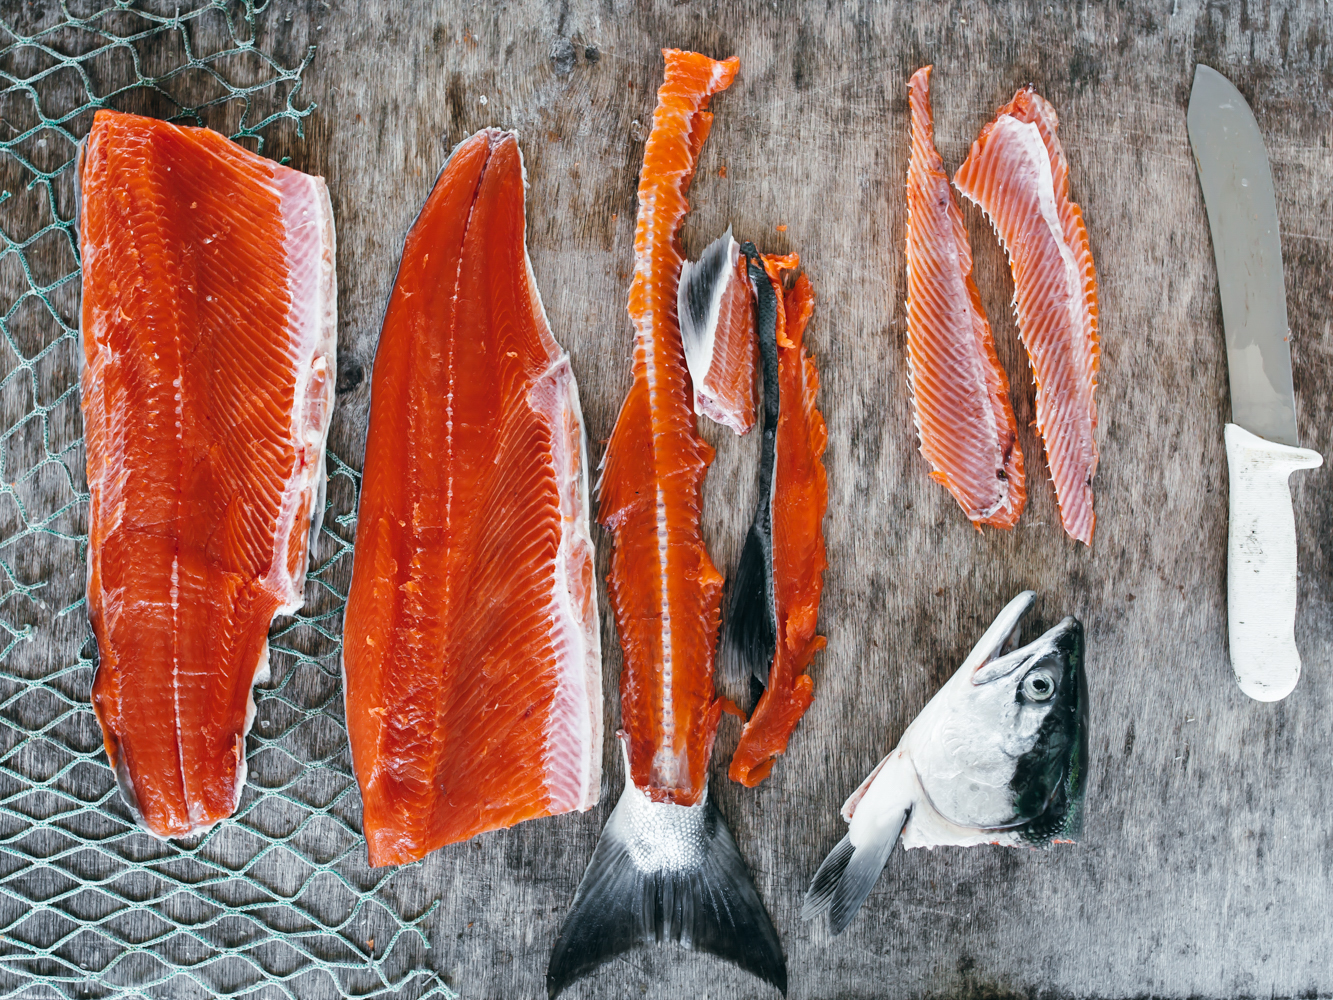
-Filleting is hard! Fisherman Ian and Kinsey from Copper River both showed me. I know that you should have a flexible knife. But past that I'm useless and definitely need some practice. Thankfully, fishmongers will fillet it for you and get all of the pin bones out. 

-Any salmon that you’re going to eat uncooked (like lox or sushi) should be frozen for at least 24 hours before preparation to kill any bad cooties. 

-Cutting lox is hard! Getting it as thin as they do at Russ and Daughters is something I may never be able to do but I have a deep freeze full of bagels and an endless appetite for lox so I have time to practice... 

The videos above are a culmination of my bagel and lox journey, and I’m so excited to share them in time for Yom Kippur!! (I'm already plotting out part 3, a how-to for fluffy bagel shop cream cheese...) The lox takes about three days to cure so if you get started *now* it'll be ready for Saturday evening. Happy bagel and lox-ing everyone!

Everything Bagels

Makes 12

Ingredients

2 c (474g) warm water (105º-110º)

2 tsp active dry yeast

2 tb (25g) brown sugar

1 tb salt

2 tb (42g) barley malt, divided

6 c (762g) high gluten flour, plus more for dusting

1 tb baking soda

Topping

2 tsp poppy seeds

2 tsp sesame seeds

1 tsp dried minced garlic

1 tsp dried minced onion

1/2 tsp kosher salt

1 tsp caraway seeds, optional

1 egg white, beaten

Clues

In a large bowl, combine the water, yeast, and a teaspoon of the brown sugar and let sit until foamy, about 5 minutes. Add the rest of the brown sugar, salt, 1 tablespoon barley malt, and flour and mix to form a stiff dough. Turn onto a floured surface and knead until smooth and slightly sticky. Transfer to an oiled bowl, cover with plastic wrap, and refrigerate overnight. 

Let the dough sit at room temperature for an hour and then turn it out onto a clean work surface. Divide it into 12 equal parts and stretch them into smooth balls, making sure to seal any dough seams well. Shape the bagels by sticking your thumb through the center of each ball and using your fingers to gently stretch a 2” hole. Cover the bagels with a towel and let rise for 15 minutes.

Meanwhile, preheat the oven to 450º. Bring a large pot of water to a boil and add the baking soda and remaining tablespoon of barley malt. Line two baking sheets with parchment paper and grease them well. Also lay out a clean kitchen towel near your pot of boiling water.

Working with 3 bagels at a time, boil them for 1 minute on each side (use a timer for this). With a slotted spoon or spatula, transfer them briefly to the kitchen towel to catch any excess moisture and then transfer them to the baking sheets. 

To make the topping, combine the poppy seeds, sesame seeds, garlic, onion, salt, and caraway seeds, if using. Brush the bagels with the egg white and sprinkle with the topping. Bake the bagels for 10 minutes, switch racks and rotate the pans 180º, and bake for 6-8 more minutes, or until golden brown. Let cool slightly and enjoy! 

Leftovers can be frozen and reheated in the toaster!


One of the best things we ate in Alaska was BLUEBERRY LOX, made by Diane Wiese, an amazing cook in Cordova who comes from a family of fisherman. The lox had the most beautiful blue edges, a faint blueberry flavor, and was super smoky, almost bacon-y. I couldn’t stop eating it!! So when I got home, I figured, if I’m going to make lox from scratch, it should definitely be blue! So this lox recipe is inspired by Diane’s blueberry lox!

Blueberry Lox

Makes 1 fillet

Ingredients

1 c (230g) kosher salt

3/4 c (150g) sugar

2 c (280g) frozen wild blueberries

Zest of 1 lemon

1 bunch cilantro, roughly chopped

1 1/2 tsp liquid smoke

Black pepper

1 salmon fillet (about 3 pounds), pin bones removed and halved horizontally 

Clues

In a large bowl, combine salt, sugar, blueberries, lemon zest, cilantro, liquid smoke, and a bunch of turns of black pepper. Lay a large piece of plastic wrap down on a work surface and place a small handful of the blueberry mixture in the middle (I recommend wearing gloves for this). Place half of the fillet skin side down over the mixture, top it with most of the remaining blueberry mixture, and then top that with the other half of the fillet, flesh side down. Cover the top and sides with the remaining blueberry mixture, making sure that all parts of the fish are covered. Wrap tightly in plastic wrap, place on a rimmed baking sheet, cover it with a cutting board, and weigh it down with something heavy (a few bricks, some cans, a cast iron pot). Refrigerate it for 3-5 days, flipping every 12 hours and pouring out any juices as they accumulate in the pan. It’s ready when the fish is firm to the touch. Rinse off the curing mixture, pat it dry, and slice it as thinly as possible. Enjoy! Keep leftovers wrapped in plastic wrap in the fridge for up to 5 days. 


-yeh!! 

Big huge thank you to Copper River for such an amazing trip, videographer Rob for making these videos, Dave the bagel maker, Fisherman Ian, Diane Wiese, and everyone else involved in my bagel and lox journey!


pssst... molly on the range turns one next week!!! and i'm doing a big silly giveaway about it. head over here to enter!