eggs

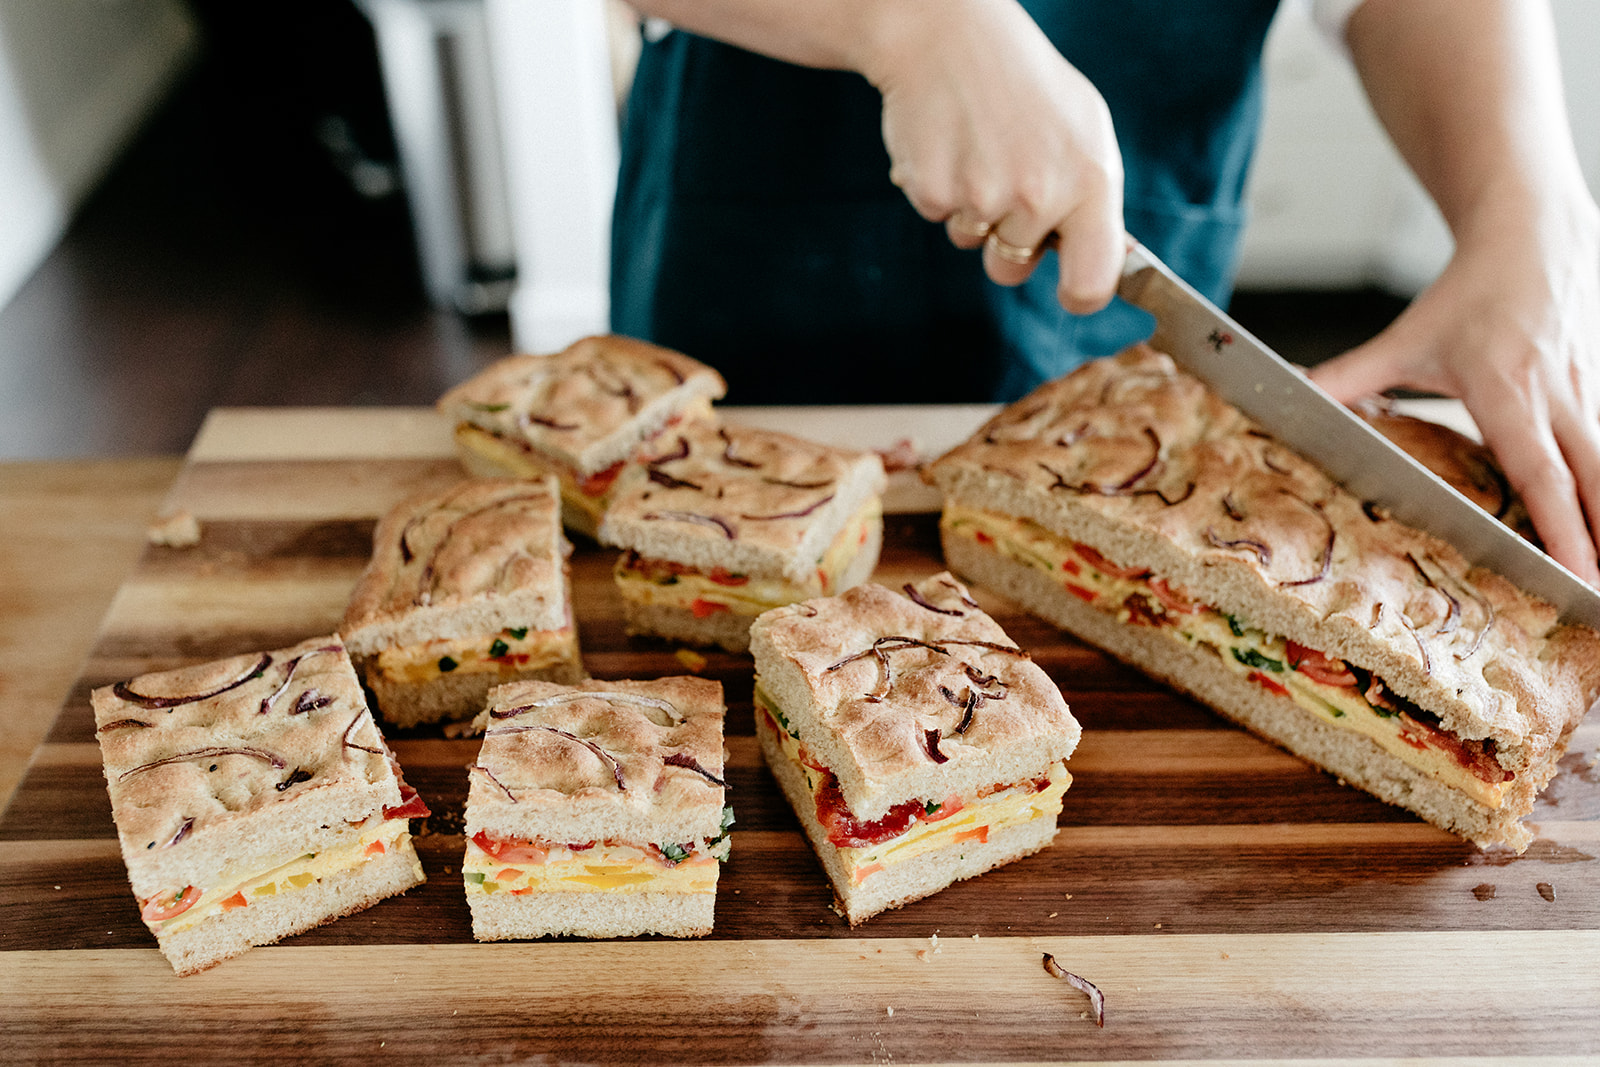
gigantic party breakfast sandwich

~*~*~ how to win brunch in six easy steps! ~*~*~

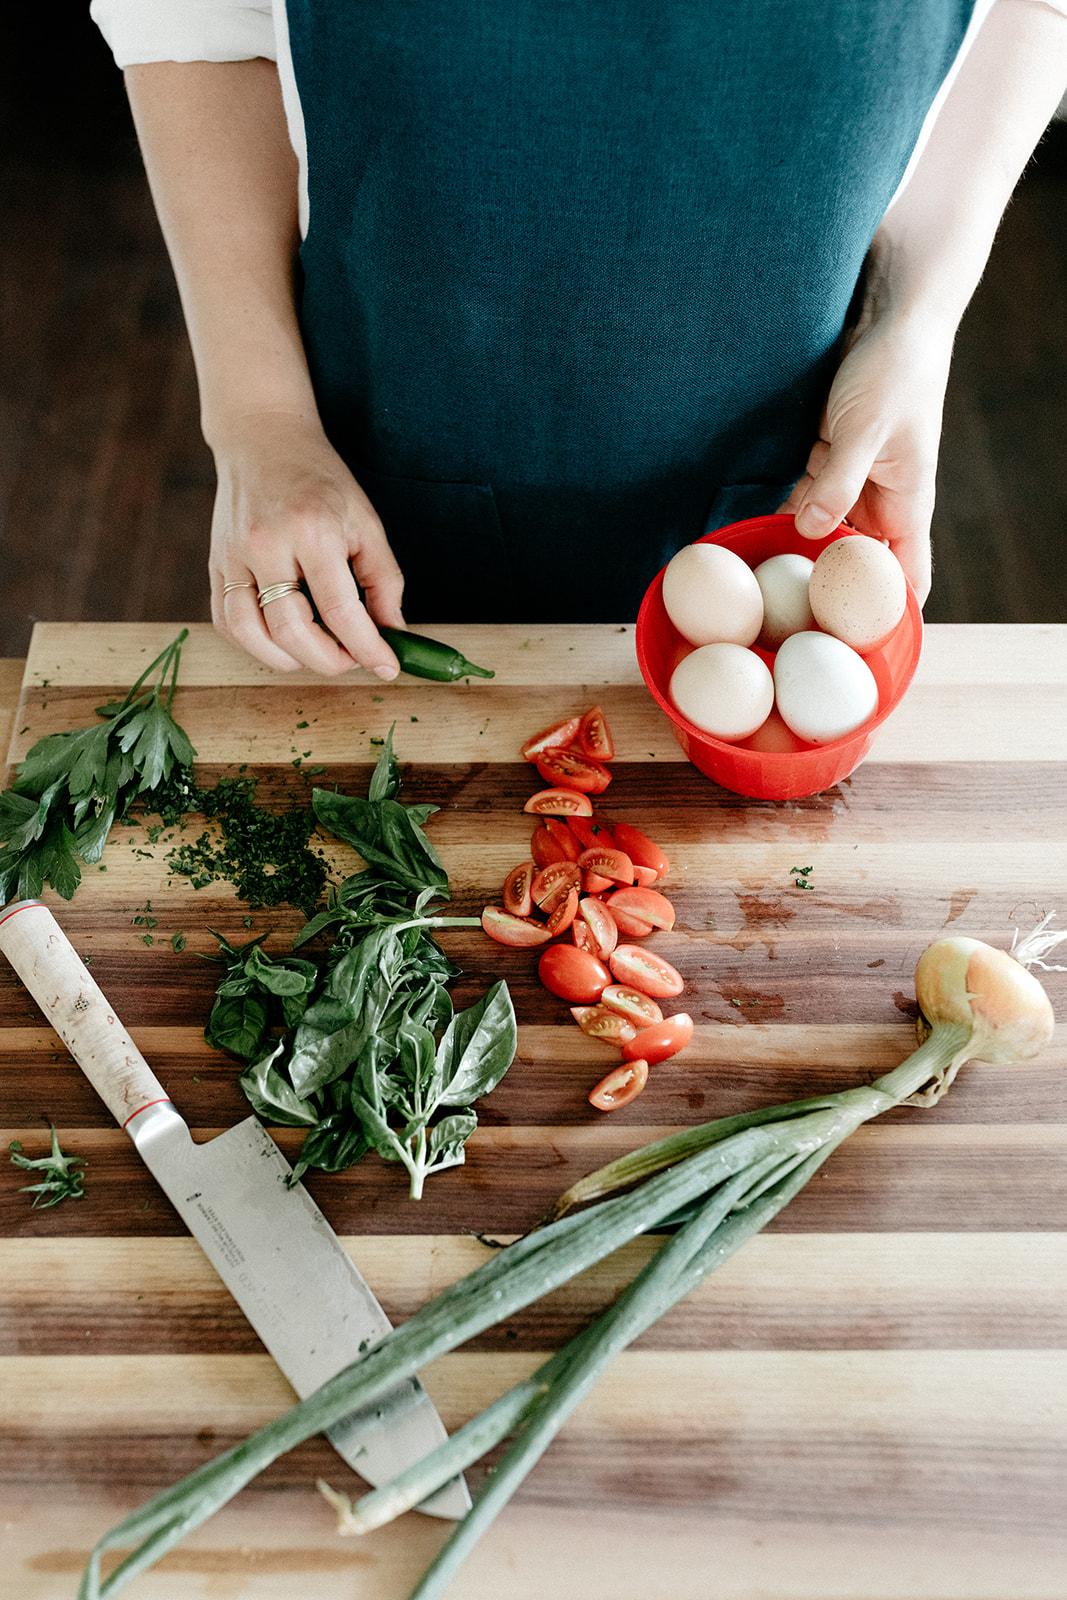
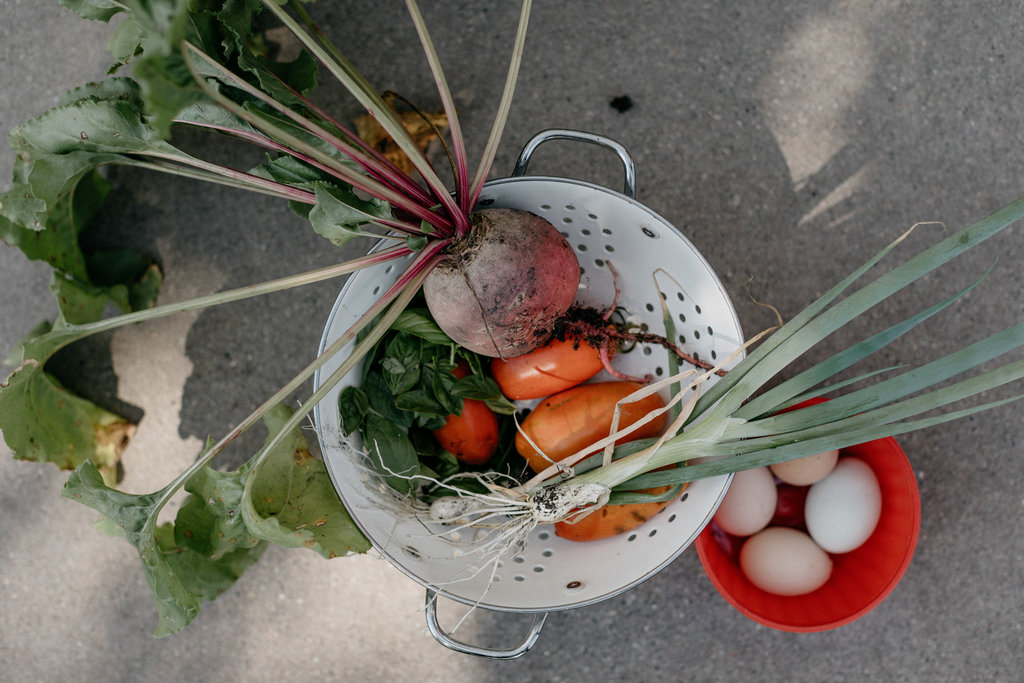
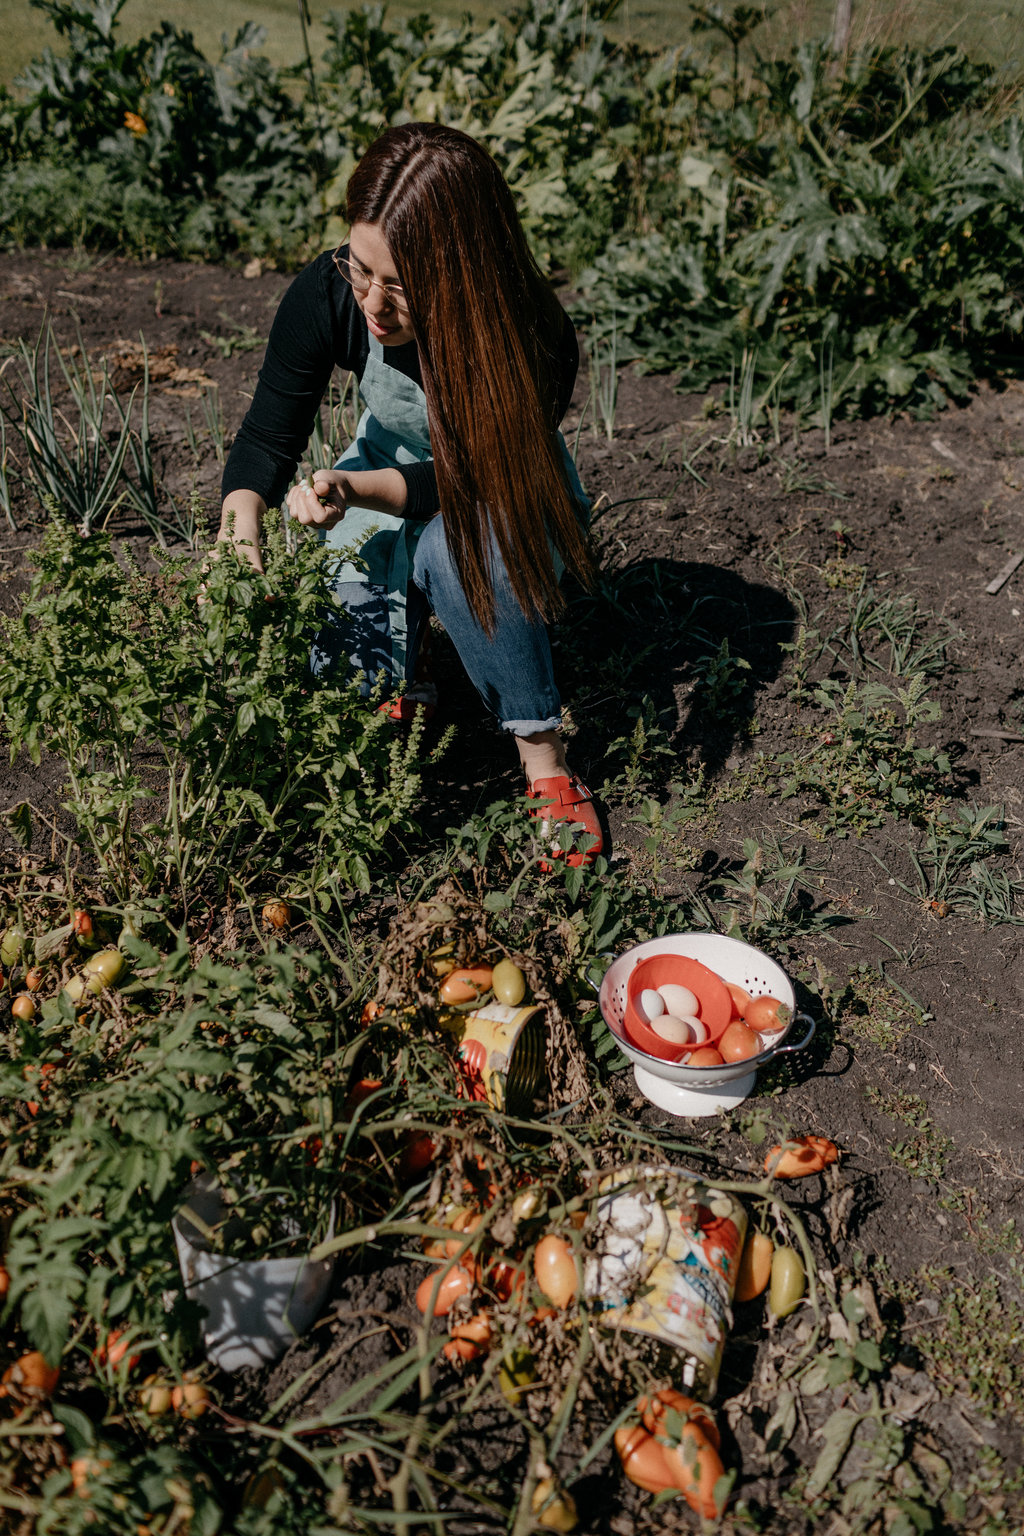
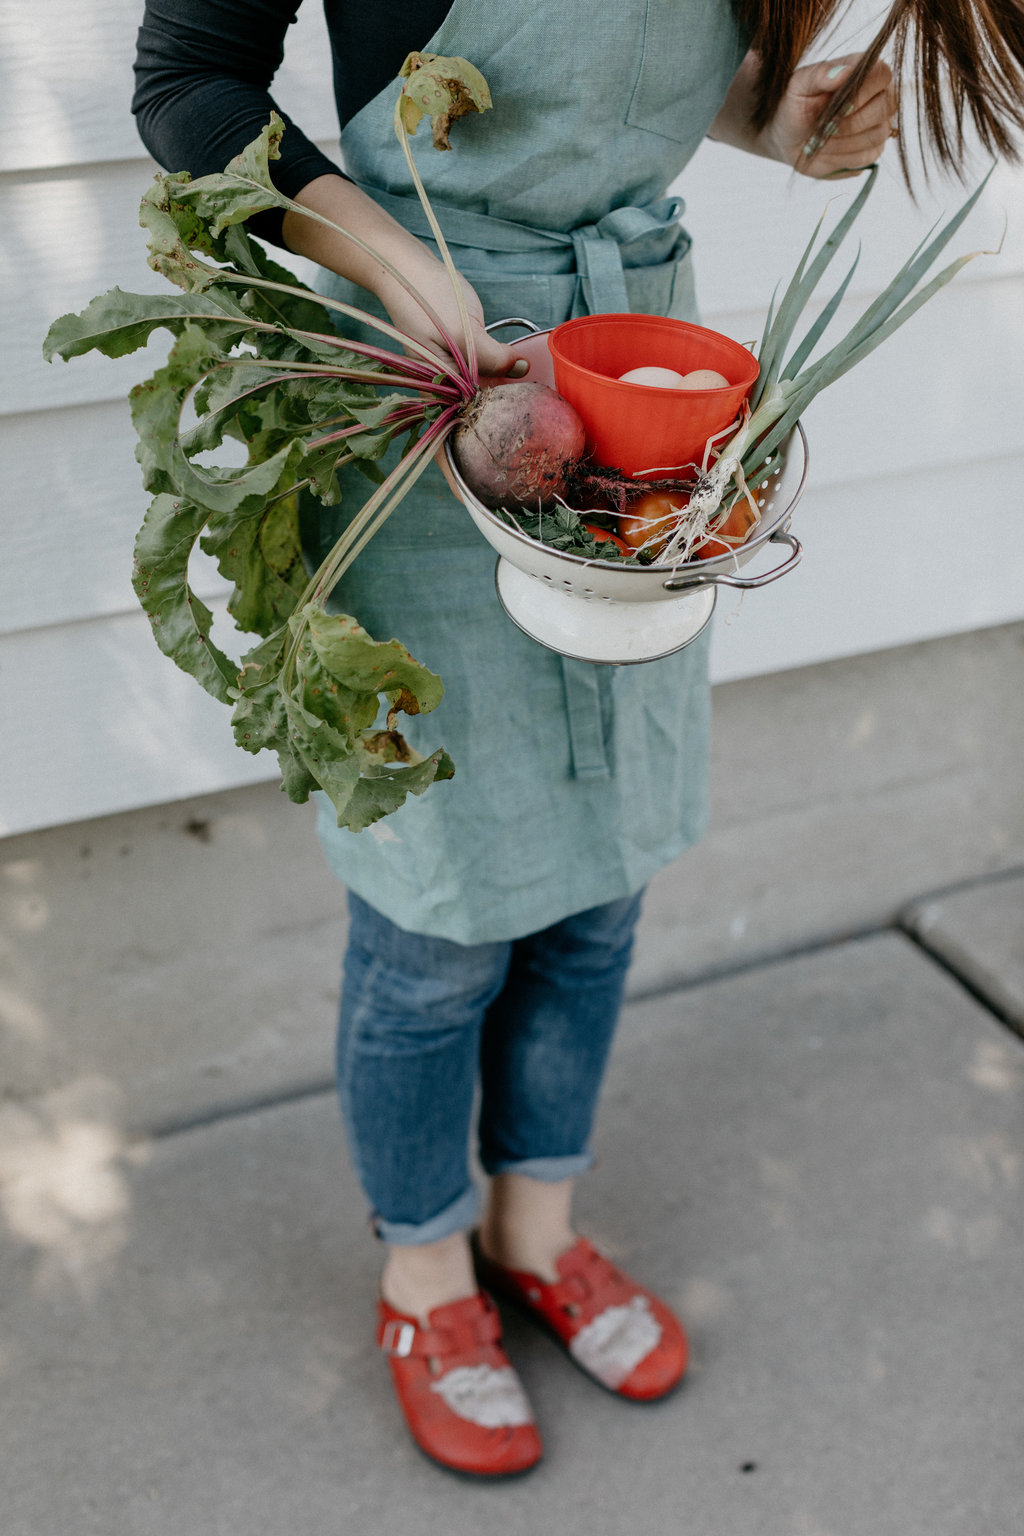
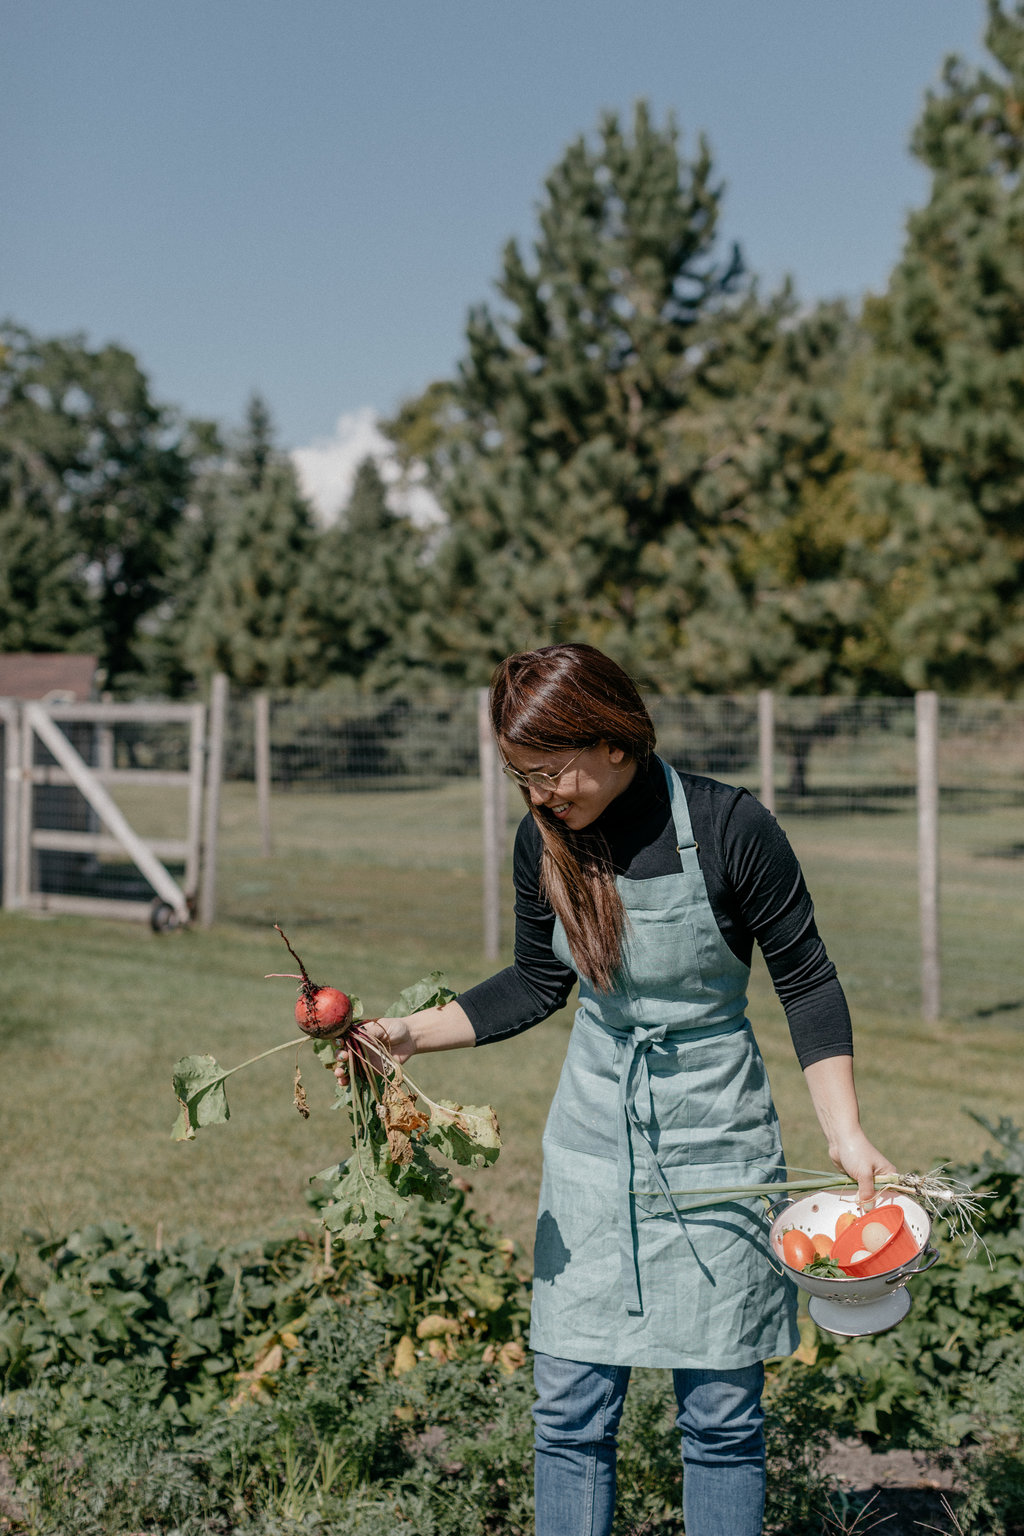
1. pick stuff from the garden that looks good! herbs, peppers, tomatoes, onions, and zucchini are all great choices. and don't forget to swing by the coop eggs!

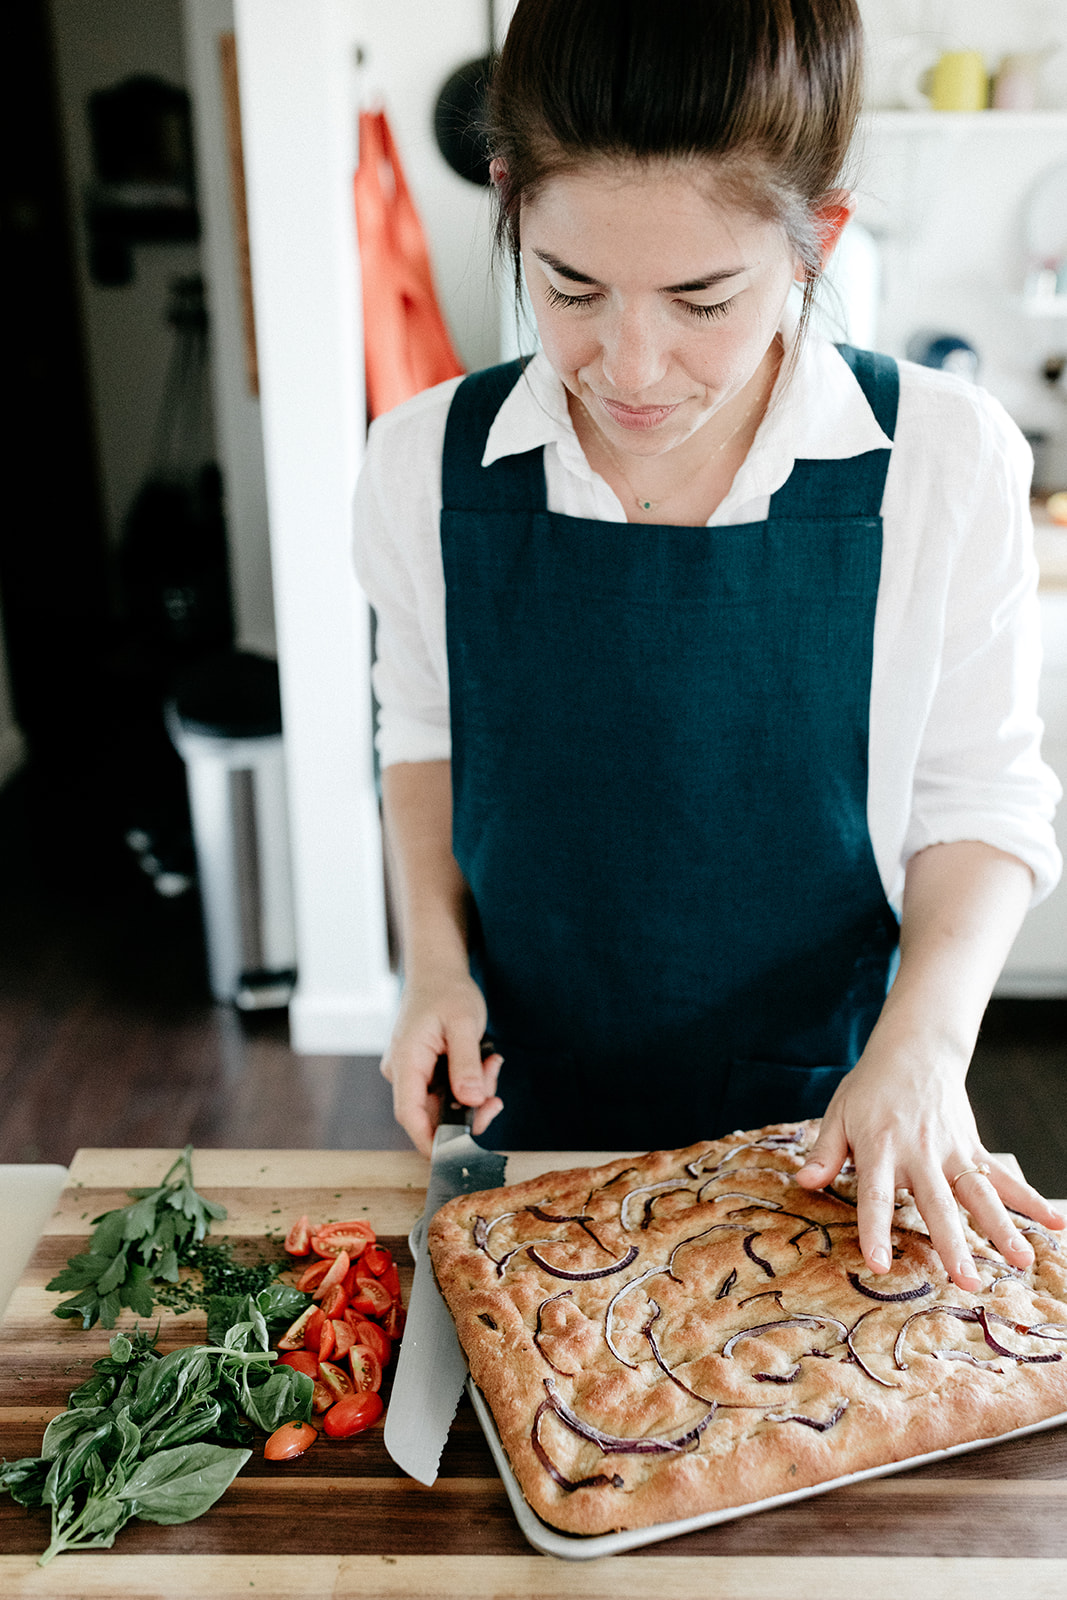
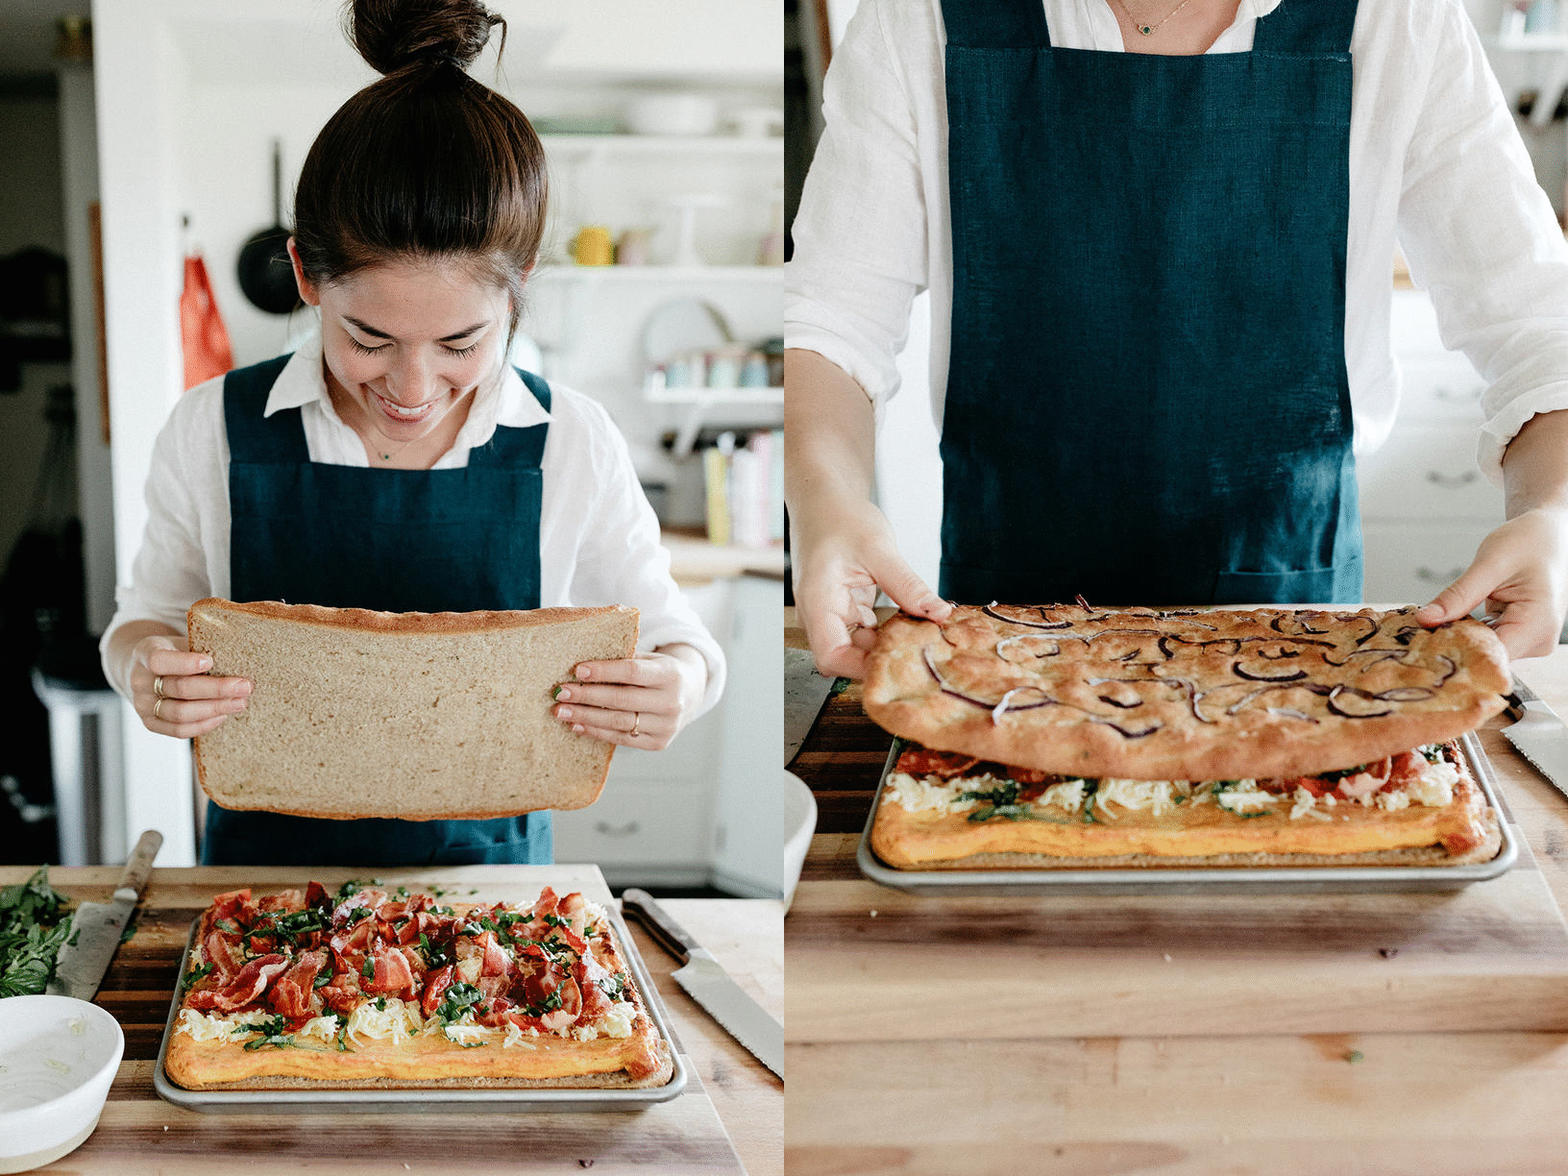
2. make a sheet pan of focaccia and use your biggest serrated knife to cut it in half horizontally, almost like you're leveling a cake.

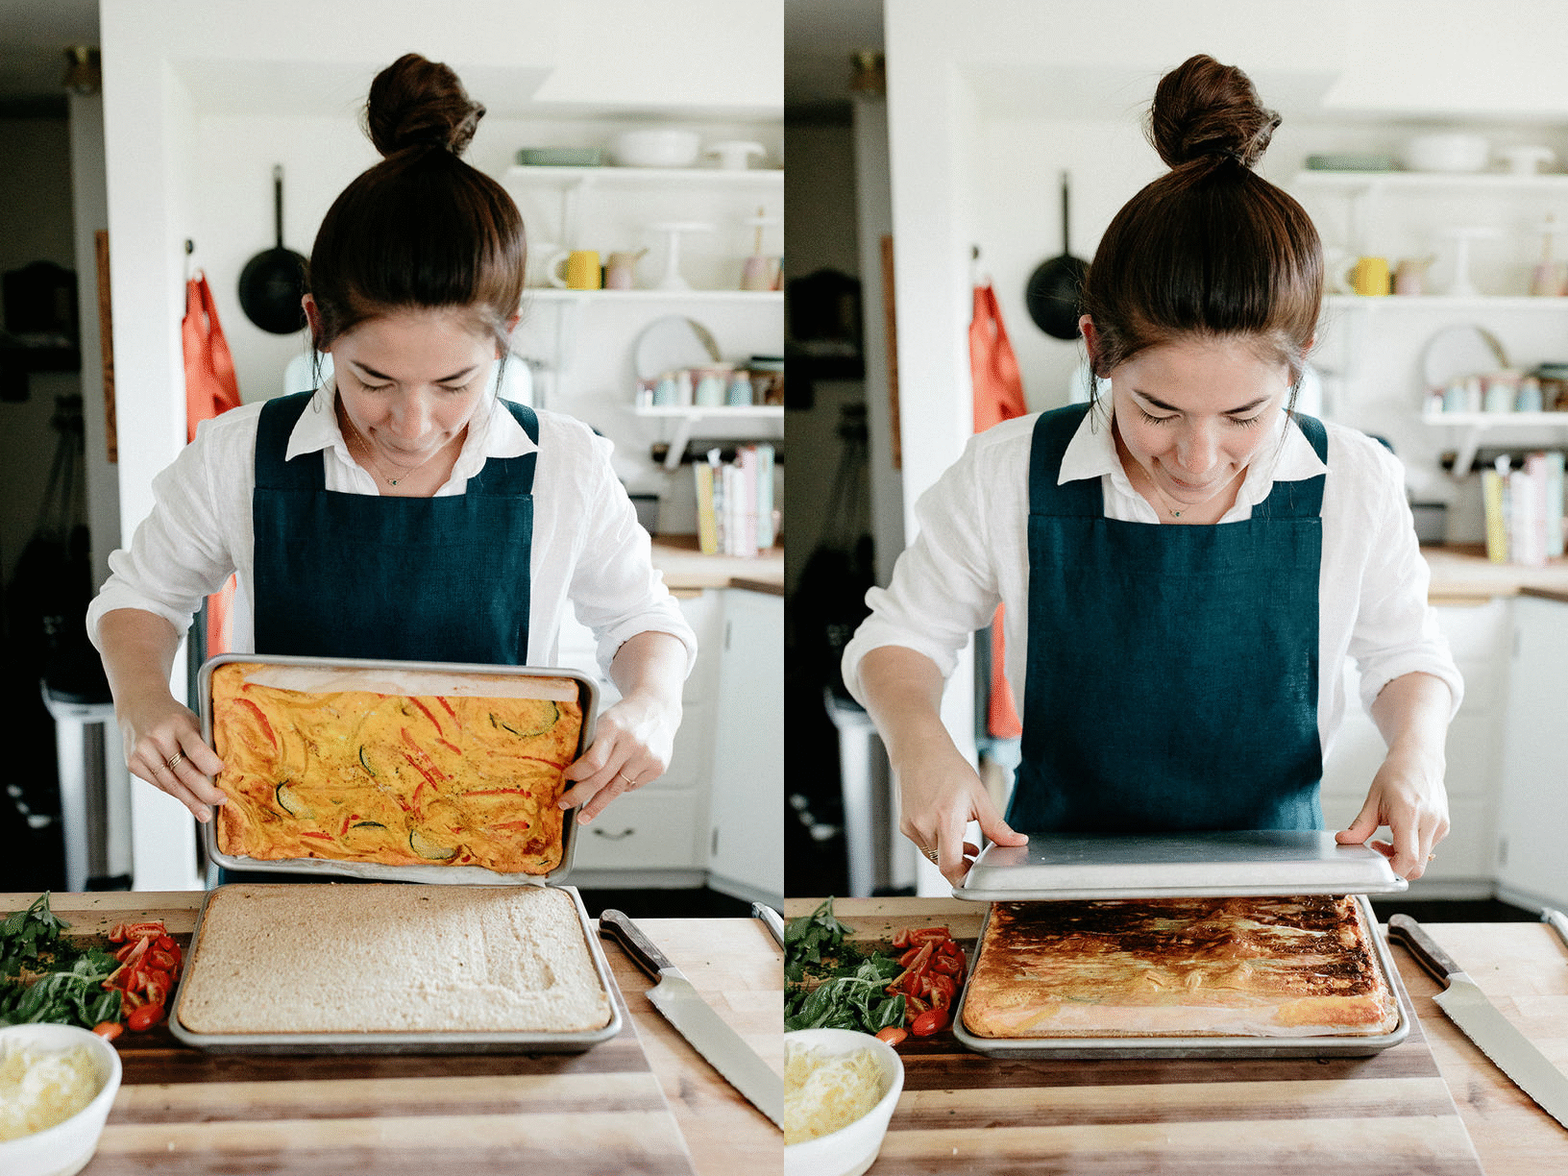
3. make a big baked egg situation that's the same size as your focaccia and flop it onto the bottom of the focaccia.

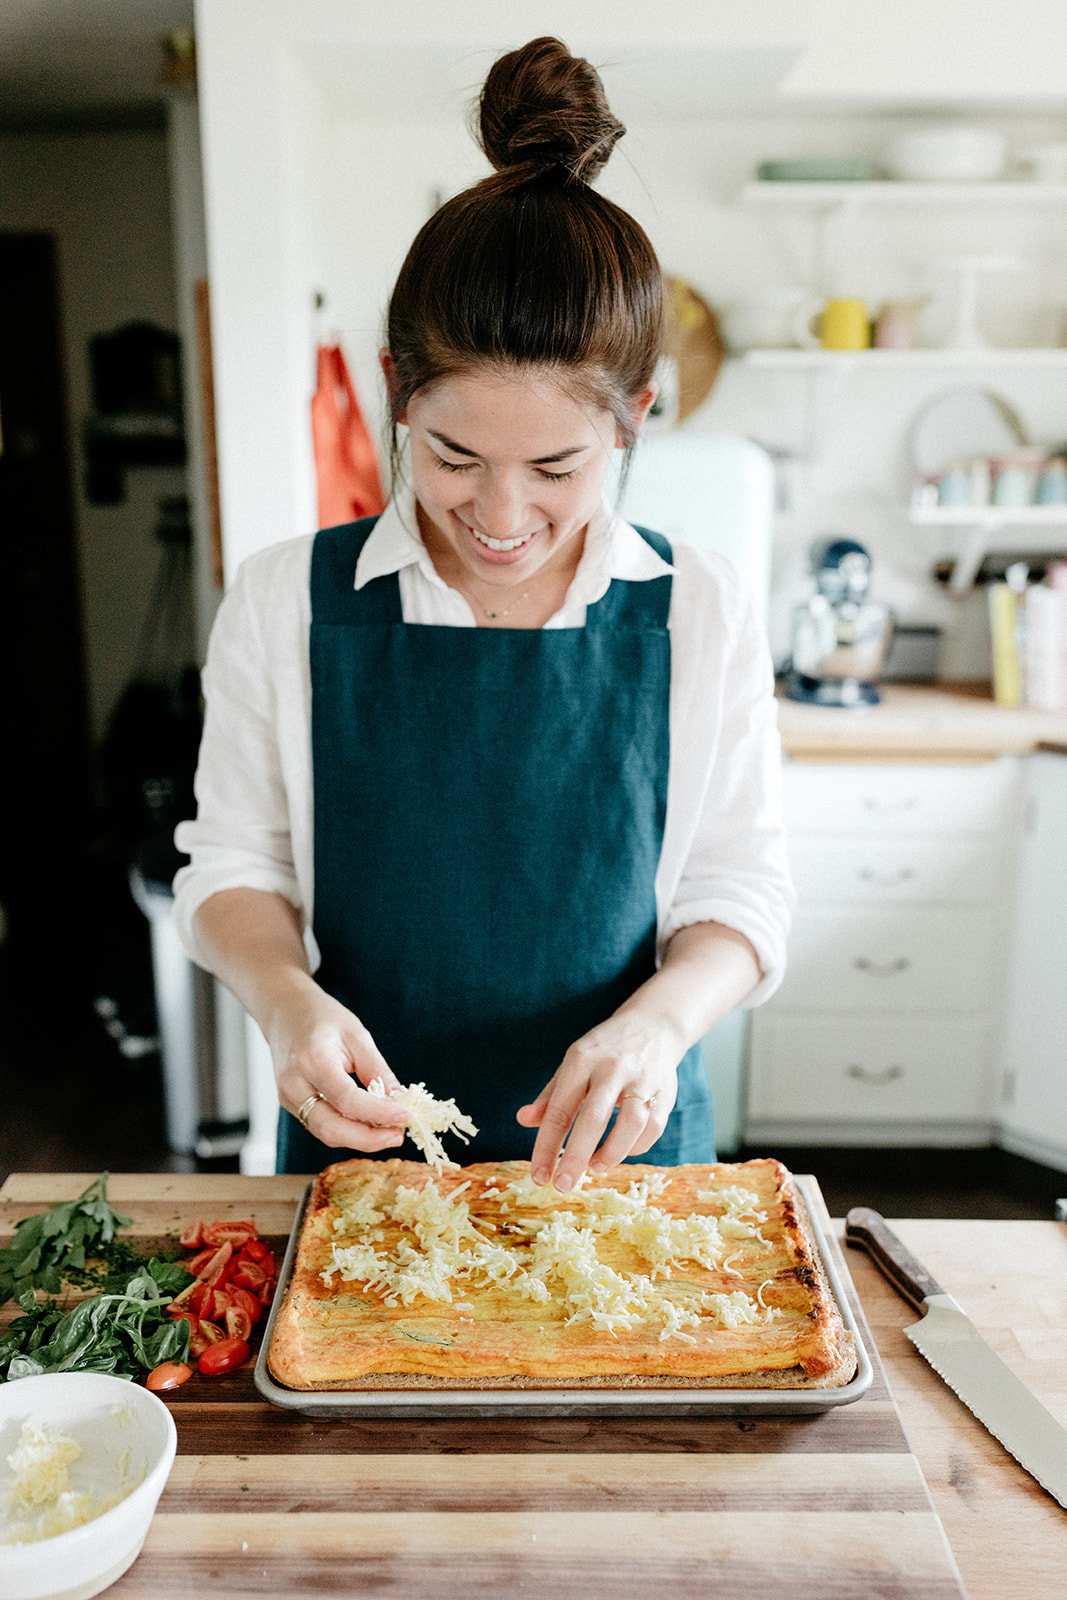
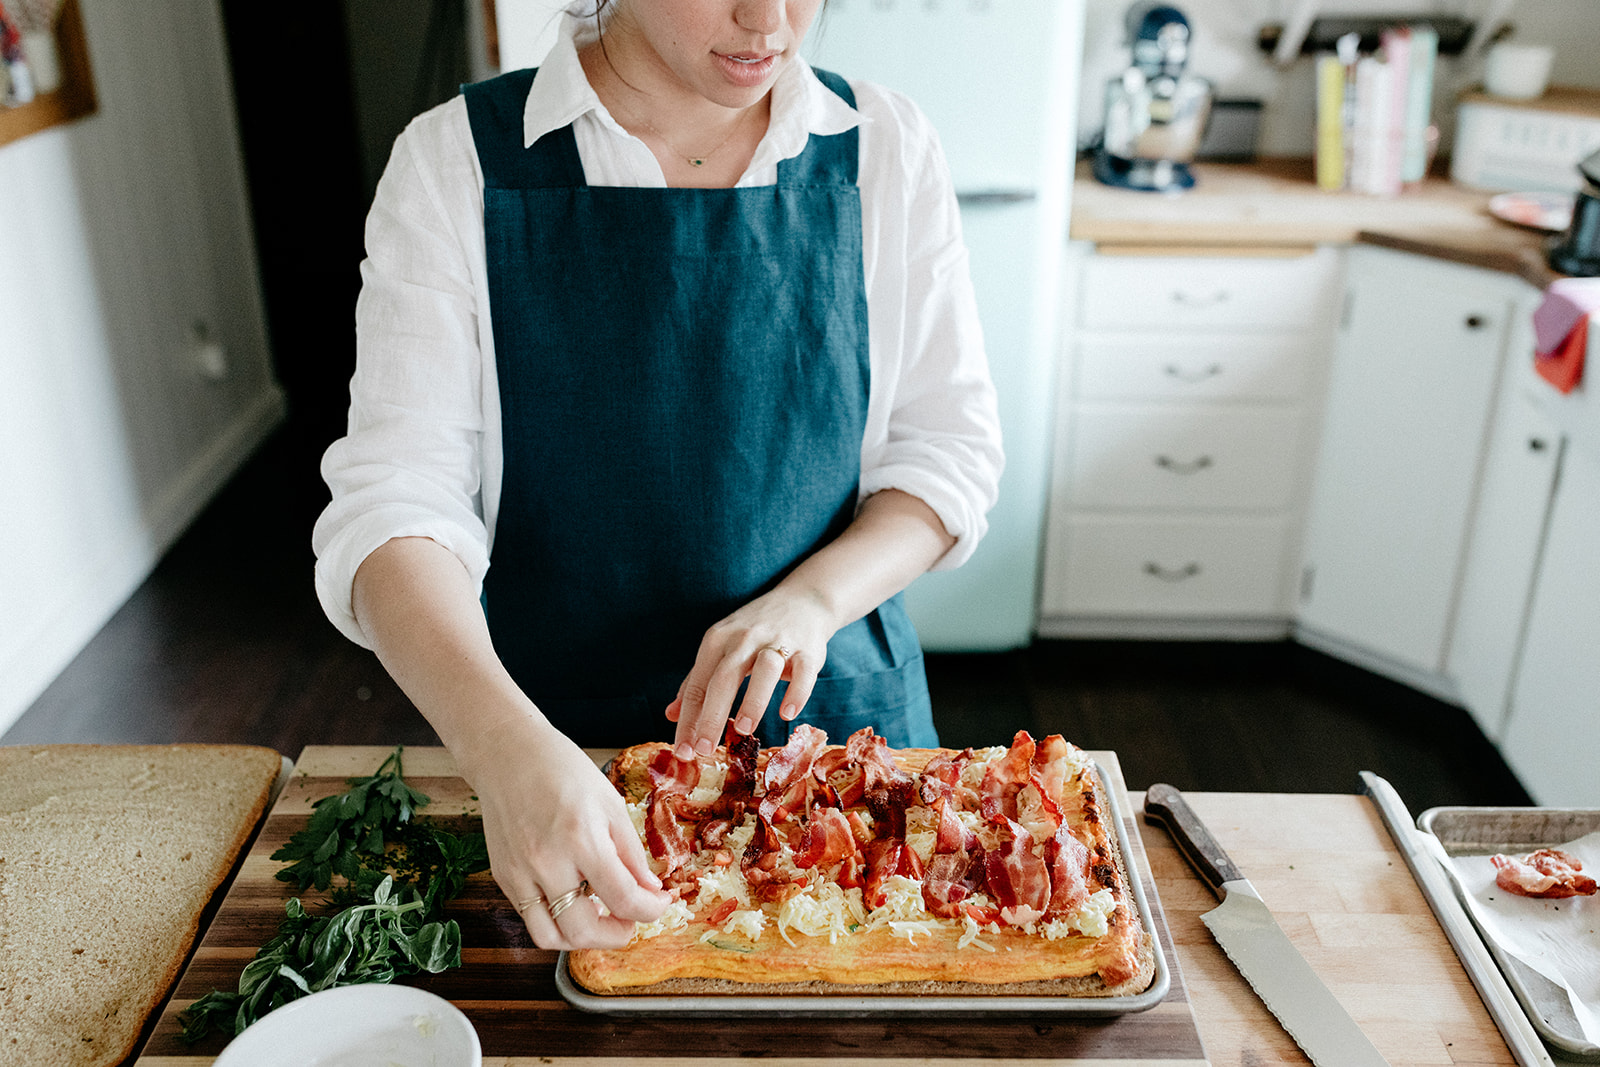
4. top it with cheese, herbs, tomatoes, bacon, any other toppings you'd like.

5. top it with the top of the focaccia and bake until the cheese is melty. now you have a hot sheet cake of breakfast sandwich!

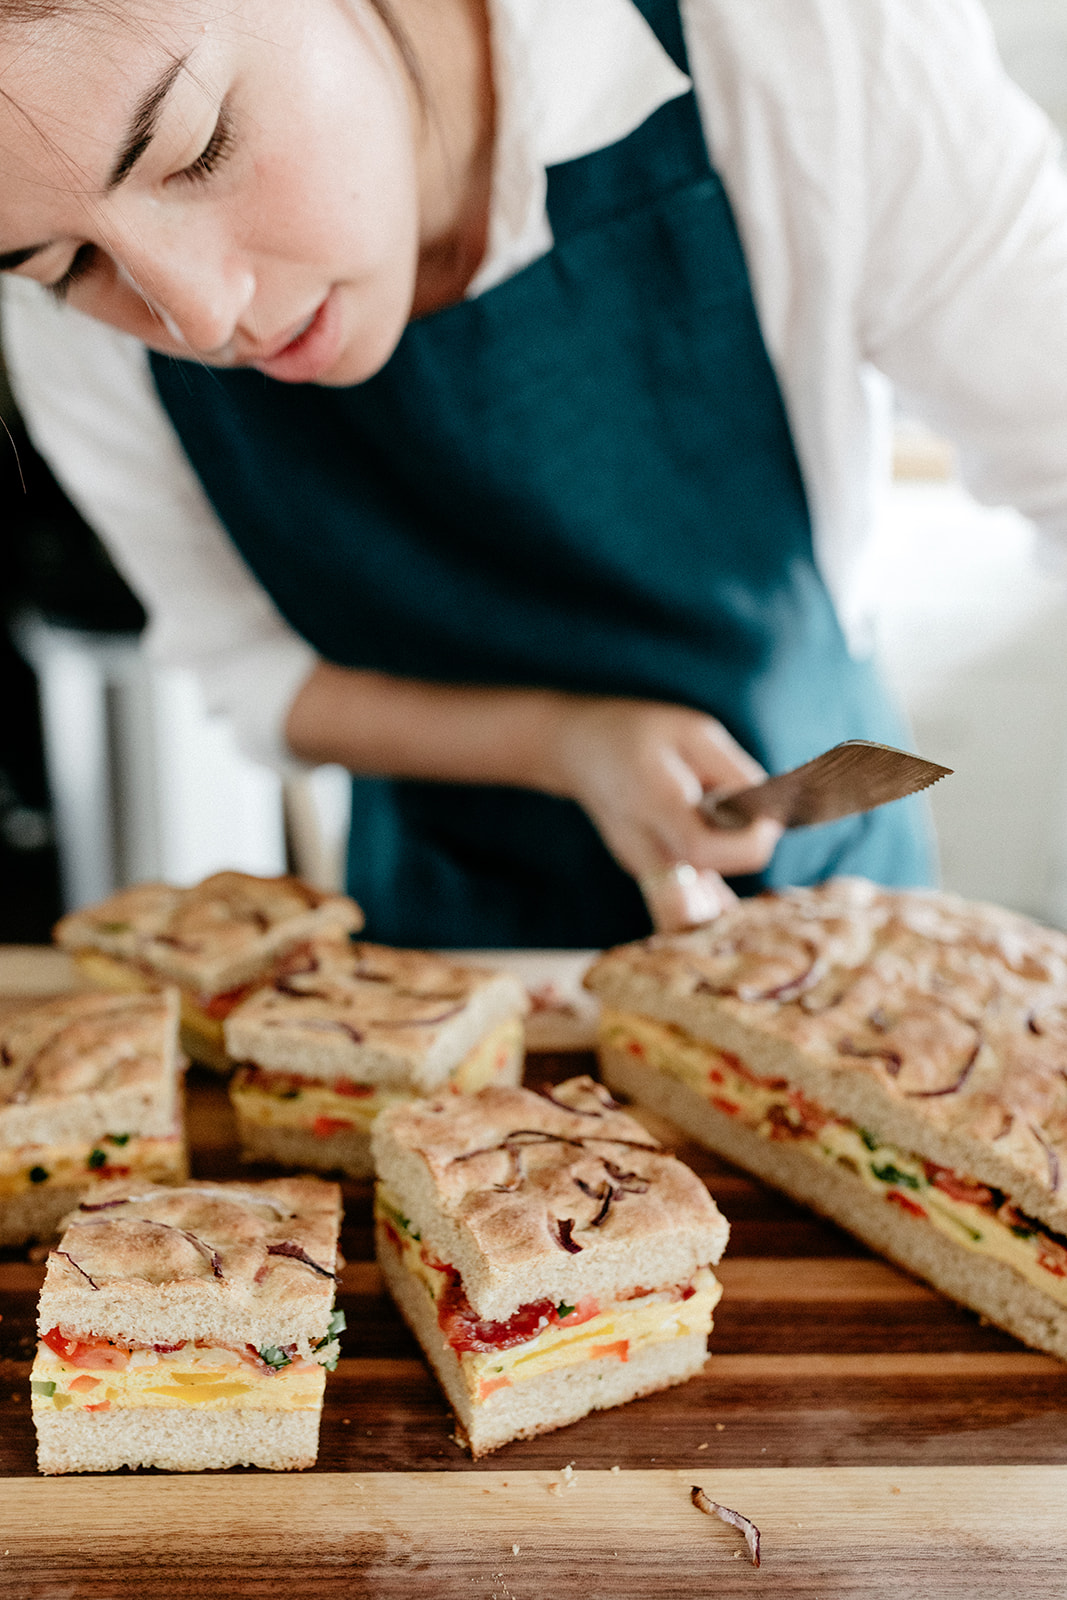
6. cut it into squares! yay!

yeahhhh baby!

I am knee deep in development mode for recipes to make at Unglued Camp and have been testing this as a way of making breakfast sandwiches for a huge group of people! I'm so excited about it. It's my take on this thing that I discovered on the internet, the breakfast sandwich casserole. Google it, it's wild.

I am digging this recipe for these reasons:

-Most of the prep can be done in advance. You can bake the focaccia and egg a day before serving, and then the day of all you need to do is assemble and heat.

-It's endlessly improvisable based on what you've got in your garden or what looked good at the market! Think of the egg layer as one giant quiche: cram in as many or as few veggies as you'd like, change up the cheeses, fux with the seasonings, you know the drill. 

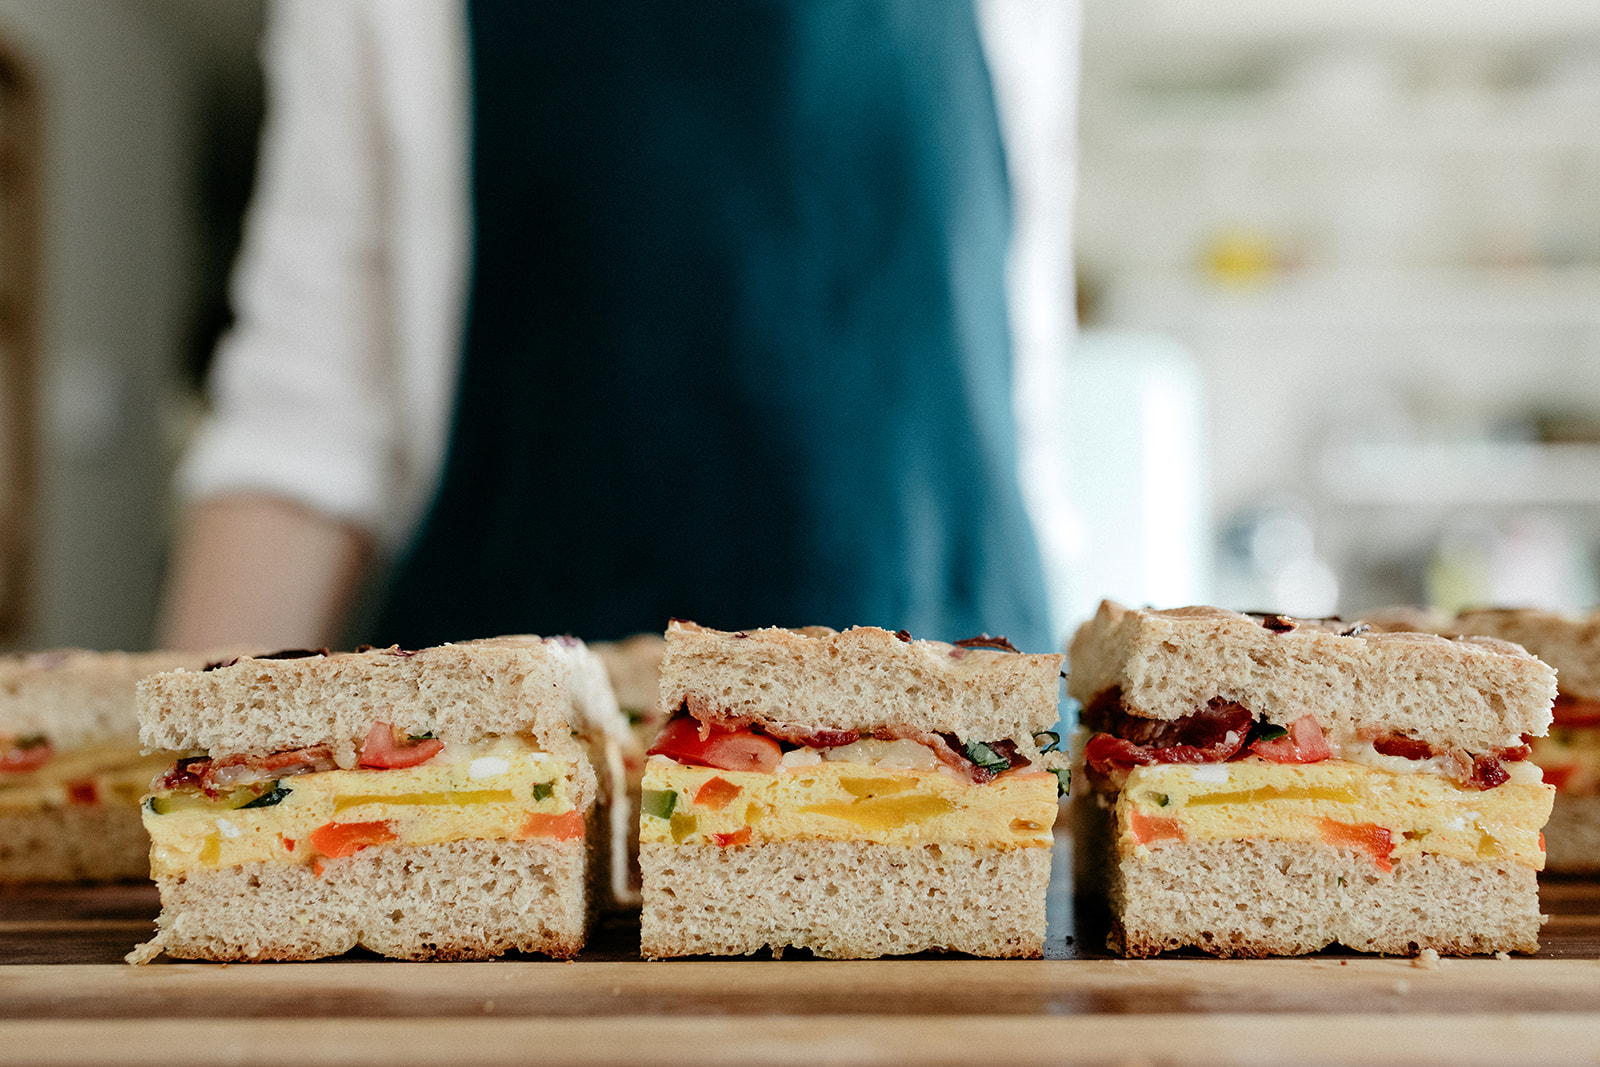
-You get geometrically pleasing sandwiches where the filling lines up exactly with the bread.

-It's vaguely reminiscent of those really long Subway party subs, which were the most underrated birthday party food.


party breakfast sandwich

makes 12 sandwiches

part 1: focaccia

ingredients 

1 1/2 c (354ml) warm water
2 1/4 tsp active dry yeast
1 1/2 tb sugar
2 tsp kosher salt
3/4 c + 2 tb (175g) olive oil, divided
5 c (650g) all-purpose flour, or sub 2 c (260g) for whole wheat flour
Leaves from 1 sprig rosemary, finely chopped (thyme would also work!)
1/2 purple onion thinly sliced
Flaky salt
 

clues

In the bowl of a stand mixer fitted with a dough hook, mix together the water, yeast, and sugar. Let it sit for 5 minutes, or until foamy. With the mixer running on low speed, add the salt and 1/2 cup olive oil, and then gradually add the flour. Add the rosemary. Increase the speed to medium high and mix for 7-10 minutes, adding just enough additional flour so that the dough no longer sticks to the bowl. Do not add too much flour. The dough should be smooth and slightly sticky. Lightly coat a clean large bowl with oil or cooking spray and then place the dough in the bowl and turn it once or twice to coat it in oil. Cover the bowl with plastic wrap and let it rise at room temperature for 2 hours, or until it has doubled in size.

[This is a good time to make the eggs!]

Coat the bottom and sides of a 9” x 13” rimmed sheet pan with 1/4 cup olive oil. Pat out the dough all the way to the edges, but keep it slightly thinner around the edges (it will seem like there’s a lot of oil in the bottom of the pan but that will make it good). Brush the top with the remaining 2 tablespoons olive oil and distribute the purple onion slices all over. Sprinkle with flaky salt. Let rise uncovered another 40 minutes. 

Preheat the oven to 425ºF. Bake for 25 minutes, until lightly browned on top. (While it’s baking the dough might start to creep over the edges of the pan but that’s ok, some overhang will actually make it easier to cut it when the time comes.) Let cool for 10 minutes in the pan. If making this the day before, turn onto a wire rack, let cool completely, wrap in plastic wrap, and store at room temp. If you’re wanting to serve asap, let the focaccia cool until it’s just cool enough to handle and zip down to the assembly steps.
 

part 2: eggs

ingredients

2 tb olive oil
1 bell pepper, thinly sliced
1 yellow onion, thinly sliced
Other optional veggies: 1 small zucchini thinly sliced, 1 jalapeño seeded and thinly sliced, a handful or 2 of leafy greens like spinach, kale, or chard
Kosher salt
Black pepper
3 oz (85g) shredded cheddar (swiss or mozzarella would also work!)
8 large eggs
1/2 c (120ml) Heavy cream
3/4 c (180ml) whole milk
1 tsp sweet paprika
Hot sauce, to taste
 

clues

Preheat the oven to 400ºF. Grease and line a 9” x 13” rimmed sheet pan with parchment paper, leaving 1” wings on two of the sides. 

Heat the olive oil in a large skillet over medium high heat. Add the pepper, onion, and other veggies and cook until soft, about 7-10 minutes. Transfer to the sheet pan, spread them out evenly and sprinkle them with salt and pepper. Sprinkle the cheese over the top. In a large bowl, whisk together the eggs, heavy cream, whole milk, paprika, hot sauce, 1 tsp salt, and a few turns of pepper. Pour the egg mixture over the veggies and bake until set and lightly browned on top; begin checking for doneness at 25 minutes.

If making the day before, let this cool in the pan, cover with plastic wrap and refrigerate. If not, go straight to assembly, below.
 

part 3: assembly

ingredients

About 8 oz (226g) shredded or sliced cheese
Optional toppings: sliced tomatoes, chopped fresh basil or other tender herbs, cooked bacon, cooked sausage
 

clues

Preheat the oven to 400ºF. Place the focaccia back in the sheet pan if you took it out to cool. Use the largest serrated knife you have to cut the focaccia loaf in half horizontally, using the rim as a guide. I like to rotate the pan with one hand as I saw off the top with the other (it’s just like leveling a huge cake). Flip the egg onto the bottom piece of focaccia. Top with cheese and other toppings as desired. Top with the top of the focaccia. Bake until the cheese is melted, the edges of the focaccia are crispy, and the egg is warmed through; begin checking for doneness at about 20 minutes. If the focaccia begins to get too browned for your liking but the middle still needs some time, then tent with foil. Slide onto a cutting board, slice into squares and enjoy!
 

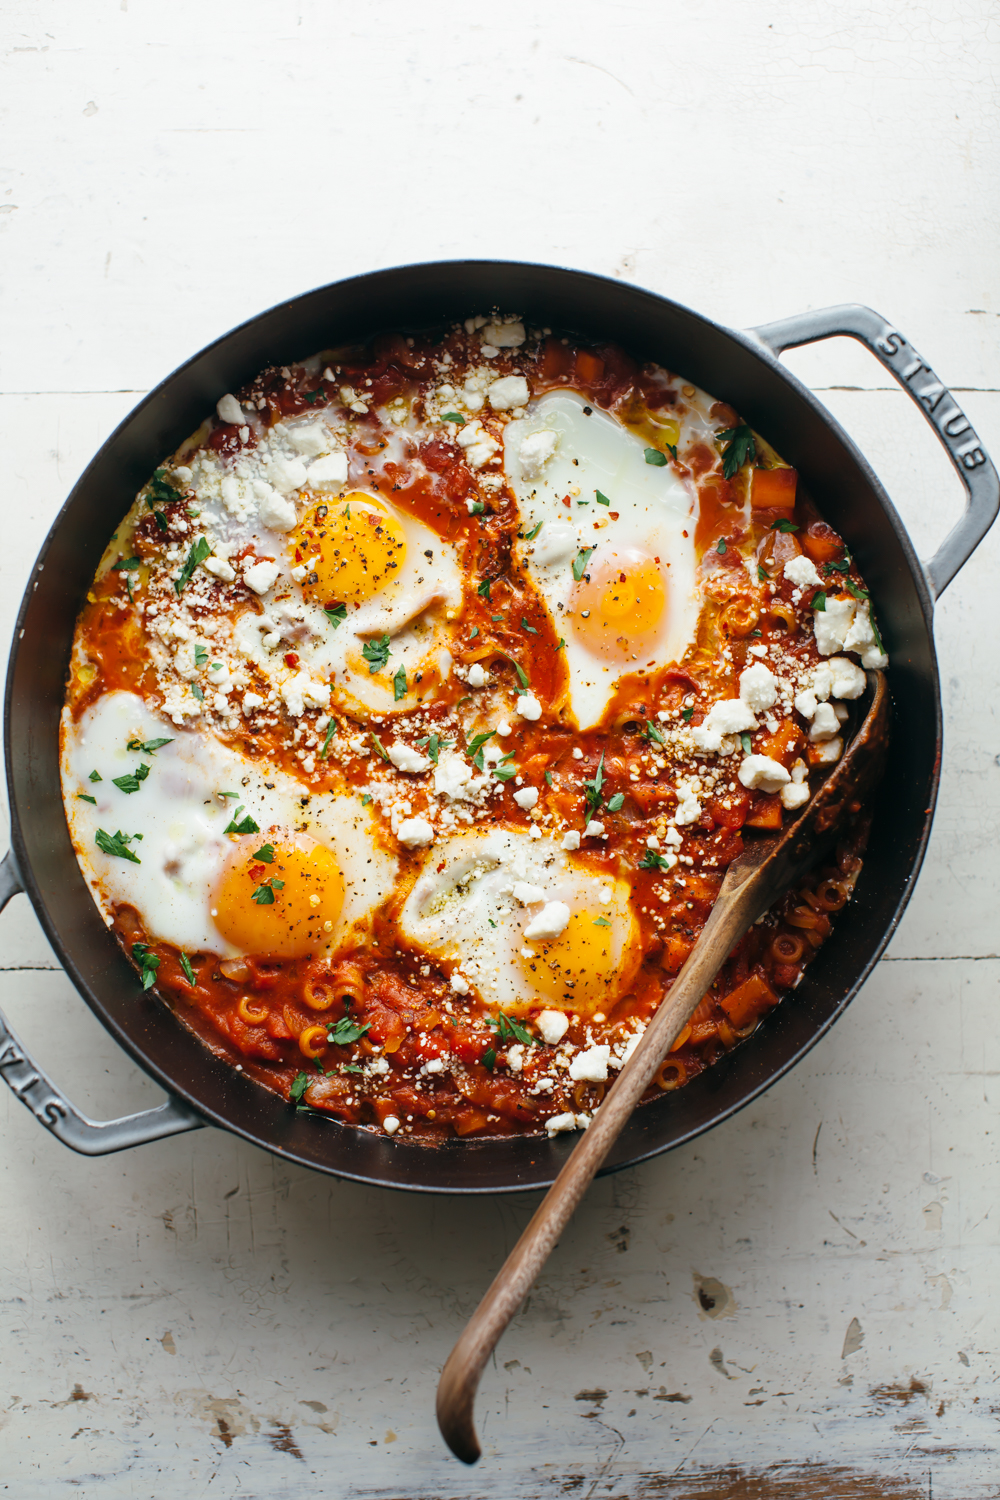
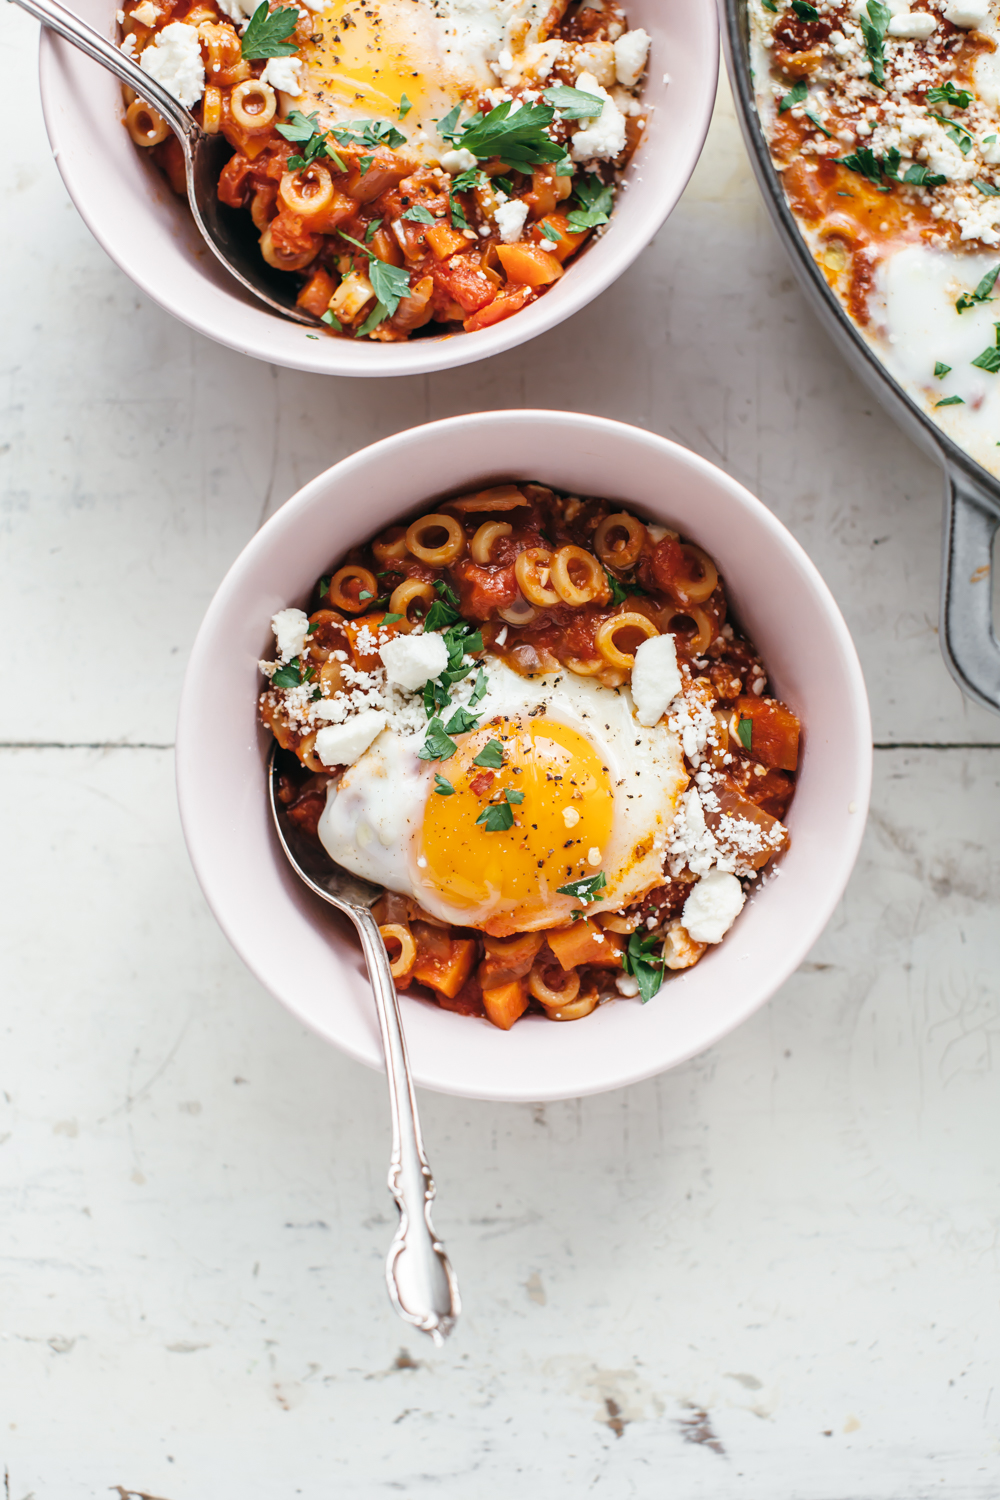
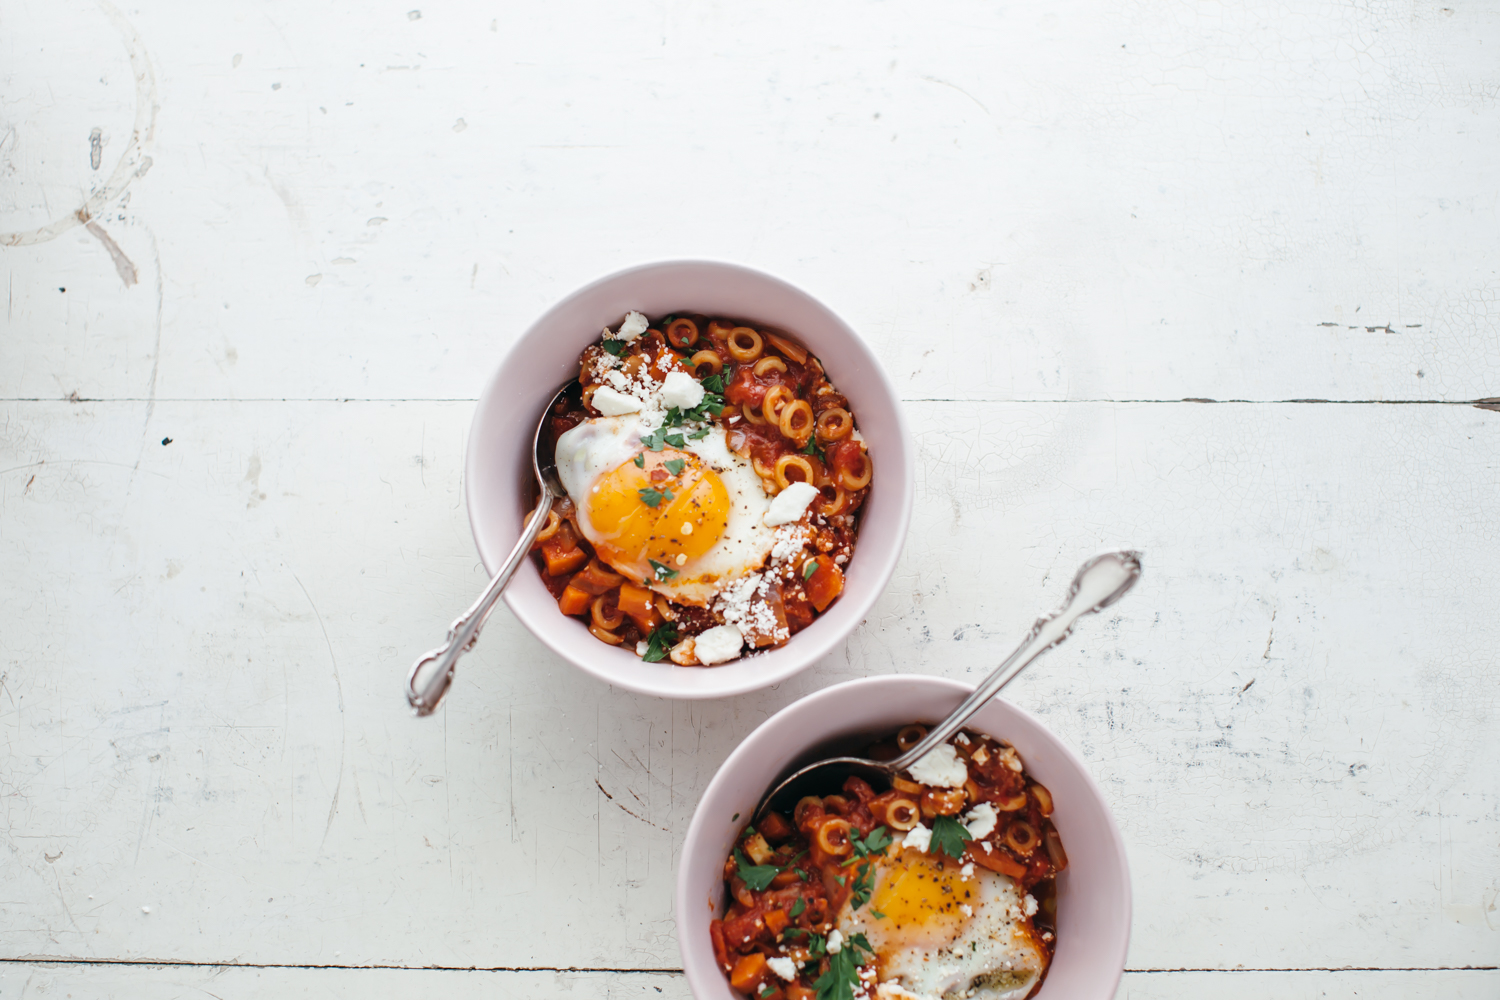
shakshuka o's

Sugar beet harvest is officially dunzo!!!!!!!!!! Eggboy can finally catch up on sleep, there’s a celebratory brisket in the oven, and I still have three entire seasons of Pretty Little Liars to watch, which means that harvest wasn’t nearly has long as it could have been. Last year they were still harvesting on October 20th so the fact that this year they finished on the 13th is reason to party extra hard. We’re having the whole crew over tonight for brisket, Mac and cheese, corn bread, live accordion music by Sheila, and the presentation for the award for whoever transported the last truck of beets from the field to the plant. Then E-boy will probably sleep until it’s time to go to the hockey game tomorrow night. 

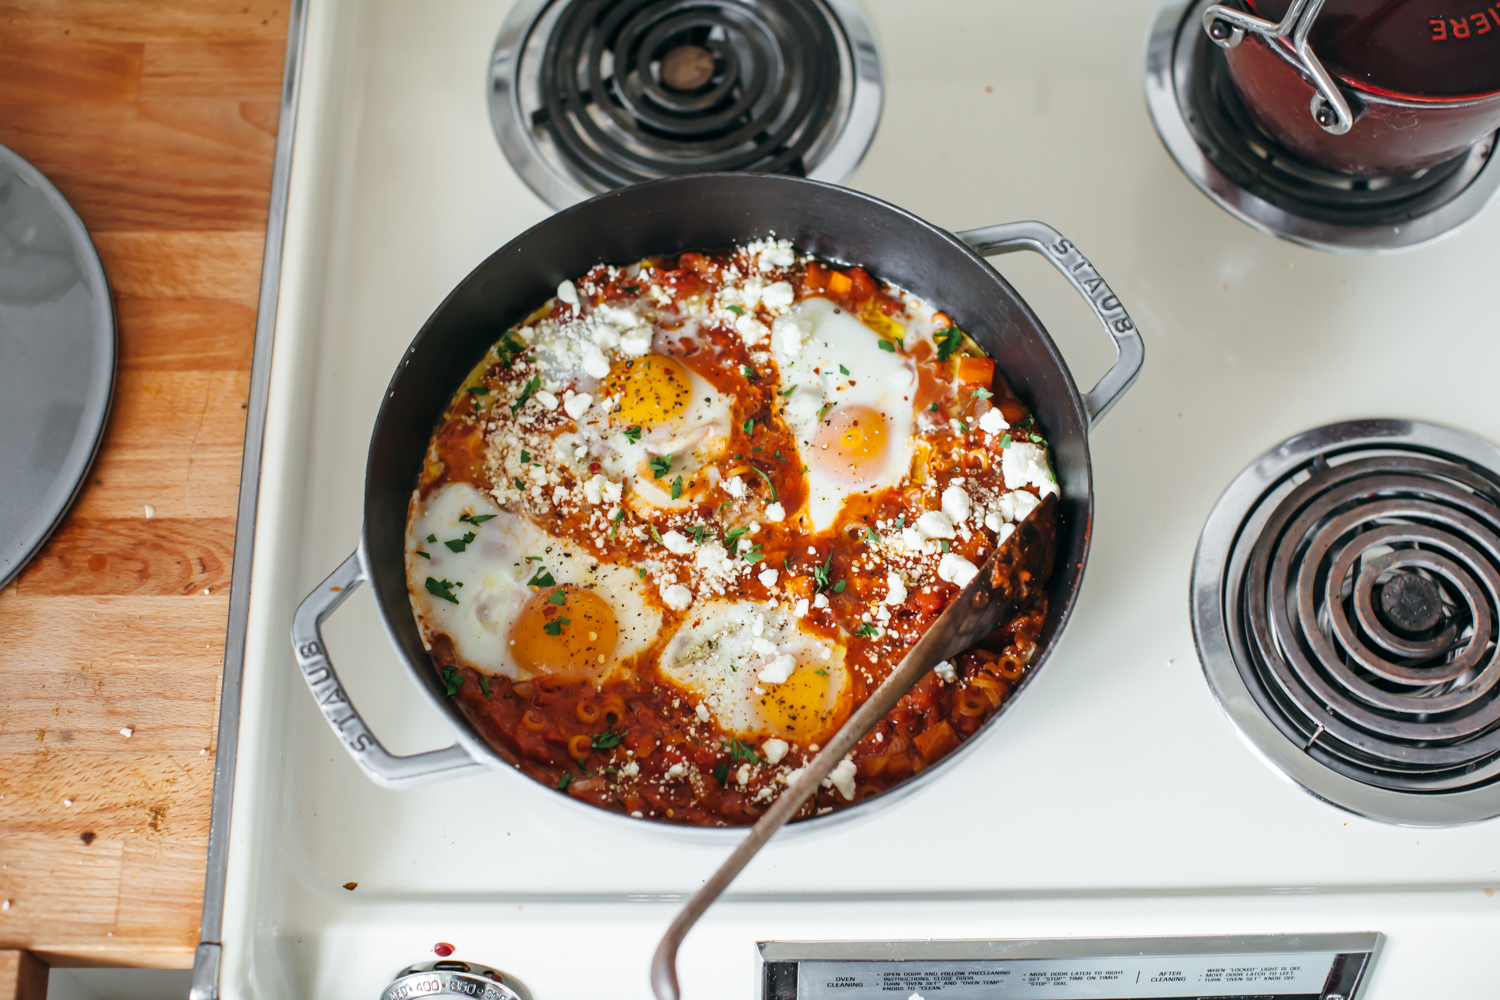
Here’s a little recipe that is partially Eggboy’s invention! It’s a riff on the Shakshuka Couscous from Molly on the Range that was invented when I was trying to figure out if we should have Shakshuka or couscous for dinner one night and Eggboy just said the two words together as if they were one dish. It was the same tone in which he suggested the train wreck that was “chicken pot babka” only this time it actually sounded like a good idea. So I went with it and it turned out to be an awesome heartier take on Shakshuka, almost like one of those one pot pasta recipes that are all over the internet. And then when I was in Maine a couple of months ago demoing this dish at Stonewall Kitchen, my friend Jeff (the same Jeff who dragged me for Tahdig Shakshuka) was all why isn’t this actually Shakshuka O’s?? That’s way more fun. And suddenly I was transported back to my Hello Kitty days when the most amount of vegetables I’d eat in one meal would be the carrots and onions in an individually sized microwaveable chef boyardee cup. And the most amount of meat I’d eat would be the tiny meatballs therein... 

And so a very nostalgic dish was born! 

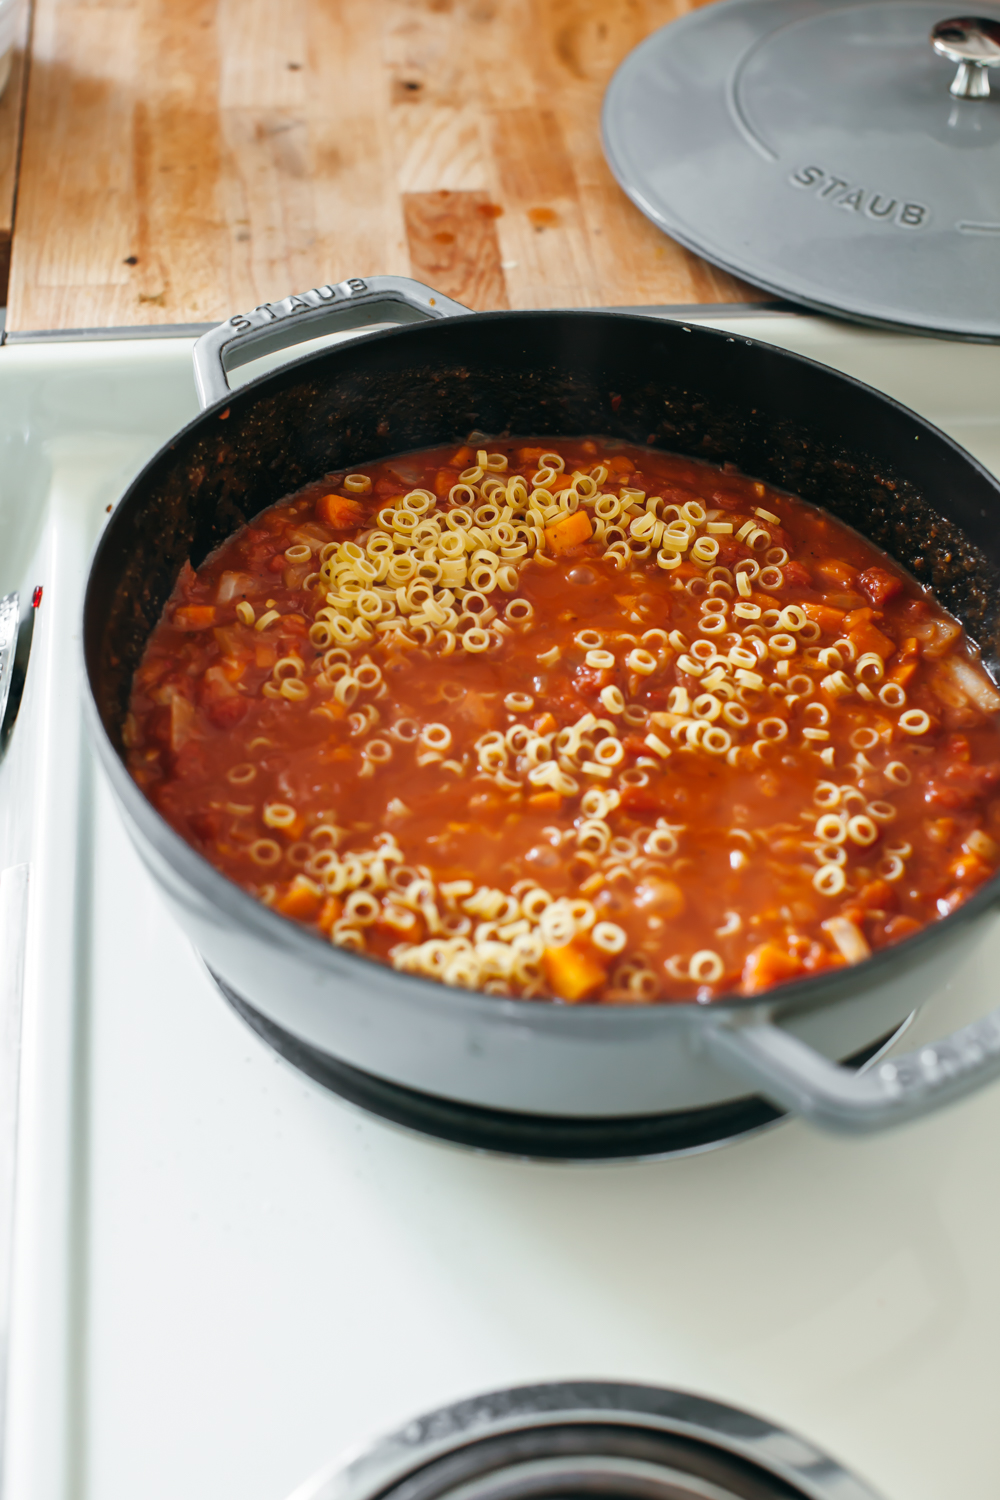
The only special ingredient you need here is large ring pasta, which occupies most pasta aisles I think. I’m sure small rings or stars would work (although I don’t think stars would have the correct mouthfeel), and I really wanted to track down that Manischewitz Hebrew letter pasta since my Hebrew lessons start today (!!!!!) but alas it was discontinued years ago. Sad trombone! This dish is so much fun to eat though, and perfect for rainy nights when you don't feel like going to the store because all of the ingredients are super easy to have on hand (like my endless tub of feta that should have expired months ago but hasn't yet). If you thought that spaghetti-o's was at the height of its tastiness, you clearly haven’t had it with a soft cooked egg mingling its way into the sauce, making it rich and creamy. And with cumin and feta and harissa and all of the other tasty additions that make shakshuka so special. Get on this you guys! Happy weekend!! 

shakshuka o's

makes 4 servings

ingredients

3 tb olive oil, plus more for drizzling

1 medium yellow onion, finely chopped

2 carrots, finely chopped

kosher salt

3 cloves garlic, minced

1 tb ground cumin

2 tsp harissa, or more to taste

1/2 tsp paprika

black pepper

crushed red pepper

1 tb tomato paste

1 can or carton (28 oz) chopped tomatoes

1 tsp sugar

3/4 c large ring pasta

1/2 c vegetable stock

4 large eggs

a few handfuls of crumbled feta

a handful of chopped fresh flat-leaf parsley or cilantro or a mix

clues

in a large skillet, heat the 3 tablespoons of olive oil over medium heat. add the onion, carrots, and a pinch of salt and cook, stirring, until soft and translucent, 10-12 minutes. add the garlic, cumin, harissa, paprika, a good pinch of salt, a few turns of black pepper, and a pinch of red chili flakes and cook until it's all dreamy and smelly, about 2 minutes. stir in the tomato paste, then the chopped tomatoes and sugar. reduce the heat to low, stir in the pasta rings and broth, cover and simmer for about 8 minutes, until the pasta is al dente.

create 4 little wells and crack in your eggs. cover and simmer until the whites are cooked but the yolks are still runny, begin checking at 5 minutes. sprinkle the eggs with a little salt and black pepper, drizzle the whole dish with olive oil, top with feta and herbs, and serve.


-yeh!

tahdig shakshuka

With the way that people talk about making tahdig, you’d think that they were talking about reading Ulysses or something. Not that I would really know for sure since I am about 100% positive that I will die without having read Ulysses but I’ve felt the size of it and I’ve heard Eggboy talk about it and at this moment in time that is the best comparison I can think of because both require time and patience, and 30% of the time, you fail. 

When you do succeed though you’re rewarded, of course. Not necessarily with fireworks and instagrammability, but with satisfaction and maybe some street cred?? They’re beasts. One would take me 10 years to finish, another, it turns out, you can do in an evening so long as you focus and have the right tools.

Tahdig is a Persian dish that consists of the crispy layer of rice that forms at the bottom of the pot. It’s often flavored with saffron and can also be made with vegetables or bread. It is so good and I can’t believe it took me until 2017 to make it for the first time. I think I first heard about it from Naz at the Saveur awards back in 2014. I remember her talking about how much patience you need to make it and how exciting it is when it works. I love her post about Tahdig, where she compares it to a coy lover. Ok maybe that’s better than Ulysses. A while back in New York, a few friends attempted it for our Shabbat potluck but I remember them not being so satisfied with how it turned out. It’s just so hard to tell when the crispiness forms and then once you flip it out, I don’t think you can crisp it up anymore. In Berlin, Sophie and Xenia turned out like 12 perfect Tahdigs in a row, it was super human and they all looked like gorgeous yellow cakes destined to sop up short rib juices. Shortly thereafter I had a miniature tahdig at Zahav with their legendary braised lamb, and then finally it was time to make it at home. 

It was not a total failure but, you’ve seen my little stove coils, they can only heat so much and tahdig requires a very even heating element. So I tried it out in my mini cocottes and it worked for a few but then got fussy when I tried to make 30 of them for a dinner party. It was actually really traumatizing and I didn’t make tahdig for a long time after that. I kind of came to the conclusion that my go-to cast iron pots weren’t necessarily the right option for tahdig and started creeping around the internet for alternatives. Anytime tahdig would come up on my IG feed, I’d kind of stalk the account to see if they posted the pot they made it in…

And then a few months ago Alana started raving about her GreenPans and how nonsticky and easy to clean they were (I think she has become my new kitchenware curator btw), so when GreenPan got in touch to work on this post I figured I’d better at least try a Tahdig in one before making any decisions, so I did and guess what! I nailed it the first time. And the second, third, etc., etc. The coating on the pans is not only so nonsticky that the tahdig practically slides out of the pan and into my mouth, but it also heats so evenly that I can use their 12” pan on my 8” coil and still get an evenly yellow saffrony ghee-y crust. And it doesn’t contain the crusty nonstick stuff that peels off and kills u. I am hella sold. (the pan i'm using is part of their 10th anniversary set and it's on sale rn!) I know Alana likes making eggs in them and now that it’s fall I’d like to try making caramel for my apples in them but for now I’m just really glad to have filled the void in my life that was a perfect Tahdig pan.

Let’s talk about why this Tahdig is different from all other Tahdigs: In a shakshuka-inspired move, it’s got poached eggs all up in it. “Just because it has poached eggs doesn’t make it a shakshuka” wrote Jeff after I IG-ed it. It spurred a long argument that is still not over. He thinks it is more similar to Maqluba and that shakshuka requires a sauce. My argument was that even though most shakshukas have tomato sauce, shakshuka isn't required to have tomatoes or even a sauce (see: green shakshuka). darya said it might be similar to mirza ghasemi! which i've never had but sounds delicious. What do you think? I love shakshuka and I also love this dish and definitely feel like shakshuka doesn’t really need to have tomato sauce… but… tomato tomahto? 

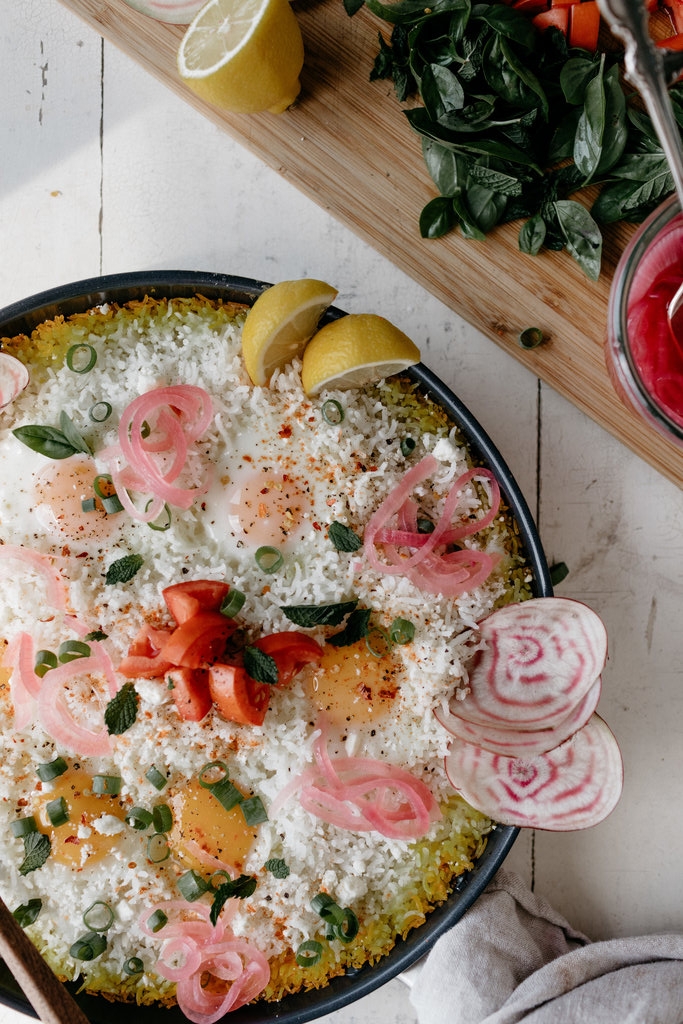
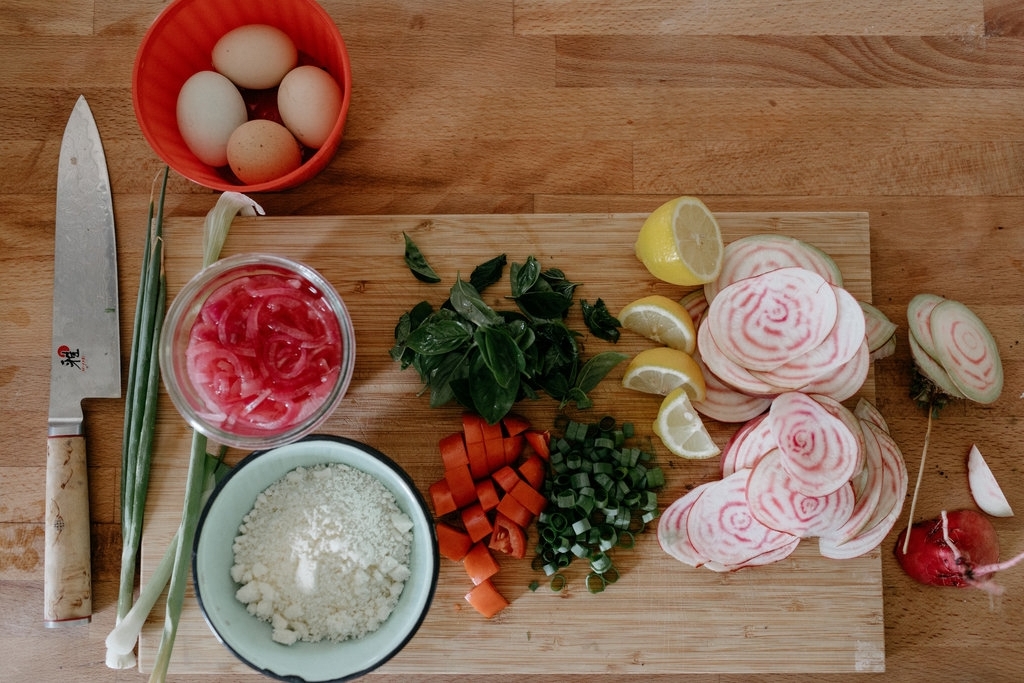
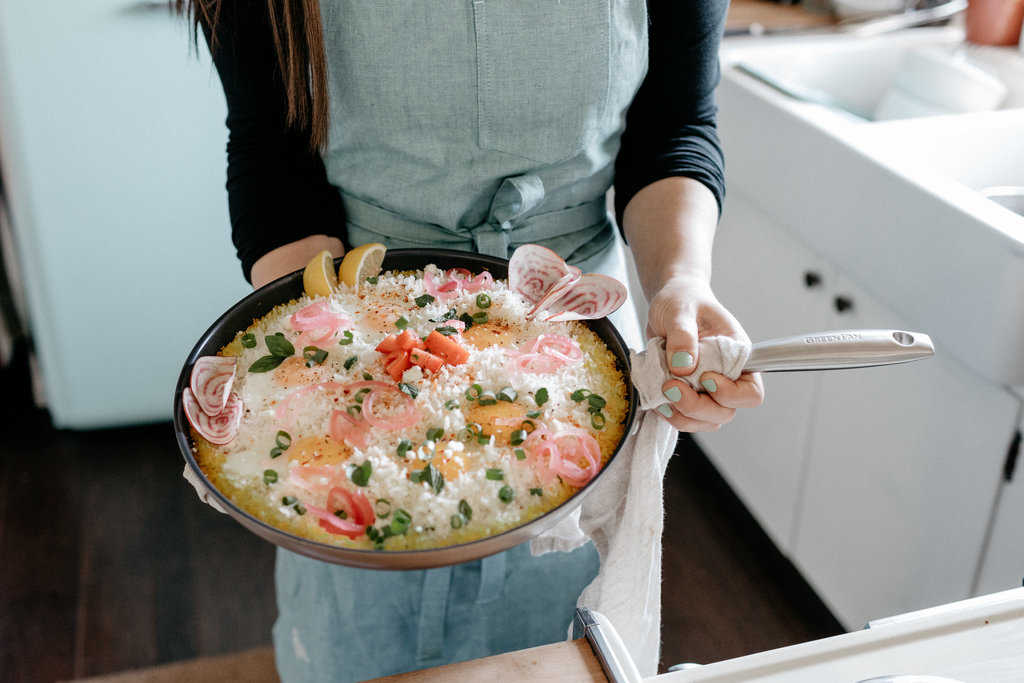
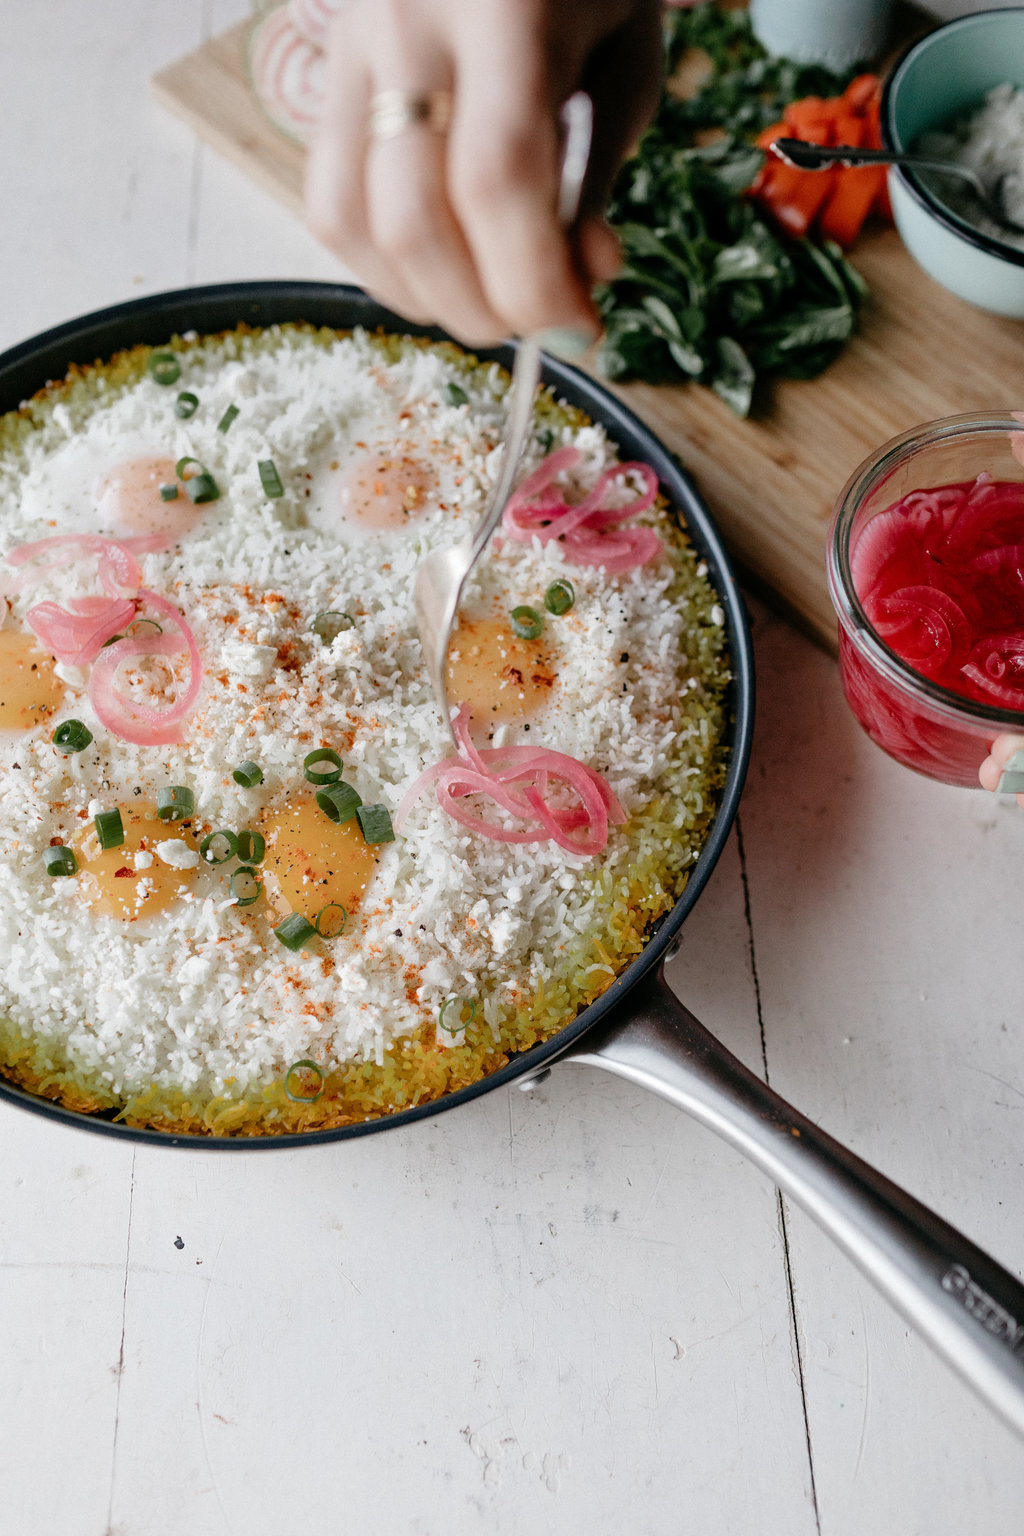
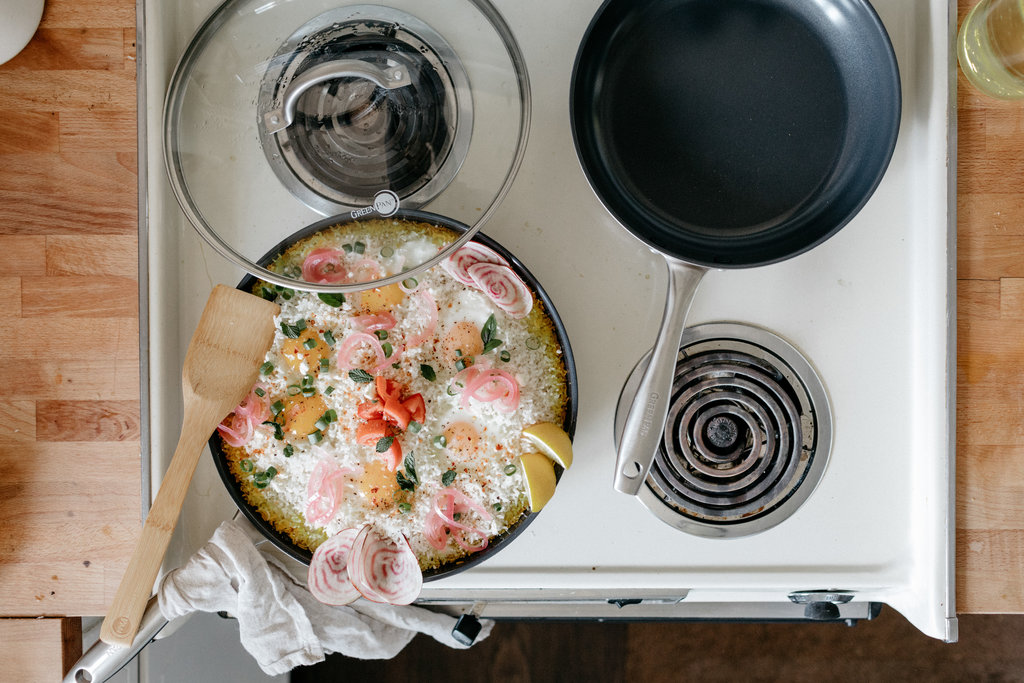
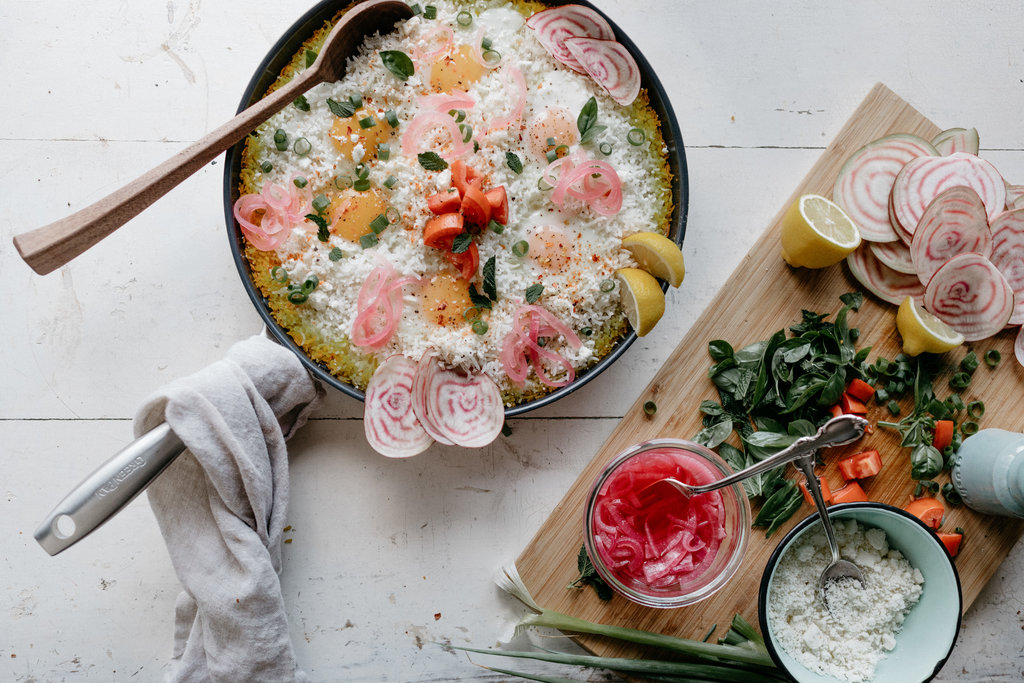
This dish is crispy rice, eggs, and a party full of toppings. I basically just pulled a bunch of pretty things from my garden and threw them on top. I would def recommend topping this with at least pickled onions, fresh lemon juice, herbs, and tomatoes if you have them. Feta was also great! But you can really go wild and use whatever toppings you have on hand. This recipe makes a big batch and is perfect for a brunch party. And seriously with an even nonstick pan like this one, you can go confidently in the direction of tahdig, even on your first try.


tahdig shakshuka

makes 6 servings

ingredients

540g basmati rice

kosher salt

1/8 tsp saffron

3 tb ghee

6 eggs

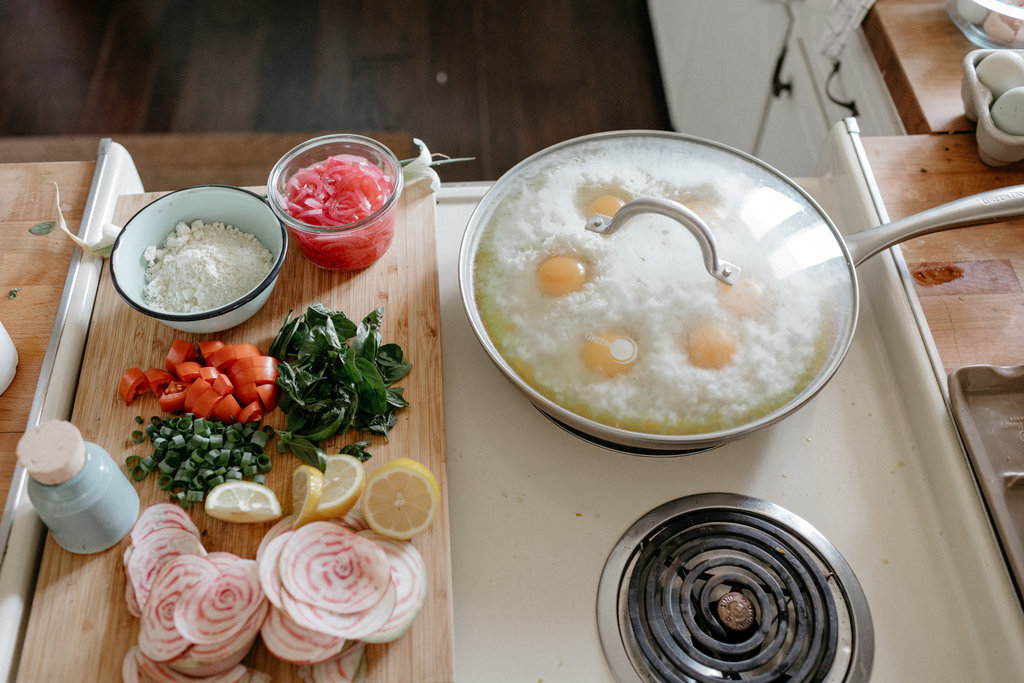
for topping: black pepper, crushed red pepper, fresh basil and mint, pickled onions, lemon wedges, feta, chopped scallions, chopped tomatoes, other herbs/cheeses/sauces as desired

Clues

In a large bowl, cover the rice with enough water so that it comes up a couple inches above the rice and soak for 30 minutes. Drain the rice and then rinse it well. Bring a large pot of water to a boil and add 2 tablespoons salt. Boil the rice until it’s soft on the outside but still has a bite on the inside, about 4-5 minutes. Drain and rinse under cool water to stop the cooking. 

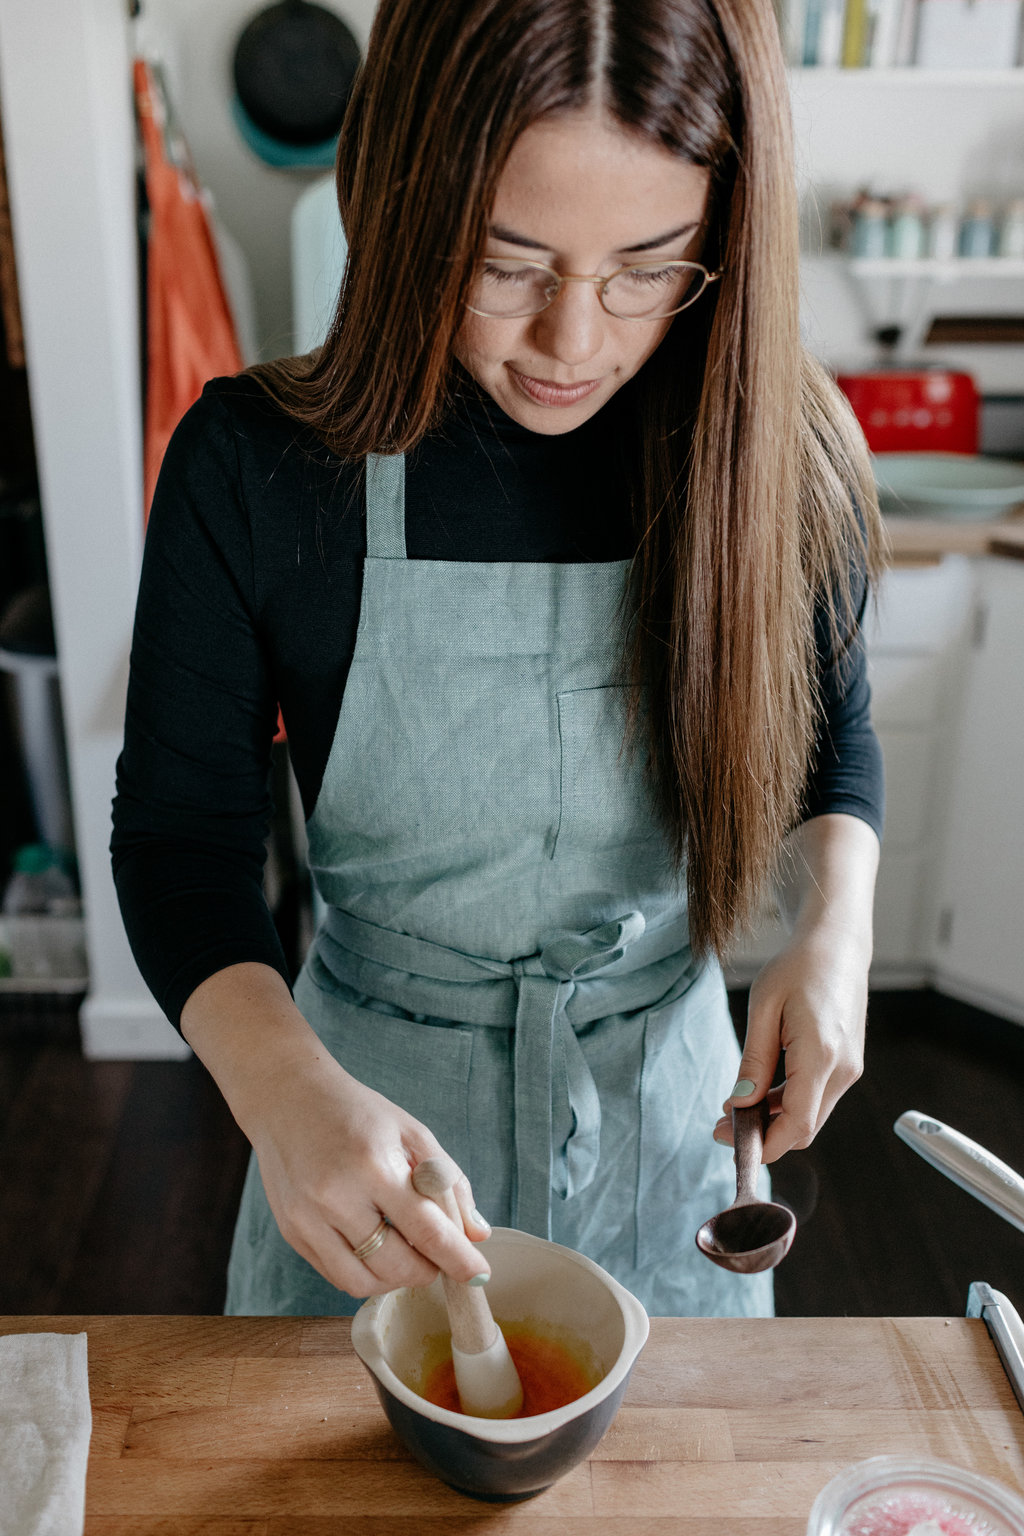
Crush the saffron using a mortar and pestle and then dissolve it in 3 tablespoons boiling water. 

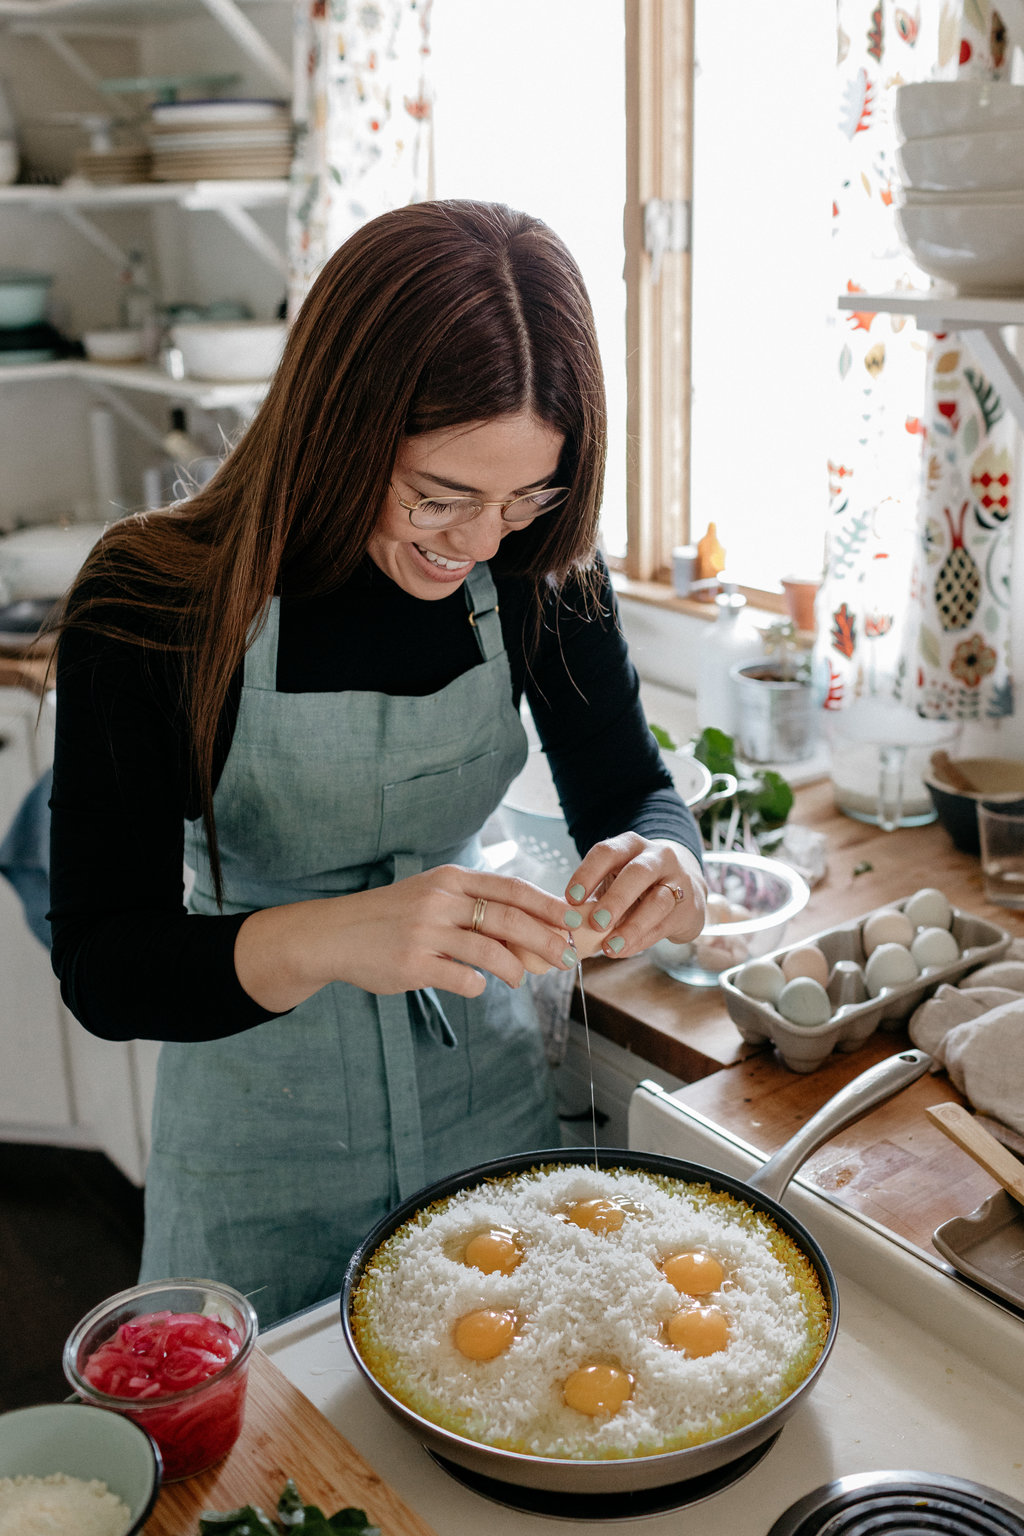
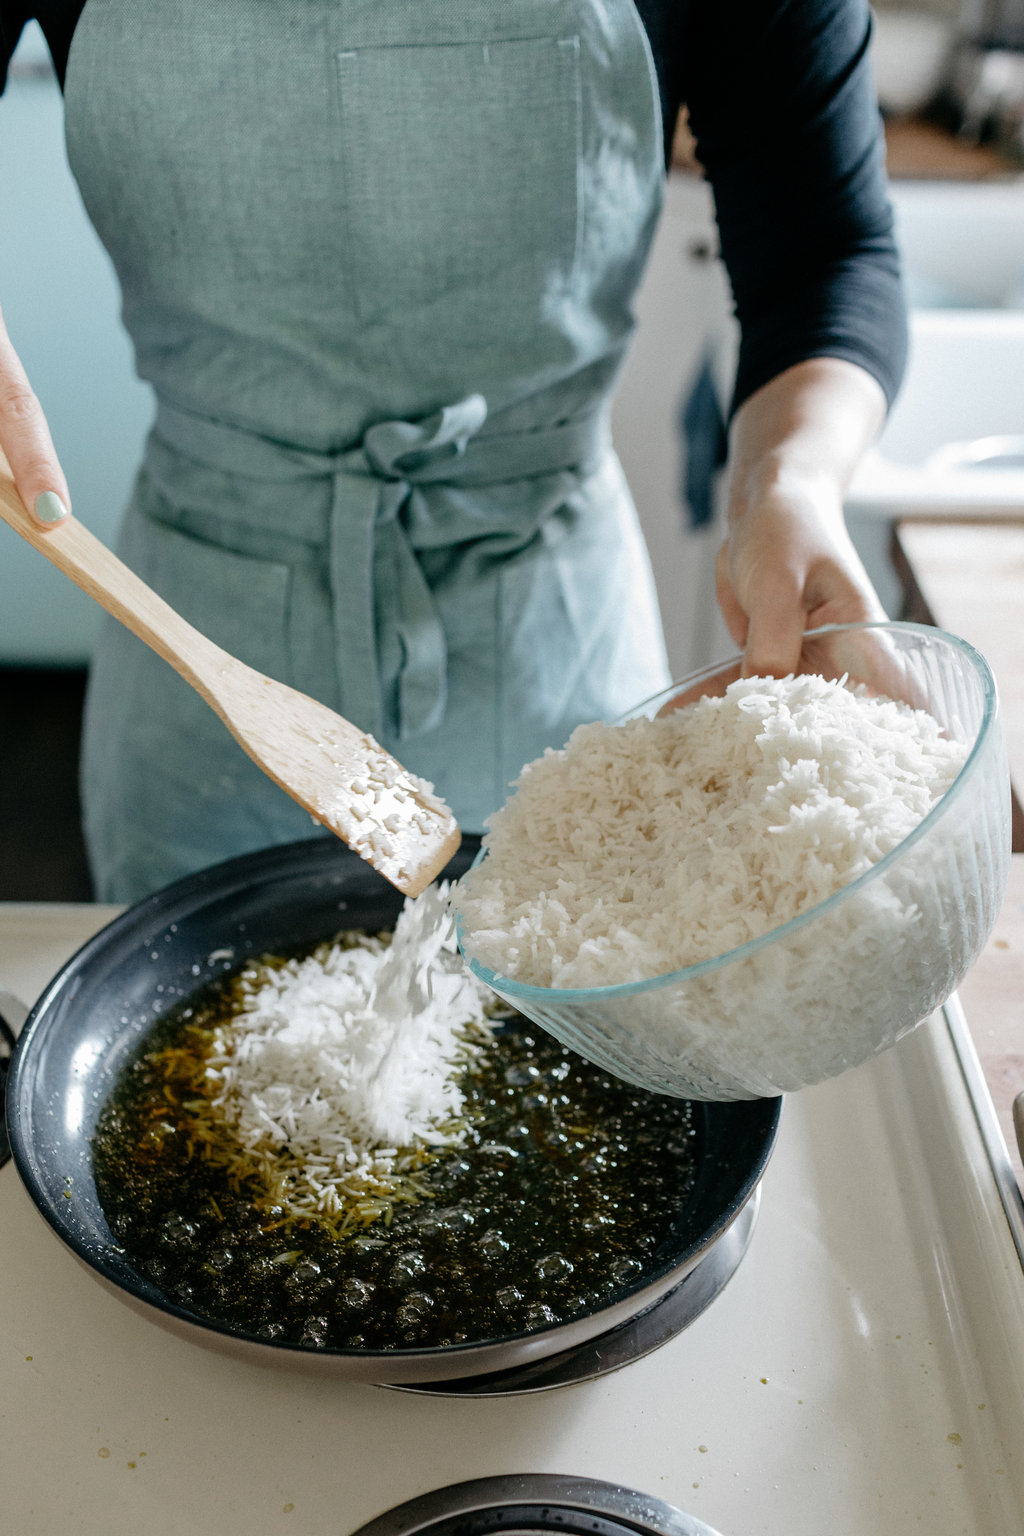
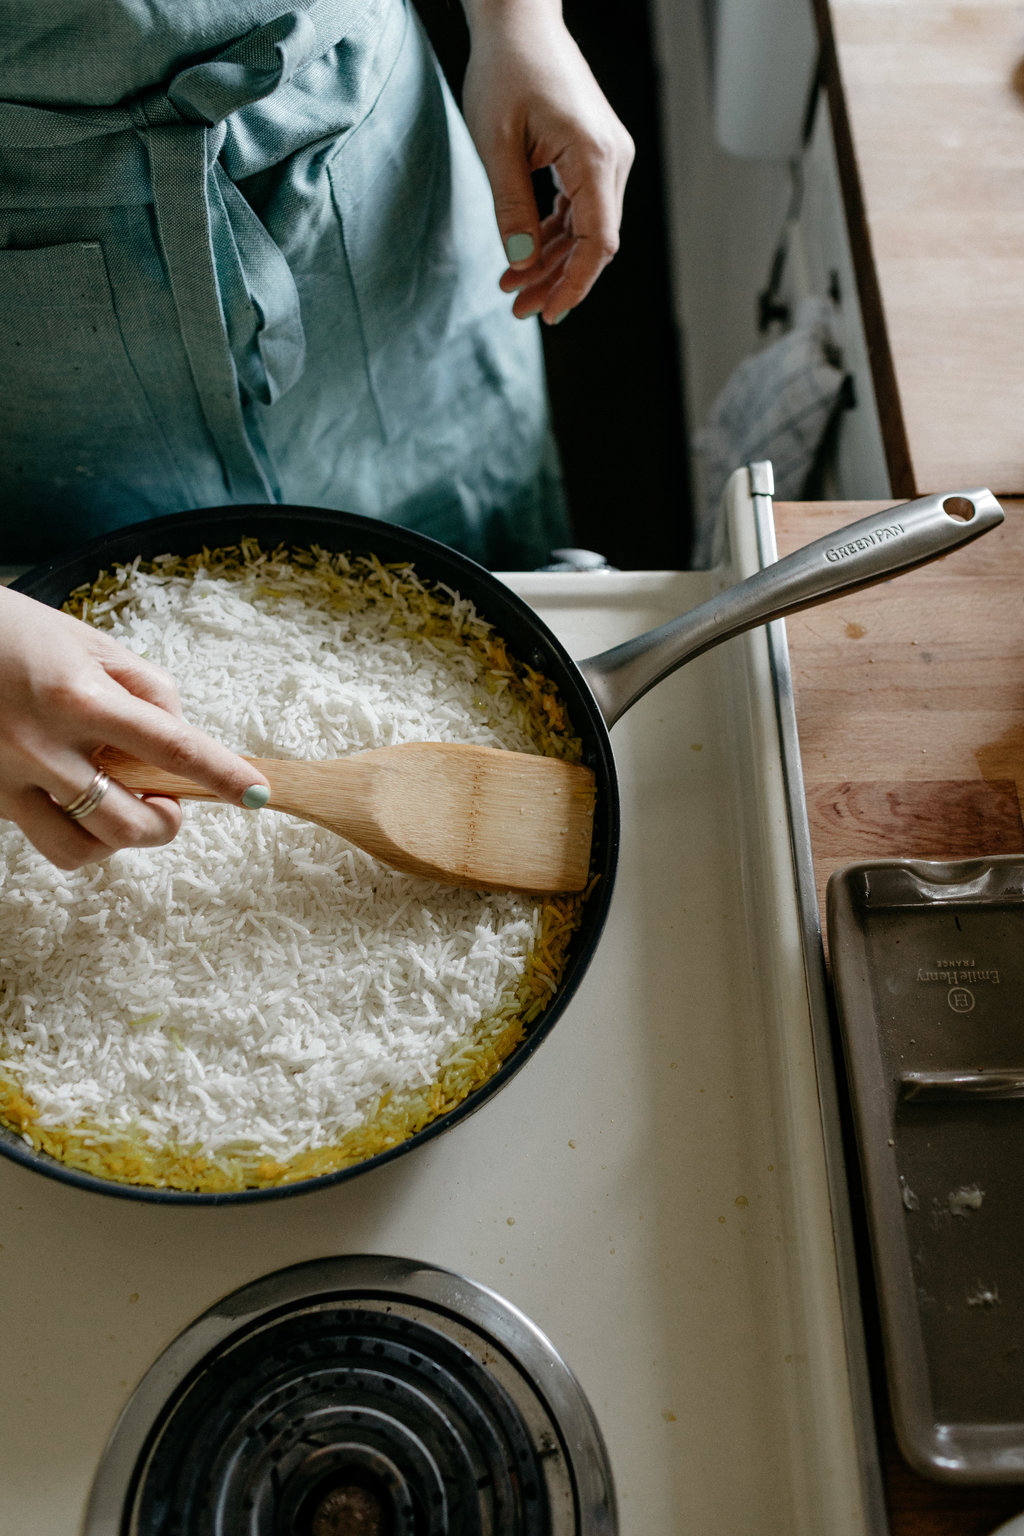
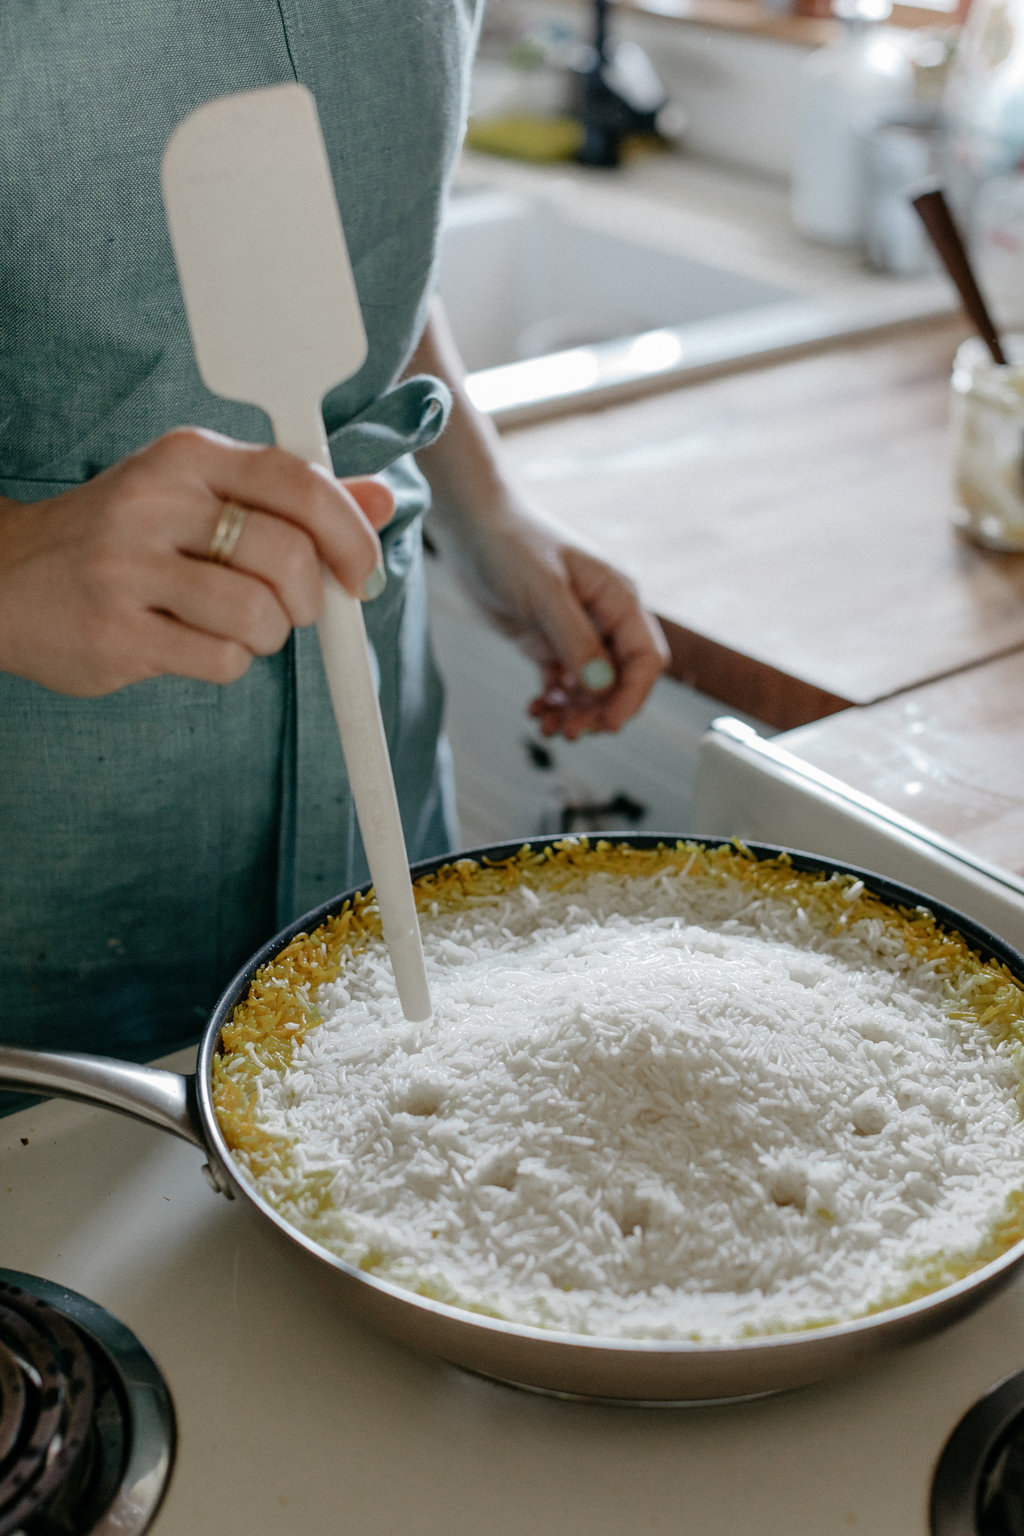
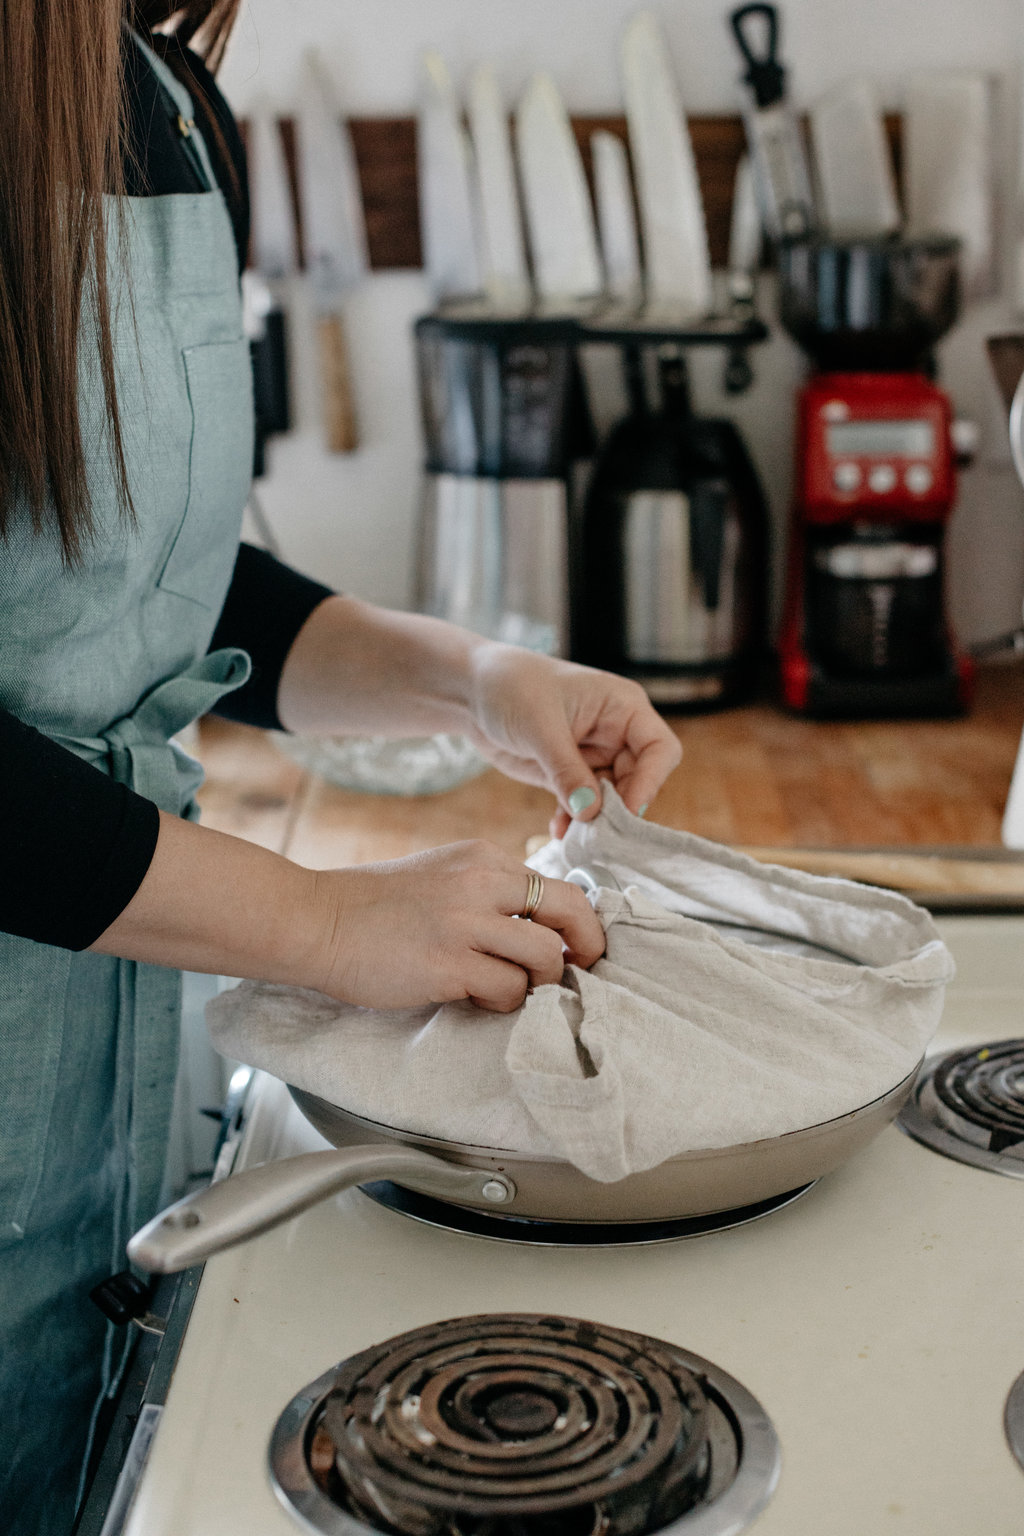
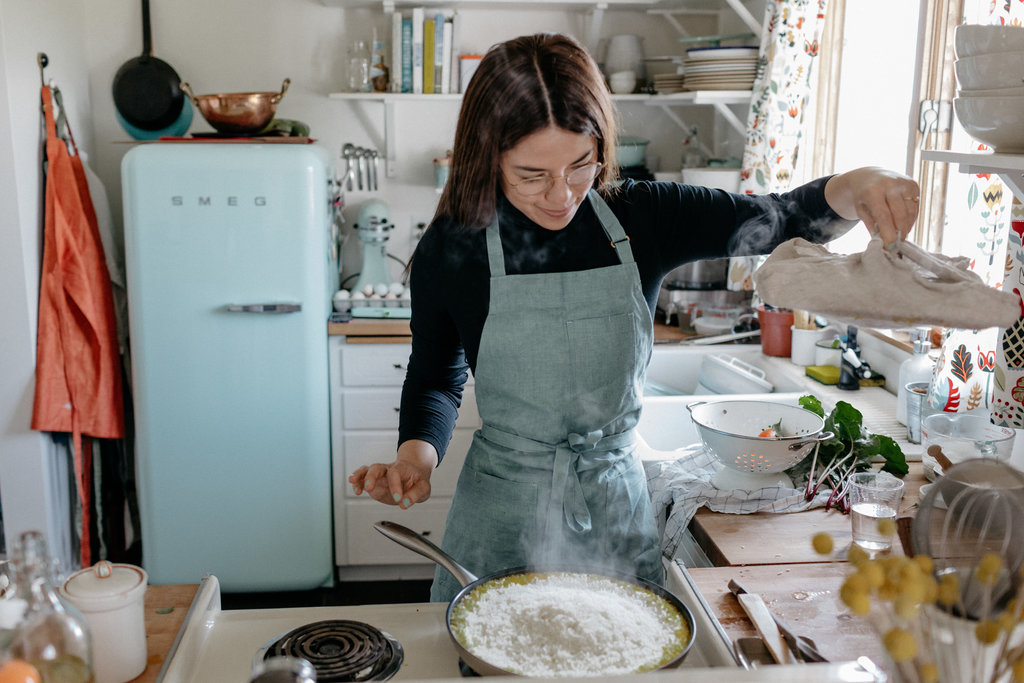
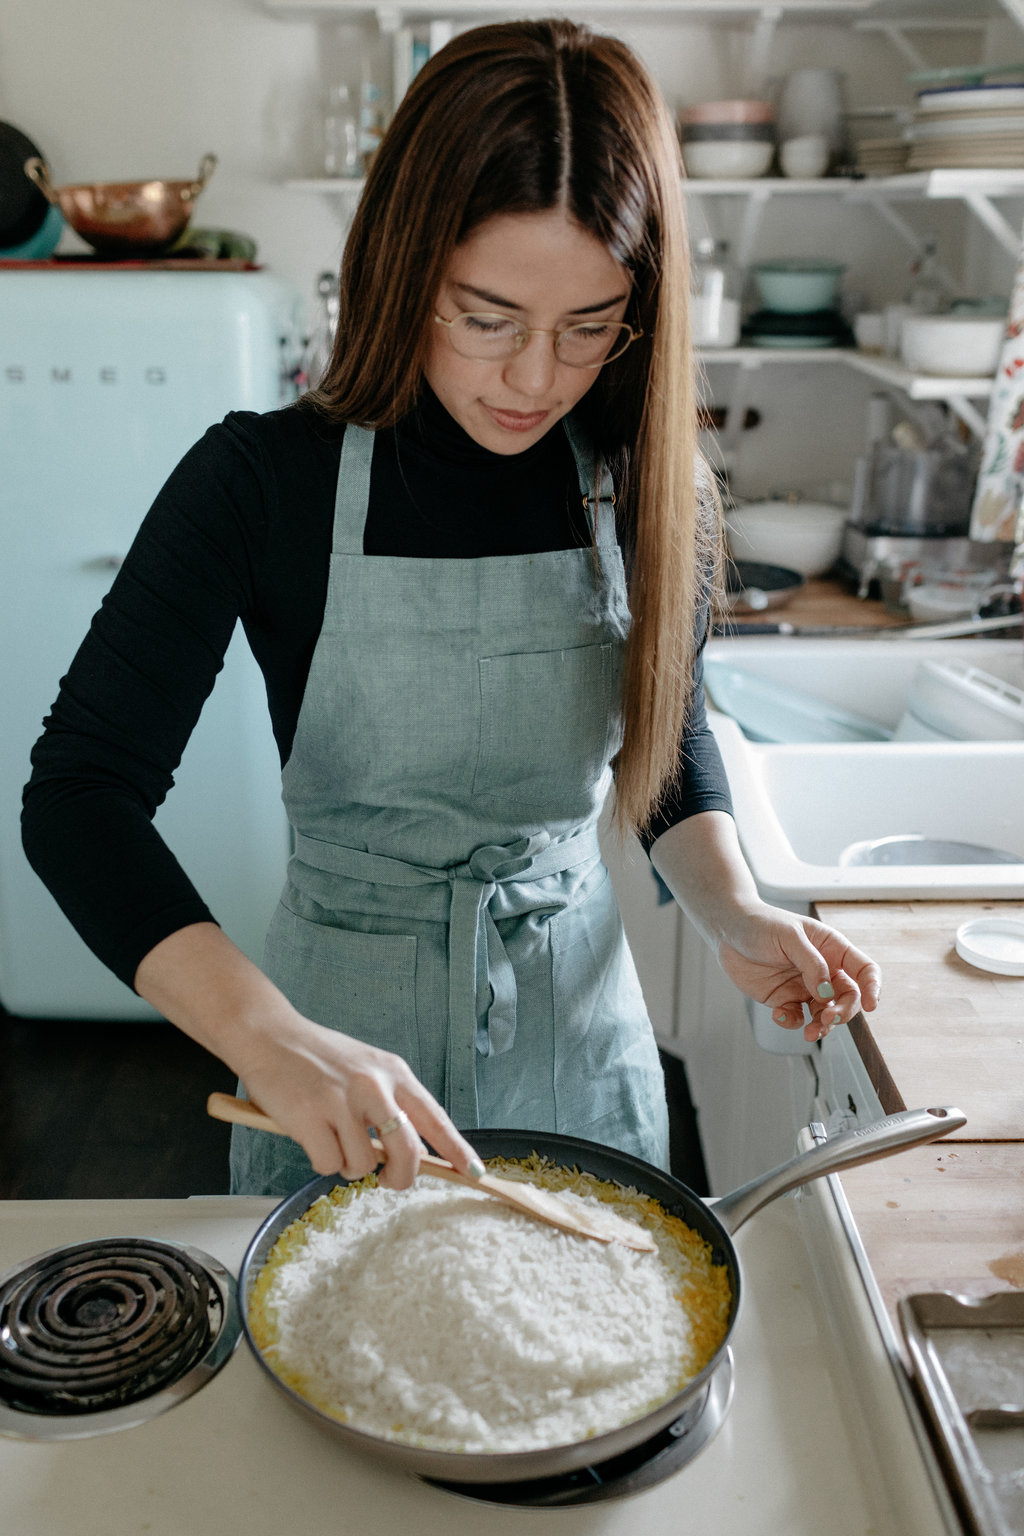
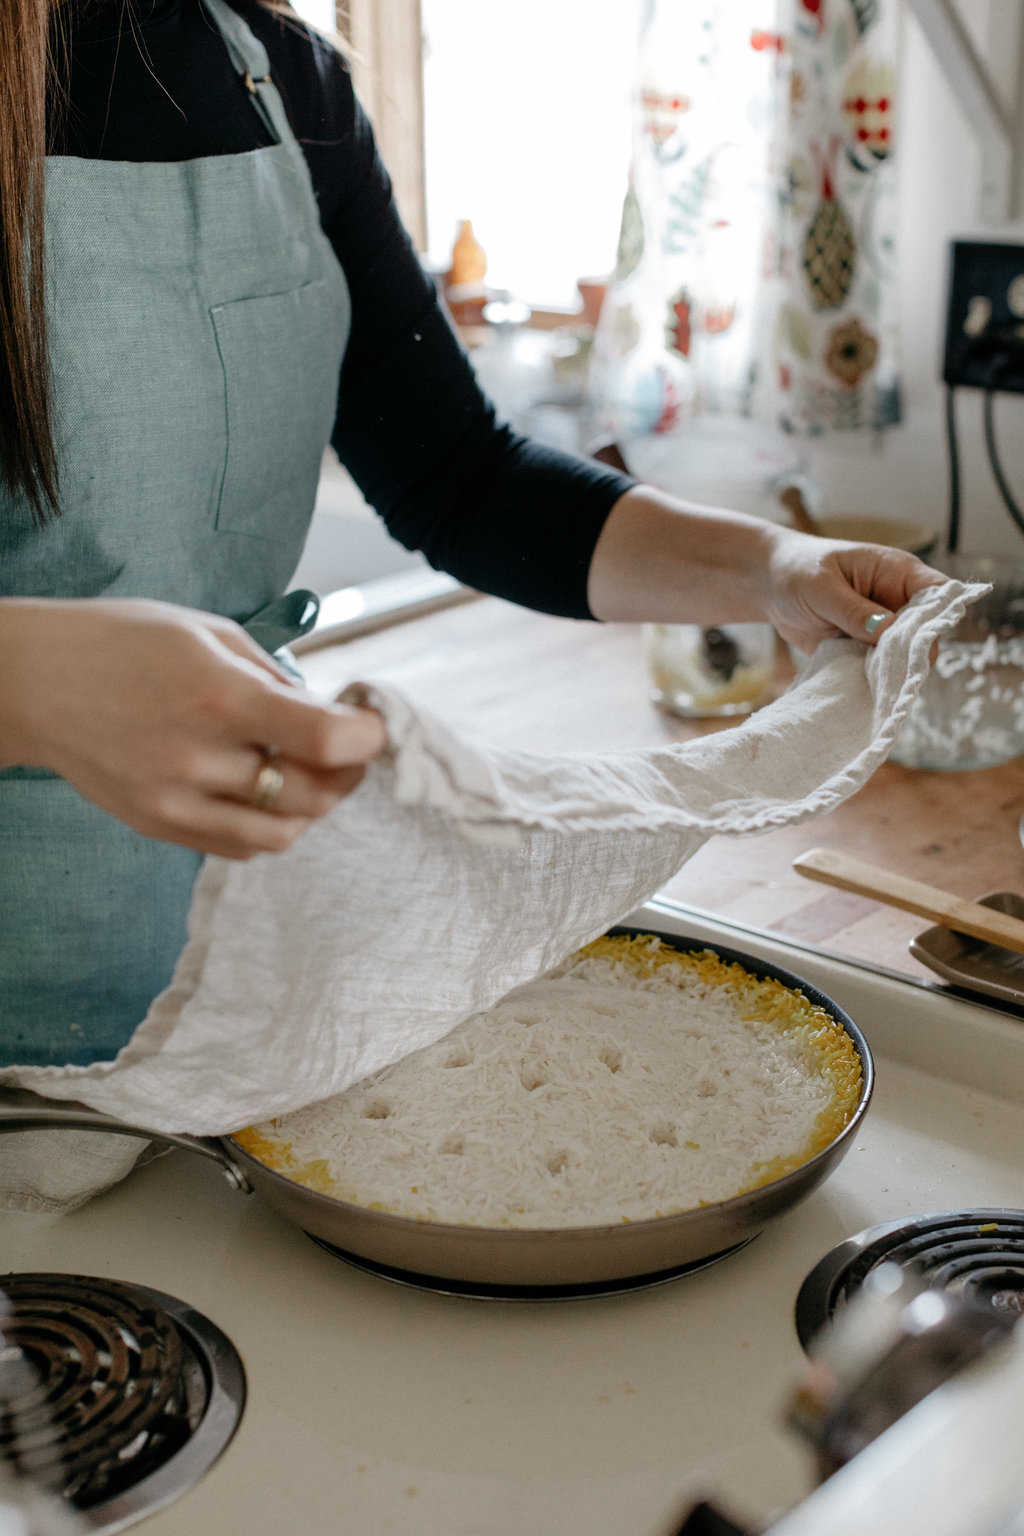
Heat a 12” lidded nonstick Greenpan over medium high heat and add the ghee and the saffron water and swirl it around so it coats the pan evenly. Add the rice and pack it down firmly with the back of a spatula, making a pyramid shape in the center. Use the handle of a spatula to poke a few holes in the rice, stopping right before you get to the very bottom of the rice. Carefully cover the skillet with a clean dish towel and then the lid, folding the corners of the towel up around the lid so they don’t touch the stove (if you’re working with a gas range, you may want to fold the towel up around the lid before putting it on the skillet to be extra careful that your towel doesn’t get in the flame). Cook on medium high for 30 minutes and then reduce the heat to medium low. Carefully uncover the pot, keeping the cover level so that any moisture collected under the towel doesn’t spill out and burn you or fall back into the rice. Using a spoon or spatula, create 6 egg-sized divots about an inch apart and crack in your eggies. Cover (you don’t need the towel for this step) and cook until the whites are cooked but the yolks are still runny. Top with black pepper, crushed red pepper, fresh basil and mint, pickled onions, a few squeezes of lemon juice, feta, chopped scallions, chopped tomatoes, and/or other herbs/cheeses/sauces as desired, and serve immediately. Enjoy! 

Thank you GreenPan for these pans and for sponsoring this post and for making the perfect Tahdig pan! the lidded one pictured is part of their limited edition 10th anniversary 5-piece set ($59.99) which includes a smaller 10” pan, a bamboo spatula, and a recipe book, and all greenpans are 20% off from 9/15-9/24. greenpans have a ceramic nonstick coating, thermolon, that is made from a sand derivative. it is high heat resistant and won’t ever peel off or emit harmful fumes. 
All photos are by Chantell and Brett Quernemoen!