everything bagel mac and cheese

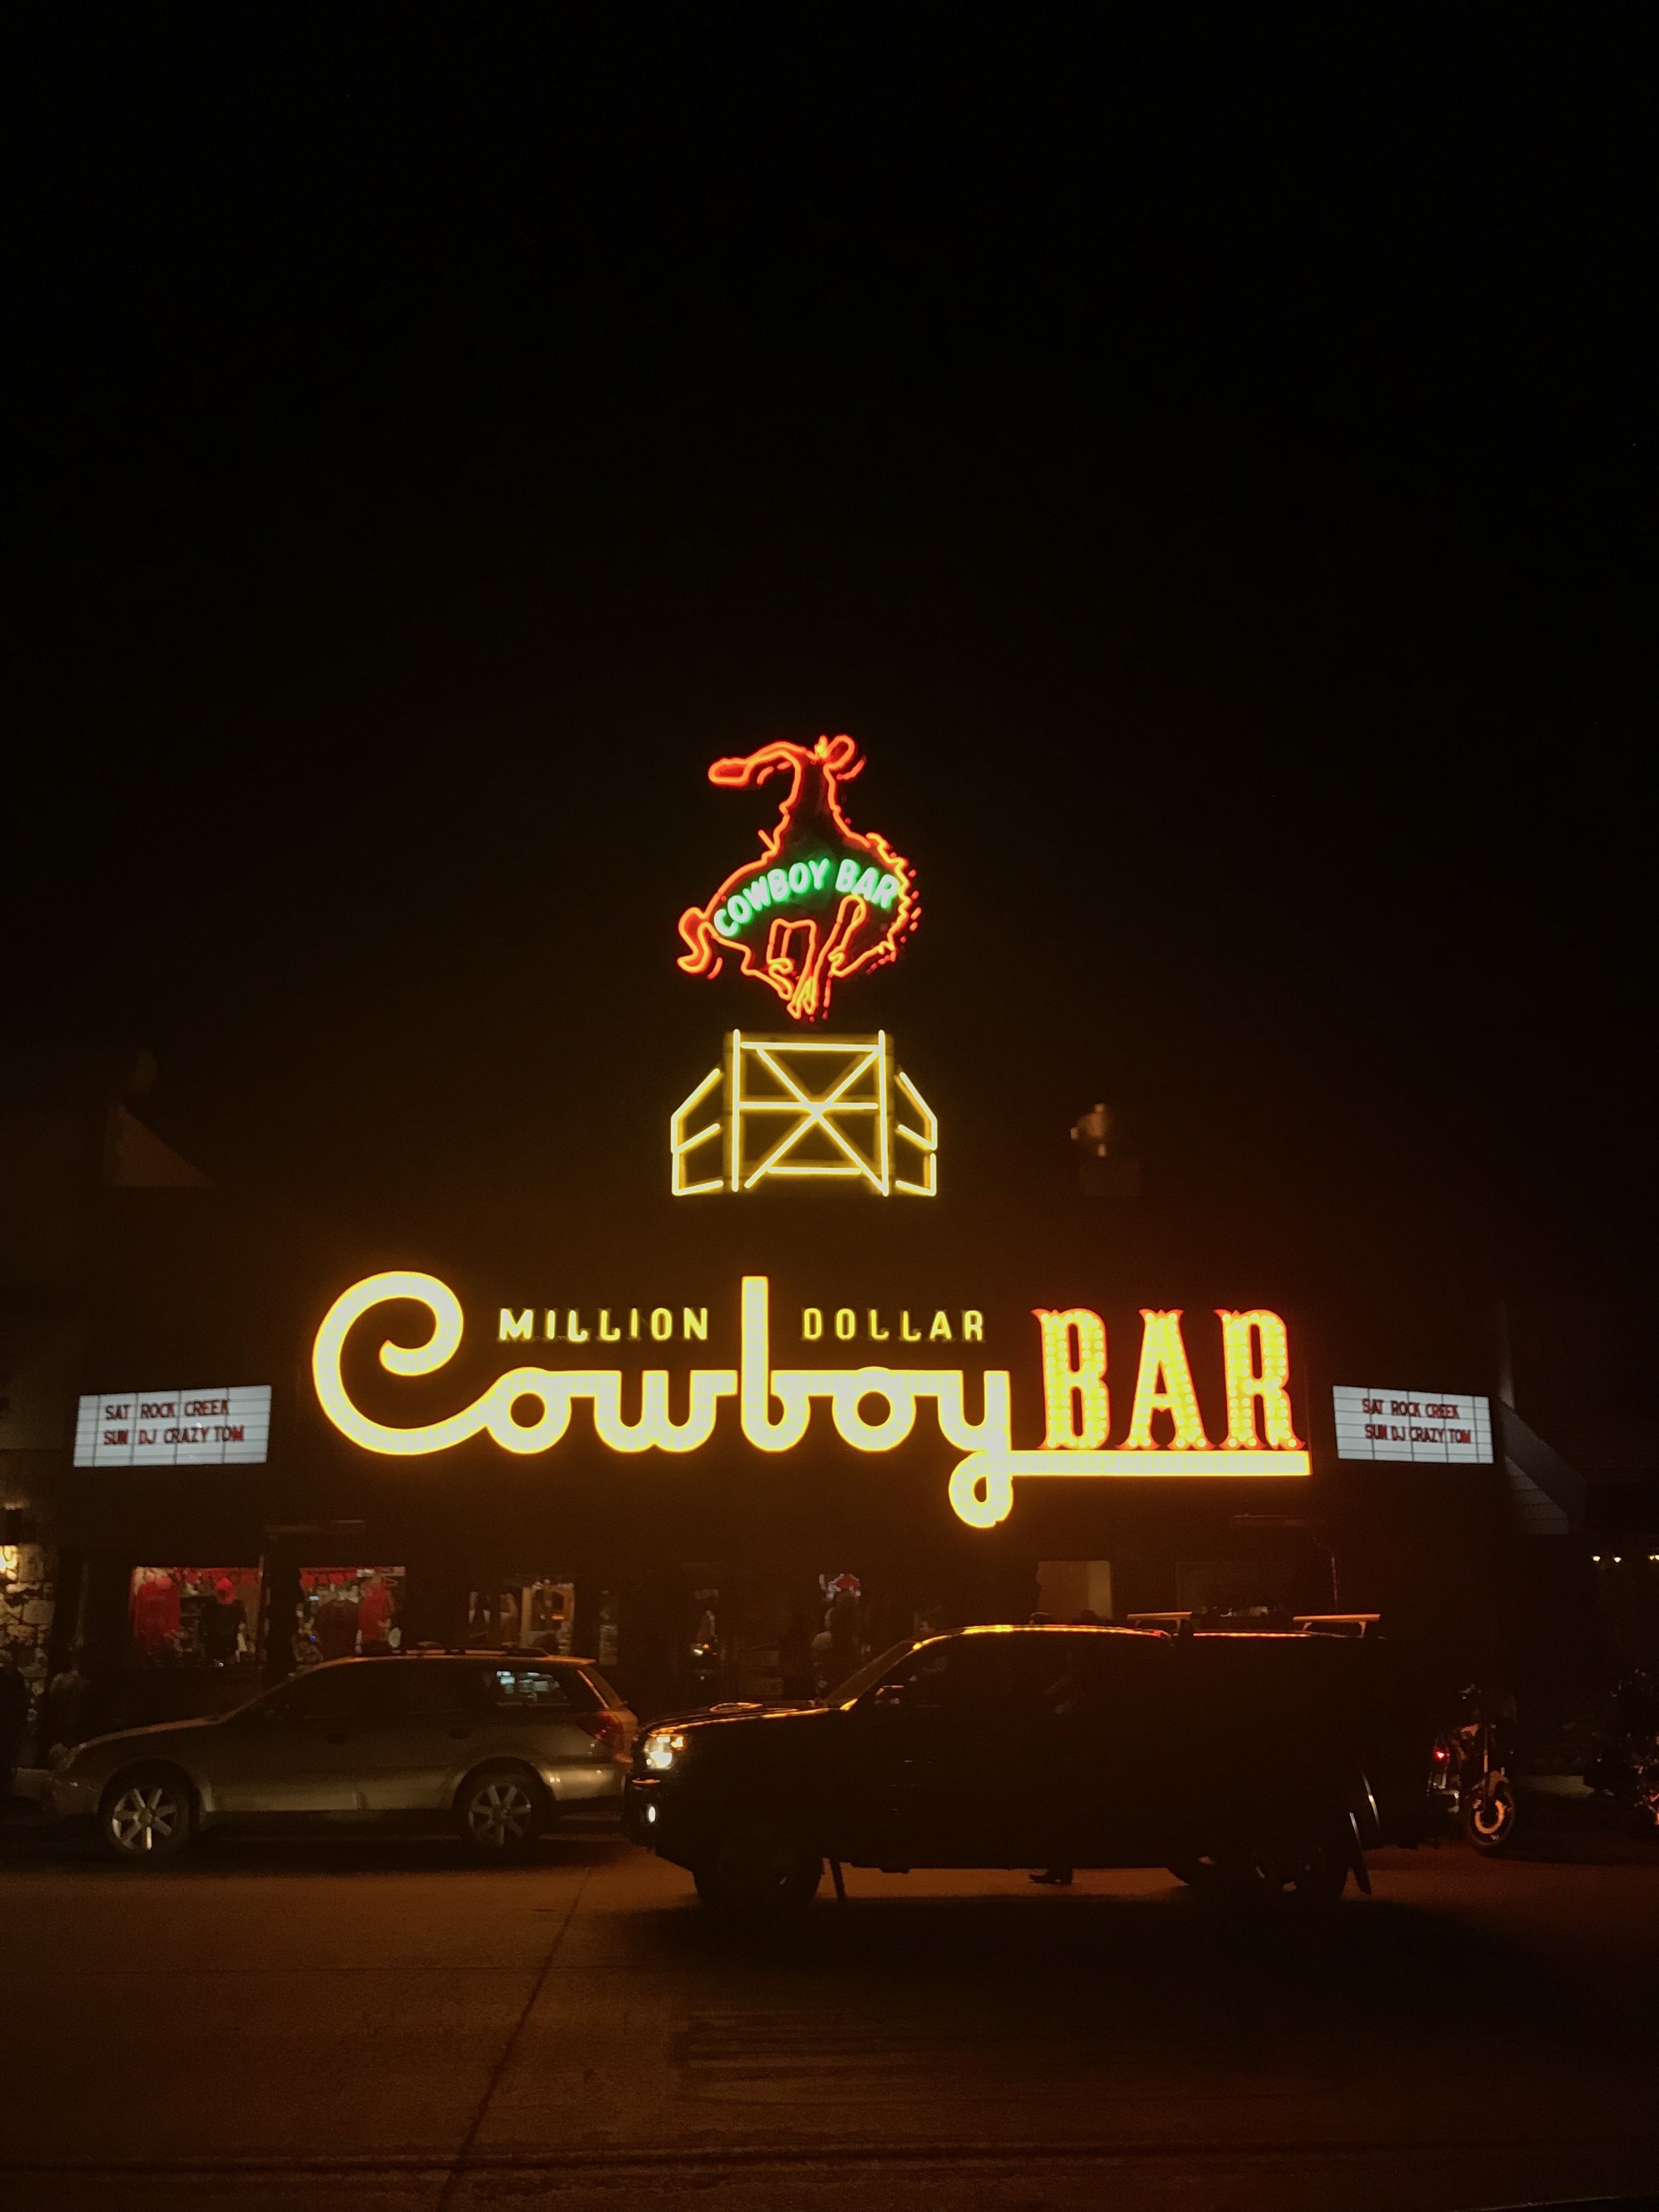
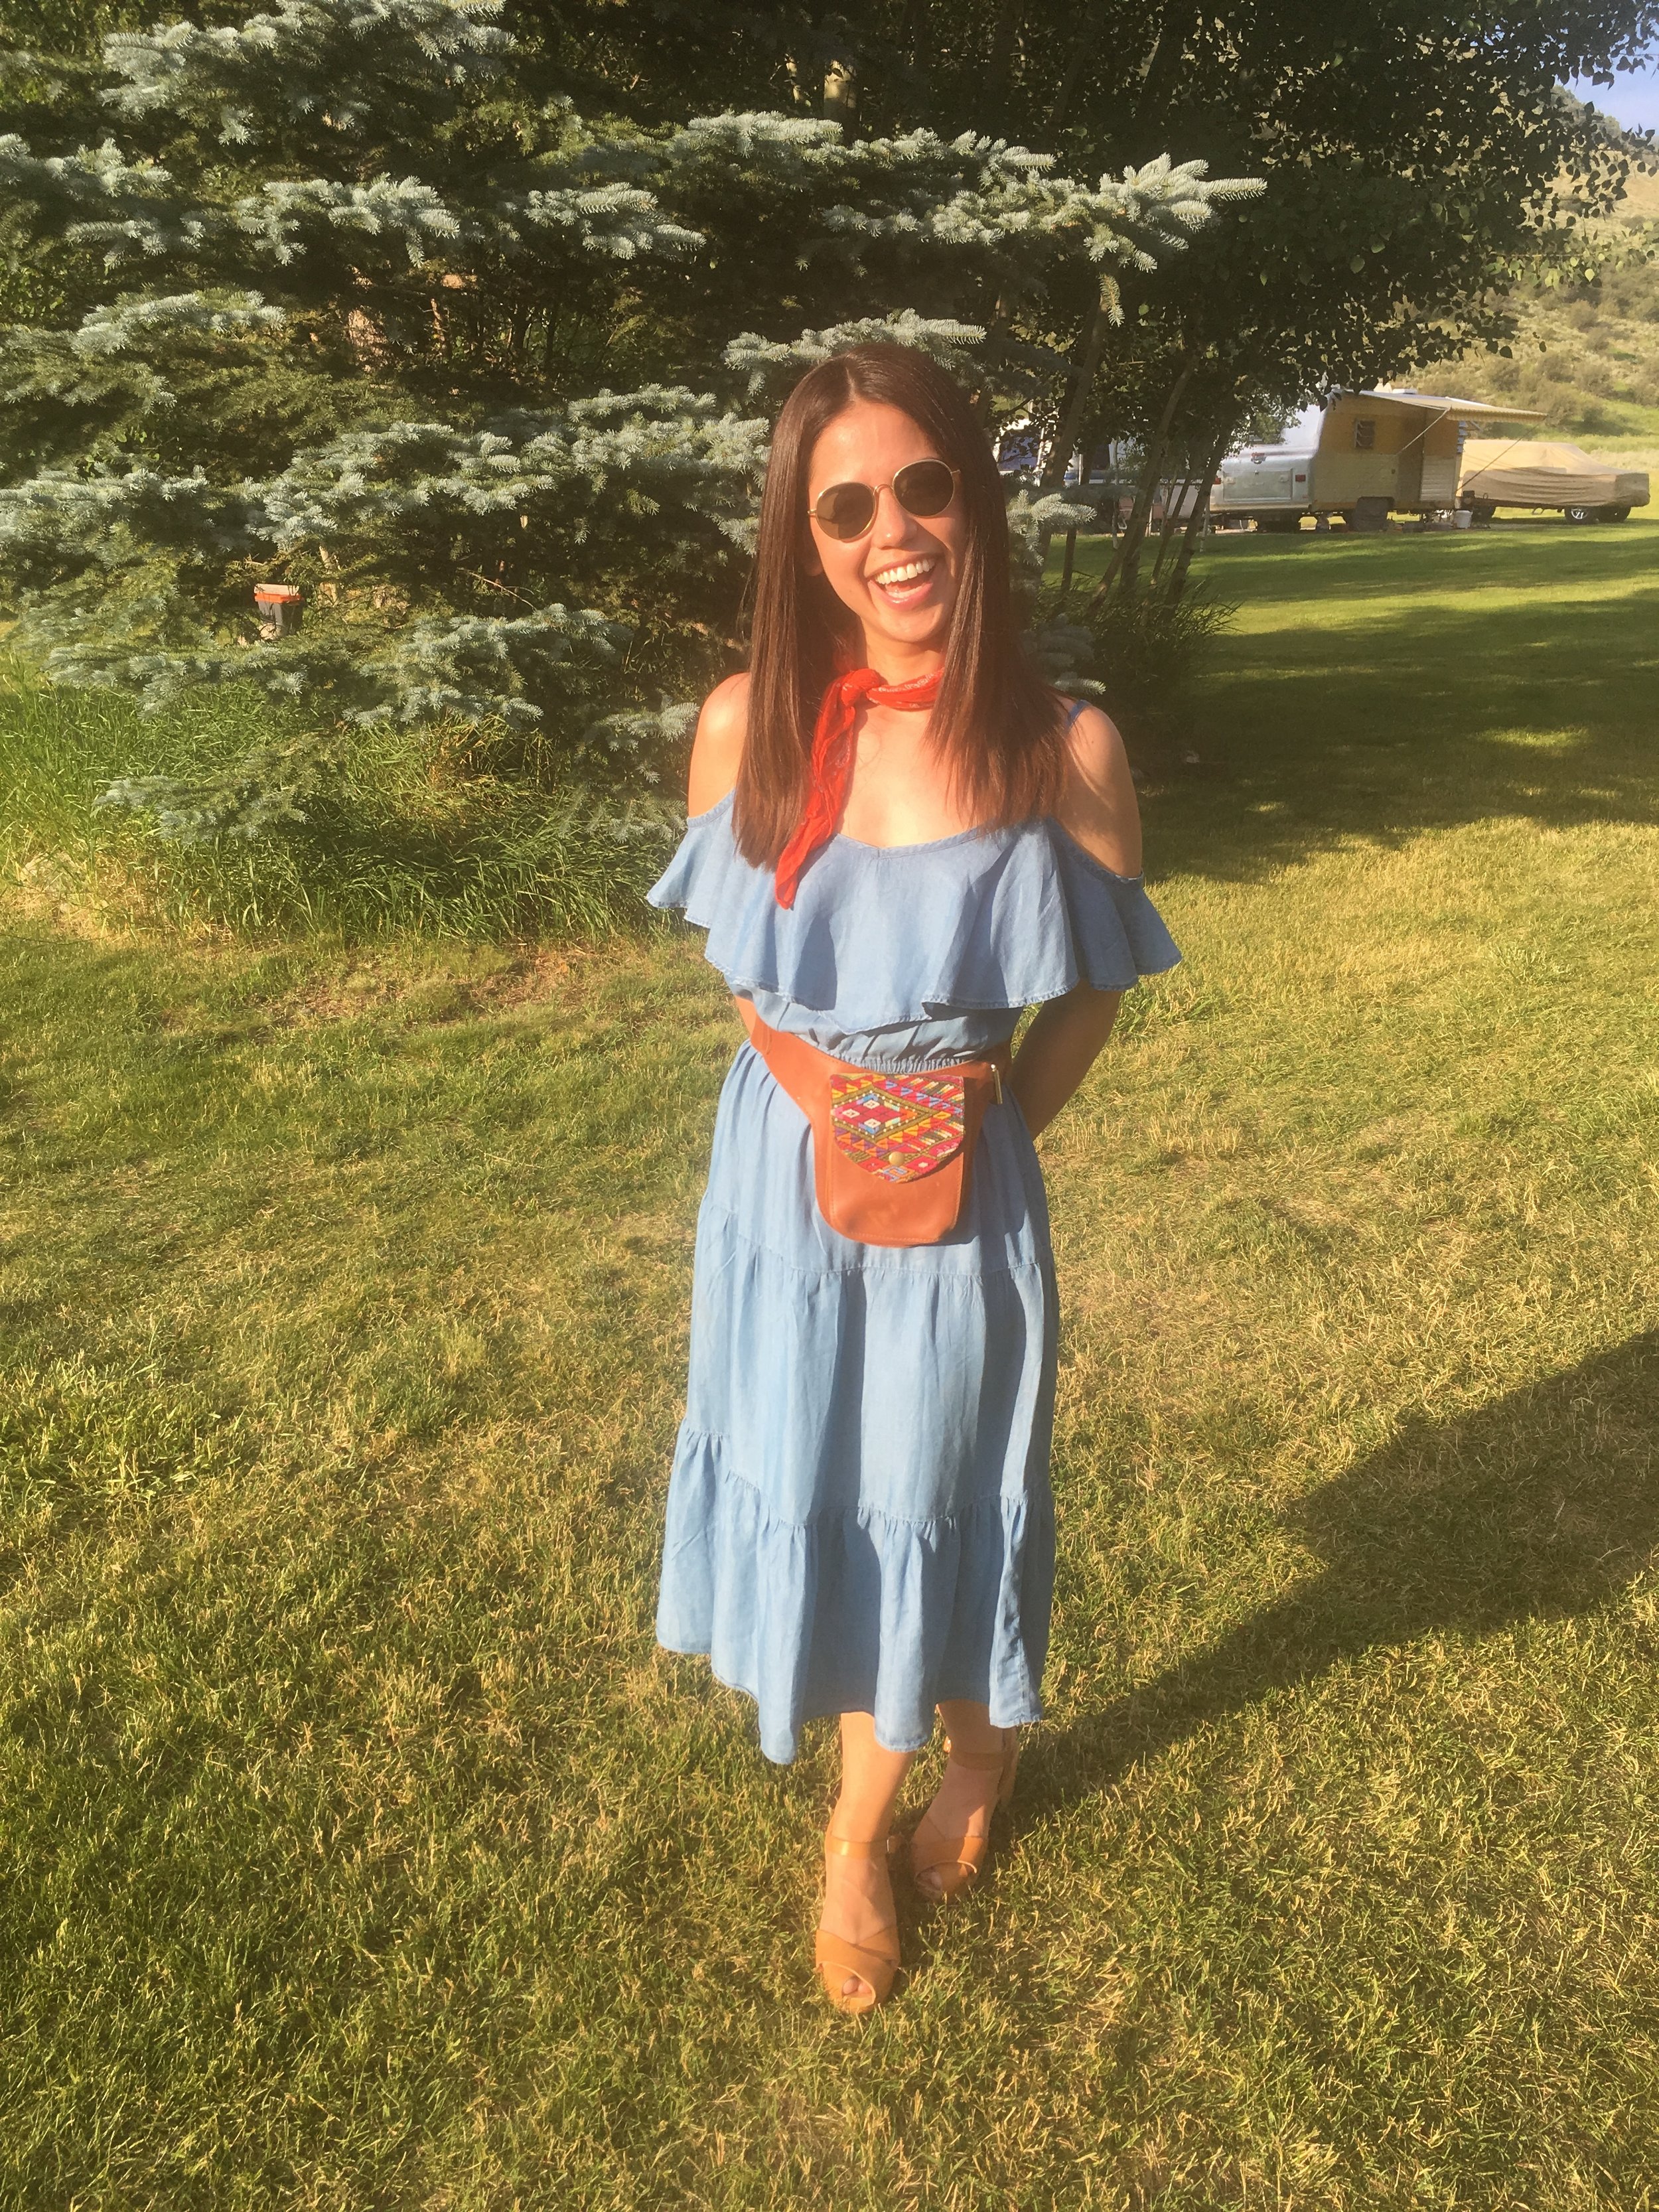
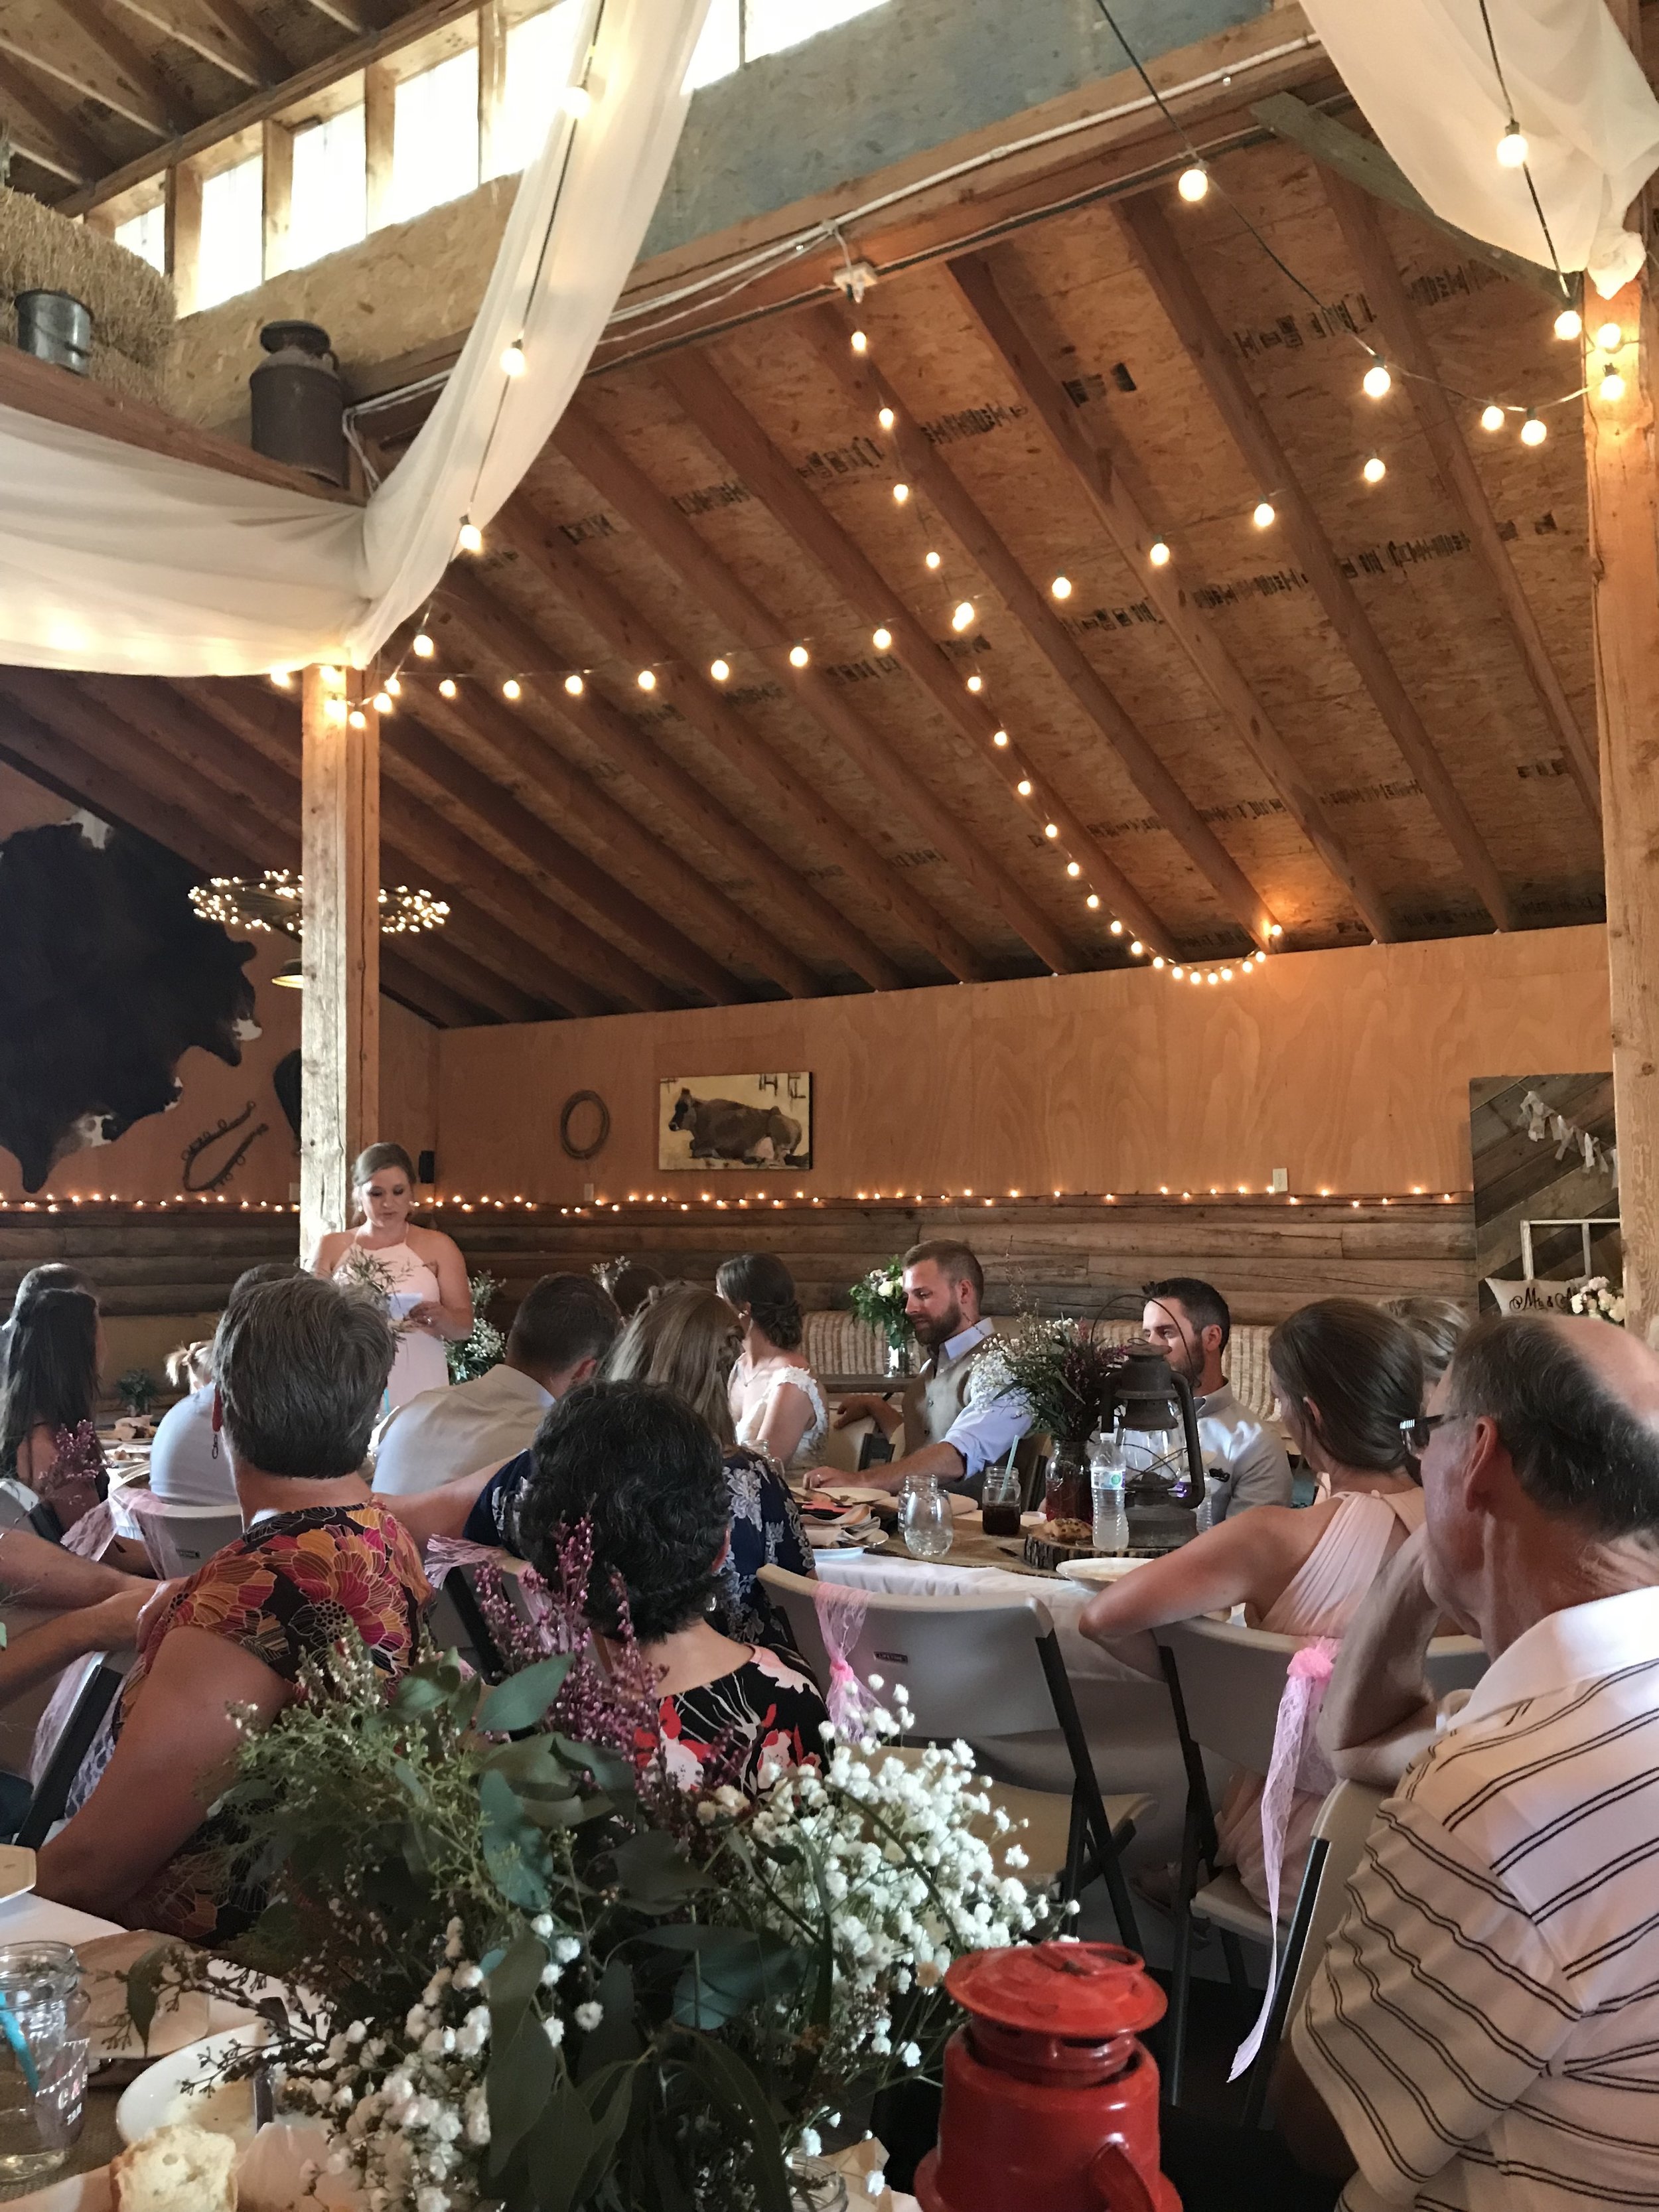
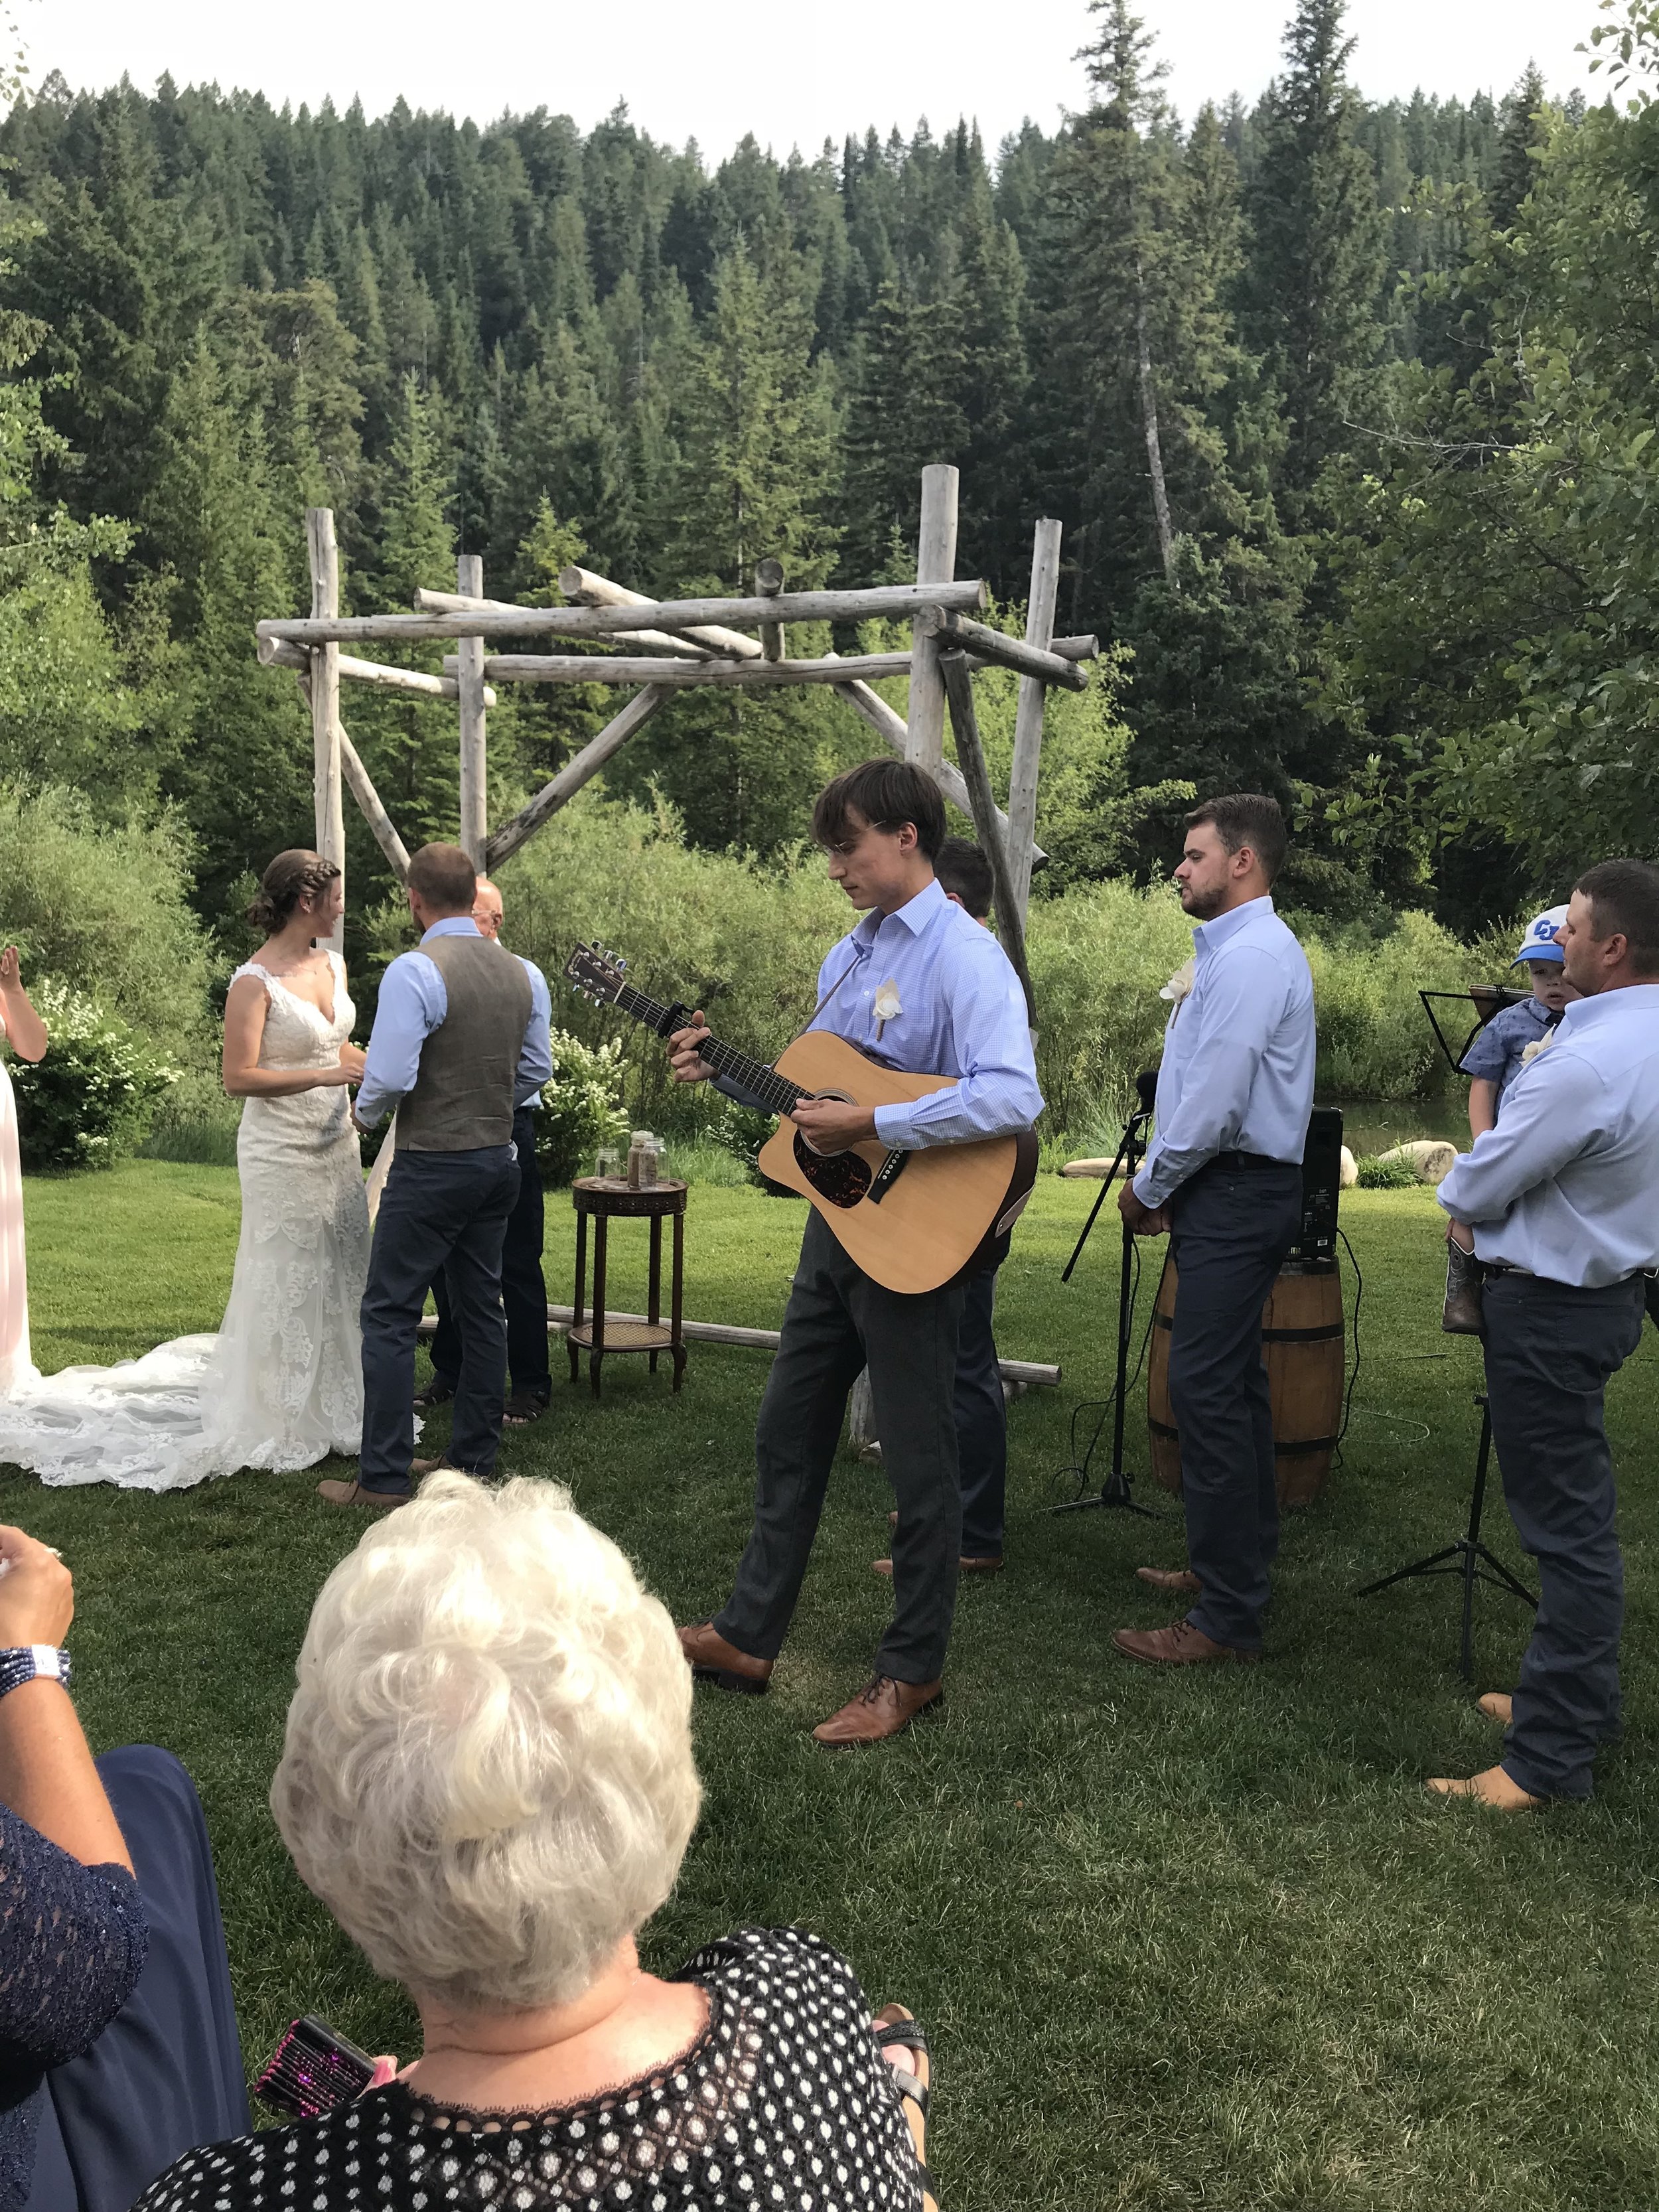
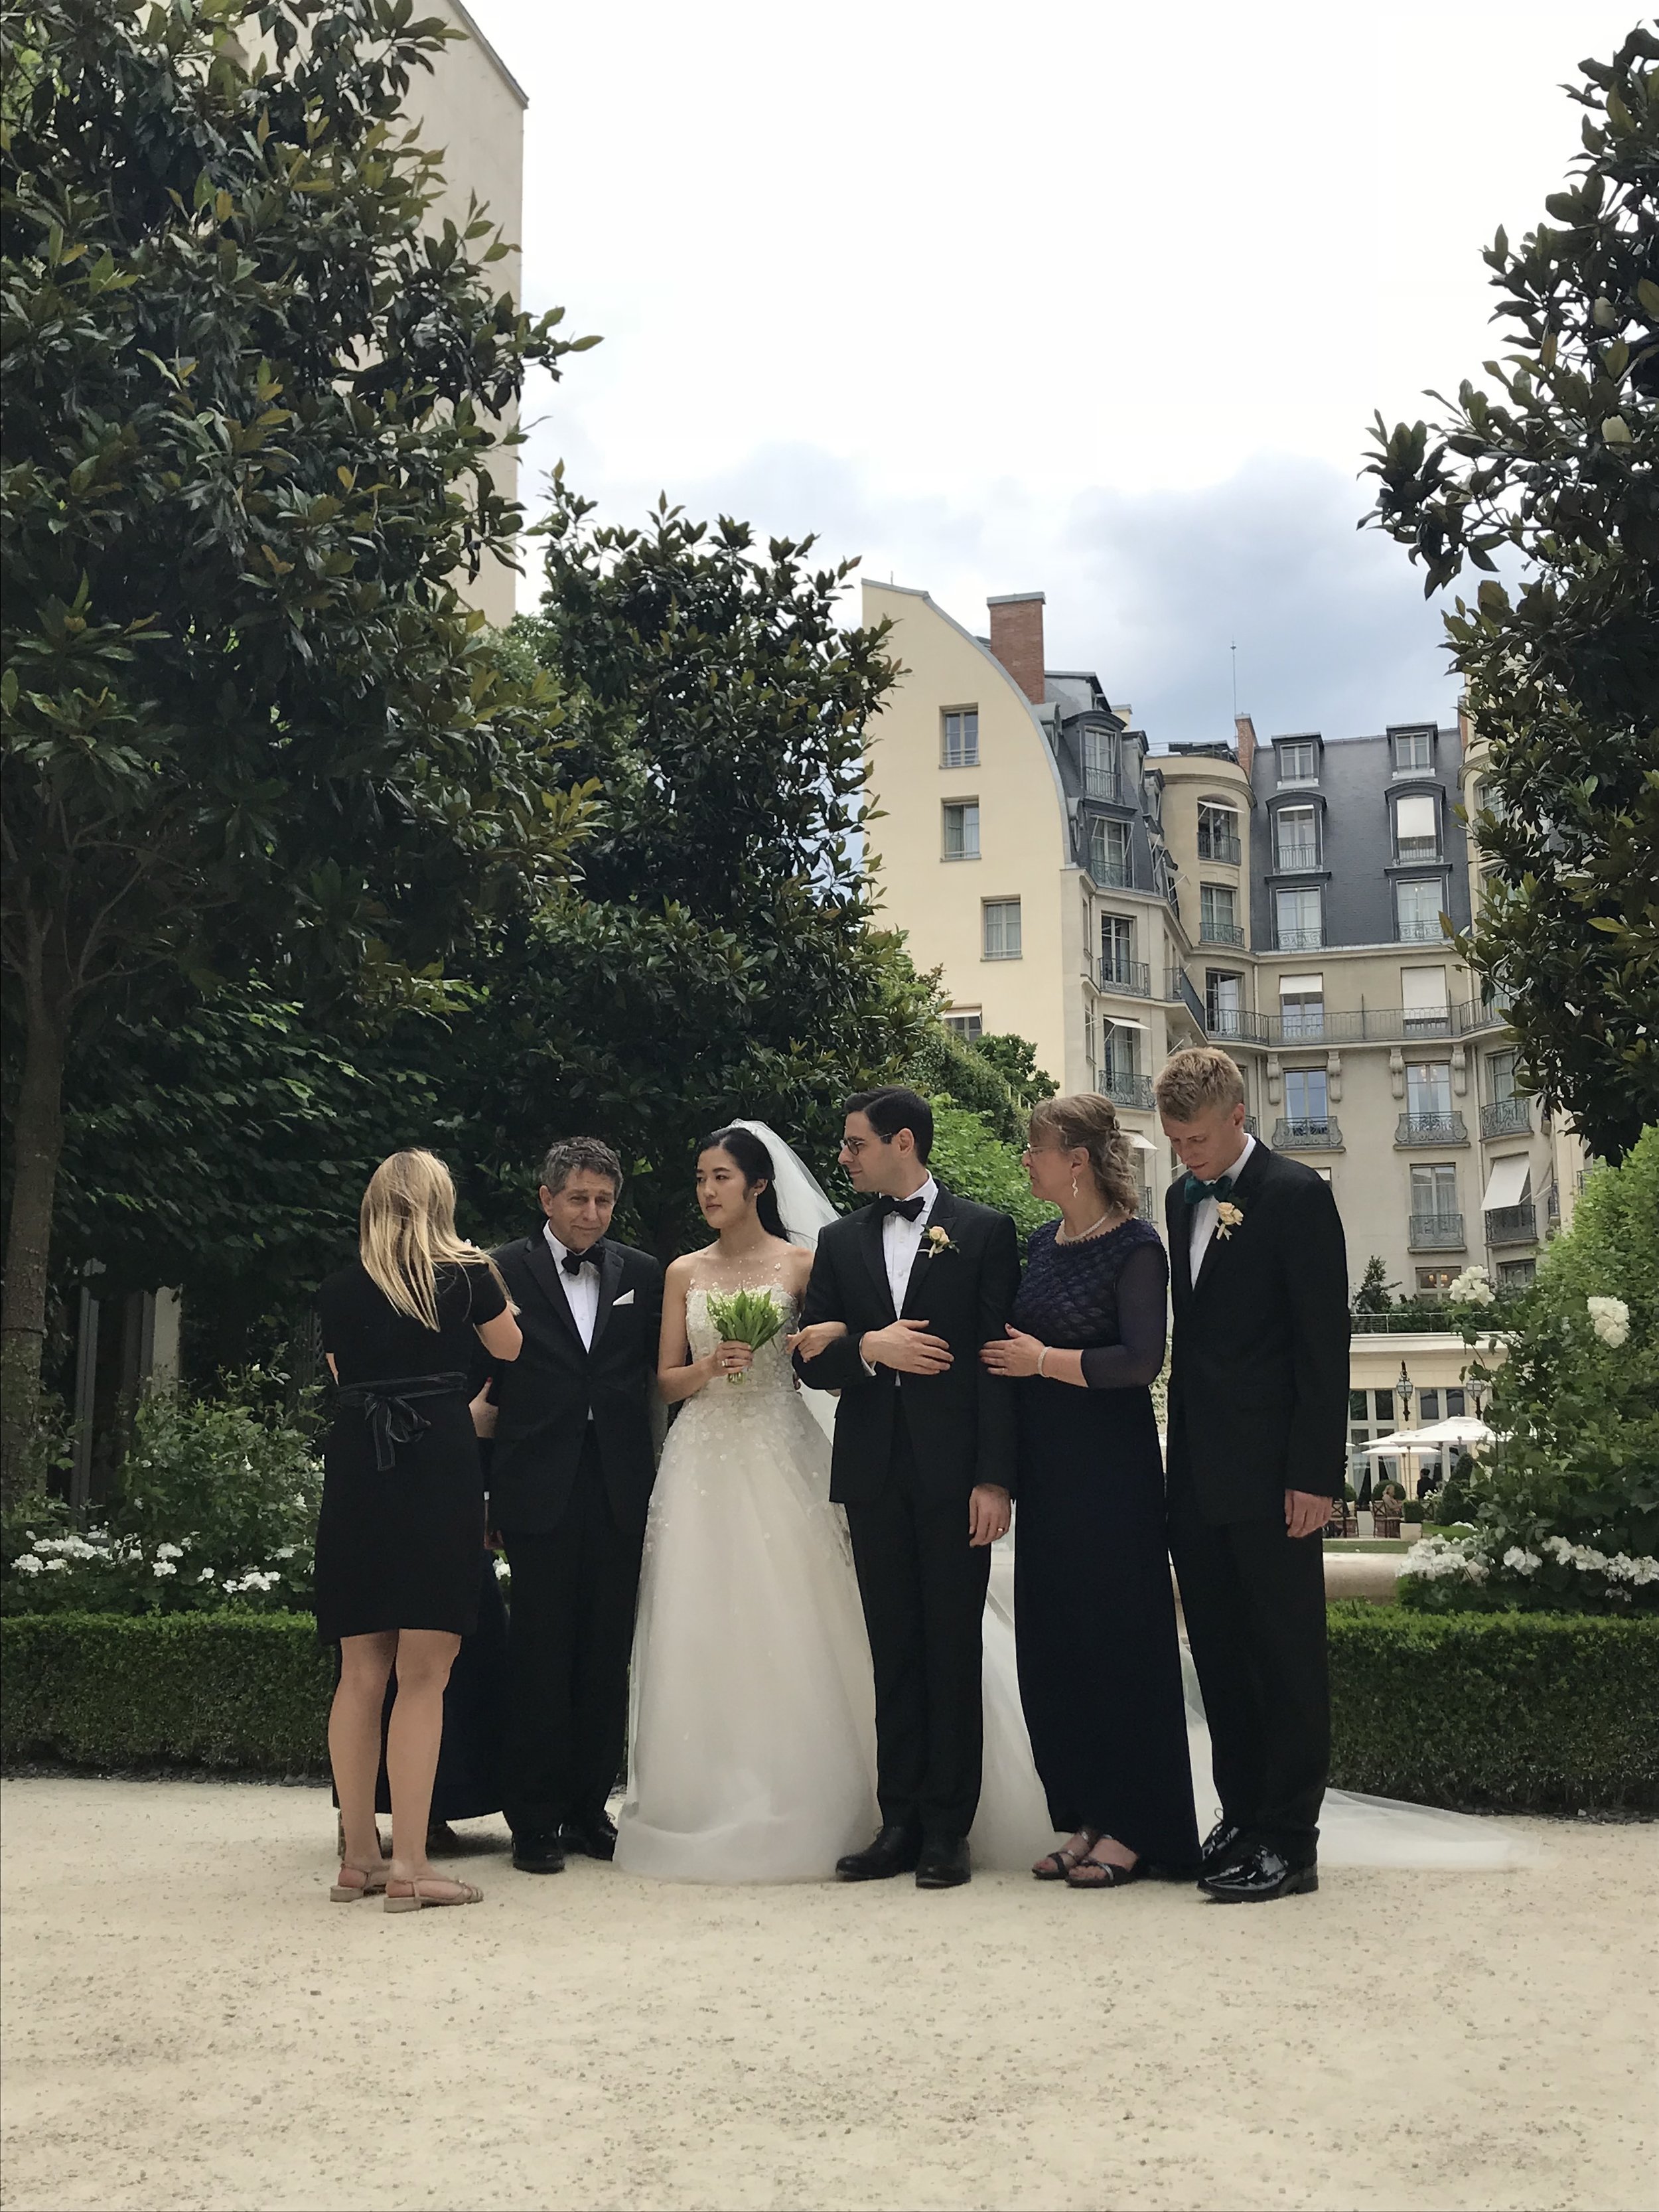
Ok, as long as no one we know gets surprised engaged and decides to surprise go to Hawaii and get married at the last minute, we are done going to weddings for a few good months, which I’m kind of sad about because the Rent the Runway dresses I’ve been finding have been off the hook. And I love a good dance party. And the far off destinations that we get to go to. This past weekend we were right on the Idaho/Wyoming border for an Eggcousin wedding at a ranch that made me want to go back and watch Hey Dude reruns. (Was that a good show? Or just an obstacle on the way to Bug Juice and Double Dare? Will we ever know?)

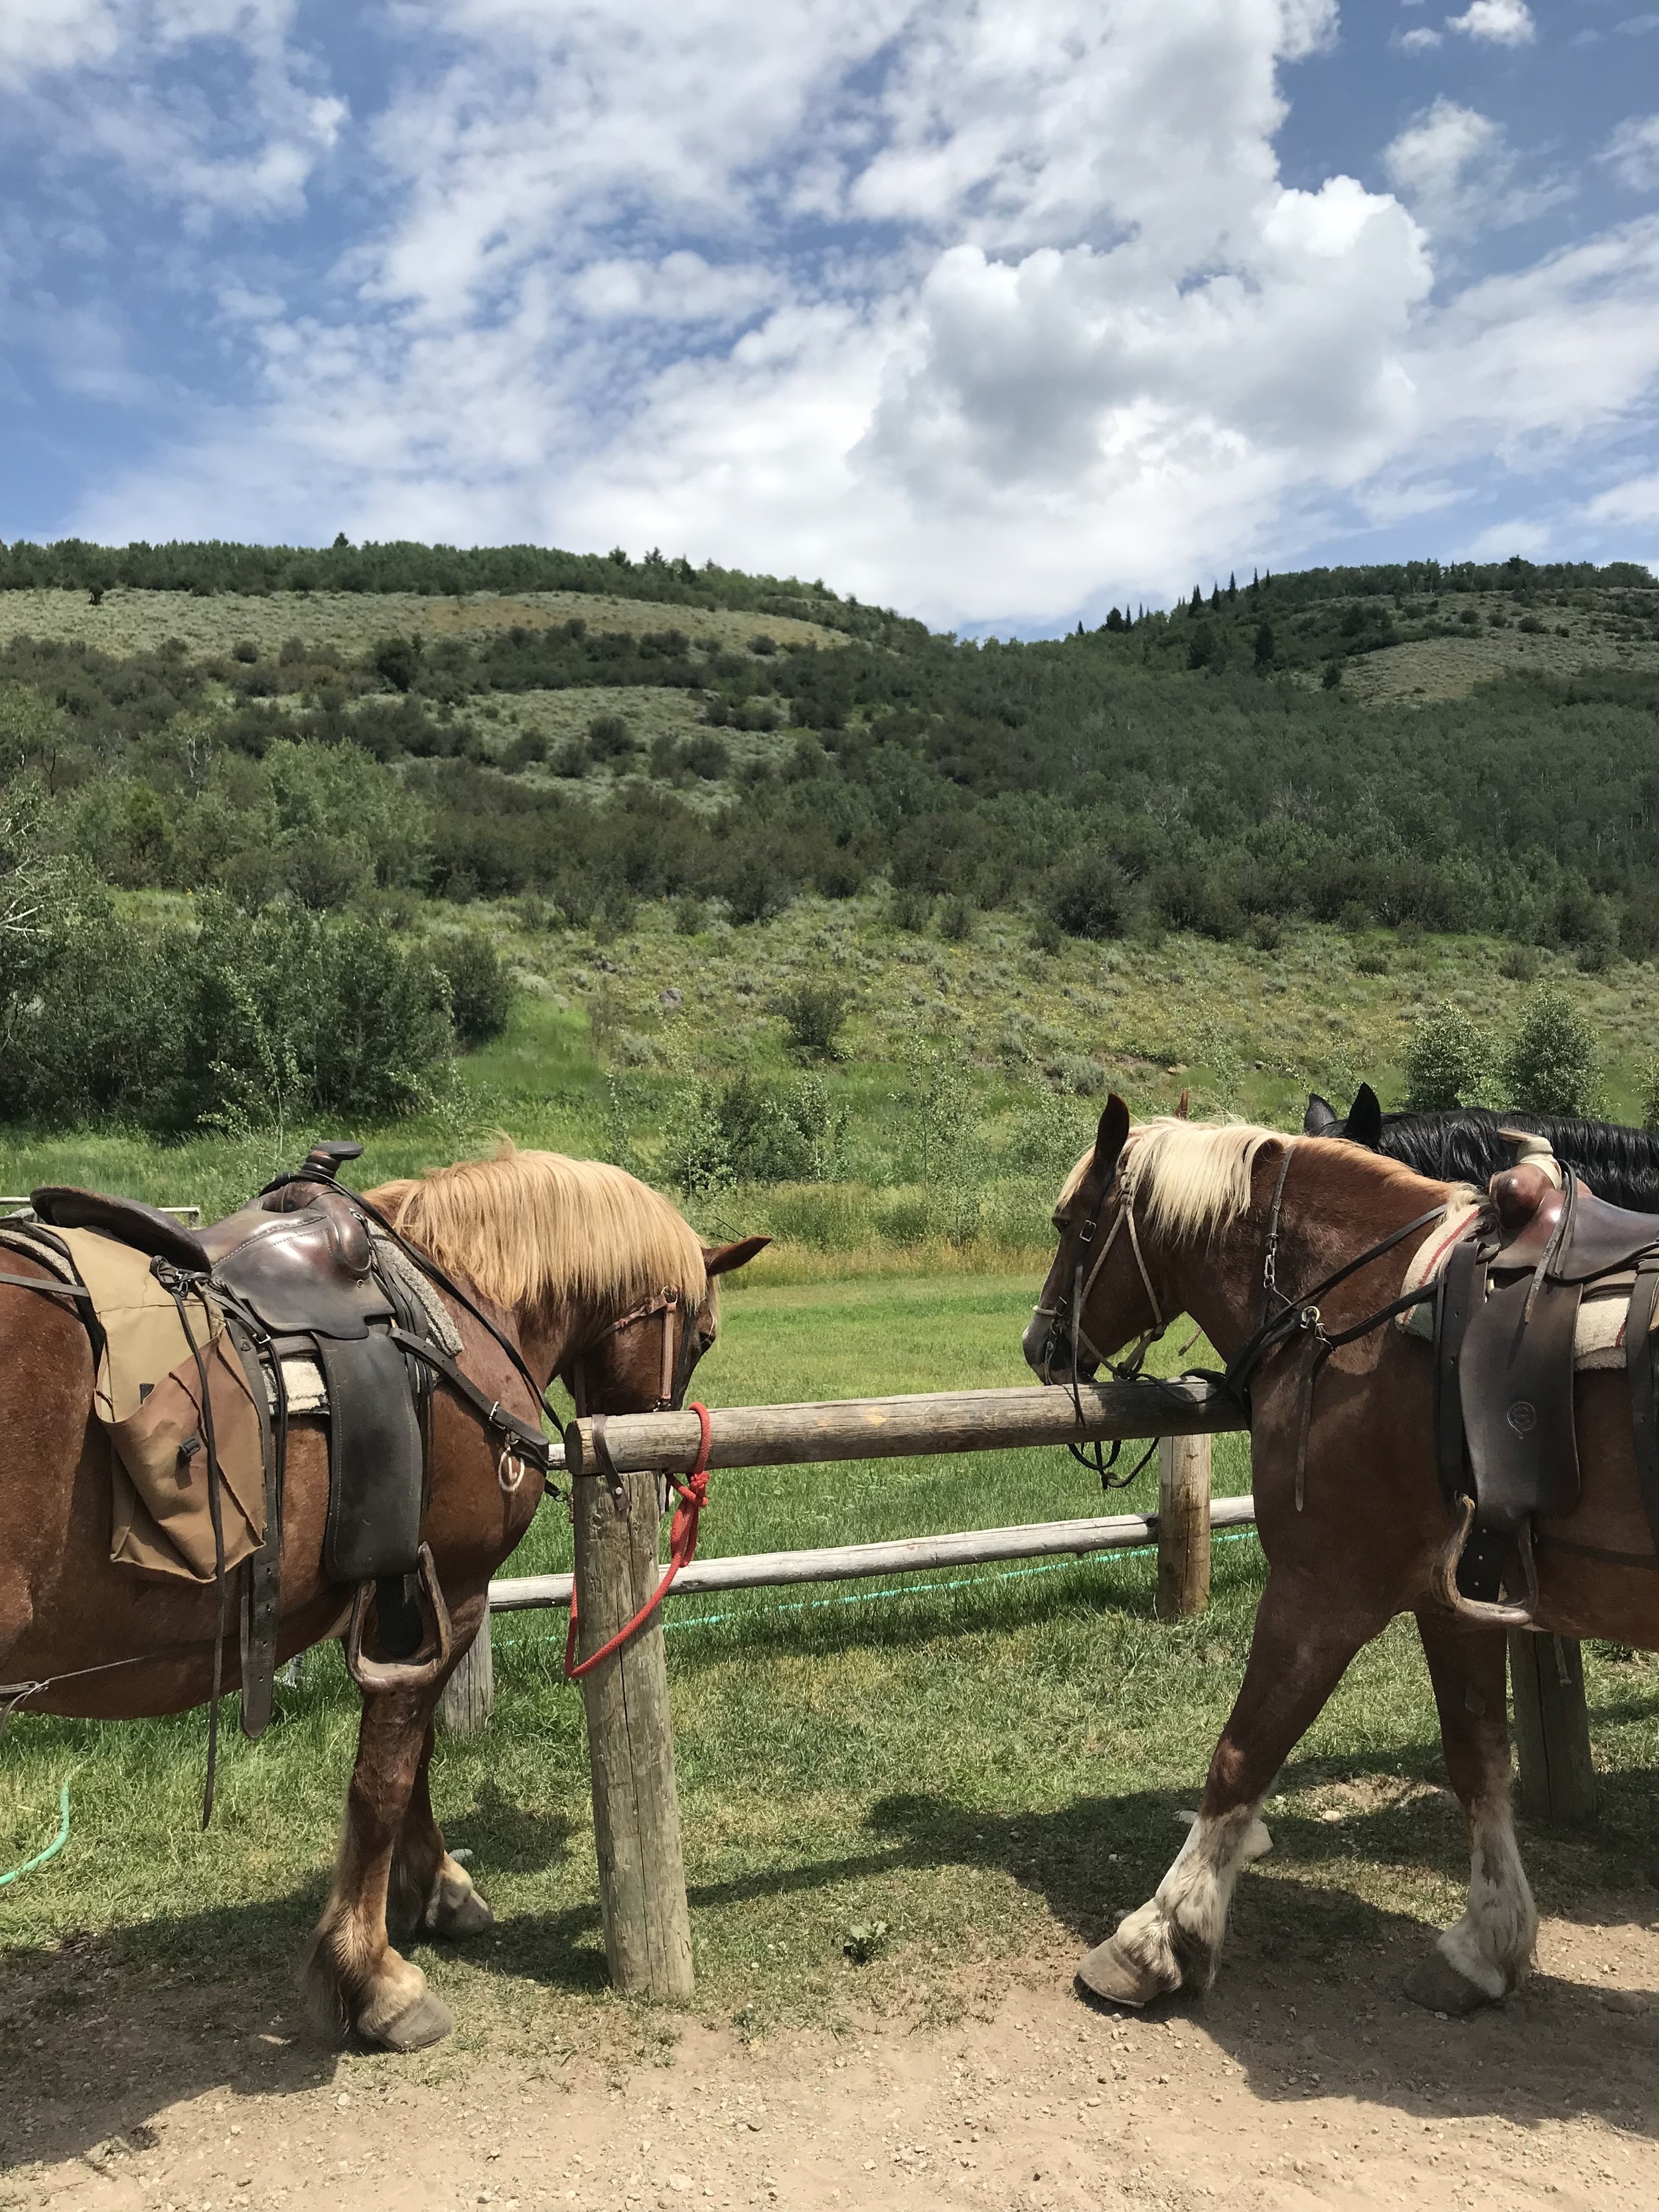
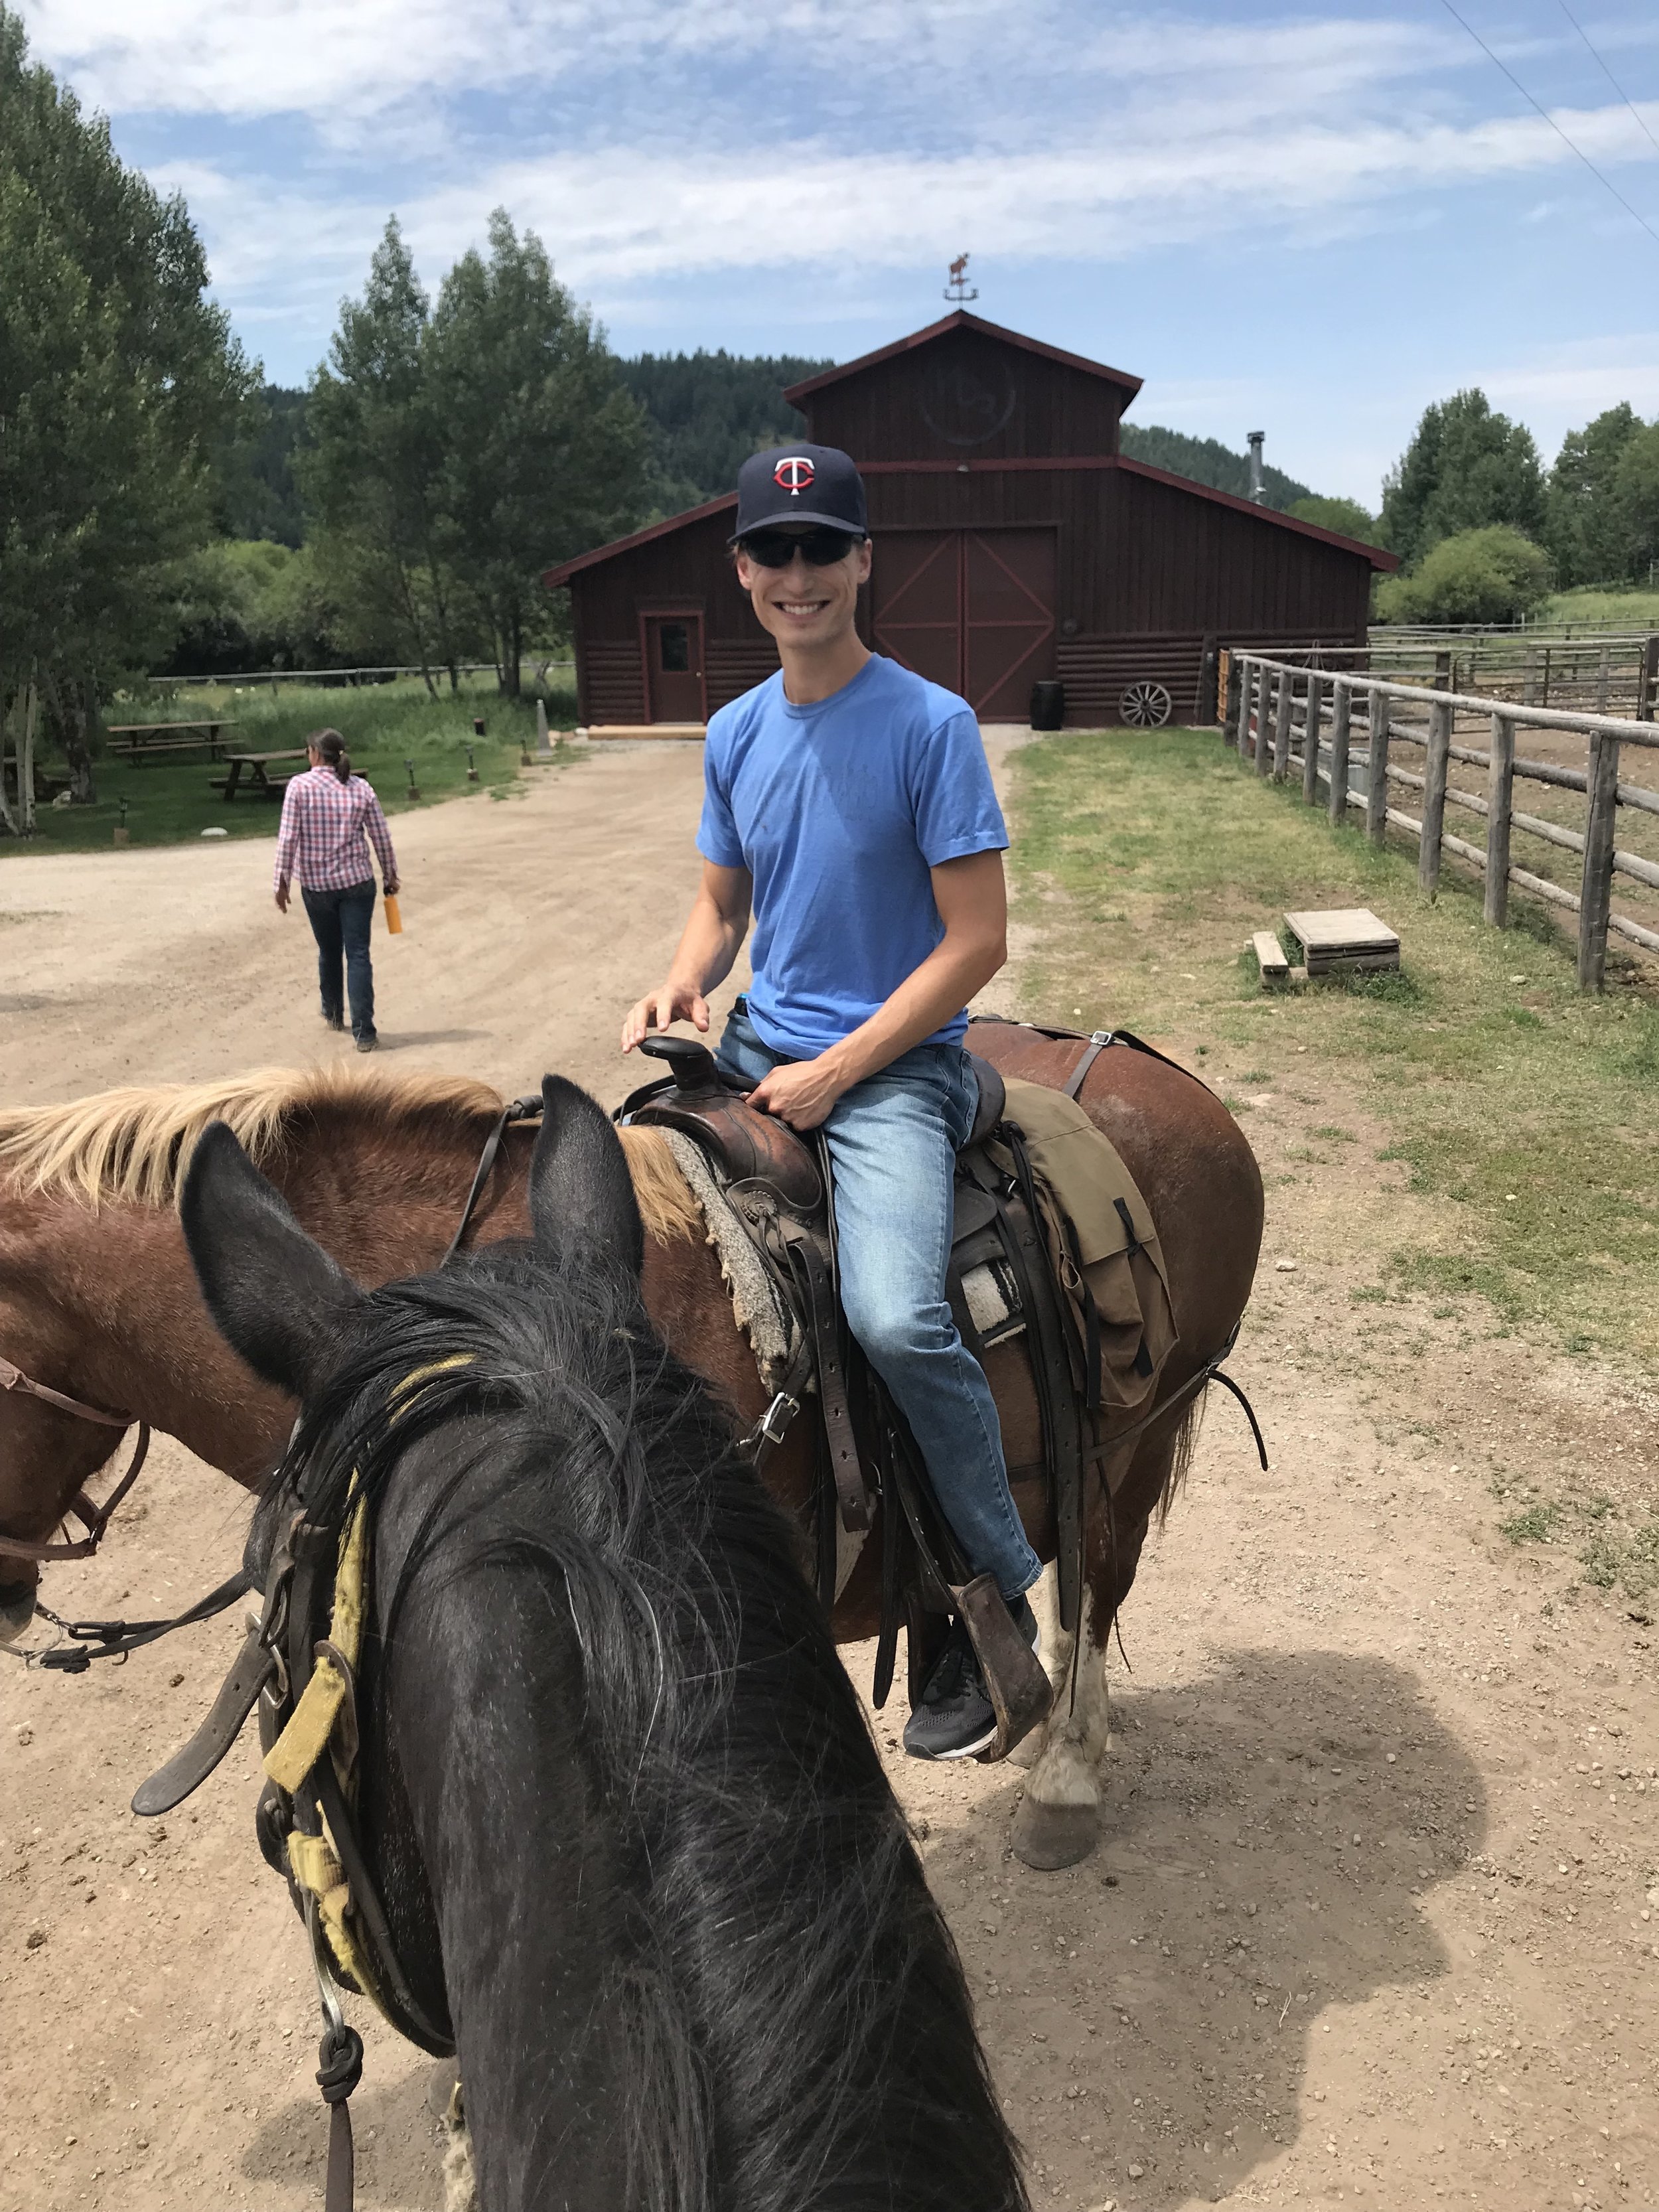
It was my first time in Wyoming and I gasped when I saw the scenery. Mountains are so good. On our first night we stayed at the adorable Anvil Hotel in Jackson and had a delicious and inspiring crispy honey chicken with creamed corn at Glorietta. I pretty much never order chicken at a restaurant unless it’s schnitzeled but our server said get the chicken so we got the chicken and it was one of the best decisions we’ve made at a restaurant all year. The next morning we hiked up Snow King mountain, ate an apple and peanut butter at the top, and then came down and drove across a Teton to the ranch in Idaho for the wedding. Wowee zowee, it was beautiful. We rode horses, saw a bunch of wildflowers, sat around a campfire, and Eggboy played music for the ceremony!! It was the best. 

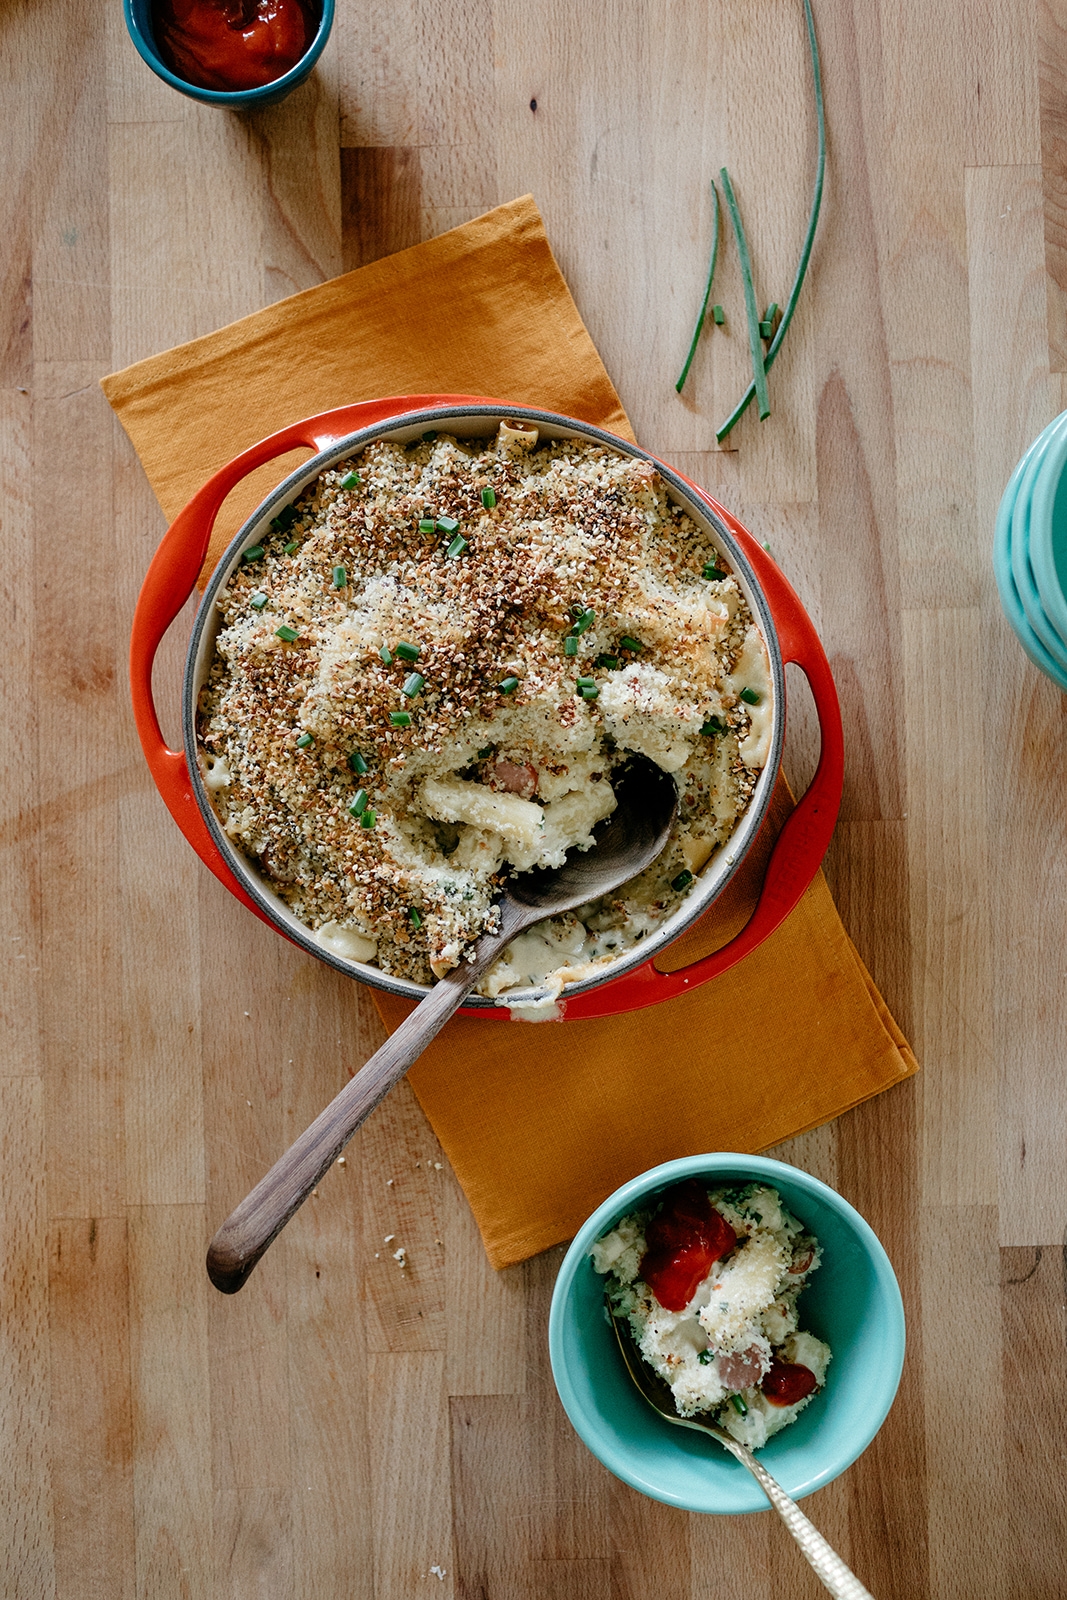
Now we’re back, just in time for National Macaroni and Cheese Day!!!! Which is the only food holiday besides donut day that I take seriously for now. It’s on Saturday. And I know, it’s kind of dumb to have it fall in the middle of summer when we should be taking advantage of fresh summer vegetables, but I don’t make the rules. So here is a recipe that I’ve been making in my low key mission to everything bagel (v.) all of the things. It was partly inspired by Alex and Sonja’s Everything Bagel Pasta, which looks sooo good. And the things that make this mac bagel-y are: 

-Cream cheese in the cheese sauce, which adds a delicious tang 

-Chives, because chive cream cheese is the best cream cheese

-Just a tiny bit of barley malt syrup, a sweet sticky substance that’s a key ingredient in making bagels taste bagel-y 

-Tons of everything bagel seasoning on top. It seems like a lot when you’re making it but it gets all crunchy in the oven and adds perfect texture. (I’ve included measurements below to make your own seasoning but you can certainly use store bought. If you use storebought: sprinkle it on to taste because some of them, like the one from Trader Joe’s, are extreeeeemely salty.)


-And if you’re feeling extra, sub out the panko breadcrumbs for bagel crumbs!

-And for bonus points: add hot dogs or veggie dogs and then it’s bagel dog mac and cheese.

…And there is no bagel-driven reason for the ketchup. I just like it.


Everything Bagel Mac and Cheese

Serves 4

Ingredients

1/2 lb (226g) pasta, I prefer rigatoni
Olive oil
1/4 c (68g) unsalted butter
1/2 yellow onion, finely chopped
Kosher salt
1/4 c (33g) all-purpose flour
2 1/2 c (590g) whole milk
4 oz (113g) cream cheese
4 oz (113g) white cheddar or gruyere or a mix of both, shredded
1 oz (28g) parmesan, shredded
1 1/2 tsp barley malt syrup, optional
Crushed red
Black pepper
1/2 c chopped chives or scallions
Bonus points: 2 cut up cooked hot dogs or veggie dogs

Topping

3/4 c (75g) panko breadcrumbs
1 tb unsalted butter, melted
1 tb each: sesame seeds, poppy seeds, dried minced garlic, dried minced onion
A few pinches of Kosher salt

Ketchup, for serving
 

Clues

Preheat the oven to 375ºF.

Prepare the pasta according to the directions on the box, cooking for one minute less than directed. Drain, toss with a drizzle of olive oil, and set aside. 

In a large pot, melt the butter over medium high. Add the onions and a pinch of salt and cook, stirring, until soft, 5-7 minutes. Stir in the flour and cook for 1 minute. Add 1 cup of the milk and cook, whisking continuously, until thickened, and then repeat with another cup, and then the remaining 1/2 cup. Add the cheese and stir until melted, and then add the barley malt syrup (if using), a few pinches of crushed red pepper, a few turns of black pepper, and salt to taste. Stir in the pasta, chives, and hot dogs, if using. Transfer to an 8” baking dish or a dish that’s a similar size. In a medium bowl, mix together the breadcrumbs and melted butter and then distribute it over the top of the mac and cheese. Combine the sesame seeds, poppy seeds, dried minced onion, dried minced garlic, and salt in that same medium bowl and sprinkle it liberally over the top.

Bake for 25 minutes, or until golden brown on top. Let cool slightly and then serve with ketchup.


-yeh!

mac and cheese photo by chantell and brett


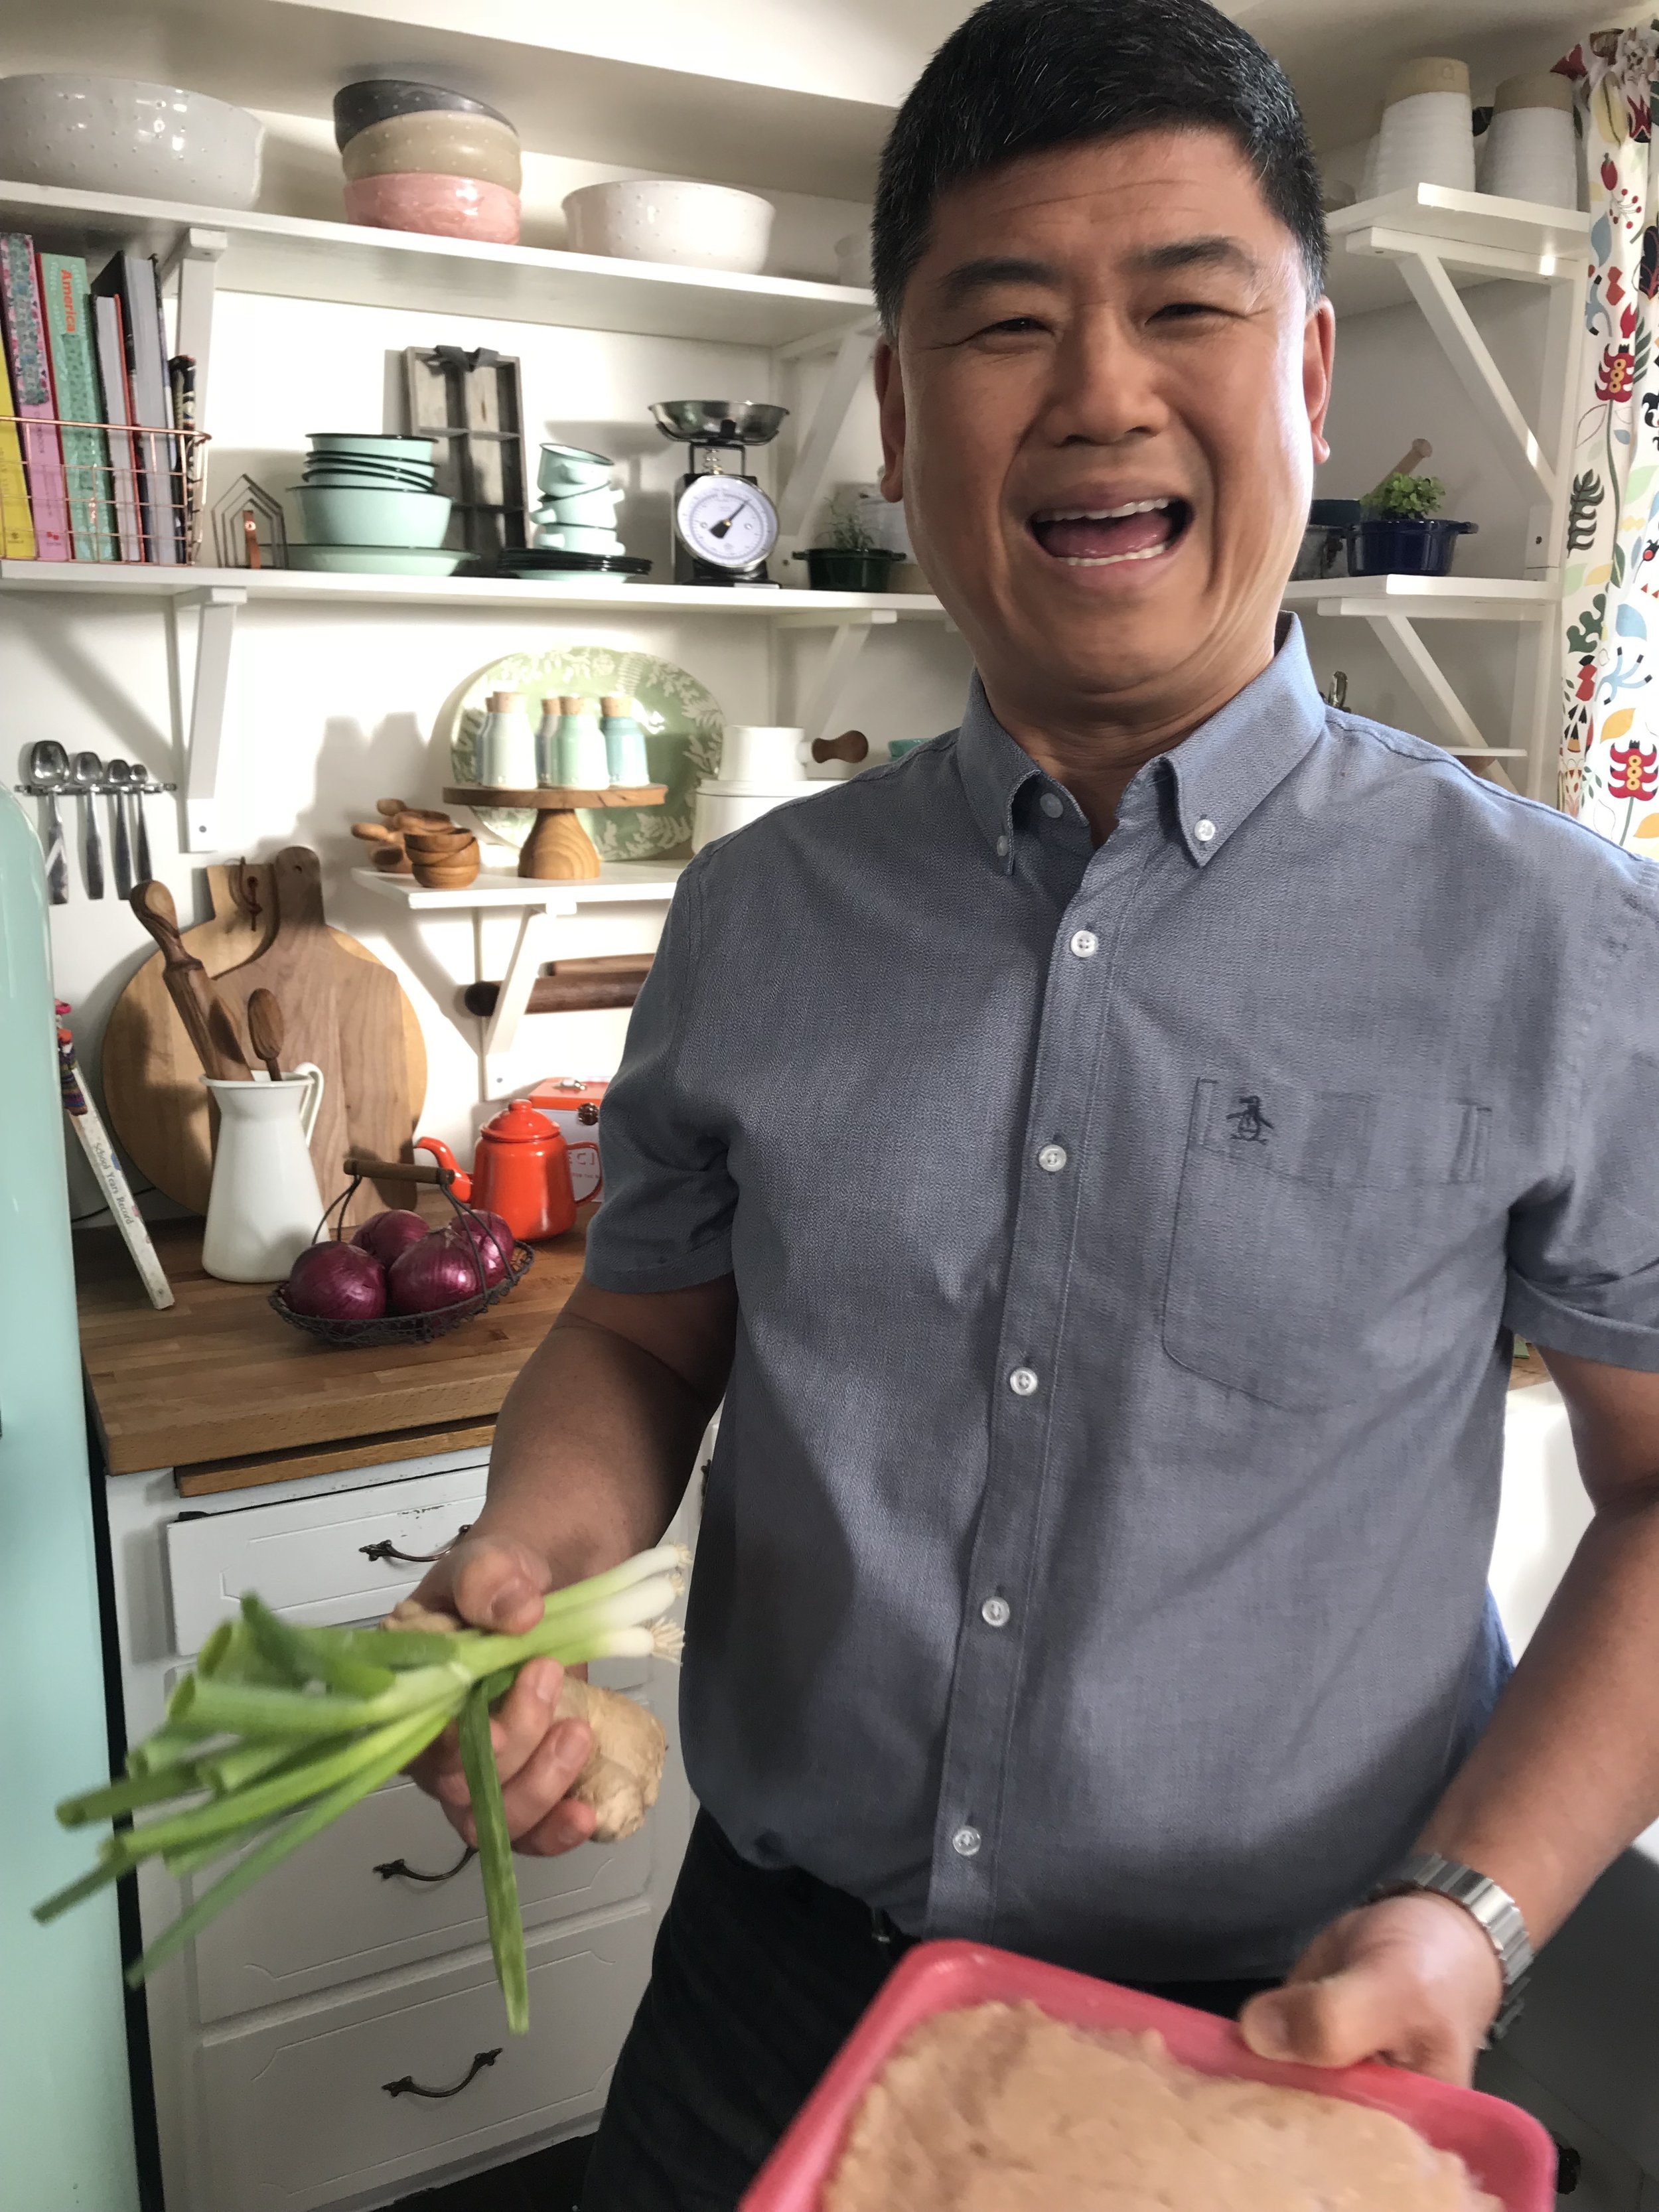
P.S. I have a few fun appearances on Food Network this weekend!! 

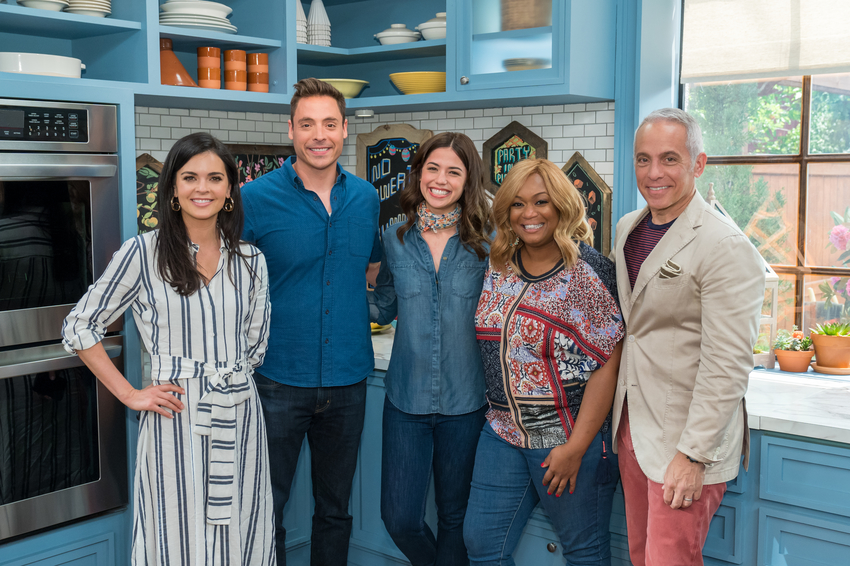
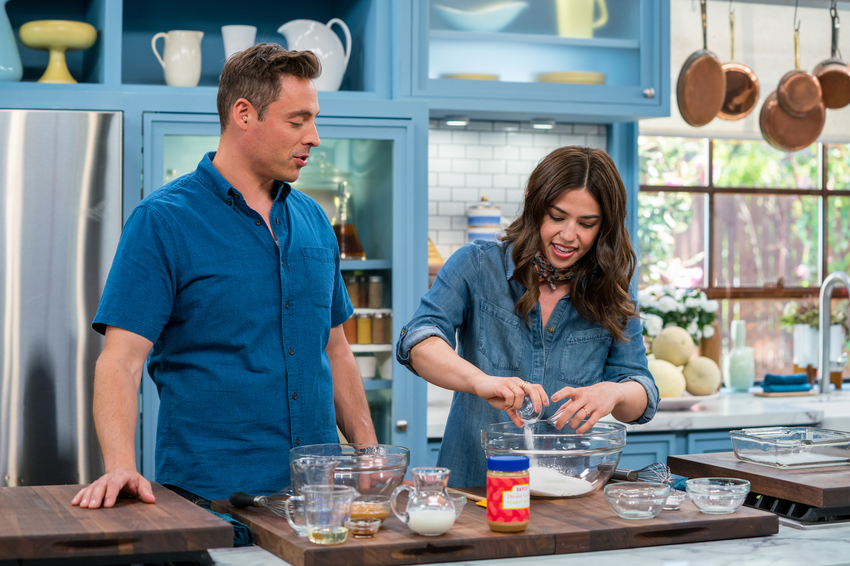
On Saturday at 11am eastern I will be making peanut butter cake on one of my favorite shows, The Kitchen!!!!

👆🏼👆🏼Feeling very at home in the presence of Jeff Mauro and his great Chicago accent.

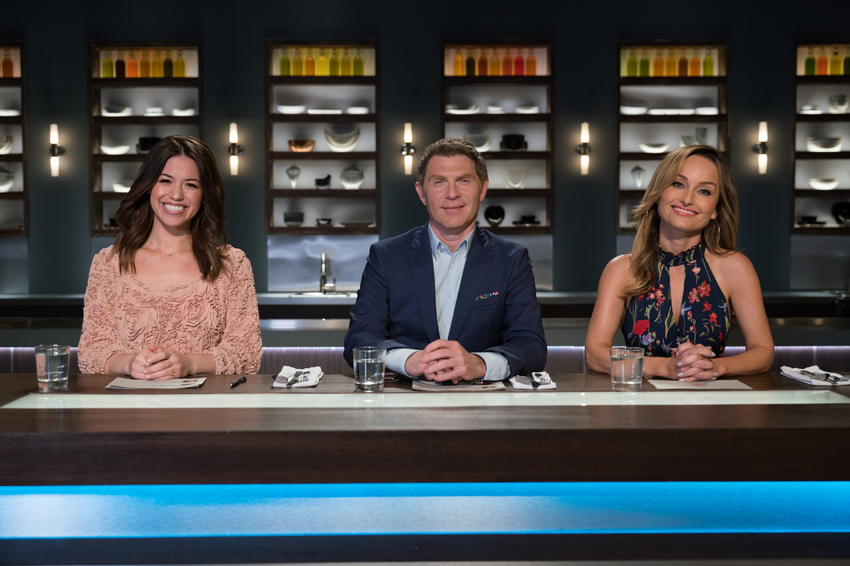
And on Sunday at 9pm eastern I will be a guest judge on Food Network Star!

Bobby and Giada were soo nice!!!! 

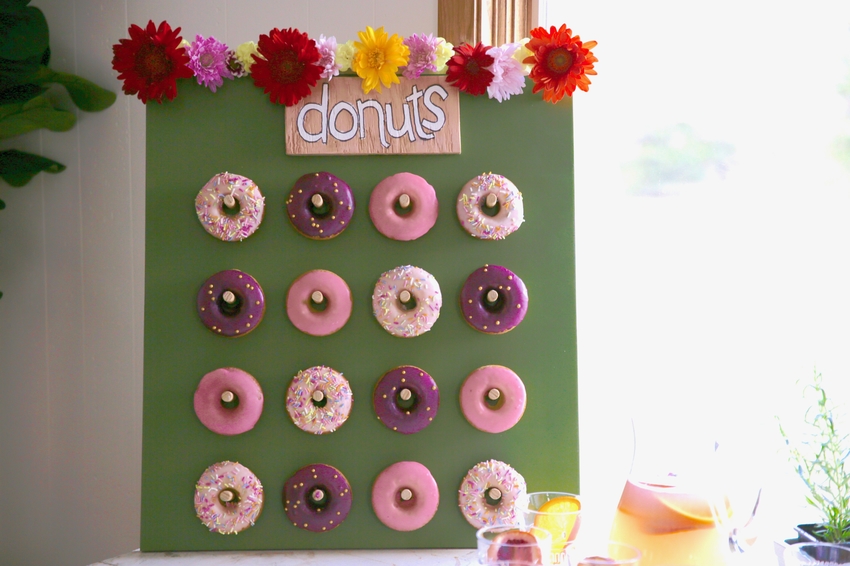
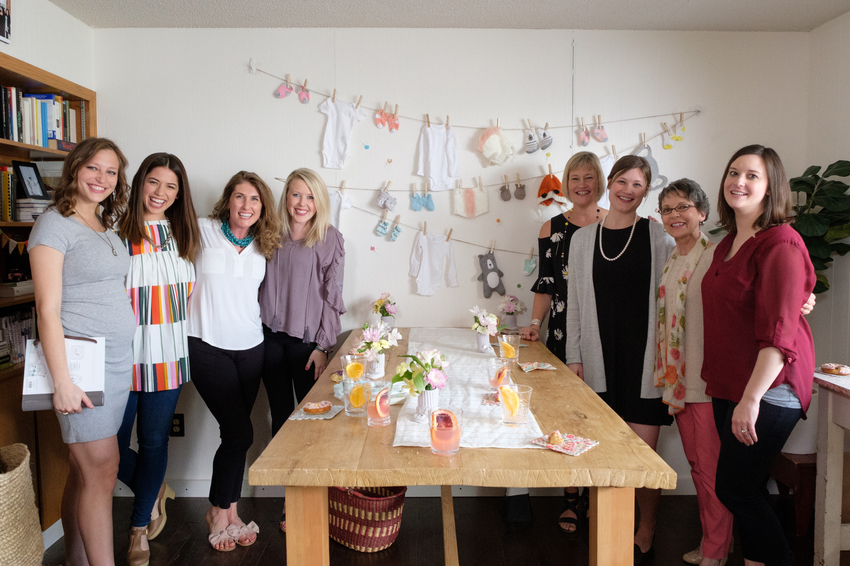
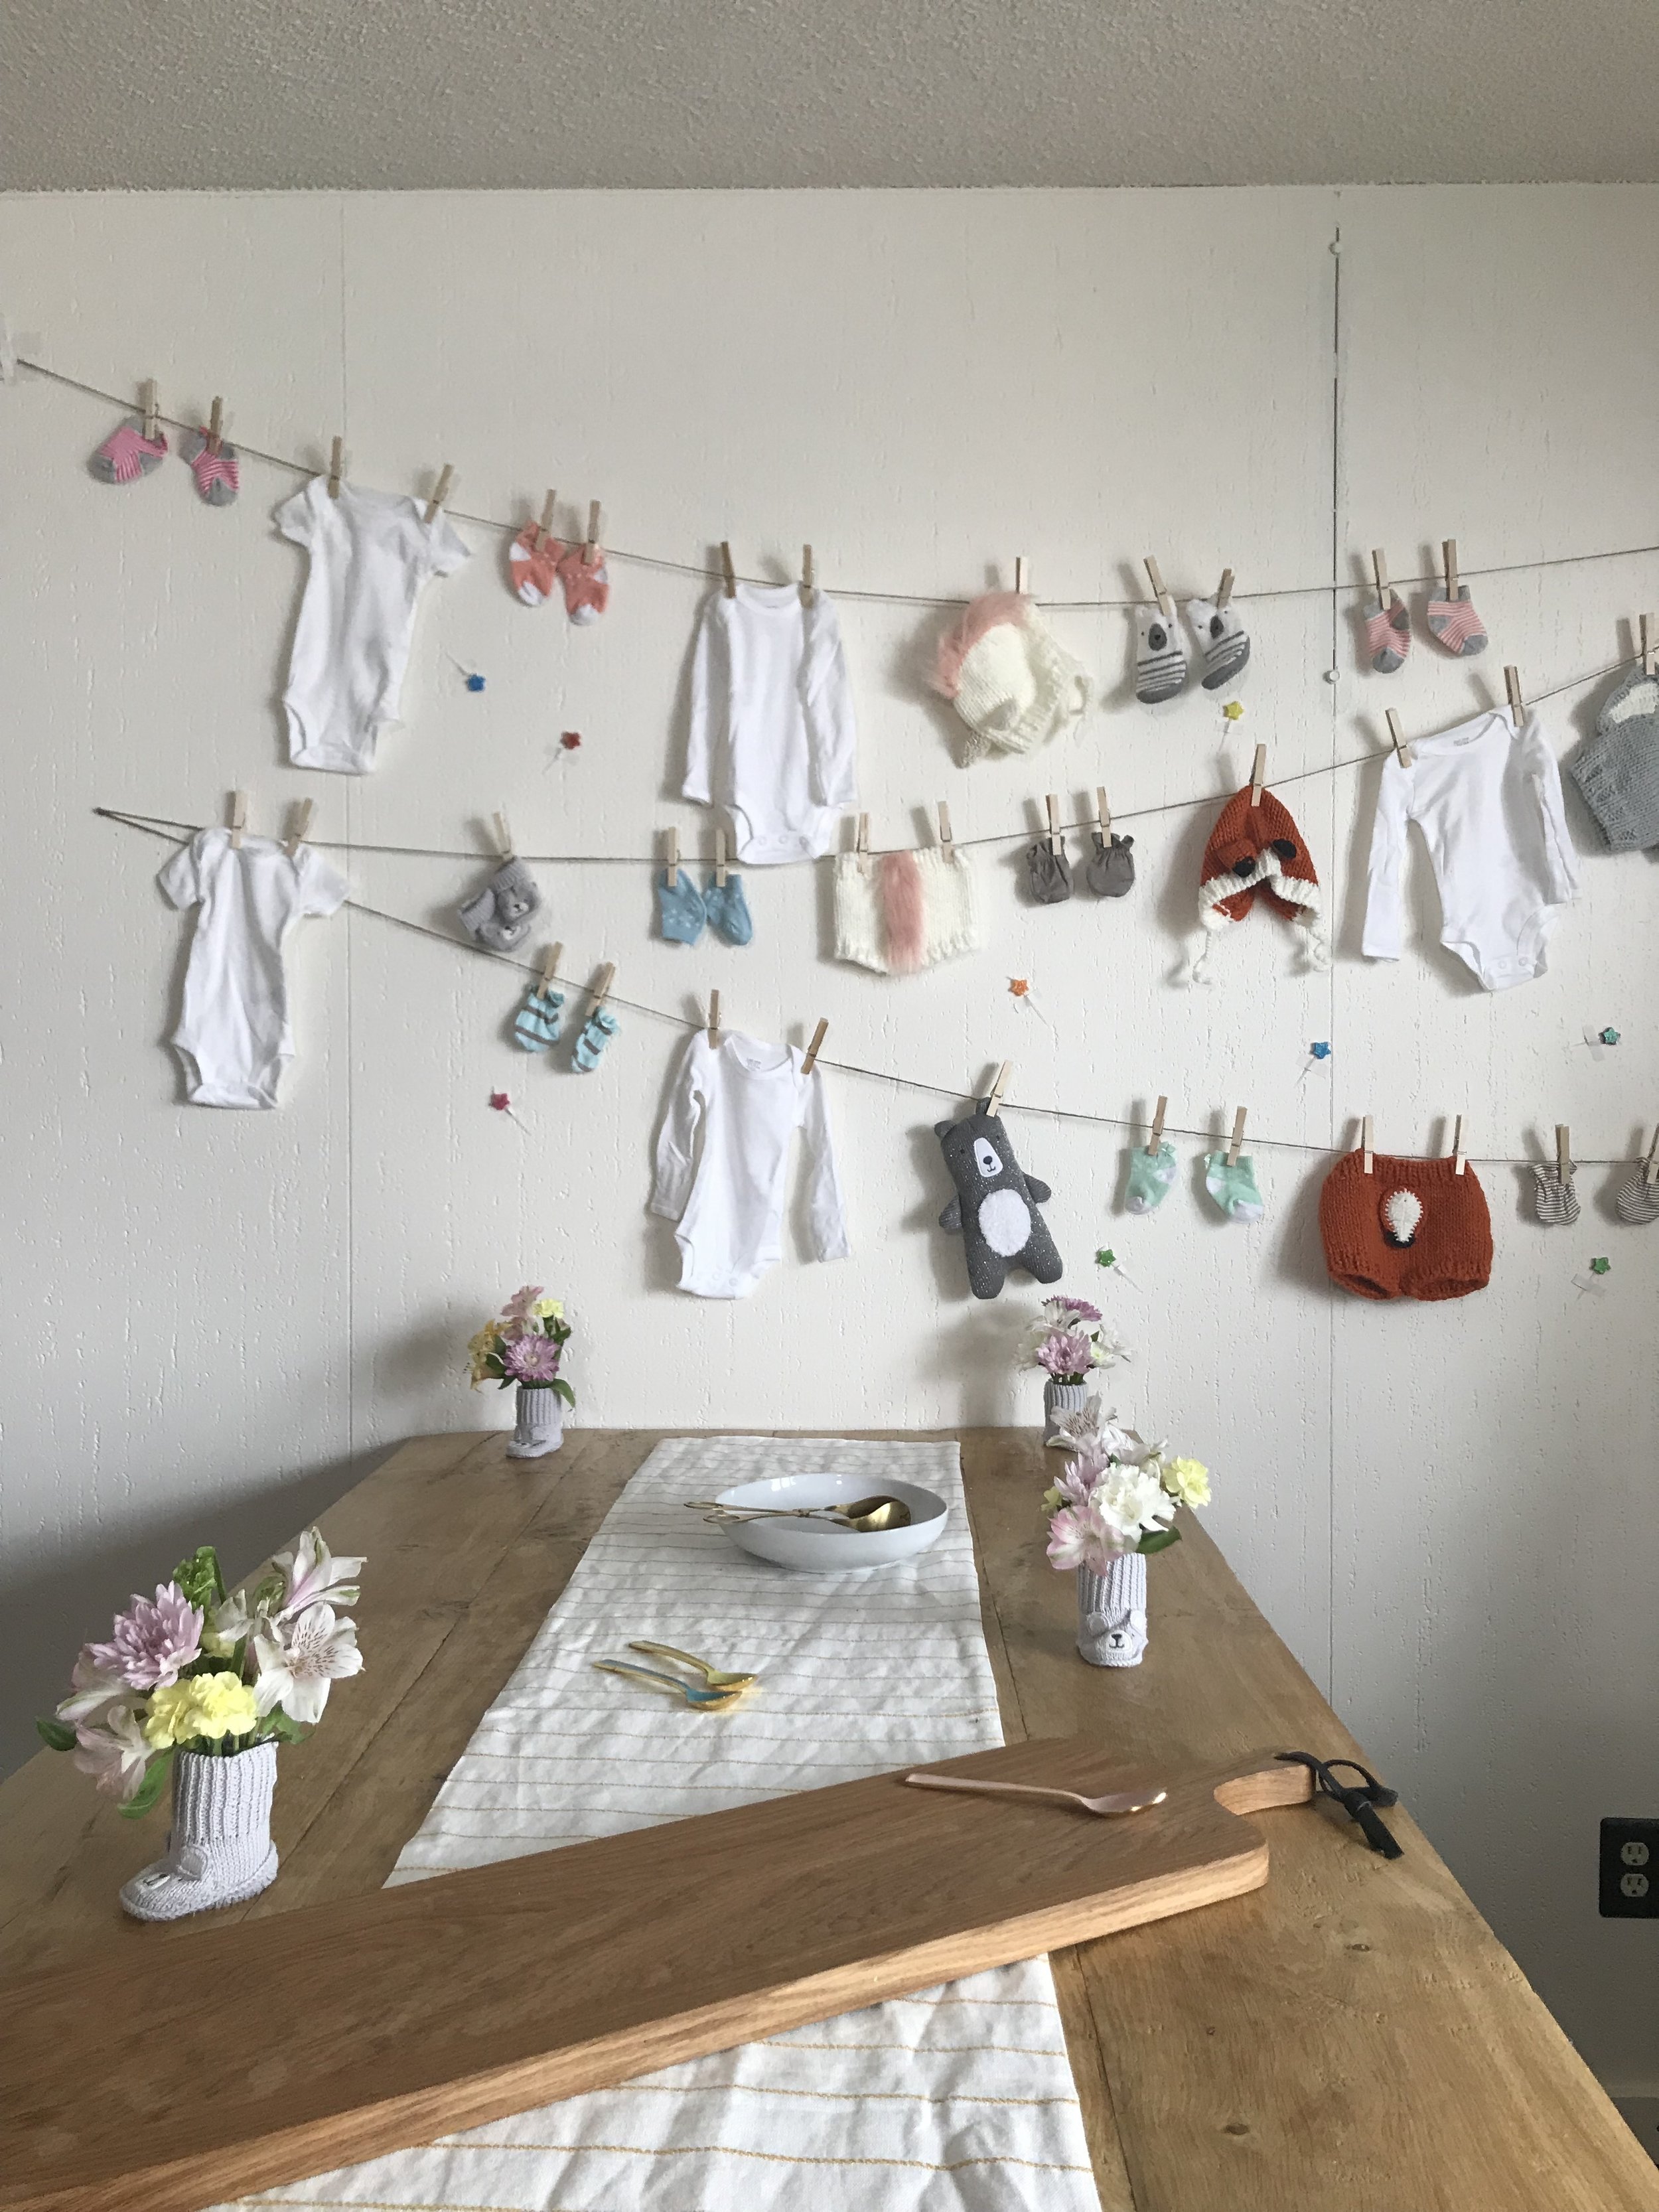
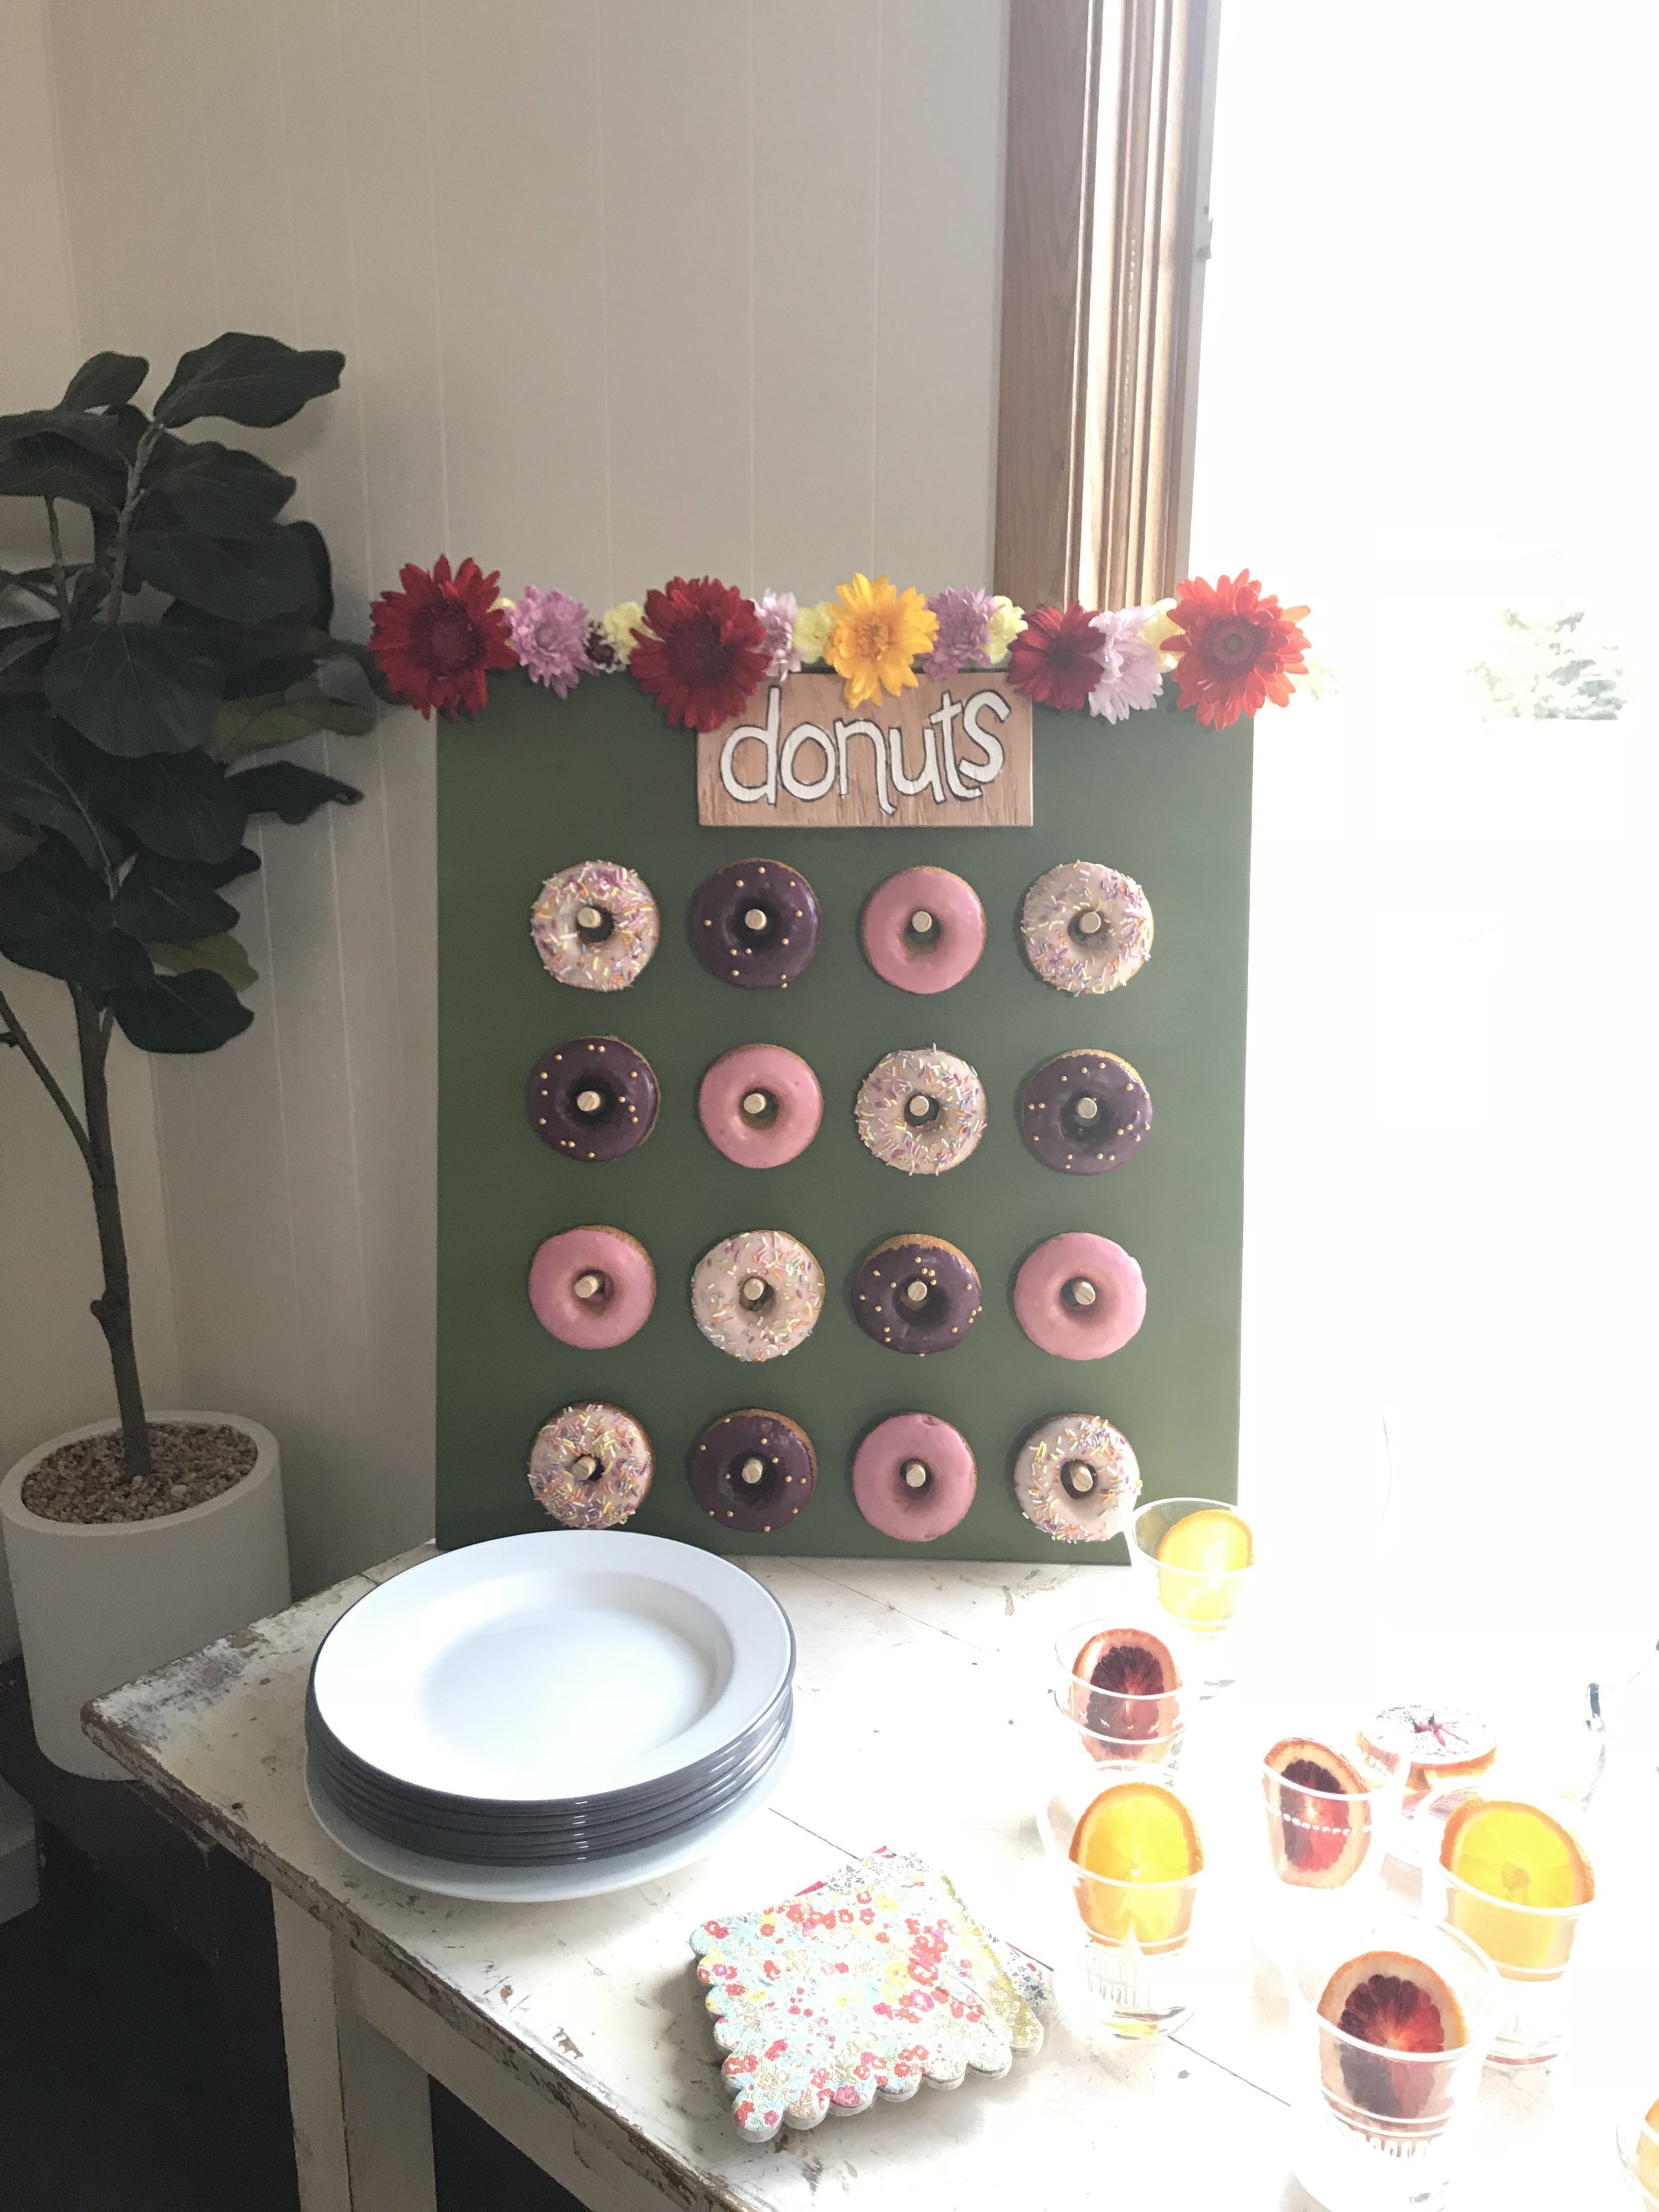
And on Sunday at 11am eastern on Girl Meets Farm, we will be celebrating Eggsister's baby shower!!! There will be donuts!! And ~walking tacos~! 

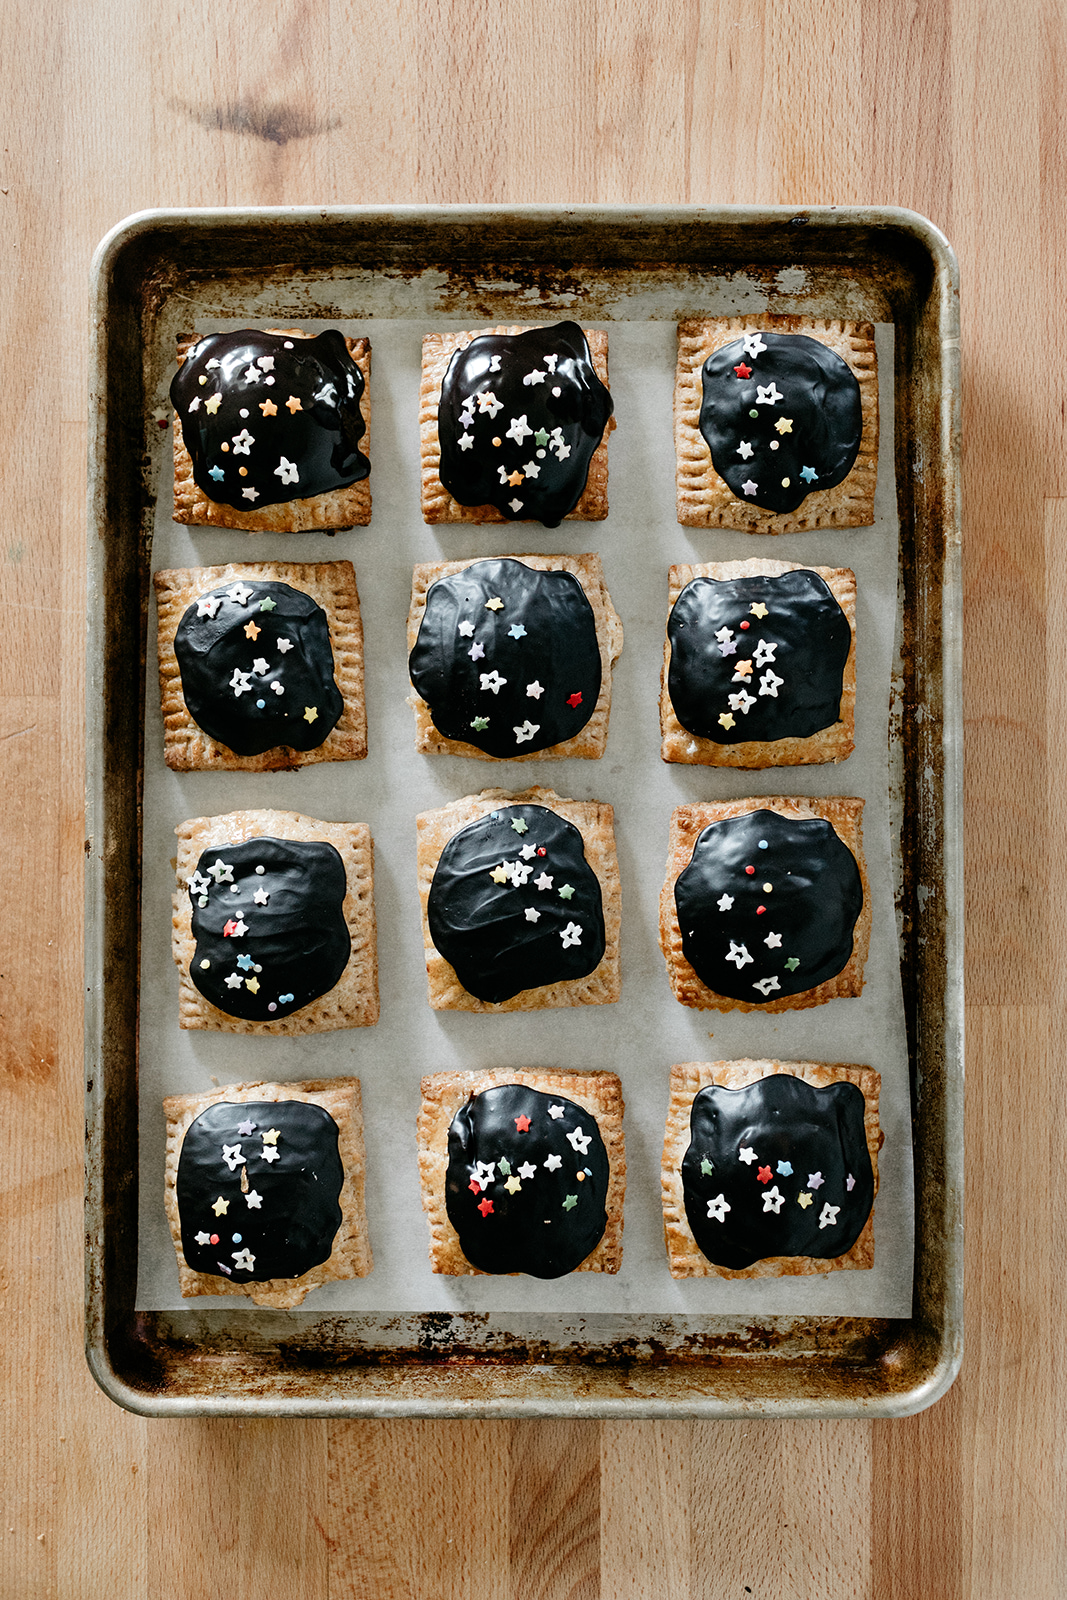
peanut butter s'mores pop tarts

Omg I love a s’more occasion because it means it’s warm enough to sit outside but not so warm that you’d overheat near a bonfire. It’s a similar pleasure to having the temperature of your house on the colder side just so you can wear your coziest sweatshirts. 

I made these s’mores pop tarts last month for Eggboy’s cousin Sarah’s bridal shower. She’s getting married at a ranch in the Tetons next week and I cannot wait!!! We are staying one night in Jackson Hole, which will be my first time to Wyoming, and then driving to the ranch to hike and celebrate. Where do I need to eat brunch in Jackson Hole???

There are some very specific things I need to talk to you about with these pop tarts. I’m going to do this in list form:

  1. The magic is in the crust! It is a pie crust dressed up as a graham cracker and the measurements below are such that the crust remains thick. It’s true that I have a complicated relationship with pie crust and that I am so not opposed to using store bought pie dough in situations where the fillings carry the dish, however, 1) this crust is truly magical and nutty and oomphed up with cinnamon and nutmeg, and 2) the fillings require no preparation so the crust is the only place where you need to exert energy. It’s so good! 
  2. An unfortunate thing about marshmallows is that they really can be too sweet. It’s one reason why Lily doesn’t like them. But between the crust, which is not very sweet, and the unsweetened peanut butter, there is a really nice balance that happens in this tart that I think Lily and others alike would approve of. Where these tarts leave off in sweetness, they pick up in nuttiness from the peanut butter. Obviously almond butter or another nut butter or tahini would also be great here.
  3. Real marshmallows alone do not werk! They are firmed up with gelatin, which melts down to complete liquid in the oven and has a very, very high chance of oozing out. However, if they do stay put in the tart then when they cool back down to room temp, they leave you with some of that signature s’mores chewiness. Marshmallow fluff, on the other hand, does the opposite of all of that. It is thickened with egg whites and therefore gets firm in the heat of the oven so there’s little risk of that oozing out but then when it cools you don’t have the chewy marshmallow texture. My solution is to use both. Fluff to lock in the marshmallows, marshmallows to provide chewiness, and both to provide flavor. You can make both from scratch if you’re truly feeling extra (this fluff rules), or you can make neither from scratch. Just do whatever option will leave you with enough energy to make the pie crust because that really is the most important part of this picture.
  4. To me, Hershey’s bars are a very important part of a s’more. The waxy texture and milk chocolate flavor are what I latch onto when I dream of a s’more and that’s just how I am. You might have a need for a fancy chocolate and that’s fine, you do you. I’ve opted to use a straight up piece of the chocolate bar here rather than using a chocolate spread because I like how it firms back up when the tarts cool. (I also like my chocolate croissants this way, with a full on hard chocolate bar in the middle. It’s texturally more exciting to me than a soft spread. It makes me want to eat a chocolate bar sandwich. We’re getting off topic.)

Make these!!! 


Peanut Butter S’mores Pop Tarts

Makes 10

Ingredients

Crust

1 1/2 c (195g) all-purpose flour
1 c (130g) whole wheat flour
1/4 c (50g) sugar
1 tsp kosher salt
1 tsp ground cinnamon
A few passes of nutmeg
18 tb (253g) unsalted butter, cold and cubed
1/4 c ice cold water


Filling and assembly

About 1/4 c (65g) unsweetened peanut butter (I like Smucker’s All-Natural)
2 hershey’s milk chocolate bars
About 3/4 c (60g) marshmallow fluff
30 mini marshmallows
1 egg, beaten 


Glaze

1 c (120g) powdered sugar
1/4 c (30g) unsweetened cocoa powder
2 tb whole milk
A pinch of kosher salt

Sprinkles

Clues


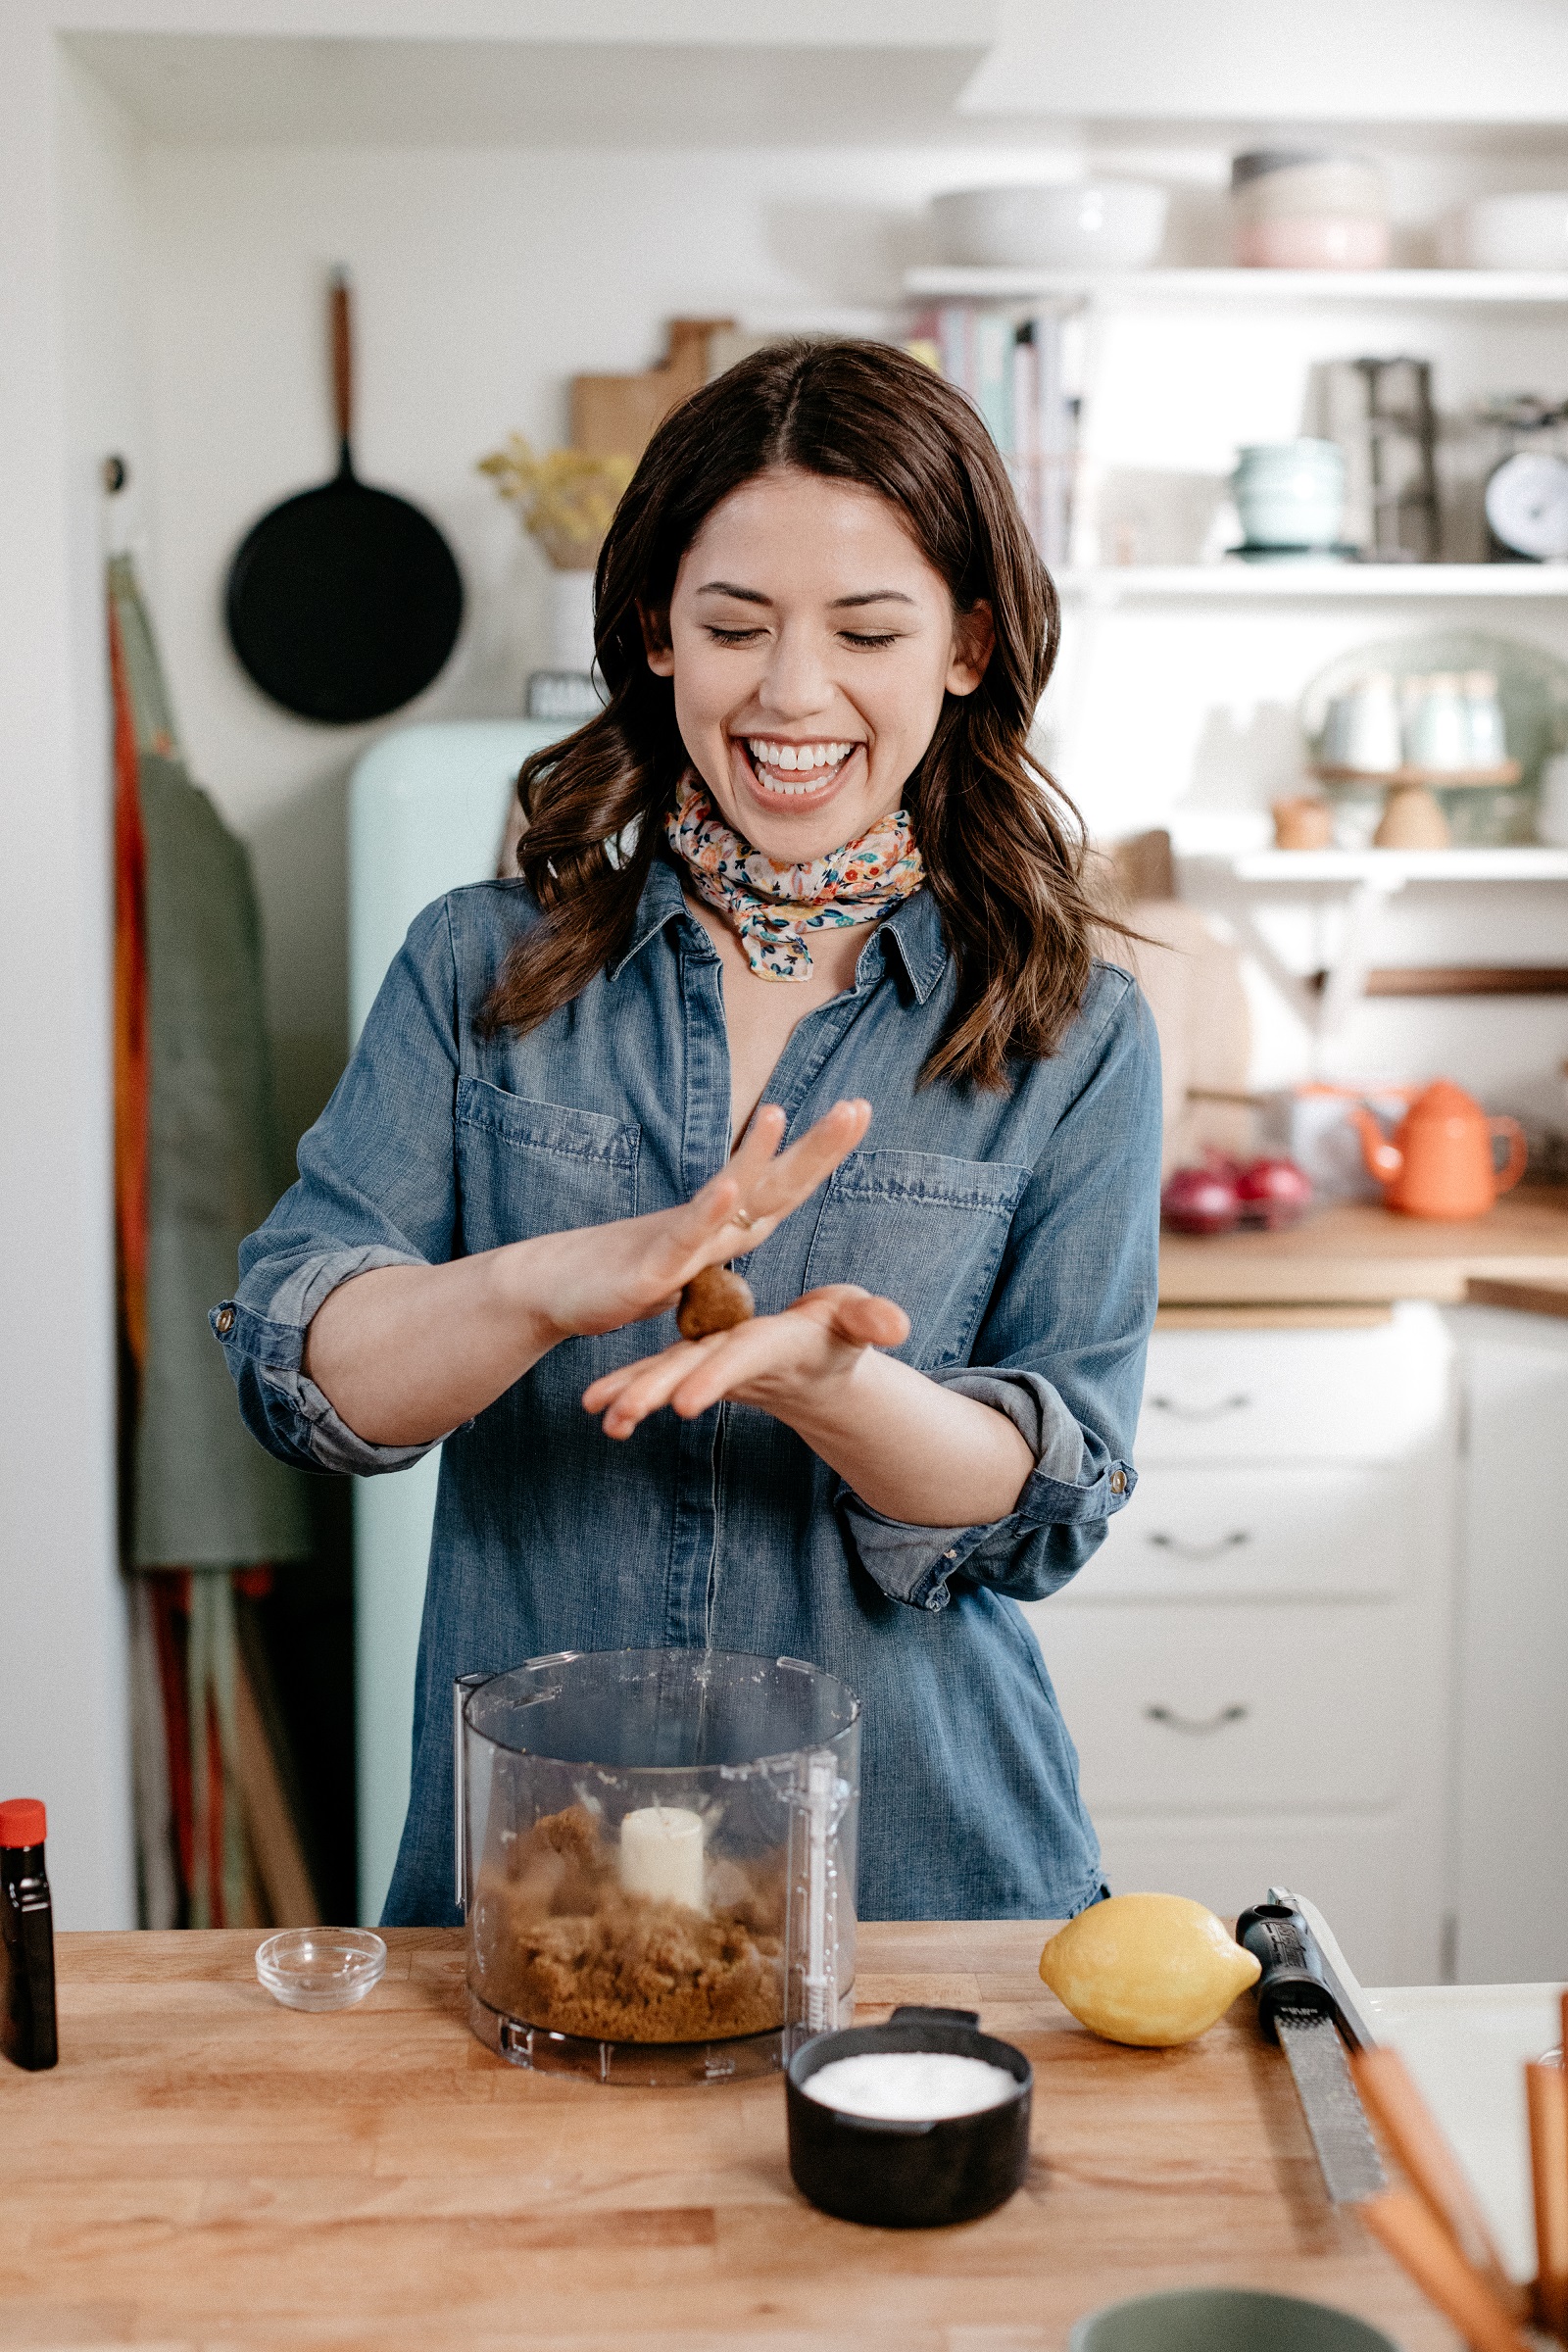
In a food processor, pulse to combine the flours, sugar, salt, cinnamon, and nutmeg. Add the butter and pulse until pea-sized (a few larger bits are ok). Drizzle in the water and continue to pulse until the dough starts to come together. It may still look crumbly but it’s ready when it sticks together if you squeeze a handful of it together. Turn it out onto a clean surface and use your hands to smush it all together into a ball. Divide it in half and pat out into discs. Wrap in plastic wrap and refrigerate for 30 minutes or up to a day or two. 

Preheat the oven to 425ºf. Line two pans with parchment and set aside. 

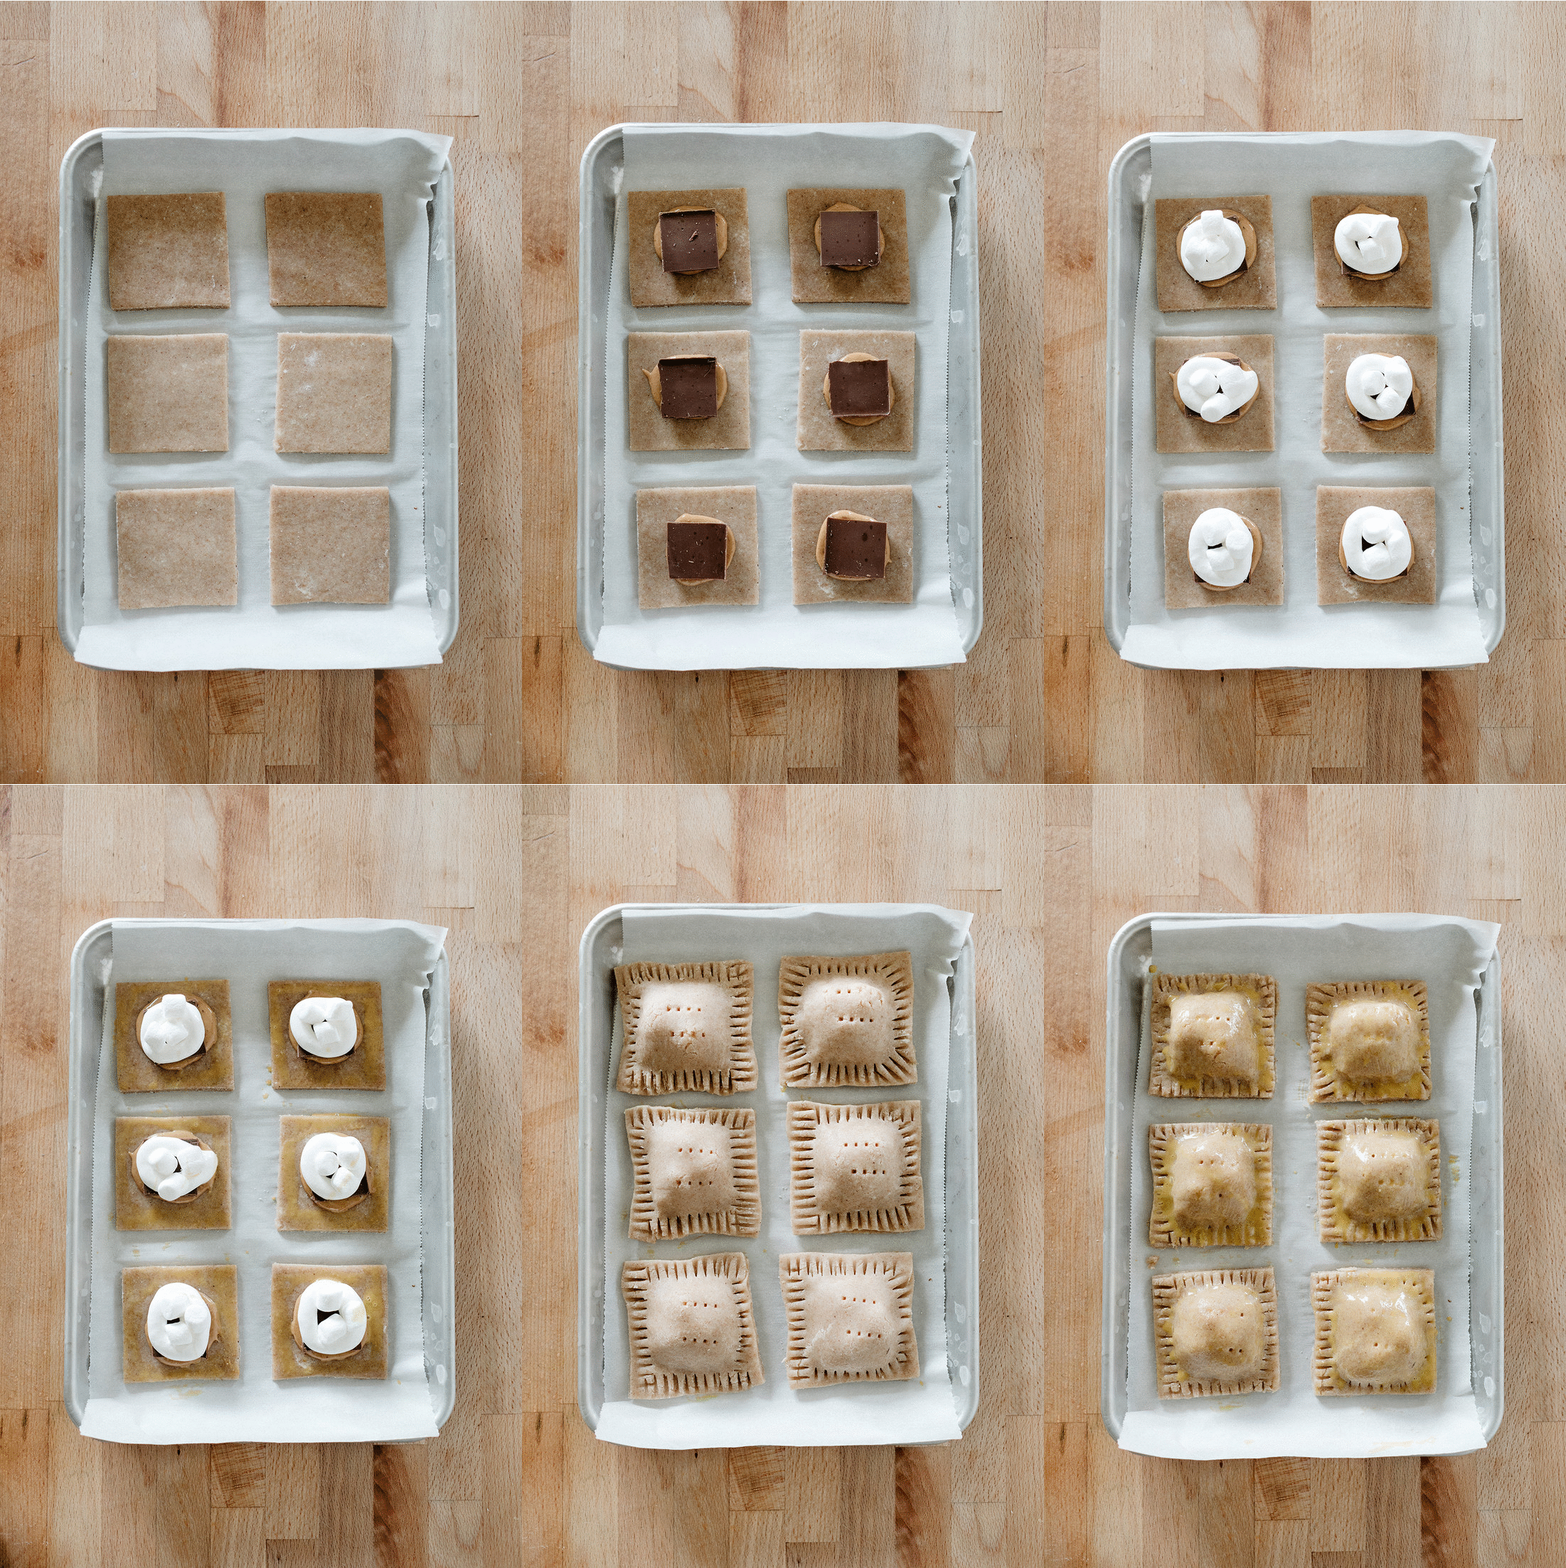
On a lightly floured surface, working with one dough disc at a time and dusting with additional flour as needed to prevent it from sticking, roll it out until it’s just under 1/4” thick (3/16” is ideal but I don’t mean to freak you out with such an odd measurement). Cut out 10 3” squares, re-rolling scraps, and arrange them on the baking sheets at least 1” apart. Top each with a heaping teaspoon of peanut butter, 2 chocolate rectangles, about a tablespoon of marshmallow fluff, and 3 mini marshmallows. I recommend adding the marshmallow fluff by piping it out of a piping bag or a ziploc bag with the corner cut off. It makes this process cleaner and allows you to make a little border that will hold in your mini marshmallows. (See the gif above as a reference.) And you can eyeball the tablespoon measurement, it doesn’t need to be exact. 

Roll out the remaining dough disc along with any scraps from the first disc and cut out 3 1/2” squares, re-rolling scraps as needed. Brush the edges of the bottom squares with a thin layer of egg wash and top with a larger square. Pinch the edges to seal well and crimp with a fork to ensure that they’re sealed. Trim the edges if desired so that they line up cleanly. Poke a few holes in the top with a fork and brush the tops with egg wash. Bake until golden brown; begin checking for doneness at 16 minutes. Let cool on the pans for 10 minutes and then transfer to a wire rack to cool completely.

To make the glaze, combine all ingredients and mix until smooth. 

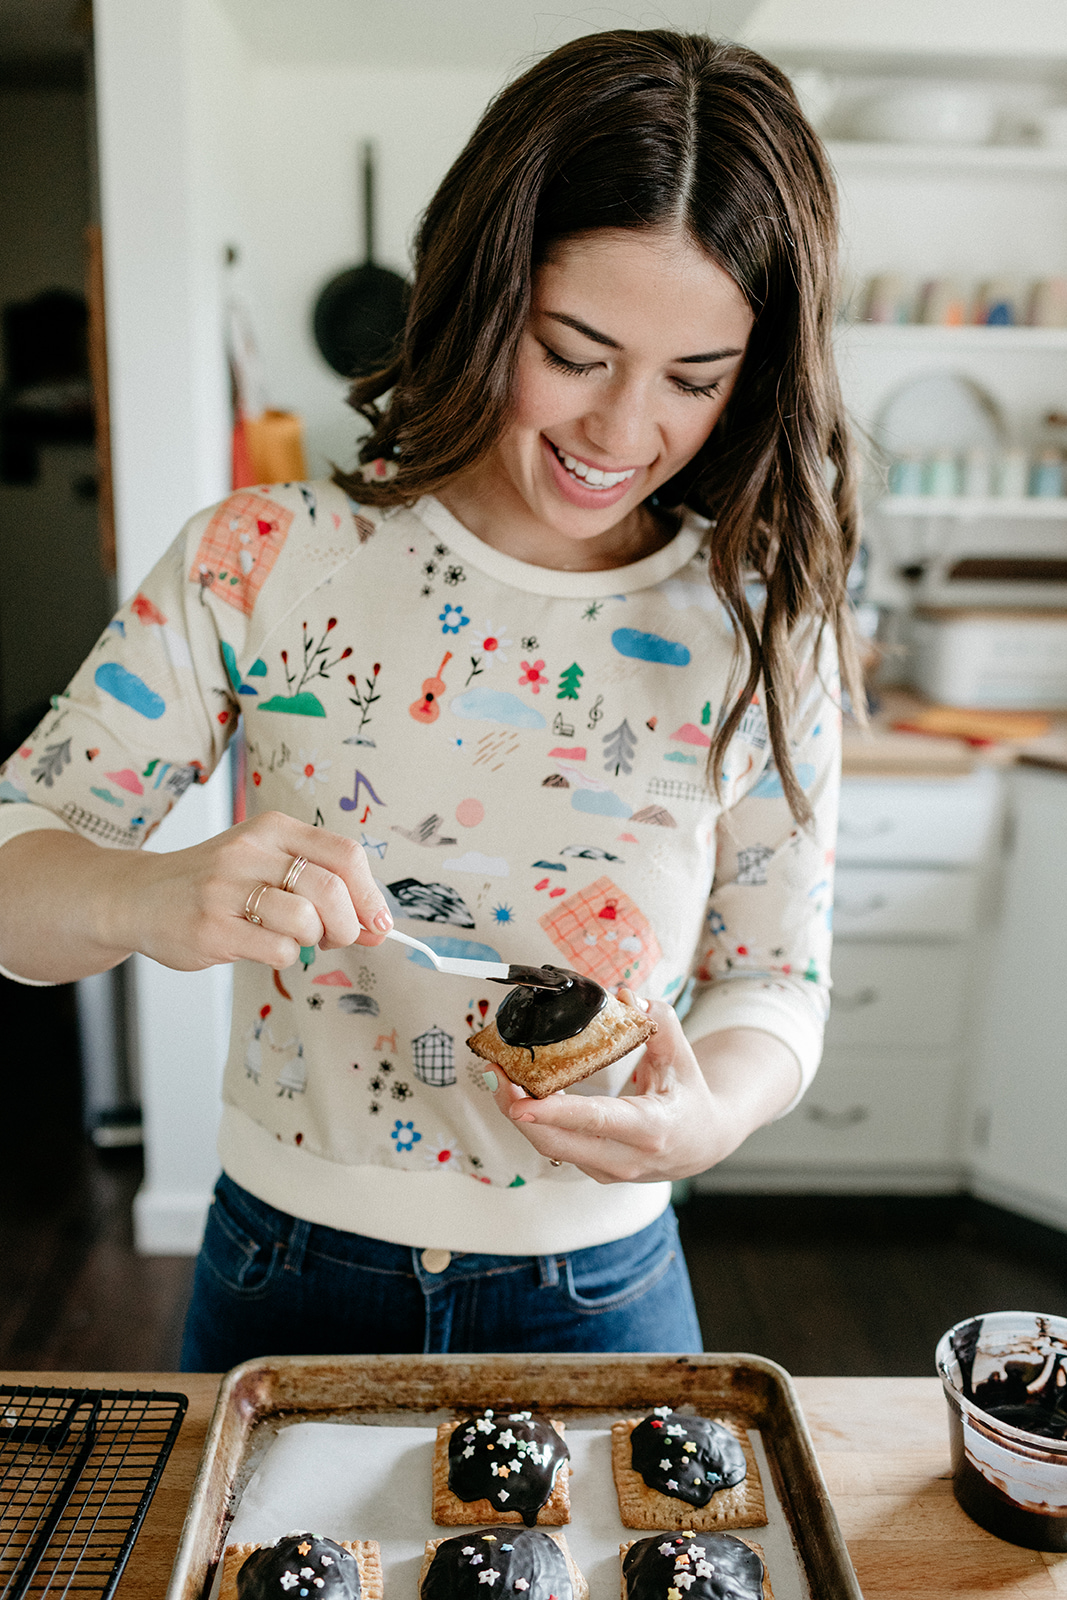
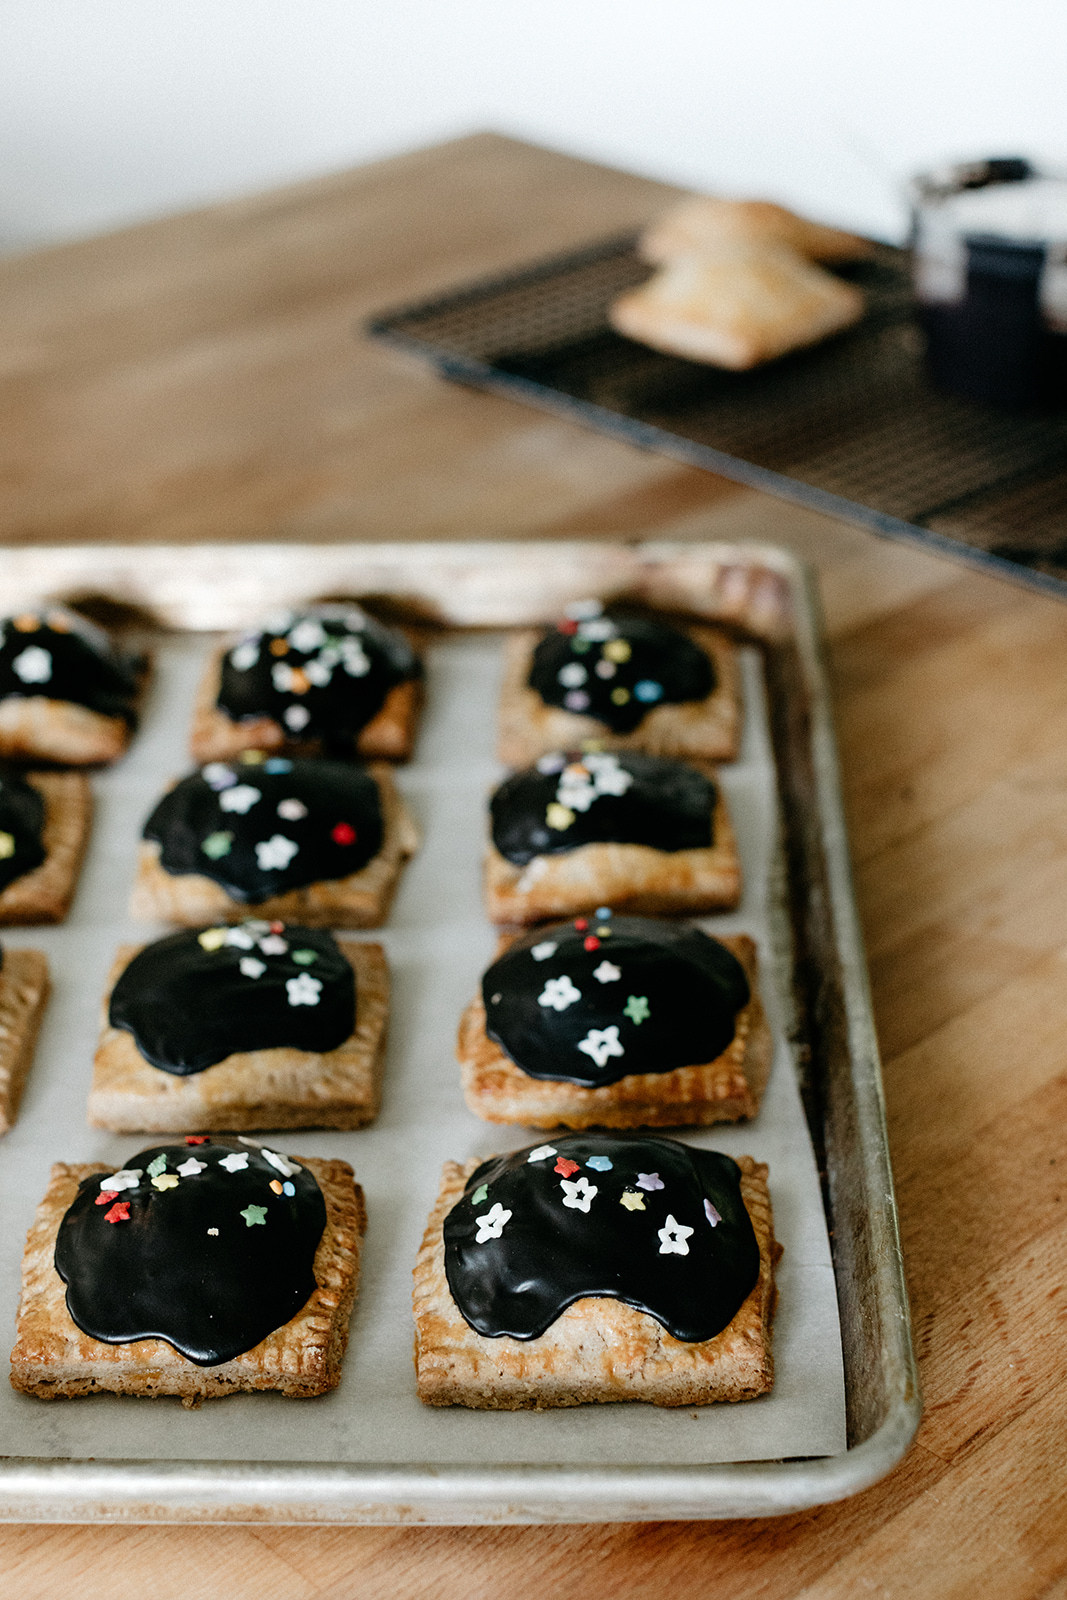
Top the tarts with glaze and sprinkles and enjoy! These will keep for a couple of days at room temperature.


-yeh!

photos by chantell and brettshirt from of a kindsprinkles from supernatural!

behind the scenes of #girlmeetsfarm

Girl Meets Farm has been out in the world for a day and a half now and life is totally different. I’m exhausted, dehydrated, disoriented, I have a headache... oh wait jkjkjk that’s just what I get for trying to keep up with all of the young people on this bachelor party romp. But actual jk, I’m fine, not hungover, and life isn’t different at all except that a lot of people have now seen my gold Buick boat and I feel exposed. I was like... should I rent a cooler looking car? And they said no, the Buick boat is great. And I think they were pulling my leg but it’s too late to do anything about that now I guess. 🤷🏻‍♀️

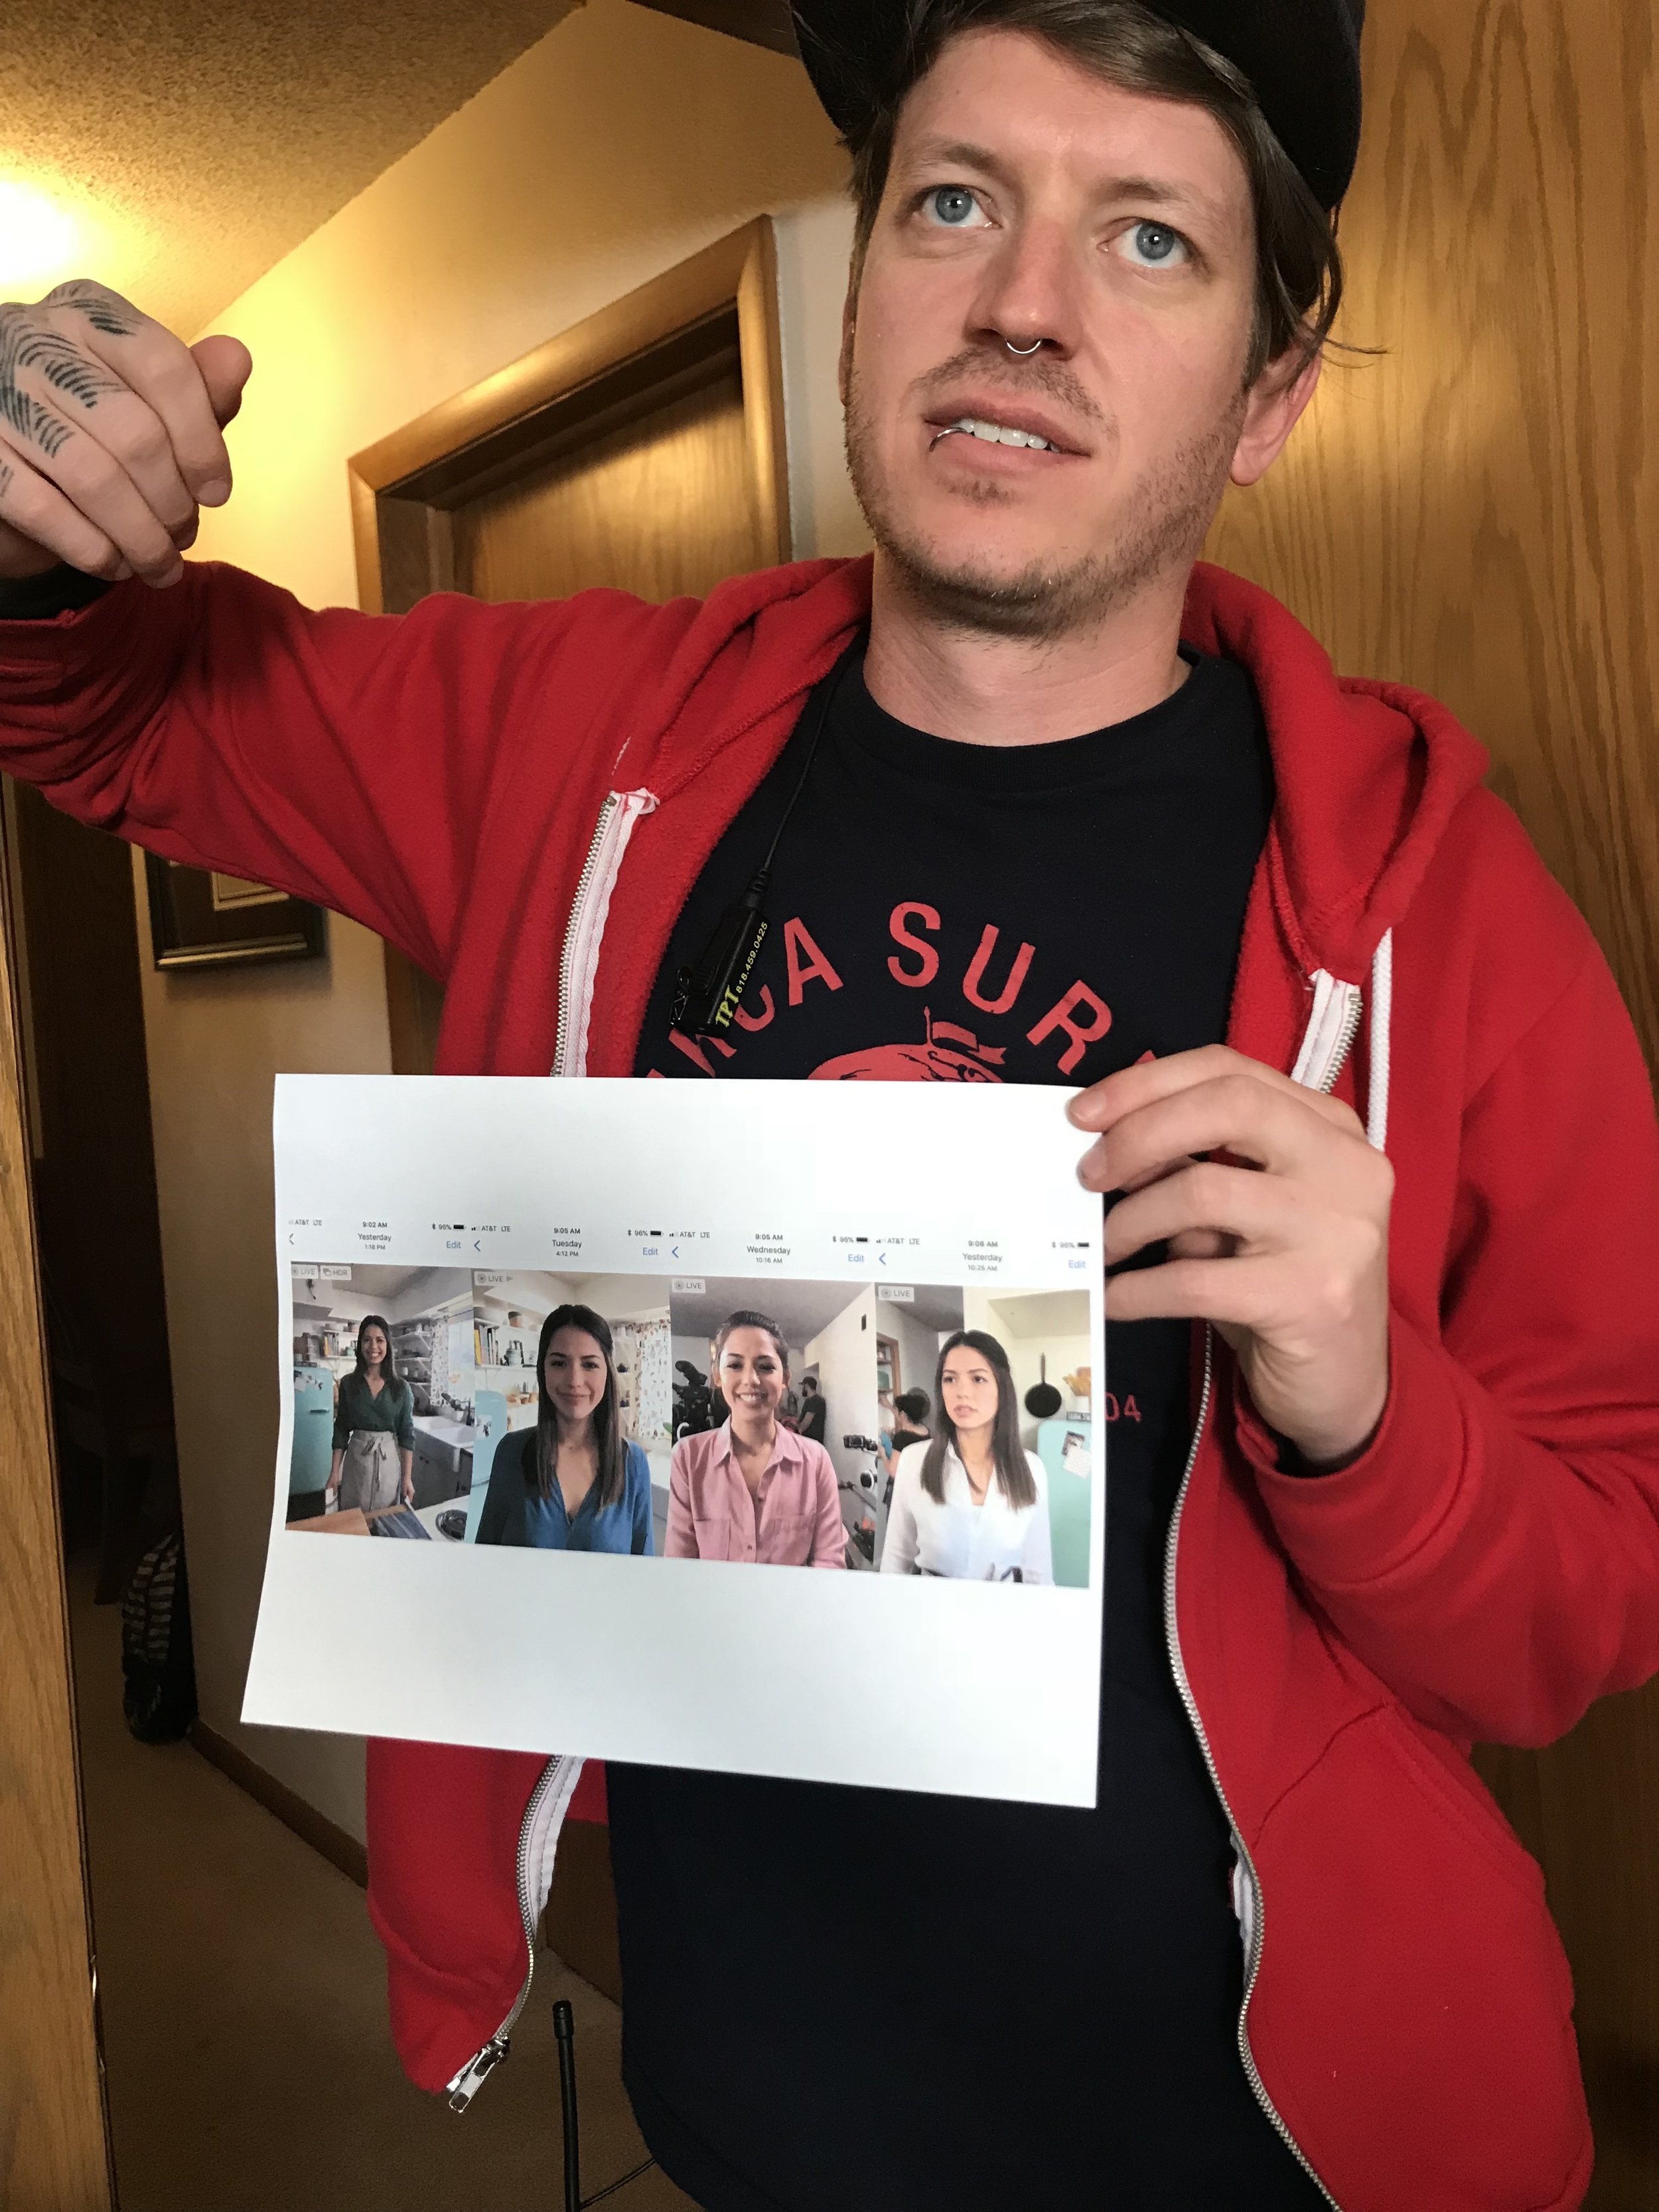
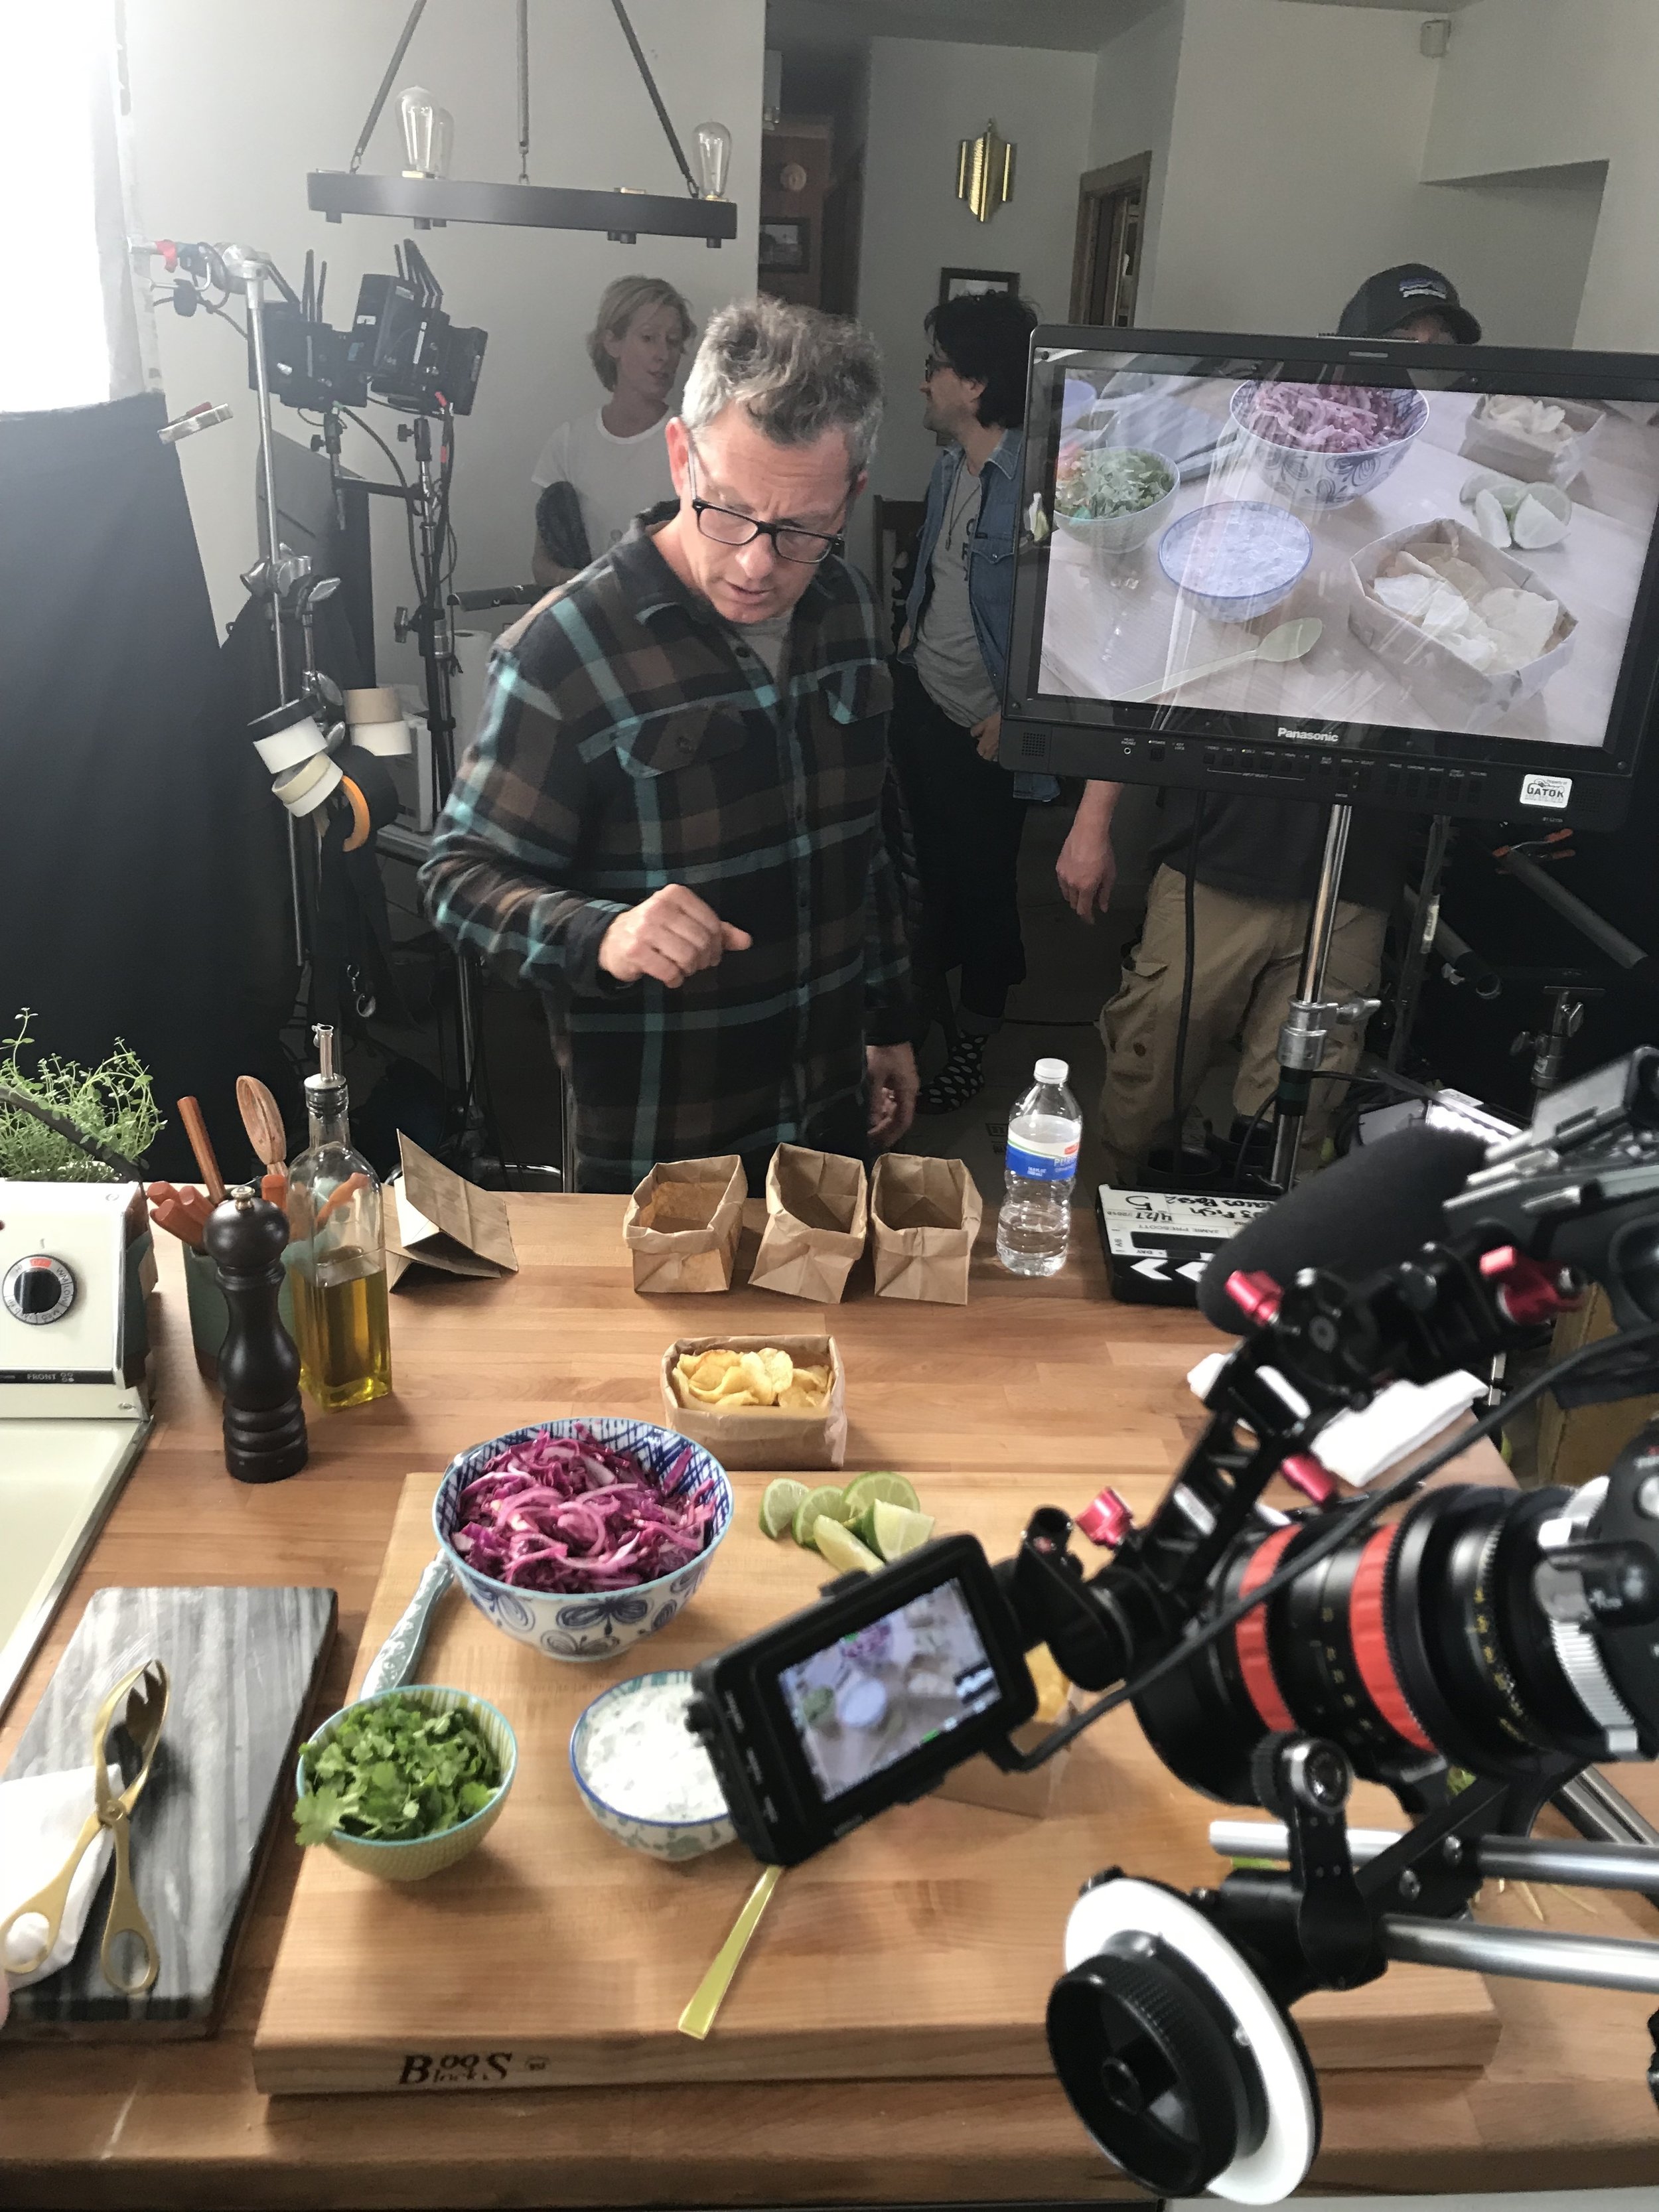
One of my favorite parts about this TV process has been learning what goes on behind the scenes. Starting from weeks before the crew arrived up through, well, now, I’ve been learning so much about what happens on the other side of the camera and it’s fascinating and cool! Except for my first gigantic teenage-style breakout since high school due to wearing way more makeup than normal. But other than that, I want to tell you about the behind the scenes of Girl Meets Farm!! In no particular order, here are some of my favorite tidbits:

Every item that has a logo or brand name written on it has to be “Greeked.” I suspected this would be the case because ever since being fascinated by the groceries on 30 Minute Meals with Rachael Ray, which looked like they were taken directly from the Kohl Children’s Museum fake grocery store, I have not seen one branded label on a cooking show. I never knew it was called “Greeking” though and it was cool to watch the art directors and culinary team find creative ways to cover labels. For the fridge, we printed out pictures from my wedding and grabbed a photo booth shot of Michelle and me and taped them over the Smeg label. Color coordinated washi tape and gaffer’s tape covered the KitchenAid label and book titles, and tiny dots of red nail polish covered up the Our Family logo on spice bottles. After the shoot I kept most of the Greeking on as souvenirs.

My kitchen got a facelift. In the days leading up the shoot, the art directors wove their magic wands all over my kitchen and turned it into the most put together version of itself. They completely decluttered it and arranged the open shelves using a mix of pieces I owned already and new pieces that they brought that fit in with the vibe. Even though they had taken photos of what it looked like before they rearranged so that they could put it back exactly how it was when they left, I had them leave it the way they arranged it because it looked too good! 

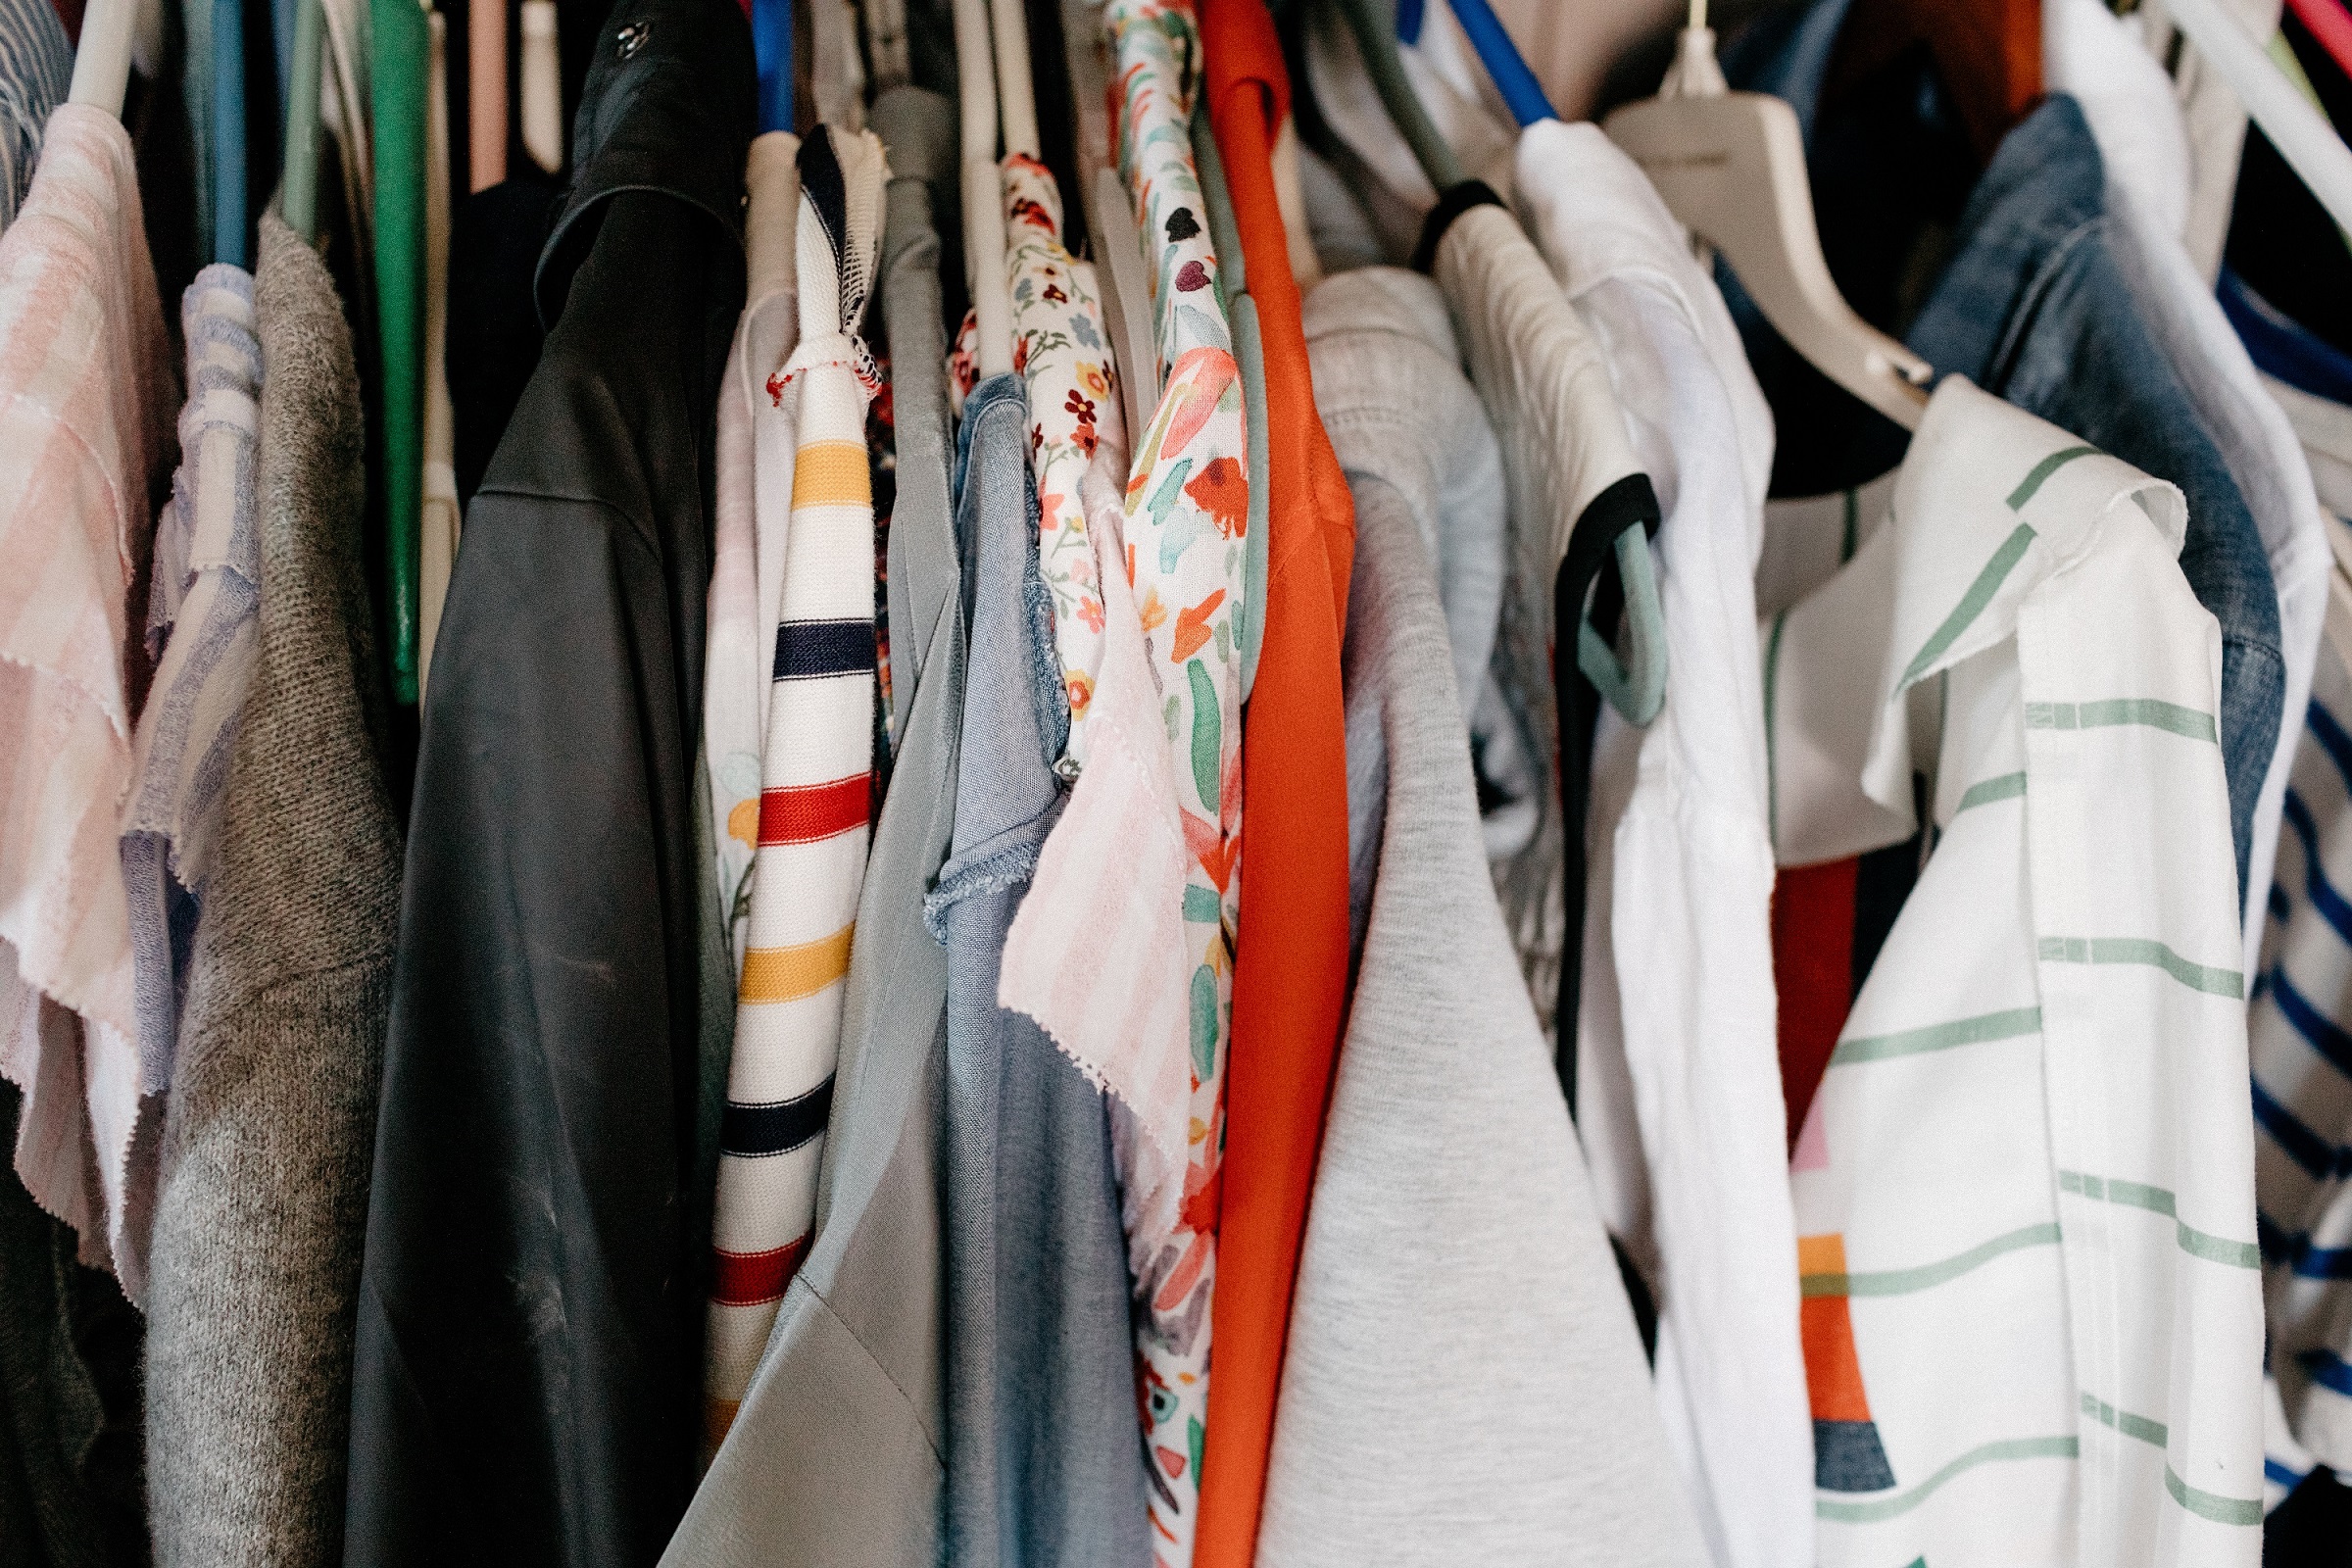
I was able to assemble my own wardrobe. I don’t know how this works on other shows but I am very picky about clothes so I was glad that I could waffle and hem and haw by myself in the Gap dressing room in the weeks leading up to the shoot. I had to get two of everything in case I spilled. Pretty much everything I wore came from Gap or Old Navy, and then I wore a bunch of new aprons from my friends at Enrich and Endure.

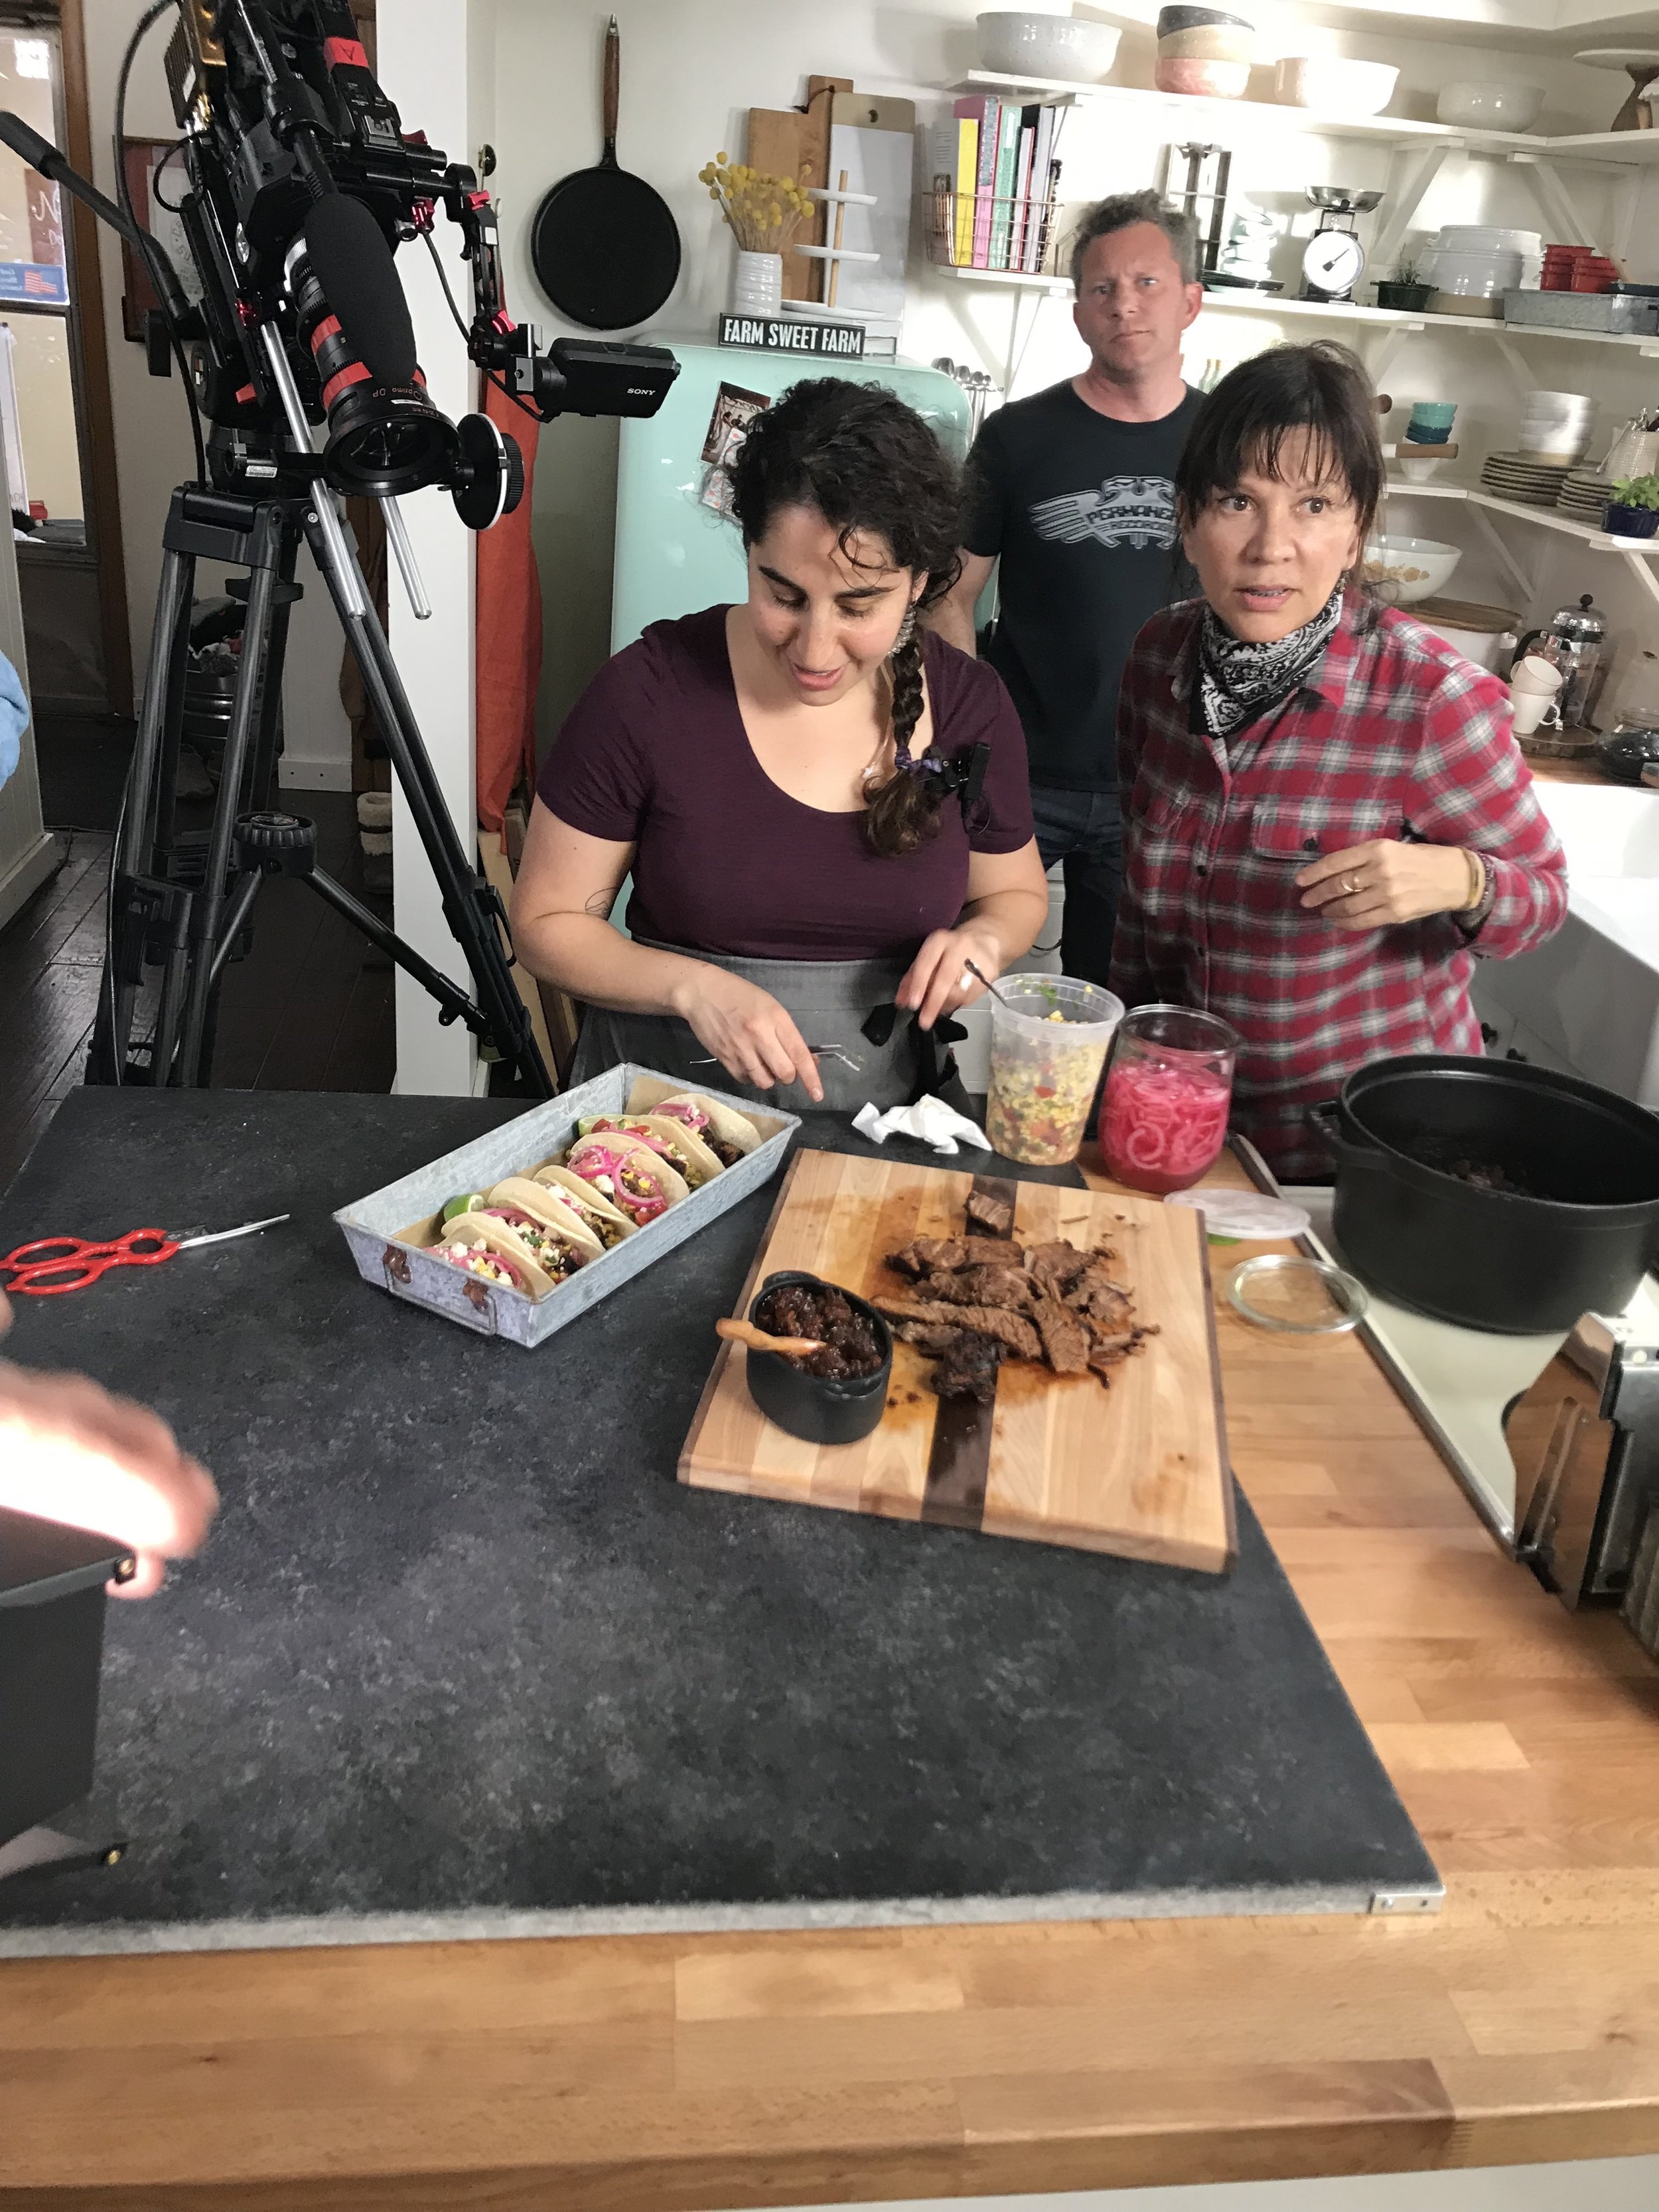
Each recipe was filmed twice. The first time going through the recipe was focused on getting clear lines from me describing the steps and talking about the dish, and the second time was focused on getting closer shots of my hands adding specific ingredients, mixing, chopping, etc. Before getting started on filming a recipe, we shot “grabs.” Grabs are closeup shots of my hands grabbing tools and ingredients. So if you see me say something like “I’m going to grab the harissa” and then you see my hand grabbing the harissa, those two shots were actually taken like 20 minutes apart. 

After filming a recipe, the cameramen took beauty shots of the dishes. These are the styled closeup photos that you’ll see in the recipe teasers and online with the recipes. Since I wasn’t in these shots, this gave me about 15 minutes to go outside, review my recipe notes for the next recipe, stuff my face with Trader Joe’s mini crackers, and hydrate.

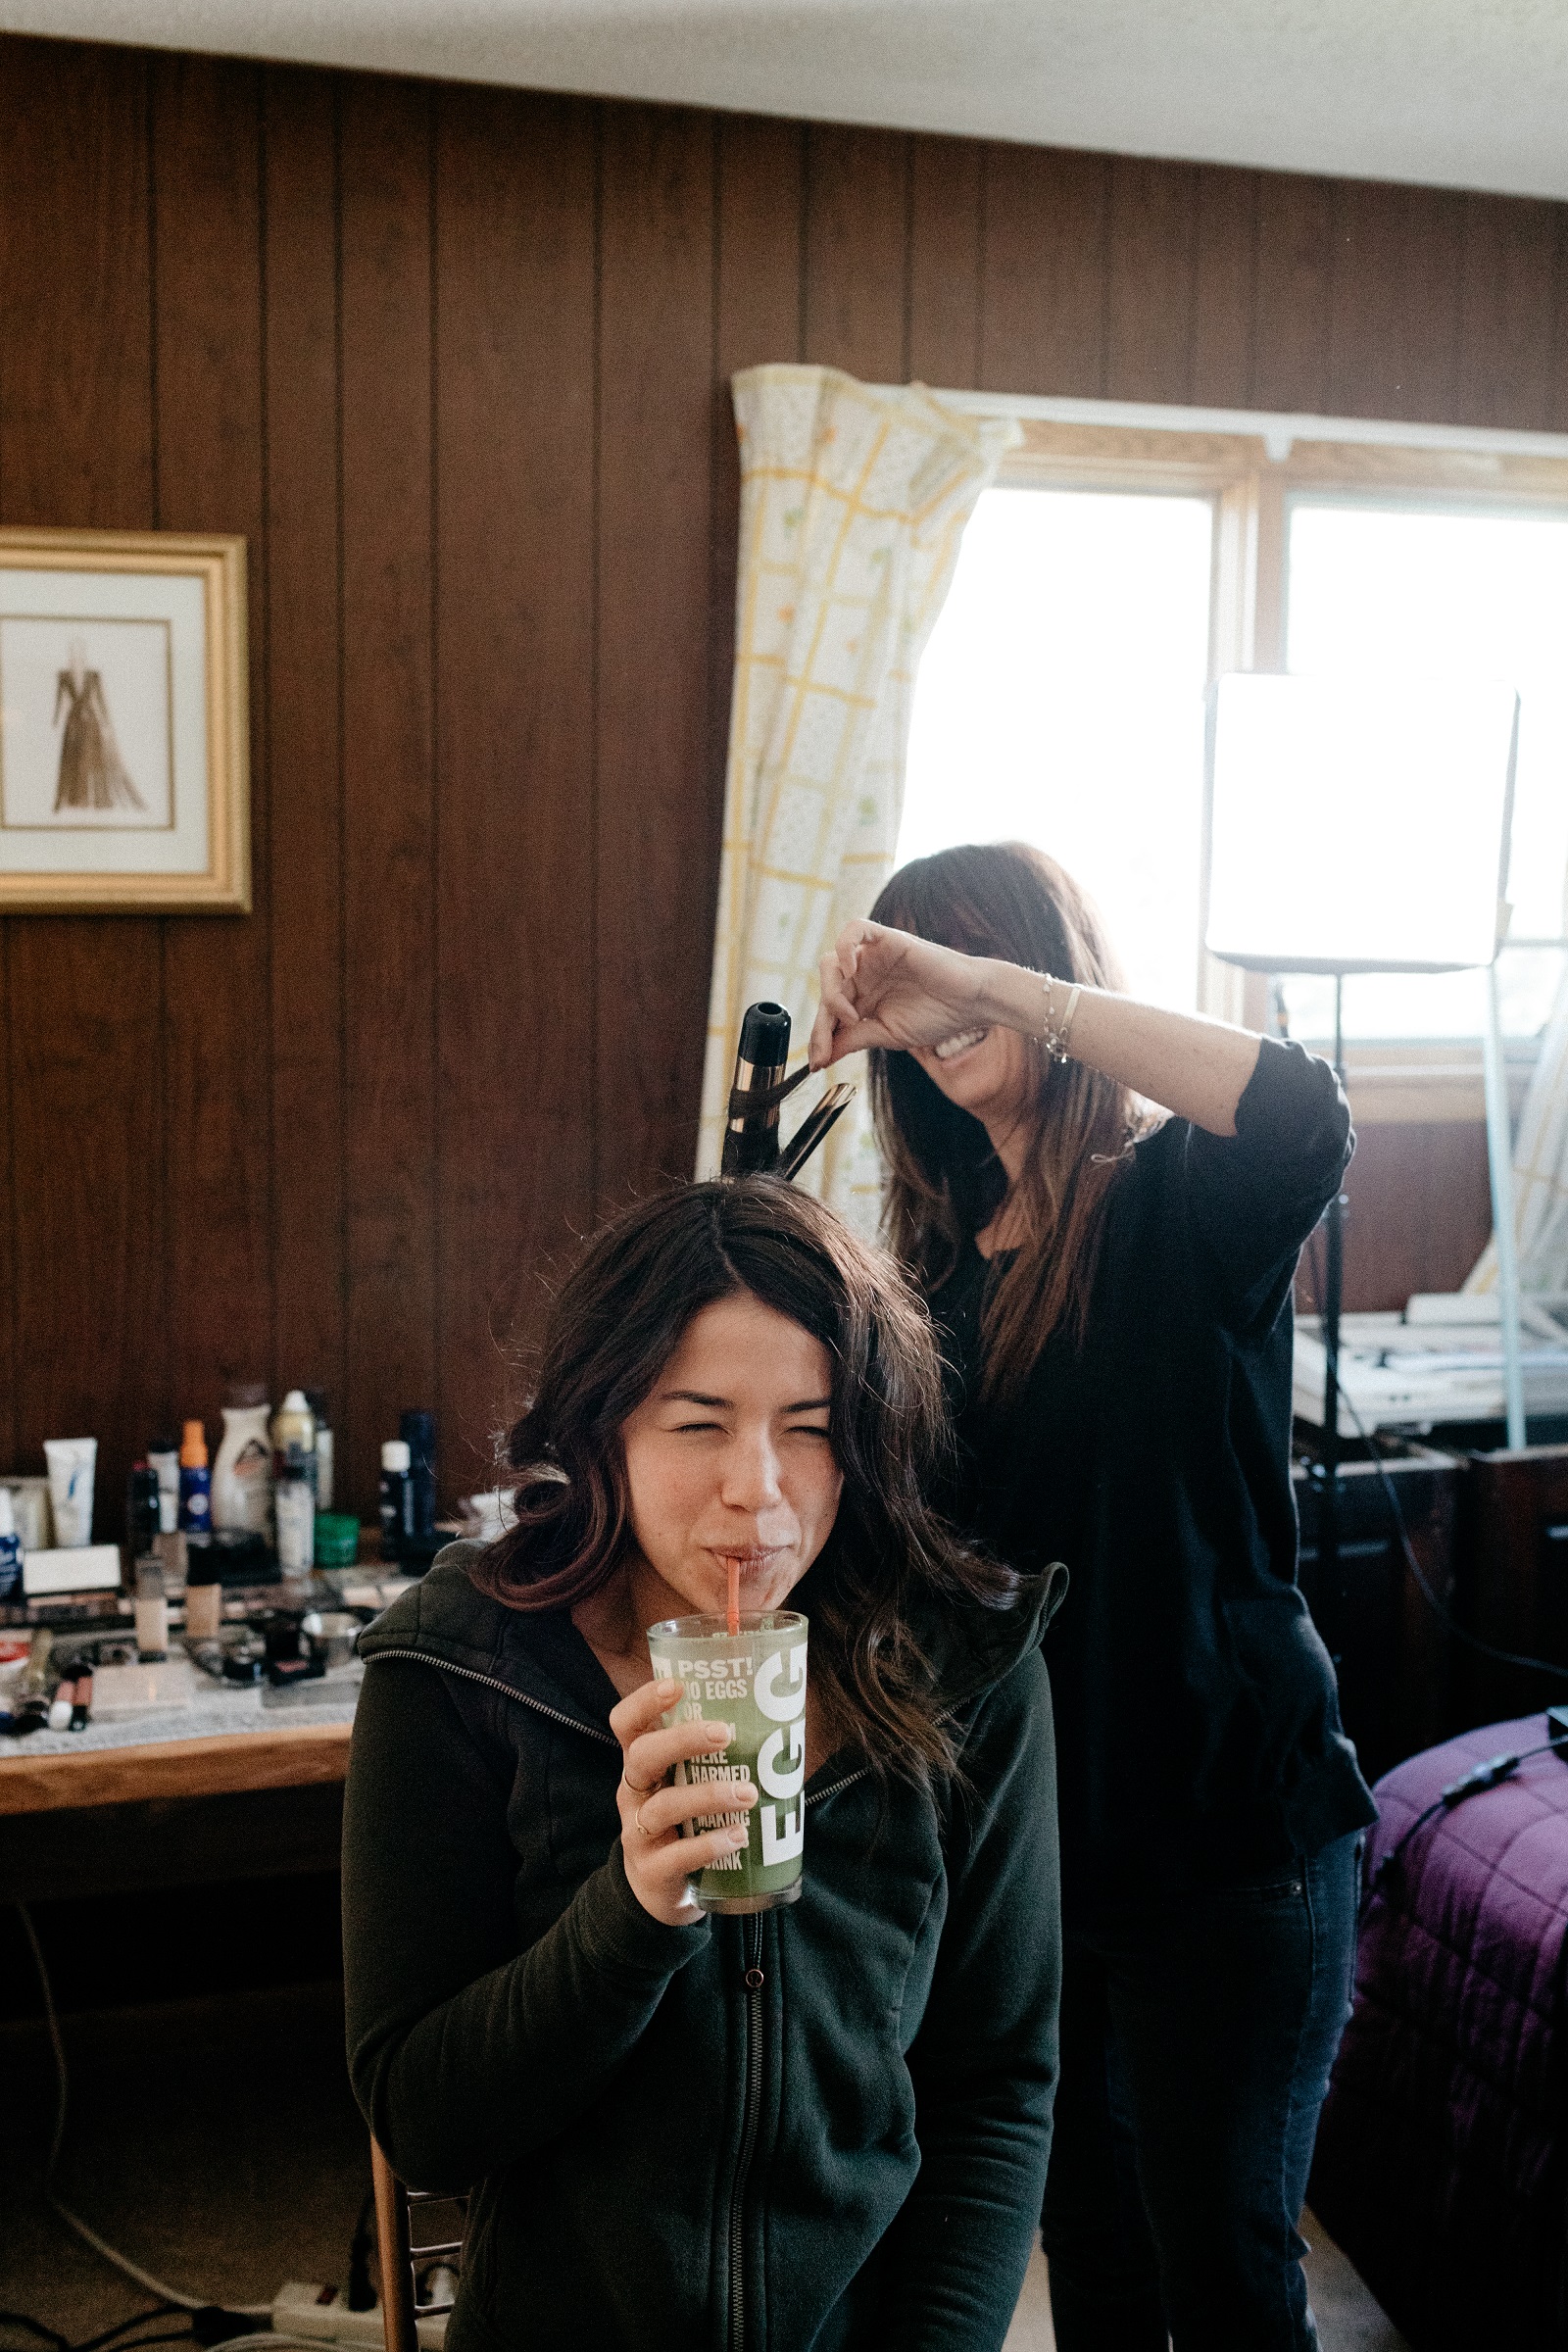
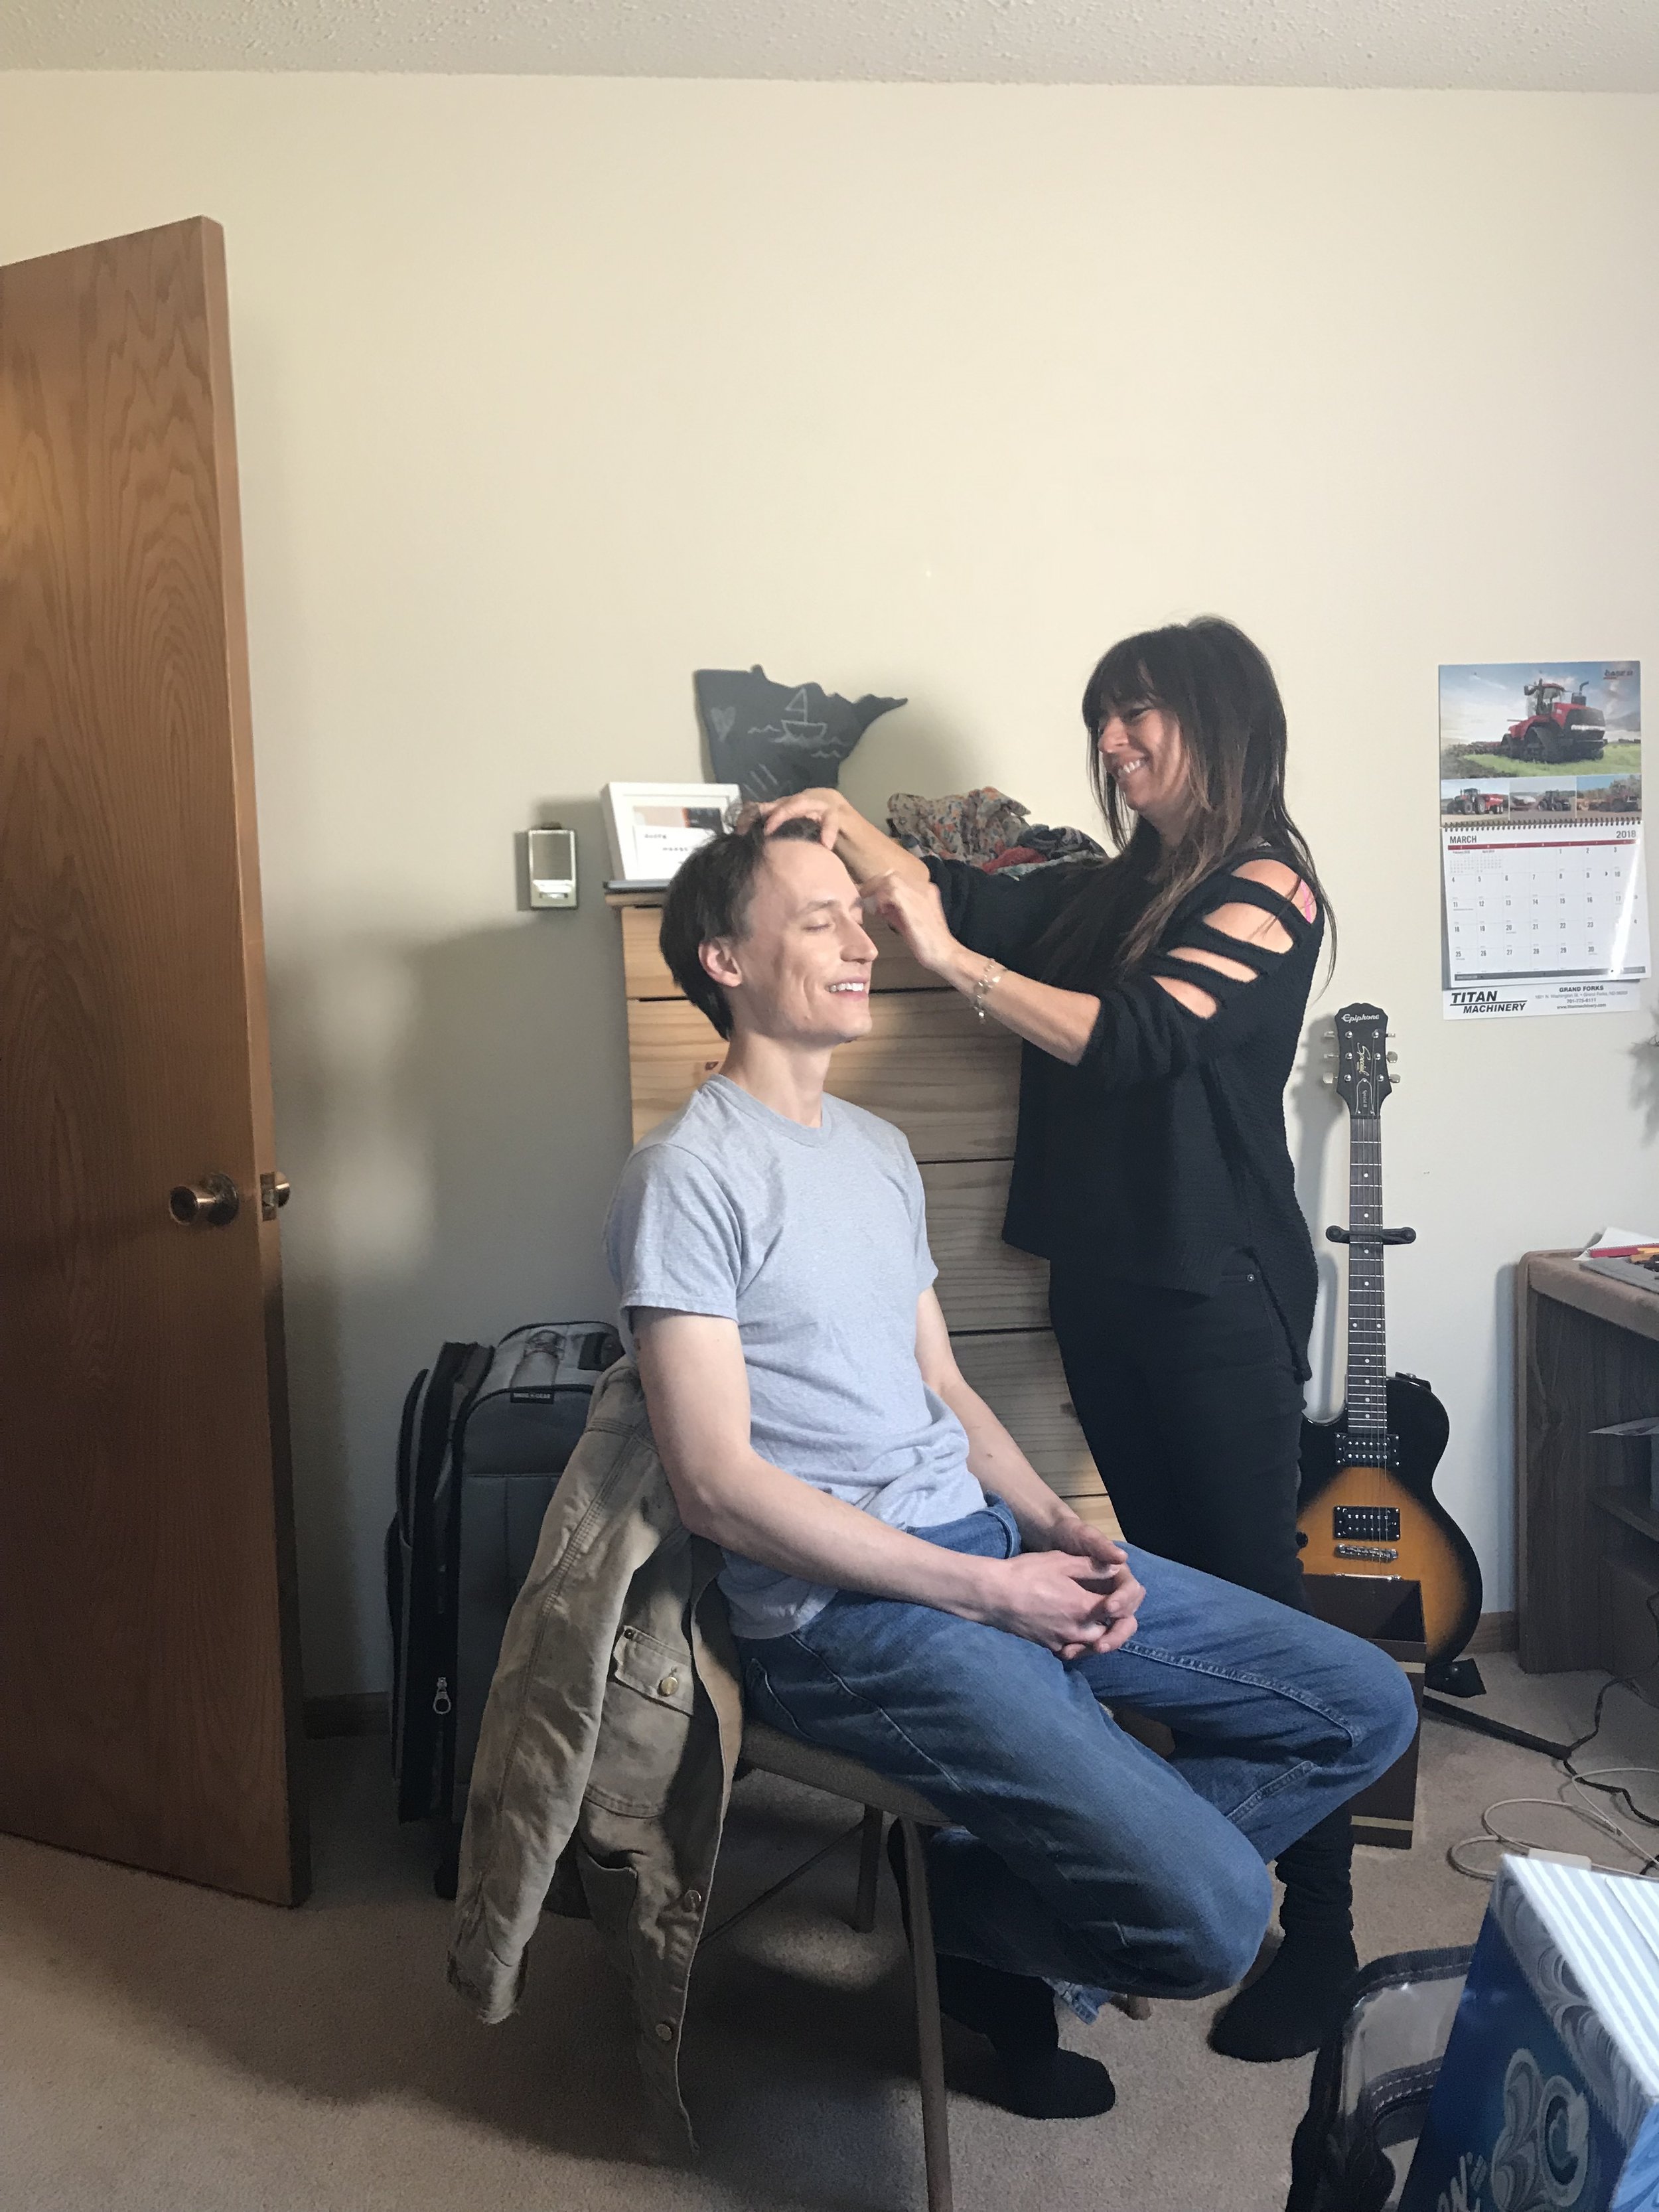
Every morning I spent an hour in our guest room having my hair and makeup done by Jane! It was the best start to the day. We listened to Rex Orange County, I’d sip my coffee, and she told me all about working as a makeup artist in Los Angeles. She had the coolest stories. About halfway through hair and makeup, Kelsi, a production assistant, would come in with my breakfast, a green smoothie. I was such a Healthy Hannah compared to the pilot shoot, when every morning I got a breakfast sandwiches delivered to me. 

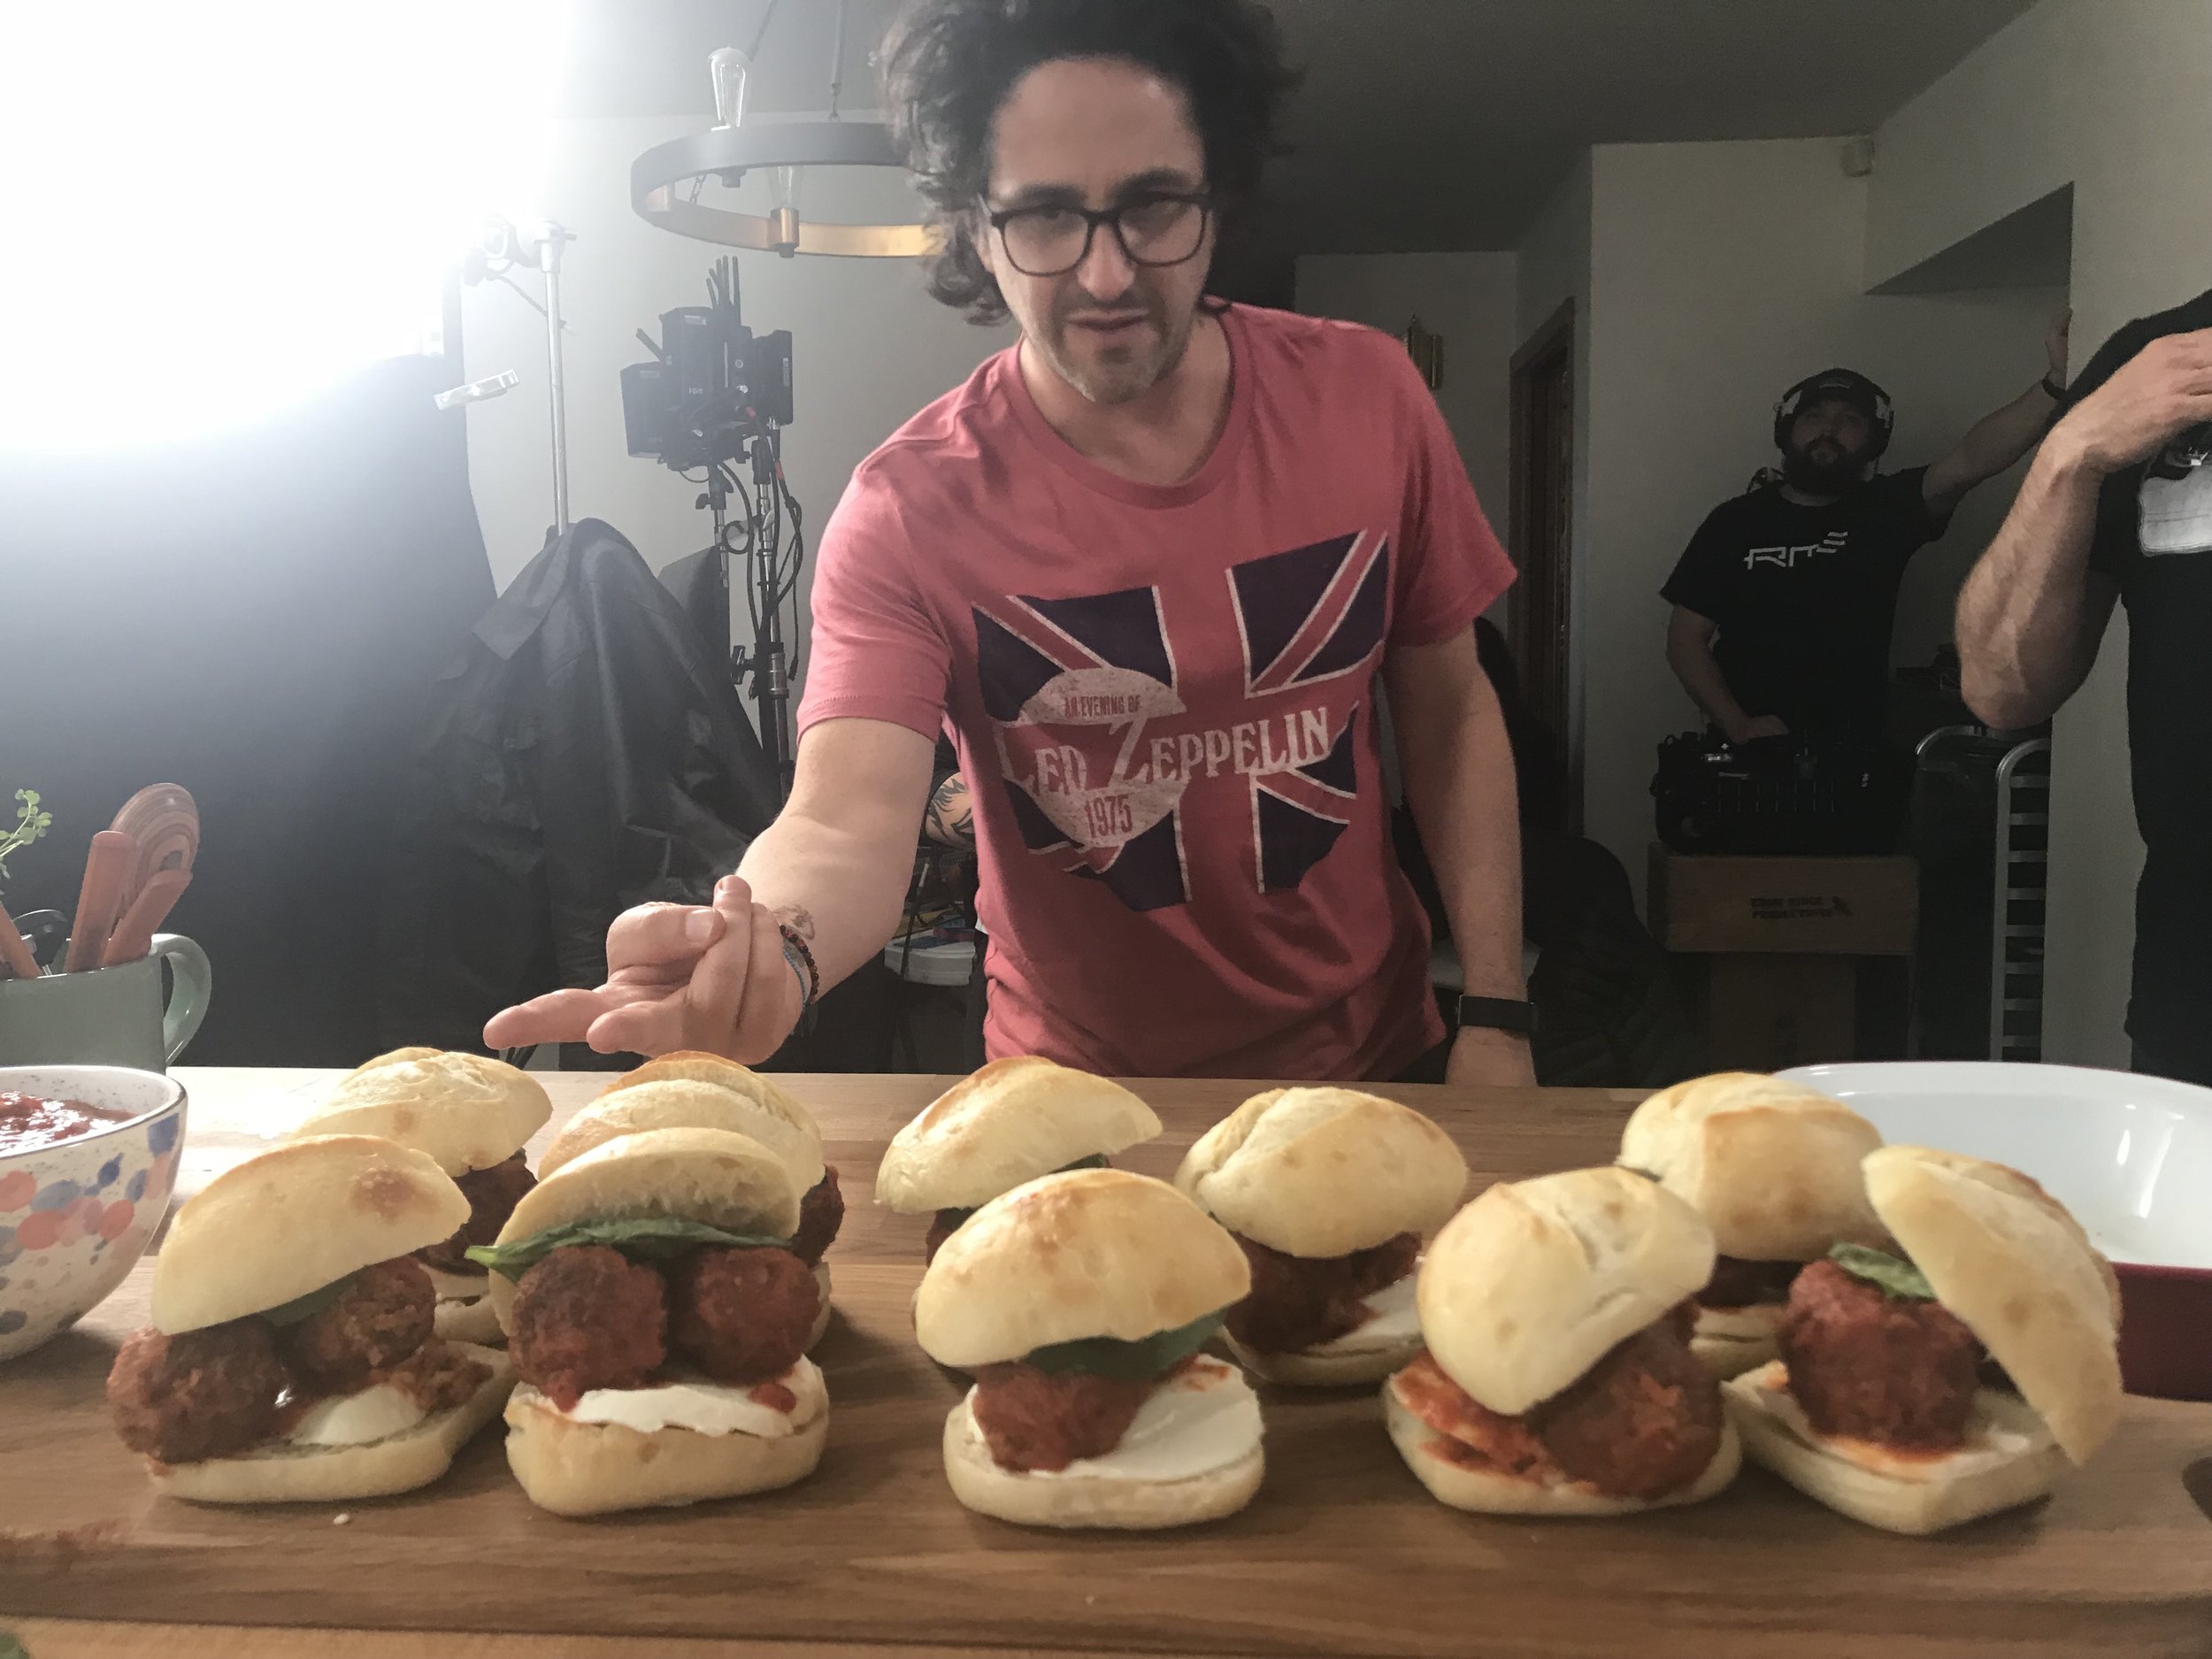
Dinner was usually leftovers from the shoot or takeout, often eaten in bed because we had nowhere else to sit. Our dining room was filled with cameras and monitors and our living room was set up with props. So we’d eat like meatball sliders and watch Mad Men in bed, cause that was another thing, we got to move the TV from our kitchen into the bedroom! Eggboy is completely against having a TV in our bedroom but because we had to move it out of our kitchen, I convinced him that there was no other logical place for it to go. I felt like a kid on a sick day watching The Price Is Right, it was the best thing ever. After dinner I’d get ready for bed and then review all of my recipe notecards for the next day. 

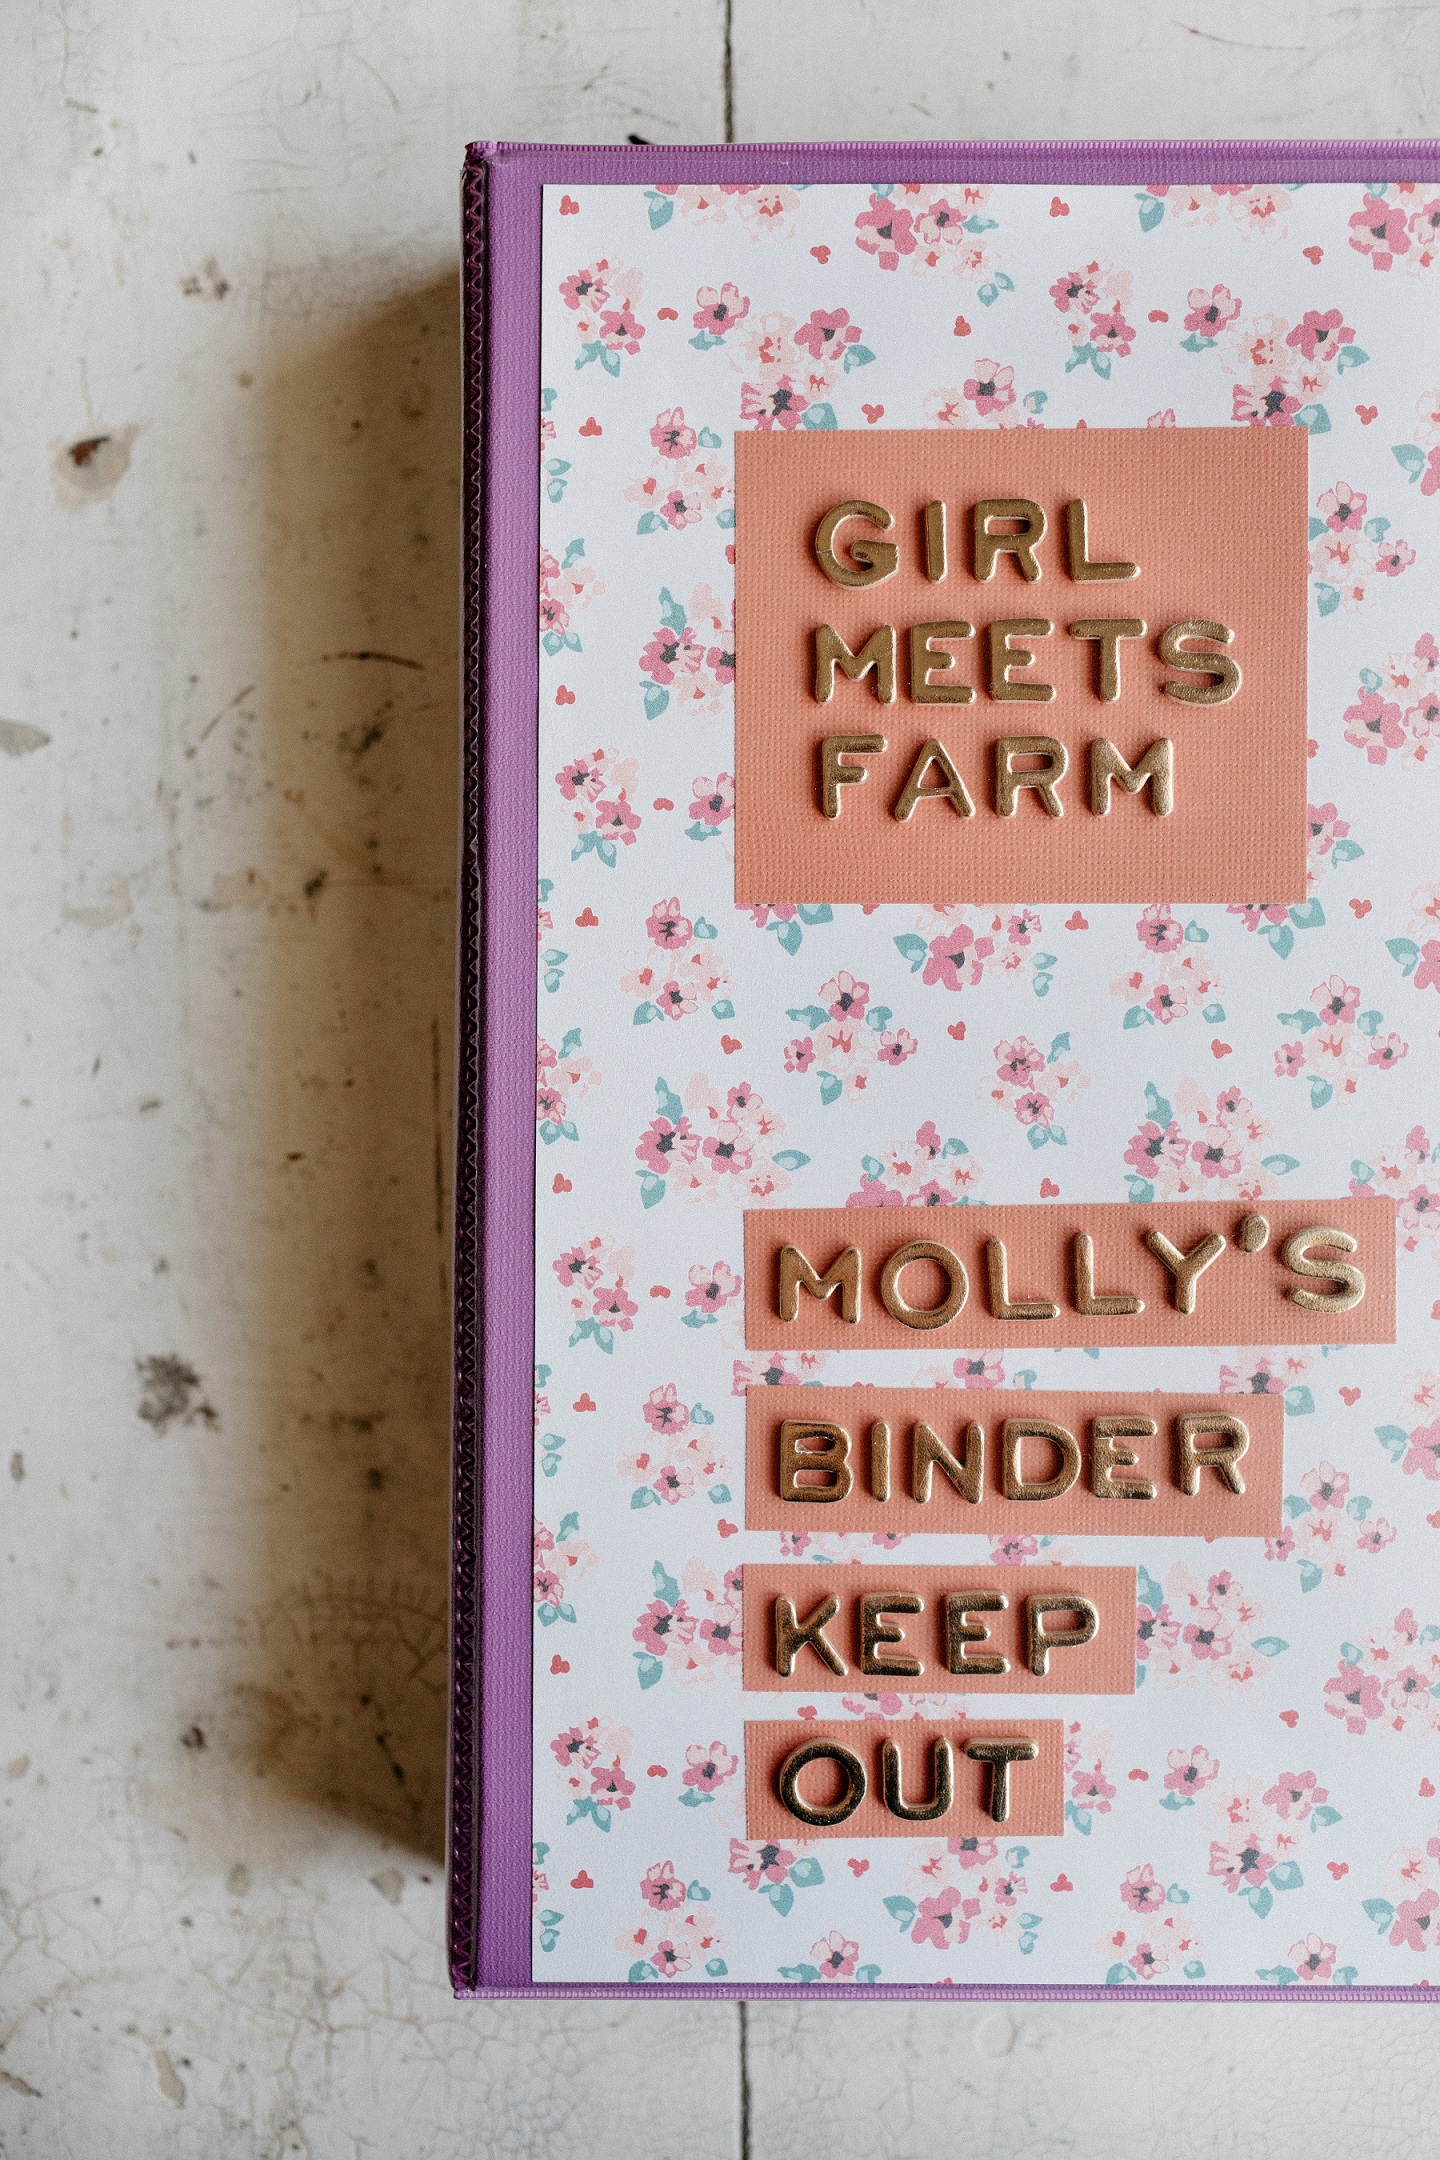
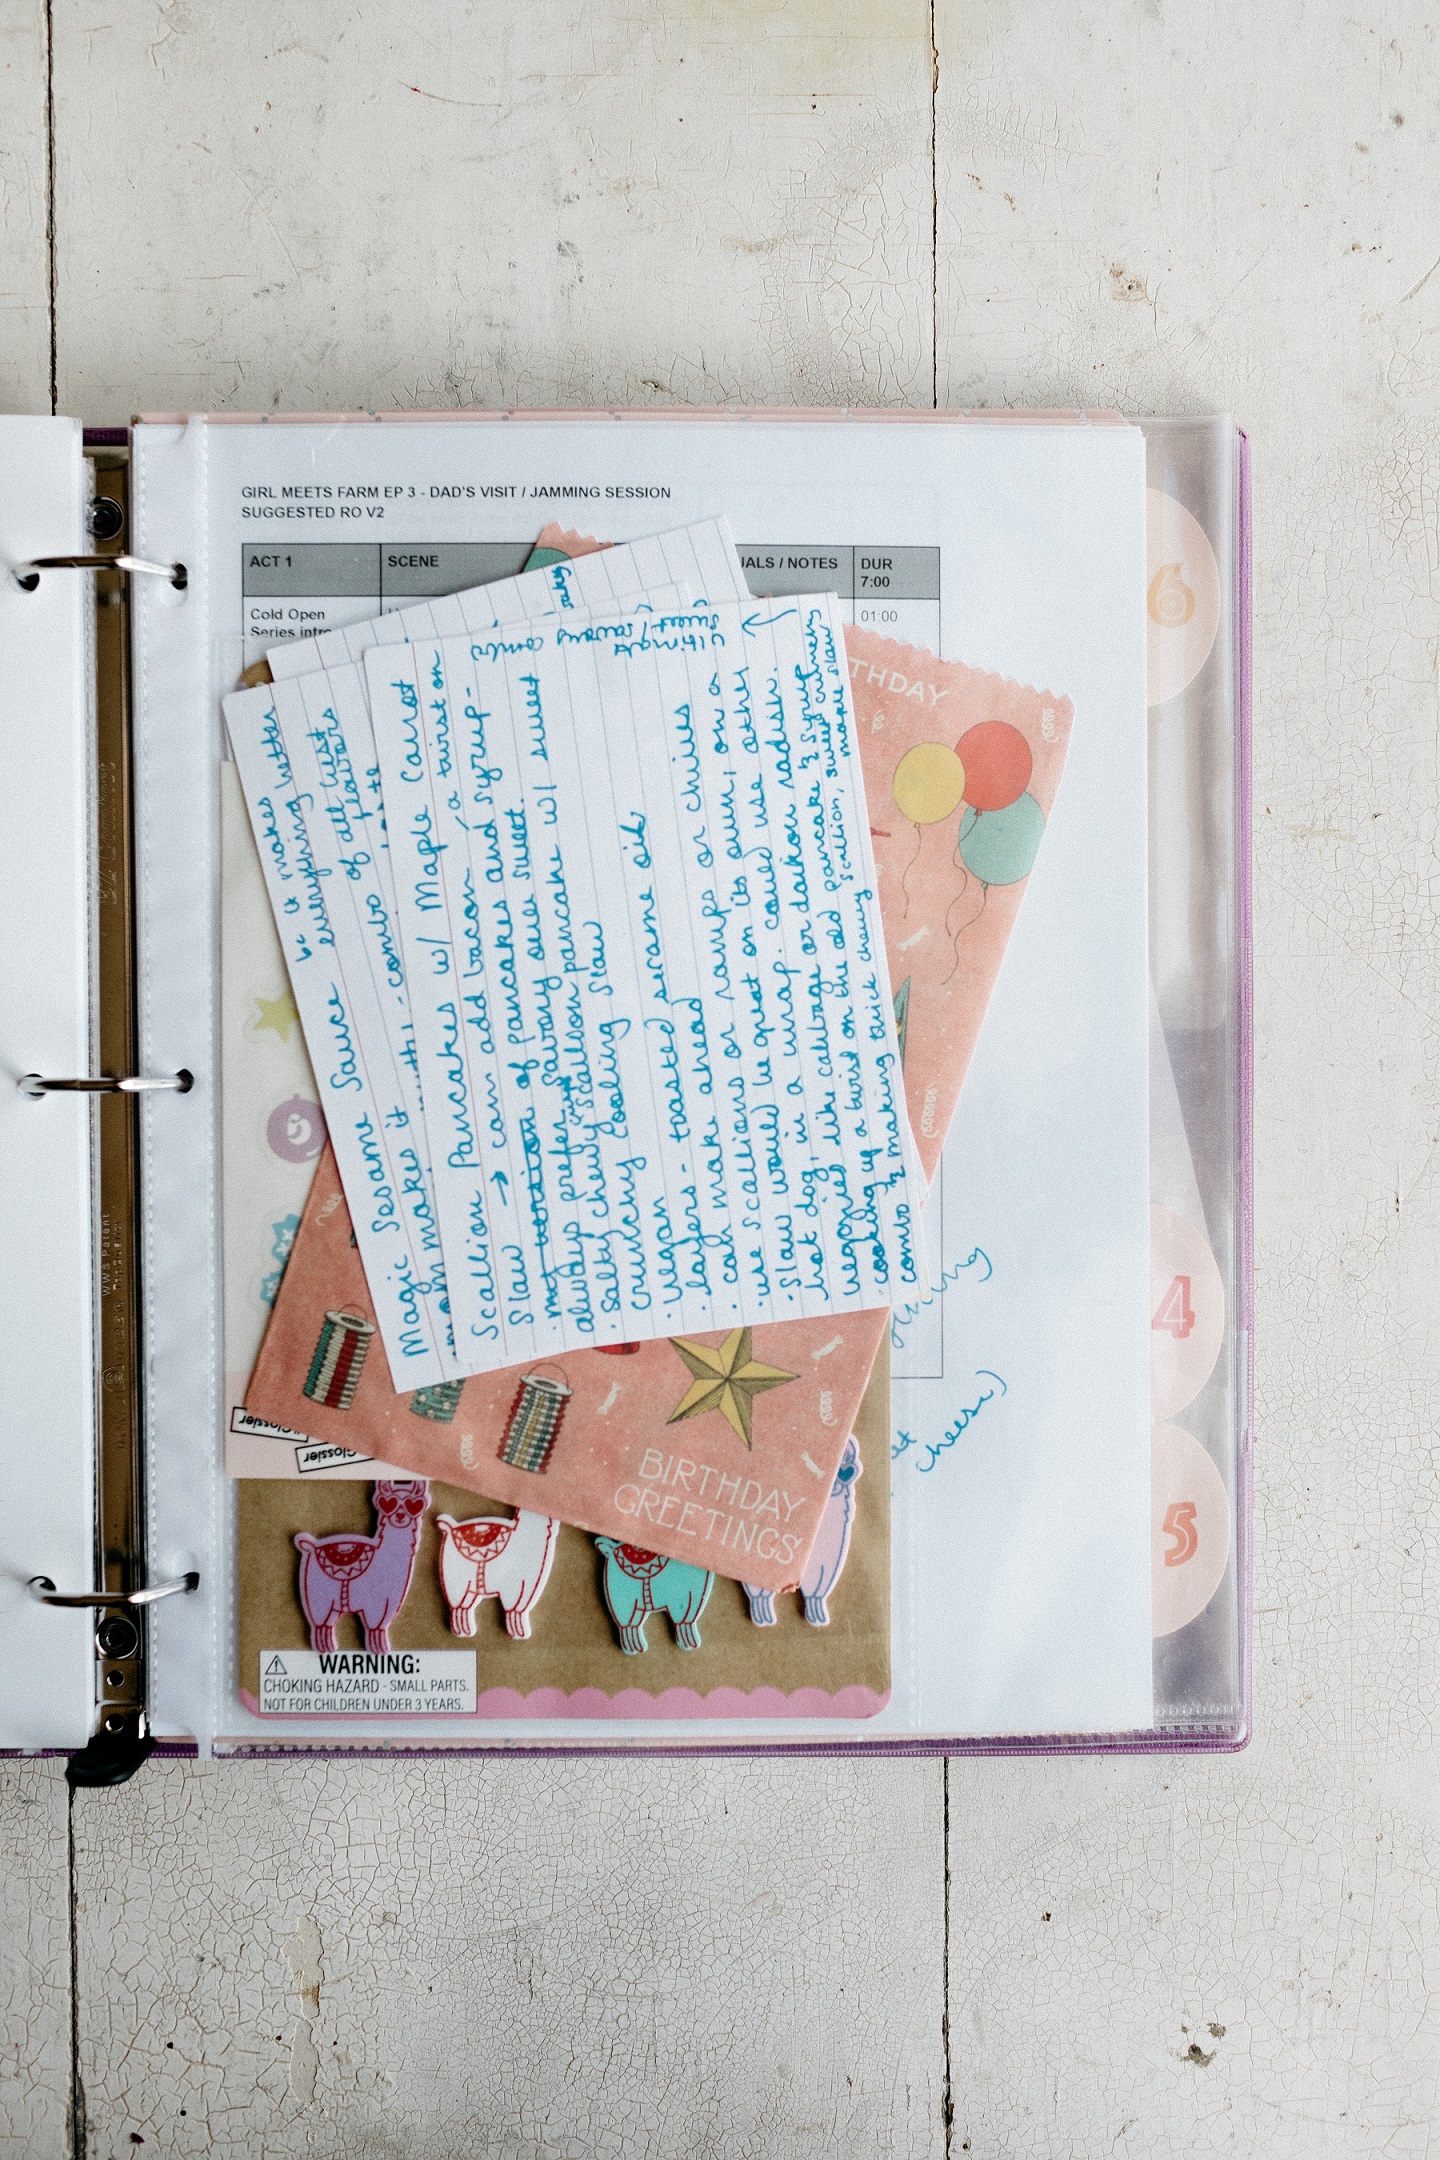
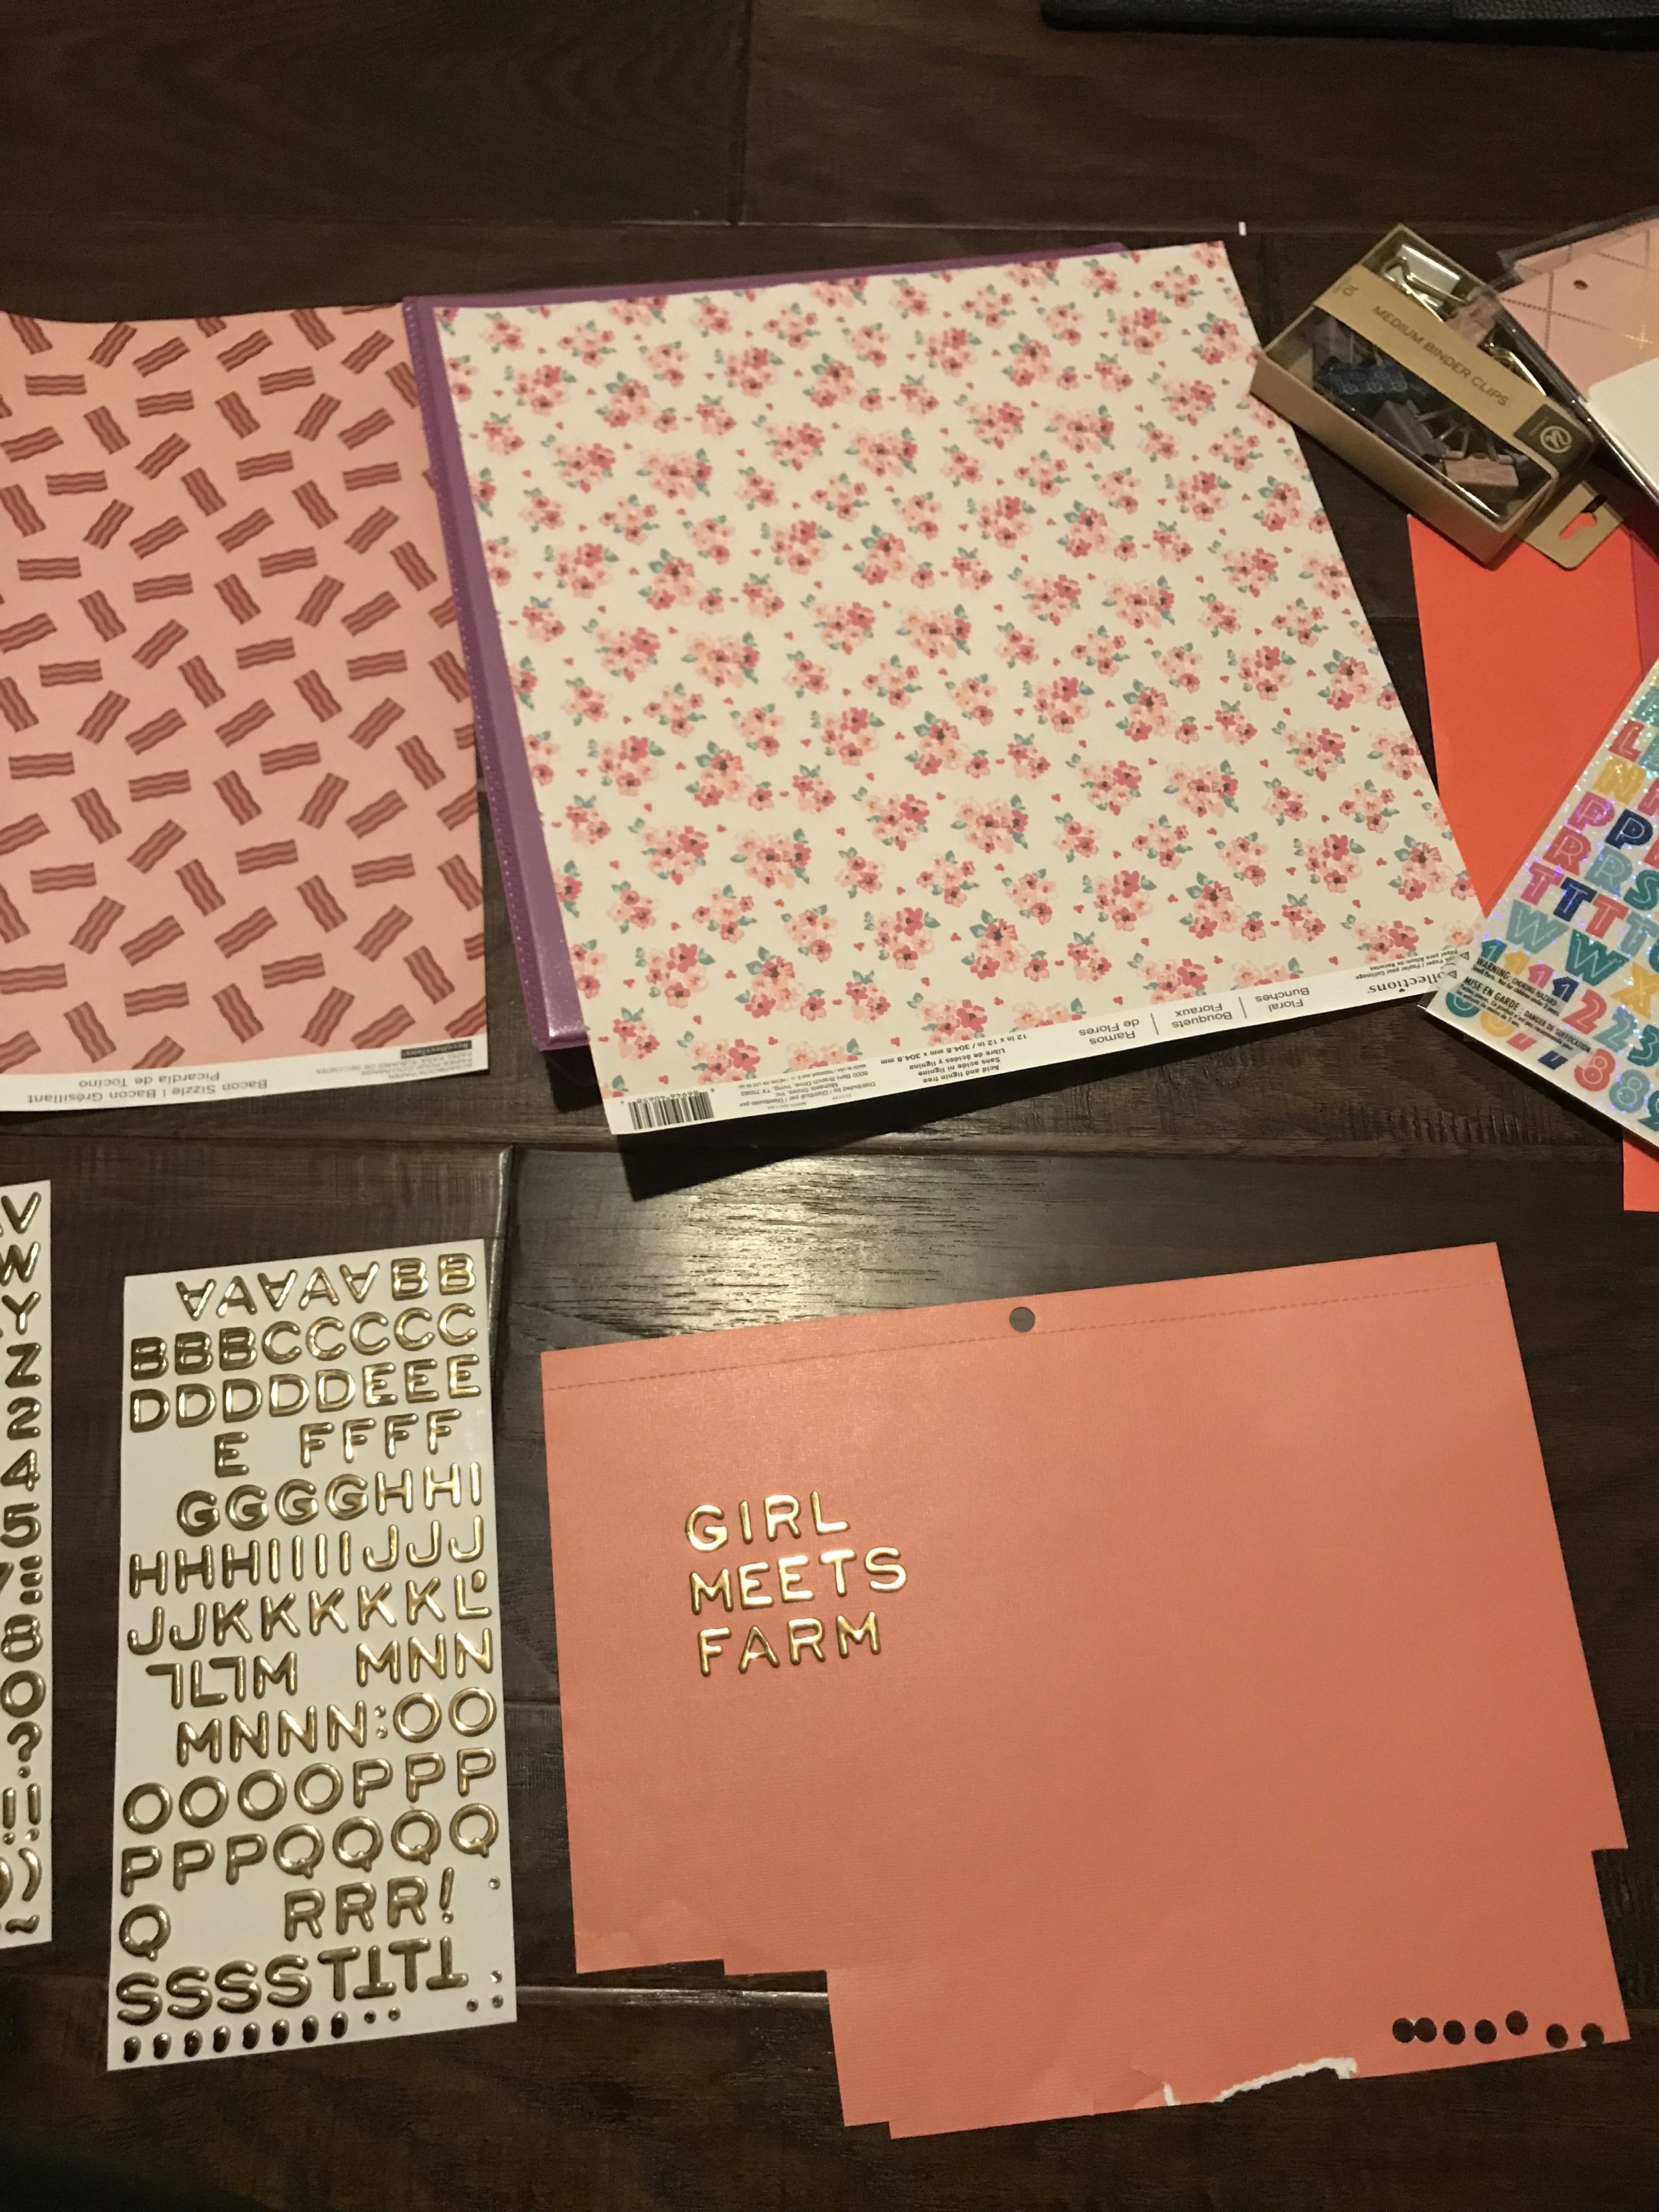
Ok so speaking of recipe notecards, I had a lot of fun organizing all of my notes. Like, straight up school-supply-shopping-on-steroids fun. The weekend before the crew arrived it occurred to me that the best way to keep my recipe notes in order would be to have them in a binder, so I went directly to Target and Michael’s and got all of the prettiest binder making materials. Omg it was so fun. I went with a pink and purple theme and got enough stickers to hand out to the crew in case any of them had any sticker emergencies. And then I bought Gelly Rolls for the first time in 20 years and nearly cried in nostalgic happiness. I made one binder section for each episode and at the beginning of the section I included a page protector for all of my notecards and stickers and then within the section I kept the script that had a flow of the episode all written out and any other related materials, like the sheet music for the Bach that I played with my dad for the episode where he visits. Each section also had a designated Gelly Roll color. During the filming I kept my binder in a designated spot on a table behind the cameras and then would bring just the notecards with me to the kitchen and keep them in a drawer close by so I could reference them at a moment’s notice. 

Alight, those are all of the things I can think of for now! If I think of anything else, I’ll tell you in my upcoming Girl Meets Farm posts, where I plan to share recipe outtakes!! And if you missed the premiere on Sunday, that same episode will be playing again tomorrow! Check your local listings!

-Yeh!

All photos except for the cell phone photos by Chantell and Brett!