recipe

coconut marzipan tractor cookie cutouts

something that i was taught when i moved to the farm was that farmers fall into one of three main tractor camps: john deere, case, and new holland. i had already known about john deere because remember in high school when clothes with the john deere logo were popular for no reason according to kids in the suburbs who had never been to farms? but when i got here i quickly learned all about case because eggboy is a case man and case is the best (!) and here, look at case win tug of war against john deere. so all of our tractors and things are red which look really nice against the golden yellow wheat, a bit christmas-y against the beet greens, and in general, a really nice look and i applaud past generations of eggs for their decision to go with case.

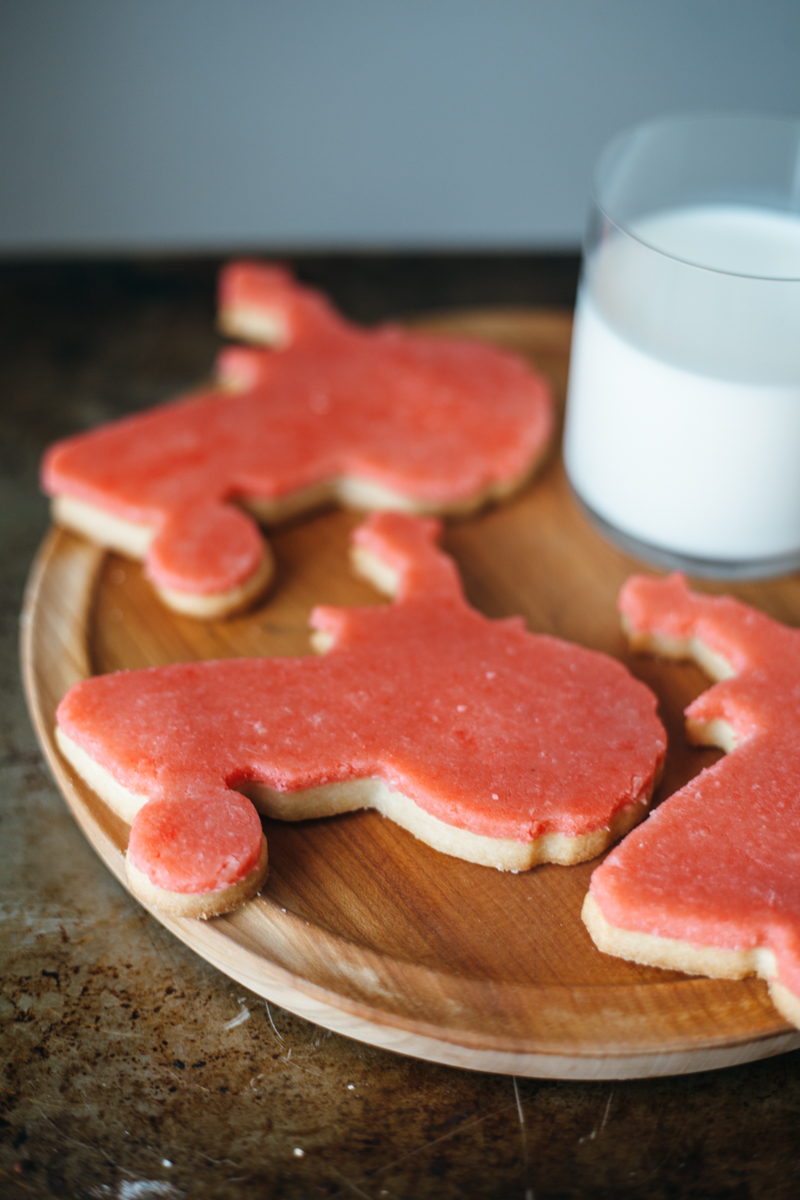
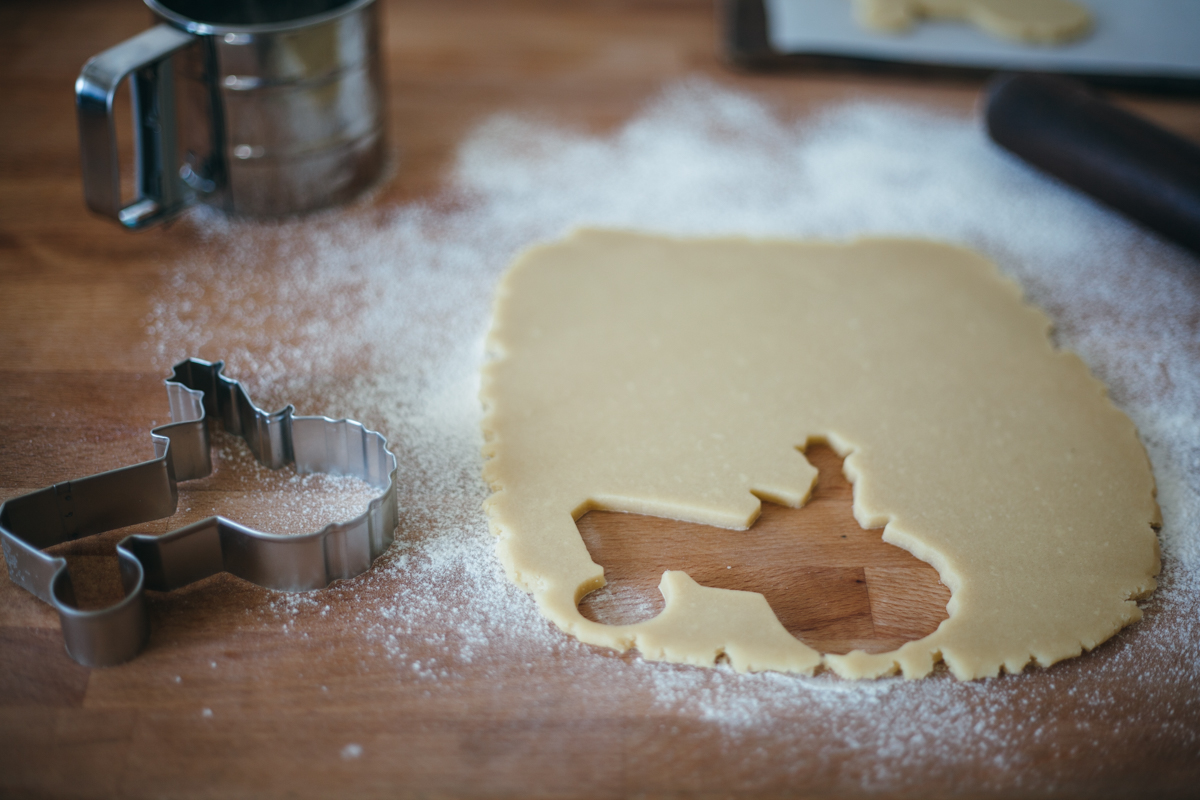
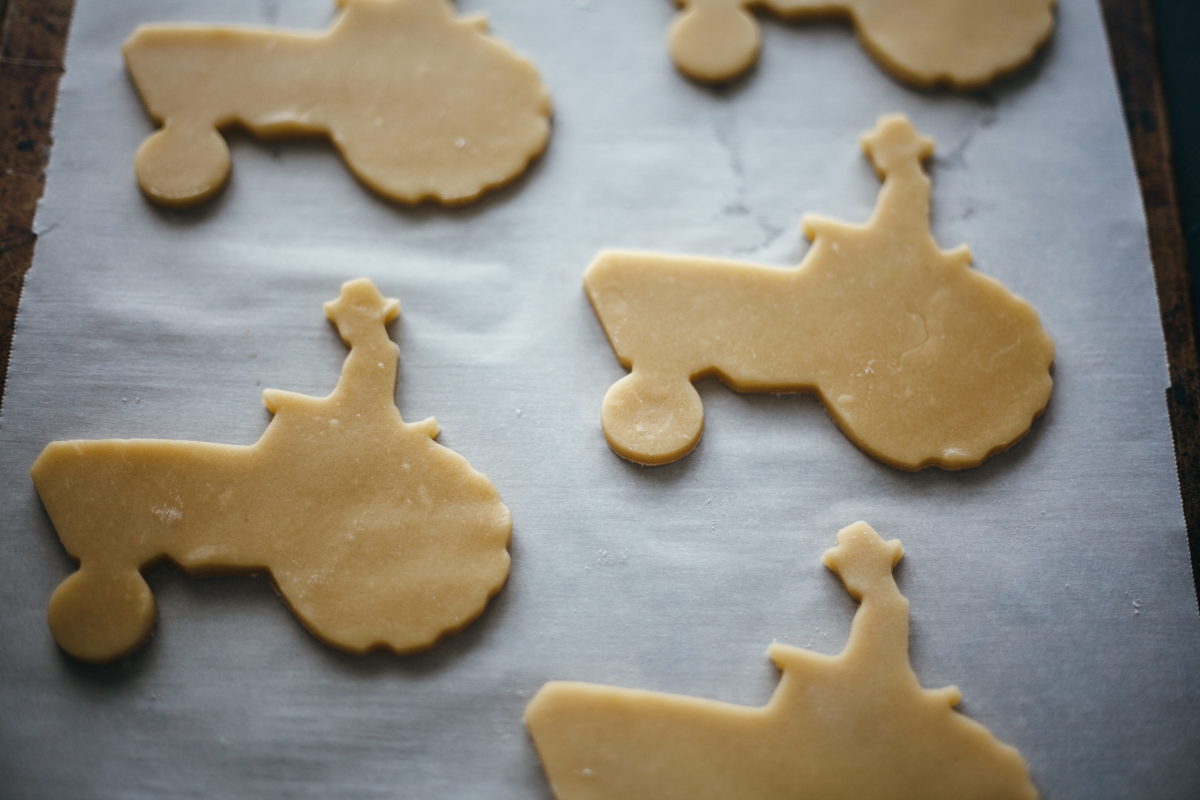
the last time mum was in town we found this tractor cookie cutter at the home of economy and the cookie cutter guy on the tractor has eggboy's hat, so we had no choice but to get one. i took him for a little spin last week to celebrate the first day of wheat harvest and naturally, i was expected to decorate my cookies with red. no green food coloring in site.

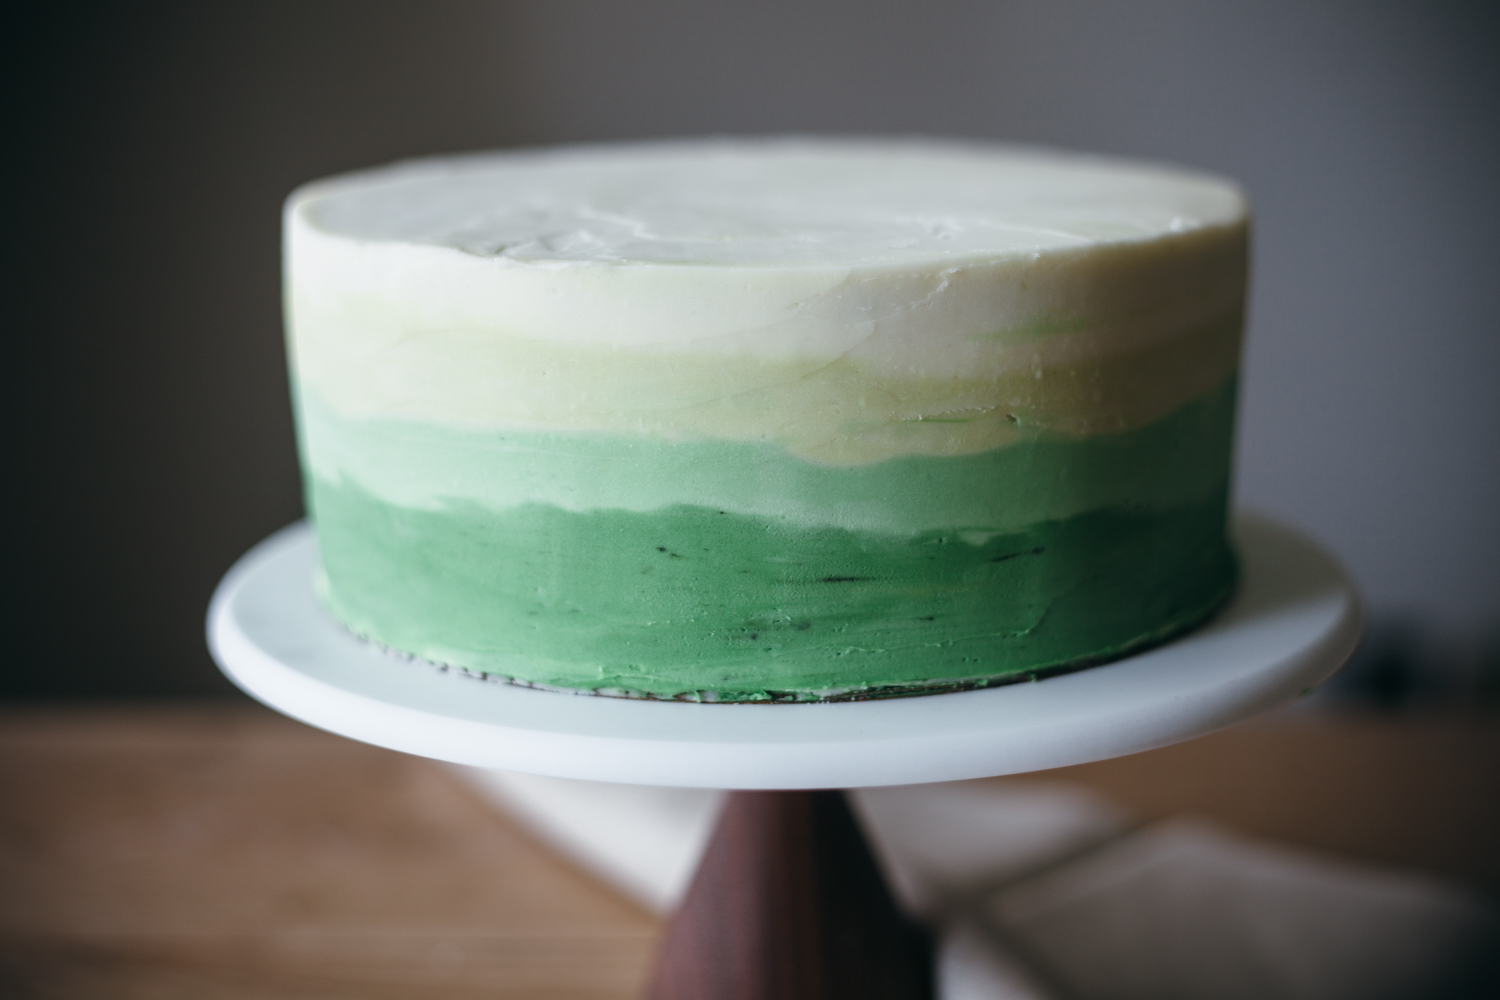
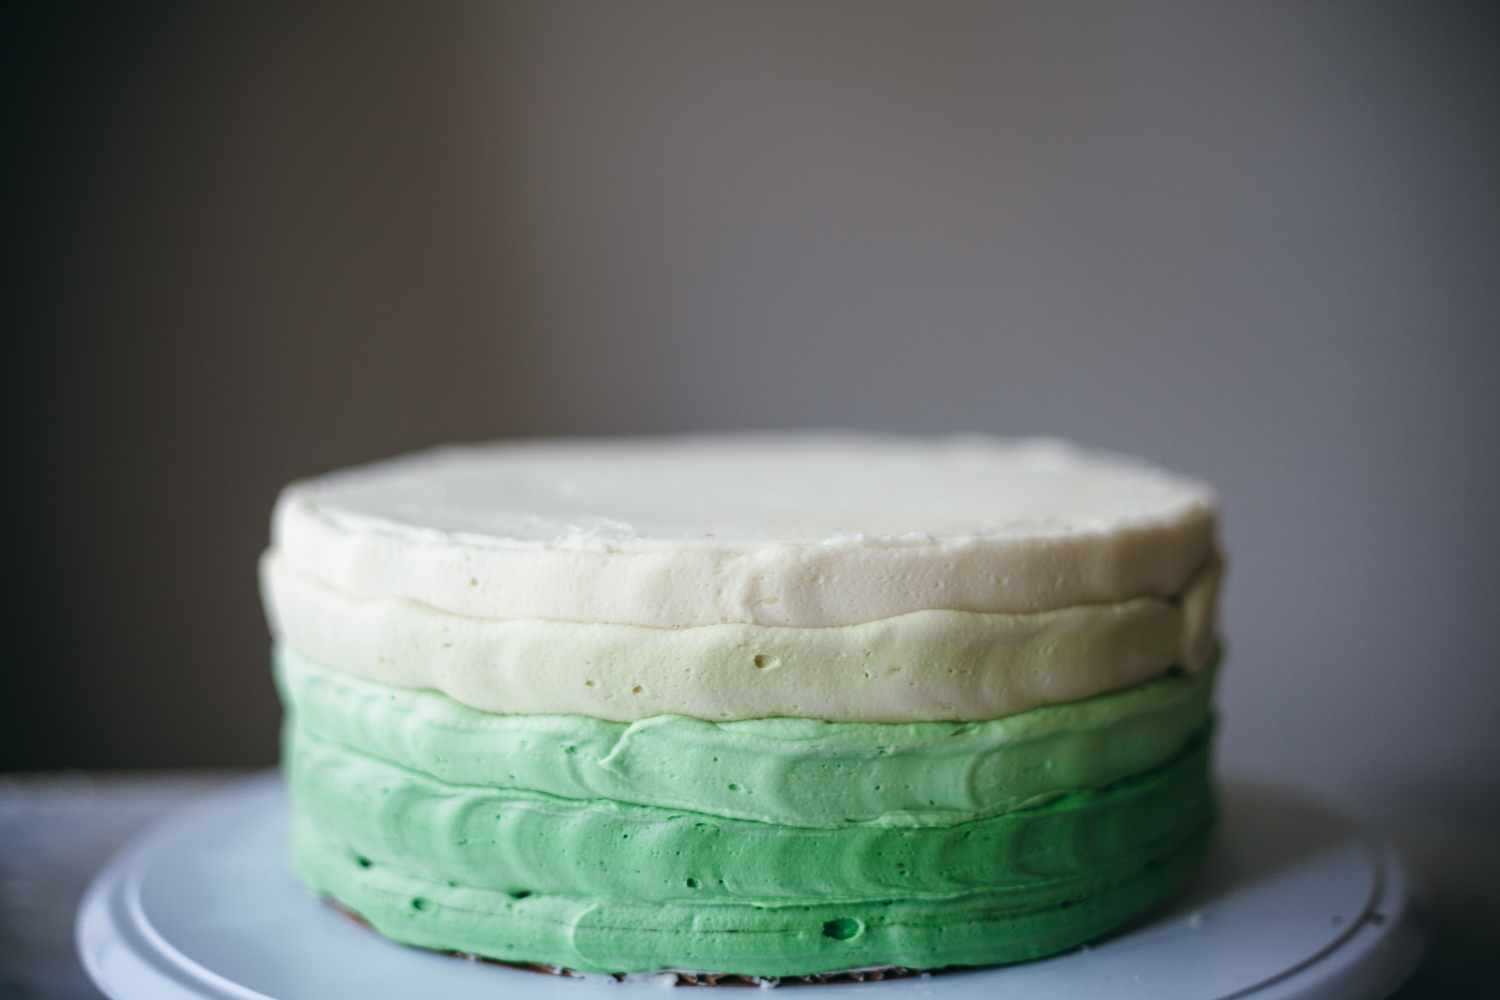
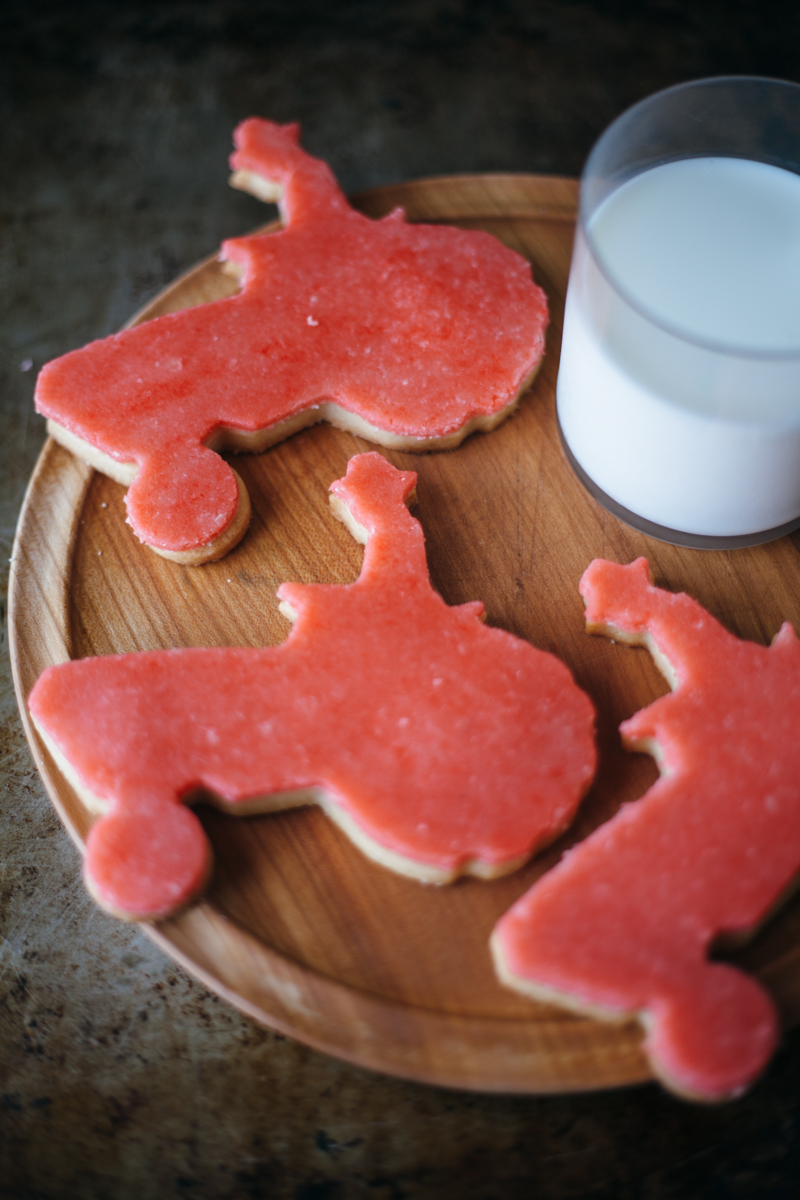
here i'm using a recipe and decorating technique from juliet sear's new book, cakeology. what a book! it is like the triple black diamond ski slopes of cake decorating, with airbrushed things and intricate hand painted things and the hamburger cake to end all hamburger cakes and they are so gosh darn beautiful. i think it's going to be a good few years before i can master one of those cakes, but it is something to aim for! the cutout cookies in her book are so tasty and fun to decorate though and i love the idea of using the same cookie cutter for both the cookie and the layer of decoration. juliet uses fondant for her doggie cutouts, but here i'm using some coconut marzipan that i picked up in new york a few months ago (and also kate's book has a recipe for it that i've been meaning to try). of course, feel free to use any cutout shape that you'd like. but if you use a tractor, you'd better decorate it red :)


coconut marzipan tractor cookie cutouts

adapted from juliet sear's cakeology
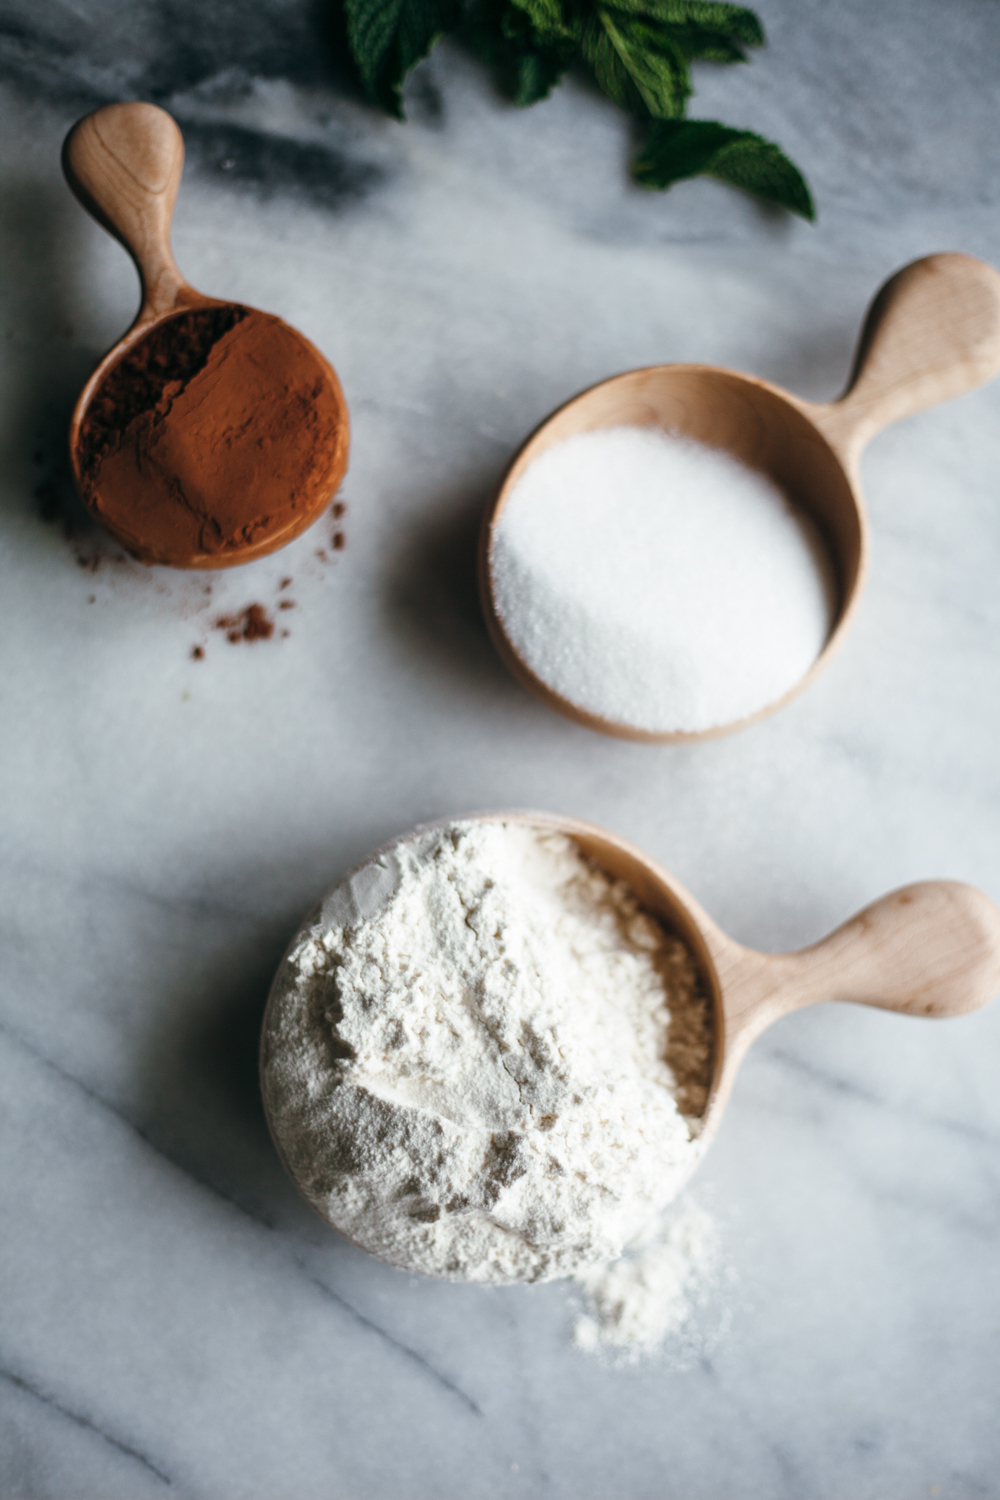
ingredients

7 oz unsalted butter, softened

3/4 c sugar

1/2 tsp salt

2 tsp vanilla extract

1 large egg, lightly beaten

1 2/3 c all-purpose flour, plus more for dusting

for decorating:

16 oz coconut marzipan or regular marzipan, kneaded with a bit of food coloring

about 1/4 c frosting or icing, for sticking 

clues

Preheat the oven to 350 and line two baking sheets with parchment.

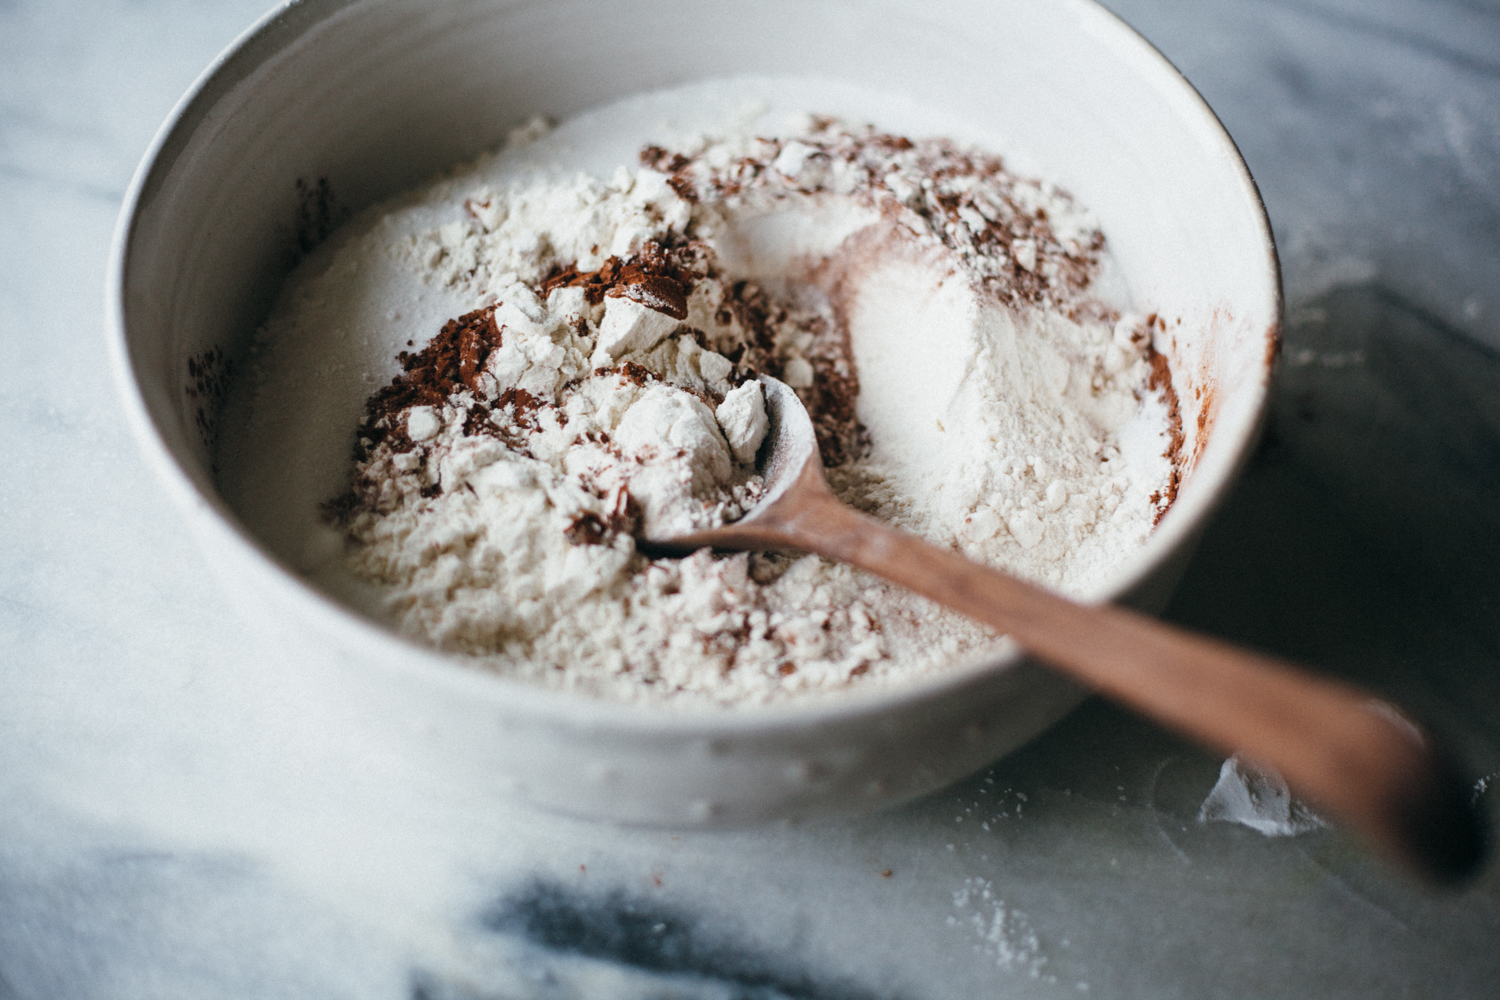
Place the butter, sugar, salt, and vanilla into a mixing bowl and mix until just combined, either by hand or using a stand mixer on low. The mix should still look grainy but be thoroughly incorporated.

Add the egg a little at a time with your mixer on low or with a wooden spoon, until fully incorporated.

Add the flour to the mixture and mix until a dough forms. If the mix is a little sticky, add a little more flour, or, alternatively, if it’s a bit dry add a few drops of water. You will know it’s right when the dough comes together without leaving sticky traces on the bowl and it forms into a nice shiny pliable ball.

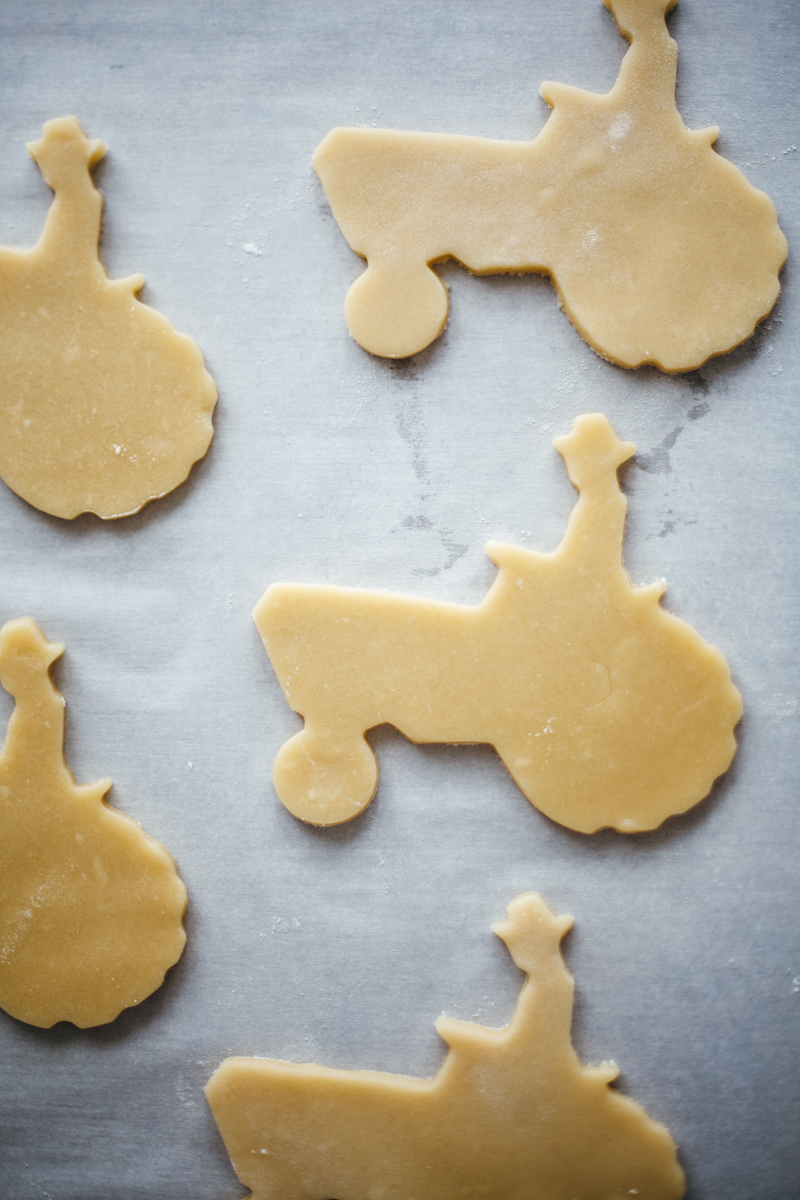
Dust the work surface with flour and roll out the cookie dough to 1/4 inch thick. 

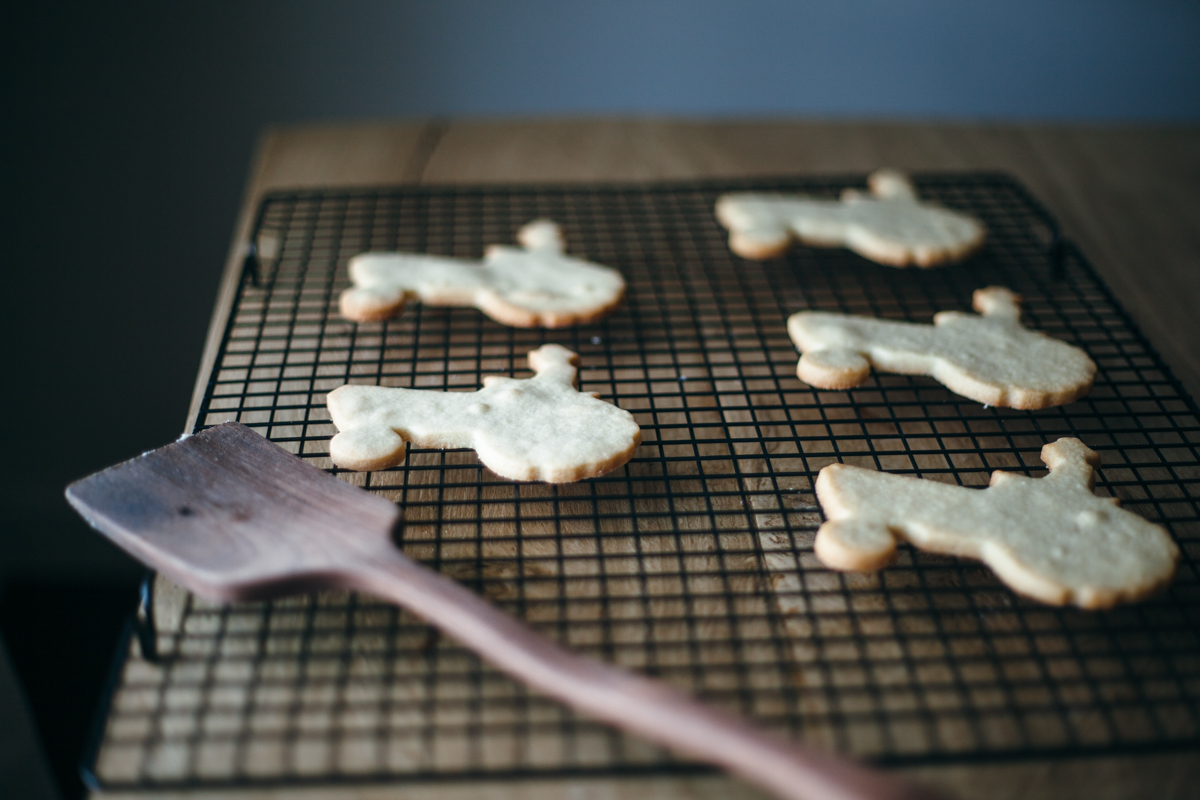
Cut out your shapes, place them on the cookie sheets, and Bake for 10–12 minutes until golden brown around the edges. Cool on a wire rack.

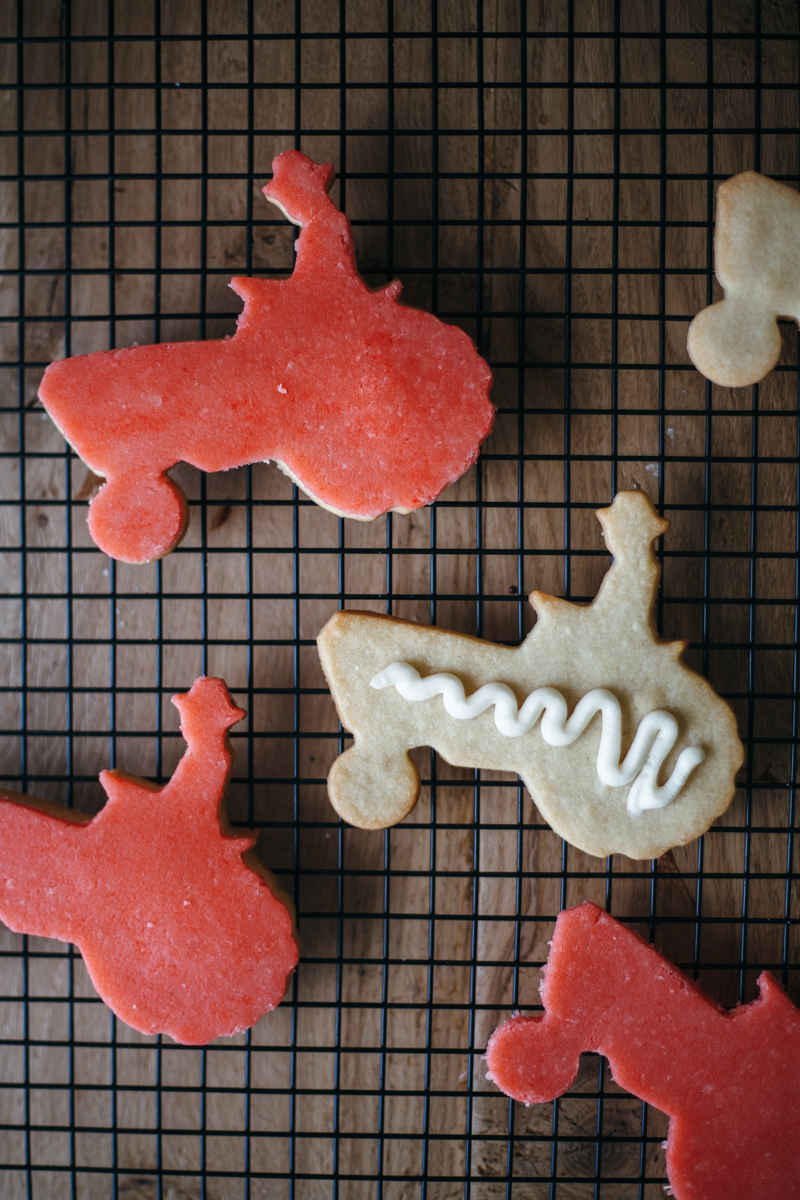
to decorate, roll out the marzipan and cut out shapes using the same cookie cutter that you used for the cookies. pipe a few squiggles of frosting onto the cookies and then stick the marzipan directly on top.
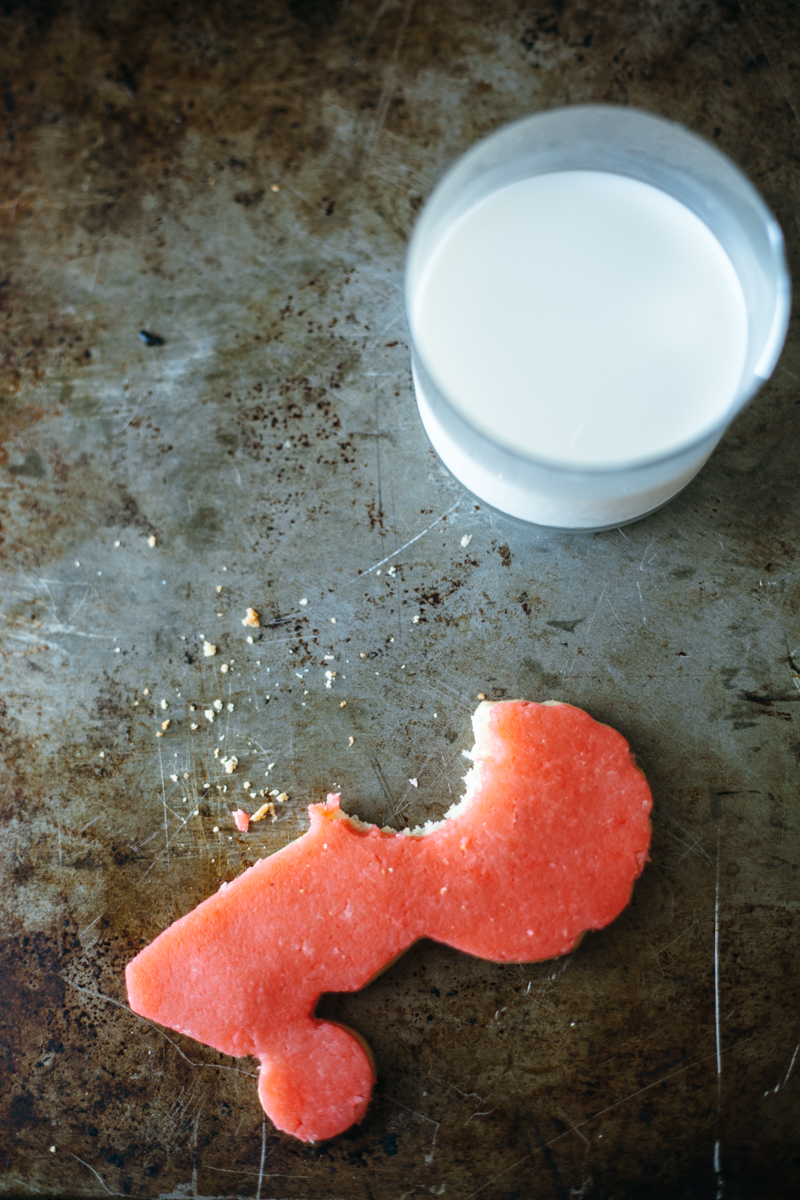
enjoy!


-yeh!

grilled pineapple + prosciutto salsa

my refrigerator plays a lot of roles: experiment incubator, keeper of the butter shelf, cheese vault, condiment storage center, shielder of leftovers i just don't want to deal with right now, and over the summer, salad bar.

i am very into making big batches of cold prepared foods and keeping them in containers in the fridge for when eggboy runs in for a quick snack or during long days of cake testing when i've reached my cake quota and need a gosh darn plant in my belly at a moment's notice.

i like salad bars. a lot. they make eating vegetables easier and in my dream house there is a self-replenishing salad bar. (like smart house, with salad.)

my favorite cold foods these days--and we'll call them cold foods because salad bars aren't just about traditional salads, right?--are hummus (obviously), a cold curry cauliflower situation (recipe coming soon!), israeli salad (which by the way i am leaving for israel this weekend!!!!!), and this grilled pineapple salsa that's got prosciutto in it which is magic

magic because it isn't just for chips. it's for toast, and eating straight, and tossing with some greens to make an actual salad, and *wait for it* pizza..........

pizza gif pizza gif.

at the end of the week, if there's any of this pineapple salsa left, we throw it on a pizza for pizza friday because true story, this salsa happens to be all of our favorite pizza toppings in a bowl.

an all-purpose salsa, if you will.


grilled pineapple + prosciutto salsa

makes about 5 cups

ingredients

1/2 pineapple, cut into wedges

2 roma tomatoes, chopped

1 green bell pepper, chopped

1/2 purple onion, chopped

4 oz prosciutto, chopped

a good squeeze of lime

salt, pepper, and smoked paprika, to taste

clue

heat a grill or grill pan on medium high heat and grill the pineapple wedges on both sides until you get pretty brown marks. let them cool and then chop.

in a large bowl, toss together the pineapple, tomatoes, bell pepper, onion, and prosciutto with a squeeze of lime and a few good pinches of salt, pepper, and paprika.

enjoy however you'd like!


-yeh!


this salsa is shown here on a great new thing: freschetta's new gluten free pizza! it's true, eggboy and i do a lot of jazzing up of frozen crusts or pizzas on friday pizza night because when you live on a farm where no restaurants will deliver, you do that after a long hard day! so we've had our fair share of gluten free crusts and can tell you that this freschetta one nails it. it's chewy and flavorful and truly one of our new favorite gluten free pizzas (you can #trustthecrust!). full disclosure, freschetta has sponsored this post, but (!!!) i'm so happy they did otherwise i don't know how i would have found out about this new gf pizza because i am a hermit and don't spend as much time perusing the new products at the grocery store like i used to. ¯\_(ツ)_/¯ anywho, this pizza, which is certified gluten free, comes in cheese and pepperoni, in both single serving and large, and it's in stores now!


oven-fried green tomatoes with garlic and onion yogurt sauce

our garden is vomiting tomatoes right now and as a result i am vomiting happiness and sorry that's gross i didn't mean to get on the subject of vomiting...

what i mean is, i've been having fresh tomatoes at just about every meal these days and it's glorious. tomatoes in my breakfast salad, tomatoes and basil on toast, tomatoes shoveled into my mouth on a homemade pita that i just can't eat without feeling really really bad for peeta mellark. 

i may be dressed like it's fall, because outside the mosquitos are monsters and the air conditioning inside is blasting hard, but i've been dining like a summer queen because our garden is nailing it this year, if i do say so myself. i guess it helps to be married to a farmer.

i am a winter girl but with tomatoes, i forget about that.

my love for fried green tomatoes began four years ago at the now-closed sel de mer, in williamsburg. i wrote kind of an awkward ode to their fried green tomatoes here. (tl/dr: it was like a green tomato donut and it was perfect in every way.) but because i am such a wimp when it comes to deep frying, today i am showing you an oven fried version-- you can eat about three times as many as the fried kind before you feel all barfy. and with the amount of tomatoes coming out of my garden, i need all the help i can get eating these guys. did i mention i'm having a tomato party tonight? i don't think my guests know it yet, i should probably go warn them...

ooh and there's a sauce! it's oniony and garlicky and kind of like a lighter fresher version of french onion dip. v easy to make and if you have some sumac lying around, i recommend adding a pinch, but it's not necessary.


oven-fried green tomatoes with garlic and onion yogurt sauce

makes 4-6 servings

ingredients

4 large green tomatoes (or 6 smaller ones)

kosher salt and black pepper

3/4 c flour

1 1/2 c panko bread crumbs

1 1/2 tsp sweet paprika

2 large eggs

1/4 c buttermilk

sauce:

4 cloves garlic, smashed

1/2 purple onion, finely chopped

1/2 c plain greek yogurt

kosher salt and black pepper

clues

preheat the oven to 400f and place an oven-frying rack (or metal cooling rack) over a large baking sheet and set it aside.

cut the tomatoes into thick slices and season both sides with salt and pepper.

set up three bowls: one with the flour, one with the panko, paprika, and a pinch of salt and pepper, and one with the eggs and buttermilk (beat them to combine). coat each tomato slice in flour, and then the egg mixture, and then the panko and then place on the oven-frying rack one inch apart. spray the tops with cooking spray and then bake for about 20 minutes, until golden brown. let cool slightly before serving.

to make the sauce, mix together the garlic, onion, and yogurt, and then season to taste with salt and pepper.

enjoy!


-yeh!

thank you so much to edyn for sponsoring this post! these tomatoes and all of the other goodies from my garden were grown with the help of a handy new gadget called the edyn garden sensor, which is a device that sticks in your garden to relay tips and information about moisture, lighting, soil nutrition, and a whole bunch of other fun stuff to your phone. it also tells you when your plants are about to ripen! so you can know in advance when you need to start planning your own tomato party. it works in wifi, so if you're looking to check one of these puppies out, make sure your garden gets wifi or you can use a repeater. if you're a beginning gardener, a full on farmer who wants to geek out (hi, eggboy), or somewhere in between, check it out!

chocolate mint cake with mint buttercream frosting

whoops! i lied. i told you i was giving you three fresh mint recipes this week but actually i'm giving you four. so go ahead, smooch everyone, because you're gonna have really good breath.

eggboy and i are off on a road trip to chicago for one really quick second before wheat harvest starts. we're gonna eat car snacks and listen to the third plate on tape and hopefully not have to stop at too many gas station potties along the way, and when we arrive, we are going to eat many many tacos!

we're gonna miss macaroni, but they'll get to have some quality grandma and grandpa time :)

have a great weekend, everybody!

this cake is a nice rich chocolatey moist thing that's been infused with fresh mint leaves and frosted all ombré-like, making it the cool kid in school. the frosting also has mint in it! it is double mint. like the gum, but better.


chocolate mint cake with buttercream frosting

makes one 2-layer 8-inch cake

ingredients

cake:

about 8 fresh mint leaves

1 1/4 c whole milk

1 3/4 c sugar

1 3/4 c all-purpose flour

3/4 c unsweetened cocoa powder

1 1/2 tsp baking powder

1 1/2 tsp baking soda

1 1/2 tsp kosher salt

1/2 c flavorless oil, like canola

1 tb vanilla extract

2 large eggs

3/4 c boiling water

frosting:

about 8 fresh mint leaves

2 c unsalted butter

4 c powdered sugar

a good pinch of salt

assembly:

green food coloring


clues

cake: 

preheat oven to 350.

grease two 8-inch round cake pans and line the bottoms with parchment.

muddle the fresh mint leaves in a saucepan and pour in the milk. bring to a simmer over medium heat, and keep it at a low simmer (lowering the level of the heat as needed), stirring often, for 15 minutes. remove it from the heat, strain out the mint leaves, and measure out 1 cup of milk. set it aside to cool slightly. discard the remaining milk and mint leaves. 

in a large bowl, whisk together all the dry ingredients. in a medium bowl, whisk together the milk, oil, vanilla, and eggs. (make sure that the milk has cooled enough so that it doesn't cook the eggs!) whisk the wet ingredients into the dry ingredients and then stir in the boiling water. pour into cake pans and bake until a toothpick inserted into the center comes out clean. begin checking for doneness at 28 minutes.

let cool in the pans for 10 minutes and then turn the cakes onto a lightly greased cooling rack.

frosting:

muddle the fresh mint leaves in a saucepan and add the butter. melt the butter and heat over medium low for 15 minutes, stirring. strain out the mint leaves and then add the butter to a large bowl. place the bowl in an ice bath and use an electric mixer to beat it until it becomes pale and fluffy. beat in the sugar and salt.

assembly:

once your cakes are fully cooled, level them. place one layer on a cake board, spread a thick layer of frosting on top, and then place the other layer on top of that. use an offset spatula to frost a thin layer of frosting all over for a crumb coat. place the cake in the freezer or refrigerator so that the crumb coat firms up. divide the remaining frosting into five bowls and color four of them with green food coloring, increasing the amount of coloring for each bowl, so the colors get darker and darker. Fill a piping bag fitted with a large round tip with the white frosting and pipe around the top edge of the cake. Once you’ve made a complete rotation, squeeze out all of the remaining frosting from the bag and then fill it with the lightest green and pipe directly next to the frosting that you just piped on. Repeat until you’ve covered the whole cake. Use a bench scraper to scrape off all of the excess frosting and create smooth edges. Scrape off the bench scraper each time you scrape down the cake. (for some helpful cake decorating tips, go here.)

enjoy!


-yeh!

this post features wooden measuring cups, measuring spoons, a mixing spoon, and a spatula from one of my most favorite makers, polder's old world market. it is a family-owned company that makes some of the most beautiful handmade wooden kitchen utensils that i've ever used. i've had these goodies for months now and i use them nearly every day. they are the sponsors of this post and from now until the end of the month, they are offering 25% off of all orders with the code yeh25! thanks so much, polder's!!!

also pictured in this post: cake stand // mixing bowl // saucepan