halva magic bars

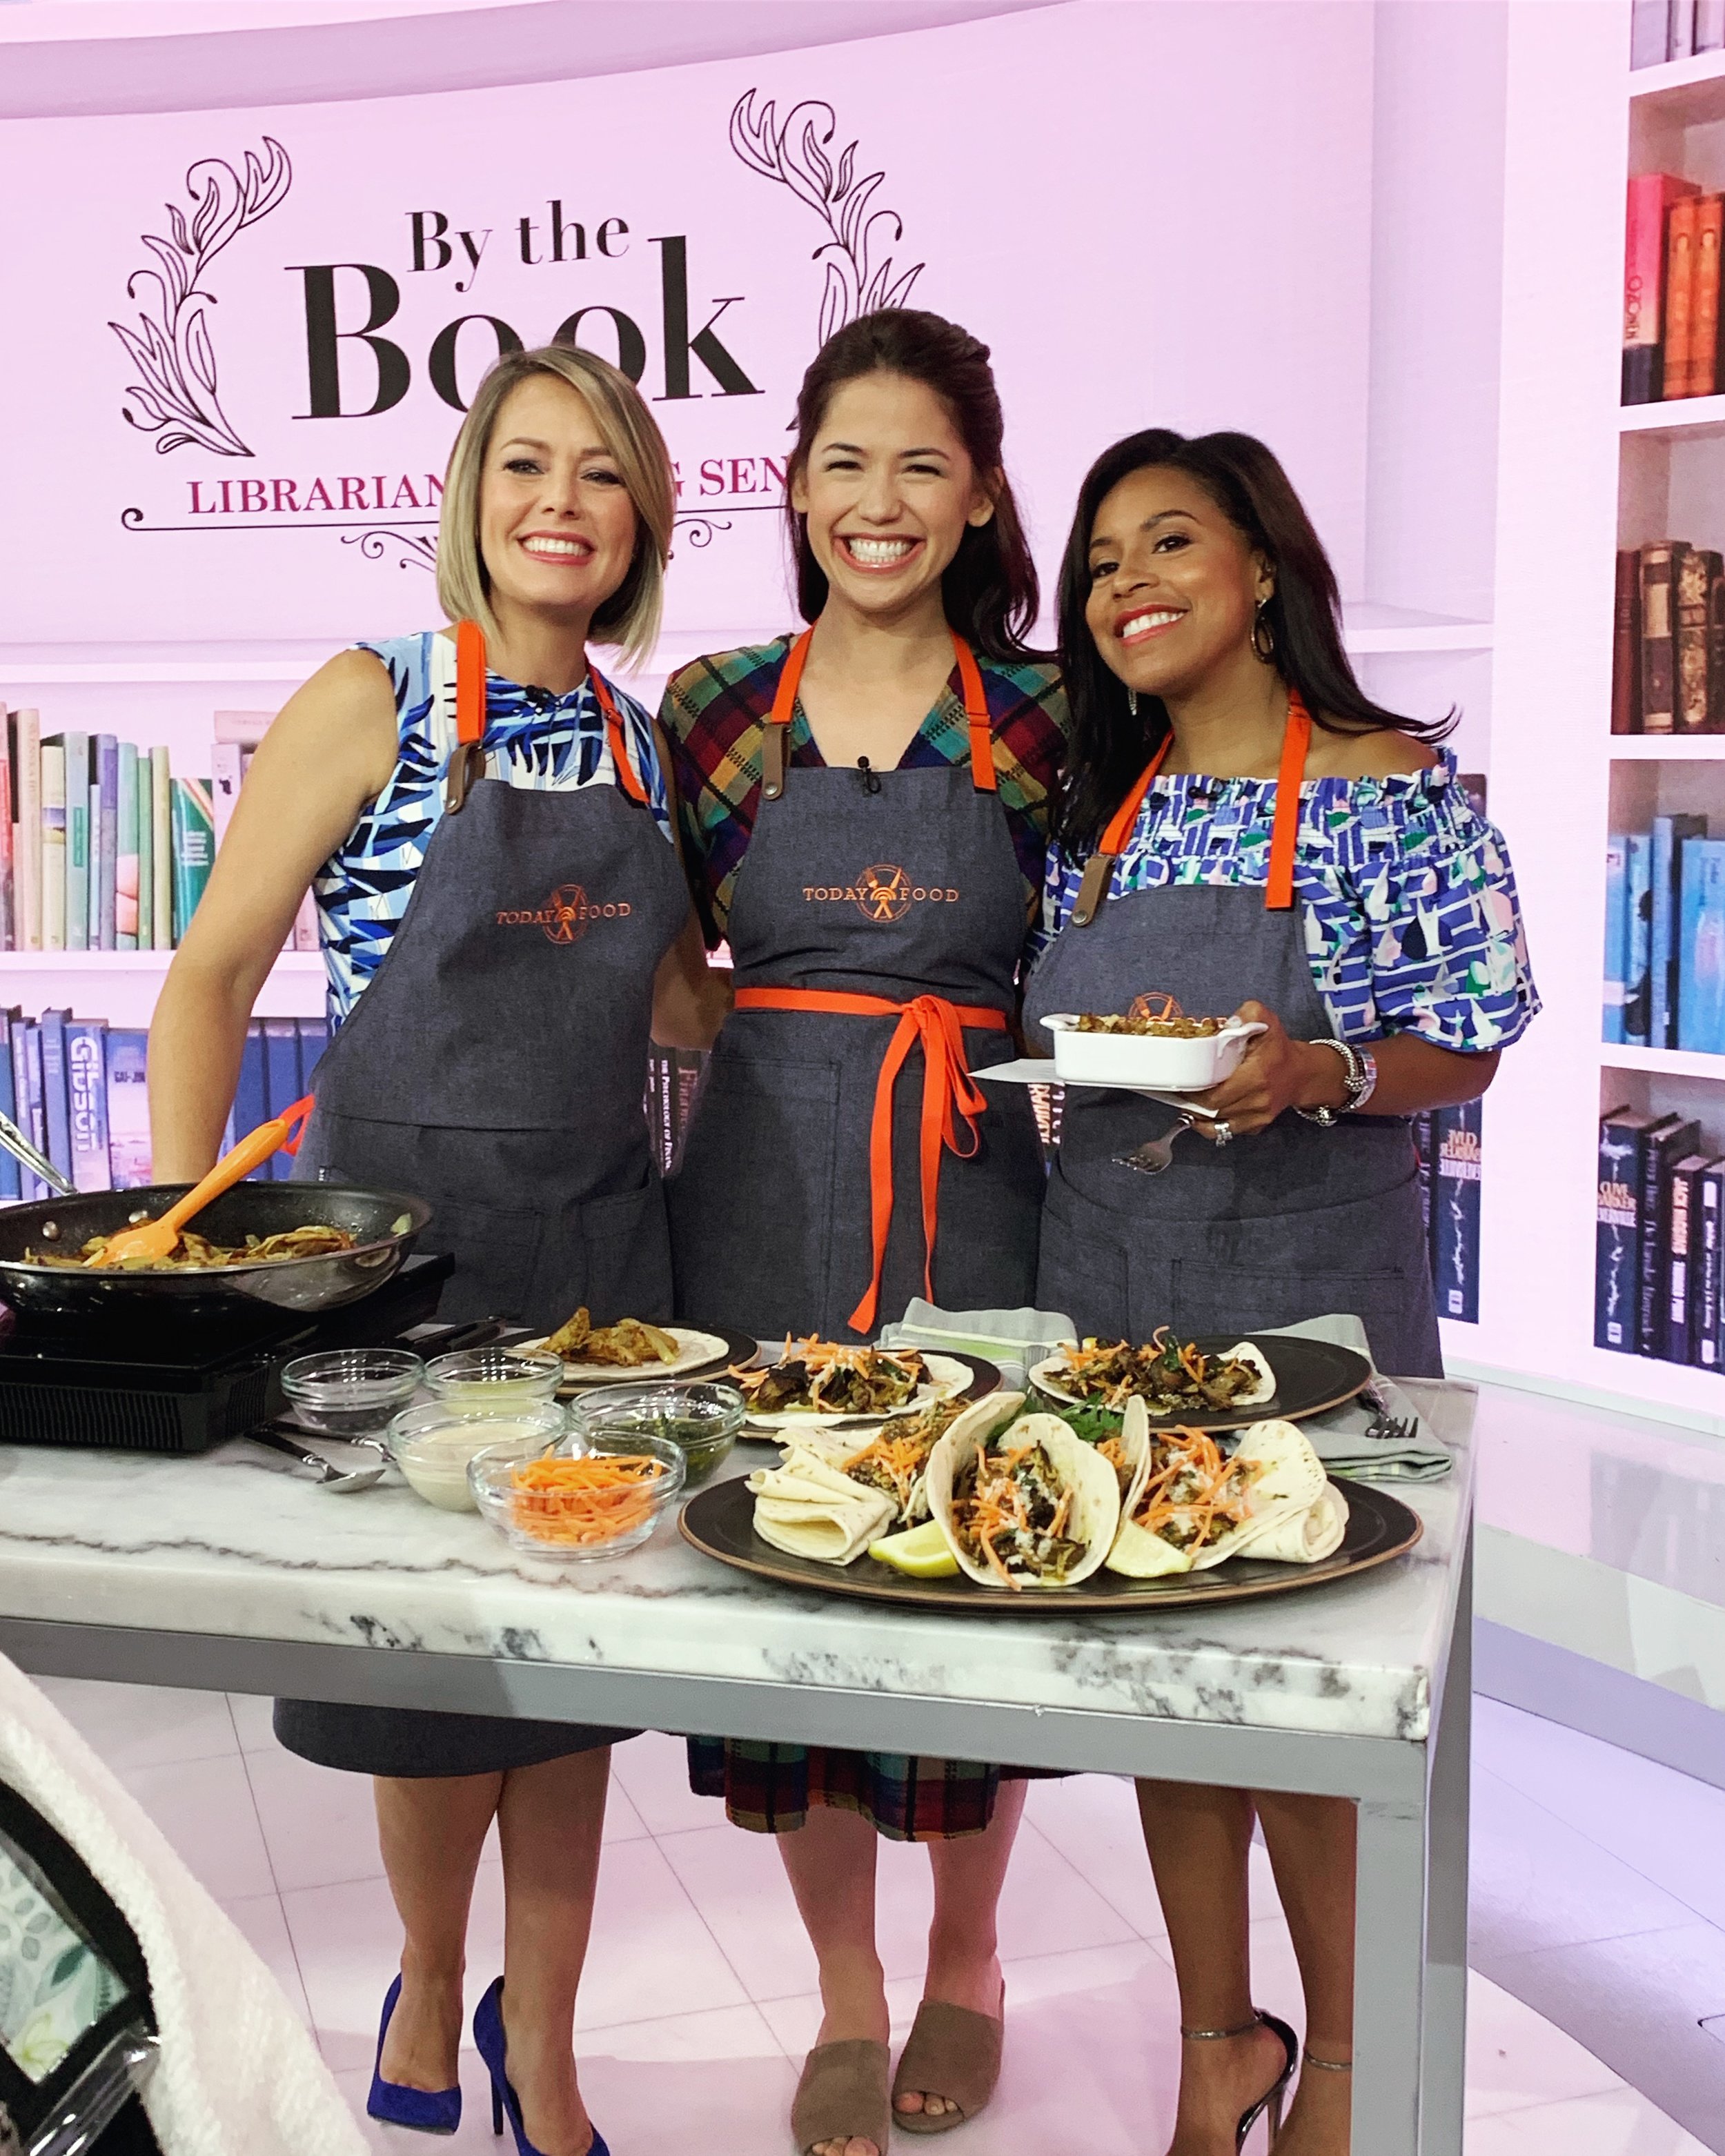
Hello from my first week back to blogging life after seven weeks of filming and three months of maternity leave! Season 4 is officially in the bag (and scheduled to premiere on September 8th!), and after a one-day trip to New York earlier this week to make turkey on the Today Show, I am home and ready to figure out this whole test-noodle-kugel-recipes-while-Bernie-is-singing-Baby-Beluga-with-Grandma-in-the-living-room thing. It’s gonna be great! I’m gonna squish her cheeks anytime I want!

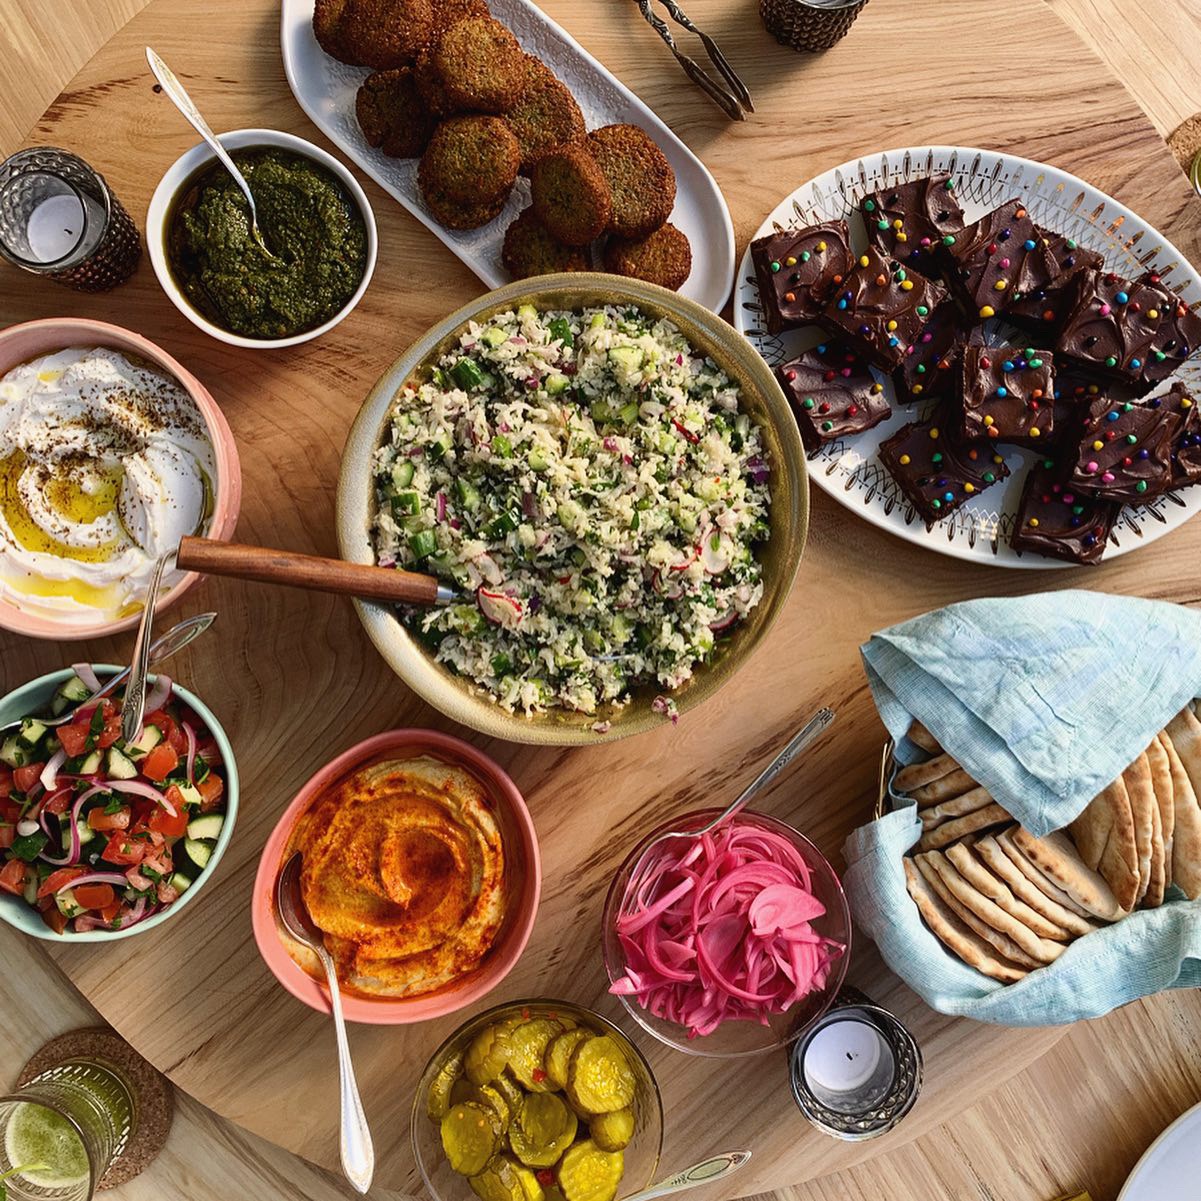
The Season 4 shoot was so much fun. It really was like summer camp: we had movie night under the stars, a wiener-fueled bonfire, bourekas in a wheat field, and a dance party with backstreet boys and a disco ball and everything. On the weekends we sat on the beach and invented new uses for the word gourmet. (“Are you wearing a Juicy velour robe? That is so gourmet!” “Did you just get very extravagant nail art? How gourmet!” Basically: fancy but not trendy, and nothing at all to do with food.) On the last day, I got Iced and that was that. I miss the crew so much already.

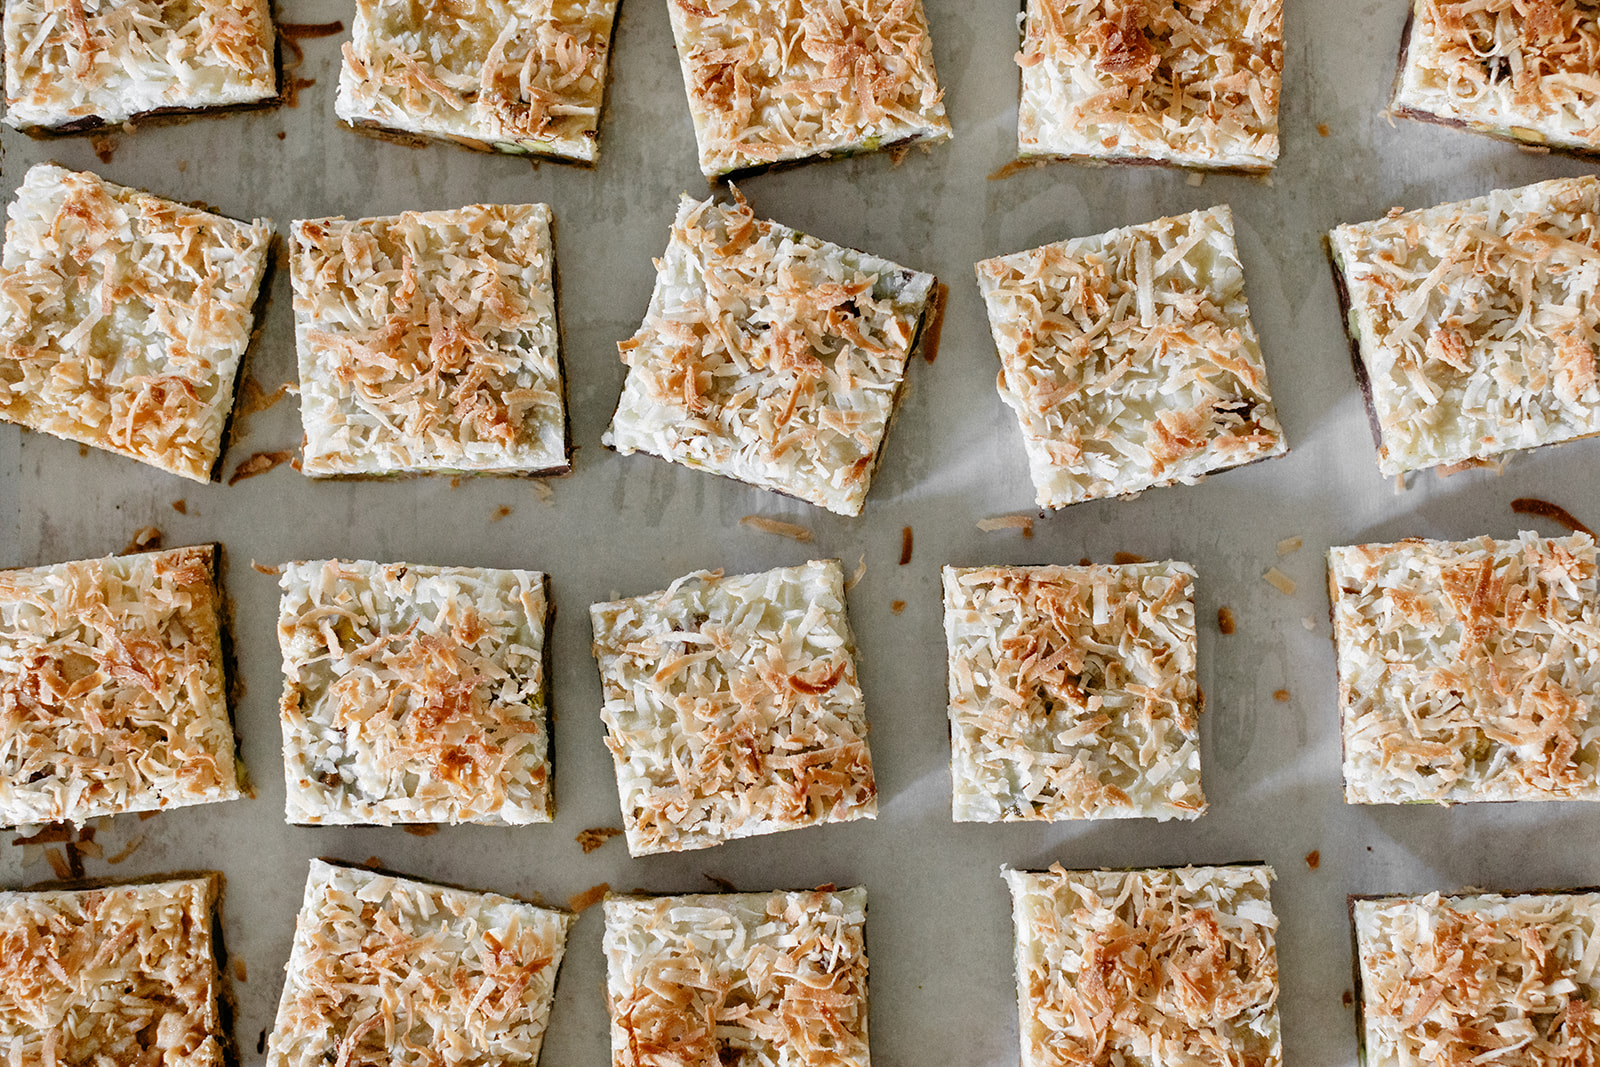
One of my faaaaavorite recipes from this season were the Halva magic bars that I made for an episode that’s an ode to Midwestern potlucks. Every potluck around here has to have a bar- a brownie, blondie, lemon square, cookie bar, etc. I grew up calling these desserts by their specific names but here they’re all just lumped into one big geometrically pleasing category that is the centerpiece for my go-to sample of a Midwest accent (“Are you going to bring the bars, Marge?” where the “ar” sounds a little pirate-y… aim for the back of your mouth and you’ll see what I mean.)

Magic bars, or 7-layer bars (tomato/tomahto), are one of the top three bars of all time. They are dangerously delicious and they’re magic because you make them by just piling everything into a pan. You don’t have to mix anything in a bowl or soften butter or commit any real effort, they’re so easy and the return is so great that it honestly feels like you’re cheating the world. 

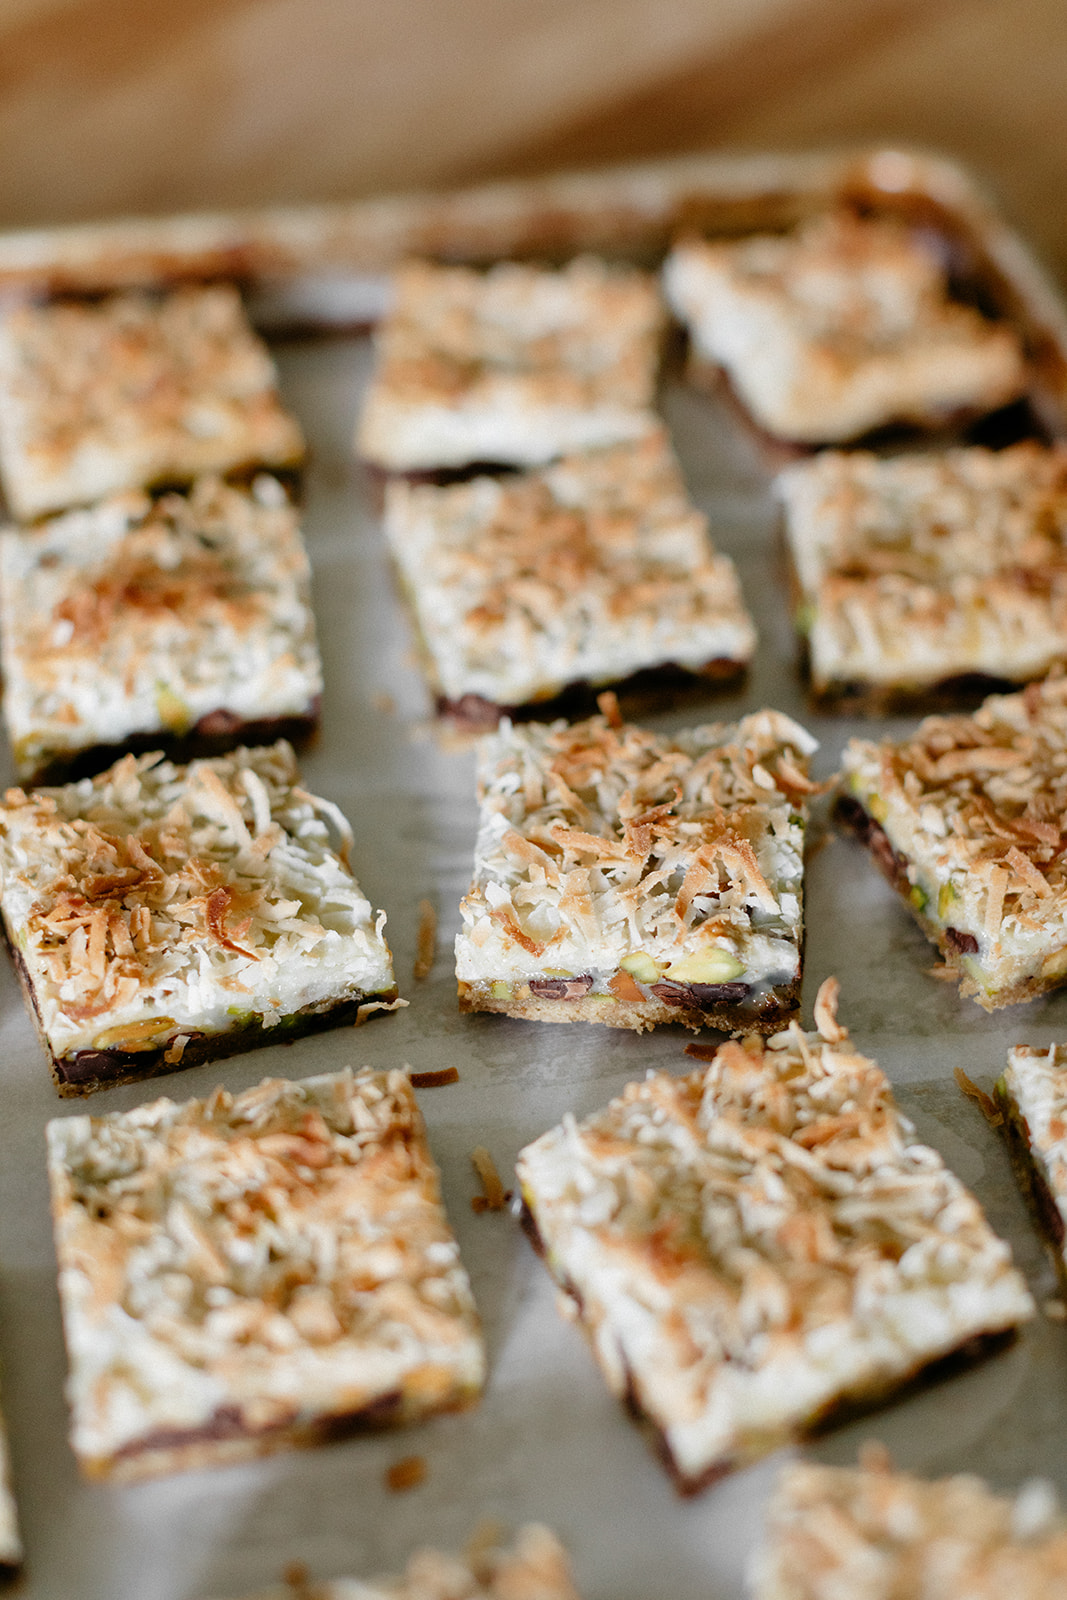
The classic magic bar has butter, graham cracker crumbs, chocolate chips, butterscotch chips, pecans, sweetened condensed milk and shredded coconut, but in a painfully predictable move, I’ve subbed out the butterscotch for crumbled halva and the pecans for pistachios. And of course the condensed milk was just begging for some rosewater (it gets topped with coconut, can you blame me?!). Listen, one day I’ll make something that doesn’t feature the holy combination of coconut + rosewater + pistachio + halvah but, like, today’s not that day. And neither is tomorrow. 

The result is a bar that’s just as chewy and gooey and amazing as the original, but with a little more color: nuttiness and flakiness from the halvah, greenery and saltiness from the pistachios, floral notes from the rosewater, and pretty pops of pink from the optional rose petals on top. It’s a Midwestern/Middle Eastern mashup that was bound to happen at some point because all of these flavors work so darn well together. Proceed with caution because you will want to eat the whole batch immediately. Luckily storing them in the fridge makes them even better because it makes them chewier, so hide them in the back behind the carrots and just eat a carrot every time you go in for a bar. They’ll cancel each other out.


Halva Magic Bars

makes 20

ingredients

1/2 c (113g) unsalted butter

9 graham cracker rectangles (1 package)

1/4 tsp kosher salt

1 c (175g) chopped dark chocolate or chocolate chips

1 1/2 c (226g) crumbled halva

1 c (120g) roasted pistachios

1 (14 oz) can sweetened condensed milk or sweetened condensed coconut milk

1 tsp rosewater

1 tsp vanilla

1 1/3 c (160g) sweetened shredded coconut

2 tb dried rose petals, optional

clues

Preheat oven to 350ºf. Grease a 9 x 13 pan and line the bottom with parchment. Add the butter and stick it in the oven for a few minutes so the butter melts. Meanwhile, crush the graham crackers by putting them in a large ziploc bag and smashing with a rolling pin or blending in a food processor. When the butter’s melted, swirl it around the bottom of the pan and scatter the graham cracker crumbs evenly all over (you’re not actually making a full on graham cracker crust, don’t worry about packing it down or anything).  Sprinkle with salt, then sprinkle the chocolate chips, halva, and pistachios all over. Pour a little of the condensed milk on top and then add the rosewater and vanilla to the remaining condensed milk and mix it in. Pour it evenly all over the pan. Sprinkle the coconut on top and rose petals, if using. Bake until edges are golden brown, about 20 minutes. Let cool fully (ideally overnight or for a few hours in the fridge) before cutting into bars. Enjoy!

Store in an airtight container in the fridge for a good few days.


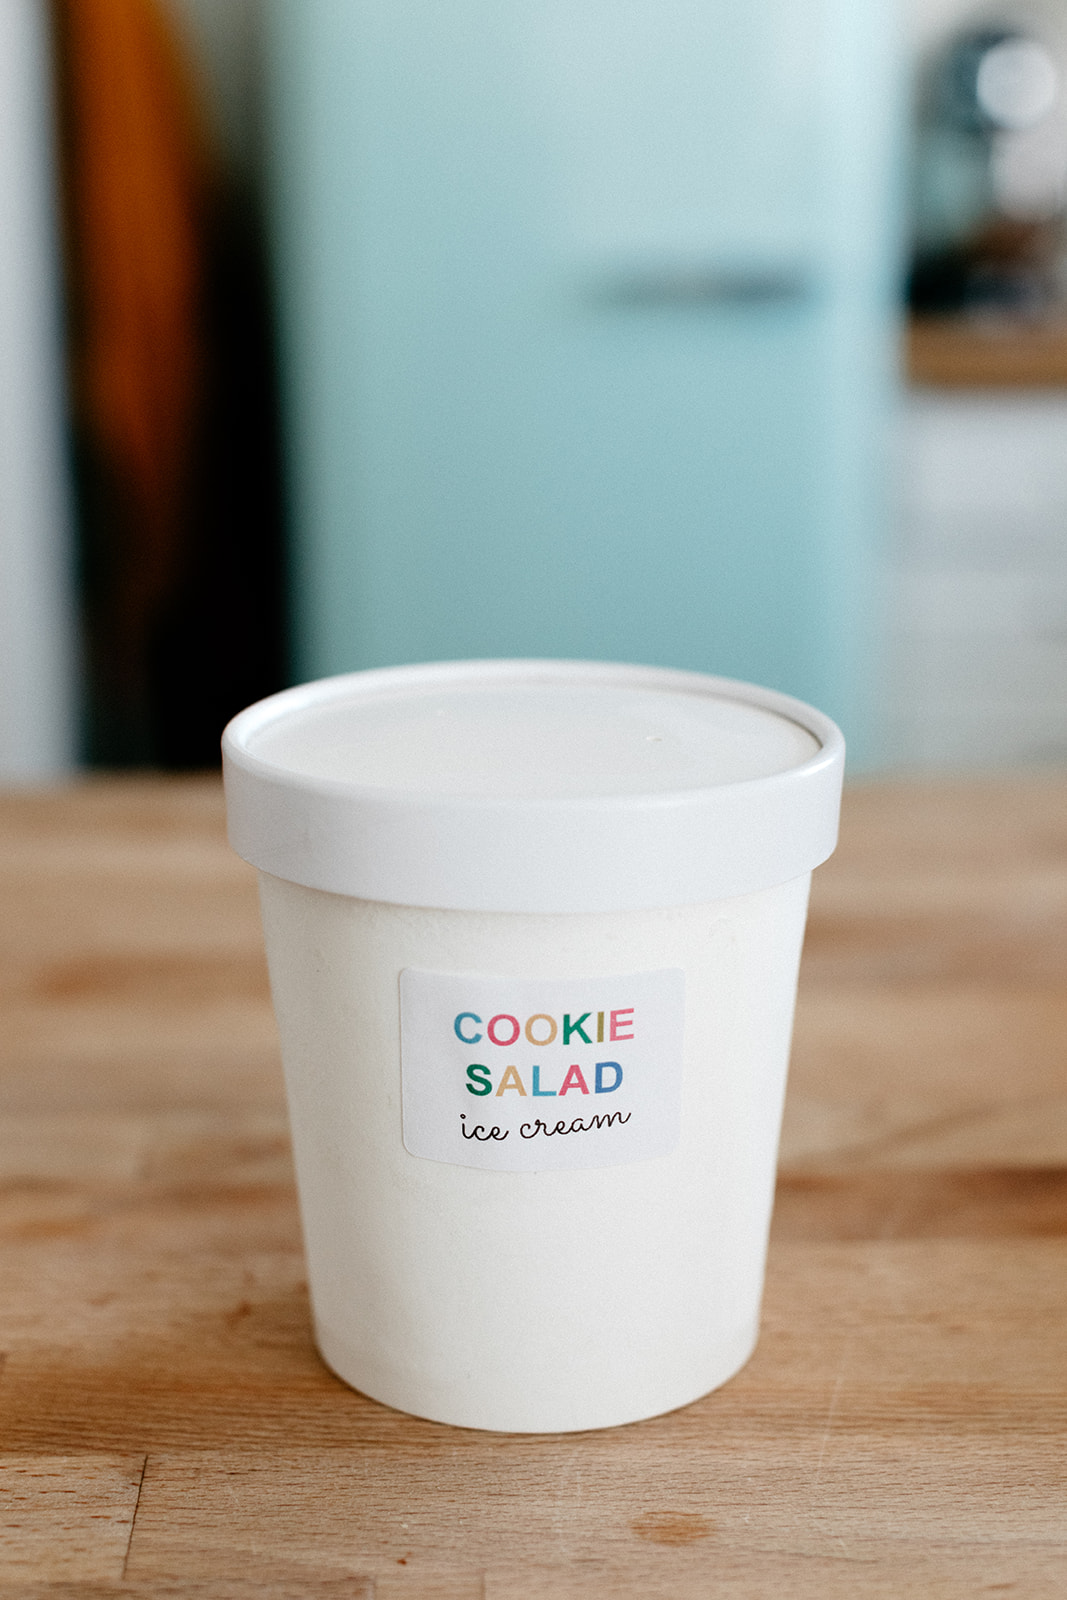
cookie salad ice cream

Here is a complete list of all of the most insane food ideas that Eggboy has ever had, in order of best to worst.

First place (tie): cookie salad ice cream and shakshuka couscous 

Here by default: chicken pot babka

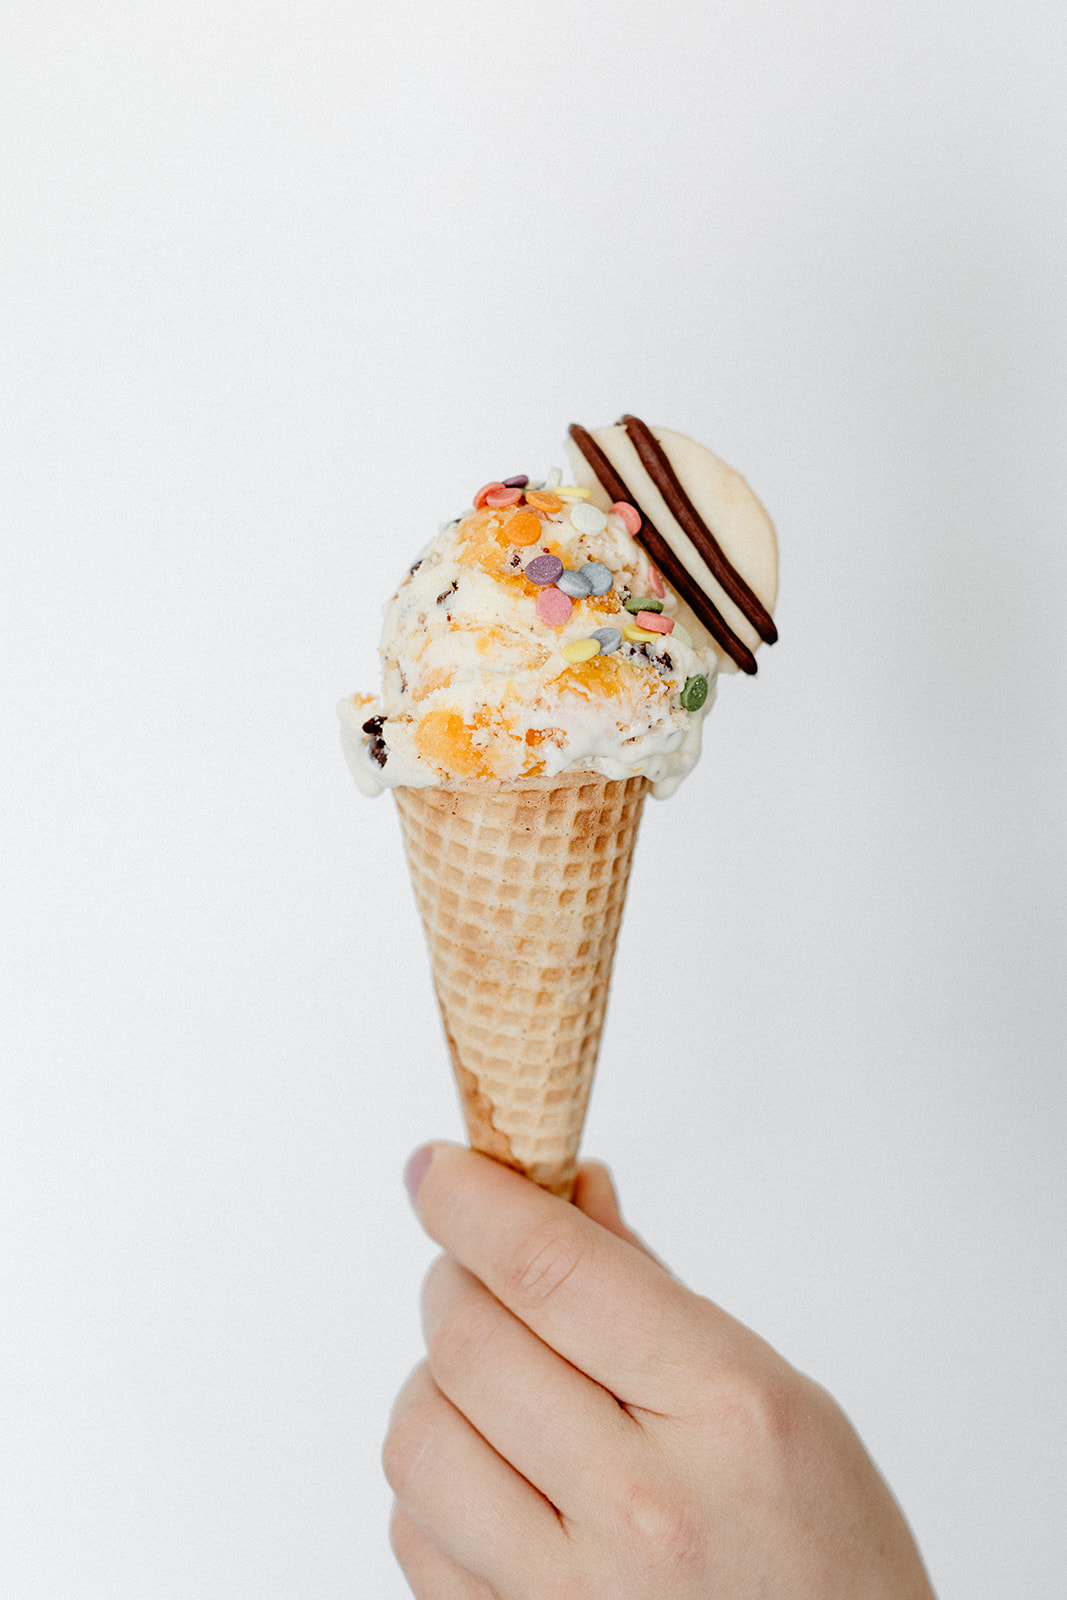
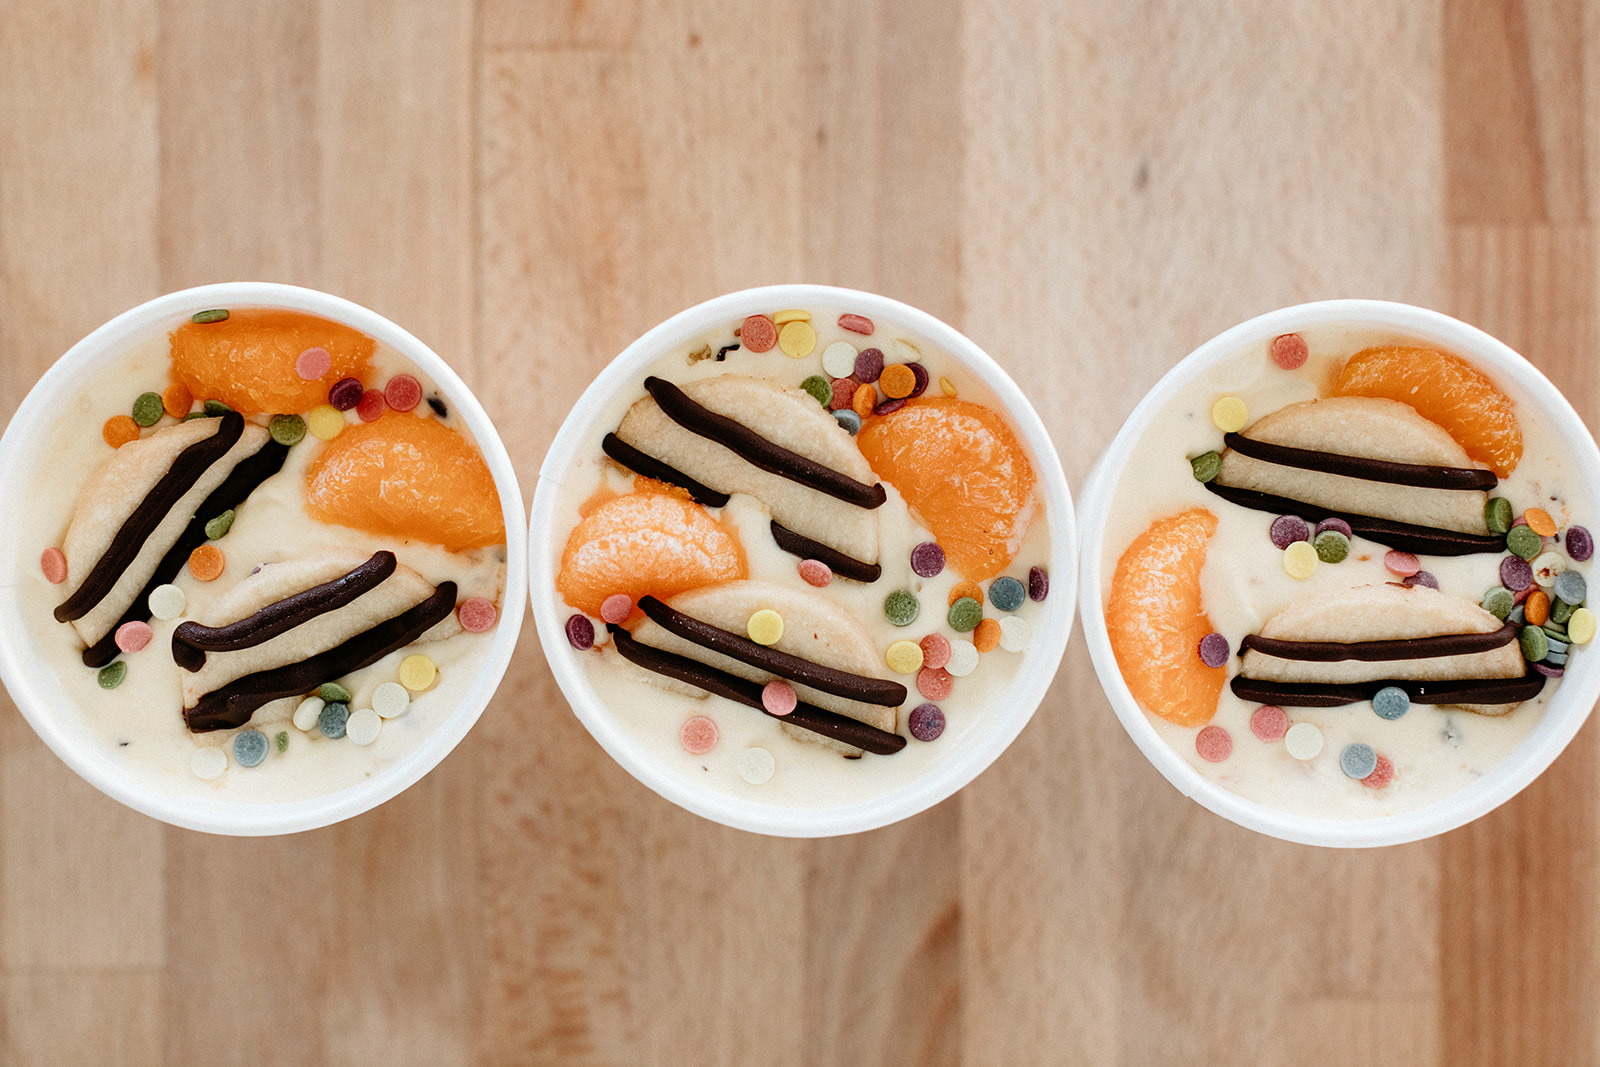
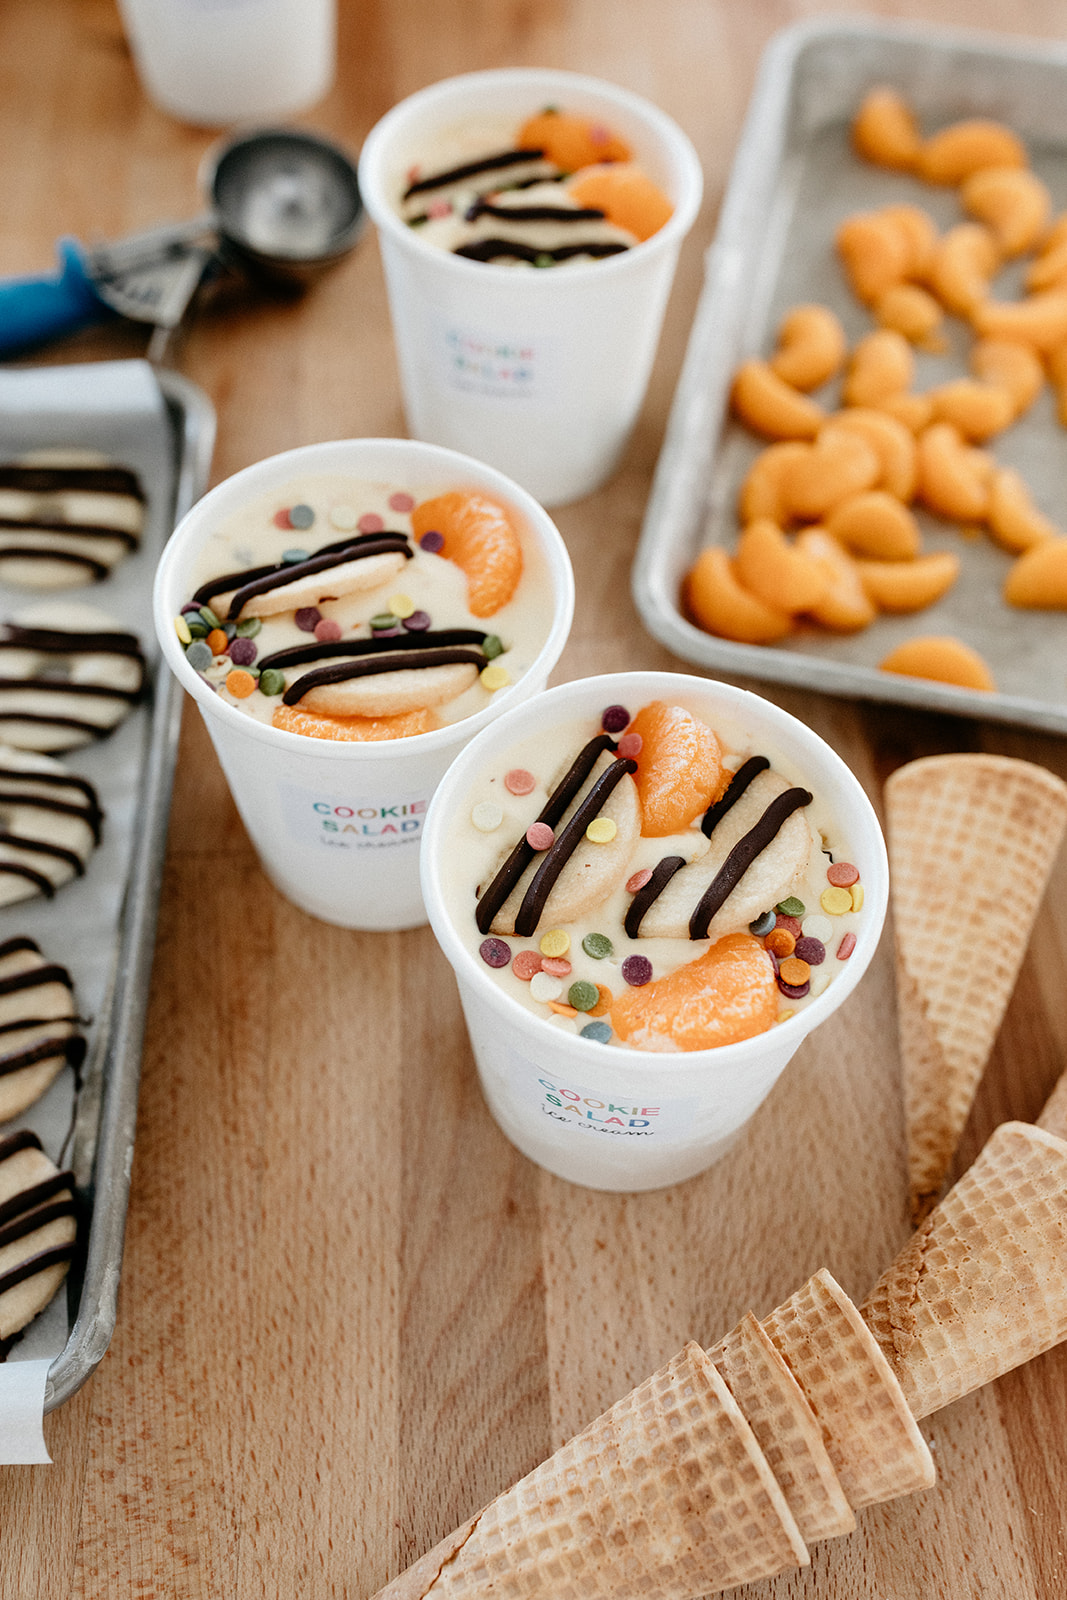
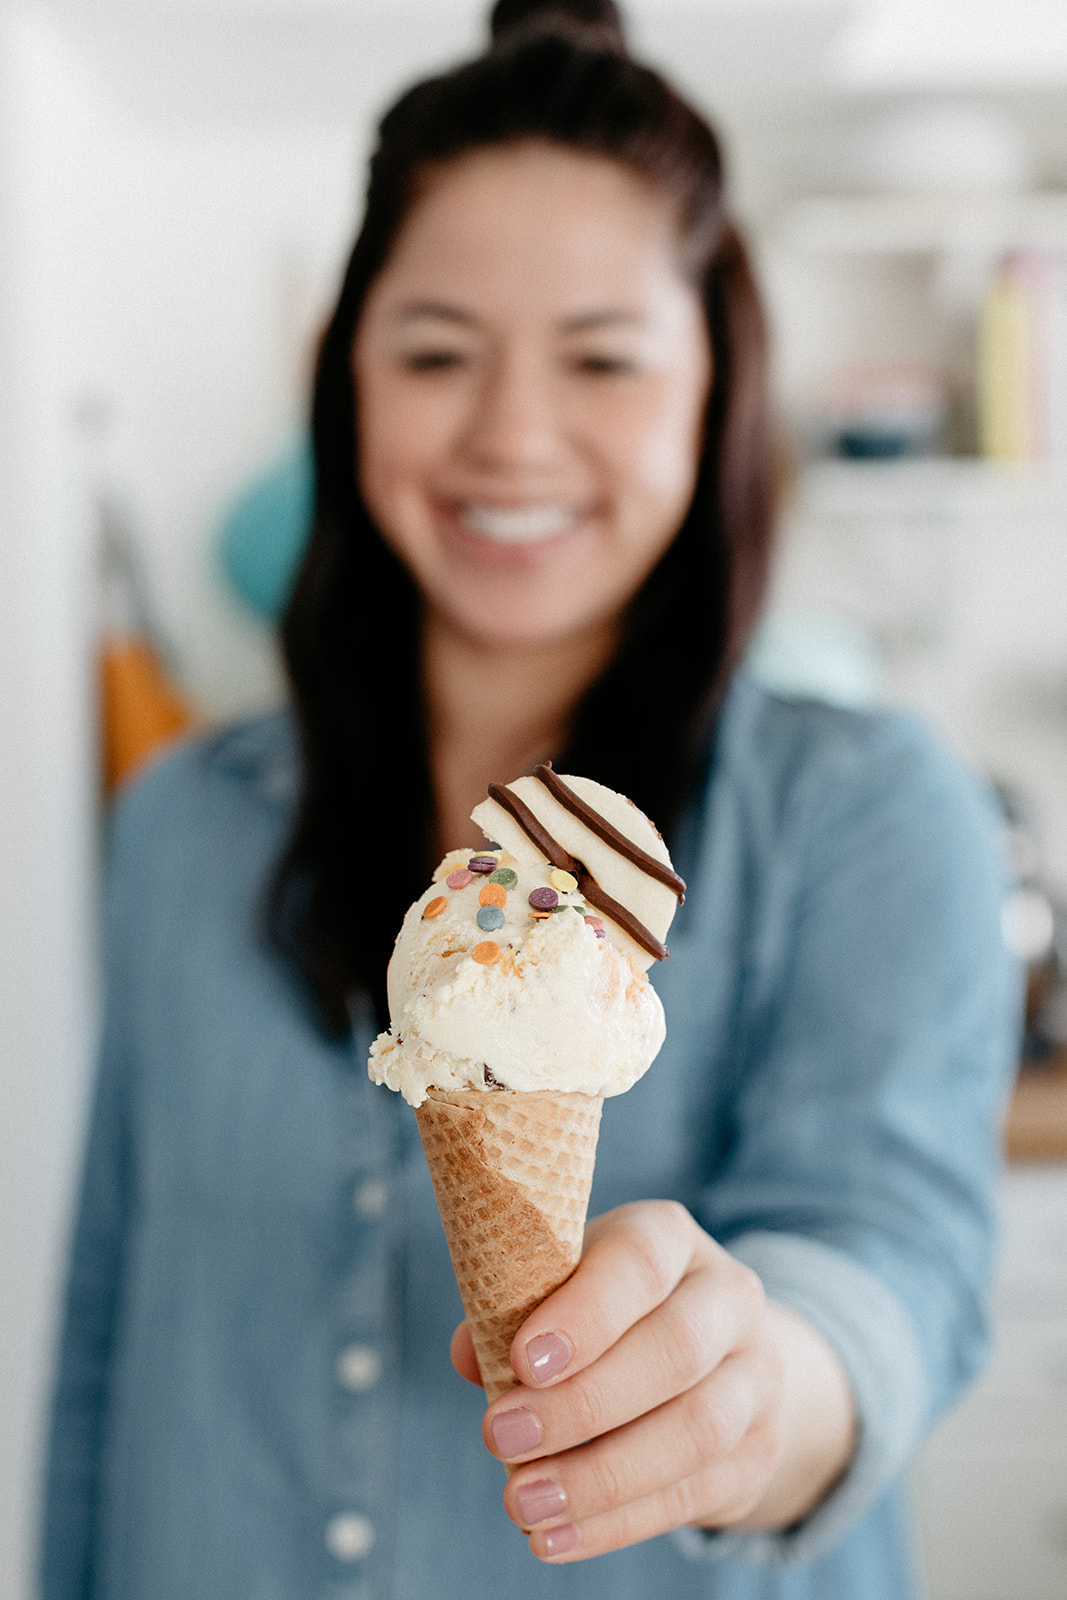
He is officially 2 for 3 on hard wins versus horrible nightmares. Although I do feel like chicken pot pie babka could ultimately work with some heavy tweaking, but that’s not for today. Today is for cookie salad ice cream, which I knew was brilliant from the moment Eggboy blurted it out, completely unprompted. We love cookie salad, we love ice cream, there’s no reason the two shouldn’t combine into one magical cone of quirky Midwestern glee. And it’s not that complicated to make either! Time consuming, yes, but the concept of a tangy buttermilk ice cream with crushed fudge stripe cookies and mandarin oranges is straightforward and exactly what you’d expect the most summery version of the best vegetableless salad to taste like. Sweet, sour, creamy, citrusy, and filled with buttery cookies!!

Developing this recipe did have some bumps in the road because I learned the hard way that dumping a bunch of room temperature cookies and mandarins into freshly churned ice cream will melt it and ruin it. But it has an easy fix, just freeze em! So don’t skip this step, take your time, and get started now so that it will be ready for fourth of July!

I’ve used Our Family mandarins here, perfect for our first family fourth of July :)! 


Cookie Salad Ice Cream

Makes 3 pints

Buttermilk ice cream:

6 large egg yolks

2 c (480g) heavy whipping cream

3/4 c (150g) sugar

1/2 tsp kosher salt

1 tb vanilla extract

1 tsp almond extract

3/4 c (180g) buttermilk

Assembly:

18 fudge stripe cookies (1/2 batch of the recipe for homemade cookies below (preferred!), or store-bought)

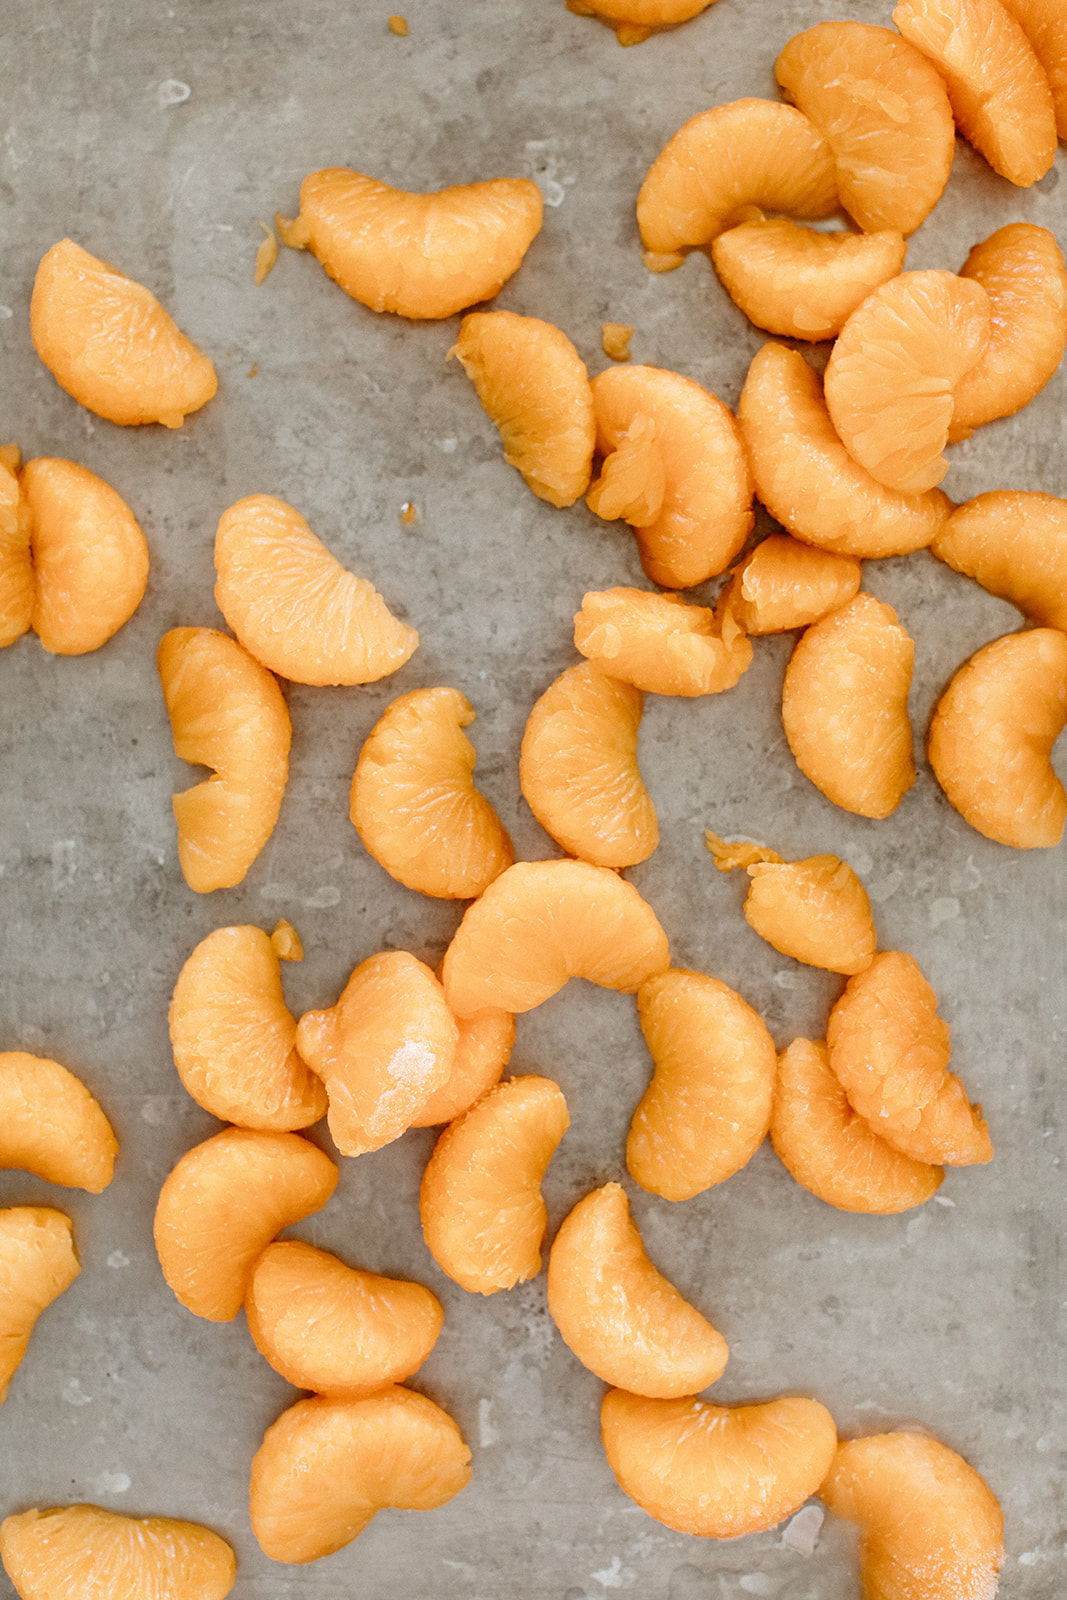
1 (15 oz) can Our Family mandarins, drained

sprinkles, optional

Directions

Day 1 (or early in the day if making this all in one day):

Whisk together the egg yolks in a medium heat-safe bowl or measuring cup and set aside. In a large pot, whisk together the heavy cream, sugar, salt, vanilla, and almond extract and heat over medium high heat until steaming, whisking often (don’t let it boil, reduce the heat if it starts to). Reduce the heat to medium and gradually ladle 4-5 ladlefuls of the hot cream into the egg yolks while whisking vigorously and constantly and then gradually pour the egg mixture into the pot while whisking constantly. Continue to whisk until the mixture has thickened and coats the back of a spoon. Transfer to a container and whisk in the buttermilk. Cover and refrigerate for about 4 hours or overnight, until cold. 

Make the cookies if using homemade. Finely chop 15 of the cookies, leaving a few nice larger pieces, and reserve the remaining 3 whole cookies for the topping. Scatter all over a plate or sheet pan and stick in the freezer for about an hour or overnight.

Scatter the mandarin oranges all over a plate or sheet pan and stick in the freezer for about an hour or overnight.

Day 2 (or once the buttermilk custard is cold):

Coarsely chop the mandarins, reserving a few whole pieces for the top, and stick them back in the freezer. 

Churn the ice cream according to manufacturer’s directions. When it’s almost done churning, add about half of the frozen cookies and frozen mandarins (or as many that will fit in your ice cream maker). When finished churning, transfer to a large freezer safe container or 3 pint containers, sprinkling in the remaining cookies and mandarins as you go. Top with reserved cookies, mandarins, and sprinkles, if using, and freeze for 2 more hours before serving. 


Homemade Fudge Stripe Cookies

Makes 36

Ingredients

1 c (130g) all-purpose flour, more for dusting

1/2 c (60g) powdered sugar

1/2 tsp kosher salt 

1 tsp vanilla extract 

1/2 tsp almond extract 

1/2 c (113g) Our Family unsalted butter, cold and cubed 

5 oz (about 3/4 c) chopped semisweet chocolate

Directions

Combine the flour, powdered sugar, and salt in a stand mixer fitted with a paddle attachment. With the mixer running on low, add the vanilla and almond extracts and then gradually add the butter. Mix until the mixture comes together into a dough, slowly increasing the speed once you're confident that doing so won't result in flour flying everywhere. Divide the dough in half, press into discs, wrap in plastic wrap and refrigerate for 30 minutes or overnight. (If you're impatient, fine, skip this step.)

Preheat the oven to 350ºf. Line two baking sheets with parchment paper and set aside.

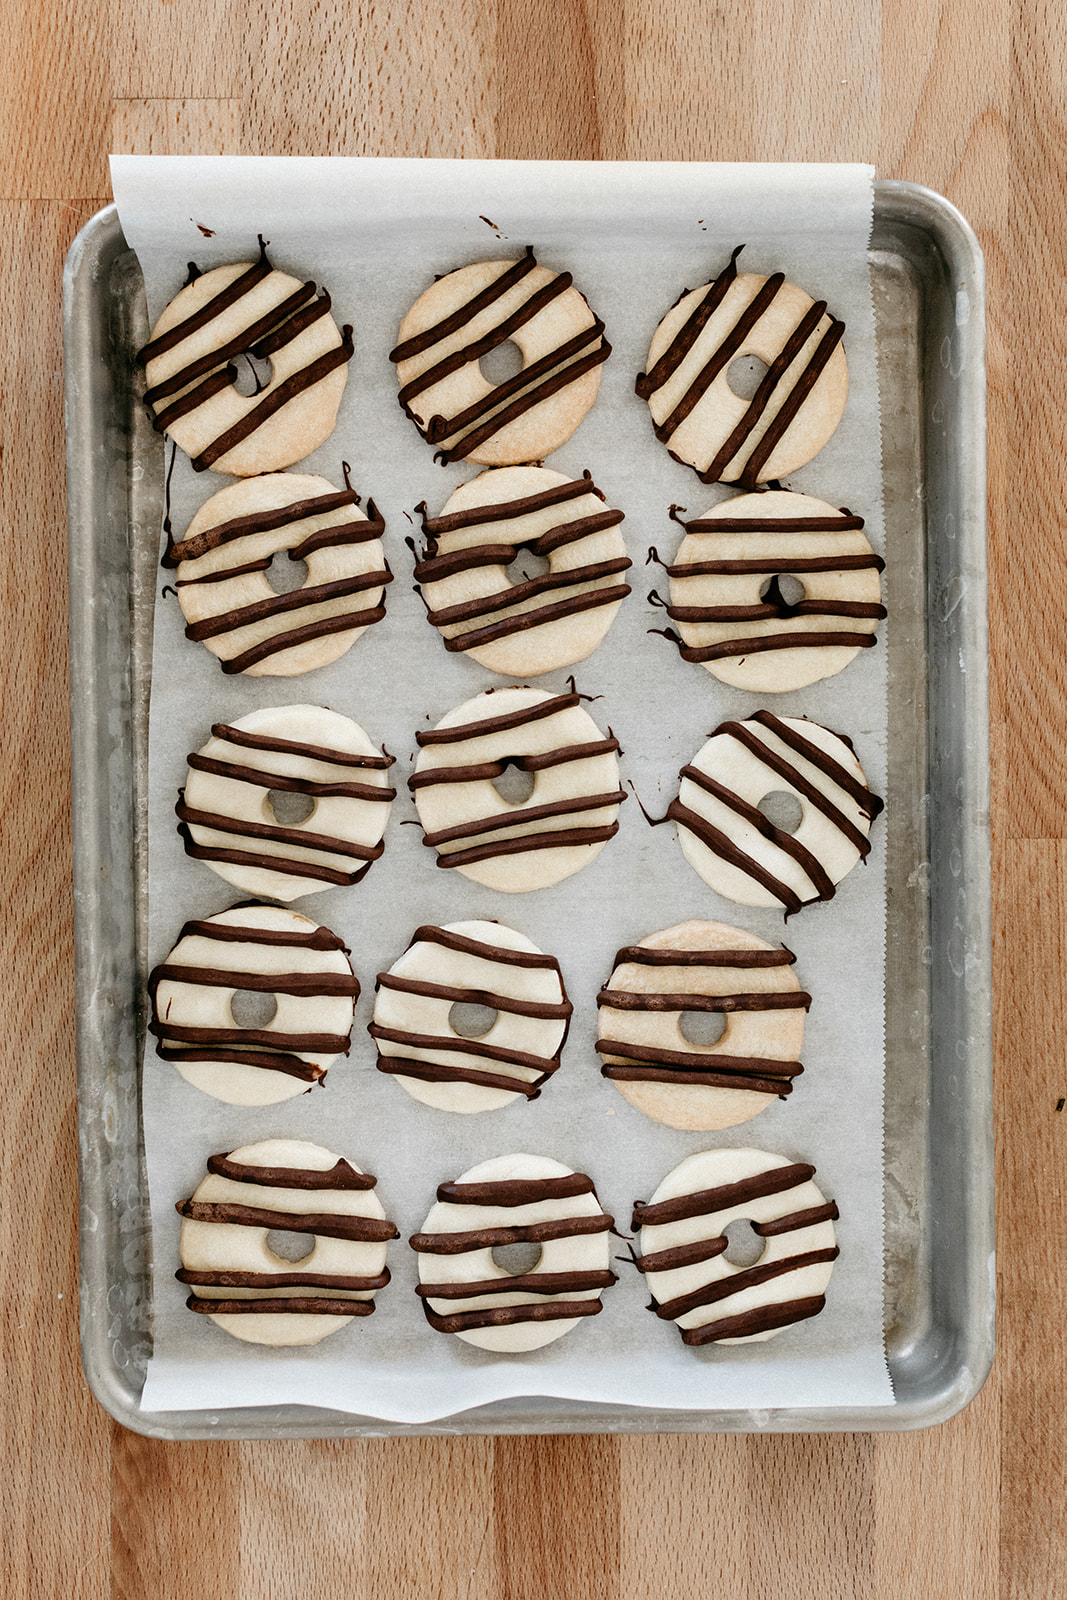
Roll out the dough on a floured surface to about 1/8”-1/4” thick. Cut out 2” circles with a biscuit cutter and then use a big piping tip to cut out 1/2” holes from the center. Re-roll scraps as needed. Place the cookies on baking sheets 1” apart. Bake until they're just starting to brown around the edges; start checking for doneness at 12 minutes. Let cool on the pans.

Meanwhile, melt the chocolate in a double boiler or in a microwave in 30-second increments, stirring after each. Let it cool slightly and then pour into a piping bag. Snip off the tip and then pipe 4 thick chocolate stripes on each cookie. Let the chocolate harden at room temp or in the fridge. 

These will keep for several days in an airtight container at room temp or in the fridge.


-yeh!

photos by chantell and brett quernemoen

this recipe was created in partnership with our family!

Rhubarb and Pistachio Rugelach

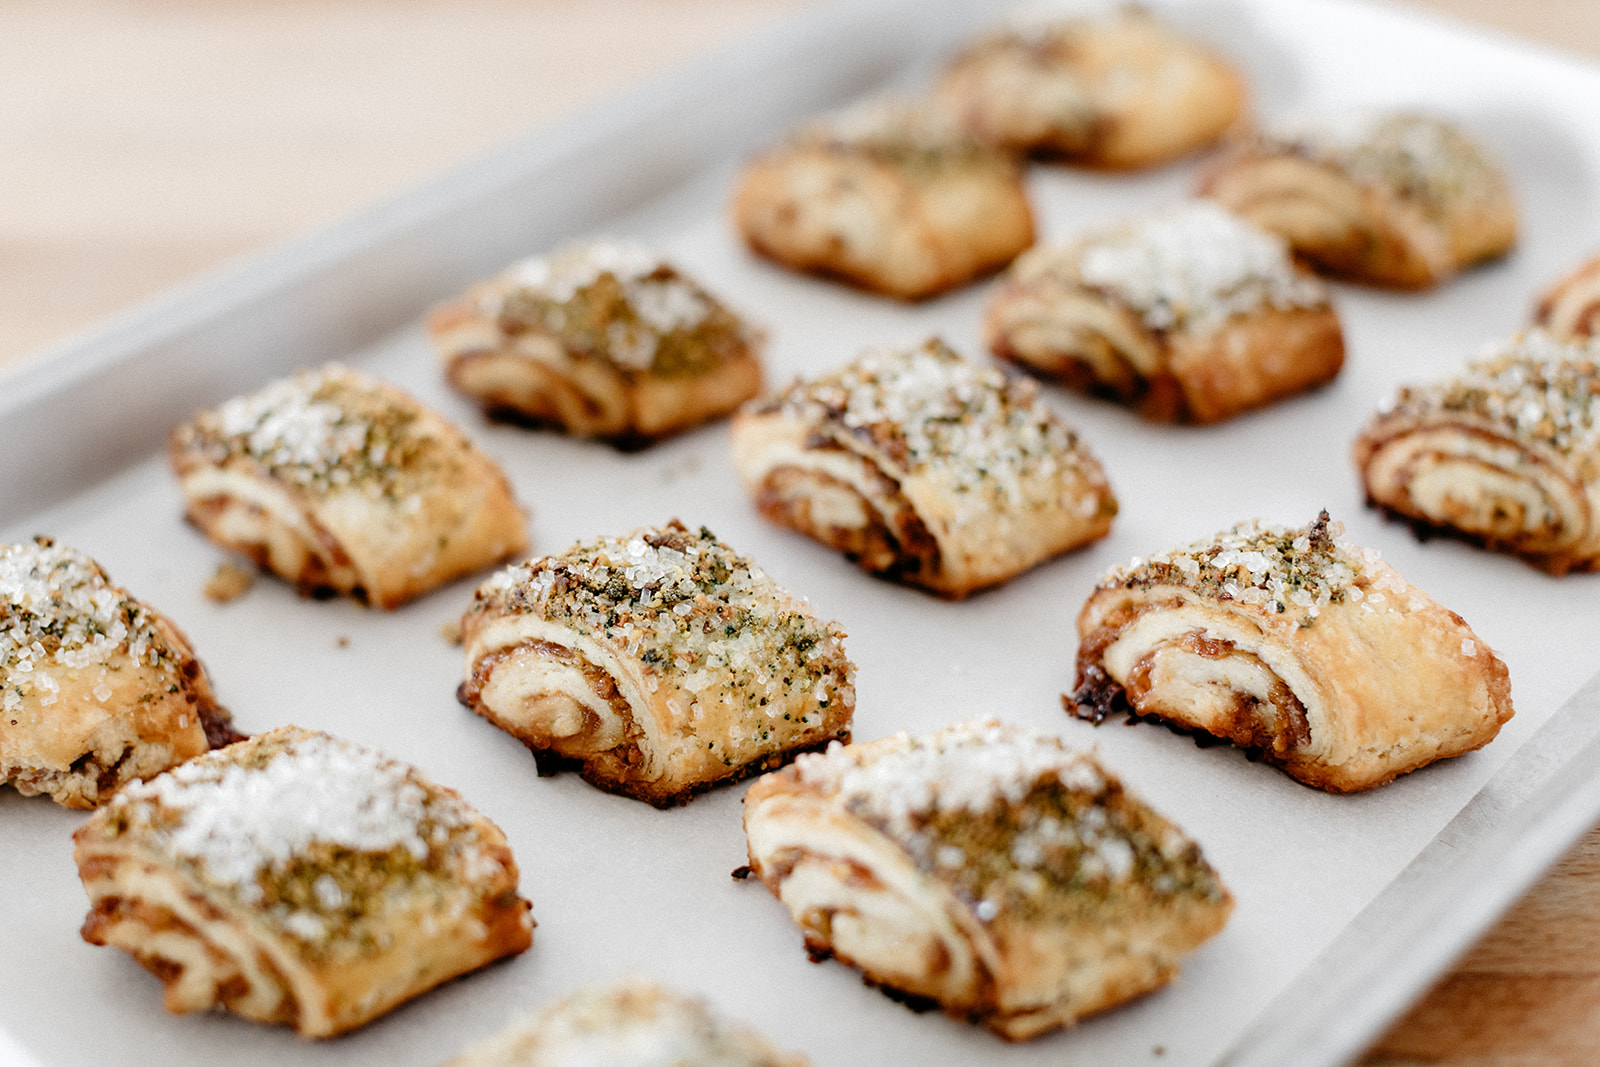
Rhubarb season, la dee da! [Insert Disney princess humming and singing with the birds!] Everything in the yard is green and happy, the chickens are laying, the cats are hunting, and the rhubarb is very bright pink!!! Let’s get down to business. With dreams of last year’s sea salt chocolate rugelach, I realized it was time for a springtime jam version! And what makes the best springtime jam? Rhubarb from the backyard, of course! And you know I love rhubarb with rosewater and pistachios, so those naturally wiggled their way in too. The result is a buttery, not-too-sweet, nutty cookie that has a hint of sourness from both cream cheese and rhubarb. It’s rustic yet a little fancy, and it’s an ode to both my Jewishness and the farm because without the rhubarb patch on the farm, I probably would have never made these. And they certainly couldn’t have been done without my mom’s perfect rugelach in my cookie genes.

That’s all! 

(And hey, if you want to switch up the jams and/or nuts, do it!!)


Rhubarb and Pistachio Rugelach

Makes 24 cookies

Ingredients

Dough

2 1/2 c (325g) all-purpose flour, plus more for dusting

1/3 c (66g) sugar

1/2 tsp kosher salt

zest of 1/2 orange or lemon

1 c (226g) unsalted butter, cold and cubed

8 oz (226g) cream cheese, straight from the fridge

2 large egg yolks

1 tsp vanilla extract


Filling

3/4 c (245g) rhubarb jam, homemade or store-bought

1 tb orange or lemon juice

optional: 1 tsp rosewater, or to taste

1/2 c (64g) finely chopped toasted pistachios

Egg wash: 1 large egg beaten with a splash of water

Topping

a few pinches flaky salt

2 tb sugar or coarse sanding sugar

1/4 c (32g) ground toasted pistachios

Clues

To make the dough, combine the flour, sugar, salt, and zest in a stand mixer fitted with a paddle. Add the cubed butter, distributing it all over the top of the dry ingredients, and dollop in the cream cheese (1” dollops should do it, but it doesn’t need to be perfect). Turn the mixer on low and stir until the mixture is mostly mealy and there are still some larger clumps of butter and cream cheese in tact. Continue mixing and add the yolks and vanilla and then continue mixing until the dough comes together. Divide the dough in half and shape into discs. Wrap tightly in plastic wrap and refrigerate for at least 2 hours or up to 2 days.

To form the rugelach, first make the filling by combining the jam with the orange or lemon juice and rosewater, if using, and set it aside. Working with one dough disc at a time, roll it out on a lightly floured surface, dusting with flour as needed to prevent it from sticking, until it is a wide rectangle, 18” by 9”. Use an offset spatula to spread on half of the jam in a thin even layer, leaving a 1” border along the long edge that’s furthest from you. Sprinkle with half of the finely chopped pistachios. Brush the 1” border with a thin layer of egg wash and then start on the end closest to you and roll the dough into a long tight log, placing it seam side down. transfer to a cutting board or baking sheet and refrigerate for at least 2 hours or up to 2 days (depending on fridge space, you might want to cut the log in half so you’re dealing with four shorter logs as opposed to two really long ones). 

If you’re only refrigerating for a couple of hours, no need to cover the logs. If longer than that, cover with plastic wrap. 

To bake, preheat the oven to 375ºf and line two baking sheets with parchment paper. brush the logs with a thin layer of egg wash, sprinkle with a few pinches of flaky salt, a lot of pinches of sanding sugar, and a good pile of ground pistachios. Cut into 1 1/2” slices and transfer to the baking sheets, 1” apart. Bake until golden brown on top; begin checking for doneness at 24 minutes. (You might notice that the cookies seem to sweat and leak out some fat and jam while in the oven, this is completely normal.) Let cool on the pans for 5 minutes and then transfer to a wire rack to cool completely. Or enjoy them warm! Leftovers can be stored at room temp for several days.


-yeh!

photos by chantell and brett quernemoen
monster cookie cake

I am officially 9 months pregnant and officially in major freakout nesting mode!!!!! I am of the textbook vibe: please-move-the-crib-there-no-please-move-it-there-or-maybe-this-wall-needs-to-be-painted-a-dark-mustard-color-ohmyguhhhhhh-we-don’t-have-enough-toys!!! *Sits in the gym parking lot and orders the playpen in the most frantic manner* *Can’t decide on any of the nursing bras so buys all of them* *Cries in the Old Navy baby department!!!!*

The good thing is that I’ve had the energy to get worked up about everything. Aside from the average two nights a week when I’m up all night long obsessing about things like rocking chairs versus gliders, I’ve been sleeping like a rock. I was totally bracing myself for the return of first trimester fatigue during my third trimester, as I’ve read is often the case, but I truly do not have the time to be tired right now. I have a list of meals to be prepped (I’ll blog about this soon!), a bunch of furniture to rearrange (or rather, direct Eggboy to rearrange), and a slew of recipes to edit for both Girl Meets Farm and blog posts that I’ll schedule to go live during my maternity leave. And I need to stay current on the Bachelor which is taking up so much time, gosh geez. Luckily I’ve been able to focus a lot of this energy into keeping up with my workouts which have consisted of lifting itty bitty weights and doing resistance stuff and also waddling quickly around the track (while listening to Unorthodox, obviously). Which I think has been key in not driving everyone around me too crazy. I think. They haven’t told me otherwise. But then again what monster calls a 9-month pregnant lady crazy to her face?

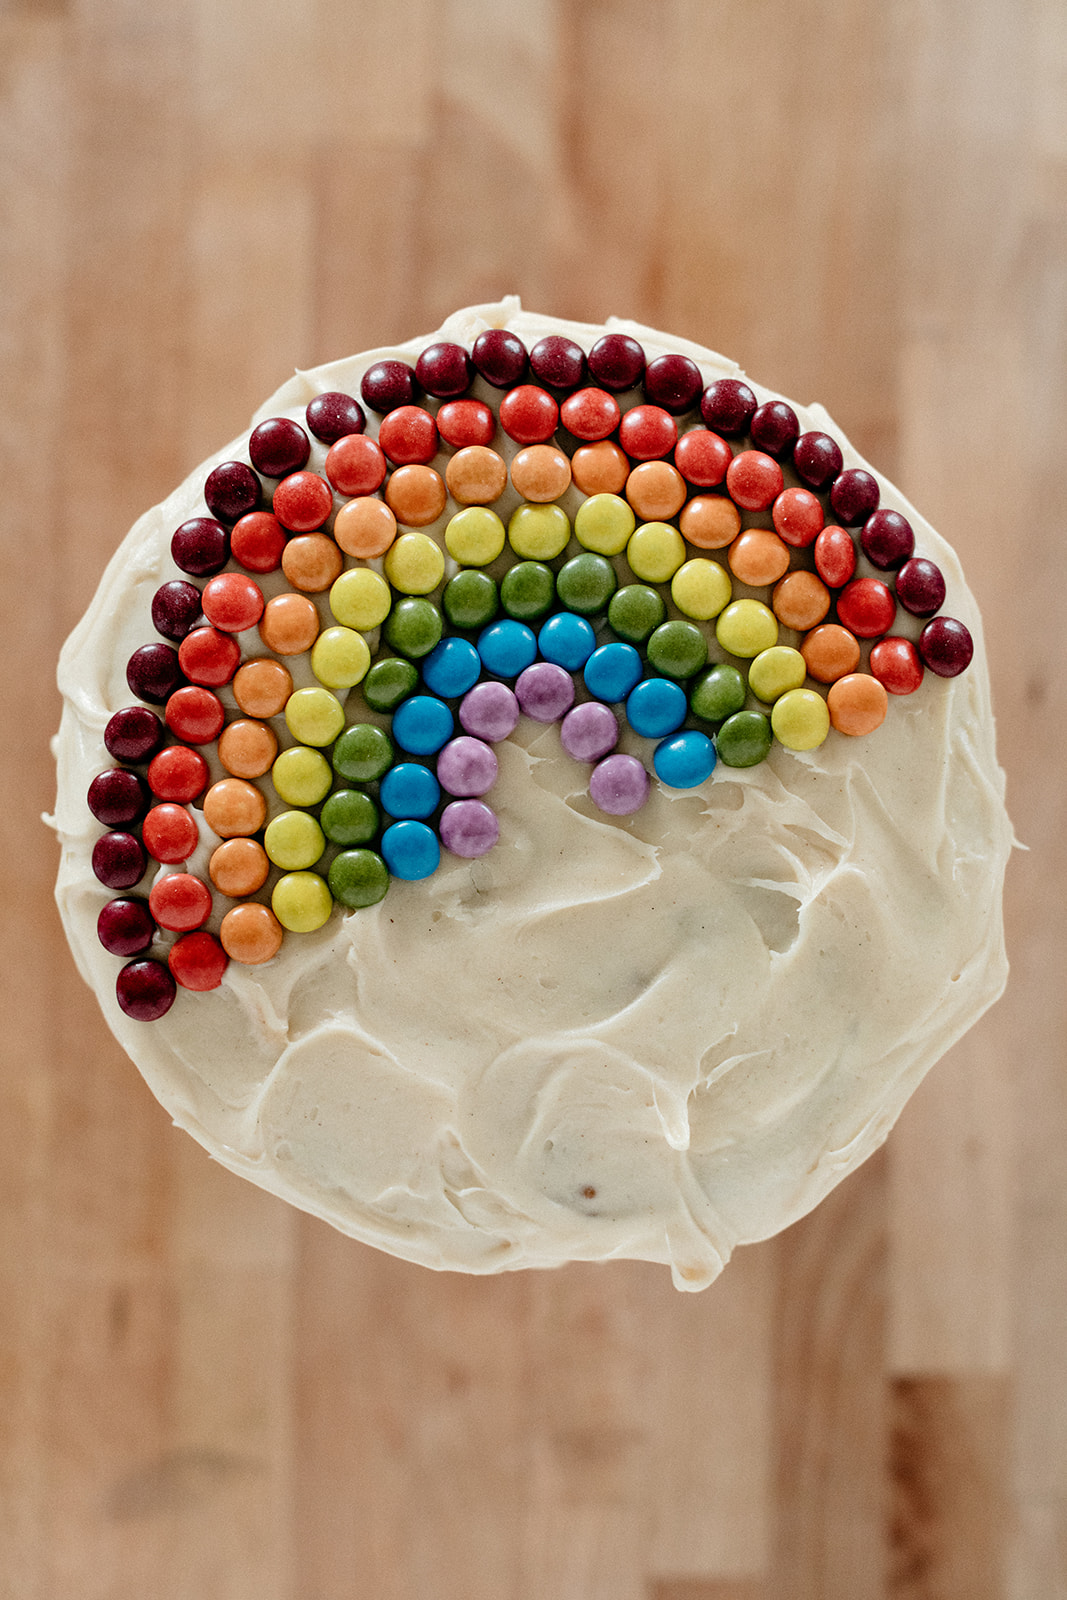
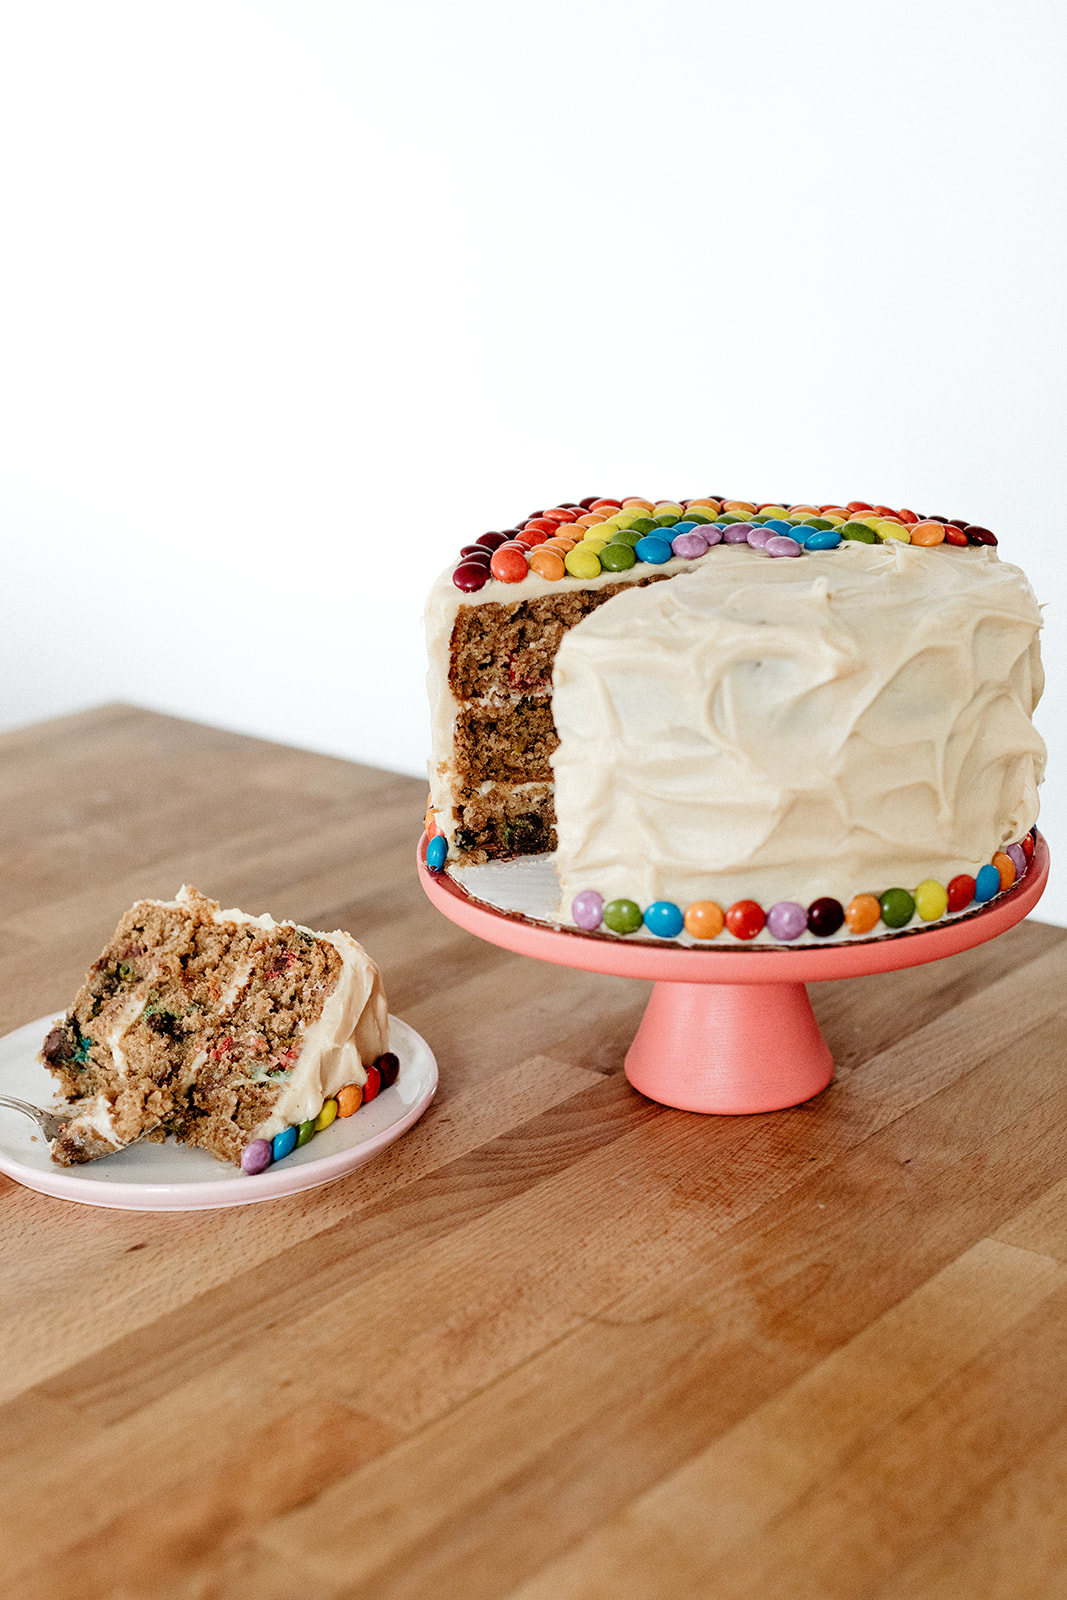
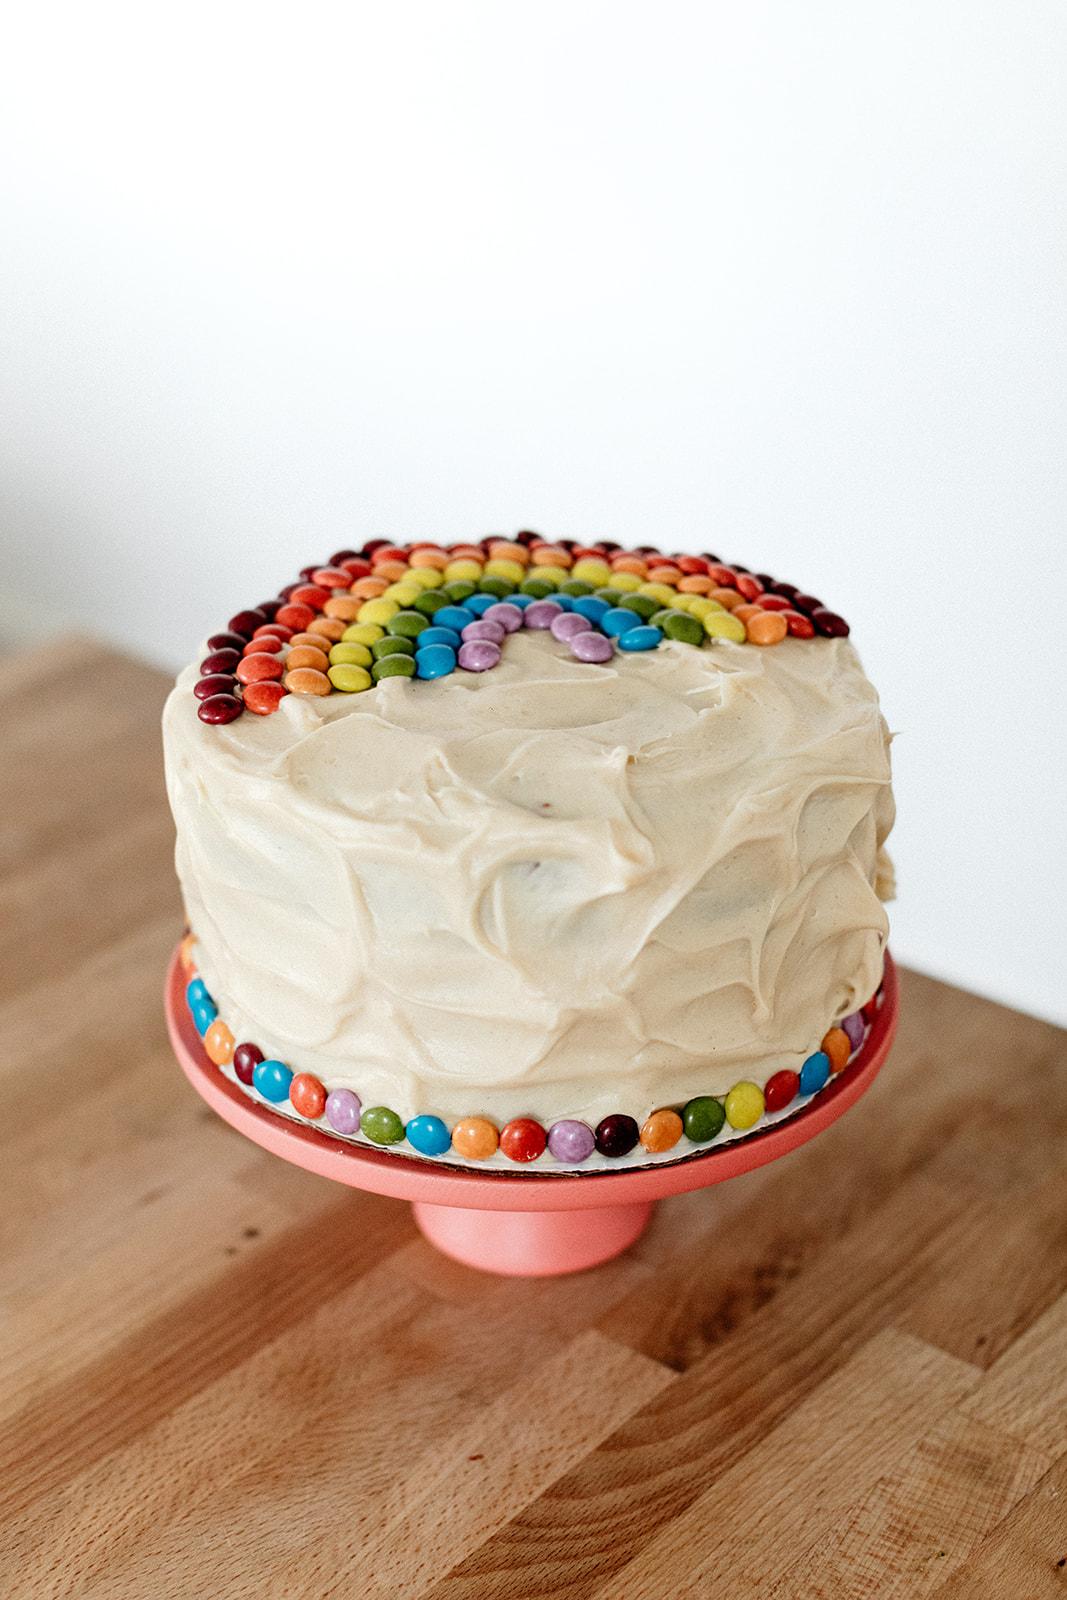
Speaking of monsters, I made a monster cookie cake! It was for Eggmom’s birthday! I didn’t know what a monster cookie was until I moved here and kept hearing about the gigantic gooey ones at the UND cafeteria. I’ve never actually had one because I’m afraid of getting caught sneaking onto campus but I’ve had others and they are sooo good: peanut butter, oatmeal, and M&M’s all folded into a soft chewy delicious cookie. It occurred to me that it needed to be turned into a cake when I was brainstorming cakes for Eggmom’s birthday earlier this year. She loves M&M’s. And has oatmeal every morning. And ate peanuts by the handful when she was pregnant with Eggboy. So a monster cookie cake seemed perfect!! The oats and peanut butter in the batter here make it extra dense and moist, and the chocolates (I went with Trader Joe’s naturally colored candy coated chocolates) add good textural excitement. This is a super heavy cake! It’s slathered with peanut butter cream cheese frosting which drives home the peanut flavor and also adds a hint of sourness that’s the perfect balance to the cake. This frosting is sooooo goooood, you might want to make extra so you can just eat it with a spoon. You can totally bake this batter into cupcakes (it’ll make a lot, like 40!) and if you’re really feeling the monster energy, I feel like a few marzipan monsters around the sides would be cute. Or you can just go the normcore rainbow route like I did!

I made this cake using Our Family ingredients, which was especially fitting since I made it for family!! <3


monster cookie cake

makes one 3-layer, 8-inch cake

Ingredients

Cake

2 c (472g) boiling water

1 1/3 c (106g) rolled oats

2 c (260g) all-purpose flour

1/2 c (64g) whole wheat flour, or more all-purpose flour

1 1/2 tsp kosher salt

1 1/2 tsp baking powder

1 1/2 tsp baking soda

1 1/2 tsp cinnamon

1 c (200g) granulated sugar

1 c (200g) brown sugar

1/2 c (100g) flavorless oil, like canola

1 c (256g) creamy unsweetened peanut butter

2 large eggs

1 tb vanilla extract

1 c (240g) buttermilk 

2 c (320g) candy coated chocolates, plus more for decorating

Frosting

1/2 c (113g) unsalted butter, room temperature

1 c (226g) our family cream cheese, room temperature

1/4 c (64g) creamy unsweetened peanut butter

3 c (360g) powdered sugar

A pinch of kosher salt

1 1/2 tsp vanilla bean paste or extract

2 tb (30g) heavy cream

clues

Preheat the oven to 350ºf. Line the bottoms of three 8” round cake pans with parchment, grease the parchment and sides of the pans and set aside.

In a medium bowl, combine the boiling water and oats, cover, and let sit for 20 minutes.

In a separate medium bowl, whisk together the flours, salt, baking powder, baking soda, and cinnamon. 

In a large bowl, whisk together the sugars, oil, and peanut butter. Add the eggs one at a time, whisking after each. Whisk in the vanilla and buttermilk and then stir in the dry ingredients and then the oats. Fold in the candy chocolates (quickly, to prevent the colors from bleeding), and then transfer to the cake pans. Bake until a toothpick inserted into the center comes out clean; begin checking for doneness at 30 minutes.

Let cool in the pans for 10 minutes and then transfer to a wire rack to cool completely.

To make the frosting, beat together the butter, cream cheese, and peanut butter until smooth. Add the powdered sugar, salt, and vanilla and beat to combine. Beat in the heavy cream.

Stack up the cake layers with a layer of frosting between each and then frost all over. Decorate with candy coated chocolates. Enjoy!


-yeh!

This recipe was developed in partnership with Our Family!

photos by chantell and brett quernemoen