halva magic bars

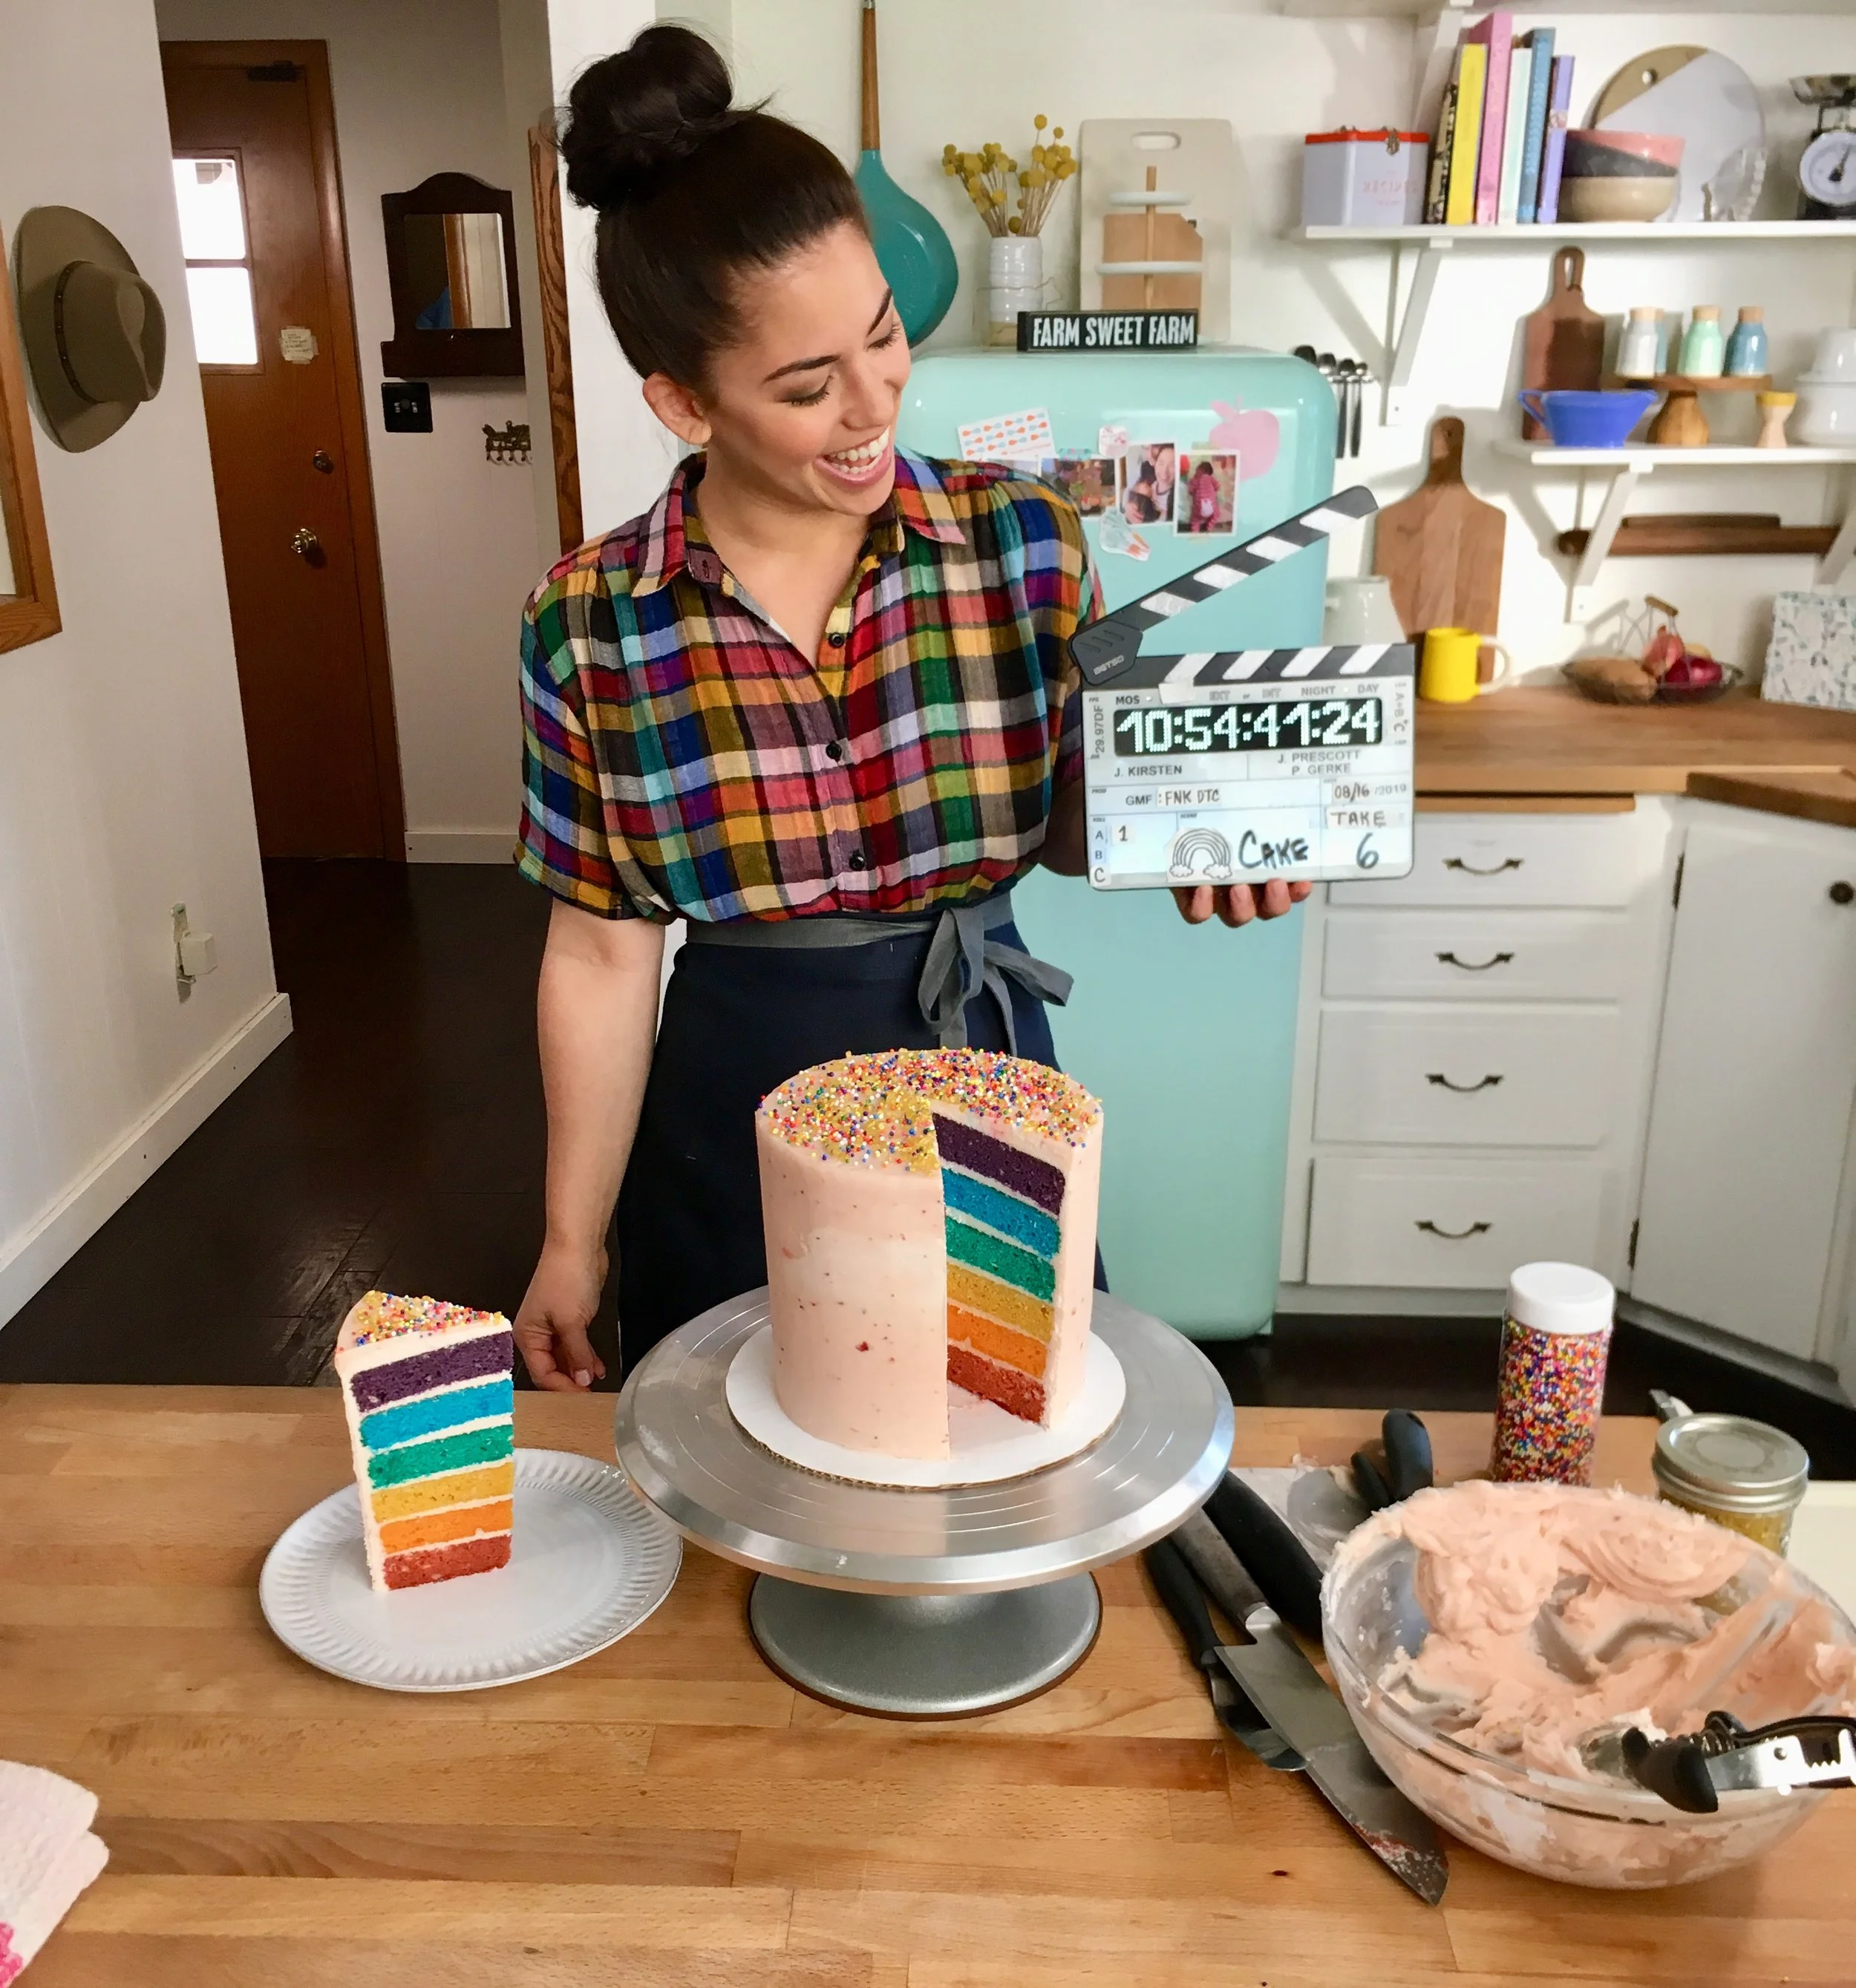
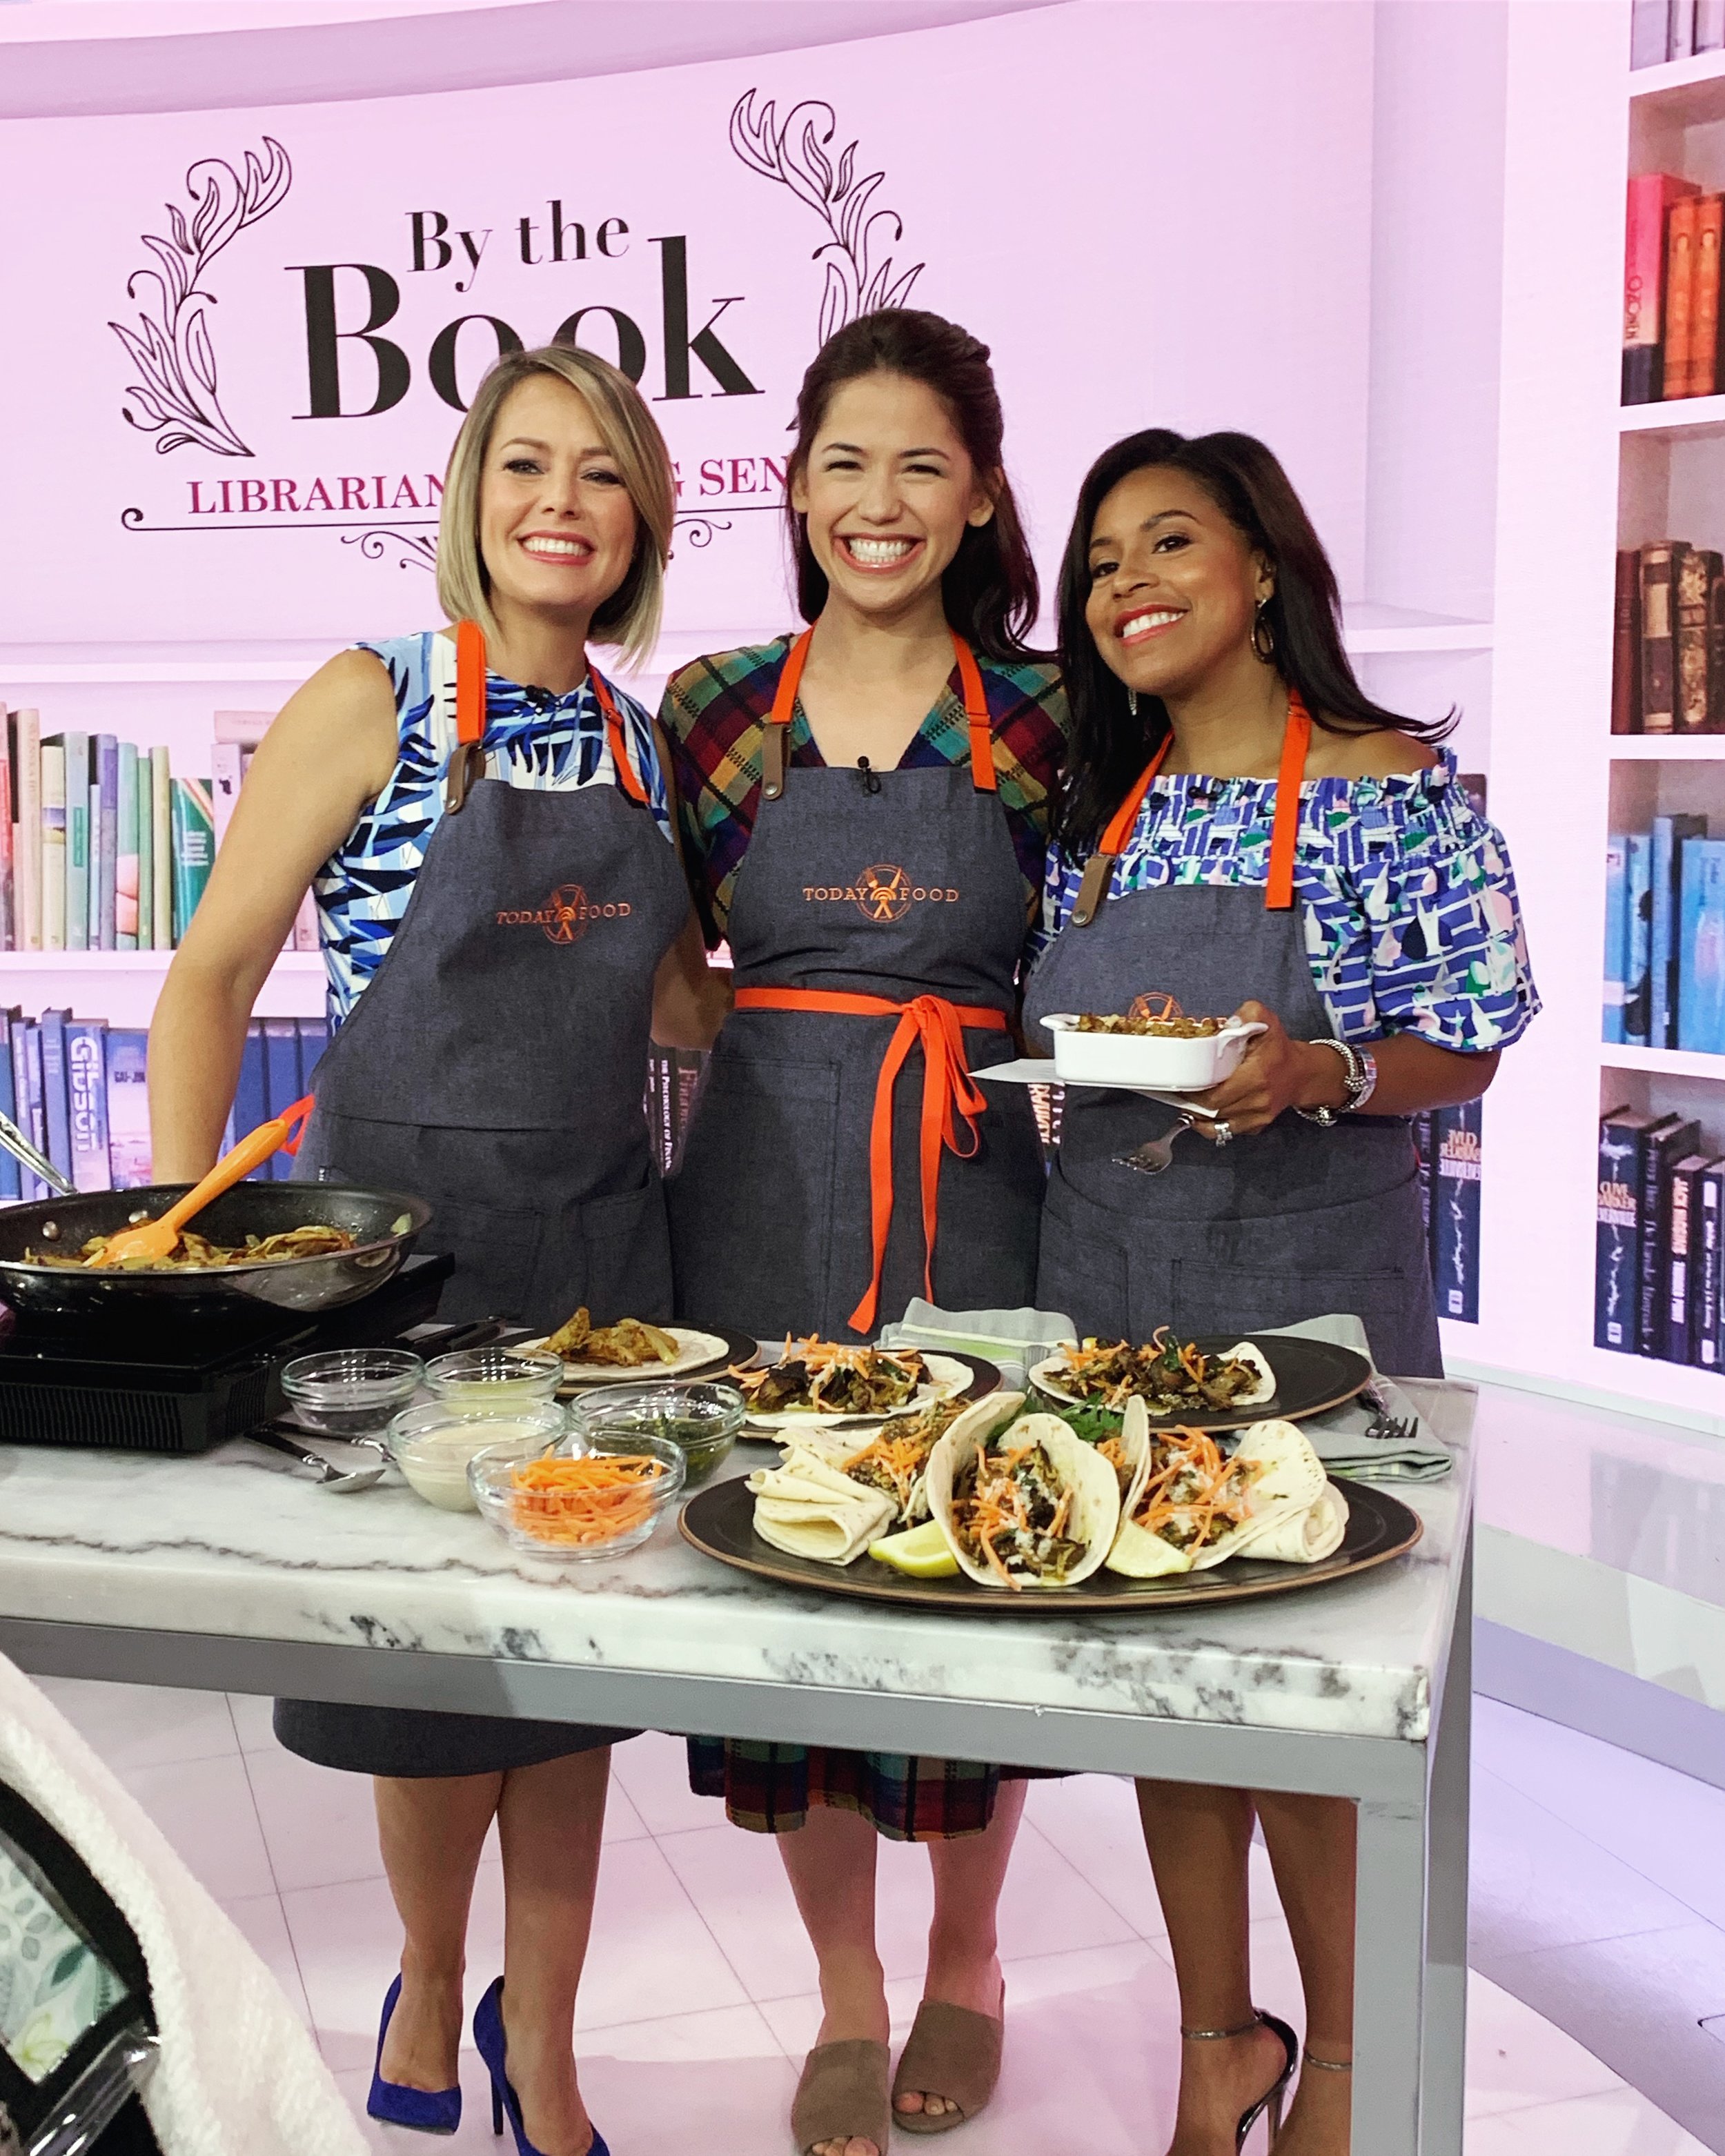
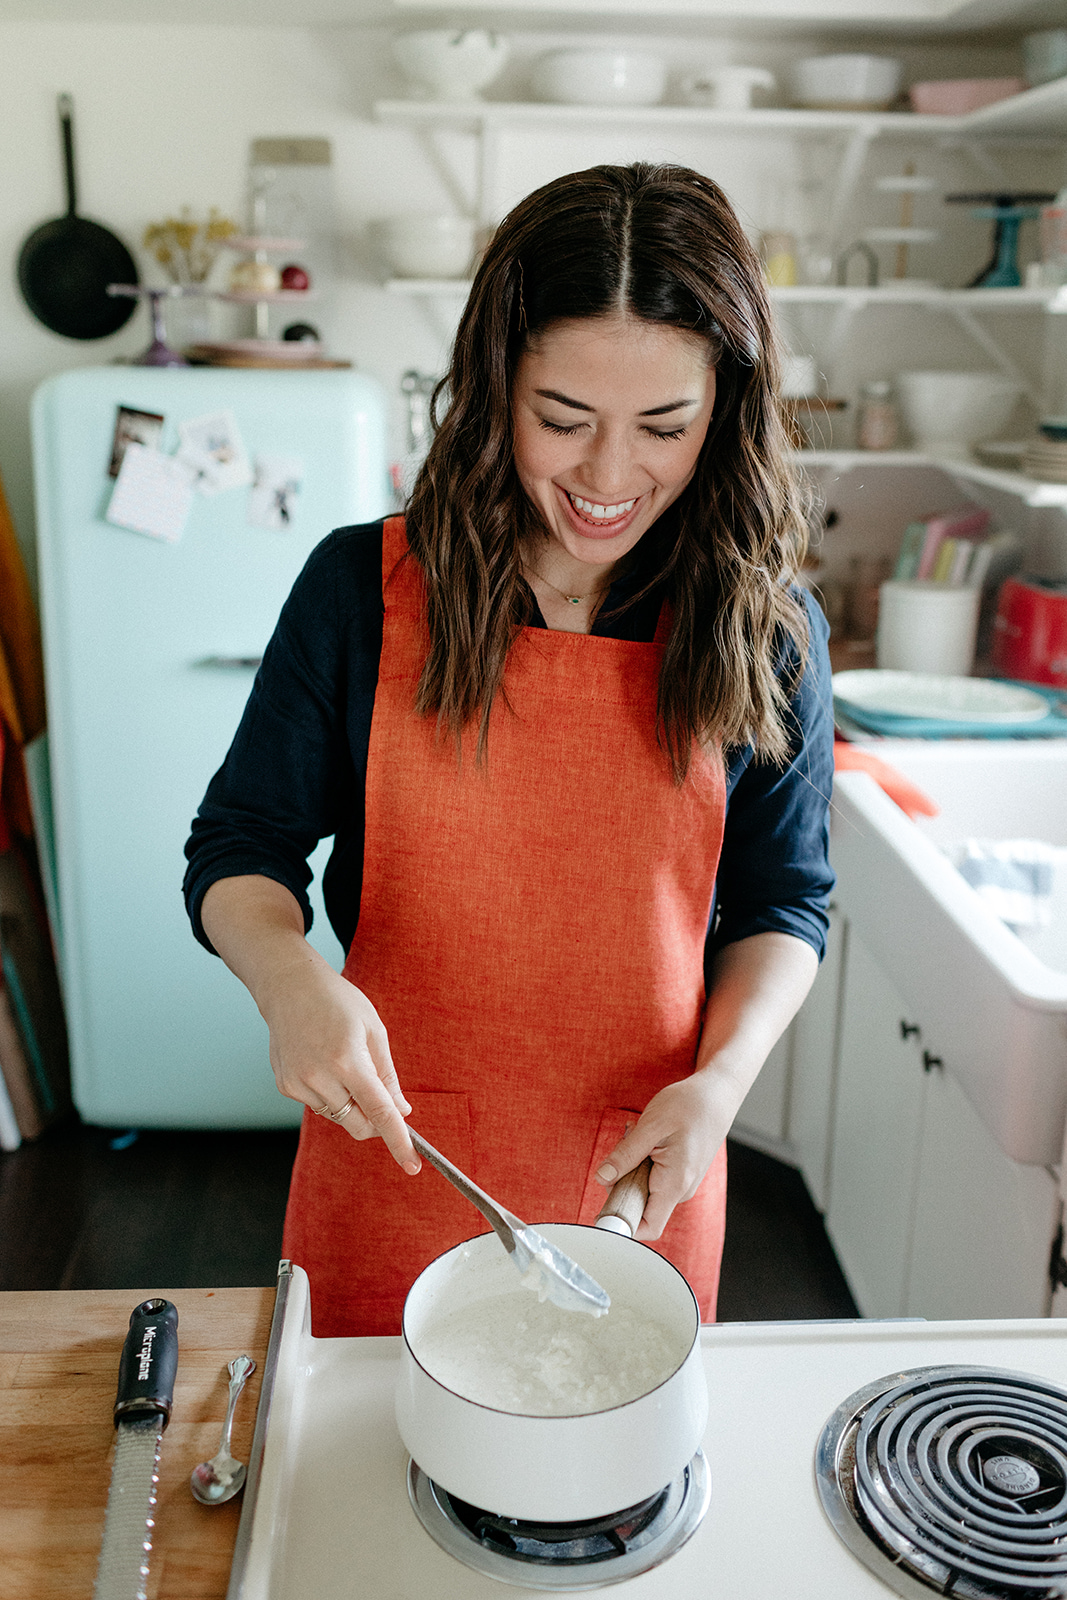
Hello from my first week back to blogging life after seven weeks of filming and three months of maternity leave! Season 4 is officially in the bag (and scheduled to premiere on September 8th!), and after a one-day trip to New York earlier this week to make turkey on the Today Show, I am home and ready to figure out this whole test-noodle-kugel-recipes-while-Bernie-is-singing-Baby-Beluga-with-Grandma-in-the-living-room thing. It’s gonna be great! I’m gonna squish her cheeks anytime I want!

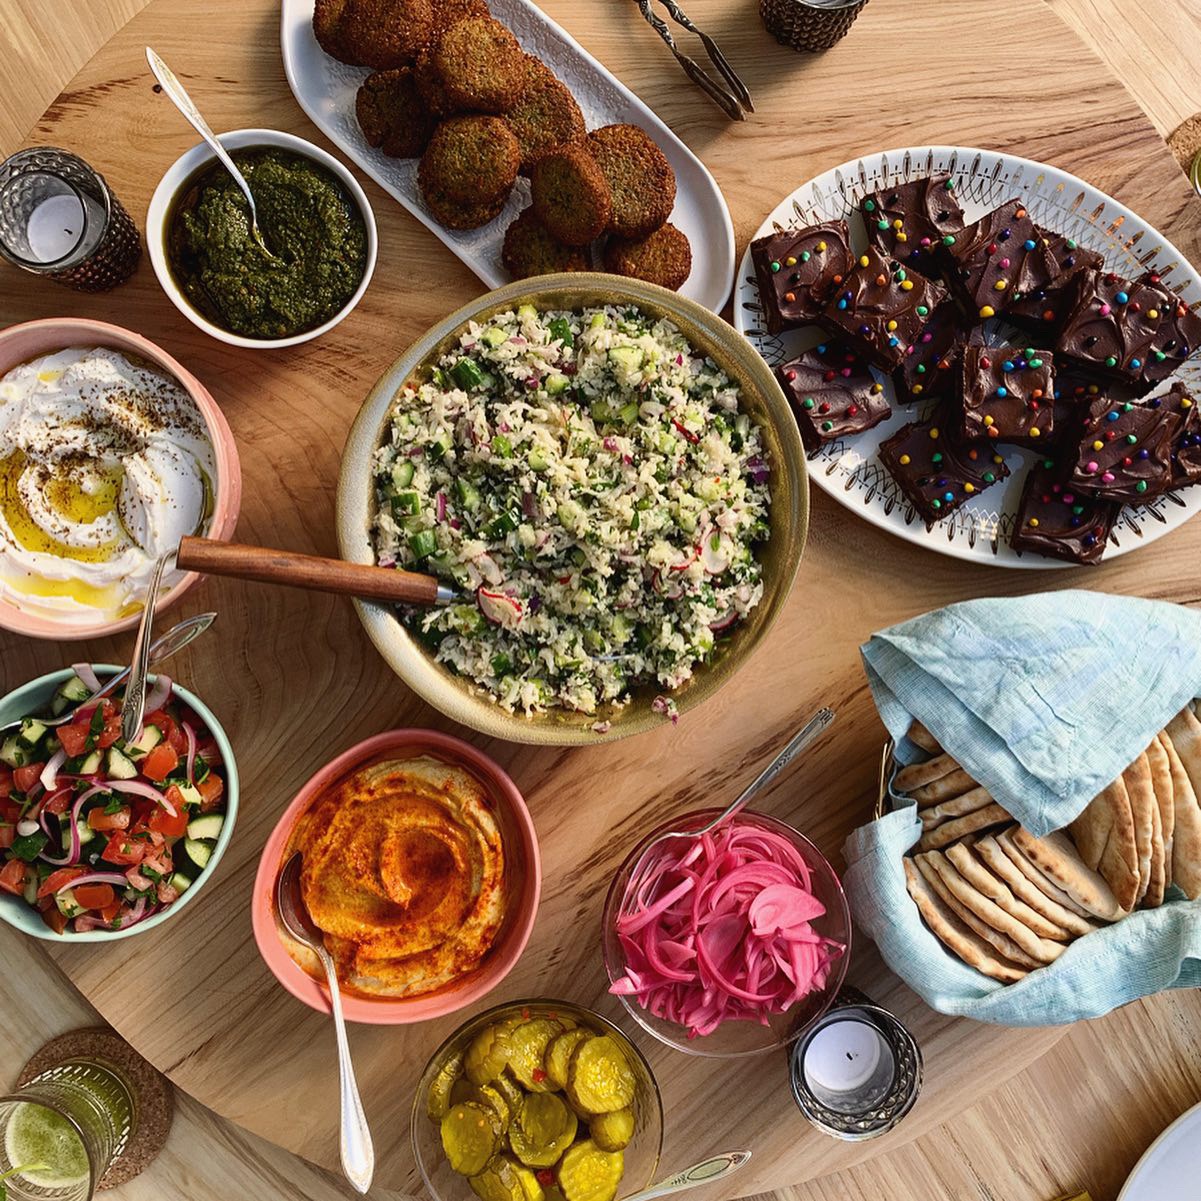
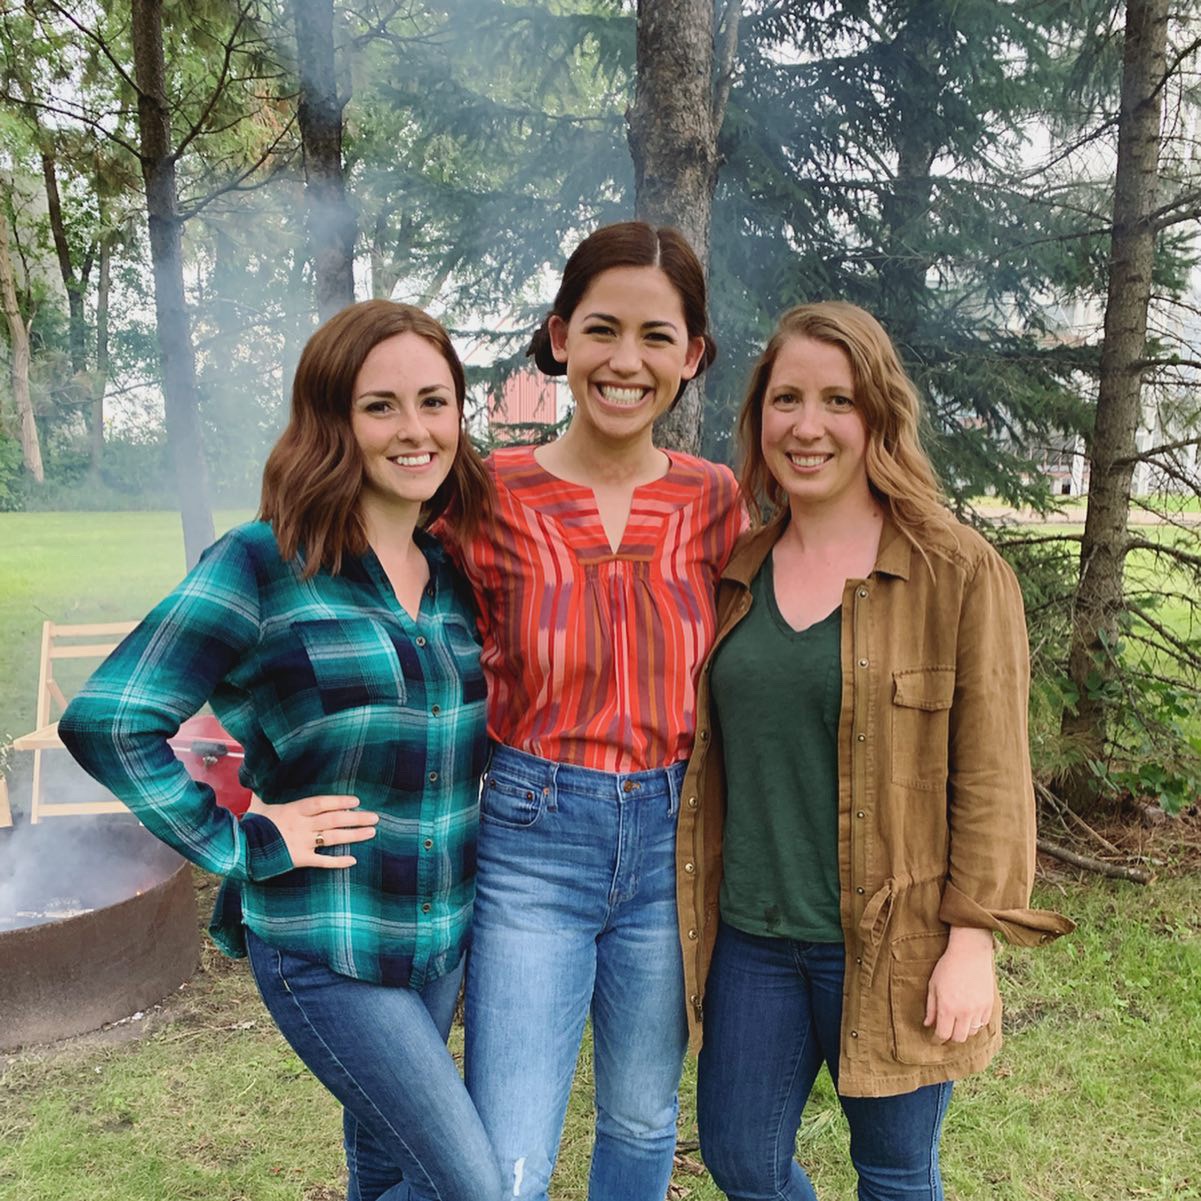
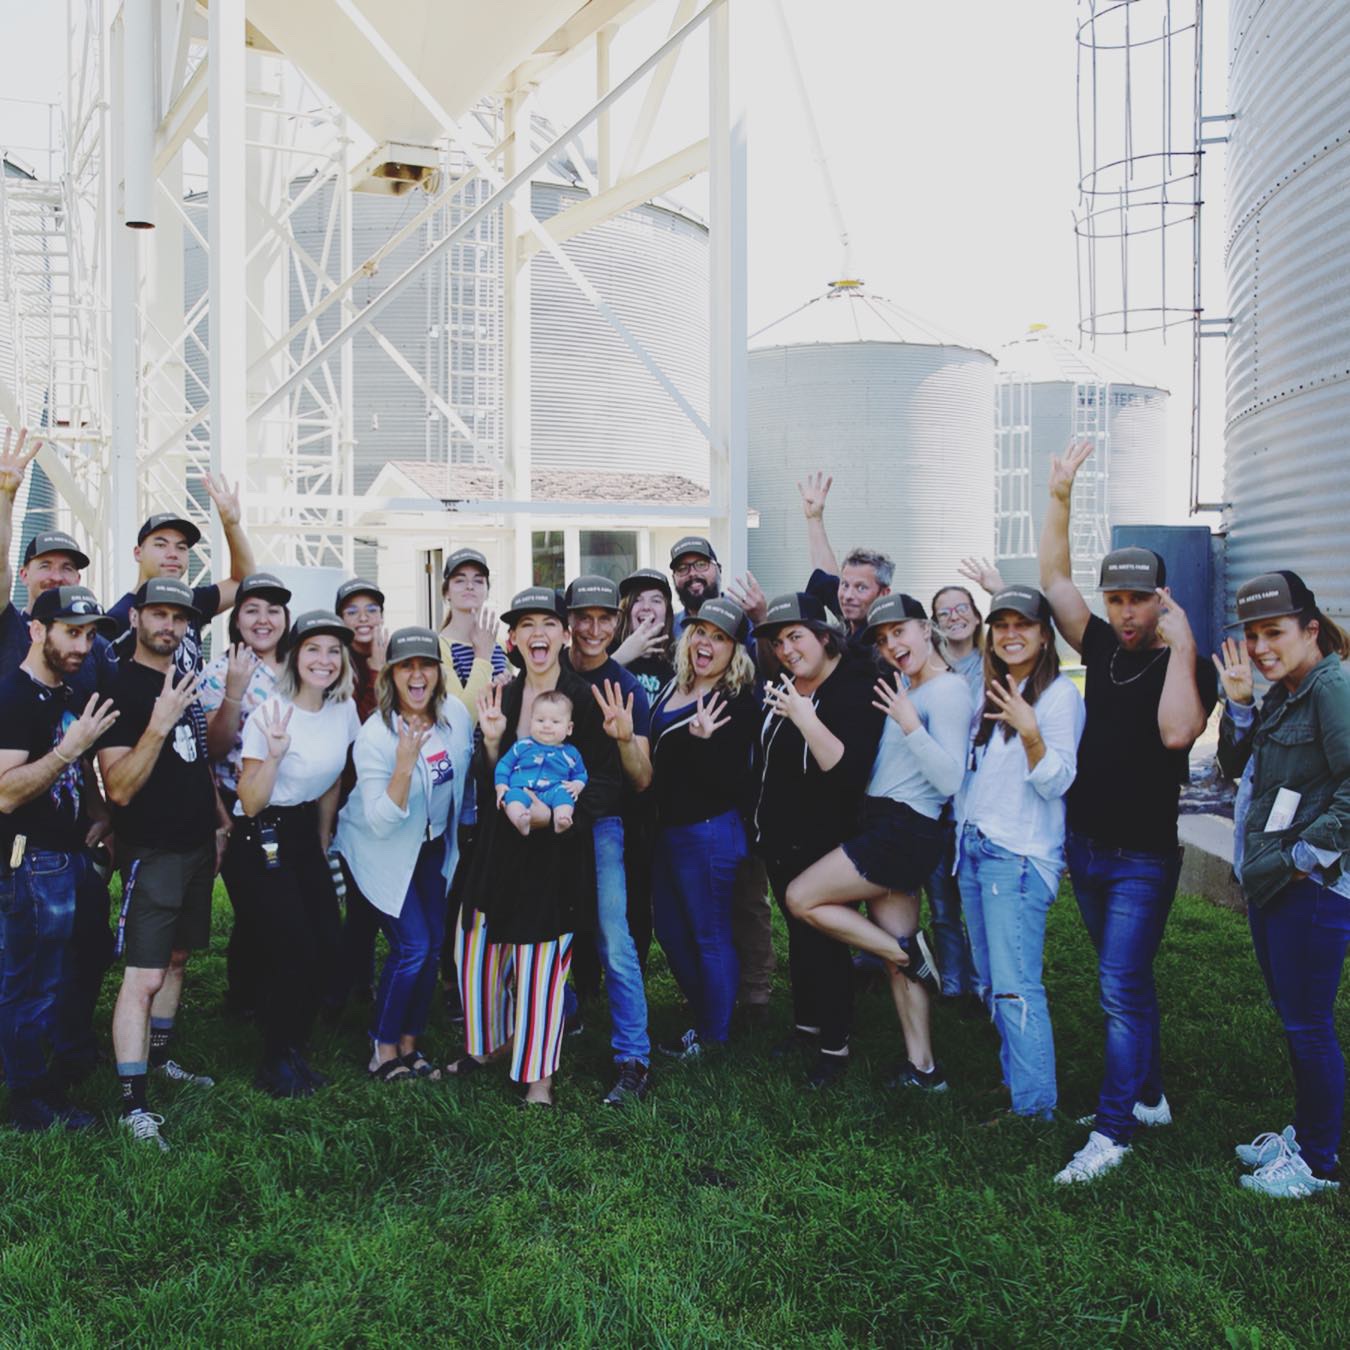
The Season 4 shoot was so much fun. It really was like summer camp: we had movie night under the stars, a wiener-fueled bonfire, bourekas in a wheat field, and a dance party with backstreet boys and a disco ball and everything. On the weekends we sat on the beach and invented new uses for the word gourmet. (“Are you wearing a Juicy velour robe? That is so gourmet!” “Did you just get very extravagant nail art? How gourmet!” Basically: fancy but not trendy, and nothing at all to do with food.) On the last day, I got Iced and that was that. I miss the crew so much already.

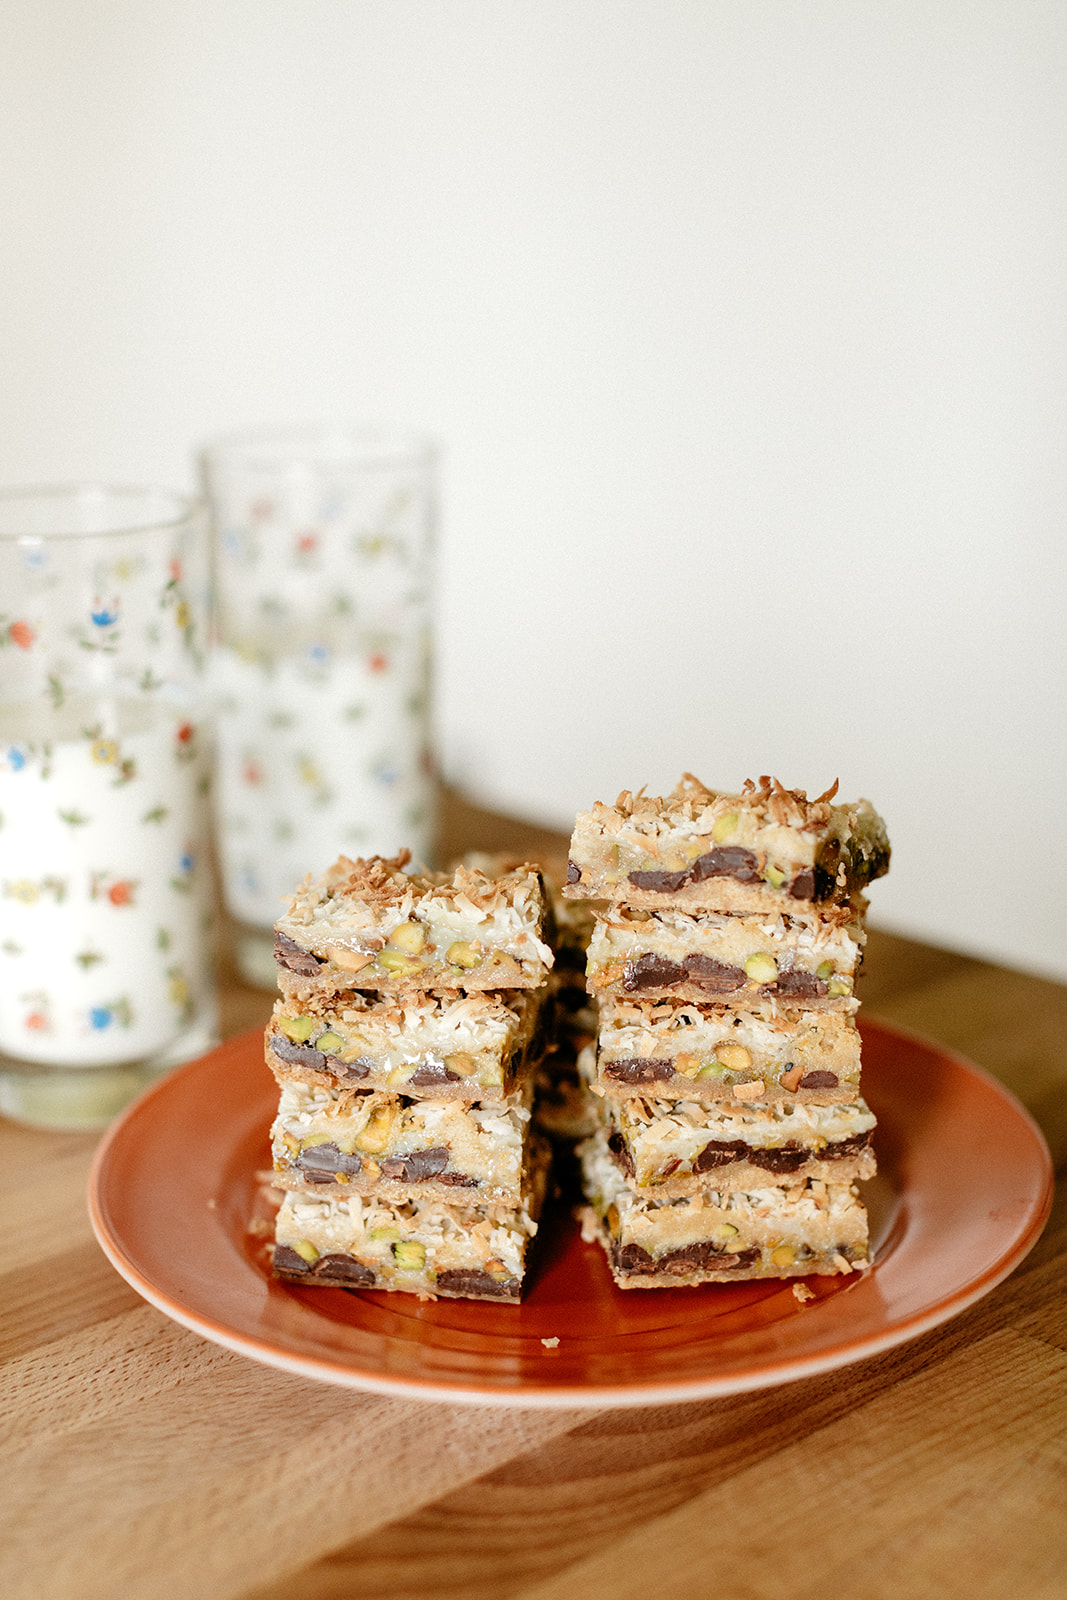
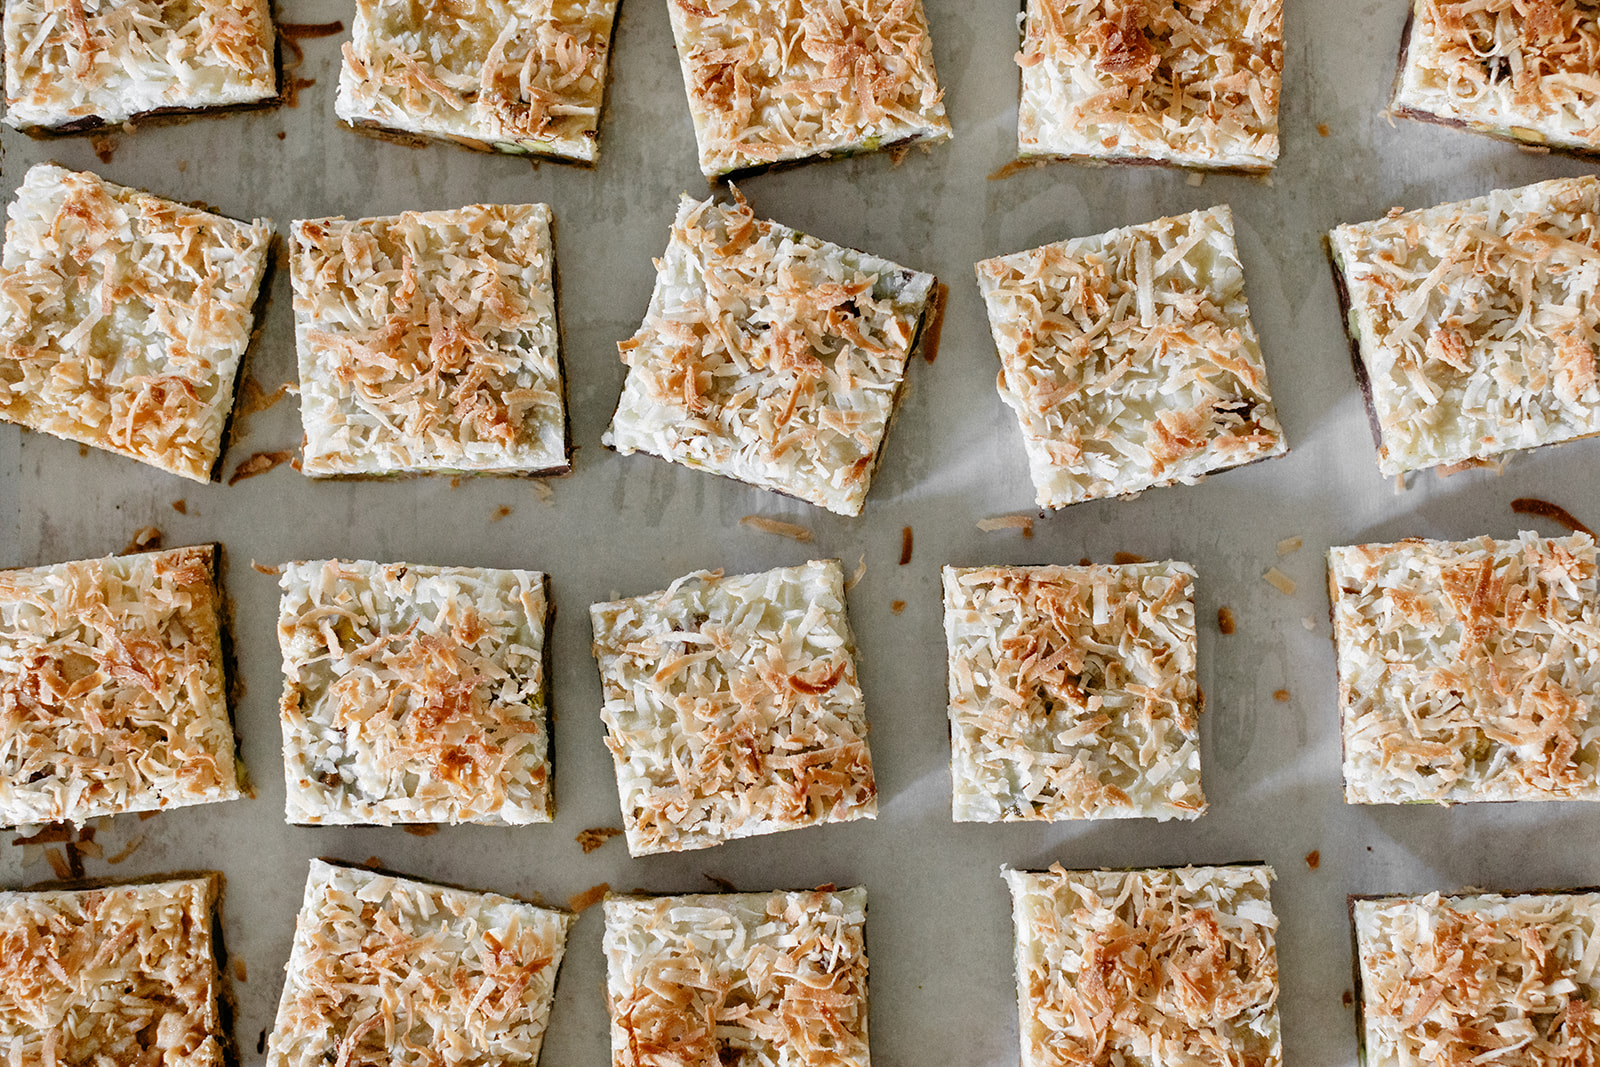
One of my faaaaavorite recipes from this season were the Halva magic bars that I made for an episode that’s an ode to Midwestern potlucks. Every potluck around here has to have a bar- a brownie, blondie, lemon square, cookie bar, etc. I grew up calling these desserts by their specific names but here they’re all just lumped into one big geometrically pleasing category that is the centerpiece for my go-to sample of a Midwest accent (“Are you going to bring the bars, Marge?” where the “ar” sounds a little pirate-y… aim for the back of your mouth and you’ll see what I mean.)

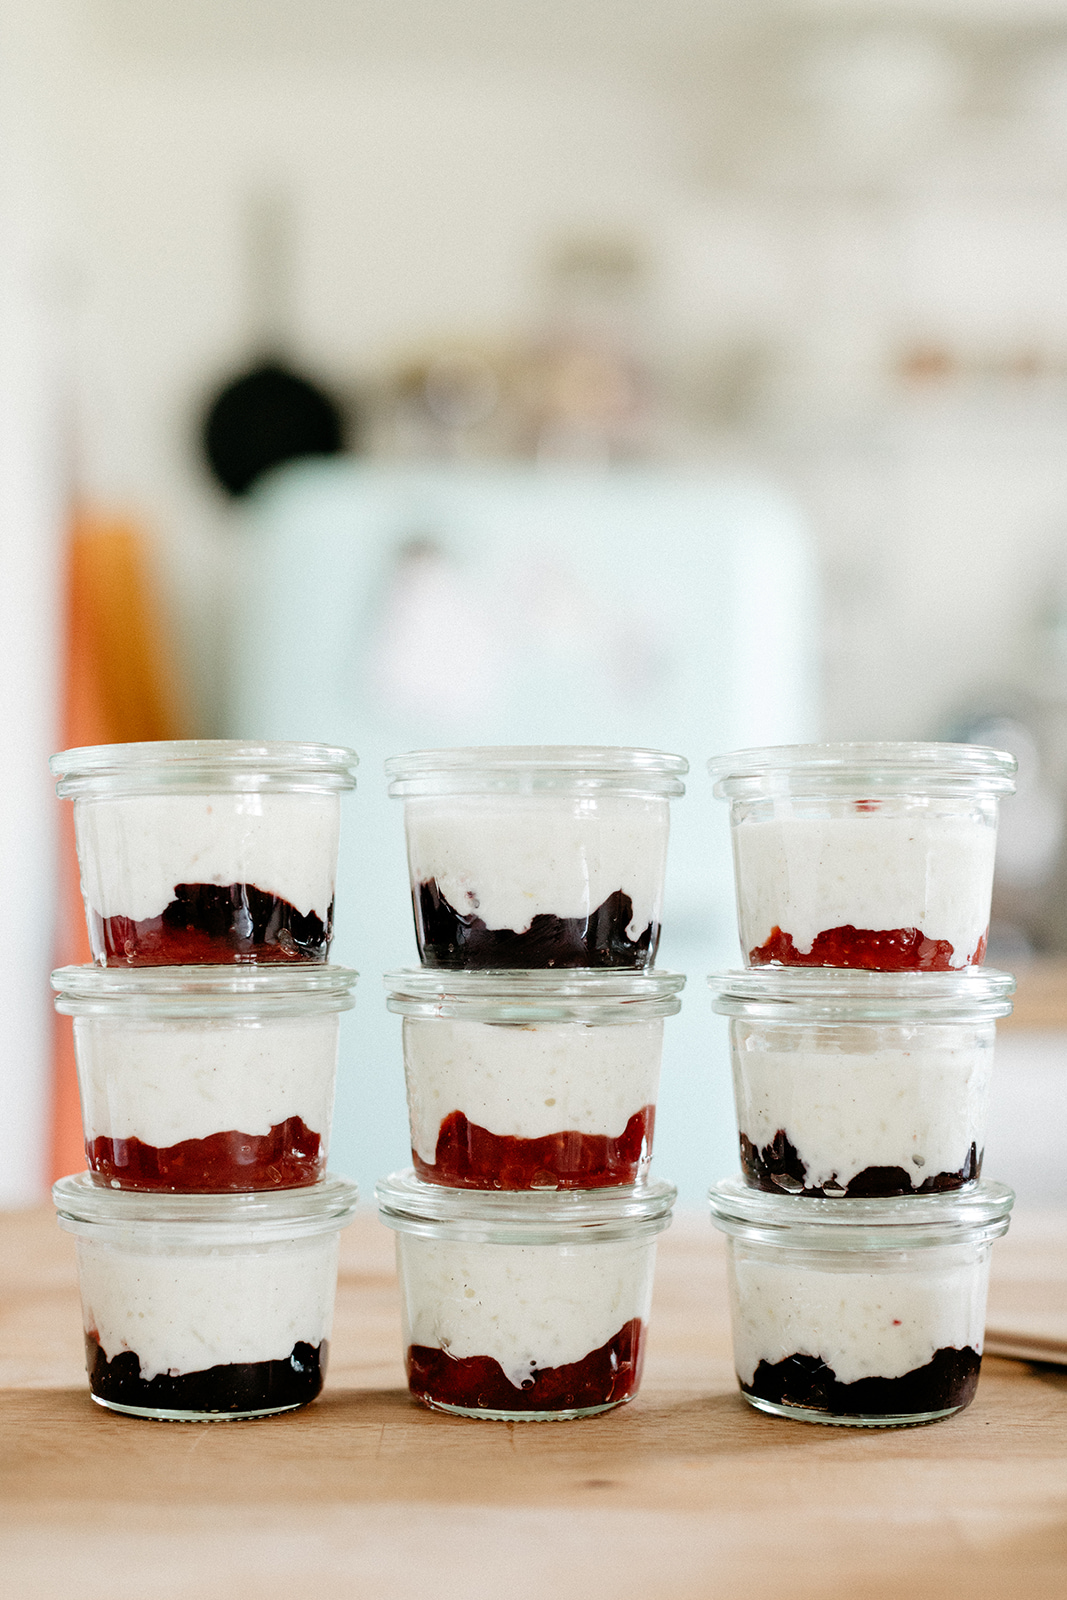
Magic bars, or 7-layer bars (tomato/tomahto), are one of the top three bars of all time. They are dangerously delicious and they’re magic because you make them by just piling everything into a pan. You don’t have to mix anything in a bowl or soften butter or commit any real effort, they’re so easy and the return is so great that it honestly feels like you’re cheating the world. 

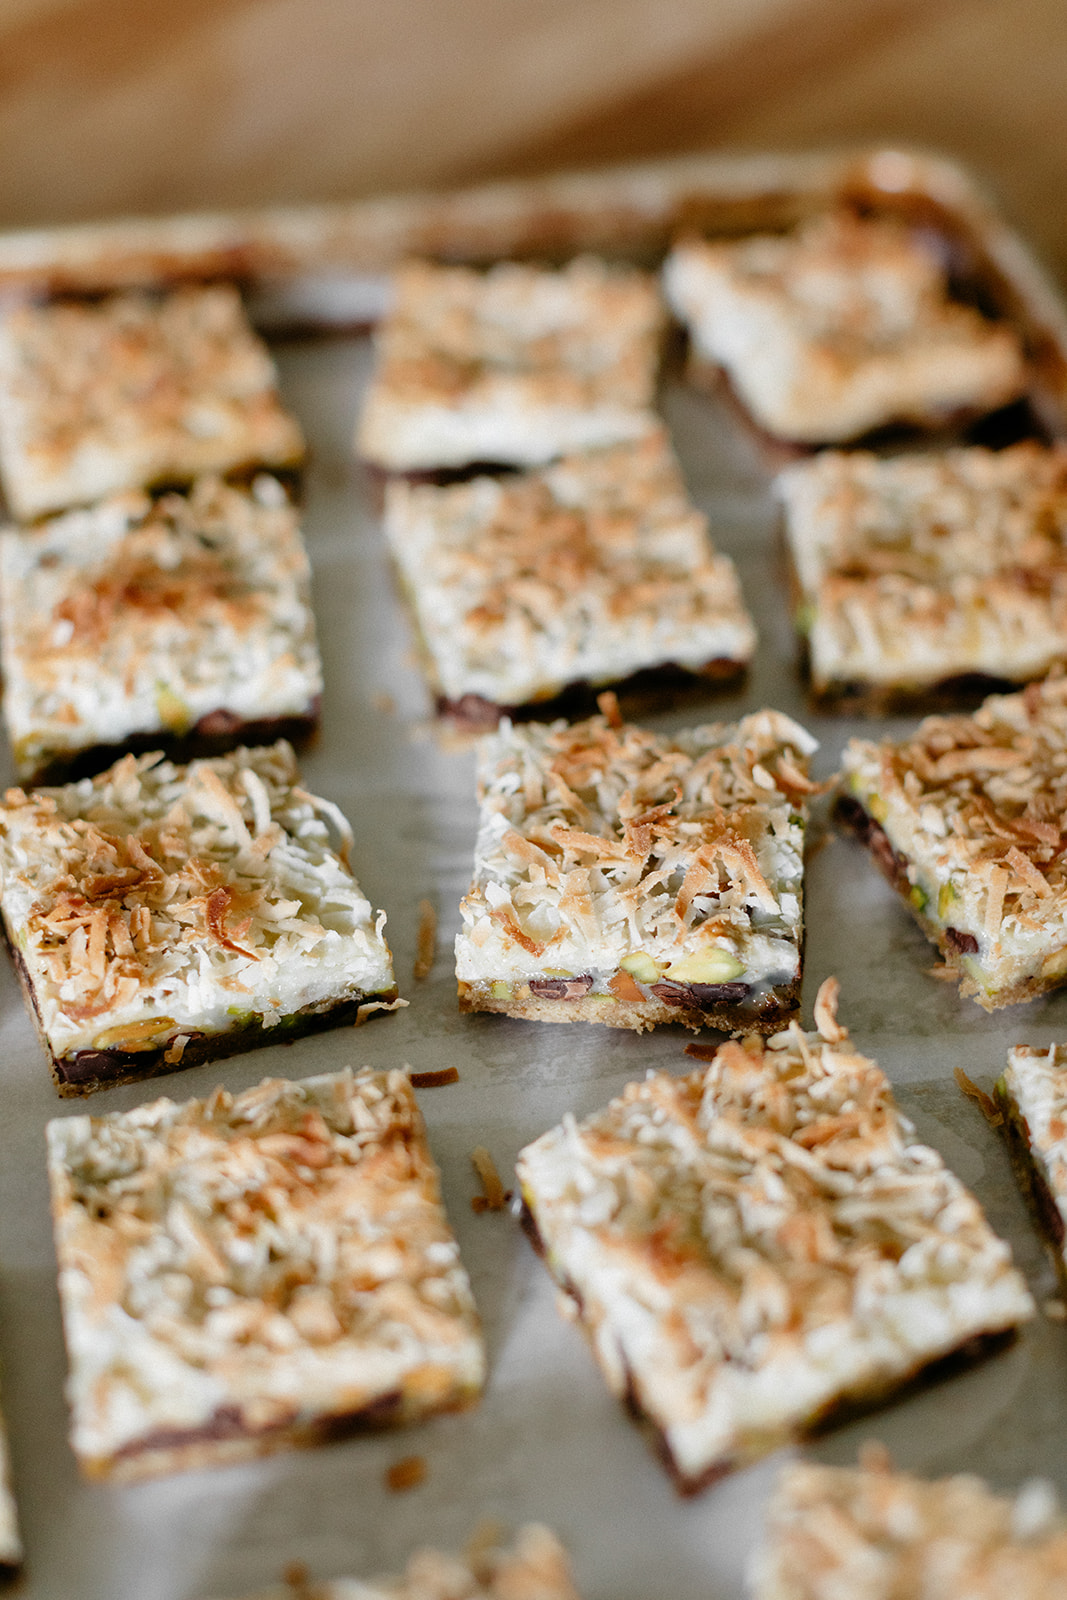
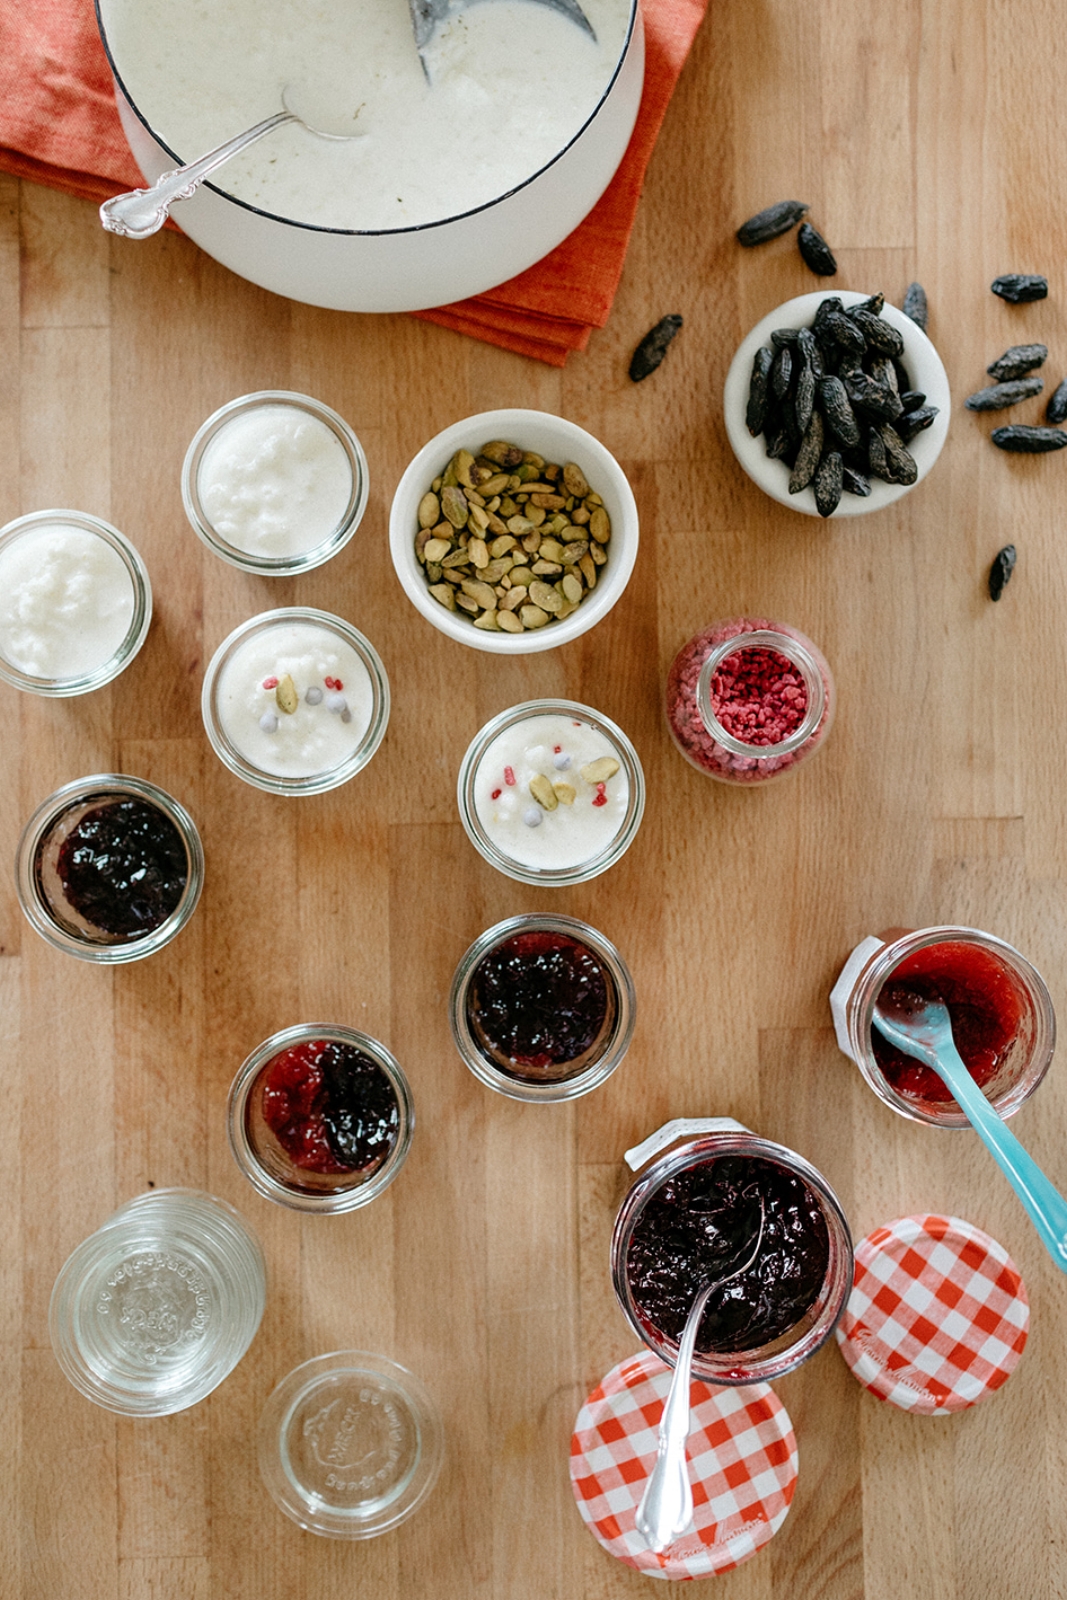
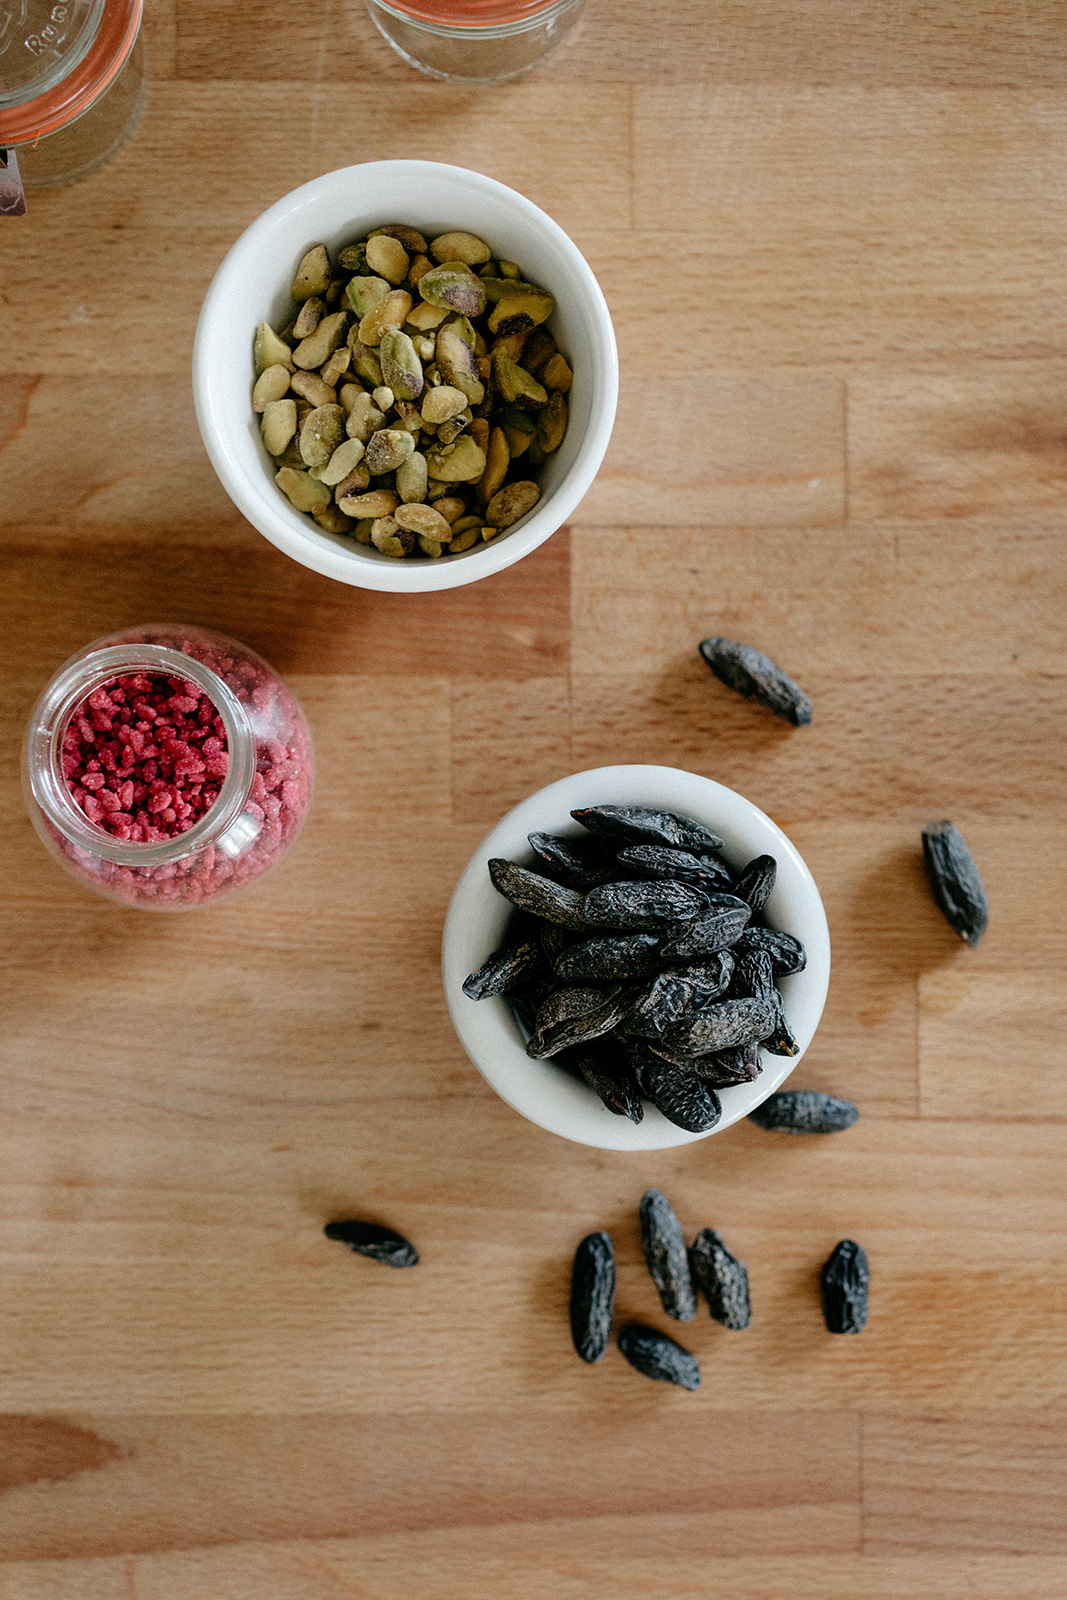
The classic magic bar has butter, graham cracker crumbs, chocolate chips, butterscotch chips, pecans, sweetened condensed milk and shredded coconut, but in a painfully predictable move, I’ve subbed out the butterscotch for crumbled halva and the pecans for pistachios. And of course the condensed milk was just begging for some rosewater (it gets topped with coconut, can you blame me?!). Listen, one day I’ll make something that doesn’t feature the holy combination of coconut + rosewater + pistachio + halvah but, like, today’s not that day. And neither is tomorrow. 

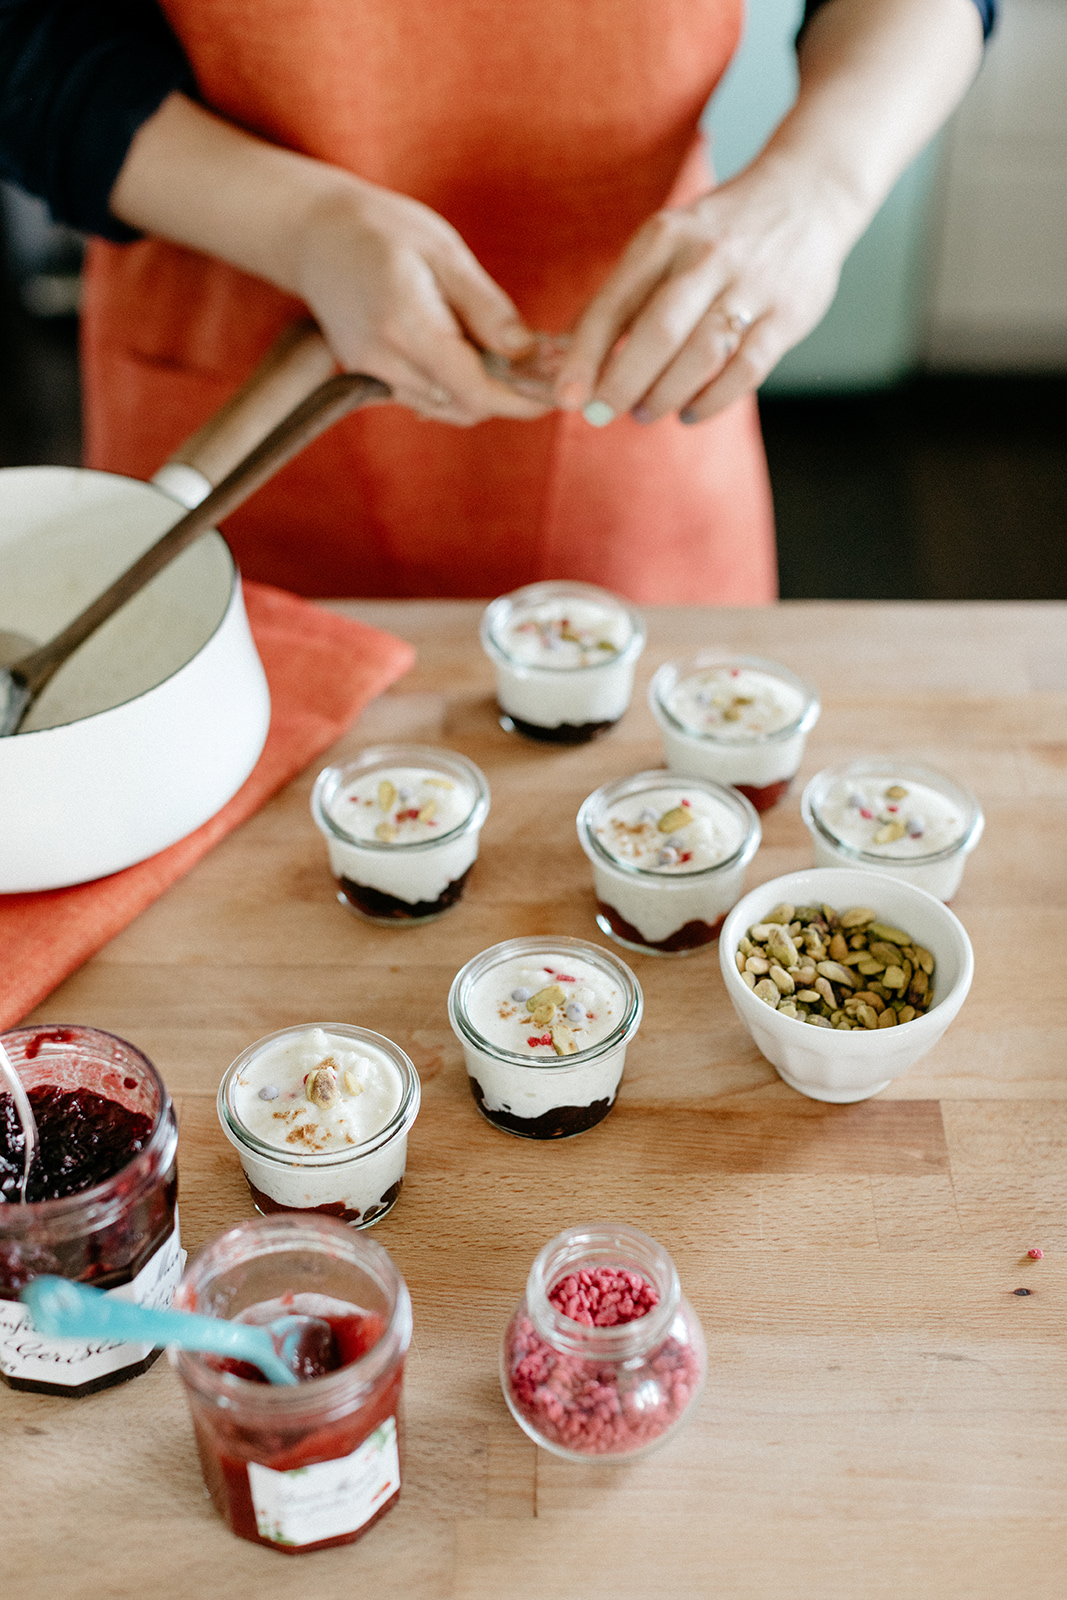
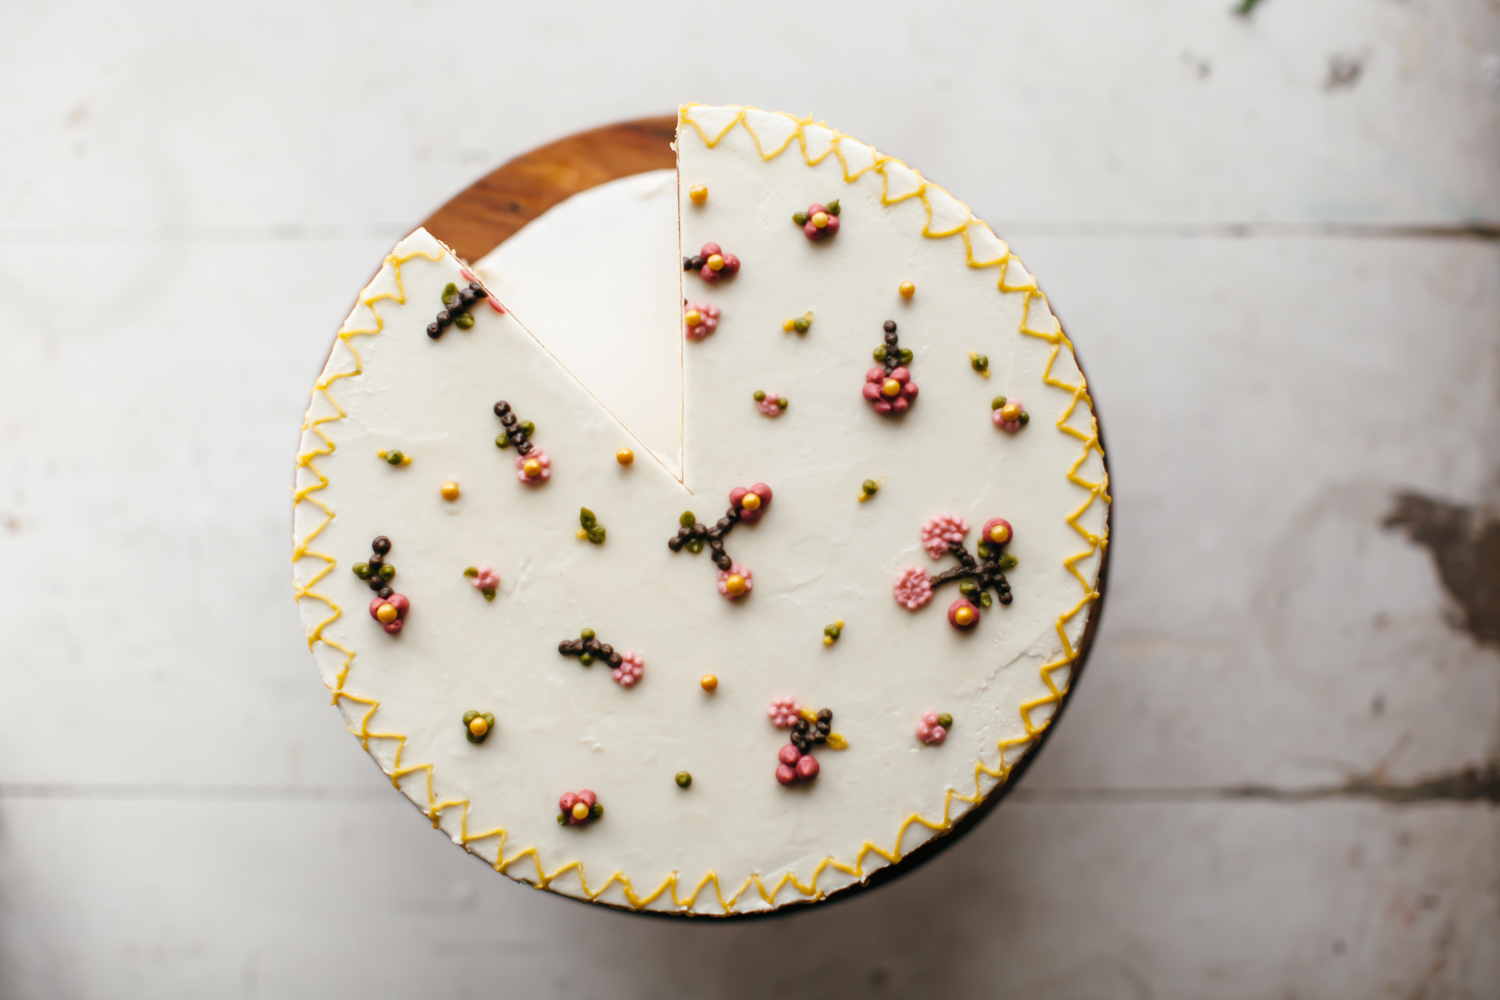
The result is a bar that’s just as chewy and gooey and amazing as the original, but with a little more color: nuttiness and flakiness from the halvah, greenery and saltiness from the pistachios, floral notes from the rosewater, and pretty pops of pink from the optional rose petals on top. It’s a Midwestern/Middle Eastern mashup that was bound to happen at some point because all of these flavors work so darn well together. Proceed with caution because you will want to eat the whole batch immediately. Luckily storing them in the fridge makes them even better because it makes them chewier, so hide them in the back behind the carrots and just eat a carrot every time you go in for a bar. They’ll cancel each other out.


Halva Magic Bars

makes 20

ingredients

1/2 c (113g) unsalted butter

9 graham cracker rectangles (1 package)

1/4 tsp kosher salt

1 c (175g) chopped dark chocolate or chocolate chips

1 1/2 c (226g) crumbled halva

1 c (120g) roasted pistachios

1 (14 oz) can sweetened condensed milk or sweetened condensed coconut milk

1 tsp rosewater

1 tsp vanilla

1 1/3 c (160g) sweetened shredded coconut

2 tb dried rose petals, optional

clues

Preheat oven to 350ºf. Grease a 9 x 13 pan and line the bottom with parchment. Add the butter and stick it in the oven for a few minutes so the butter melts. Meanwhile, crush the graham crackers by putting them in a large ziploc bag and smashing with a rolling pin or blending in a food processor. When the butter’s melted, swirl it around the bottom of the pan and scatter the graham cracker crumbs evenly all over (you’re not actually making a full on graham cracker crust, don’t worry about packing it down or anything).  Sprinkle with salt, then sprinkle the chocolate chips, halva, and pistachios all over. Pour a little of the condensed milk on top and then add the rosewater and vanilla to the remaining condensed milk and mix it in. Pour it evenly all over the pan. Sprinkle the coconut on top and rose petals, if using. Bake until edges are golden brown, about 20 minutes. Let cool fully (ideally overnight or for a few hours in the fridge) before cutting into bars. Enjoy!

Store in an airtight container in the fridge for a good few days.


Homemade Mini Ice Cream Cones + A Cookie DO Collab!

If I had a dollar for the amount of times since being pregnant that I’ve stared at a batch of cookie dough and wished with all of my might that I could eat a huge blob of it raw, I’d have Poppy Seed’s college tuition paid for already. Raw cookie dough is right up there with cold salami as the foods I miss most. Just like, sweet, doughy, buttery, chocolate chippiness, snuck by hand and licked off the mixer, my eyeballs are rolling back into my head just thinking about it.

So when the idea of collaborating with Cookie Dō on a special edition flavor came up, I obviously almost passed out. Pregnant or not, Cookie DO is a dreamland. They have a million different insanely good cookie dough flavors that you just eat with a spoon!! Each one as addicting as the next, and as Kristen the owner and I started brainstorming ideas for our February collab, I foamed @ the mouth: tahini chocolate chip, matcha oreo, pistachio white chocolate, Italian rainbow cookie… When I tasted them all, the Italian rainbow cookie was the one I kept thinking about. I’d lie in bed, excited to wake up the next morning so that I could have a bite.

(Do we need to rehash my love for these soft almondy cookies?? I’ve made them into cake form, gelato sandwich form, and have made a matcha red bean version, but never have I had them in dough form!)

This dough is insanely good. It’s intensely almondy with chocolate chunks throughout, and the colors are so bright and happy. It’s my dream dough. So starting now and through the end of the month, you’ll be able to get it at DO, either in store or online.

And!! Portions of the proceeds will be going to Emma’s Torch, an amazing organization in Brooklyn that provides culinary training, ESL classes, and interview preparation to refugees. I first heard about Emma’s Torch when the director, Kerry, was interviewed on Unorthodox and immediately fell in love with the cause. You can listen to this episode here and learn more about Emma’s Torch here. I am soo excited that this cookie dough will help support this cause!

Because it’s fun to eat this dough in little scoops like an ice cream cone, I have a recipe for homemade mini cones today! They are not hard to make, you just need a cone mold (I use this krumkake mold) and an offset spatula. You can dip them in chocolate or leave em naked, and you can make them up to a few days in advance. Be prepared for your house to smell like an ice cream parlor! 


Homemade Mini Ice Cream Cones

yields 12

ingredients

1/2 c (100g) sugar

1/2 c (65g) all-purpose flour

1/2 tsp kosher salt

a pinch of ground cardamom

2 large egg whites

1/2 tsp vanilla extract

1/4 tsp almond extract

optional:

3 oz chocolate chips

sprinkles

clues

preheat oven to 375ºf. grease a baking sheet. grease a small (6”) wooden cone mold.

in a medium bowl, whisk together the sugar, flour, salt, and cardamom. add the egg whites and extracts and mix until you have a smooth spreadable batter, slightly thicker than the consistency of honey.

with a small offset spatula, spread two 1-tablespoon dollops of the batter into 3-inch rounds, at least 2 inches apart onto the greased baking sheet. this part gets a little sticky, but it doesn’t need to be perfect! (only bake 2 rounds at a time so that you have time to mold the cookies before they cool.)

bake until the edges are lightly browned, 5 to 8 minutes. working quickly (but carefully, so as not to burn your fingers), use a small offset spatula to flip a cookie over onto a work surface and then wrap it around the greased cone mold. remove it from the cone mold and then stand it up with the pointy end on top, propping it up as needed and cool fully.

repeat with the remaining batter, greasing the pan and cone mold each time. allow cones to cool to room temperature.

if desired, melt chocolate chips in a microwave or double boiler and dip the tops of the cooled cones into the melted chocolate and roll in sprinkles. place on a parchment lined plate and refrigerate until the chocolate is firm.

cones can be kept in the fridge or at room temperature for several days.


-yeh!

photos by chantell and brett!

rice pudding

Nearly all of the desserts in Paris were extremely ornate, with pretty colors and artful boops to the nines. Eye candy was everywhere, and it was an essential part of the storybook fantasylandness that is Paris. The eclairs were tiny edible sculptures, the cream puffs were like oversized jewels, and many of the macarons were dusted with gold. The one dessert that left the biggest impression on me, however, was the ugliest: rice pudding! We had it for dessert at L’Ami Jean, where it was spooned into a large bowl over ice cream and crunchies, and then again the next night at Chez Georges, where it was loosey goosey and outstandingly velvety. On the second night, I just could not stop eating it.

Rice pudding grossed me out in my childhood. I loved standard chocolate and vanilla pudding cups so much, especially when they came in Lunchables, but every time I’d go to the store with my mom and make my pudding selection, I felt almost violated by the fact that rice pudding invaded my line of vision when I was just trying to look at the other pudding. The same way I currently feel if I ever have to go past the bananas on the way to the apples. It was all about the texture with rice pudding: why was it caviary and translucent? Why did it look like little eyeballs? Why did it have to be that way and what was wrong with regular pudding?

In my old age, I’ve come to appreciate the textural structure of rice in a pudding. I like chewing my pudding. It’s not scary anymore, it’s just rice, and it’s not like it’s cottage cheese or anything. The rice pudding in Paris wasn’t the first time I’ve had it and enjoyed it, but it was the first time I truly became inspired to make it. Not only was I enchanted by the texture and flavor, but I was also super into how appropriate it was for after a big dinner. Not too heavy, not too sweet, it was an A+ ending bite. And it kind of embodied that effortlessly classy and cool vibe that is basically every Parisian woman. I liked that it came in a big communal bowl without fanfare or garnish, it was a confident dessert.

When I got home I learned how easy it was to make and how it’s magic. You don’t need cornstarch or gelatin, it just thickens with the starch from the rice. At a minimum, you can make it simply by boiling rice in milk and adding sugar. I was inspired by the creaminess of the Chez Georges rice pudding to add a little heavy cream, and then by Jessica Battilana’s recipe to add richness via an egg yolk. To flavor it, I recommend vanilla bean, lemon zest, and either rosewater or a dusting of tonka bean, which gives it a beautiful flavor that’s a cross between cinnamon and vanilla. Tonka beans are illegal in the United States since you can die if you eat like dozens of them but you only ever use a few passes over the microplane at a time. Eating dozens of them would be like eating dozens of nutmeg seeds, ew. And they’re legal pretty much everywhere else, even Canada, so it’s silly that they’re illegal here. I’m not advocating you go and smuggle some into the country but if you bought some in Paris and accidentally forgot about them in your suitcase on the way home then use them for this.

Lastly, I am serving this pudding over Bonne Maman’s very special edition raspberry, strawberry, and elderflower preserves. I love it and its beautiful jar so much. Bonne Maman released it on the occasion of their pop-up boat party in Paris last month, so you can’t actually buy it… but… I'm giving away four jars this week on Instagram! So head over there to win one. Really you can’t go wrong with any preserves in this recipe here. Raspberry or strawberry would be perfect with rosewater rice pudding, or swap out the lemon zest for orange zest in the mixture and serve it over orange preserves. The world is your rice pudding oyster!


rice pudding

serves 6-8

Ingredients

3 1/4 c  whole milk

1/2 c (100g) arborio or medium grain white rice 

1 vanilla bean

1/4 c heavy cream, plus more if desired

1 egg yolk

1/4 c (50g) sugar

1/4 tsp salt

A few passes of tonka bean, optional

1/4 tsp rosewater, optional

Zest of 1/2 lemon

Bonne Maman preserves, for serving

Pistachios, sprinkles, candied rose petals, optional, for serving

clues

In a medium pot, combine milk, rice, and vanilla and bring to a simmer over medium high. Simmer, uncovered, stirring often, for 20-30 minutes, until rice is soft. Reduce heat if it creeps above a simmer. In a medium bowl, whisk the egg yolk and heavy cream. Drizzle in 1/2 cup of the hot rice mixture while whisking very quickly, then slowly drizzle this into the pot while whisking. Add sugar and continue to whisk and cook for 2 more minutes, or until the texture is porridge like. Remove from heat and stir in salt, tonka (if using), rosewater (if using), and lemon zest. Transfer to a bowl, cover, and refrigerate until cooled. Pudding will continue to thicken as it cools.

To serve, spoon preserves into the bottom of a glass and top with rice pudding and sprinkle things of choice. If you’d like your rice pudding on the looser side, you can stir in another splash of heavy cream.

-yeh!

Thank you, Bonne Maman, for sponsoring this post!

Photos by Chantell and Brett!

Vanilla Butter Cake with Marzipan Buttercream

This is the layer cake version of the mega moist/buttery vanilla cupcakes that I posted this summer! I’ve altered the ratios just slightly from the cupcakes here in order to provide the stability in the batter necessary to hold up a full layer, and it took a zillion test runs, but I’m proud to say that it retains the lusciousness that I was so pleased with in those cupcakes. It’s perfectly vanilla-y and just sooo… whatever the opposite is of those wildly airy grocery store sheet cakes. (Not (!) that there isn’t a time and place for those.) But Eggpop and I share a particular love of two important things: rom coms and very dense cake.

And such a hard earned cake is worthy of an equally lush frosting, no?

Marzipan buttercream is not an idea that I can take credit for, even though I’d like to since, as we’ve already established, my body is made up of 1/2 marzipan around the holidays. Alaina, who I met at my very first Molly on the Range book tour event, made the cutest ever cake earlier this year and added the marzipan butter from MOTR (which is essentially your basic ingredients for marzipan, blanched almonds and sugar, blended into oblivion until silky and spreadable) to the frosting. Brilliant!!!!!! Right??? I immediately knew I had to try it with my favorite go-to buttercream and the results were as I expected: otherworldly. Almondy, buttery, sweet, the best. You know I love a good rustic nut butter frosting, but using a blanched nut butter here makes this frosting so smooth and dreamy. I mean, marzipan on its own is obviously the best thing ever, but how do you make the best thing ever even better? Add butter. Duhhh.

And obviously if you are going to bestow the name “marzipan” onto any type of frosting, you are going to use great butter for it. Land O Lakes® European Style Unsalted Butter is what I’m using here and its flavor is so good and pure that if there’s any butter who deserves to be mashed up with marzipan, it is this. And then, rather than making the full marzipan butter recipe (which you can find in Alaina’s post and which also makes a great little gift when put in a cute jar) before adding it to my buttercream, I’ve rearranged the ingredients a bit to make things a little more straightforward and to take it easy on your food processor since it’s already getting quite a workout making the blanched almond butter. 

The decorations here are inspired by embroidery again, just like these cookies! I referenced these awesome trees and then here is a video that goes more in depth with the decorating process:


vanilla butter cake with marzipan buttercream

Makes one 3-layer 8” cake

ingredients

3 1/2 c (450g) all-purpose flour

1 tb baking powder

1 1/2 tsp kosher salt

1 1/4 c (300g) heavy cream, room temperature

1/2 c (120g) sour cream, room temperature

1 c (225g) Land O Lakes® European Style Unsalted Butter, room temperature

1/2 c (100g) refined coconut oil, soft but not melted

2 1/4 c (450g) sugar

4 large eggs, room temperature

1 tb vanilla bean paste or extract

1/2 tsp almond extract, optional


Buttercream:

1 c (128g) blanched almonds

1 c (340g) Land O Lakes® European Style Unsalted Butter, room temperature

5 c (600g) powdered sugar

1/8 tsp kosher salt

1 1/2 tsp vanilla bean paste or extract

1 tsp almond extract, optional

3 tb (45g) heavy cream

clues

To make the cake layers: preheat the oven to 350ºf. Grease and line the bottoms of three 8” cake pans with parchment and set aside.

In a large bowl, sift together the flour and baking powder, and then lightly stir in the salt and set aside. in a large measuring cup, whisk together the heavy cream and sour cream and set aside. 

In a stand mixer fitted with a paddle attachment, cream together the butter, coconut oil, and sugar on medium high for 3-4 minutes, until light and fluffy. Add the eggs, one at a time, beating well after each. Add the vanilla and almond extract, if using. Reduce the mixer to medium low and add the dry mixture and cream mixture in 3 alternating additions, mixing until just combined. Distribute the batter evenly between the cake pans and spread it out evenly.

Bake until the  tops of the cakes are thinking about starting to turn brown and a toothpick inserted into the center comes out with a few crumbs on it; begin checking for doneness at 30 minutes and try your darnedest not to let it overbake. Let cool in the pans for 10 minutes and then transfer to a wire rack to cool completely. 

To make the buttercream: 

First, make the almond butter. In a high powered food processor, blend the almonds, scraping the sides occasionally, until very creamy and spreadable, about 5-10 minutes.

In a stand mixer fitted with a paddle attachment, beat together the butter and almond butter until creamy. Gradually add the powdered sugar, and then mix in the salt, vanilla, almond extract, and heavy cream. Mix until creamy.

To frost the cake, level the top of the layers and then stack them up with a layer of frosting in between. Frost all over and decorate as desired (See video!)! Enjoy!


-yeh!

Thank you so much to Land O’Lakes for providing me with the butter and heavy cream for all of my cake baking adventures and for sponsoring this post. Their European style butter is so gosh darn rich and perfect for buttercream.

Videography by Paul Hoplin!