knoephla soup

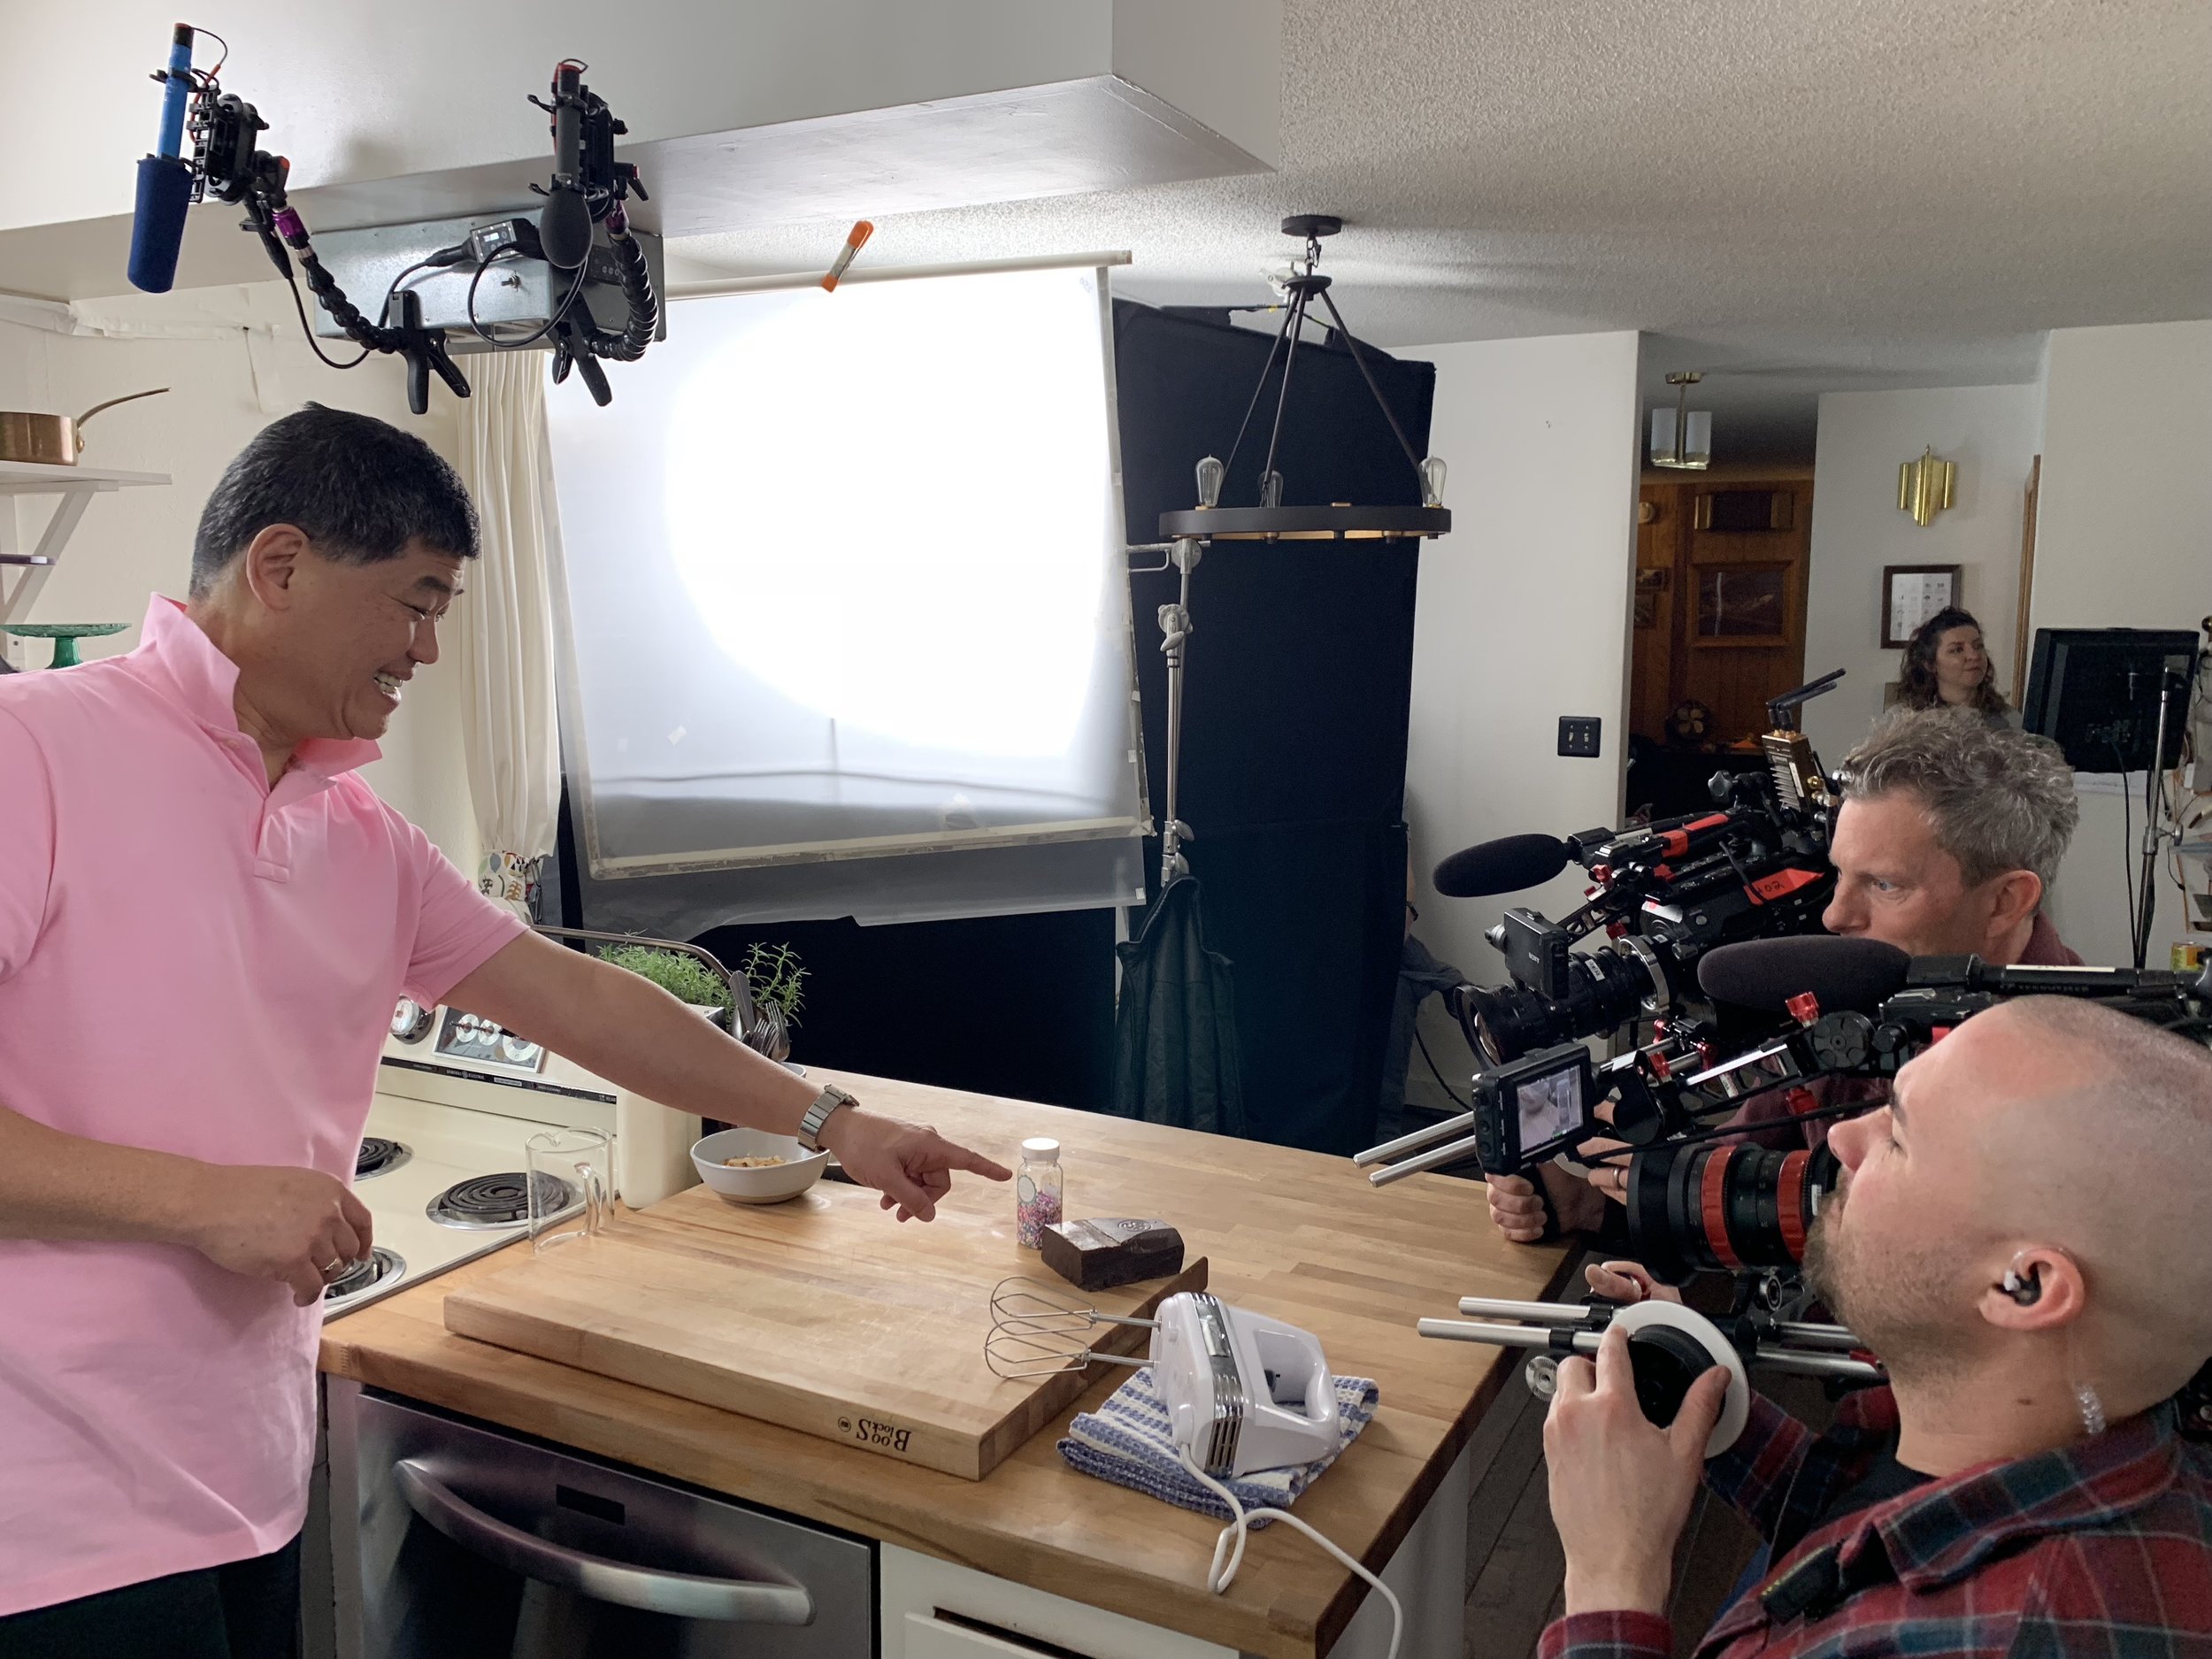
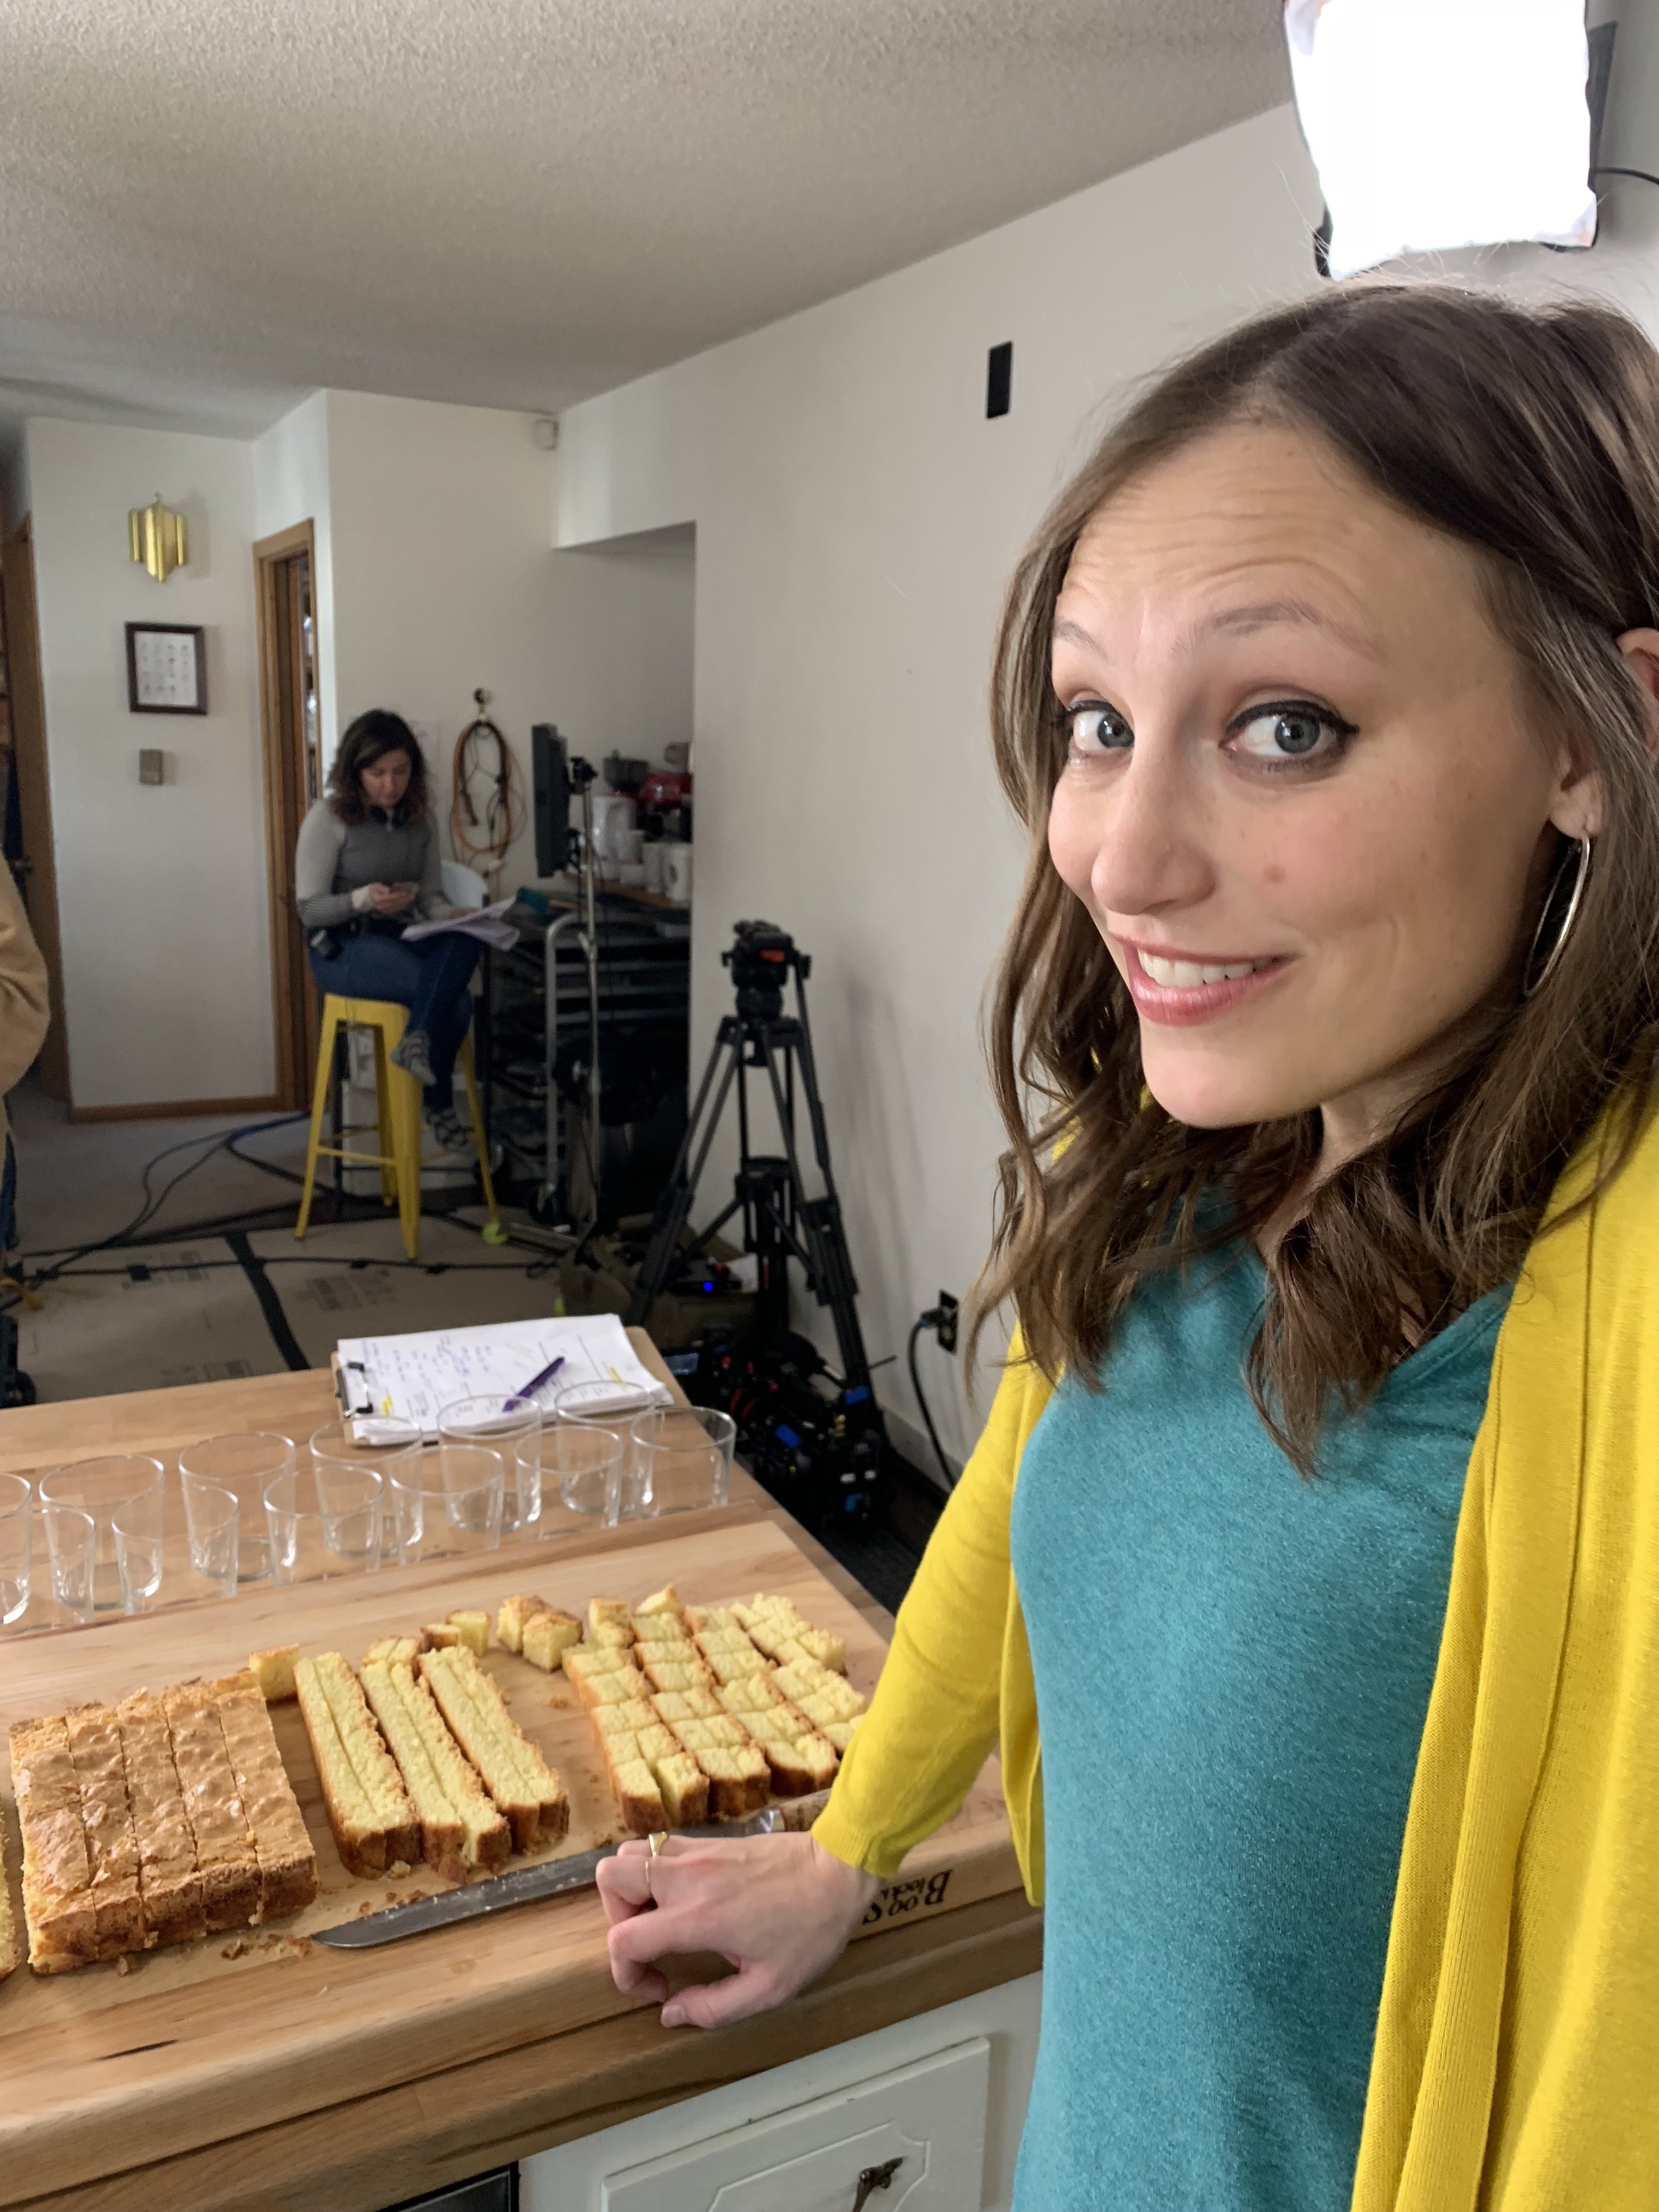
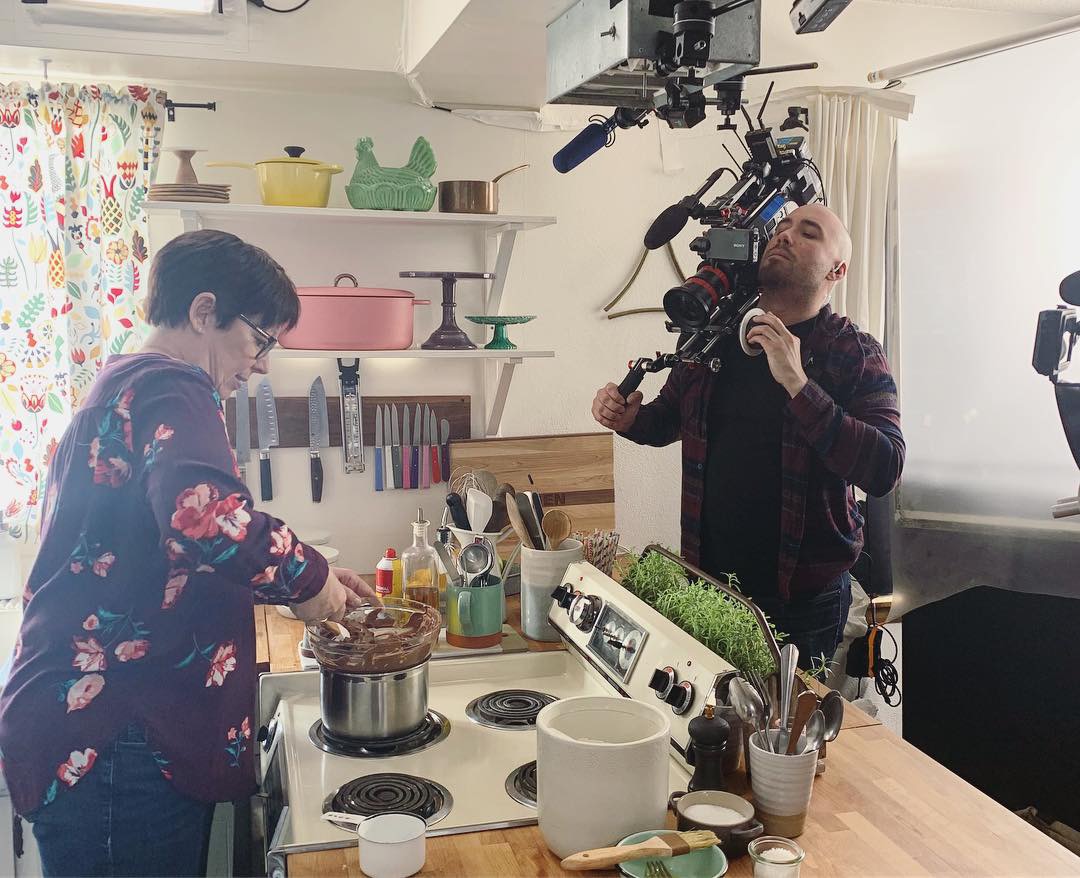
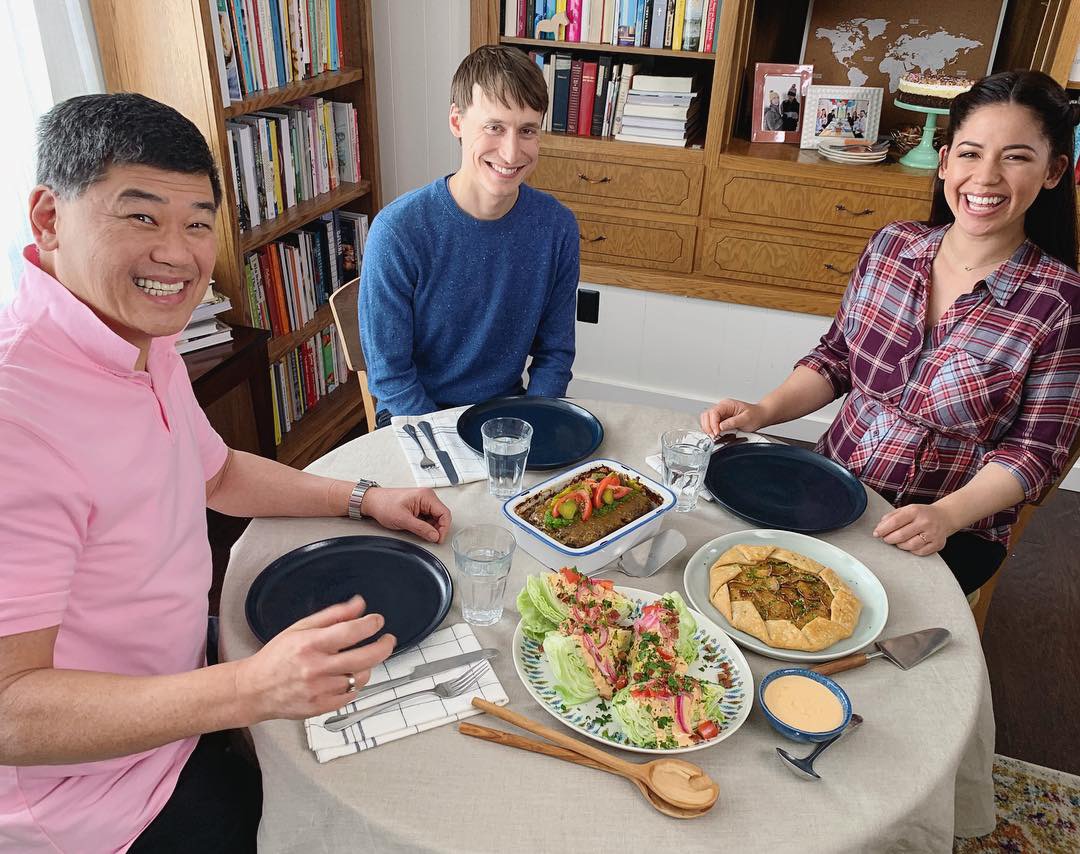
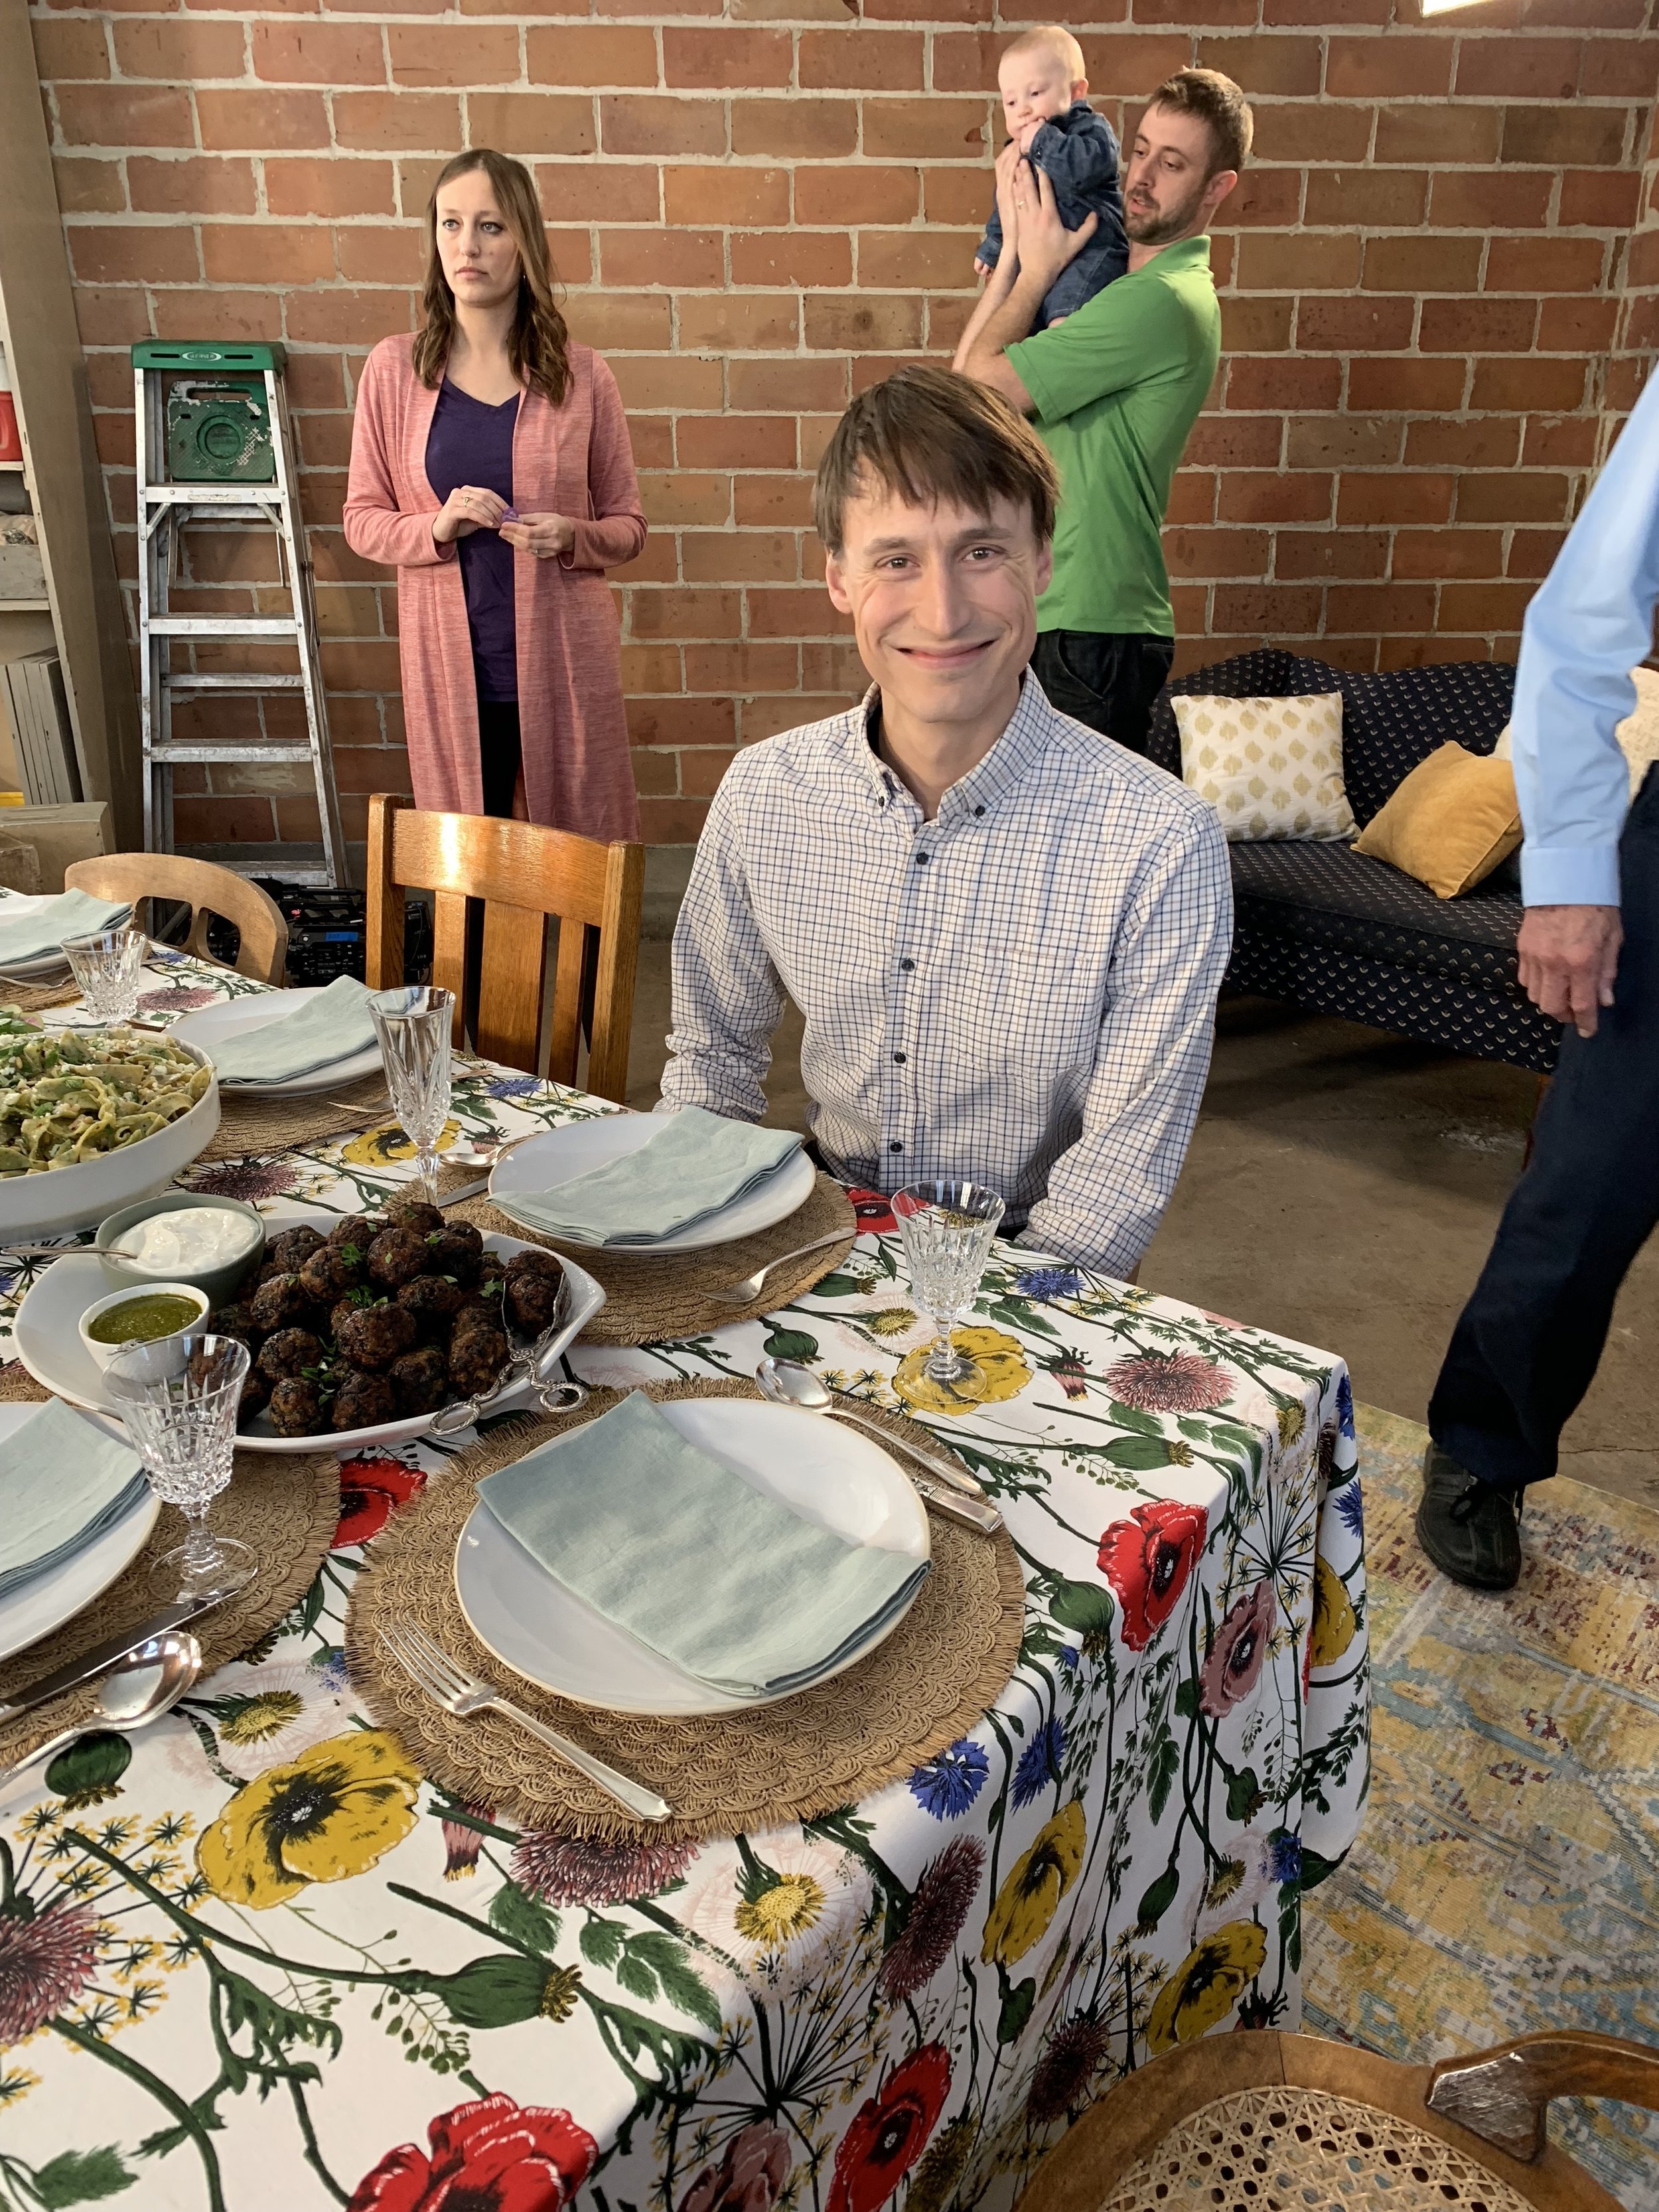
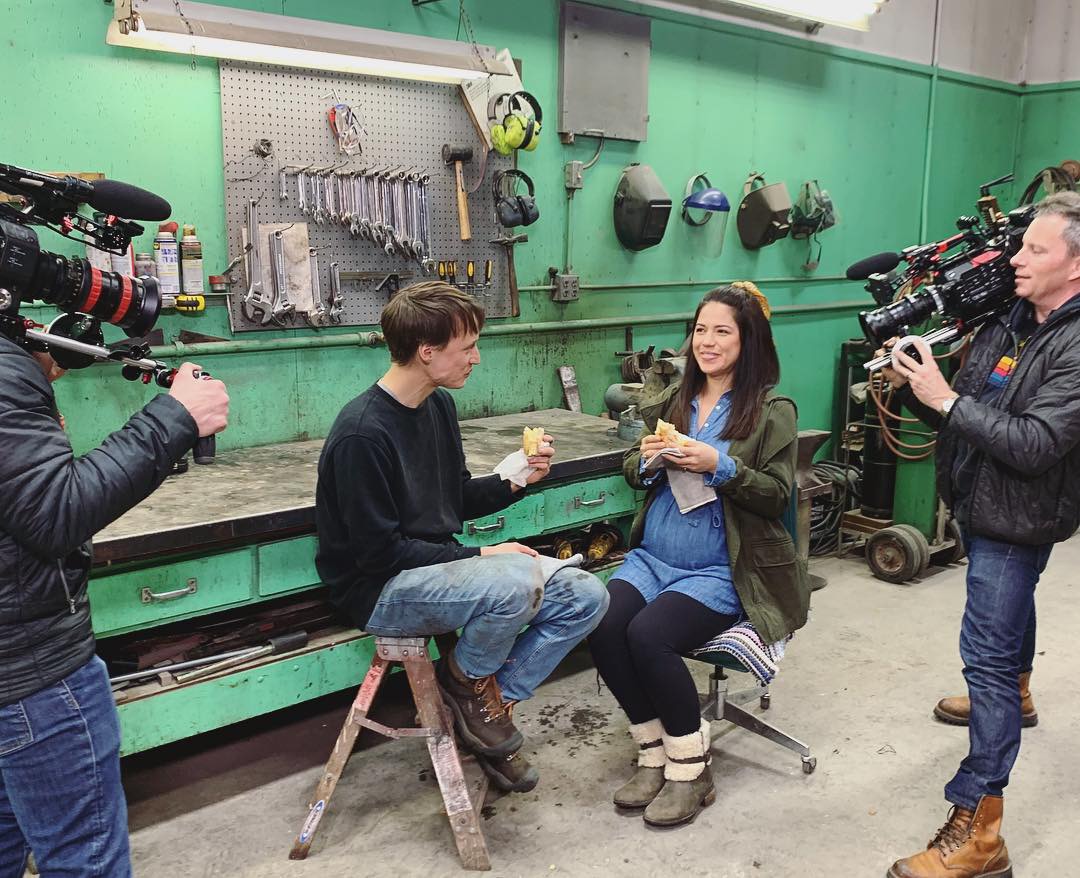
We have had a great big week! On Friday, we wrapped filming and ate a bunch of fried food to celebrate. It was so sad to see everyone go, but unlike the past two seasons when I didn’t know if the show would be renewed or not before wrapping, this time I knew they’d all be back in July! And they’ll be able to meet Poppy Seed! Over the two weeks of filming, Poppy Seed grew soo much and also flipped to be head down. For a little while I kept patting what I thought was her head but then we went to the doctor and confirmed that I’d been patting the butt this whole time. Hehe. Even though the counter became further and further away, my carpal tunnel symptoms luckily subsided (there will be a lot of pre-chopped vegetables in these episodes!) but then my brain turned to mush! Toward the end of the run it sometimes took me like six attempts to explain the simplest things like how to put sprinkles on the rugelach. And I dropped an entire tray of choco tacos. But thankfully I was able to hold onto my energy for the most part and avoid back pain, which were my two greatest fears other than over baking the potato bagels. On my evenings and days off, I recharged by swimming, watching figure skating, and descending deeper into my bachelor obsession. 

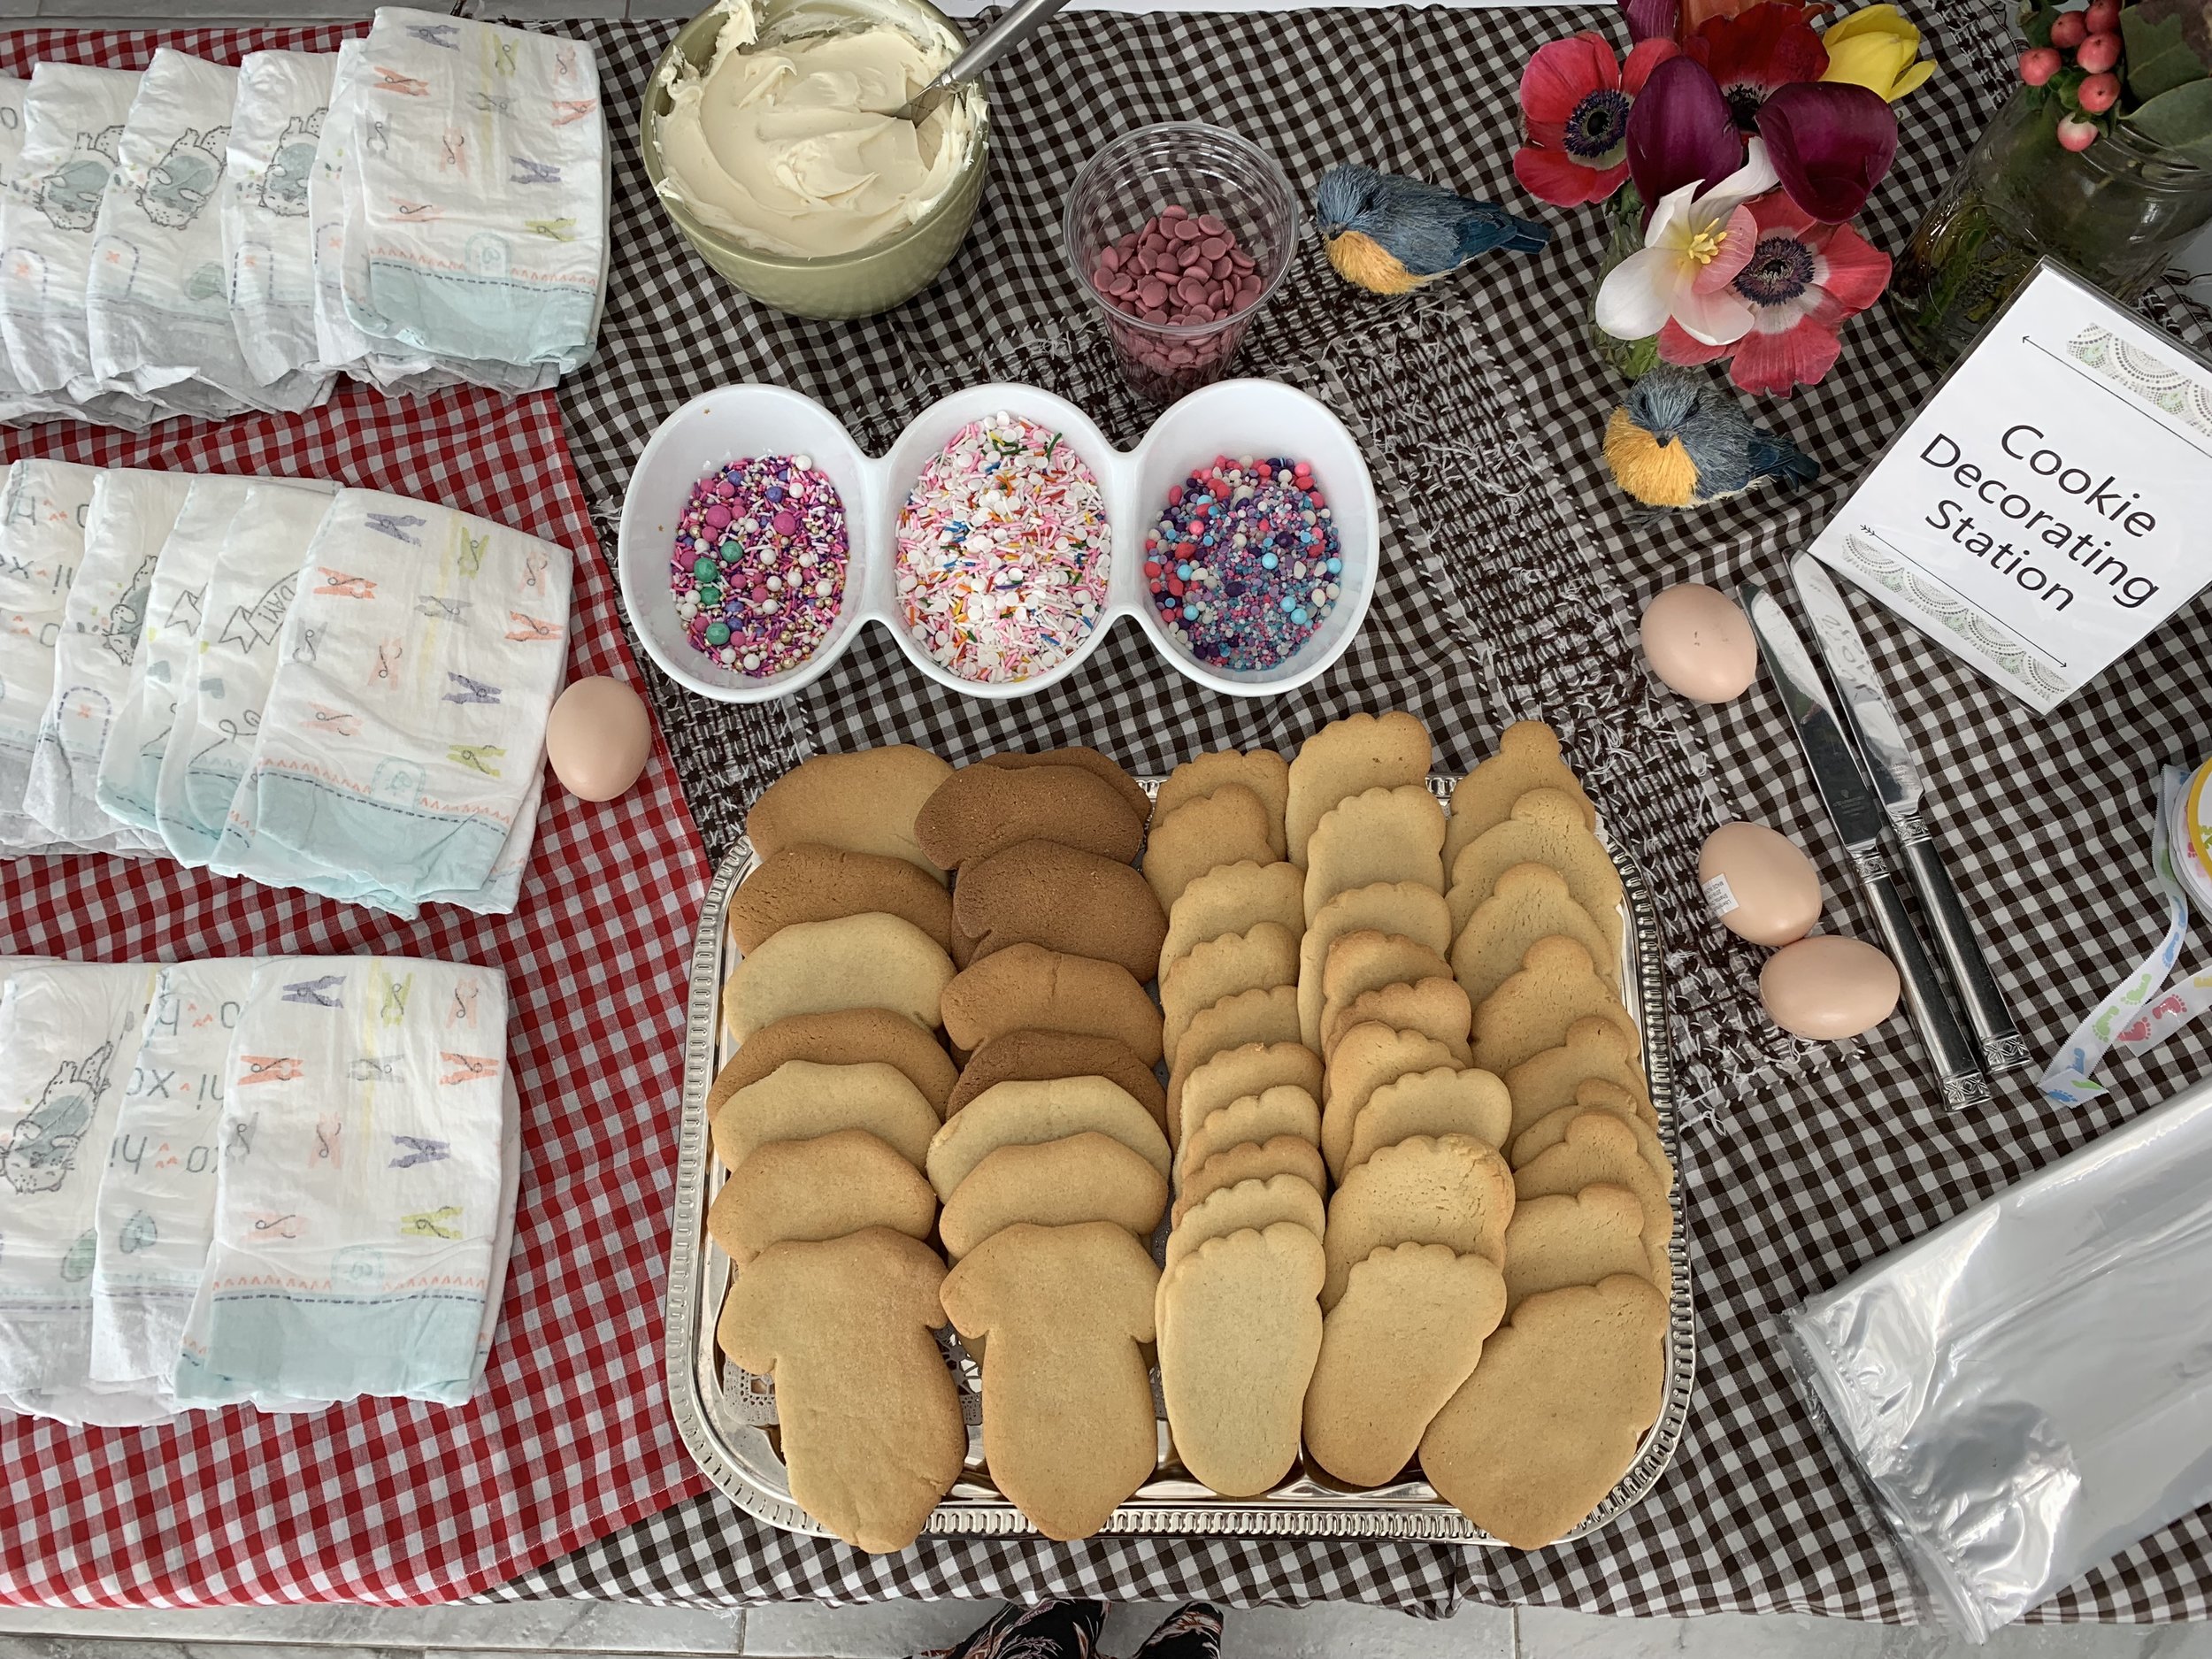
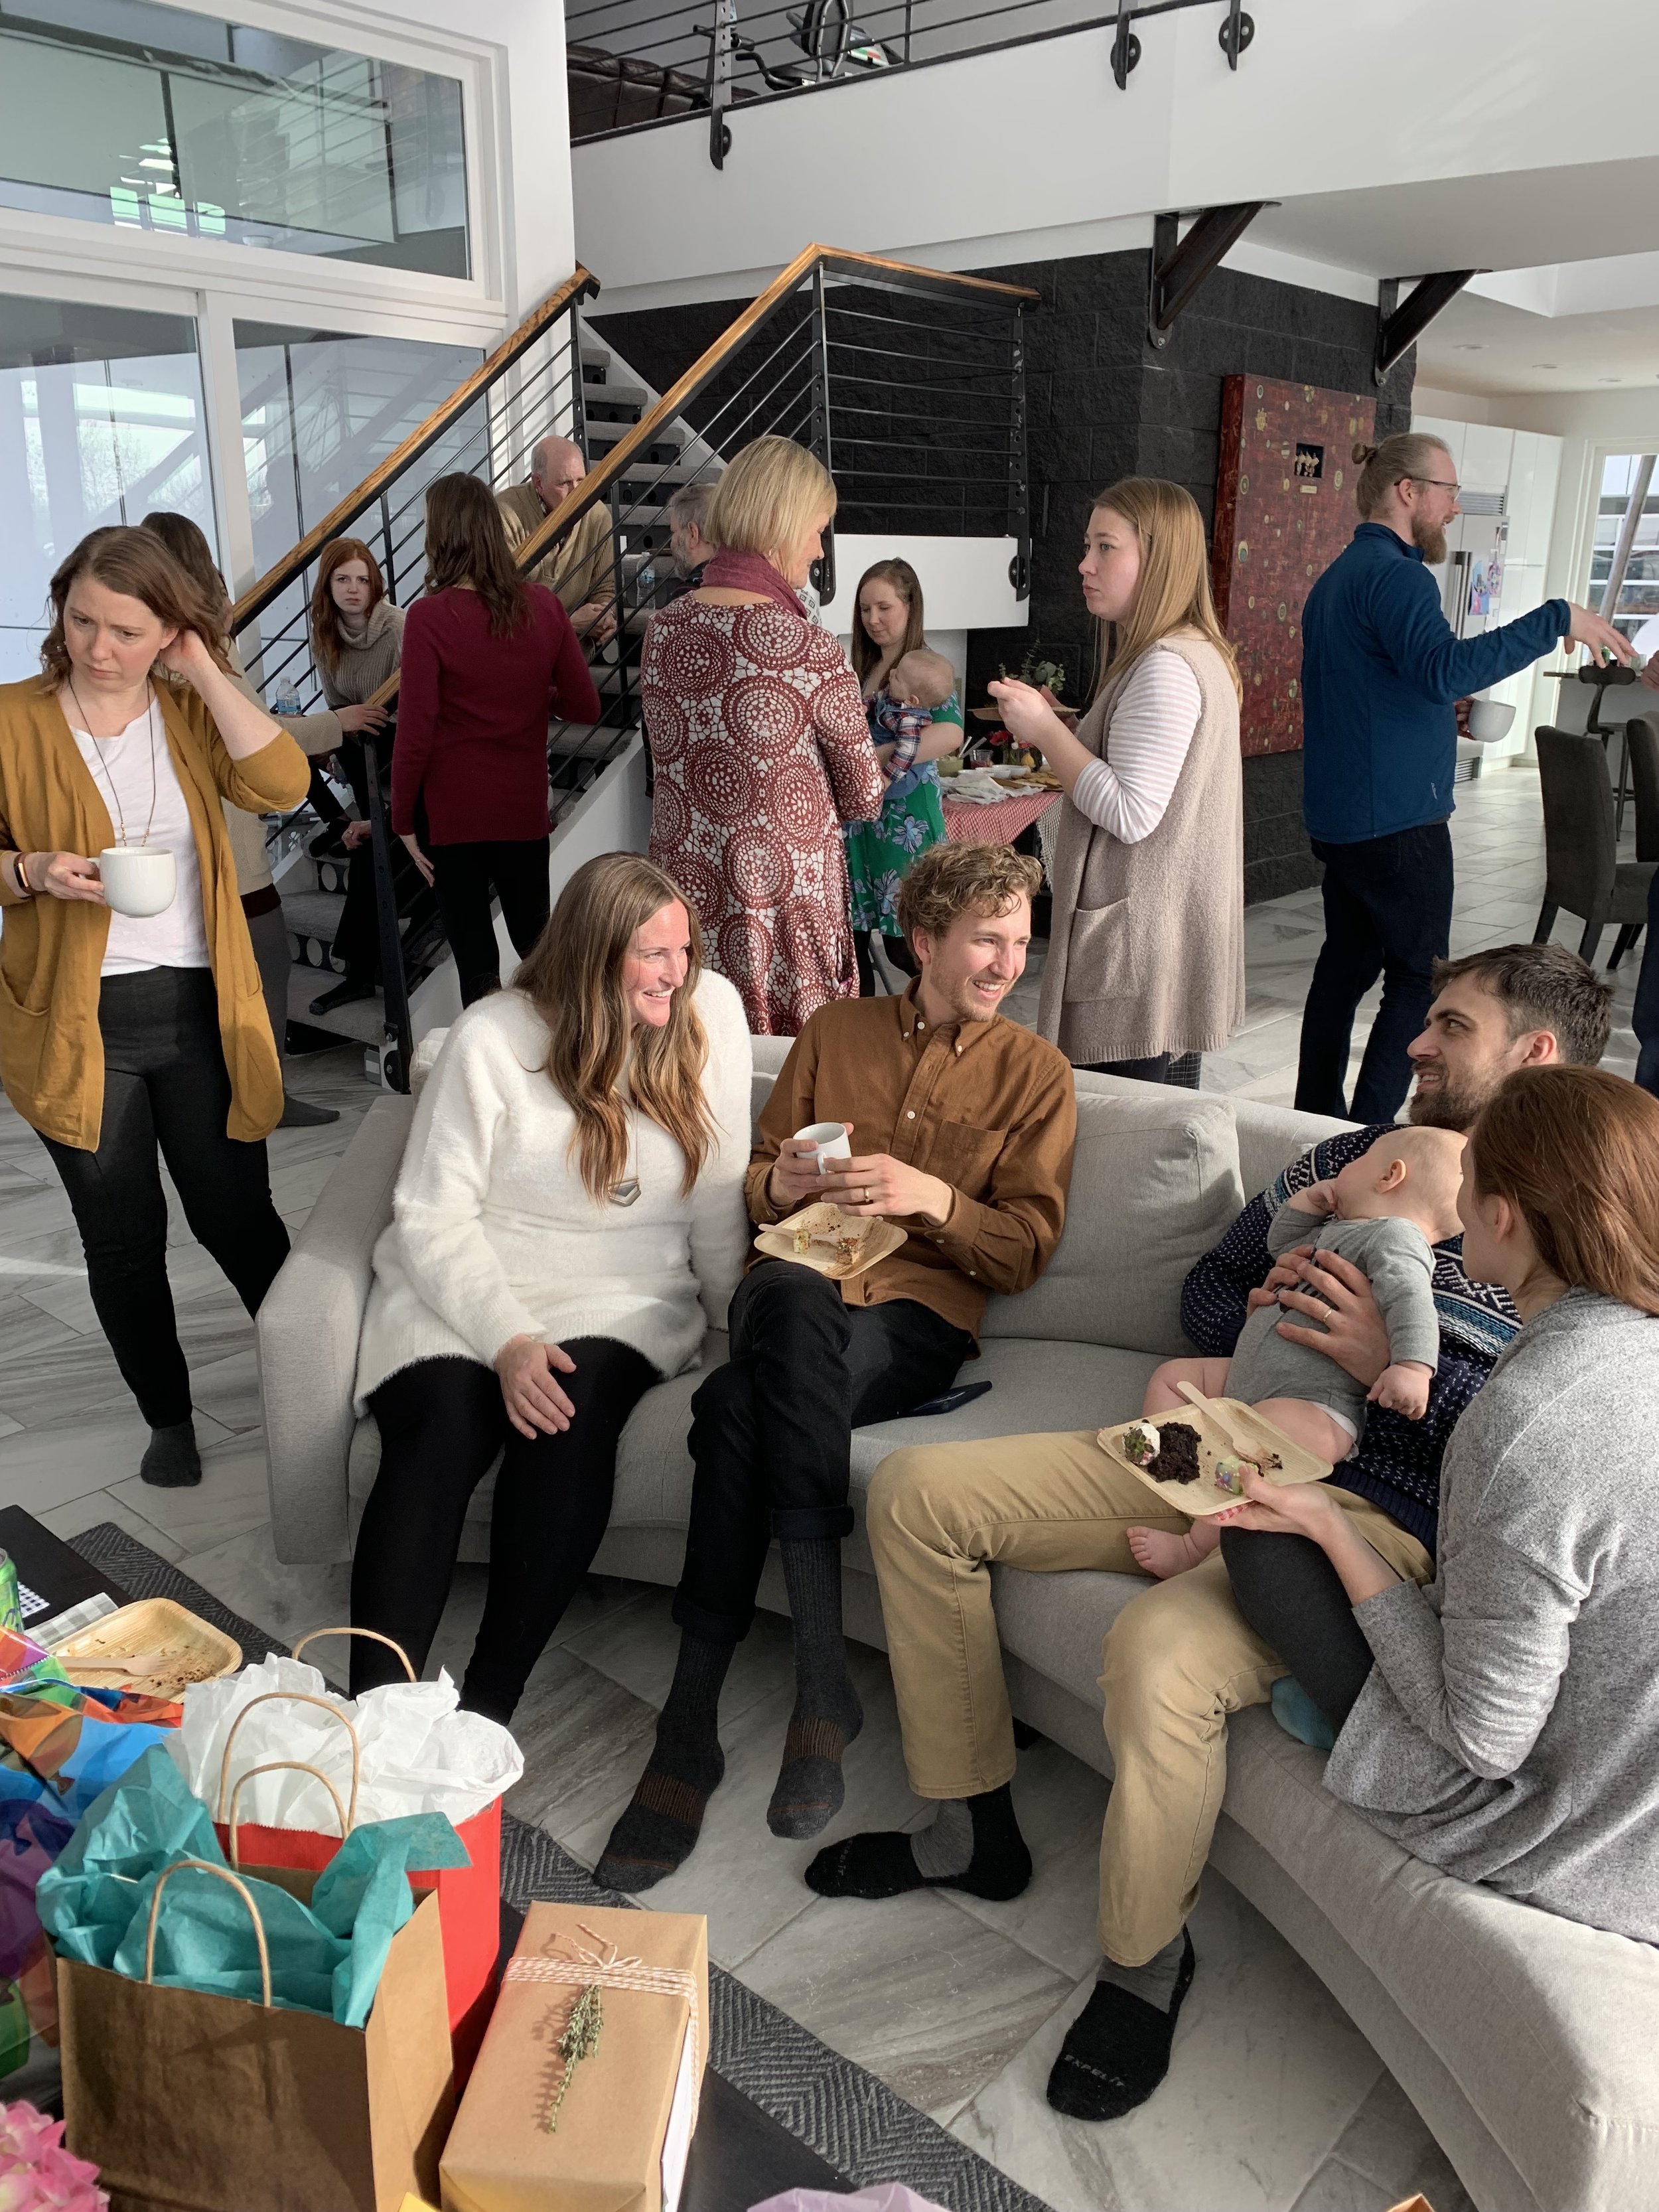
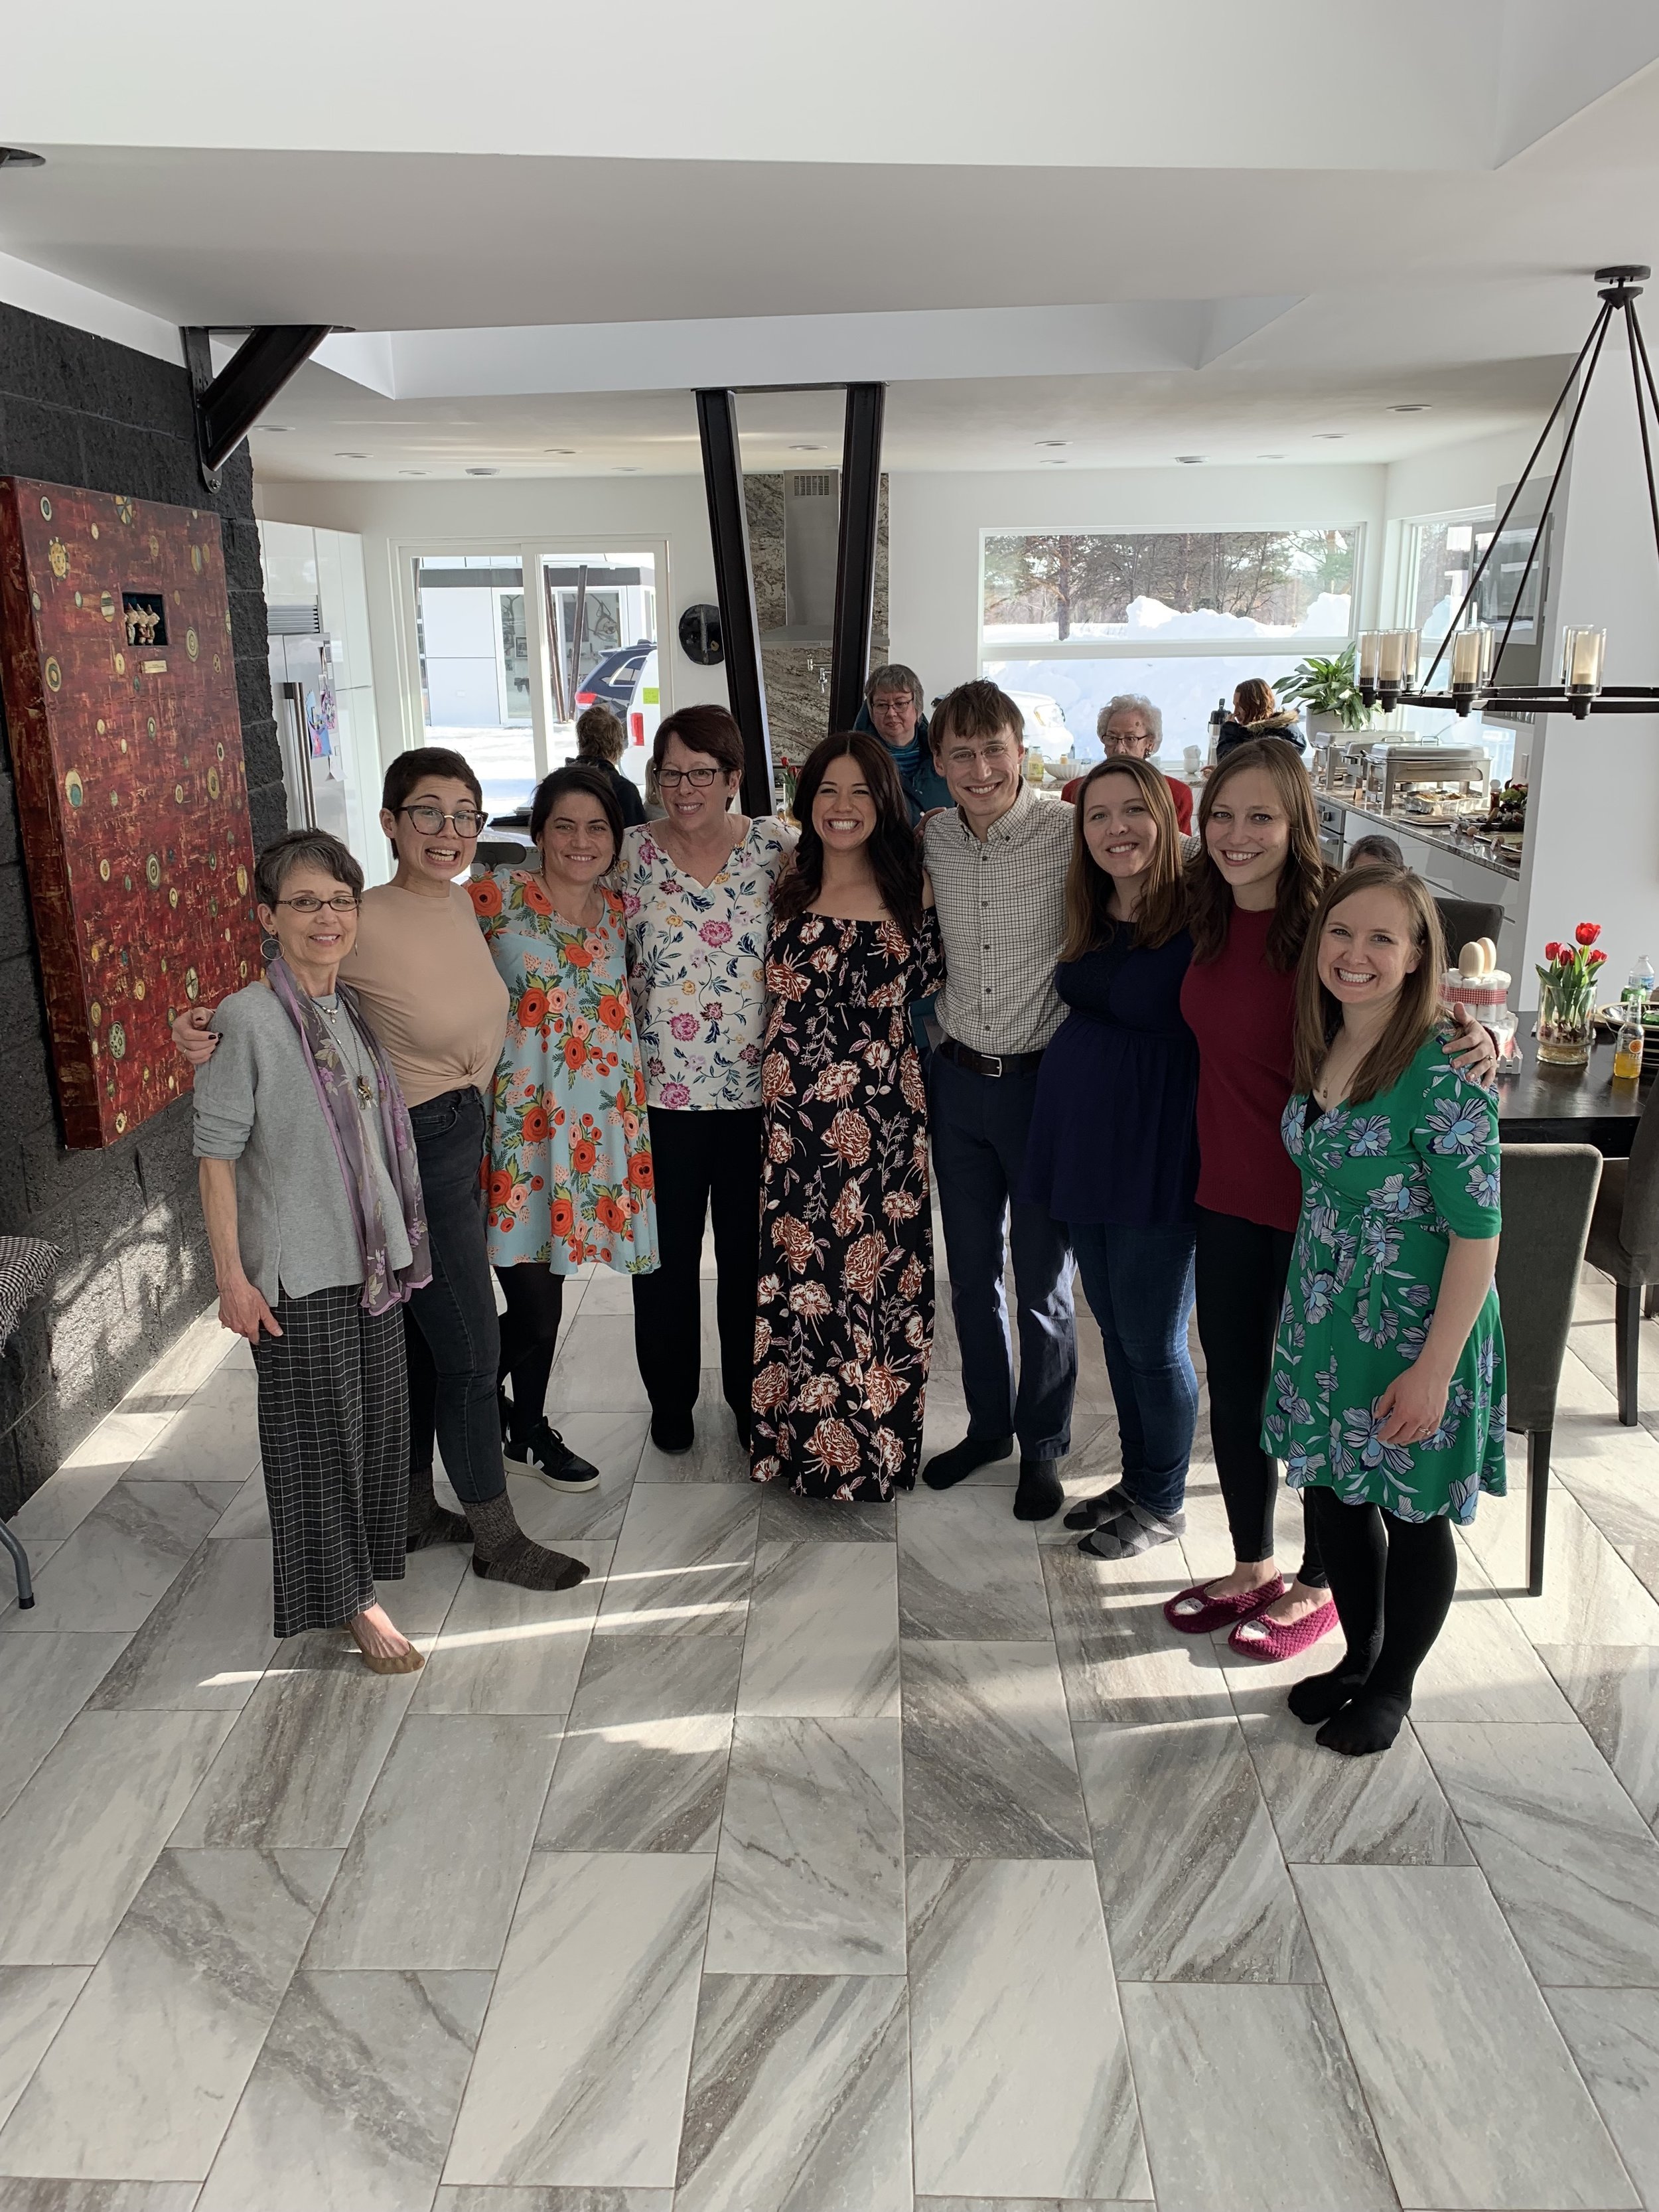
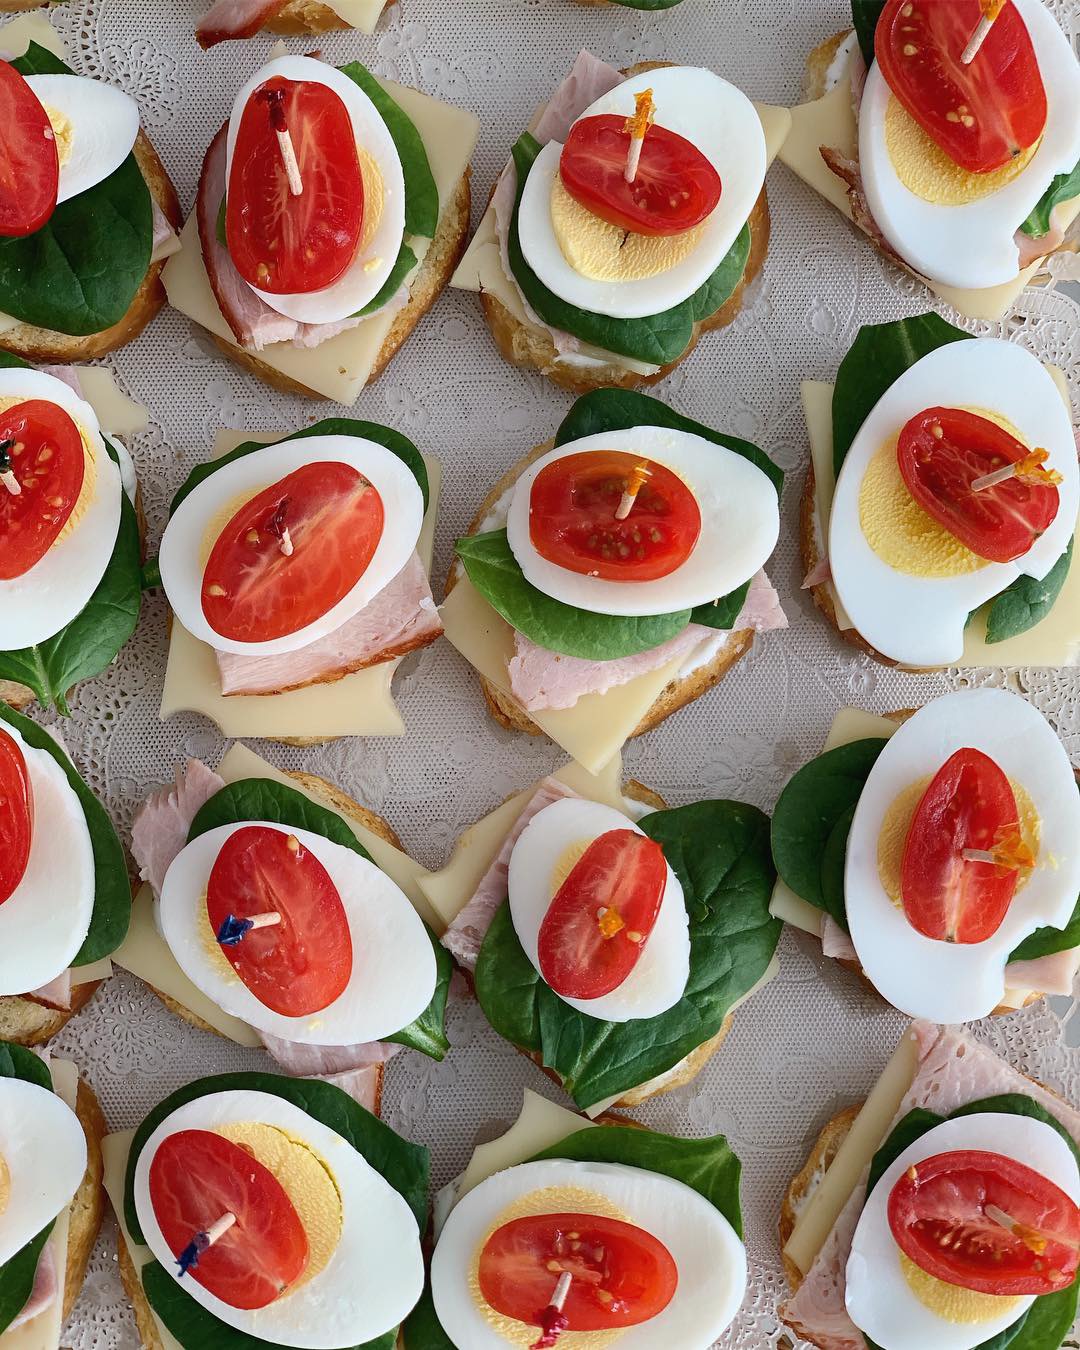
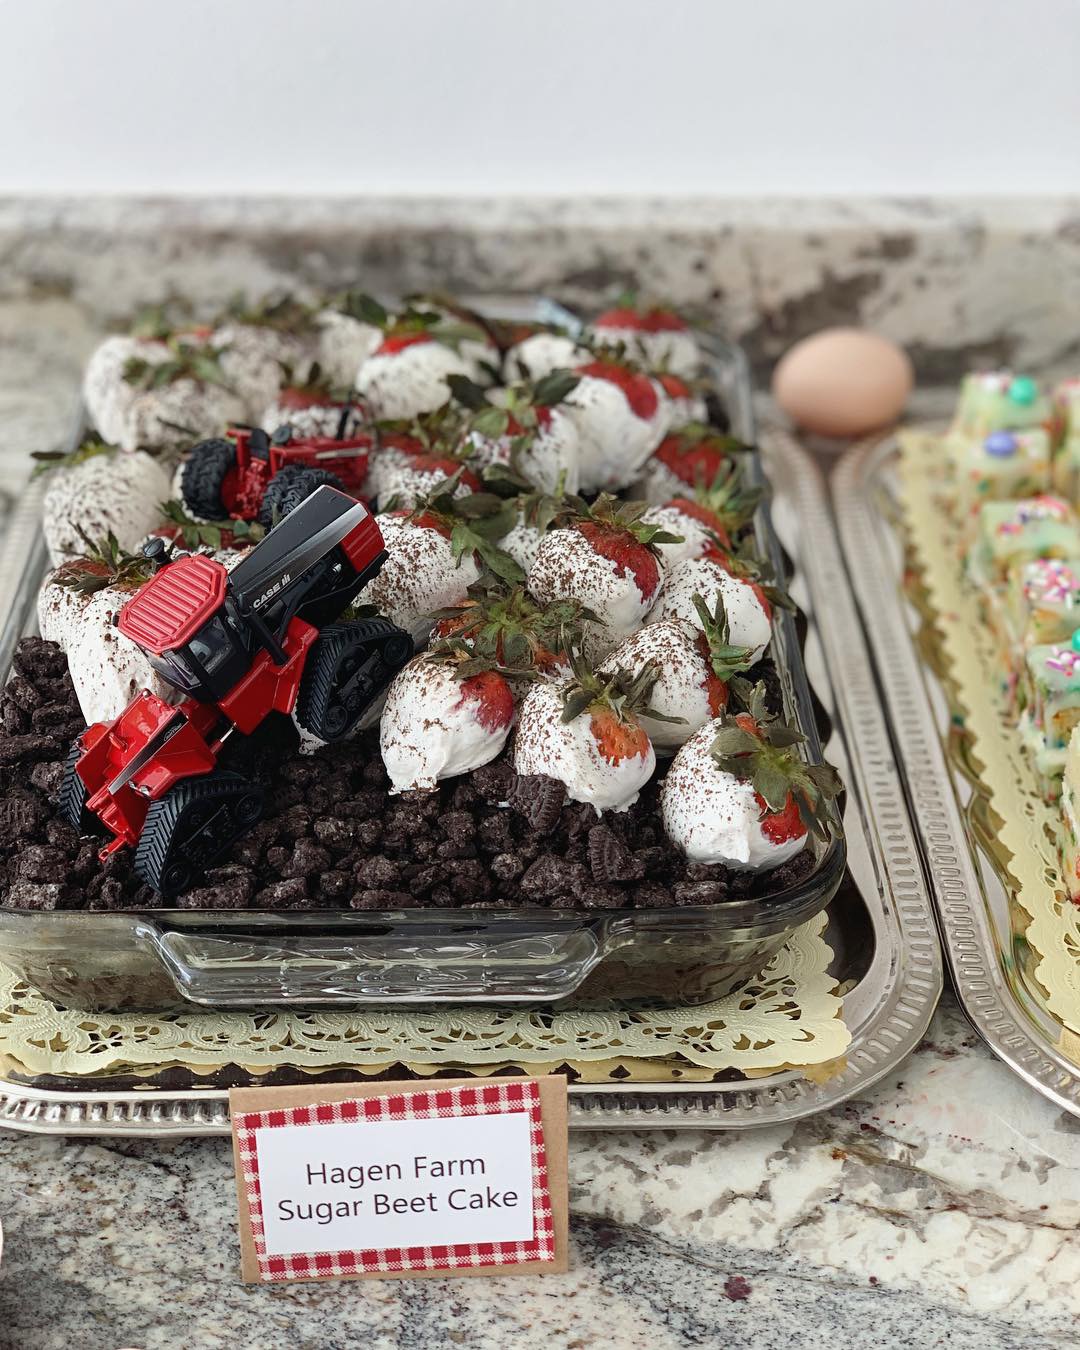
After wrapping, Eggboy and Poppy Seed and I were thrown the most beautiful baby shower by our moms (soon to be grandmas!), sisters (aunties!!!), and friends. It was sprinkle and hotdish themed, and they took my fear of baby shower games seriously so it was a lovely afternoon of eating confetti petit fours and tater tot hotdish, hanging out with friends from near and far, writing funny things on diapers, and unveiling the sweetest gifts that ranged from ultra practical (mountains of diapers!) to ultra homespun (like cousin Elaine’s hand knit sprinkle cupcake hats!!) to ultra hippo. I’m obsessed with this hippo. He’s sitting right next to me and I can’t stop looking at him and giggling. Eggboy and I felt soo loved and got even more excited to bring Poppy Seed into our extremely rad mishpocha. 

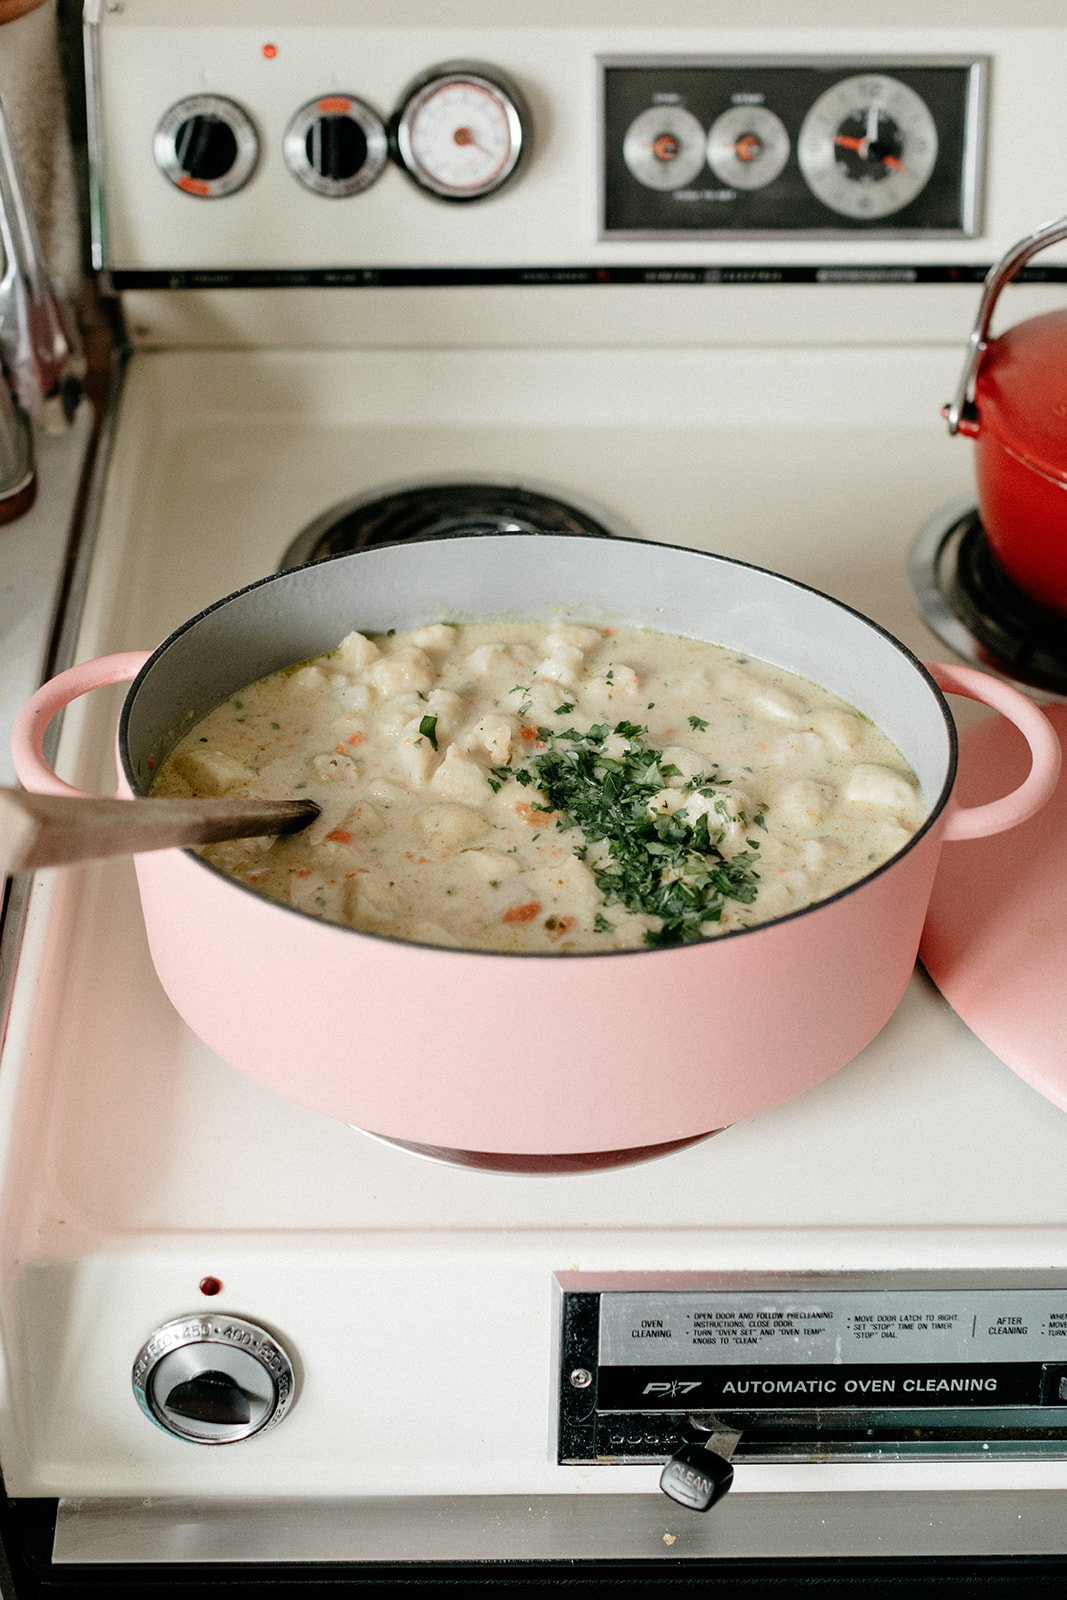
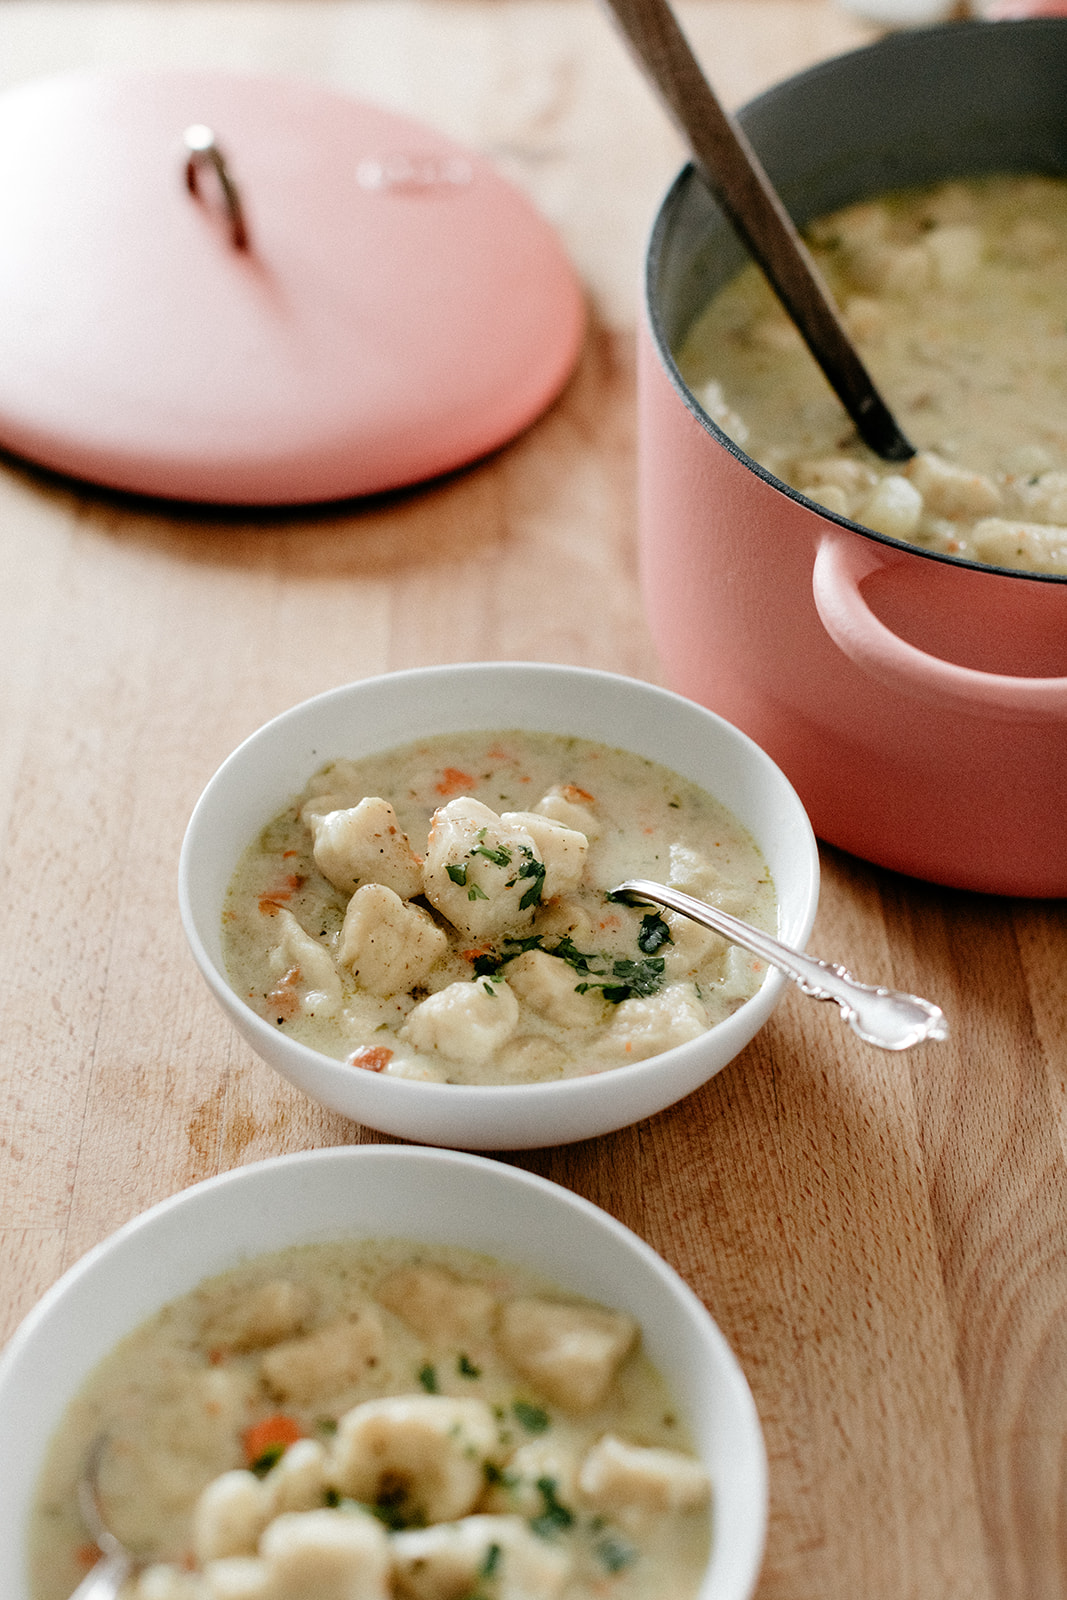
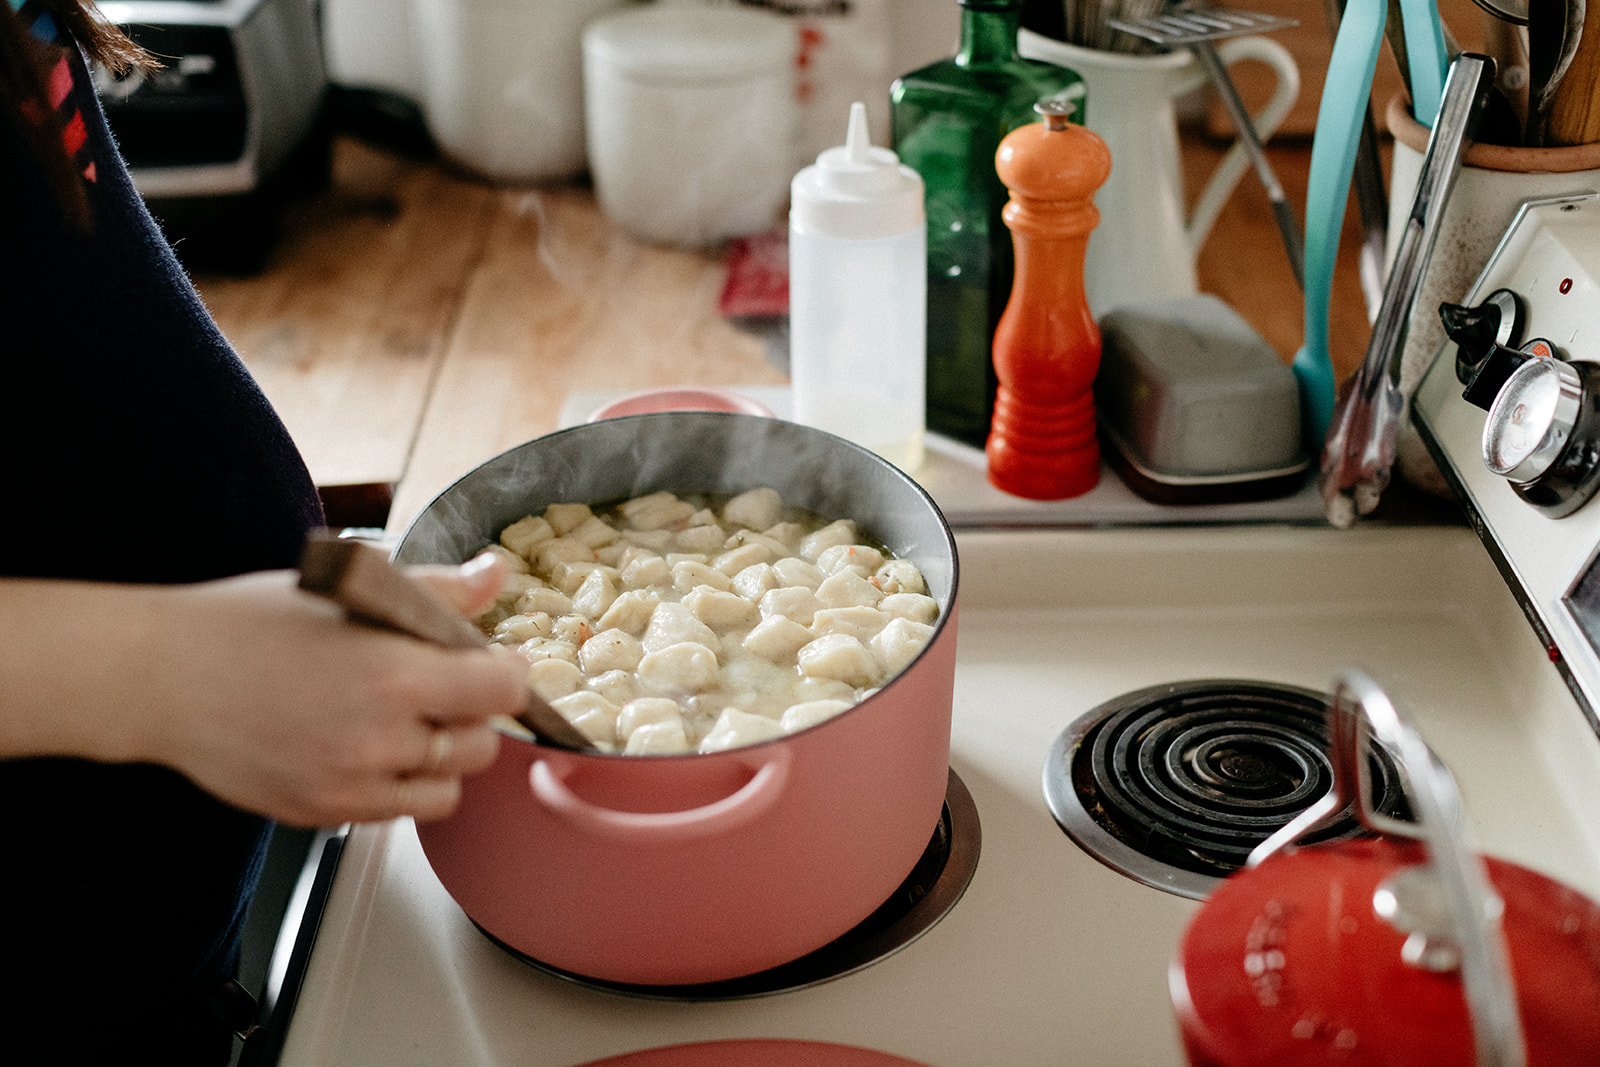
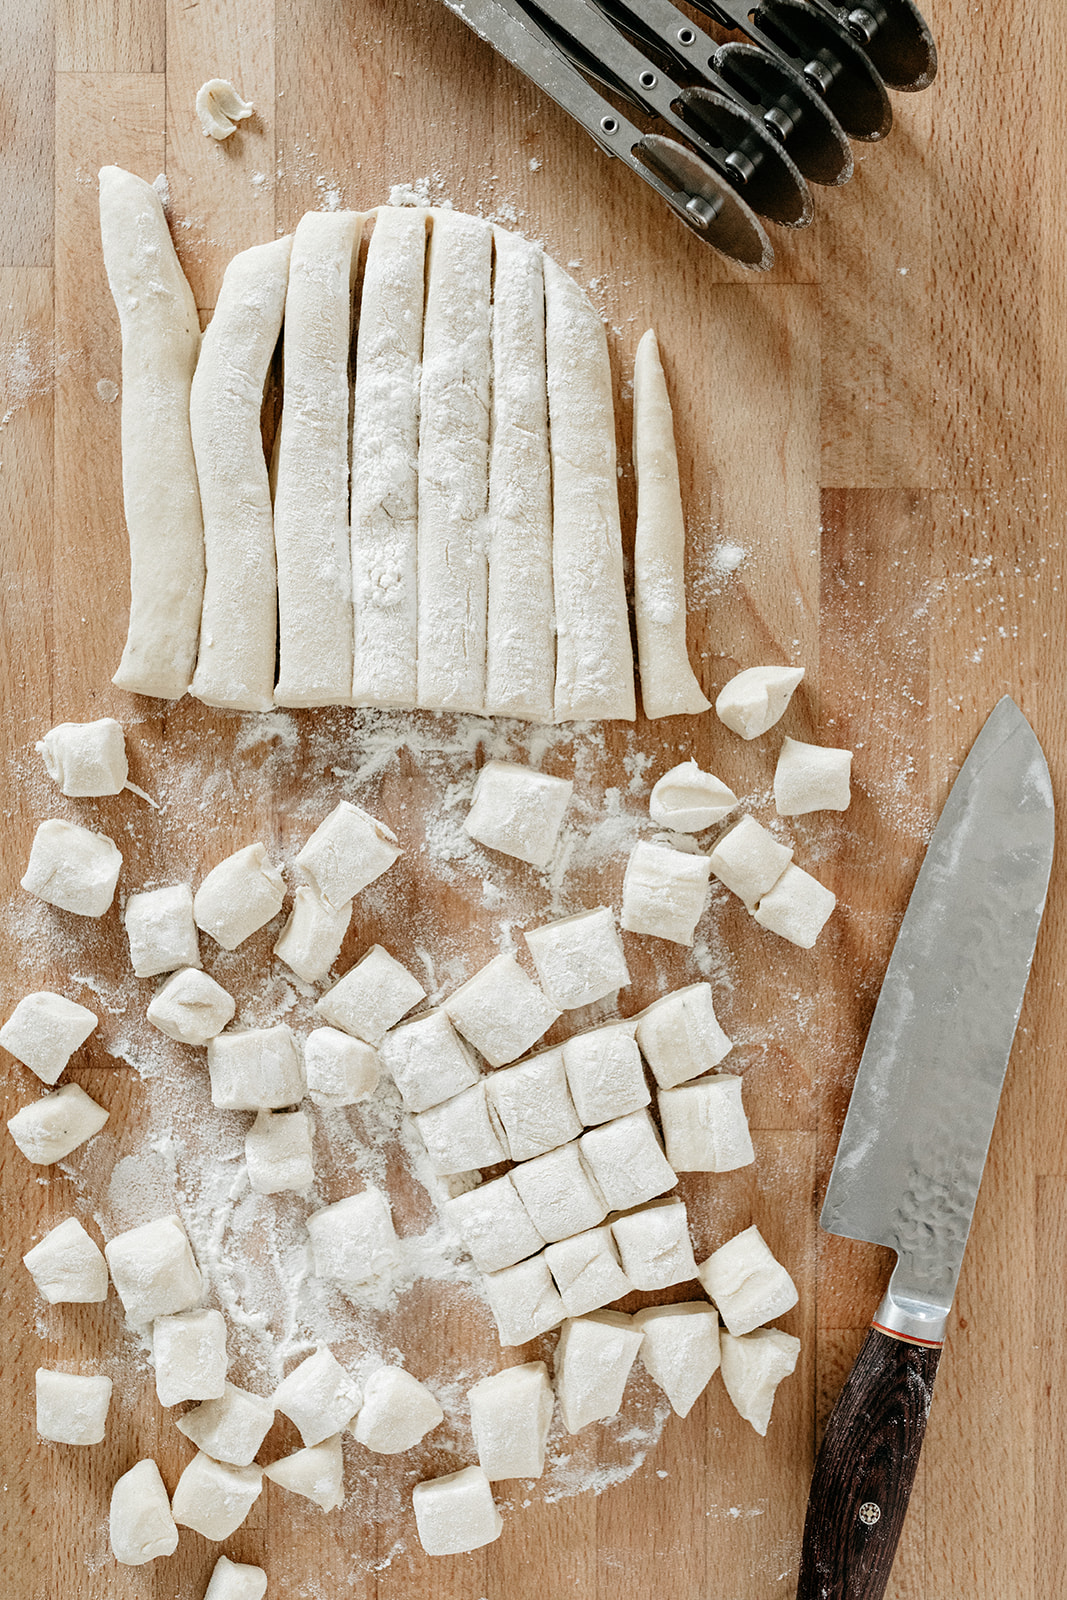
Continuing on with my list of foods that I plan to stock in our freezer for my maternity leave, I have to share this soup with you that is the best kept secret of the upper Midwest. Knoephla soup is right up with tater tot hotdish as my favorite new food that I’ve learned about since moving here. Knoephla (neh-fla) are little chewy dumplings that made their way to this area with German immigrants and are most commonly enjoyed in creamy potato soup, but can also be sautéed with sauerkraut and sausage or put into hotdish. They are kind of like plumper smoother spaetzle and the frozen store-bought ones look a lot like mochi bits. Knoephla soup is traditionally made without meat, just potatoes, vegetables, a bit of cream, and my favorite (from Dakota Harvest, r.i.p.) had the most warming hit of nutmeg. The texture of the dumplings and the pure comfort of it all makes this the kind of soup that I just shovel into my mouth with abandon. We had it at our wedding and for years now I’ve wondered why it hasn’t seemed to pick up that much popularity outside of the upper Midwest. The #knoephla hashtag is my favorite hashtag to follow on IG but all of the posts are from North Dakota! Many of them are from Kroll’s dinner, which has a killer version that you can supposedly buy by the bucket (?!), just in case you find yourself at one of those. This is probably one of the only areas where you can buy frozen knoephla at the grocery store, but not to worry, they are very easy to make. I have a recipe in Molly on the Range for knoephla soup but this is a new and improved version because over the past couple of years I’ve started adding more herbs to it, including an egg in the dumplings for added chewiness, and making a much bigger batch so that I can freeze some. I’m not sure if adding dill would be considered the most traditional move, but as I become closer and closer to being a Jewish mother, I’m more inclined than ever to channel severely dill-y matzo ball soup vibes into, like, everything. So while it’s still winter, make a gigantic batch of this and then eat it on the couch from under a fluffy blanket. 


knoephla soup

Serves 8-10

ingredients

3 tb unsalted butter

1 large onion, chopped

2 large carrots, chopped

2 celery stalks, chopped

kosher salt and black pepper

2 cloves garlic

1/2 tsp nutmeg

10 c chicken or vegetable stock

1/2 tsp dried thyme

2 sprigs dill, chopped

4 sprigs parsley, chopped

2 bay leaves

1 1/2 lb (680g) red potatoes, chopped into 1/2” pieces

1 1/2 lb (680g) store-bought frozen knoephla or homemade knoephla (recipe below)

1/2 c (120g) heavy cream

clues

in a large pot, melt the butter over medium-high heat. add the onions, carrots, celery, a good pinch of salt, and a few turns of black pepper and cook, stirring often, until the vegetables soften, about 10 minutes. add the garlic and nutmeg and cook, stirring, for 2 more minutes, until fragrant.

stir in the stock, herbs, bay leaves, and potatoes, increase the heat to high, and bring to a boil. reduce the heat to a simmer, cover, and cook for 40 minutes, stirring occasionally. if using store-bought frozen dumplings, add them when the soup reaches a boil. if using homemade dumplings, begin making them when the soup reaches a boil and then add them for the last 20 minutes of simmering.

stir in the cream. taste and adjust seasonings as desired. remove the bay leaves before serving.

enjoy!

to freeze, let cool and transfer to freezer safe containers. freeze for up to three months and defrost in the microwave or overnight in the fridge, and then reheat in the microwave or on the stove.

knoephla

3 1/4 c (422g) all-purpose flour, plus more for dusting

1 1/2 tsp baking powder

1 1/4 tsp kosher salt

black pepper

1/8 tsp nutmeg

1 c (236g) water

1 large egg

to make the knoephla:

in a medium bowl, whisk together the flour, baking powder, salt, a few turns of pepper, and the nutmeg. stir in the water and egg and mix to form a shaggy dough. turn it out onto a clean work surface and knead it for a few minutes, adding flour as needed, until you have a smooth and stiff dough. roll it into 1/2”-thick blob, cut into 1/2”-3/4” squares, dusting with flour so they don’t stick together, and drop them directly into simmering soup.


-yeh!

photos by chantell and brett! dutch oven by great jones!

valentine's day almond cake

Season 3 of Girl Meets Farm is a go!!!

We are working on the first six episodes right now and the remaining episodes will be filmed after Poppy Seed arrives, in the summer! It’s been so much fun! Of course, there are a few things weird about filming while eight months pregnant, like my arms get tired more easily since there is a growing baby the size of [checks pregnancy tracker app] three croissants in between me and the counter, and I’ve gotten some lame-o carpal tunnel action so sprinkling sprinkles takes some more effort, and of course my belly catches all of the food falling out of my mouth that would otherwise fall to the floor (I didn’t realize how much food fell from my face until there was something there to catch it?!) so it’s necessary for me to have two of every shirt that I wear. But, in general it’s been awesome because there is so much food everywhere!! Taco pizza, coconut cream pie, salt and vinegar potatoes, freezer friendly bagel breakfast sandwiches… this season is pregnant lady approved and sooo (!!!) tasty.

And of course, hanging out with the crew, being cozied up in my house and filming all day while it blizzards outside is kind of like my winter camp dreams come true. I love these people. And I’m excited that later this week I get to spend Valentine’s Day with them and introduce them to my annual Valentine’s Day almond cake. My mom will also be in town on Valentine’s Day, filming her guest episode, so it’s going to be the best day ever!!! Oh gosh I hope there’s enough of this cake to go around… It just occurred to me that I should maybe make a second one…

Anyway, this Valentine’s Day cake is extra special for two reasons: my Chrismukkah gift from Eggboy this year was a set of paintings of my Valentine’s cakes by our amazing artist friend Mollie. Mollie makes the most incredible watercolors, they’re miniature and beautiful, I have a corn dog that she made for me last year and I cherish it. When Eggboy presented me with her paintings of my cakes, I was floored! They’re not all literal, some of them are interpretations, and part of the gift was that Mollie is going to paint my future cakes as well! So one day when we’re all old and crusty, there will be a wall in our house covered with paintings of Valentine’s cakes. Oh geez, I’m so excited. 

Also, Better Homes and Gardens did a story on my tradition with their own beautiful rendition of this cake!! Pick up this month’s issue to read it!!

My cake this year was actually inspired by the cake that BHG did. I loved their idea of doing a layer cake and sticking cookies into the top. I wanted all of the cookies to be different, so during the polar vortex, I just took a whole afternoon and decorated these cookies and it was the best. Some are flower-inspired to look like little bouquets, but the others I just played around with. And of course the actual cake itself is the same fluffy almond cake that I make every year (it’s heavy on the almond paste chunks this year because I was suuper careful not to over beat it), covered with almond fresh whip that is the essential flavor of Valentine’s Day. It’s sitting in my deep freeze right now so that I can defrost it on Thursday. Because if there’s one rule I have about this holiday, it’s that Valentine’s Day cannot exist without this cake!

(You can see all of my past Valentine’s cakes here! 2018 / 2017 / 2016 / 2015 / 2014 / 2013 / 2012 / 2011 / 2010)


valentine's day almond cake

makes one 3-layer 8” cake

ingredients

cake:

1c (96g) all-purpose flour
1 1/2 tsp baking powder
12 oz almond paste
9 large eggs, separated
3/4 tsp kosher salt
3/4 c (150g) sugar
1 1/2 tsp vanilla extract
3/4 tsp almond extract

whipped cream:

2 c (480g) heavy whipping cream
1/2 c (60g) powdered sugar
1 tsp almond extract

pink food coloring, optional

assembly:
sprinkles of all sorts

my soft almond sugar cookies, baked with wooden skewers sticking out the bottom

clues

Preheat the oven to 350ºF. Grease and line the bottoms of three 8” cake pans and set aside.

In a small bowl, whisk together the flour and baking powder.

In the bowl of a stand mixer fitted with a whisk attachment, beat the egg whites and salt to soft peaks and then gradually beat in the sugar, about 1 tablespoon at a time. Continue beating to stiff peaks and then set aside.

In the bowl of a stand mixer fitted with a paddle attachment (I usually just scoop the whites out of the bowl and transfer them to a separate bowl and then reuse my stand mixer bowl without having to wash it for this step), combine the almond paste and egg yolks and beat on high for 2 minutes until pale and fluffy (but allow some almond paste chunks to remain in tact), scraping down the sides of the bowl as needed. Mix in the vanilla and almond extract. Gently fold the whites into the yolk mixture and then fold in the flour mixture. Pour the batter into the pans, spread it out evenly with a spatula, and then bake until a toothpick inserted into the center comes out clean; begin checking for doneness at 20 minutes.

Cool in the pans on a rack for 10 minutes and then remove to the rack to cool fully.

To make the whipped cream, in the bowl of a stand mixer fitted with a whisk attachment, beat the heavy cream, powdered sugar, and almond extract to stiff peaks. Add a few drops of pink food coloring if desired.

Stack up the layers with a thin layer of whipped cream between them and then frost all over with the remaining whipped cream. Decorate as desired with cookies, sprinkles, chocolate, etc., and enjoy!

Store decorated cake in the fridge until ready to serve. Leftovers can be stored in the fridge for up to a few days.


-yeh!

photos by chantell and brett!

Homemade Mini Ice Cream Cones + A Cookie DO Collab!

If I had a dollar for the amount of times since being pregnant that I’ve stared at a batch of cookie dough and wished with all of my might that I could eat a huge blob of it raw, I’d have Poppy Seed’s college tuition paid for already. Raw cookie dough is right up there with cold salami as the foods I miss most. Just like, sweet, doughy, buttery, chocolate chippiness, snuck by hand and licked off the mixer, my eyeballs are rolling back into my head just thinking about it.

So when the idea of collaborating with Cookie Dō on a special edition flavor came up, I obviously almost passed out. Pregnant or not, Cookie DO is a dreamland. They have a million different insanely good cookie dough flavors that you just eat with a spoon!! Each one as addicting as the next, and as Kristen the owner and I started brainstorming ideas for our February collab, I foamed @ the mouth: tahini chocolate chip, matcha oreo, pistachio white chocolate, Italian rainbow cookie… When I tasted them all, the Italian rainbow cookie was the one I kept thinking about. I’d lie in bed, excited to wake up the next morning so that I could have a bite.

(Do we need to rehash my love for these soft almondy cookies?? I’ve made them into cake form, gelato sandwich form, and have made a matcha red bean version, but never have I had them in dough form!)

This dough is insanely good. It’s intensely almondy with chocolate chunks throughout, and the colors are so bright and happy. It’s my dream dough. So starting now and through the end of the month, you’ll be able to get it at DO, either in store or online.

And!! Portions of the proceeds will be going to Emma’s Torch, an amazing organization in Brooklyn that provides culinary training, ESL classes, and interview preparation to refugees. I first heard about Emma’s Torch when the director, Kerry, was interviewed on Unorthodox and immediately fell in love with the cause. You can listen to this episode here and learn more about Emma’s Torch here. I am soo excited that this cookie dough will help support this cause!

Because it’s fun to eat this dough in little scoops like an ice cream cone, I have a recipe for homemade mini cones today! They are not hard to make, you just need a cone mold (I use this krumkake mold) and an offset spatula. You can dip them in chocolate or leave em naked, and you can make them up to a few days in advance. Be prepared for your house to smell like an ice cream parlor! 


Homemade Mini Ice Cream Cones

yields 12

ingredients

1/2 c (100g) sugar

1/2 c (65g) all-purpose flour

1/2 tsp kosher salt

a pinch of ground cardamom

2 large egg whites

1/2 tsp vanilla extract

1/4 tsp almond extract

optional:

3 oz chocolate chips

sprinkles

clues

preheat oven to 375ºf. grease a baking sheet. grease a small (6”) wooden cone mold.

in a medium bowl, whisk together the sugar, flour, salt, and cardamom. add the egg whites and extracts and mix until you have a smooth spreadable batter, slightly thicker than the consistency of honey.

with a small offset spatula, spread two 1-tablespoon dollops of the batter into 3-inch rounds, at least 2 inches apart onto the greased baking sheet. this part gets a little sticky, but it doesn’t need to be perfect! (only bake 2 rounds at a time so that you have time to mold the cookies before they cool.)

bake until the edges are lightly browned, 5 to 8 minutes. working quickly (but carefully, so as not to burn your fingers), use a small offset spatula to flip a cookie over onto a work surface and then wrap it around the greased cone mold. remove it from the cone mold and then stand it up with the pointy end on top, propping it up as needed and cool fully.

repeat with the remaining batter, greasing the pan and cone mold each time. allow cones to cool to room temperature.

if desired, melt chocolate chips in a microwave or double boiler and dip the tops of the cooled cones into the melted chocolate and roll in sprinkles. place on a parchment lined plate and refrigerate until the chocolate is firm.

cones can be kept in the fridge or at room temperature for several days.


-yeh!

photos by chantell and brett!

mini <3 whole wheat veggie pizzas (freezer friendly!)

I have truly lived out my wildest fantasies this week by baking Valentine’s cookies all day, watching ice skating on the tv, and not even being allowed outside. Windchills in the negative 60s meant that going outside was dangerous (!!!), and so like it’s one thing to have a random free weekend to stay inside and bake all day, but literally having no choice but to stay inside was the cherry on top of these past few days. I haven’t left the house since Saturday. I’m so cozy. My best friend is my microwaveable heating pad and our kitchen table is covered in five types of cookies. I’ve slept better than my whole entire pregnancy combined*. I mean, Hawaii was awesome and all but a snowy week with highs in the -20s?? An extremely close second.

*I definitely just jinxed this by typing it out, right?

So a great week needs to end with a great pizza night, right? This here is a veggie pizza that’s become our go-to, our ~house veggie pizza~ on the family pizza menu. It’s whole wheat, loaded with greenery, and not too heavy, dare I say it’s almost healthy?! We started making it during weeks when we had one too many heavy dinners and then got to Friday and didn’t feel like having pizza that was going to make us feel like poo. So we got in the habit of emptying out our fridge of all of the vegetables and piling them on a whole wheat version of our favorite thin pizza crust (based on Amy Thielen’s cracker crust pizza from New Midwestern Table), which is super easy to make and delightfully chewy. The things that make this pizza great are the nice big pinches of salt that go all over the veggies and the crust (you’re going for visible salt crystals on the crust, ok?), and the order that everything goes on. I like some mozzarella on the base to hold together all of the smaller chopped veggies, like the peppers and tomatoes, and then a little more on top of the kale, to hold it on and to help it get crispy. The kale on top bakes up crunchy and salty like kale chips, it’s excellent. Bonus points if you sprinkle this pizza with ranch seasoning or dip it in ranch dressing.

Obviously, since it’s the season, these lil pizzas are heart shaped. But of course you could make circles, or one big circle, or one big rectangle, or a trapezoid, etc. And they are freezer friendly!! From here on out, many of the recipes I’ll be posting will be freezer friendly since i’m preparing for you-know-who and filling our freezer with easily reheat-able, ideally one-handed meals.

Ok that’s all for now! Happy almost pizza night, fronds!


mini heart whole wheat veggie pizzas

makes 6

Ingredients

Dough:

1 c (130g) all-purpose flour, plus more for dusting

1 c (130g) whole wheat flour

1 tsp kosher salt

1 tsp sugar

3/4 c (178ml) water

1/4 c (50g) olive oil


Toppings:

Olive oil

1/2 c (120g) red sauce

8 oz shredded mozzarella 

2 big cloves garlic, minced

1/2 medium onion, finely chopped

1 green bell pepper, finely chopped

2 roma tomatoes, seeded and chopped

2 oz (about 1 c) chopped kale

2 oz (about 1 c) spinach

Optional salty meat: prosciutto, pepperoni, cooked sausage, etc.

Kosher salt and black pepper

Parmesan, for topping

Crushed red pepper, for topping

Clues

To make the dough, whisk together the flours, salt, and sugar in a large bowl. With a wooden spoon or rubber spatula, stir in the water and olive oil. Once combined, turn out onto a lightly floured surface and knead for 5 minutes, adding additional flour if it gets too sticky. Form into a ball, cover with plastic wrap or a dish towel, and let sit for 30 minutes (this is when I chop up all of my toppings). 

If baking immediately, preheat the oven to 475ºf.

Line two baking sheets with parchment paper. Divide the dough into 6 pieces and roll them out into thin 1/8” rounds or heart shapes (SEE GIF) and then crimp the edges to make a crust. Place them on the baking sheets and brush with a thin layer of olive oil. Top with sauce (a heaping tablespoon per pizza), most of the mozzarella (leave about 1/2 c for the top), the garlic, onion, bell pepper, tomatoes, meat (if using), spinach, kale, another little drizzle of olive oil, remaining mozzarella, a few good pinches of salt (don’t forget to salt the edges!), and a few turns of black pepper. Bake until the cheese is splotchy with brown marks, begin checking for doneness at 10 minutes. To serve, top with lots of grated parmesan and crushed red pepper. Enjoy!

To freeze these, do everything up until the baking step. Instead of putting them in the oven, freeze on a sheet tray for a few hours until the crust is firm, then wrap tightly individually in plastic wrap and place back in the freezer for up to 3 months. Bake on parchment lined baking sheets (straight from the freezer) at 450ºf for 12-15 minutes, until the cheese is splotchy with brown marks. To serve, top with lots of grated parmesan and crushed red pepper. Enjoy!


-yeh!

photos by chantell and brett!

This recipe was created in partnership with Our Family!