
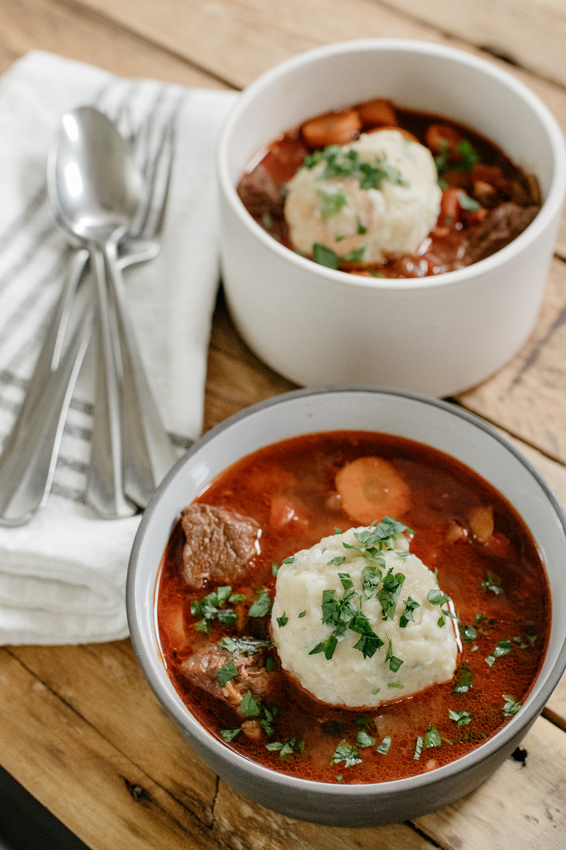
ginger scallion chicken and dumplings
/
Hello, hi!! How are you all January-ing and coping with the Monday of Months/post-holiday slump/dry weather? Warning, I’m about to be the overly cheery person in the room but once I re-arranged my open shelves with all of my pink and purple kitchenware to be Valentine’s Day themed and also splurged on a tube of Kiehl’s coriander hand cream, I remembered how I’ve actually become kind of obsessed with January. I used to dread it soo much but that was back in college when it’d still be dark when I emerged from the practice room and then have to schlep around the streets in the dirty slush if I wanted to do anything social. These days, however, winter means Eggboy’s version of summer, which means we can go on more trips and stuff! It’s the most fun time of the year. And I want to tell you about our most recent adventure, our Great Midwest road trip!!
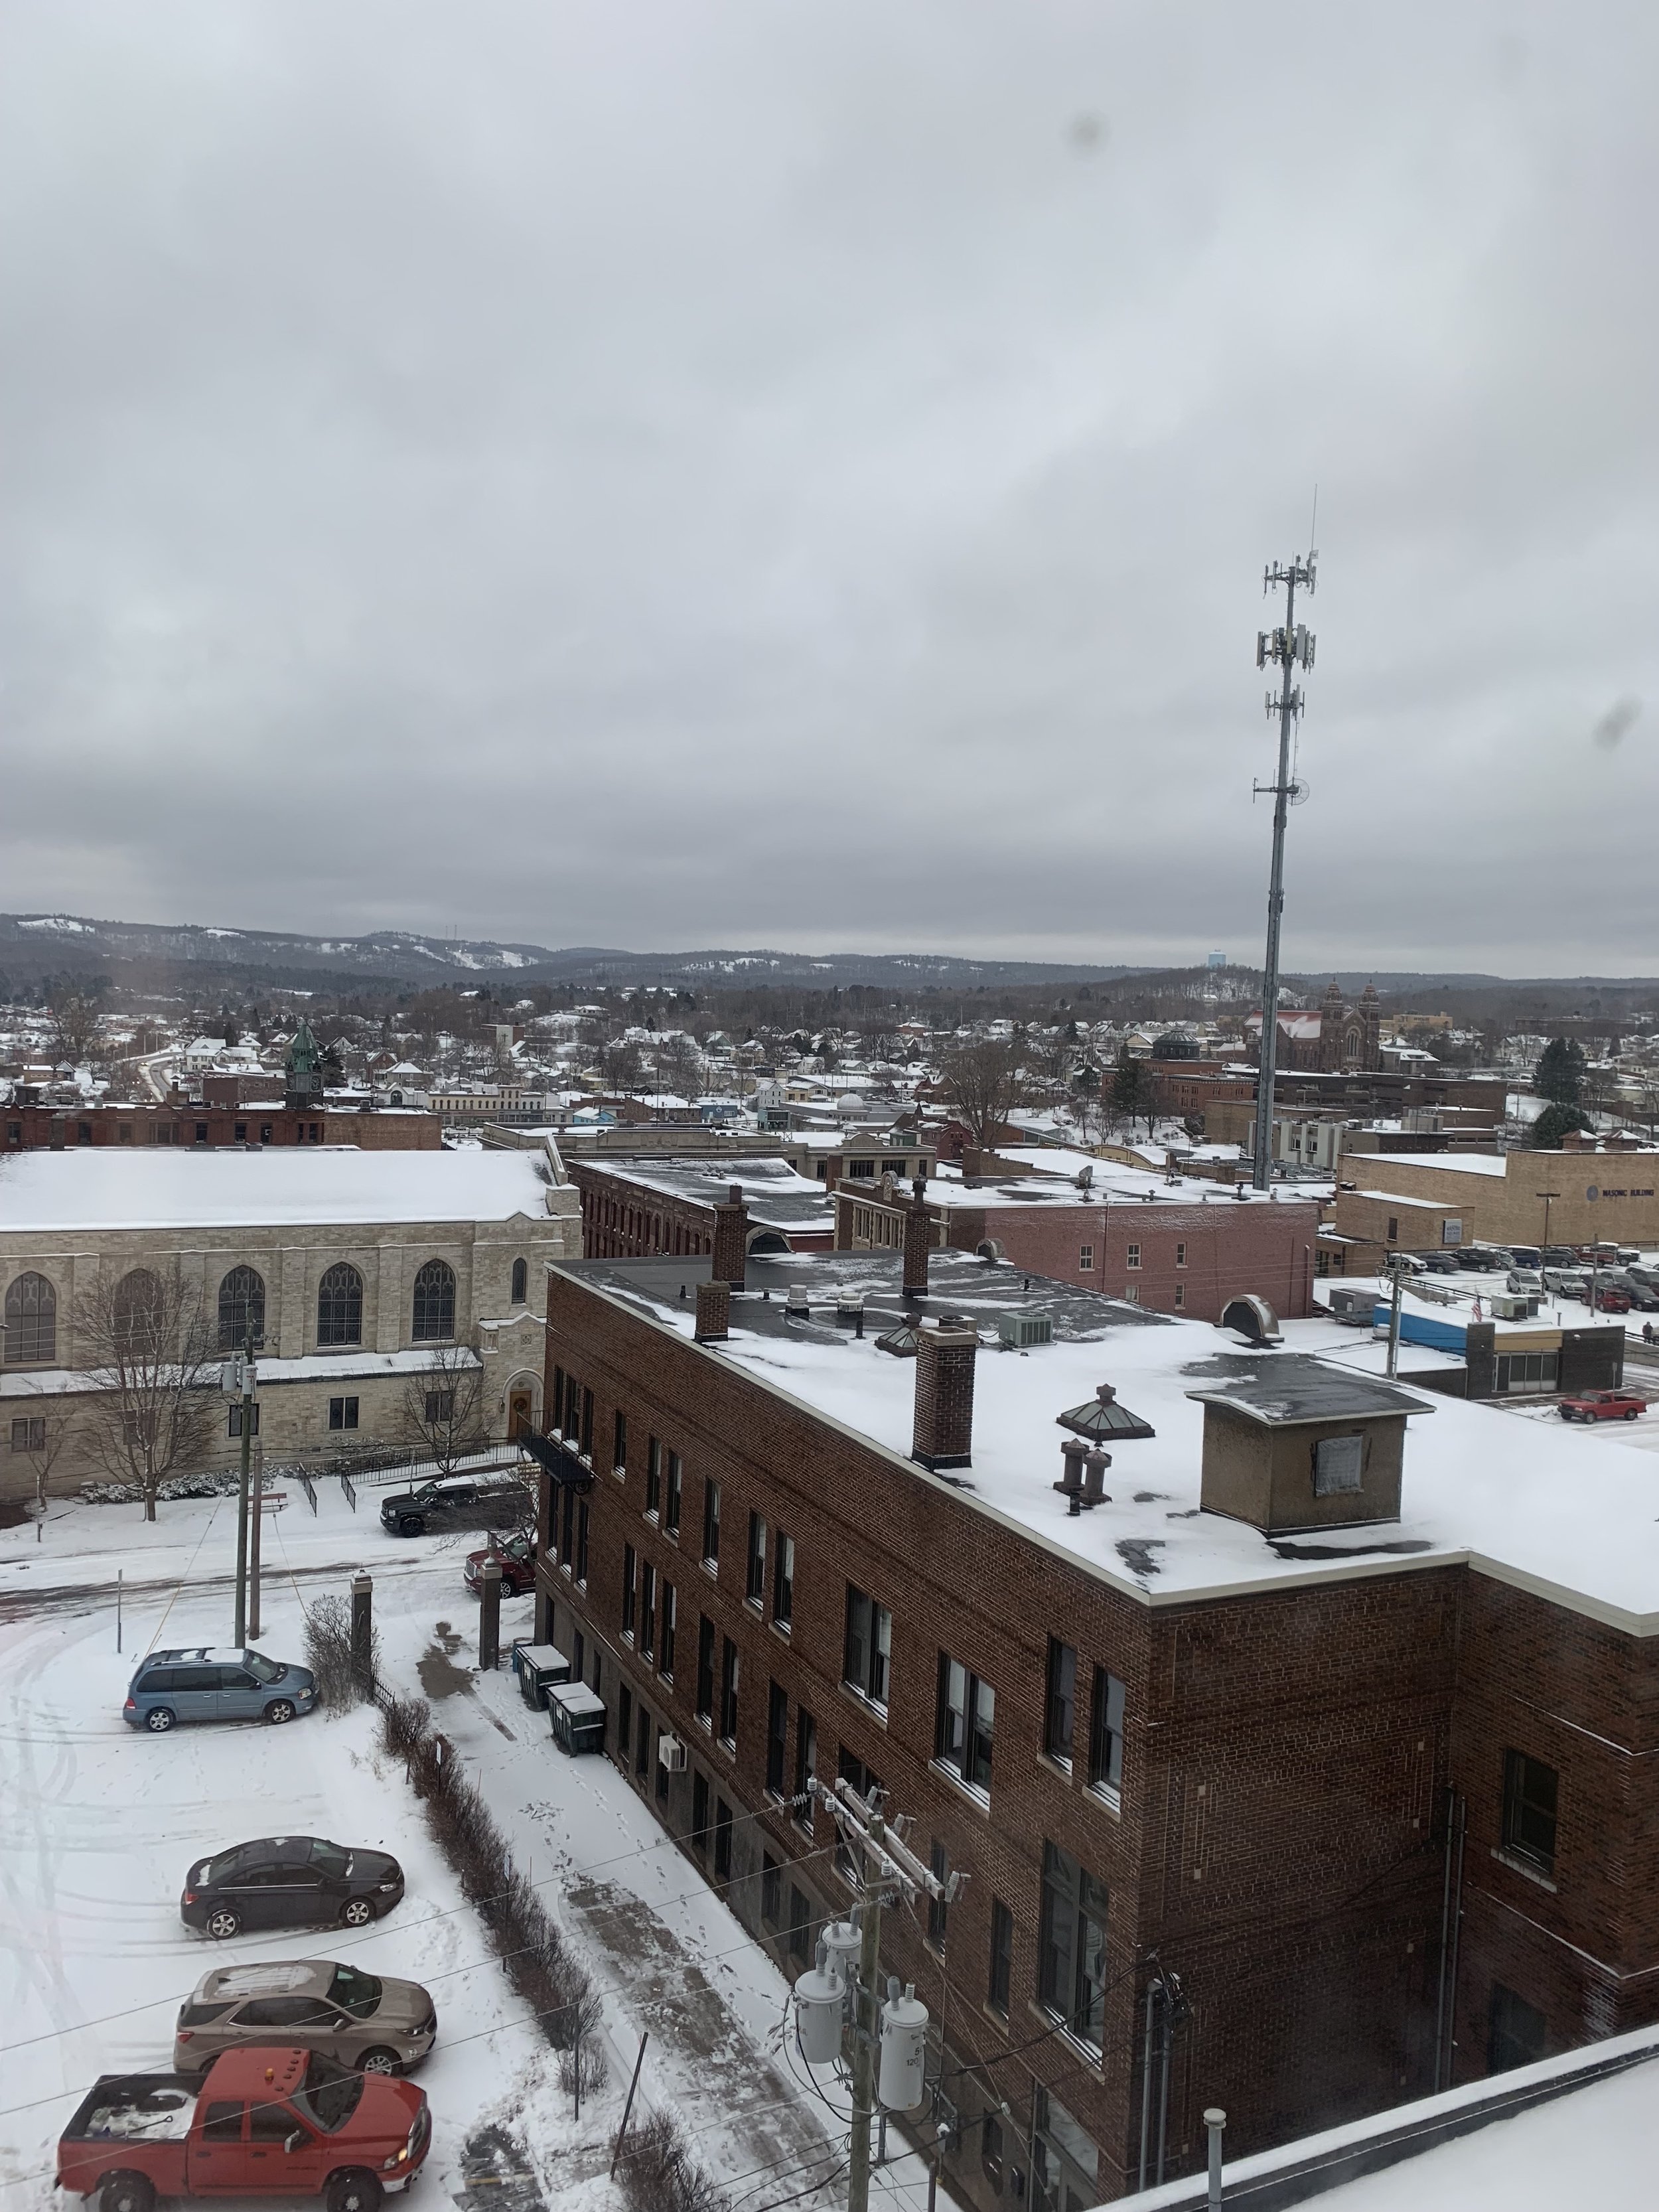
We drove from Grand Forks to the cute town of Red Wing, MN, to Chicago, to Kalamazoo, MI, and then up around the Upper Peninsula, through Wisconsin, on to Duluth, and then back home, by way of Bemidji, for pizza. We stuck to smaller roads and searched out historic and one-of-a-kind places that bursted with personality. It was delightful and tasty and we saw so many adorable cute towns that all felt like they came right out of a snow globe.


Here were some of the best places we went:
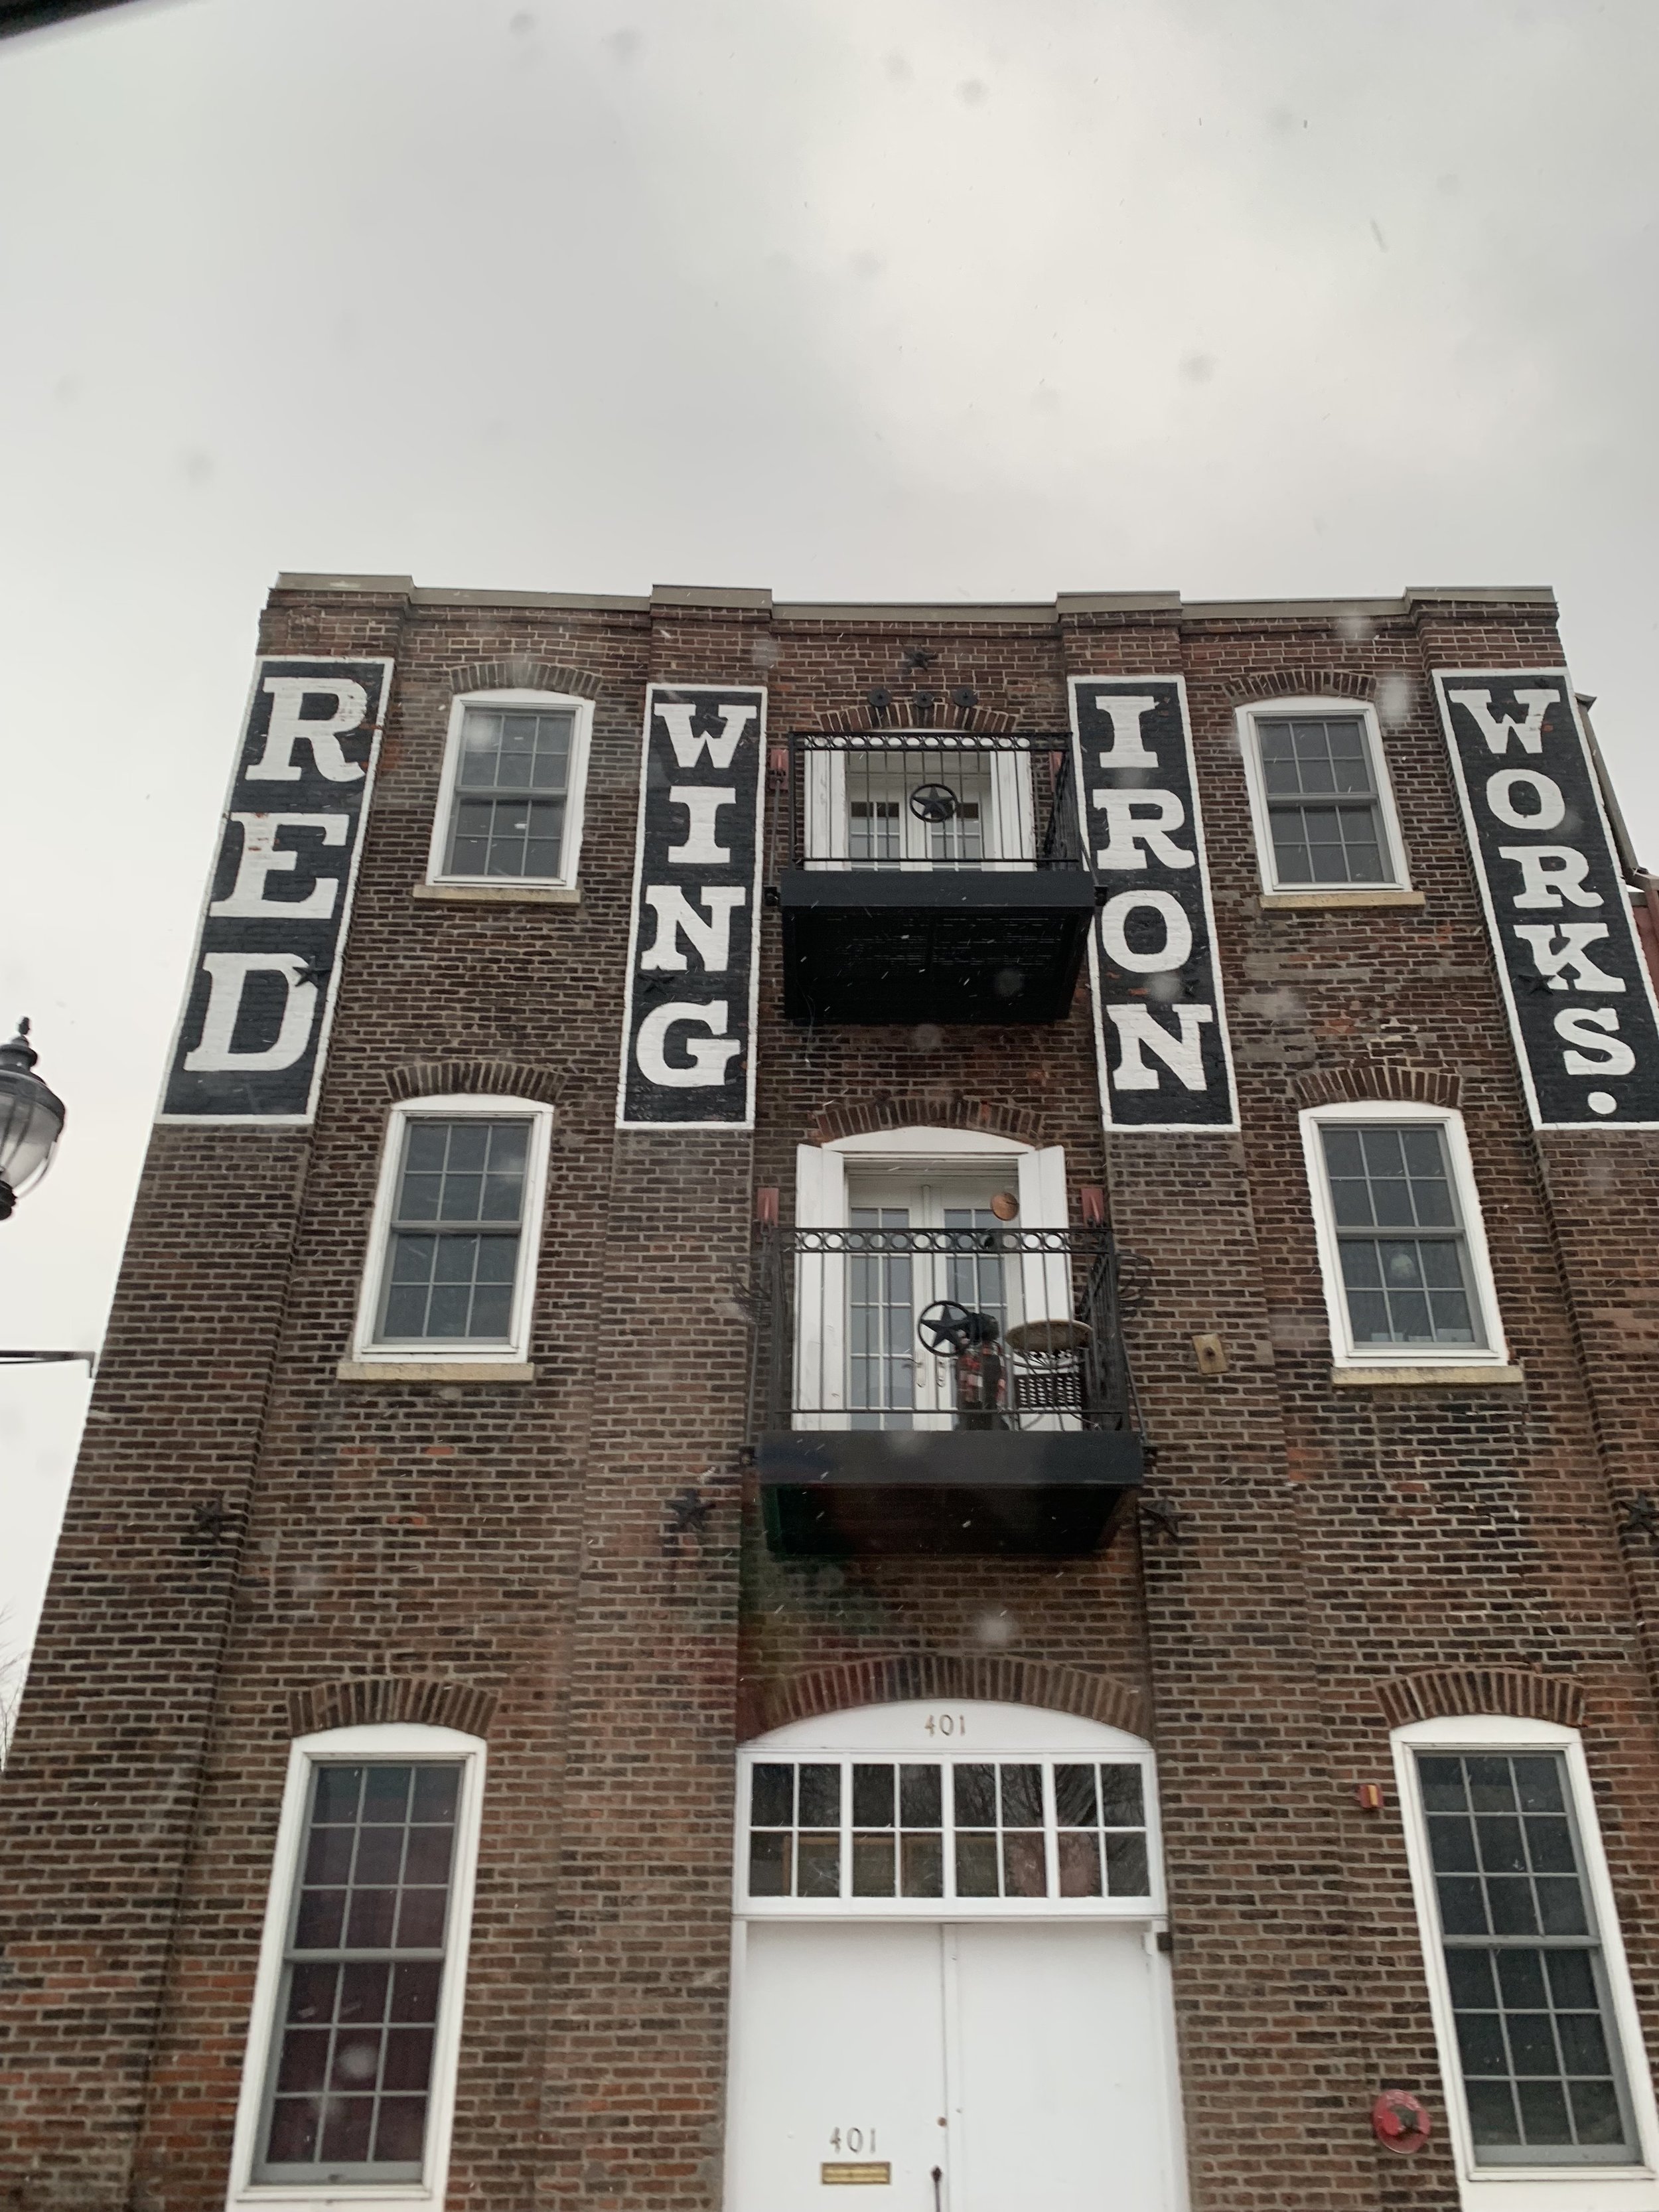
Red Wing, MN
St. James Hotel- A beautiful historic hotel in the little cute town of Red Wing. It was so beautiful that I didn’t even care that it was exactly the type of place that would be a little bit haunted. We’d seen it a bunch of times from when we’d pass by on the train from Grand Forks to Chicago but this was our first time inside and we loved it.
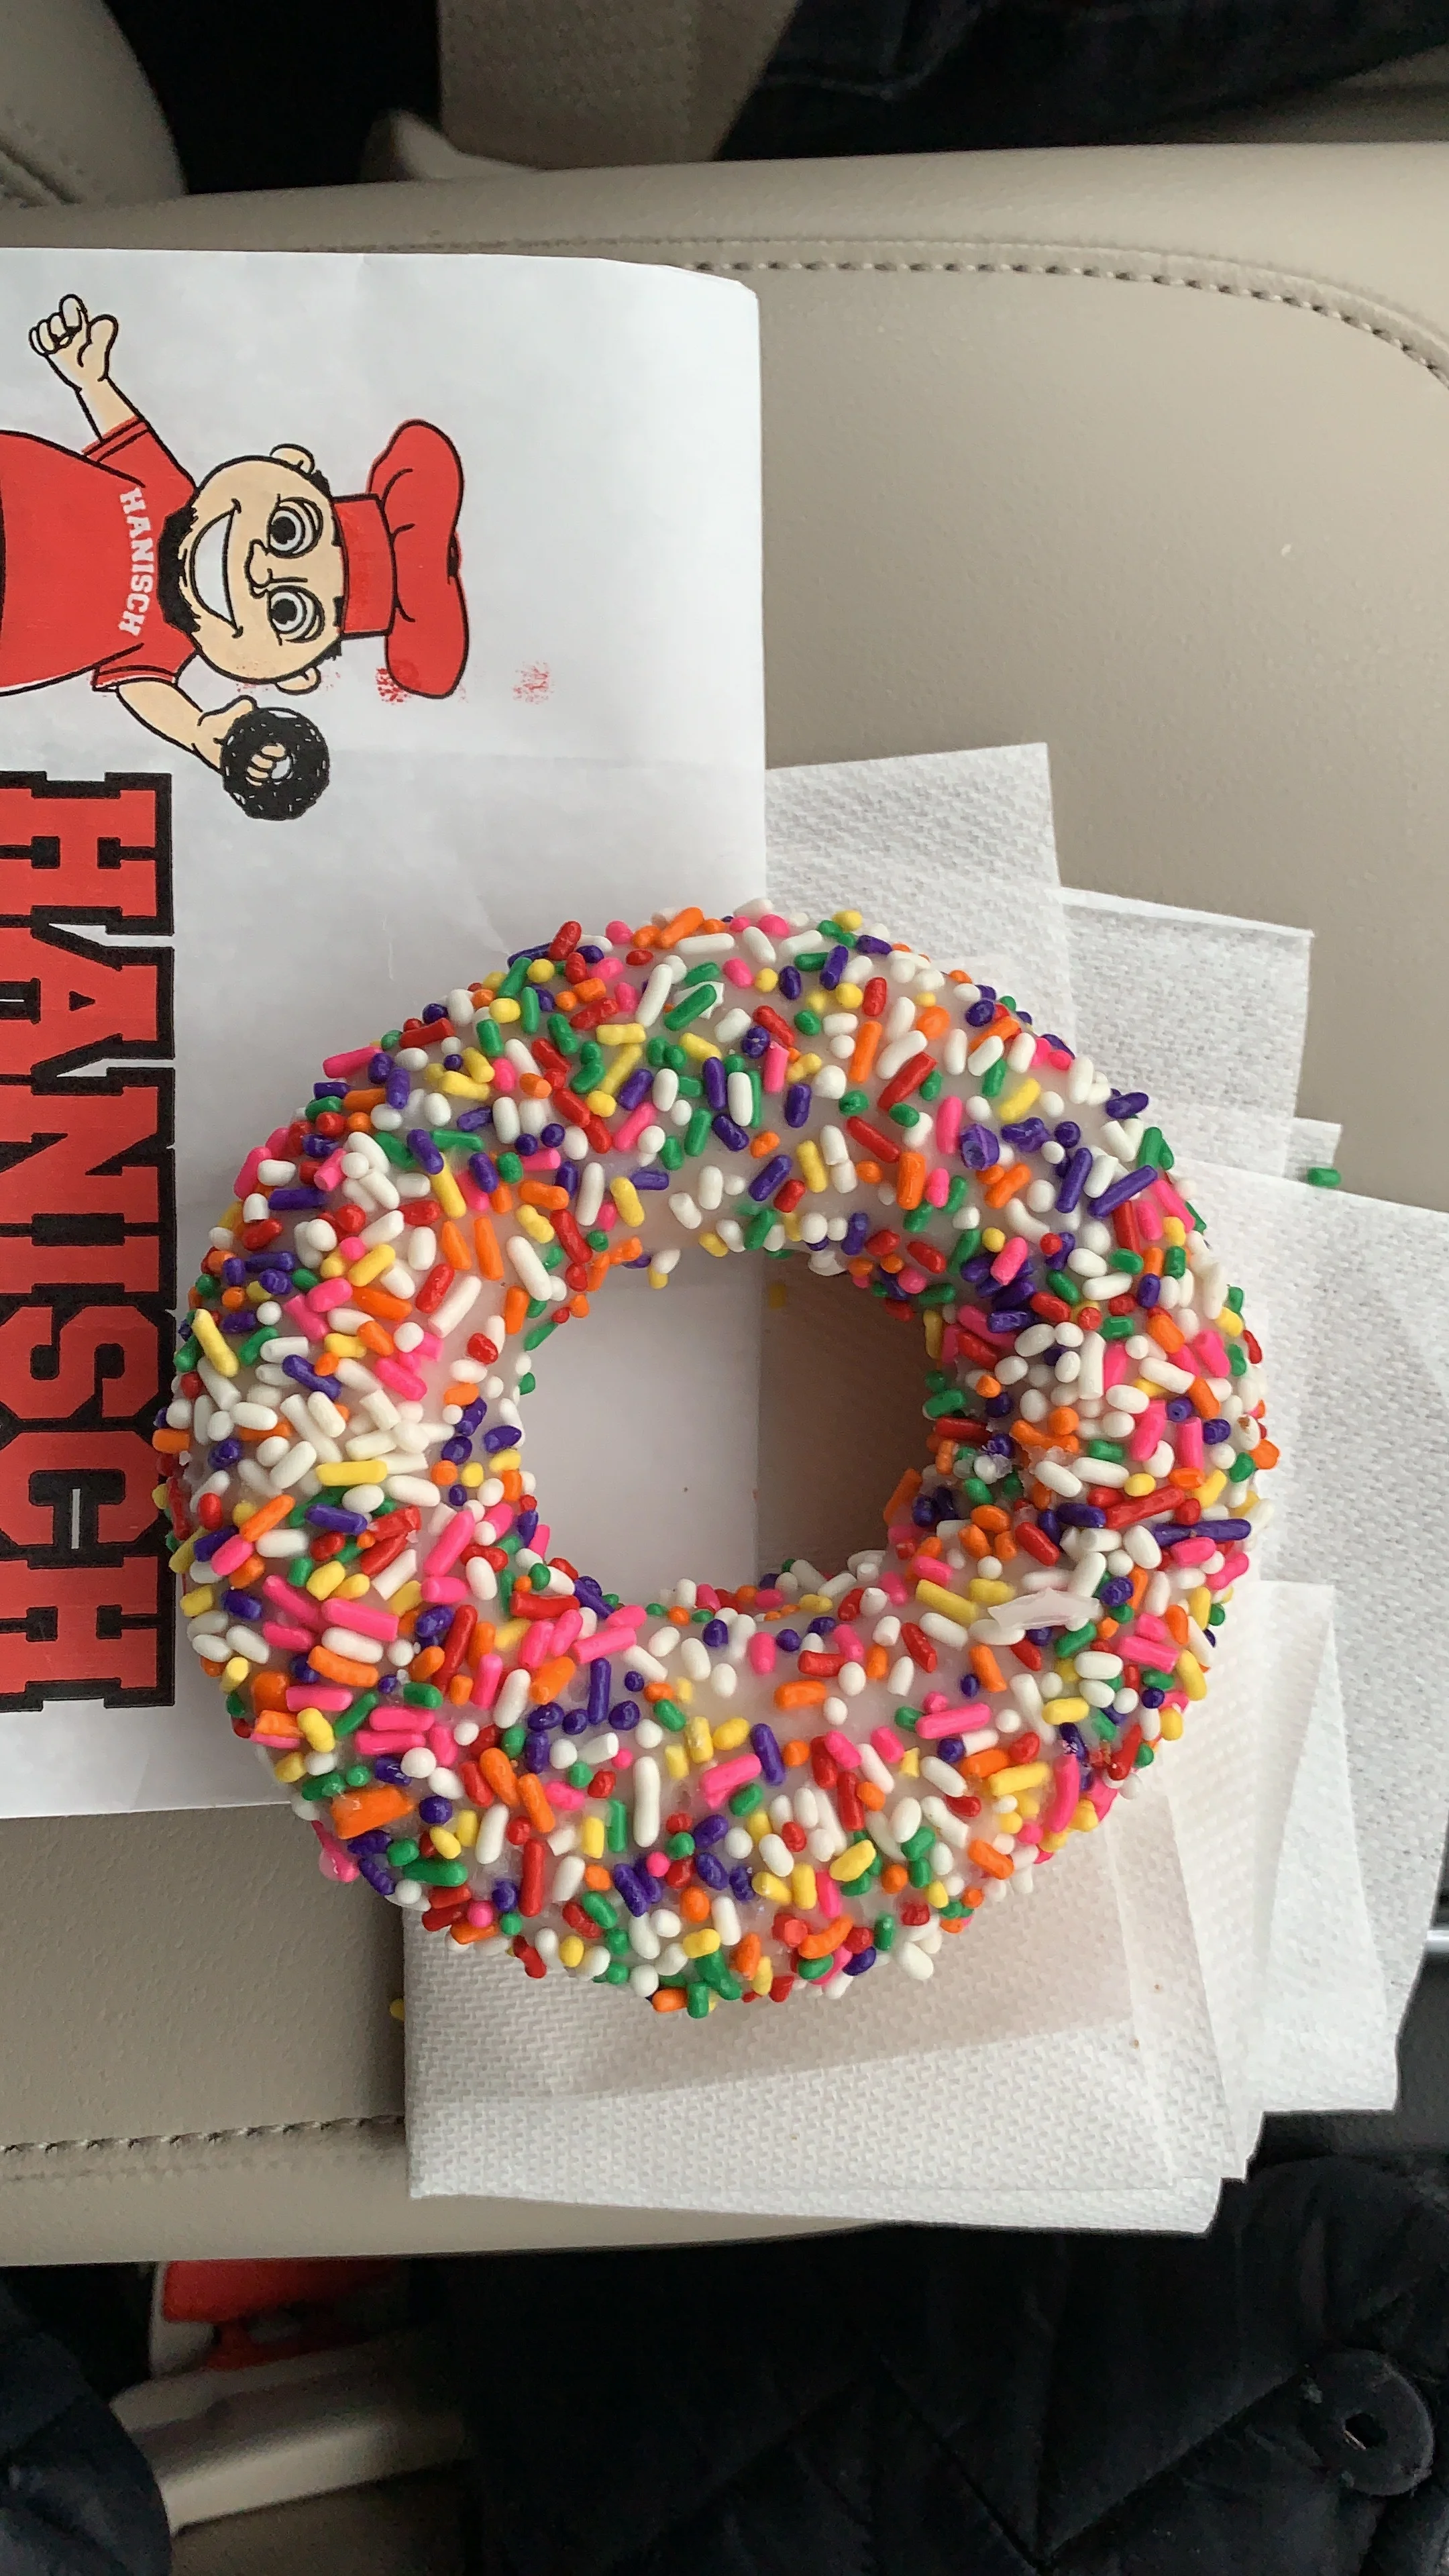
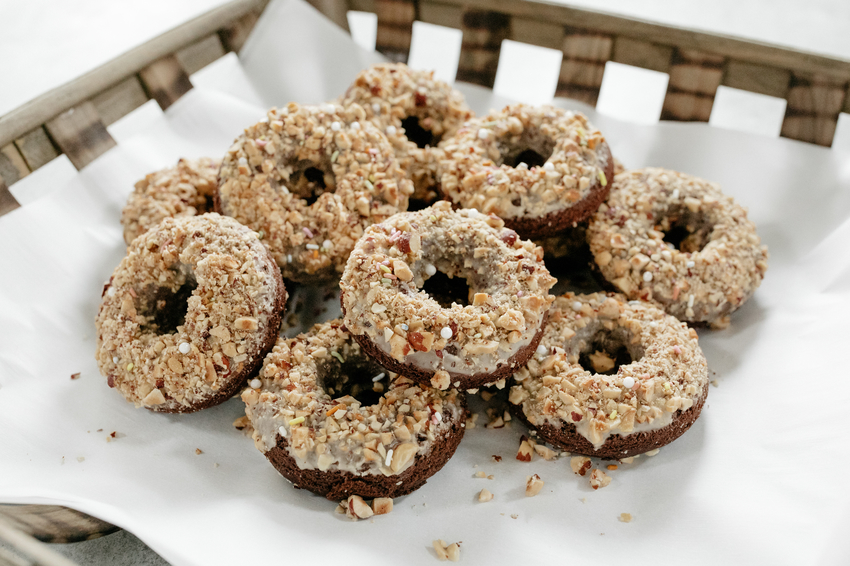
Hanisch Bakery- The coziest homiest bakery, with a killer sprinkle donut and orange slices as a side to their breakfast sandwiches. The donut had like a sprinkle crust. It was perfect.
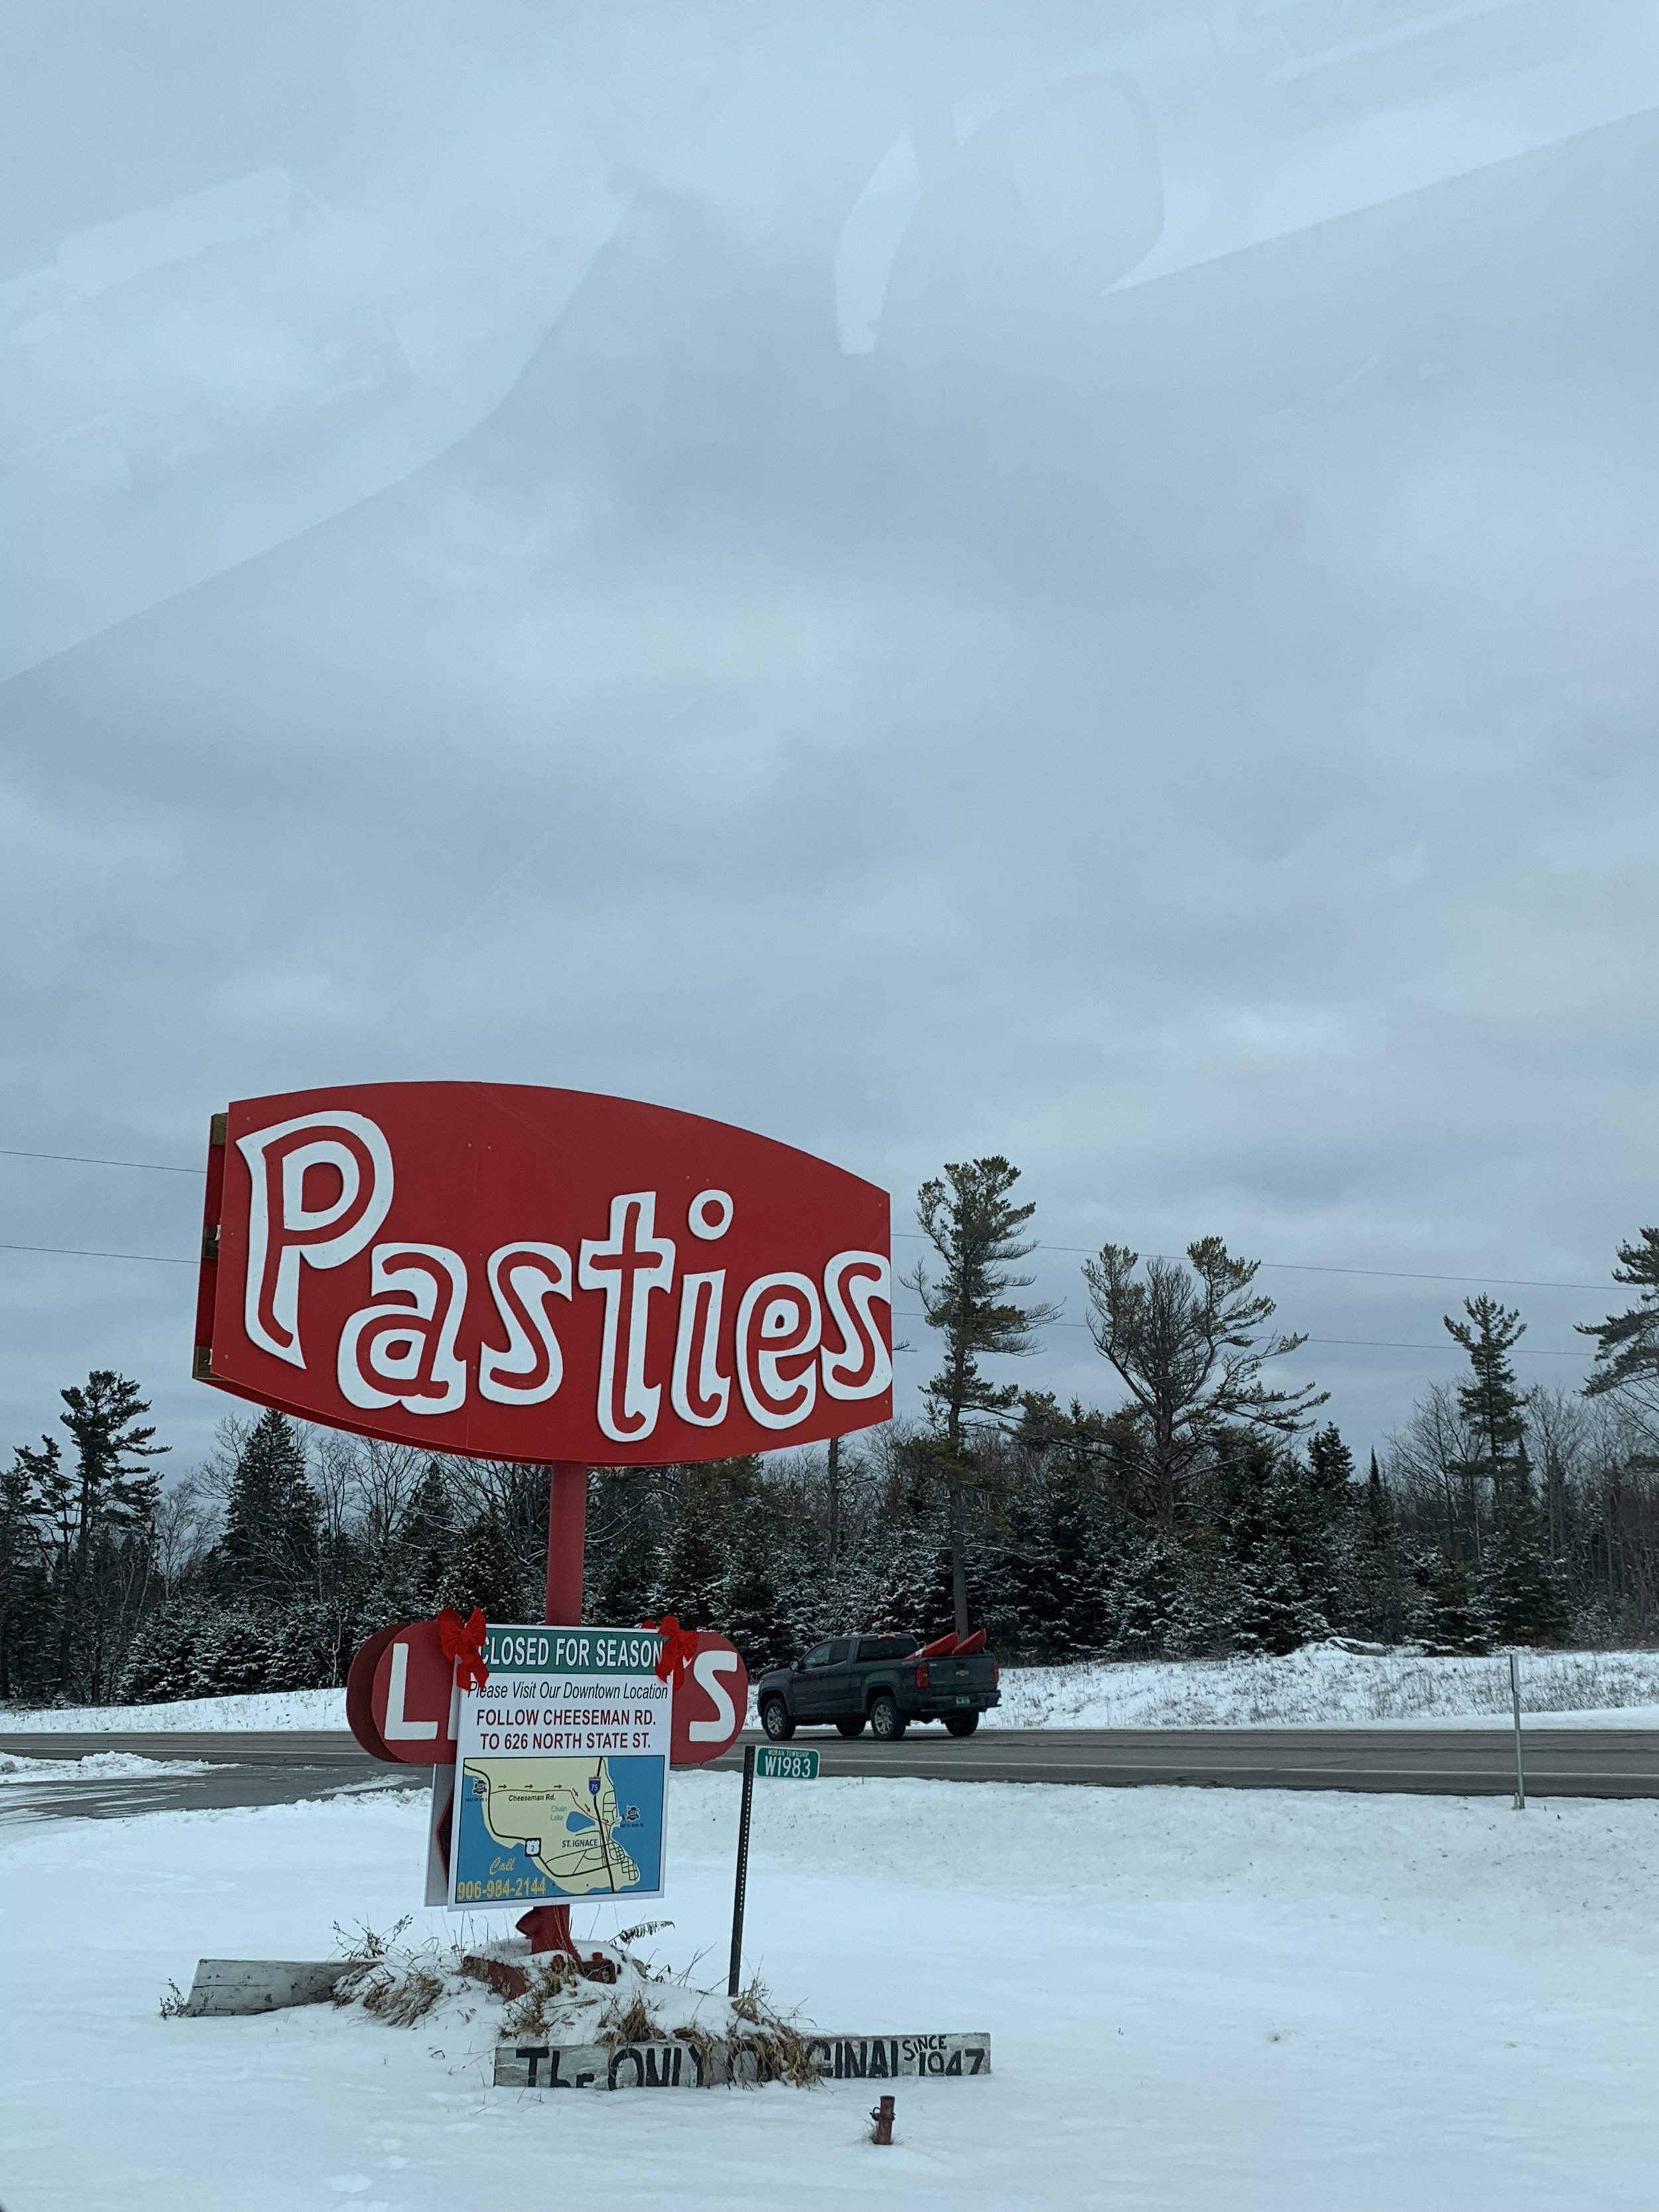
St. Ignace, MI
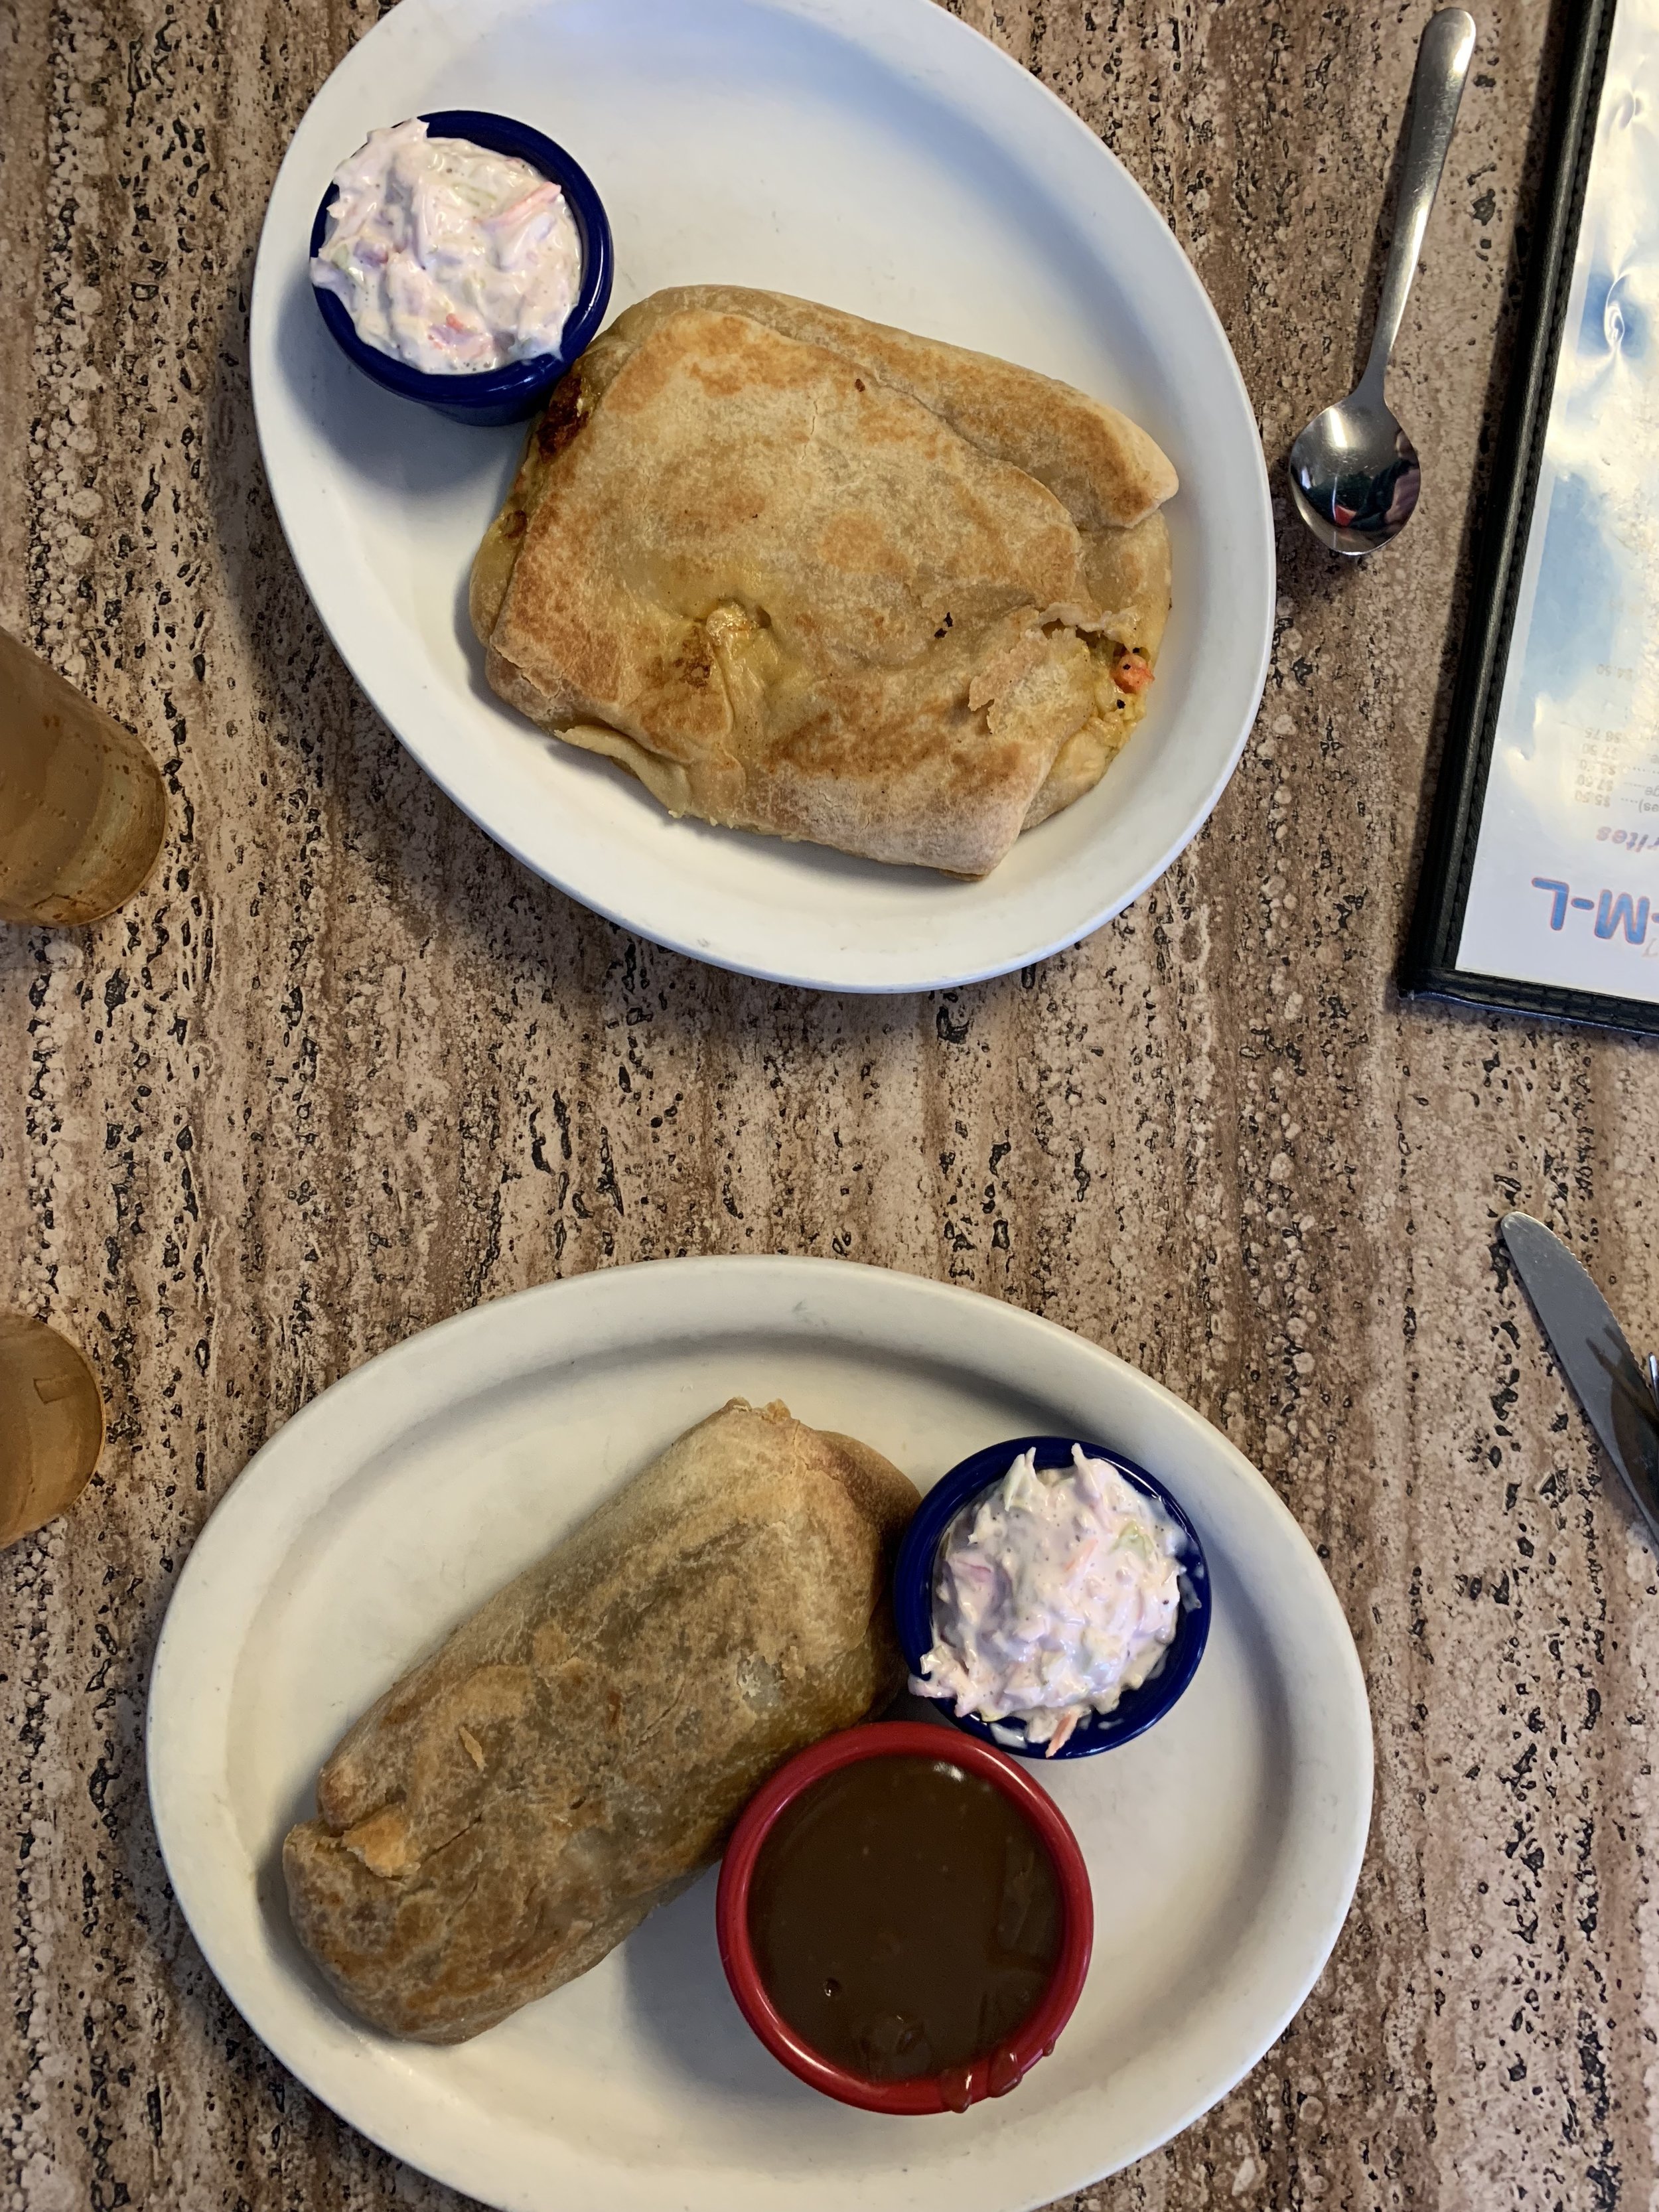
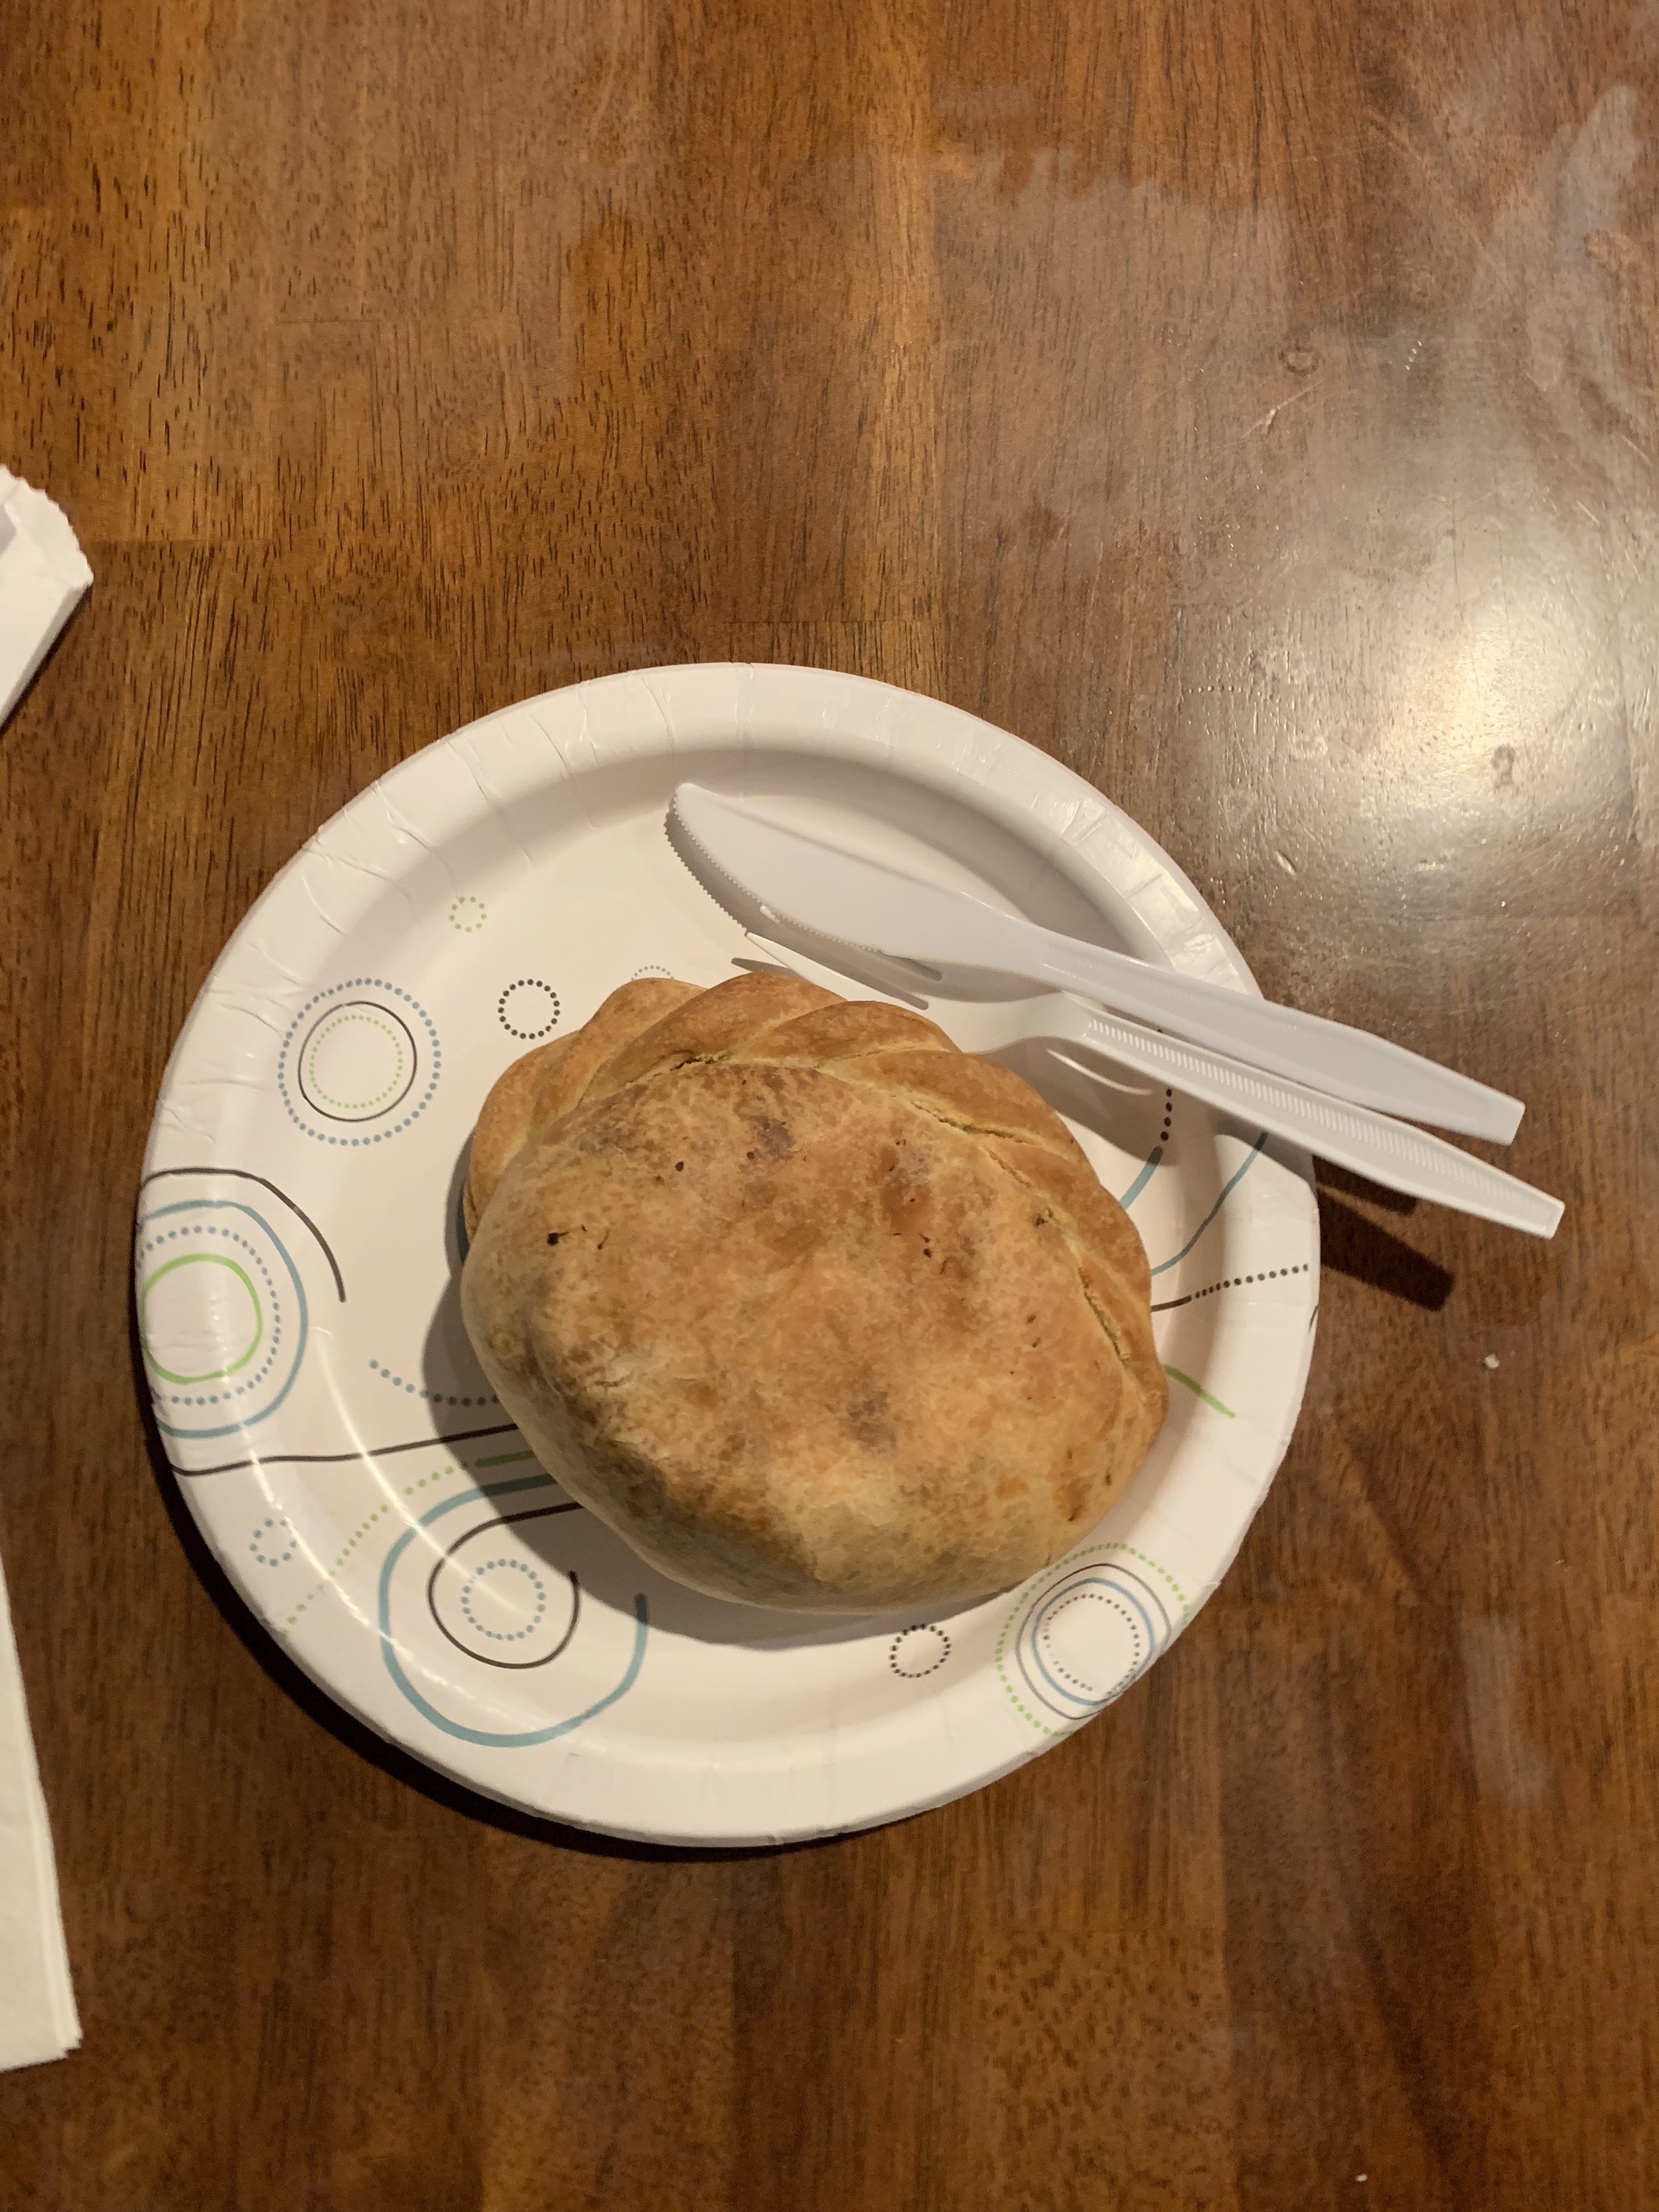
Bentley’s Cafe- Ok, I don’t know whose idea it was to take a pasty tour of the U.P. in the dead of winter (oops, it was my idea…) but basically the first four stops on our tour were closed for the season and Eggboy and I got soooo hangry, I don’t think we’d ever been that hangry before. Finally we found Bentley’s and they had pasties! OMG they were amazing. Their crust was extra buttery and flaky and the veggie one had lots of cheese in it. I would eat this pasty again and again.
Marquette, MI
Landmark Inn- Another beautiful historic hotel! (We hit the beautiful historic hotel jackpot on this trip.)
Lawry’s Pasties- Amazing pasties!! The crust was way sturdier than the one at Bentley’s but in a really satisfying way.
Jean Kay’s Pasties- More amazing pasties!! Between Lawry’s and Jean Kay’s, these had a higher ratio of vegetables to meat, but I couldn’t choose a fave, they were both delicious.
Pence, WI
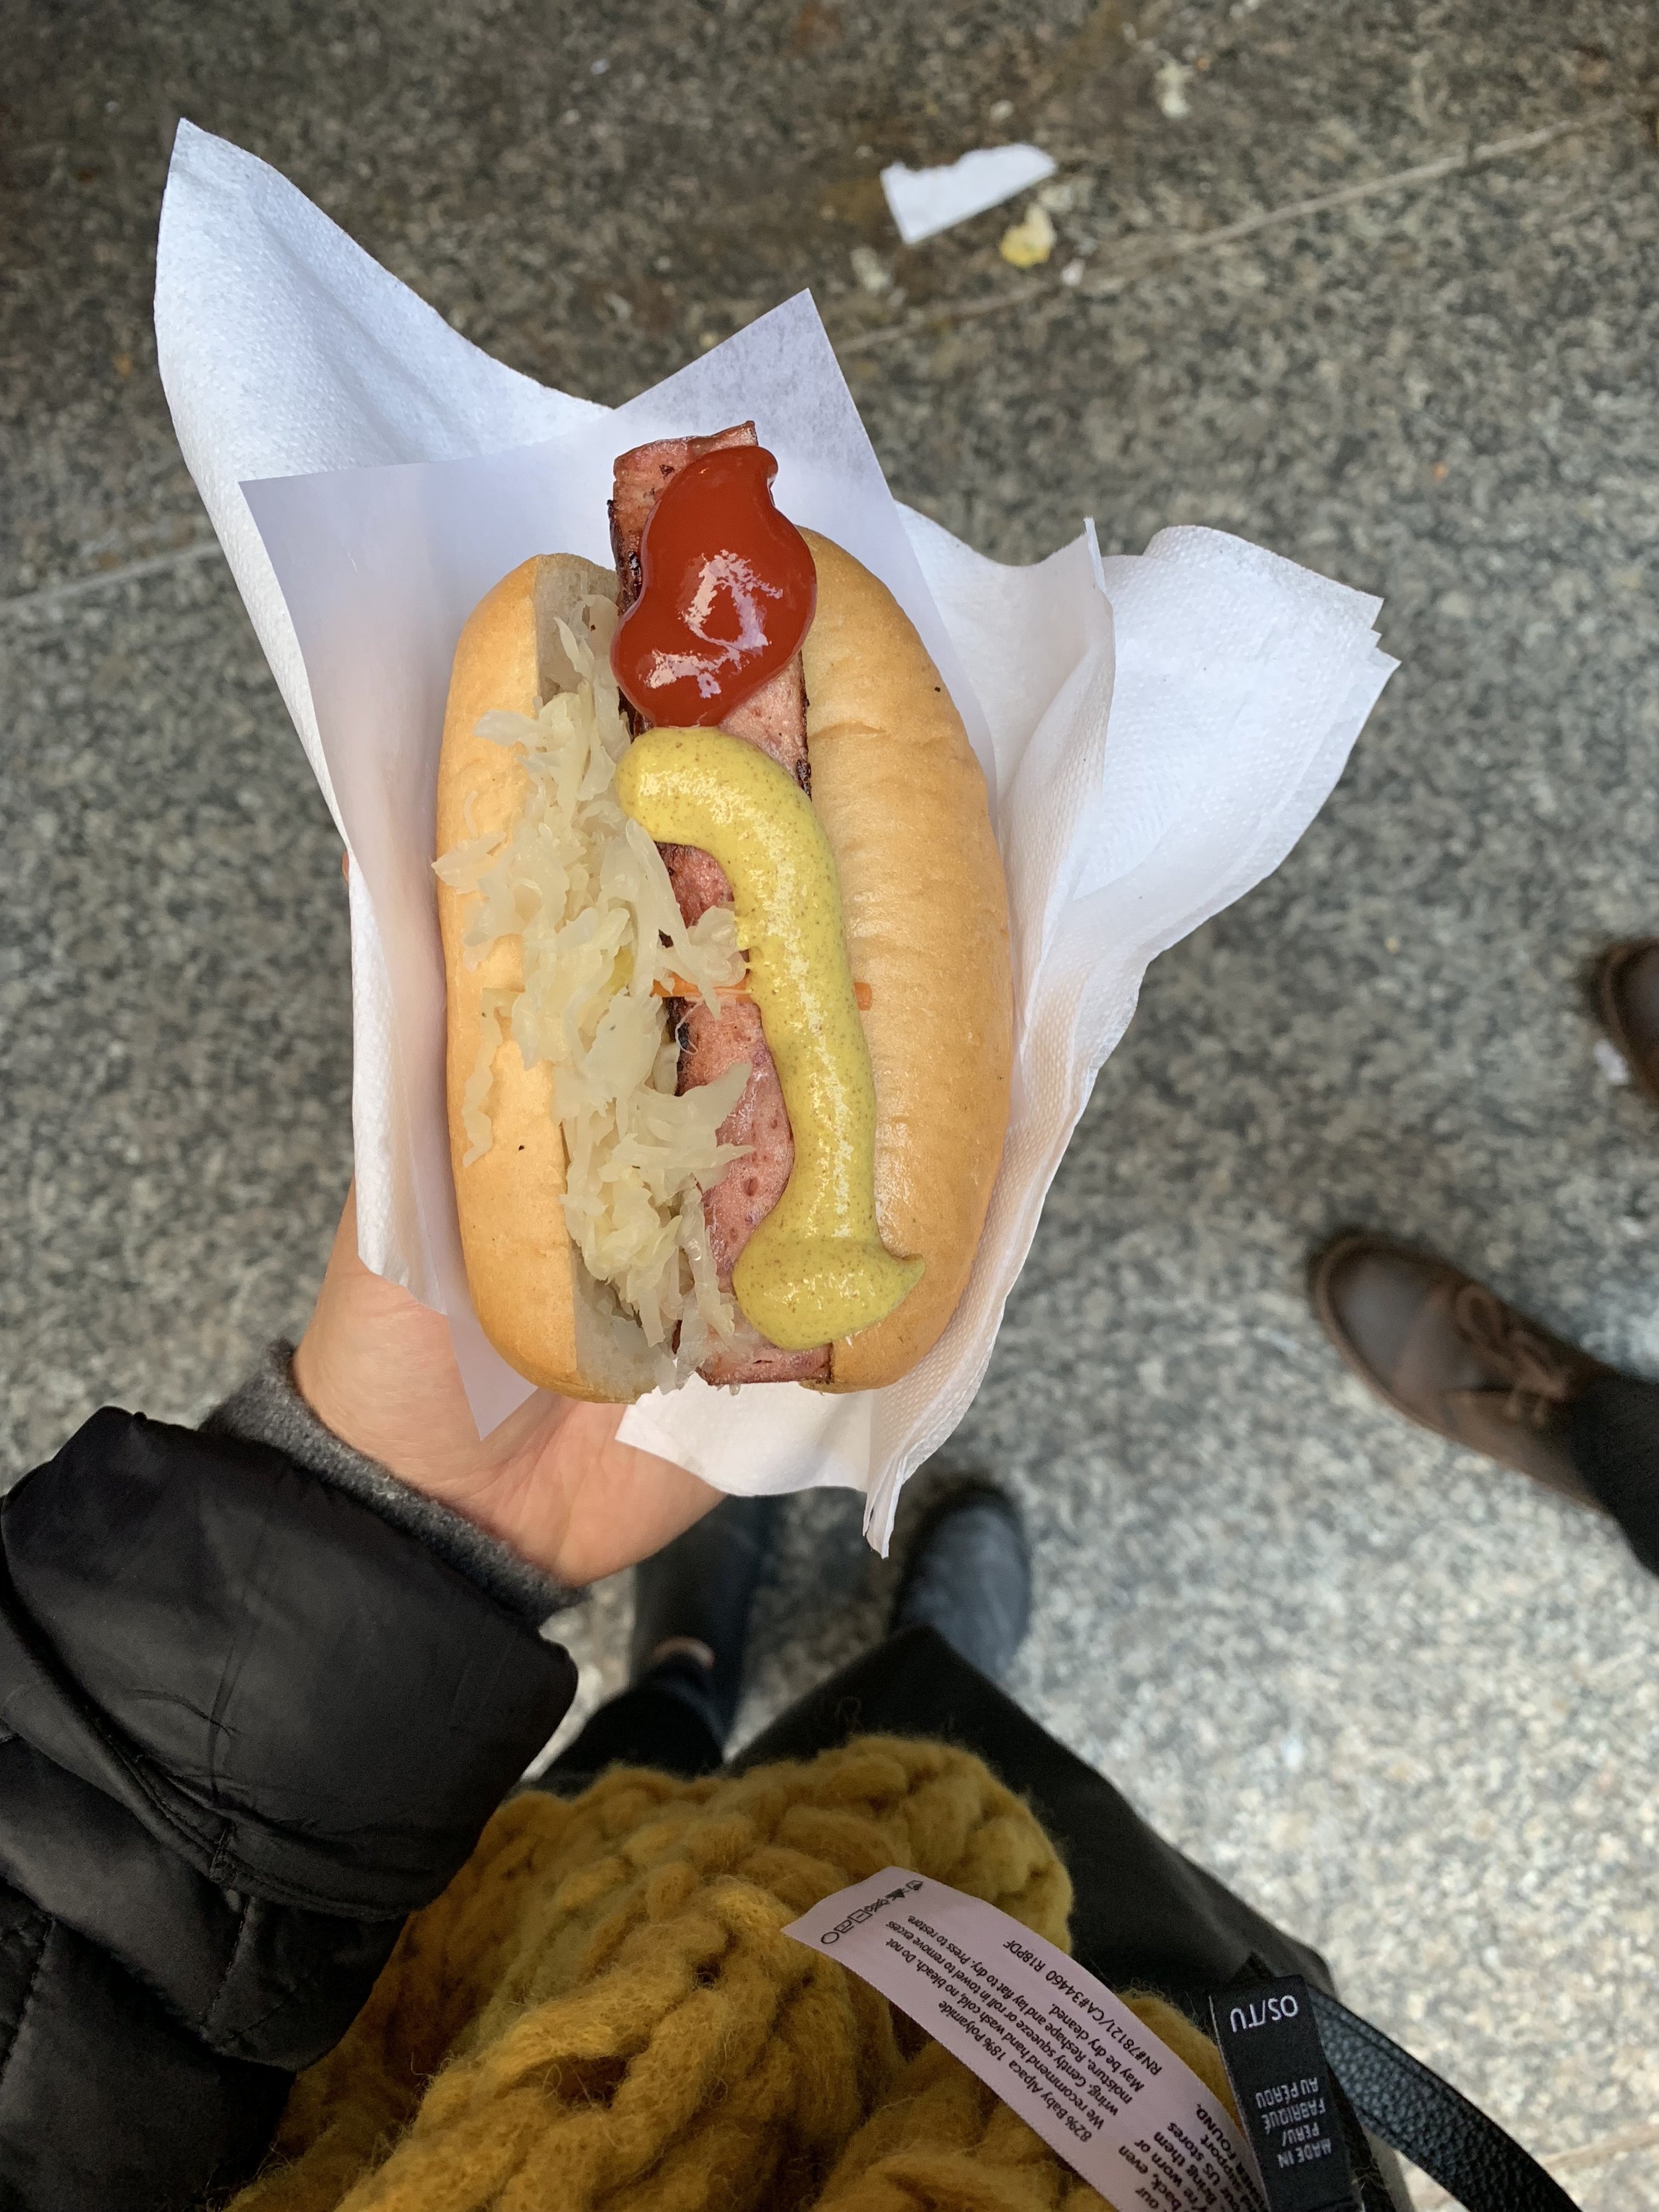
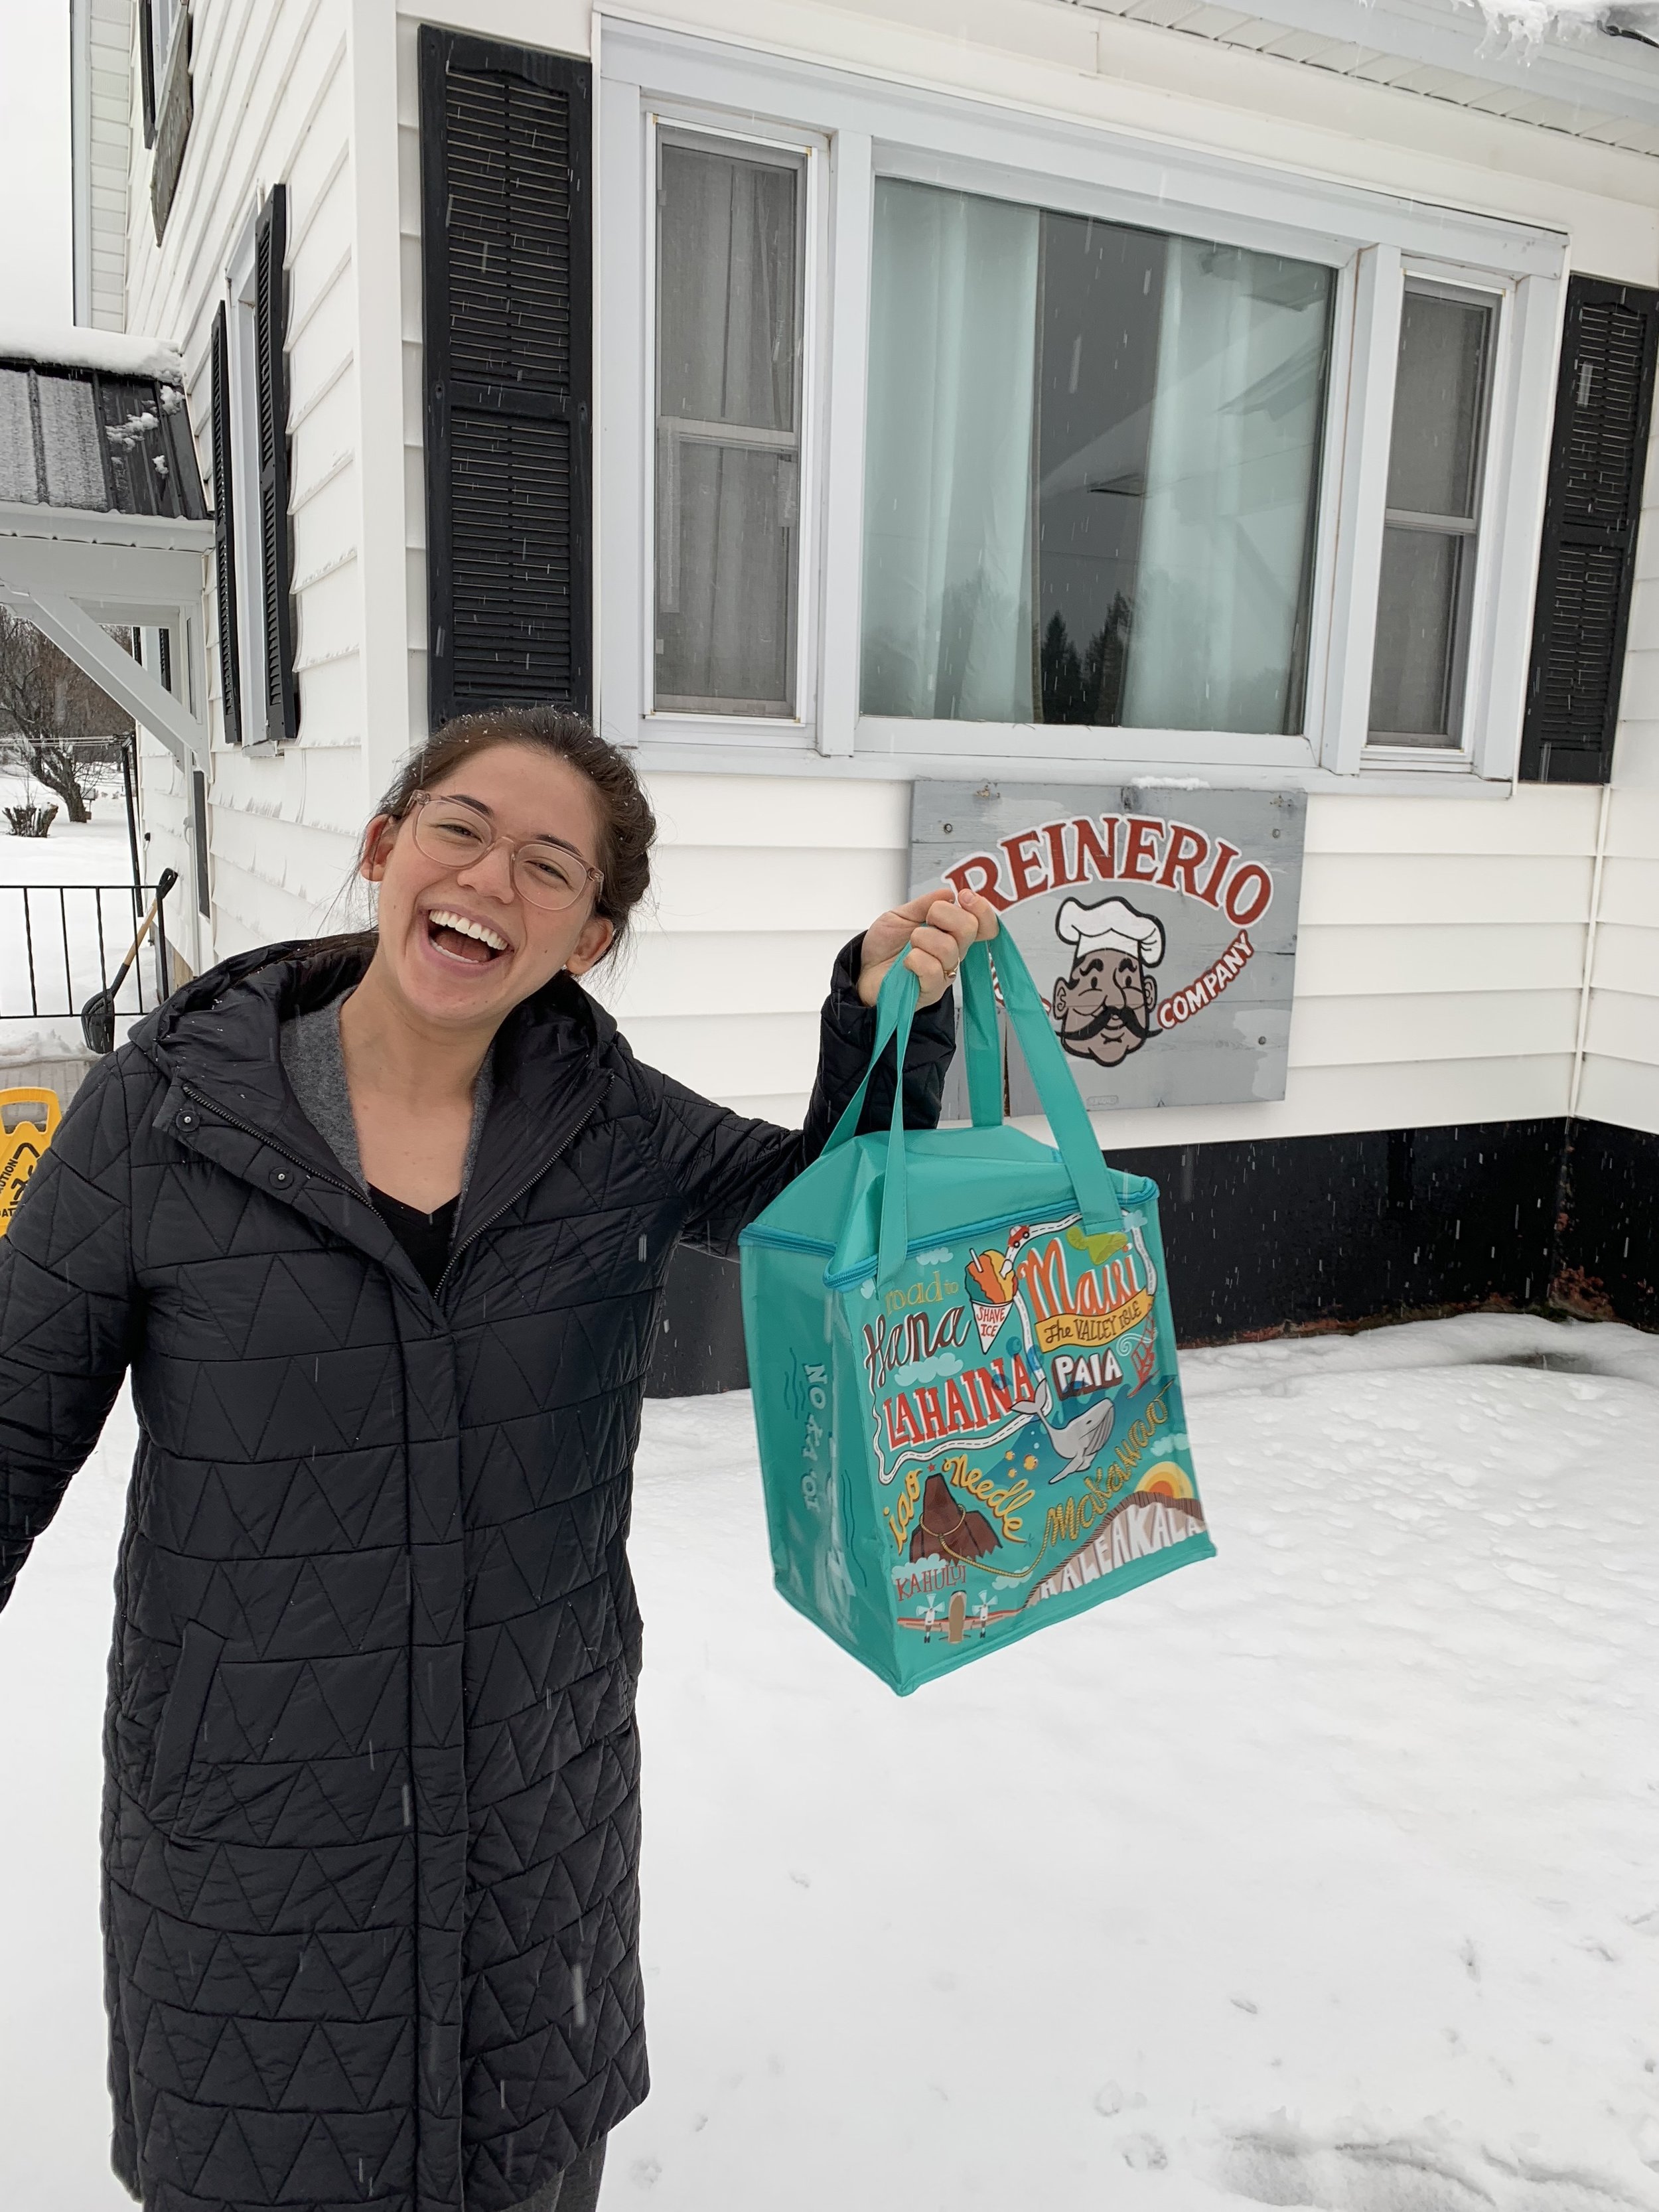
Reinerio’s Sausage- Secret basement sausage!!! This was recommended to me by my instagram friend Britt and it was just a little bit out of our way, in the itsy bitsy unincorporated town of Pence, WI. The owner makes sausage in his basement and it’s so good! We came home with a cooler full of fresh salami, breakfast sausages, other sausages, and a giant chunk of Asiago.
Duluth, MN
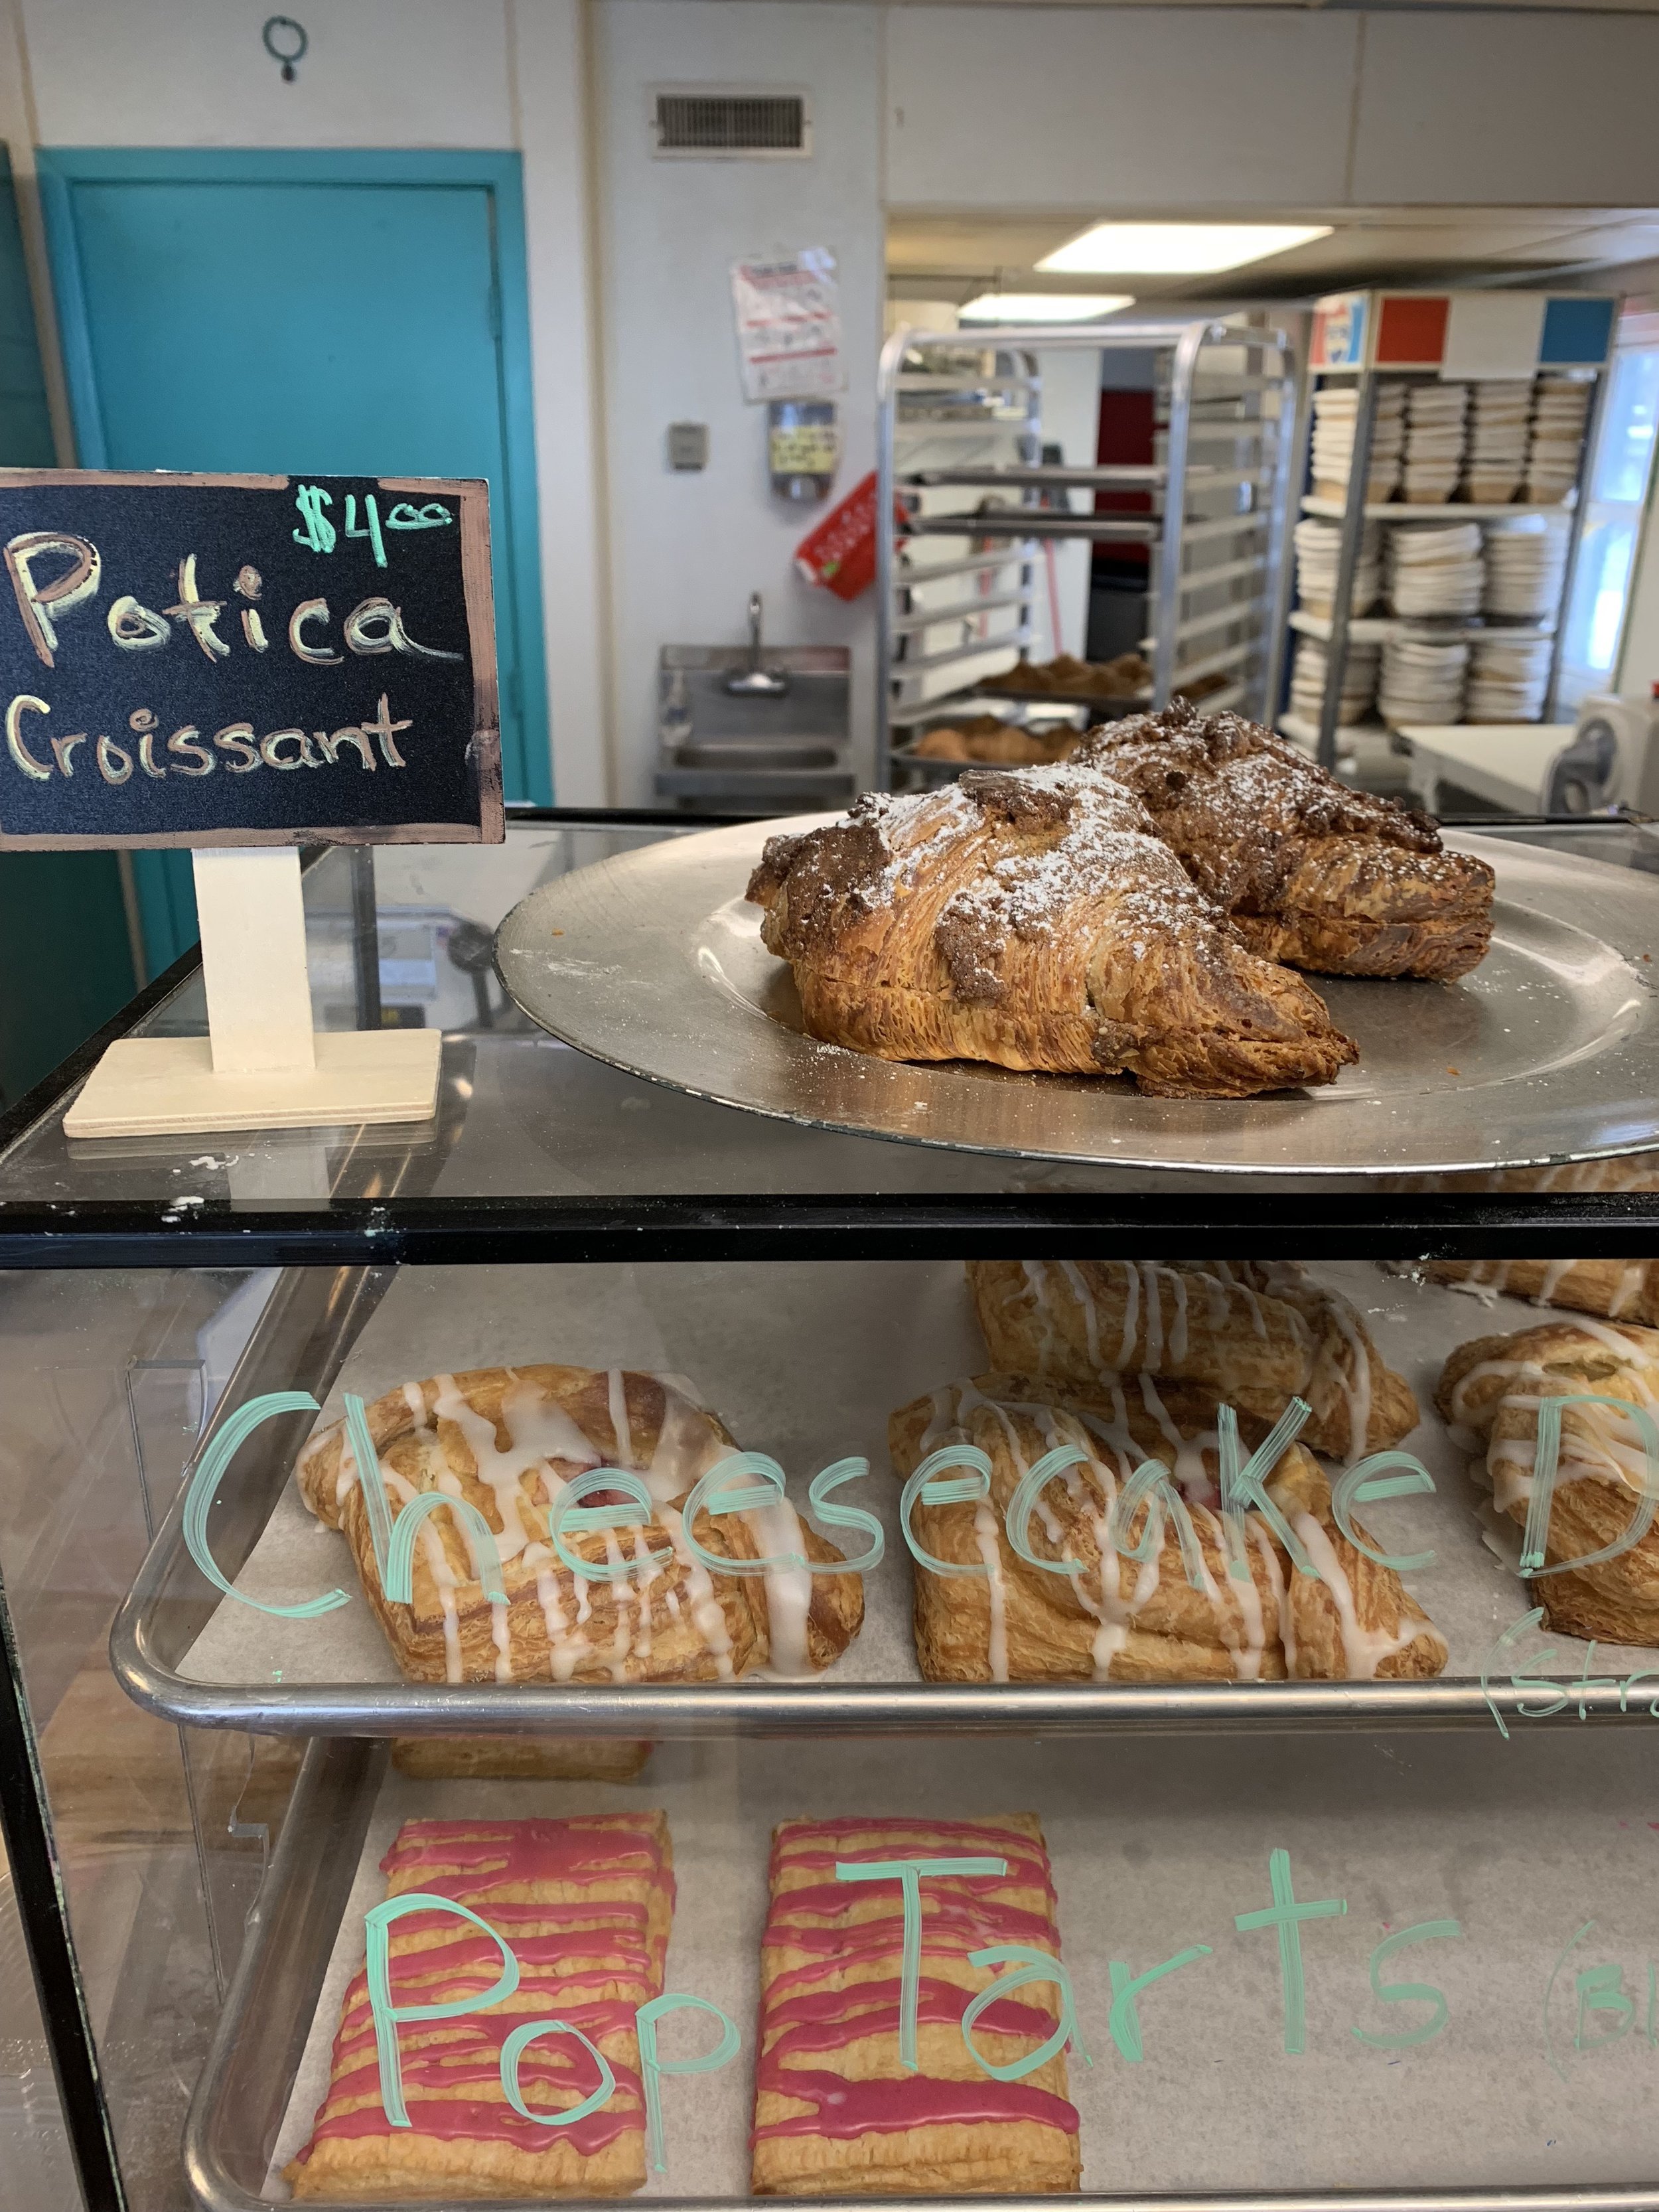
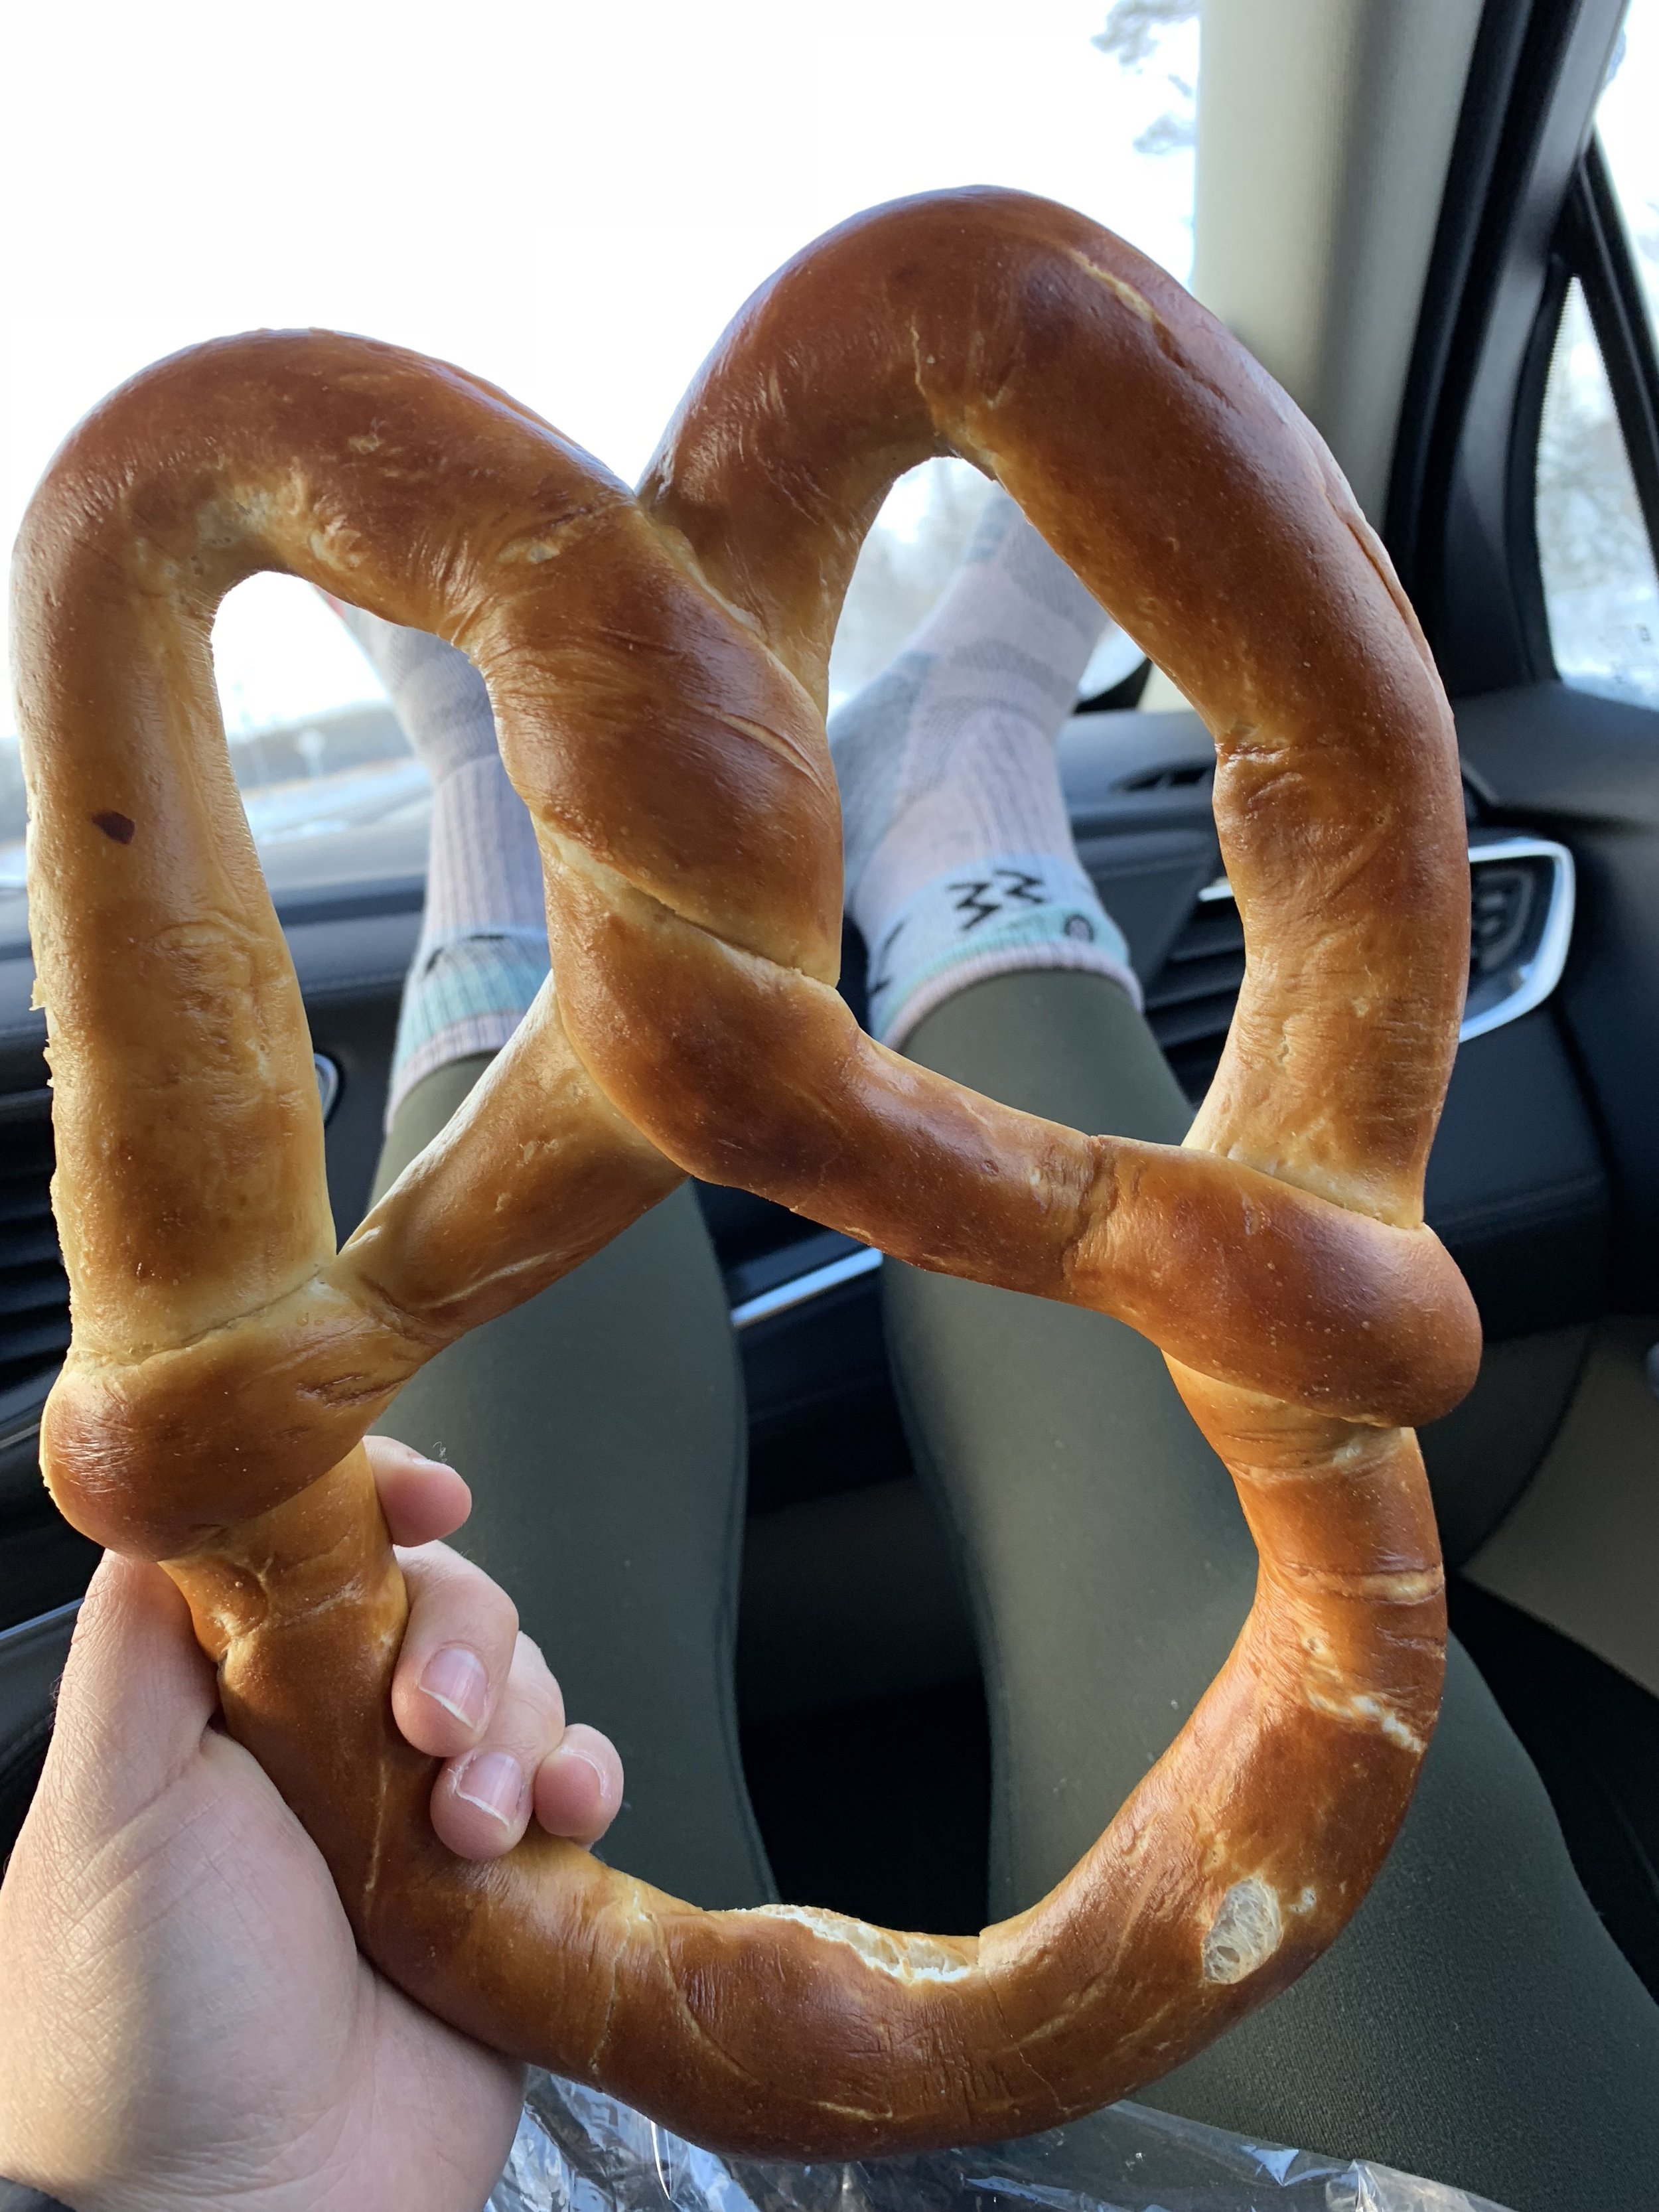
Duluth’s Best Bread- This is new since we were last in Duluth (on our mini moon four years ago!) and I’m so glad we went. We bought a giant soft pretzel for the road and crusty loaves of flax seed bread and wild rice bread to take home that I have been toasting up in the morning to have with the Asiago from the secret sausage man.
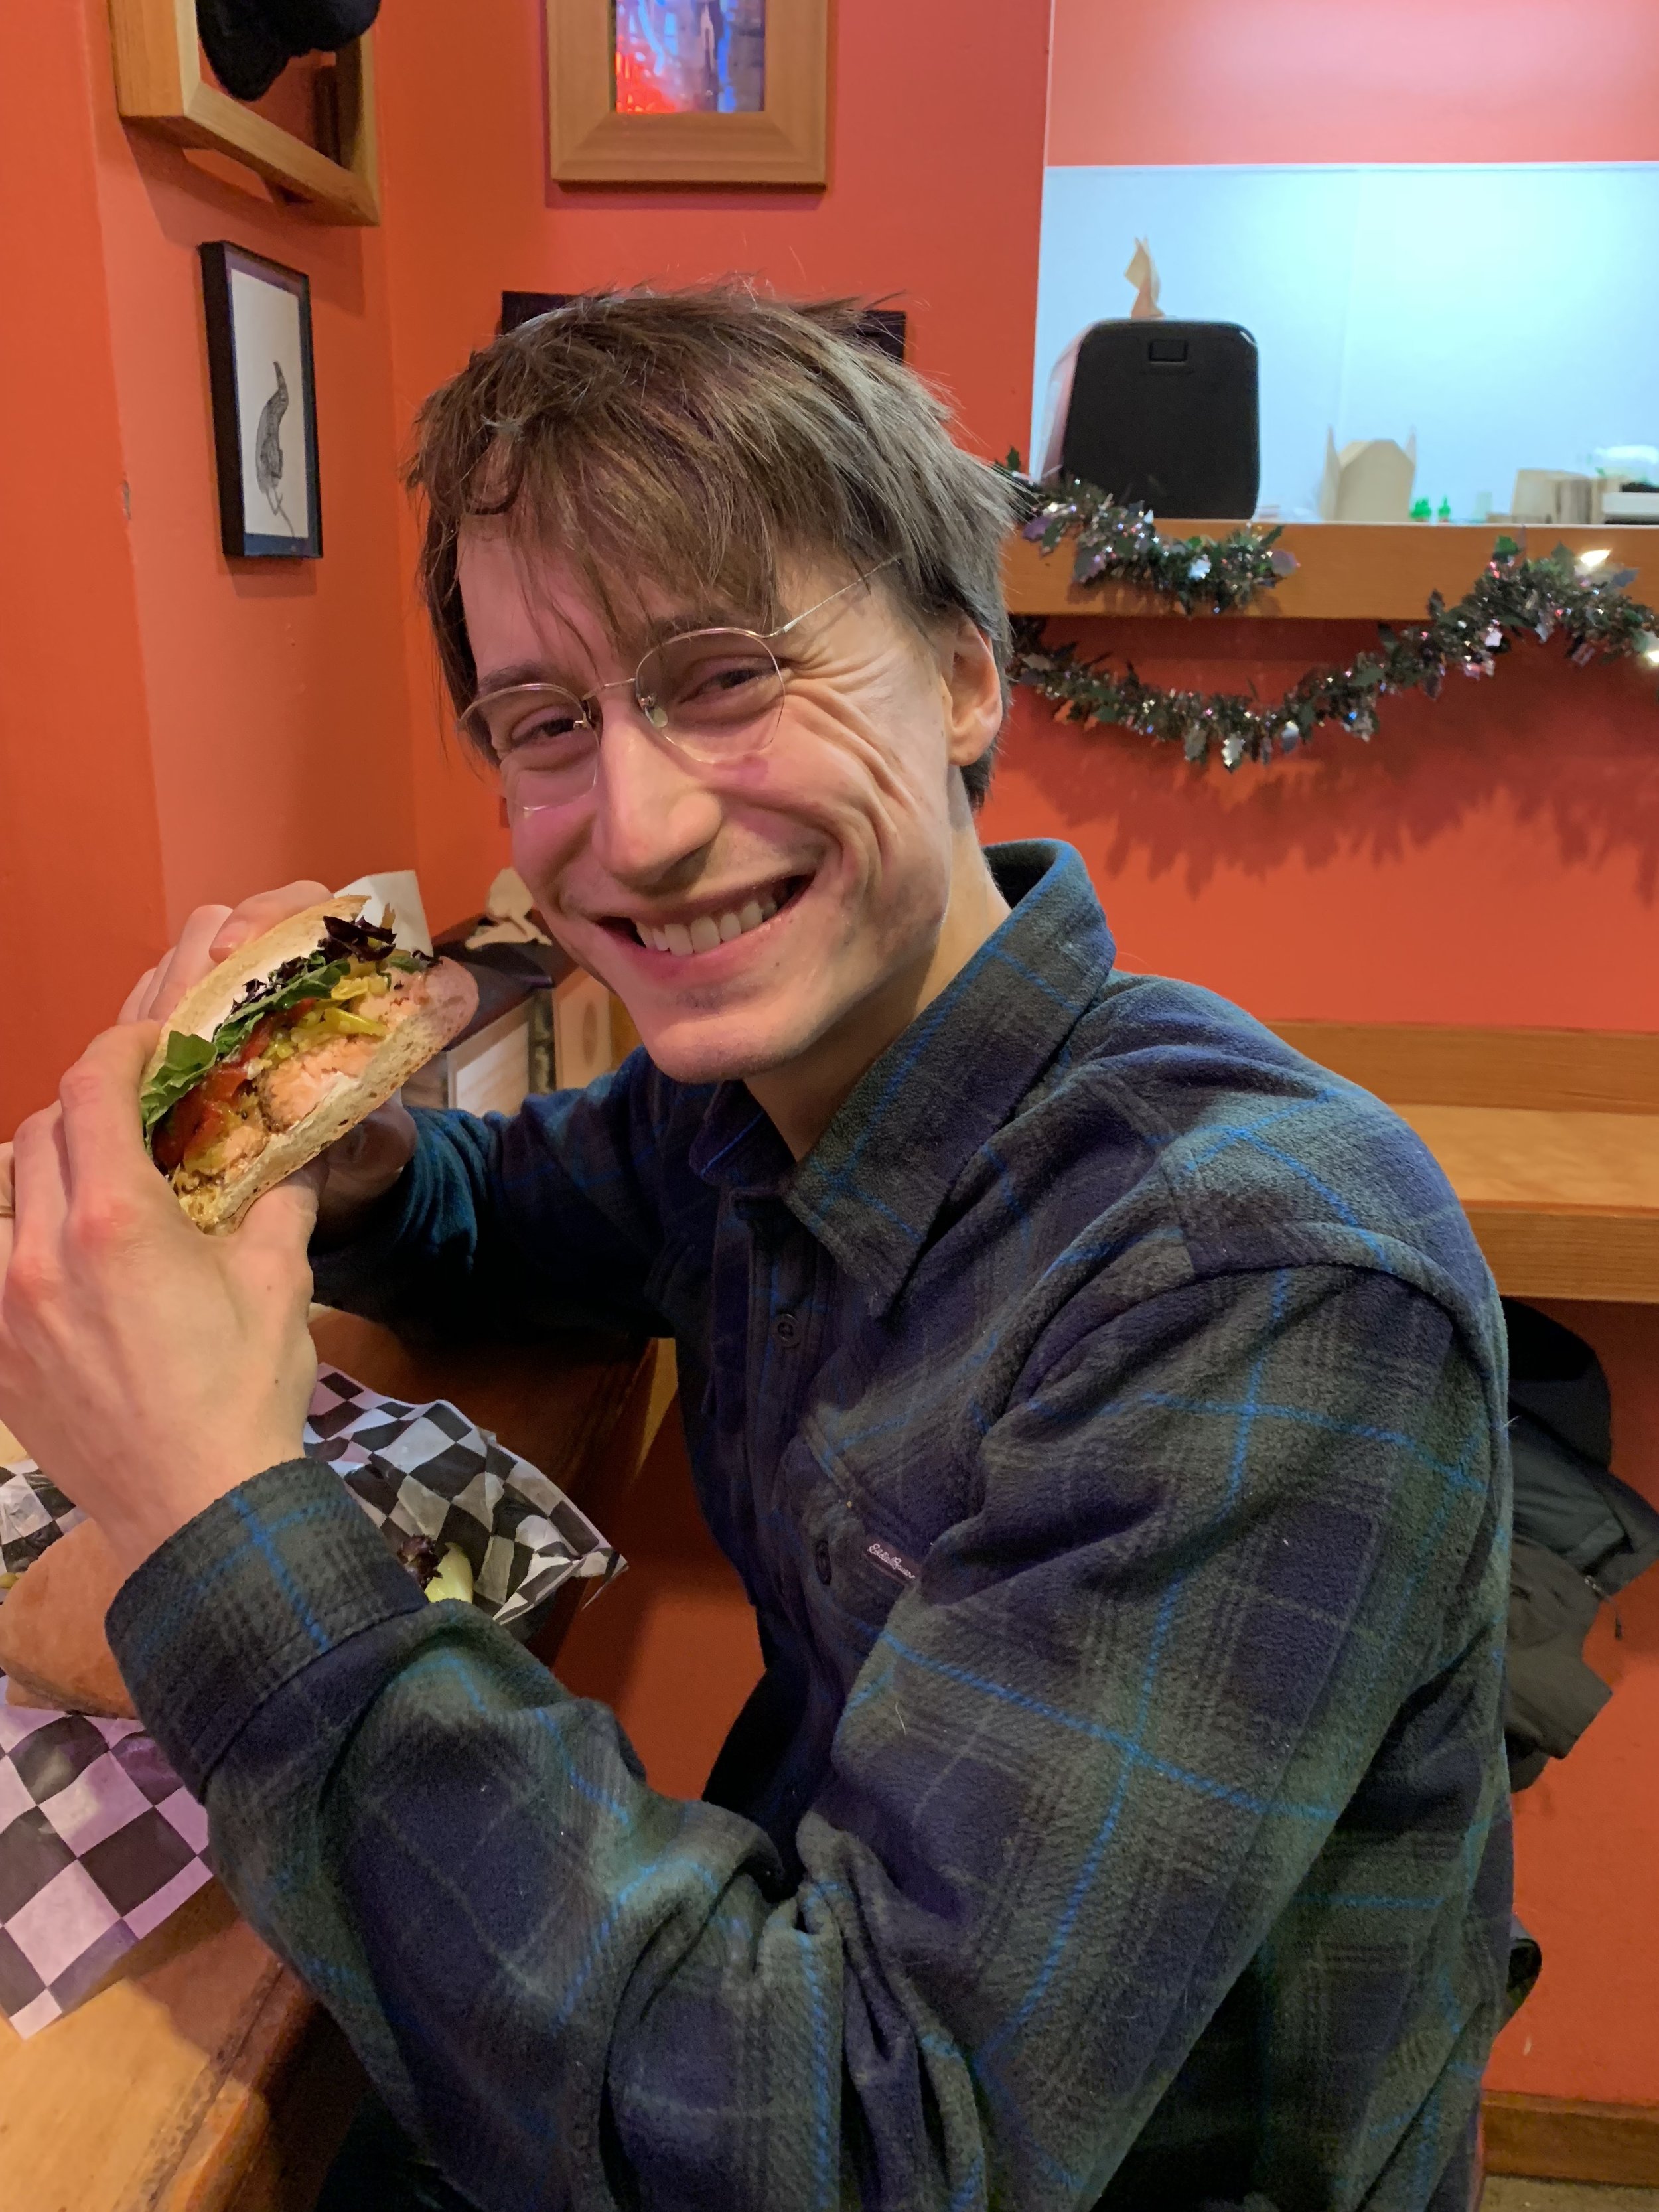
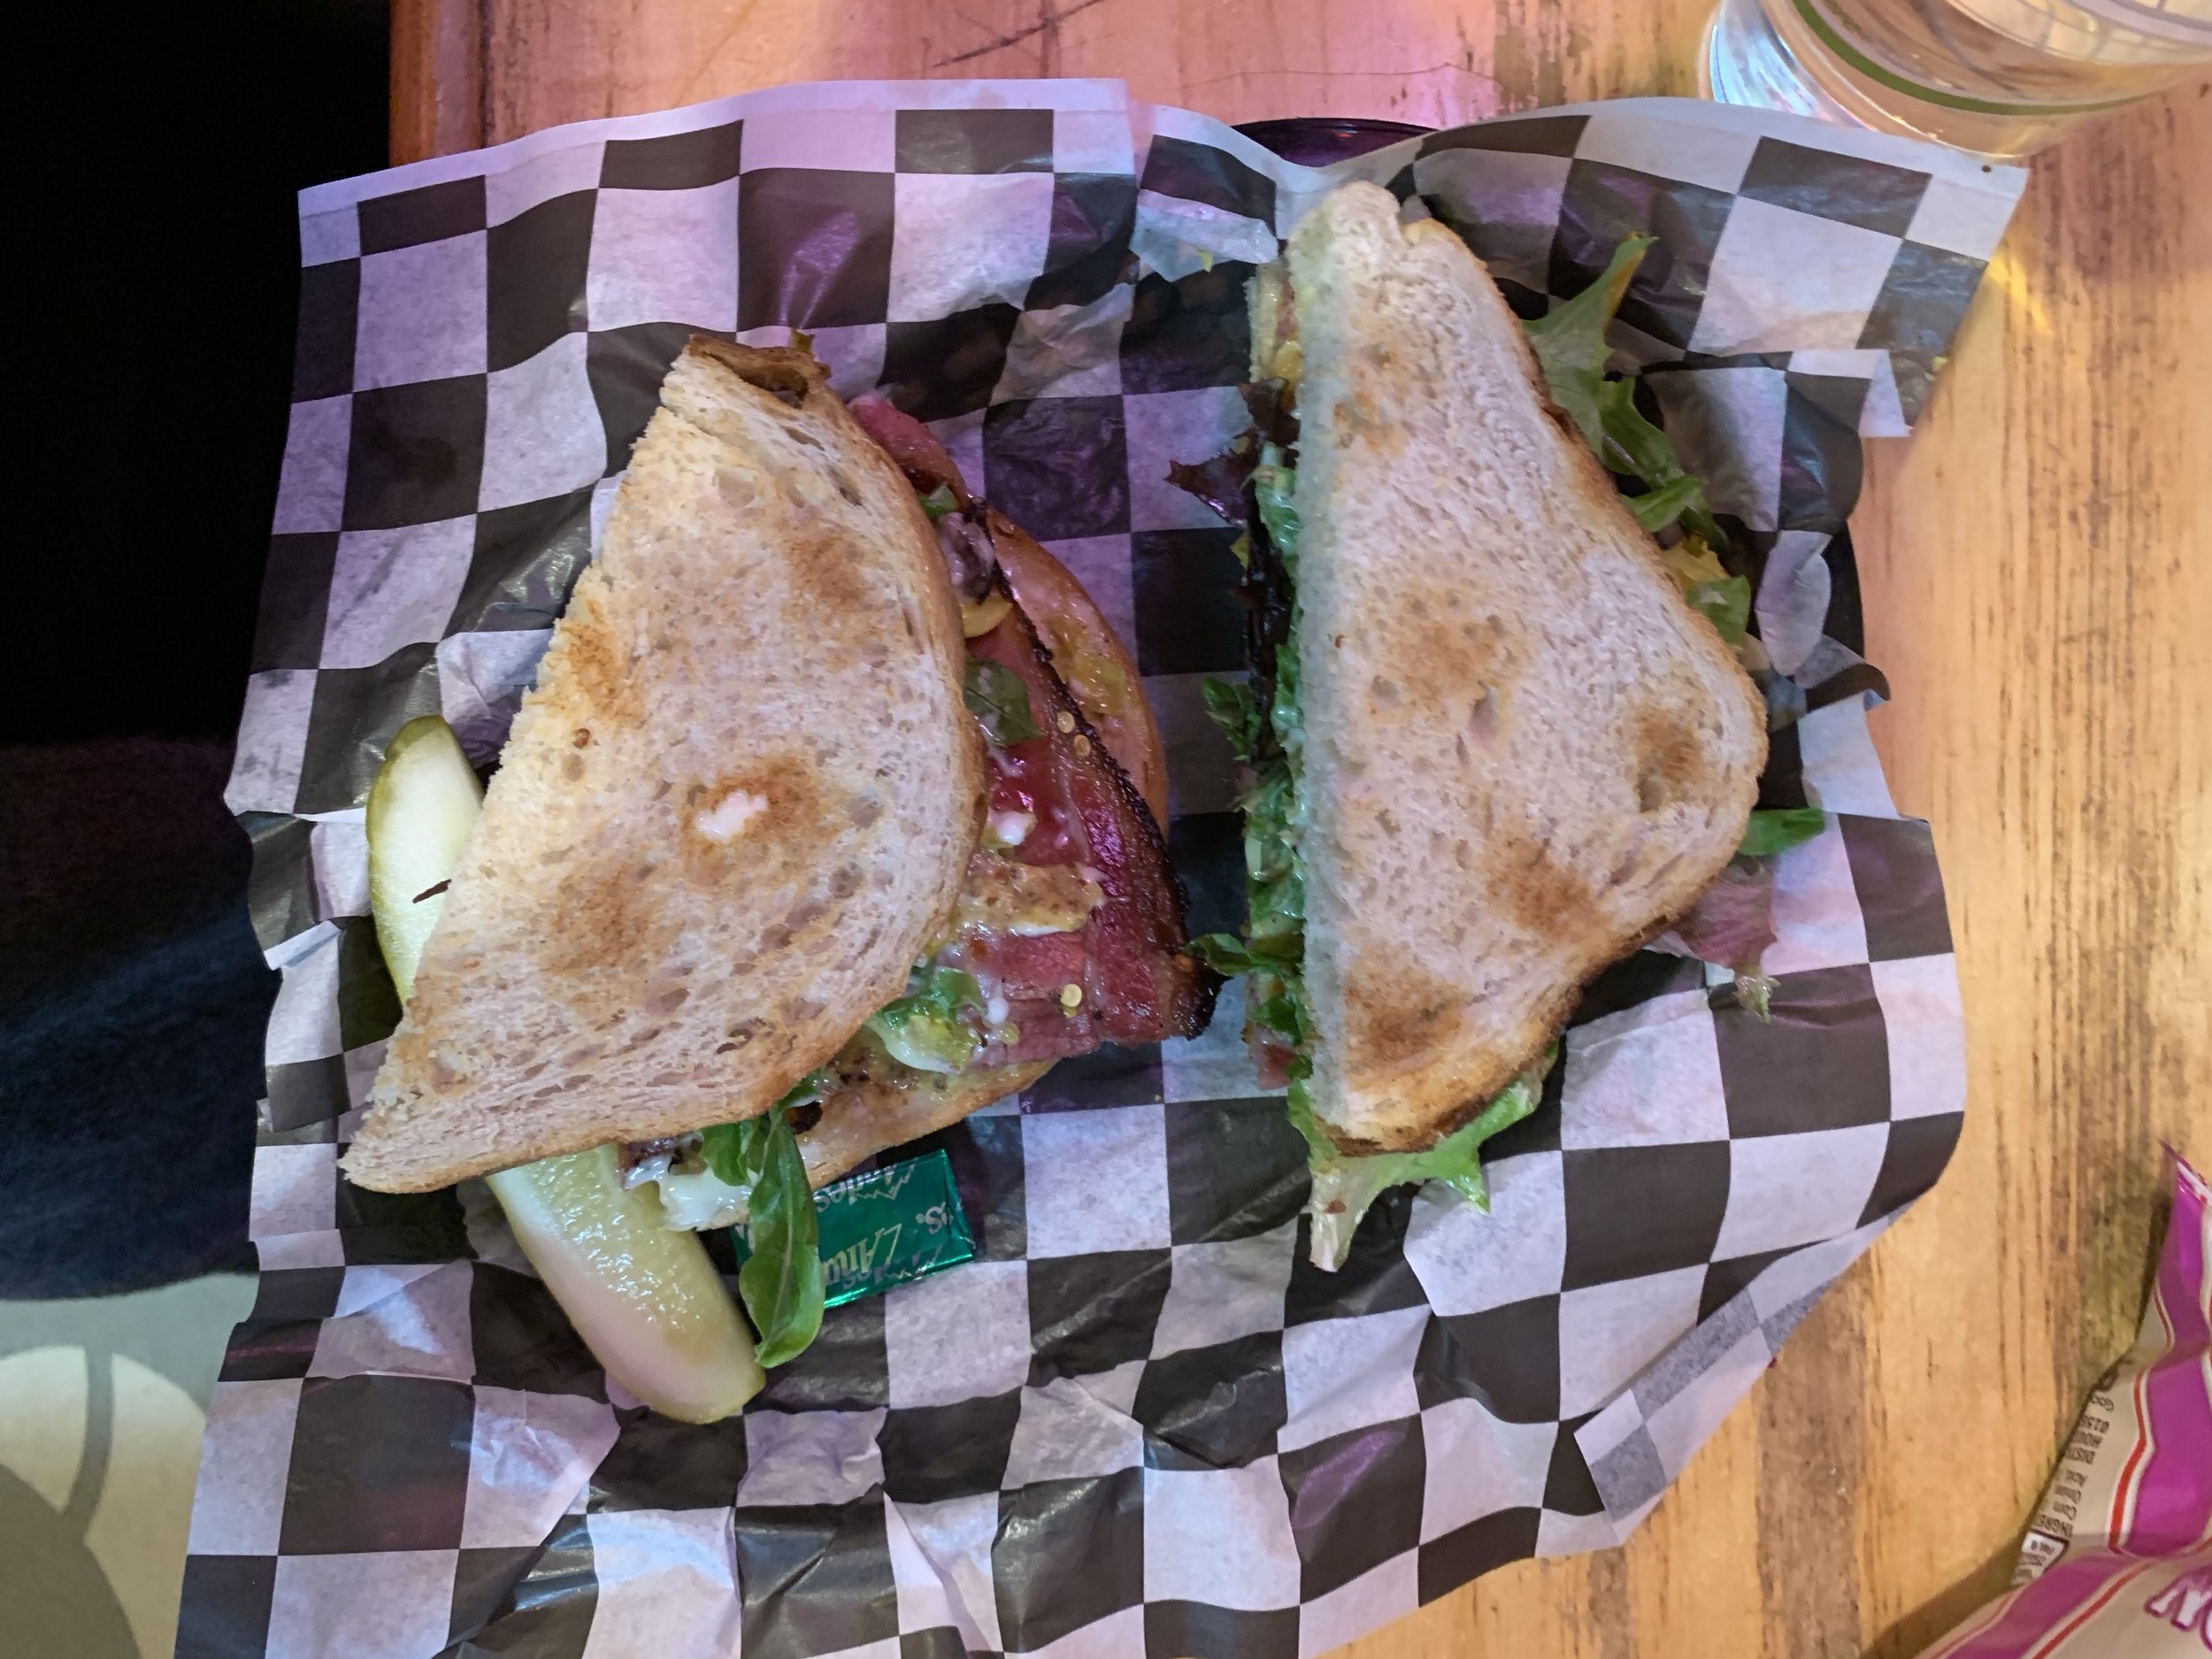
Northern Waters Smokehouse- We ate here on our anniversary and it was the tastiest most casual anniversary there ever was. I ate a pastrami sandwich that had the perfect amount of mayo (aka a gigantic load of mayo).
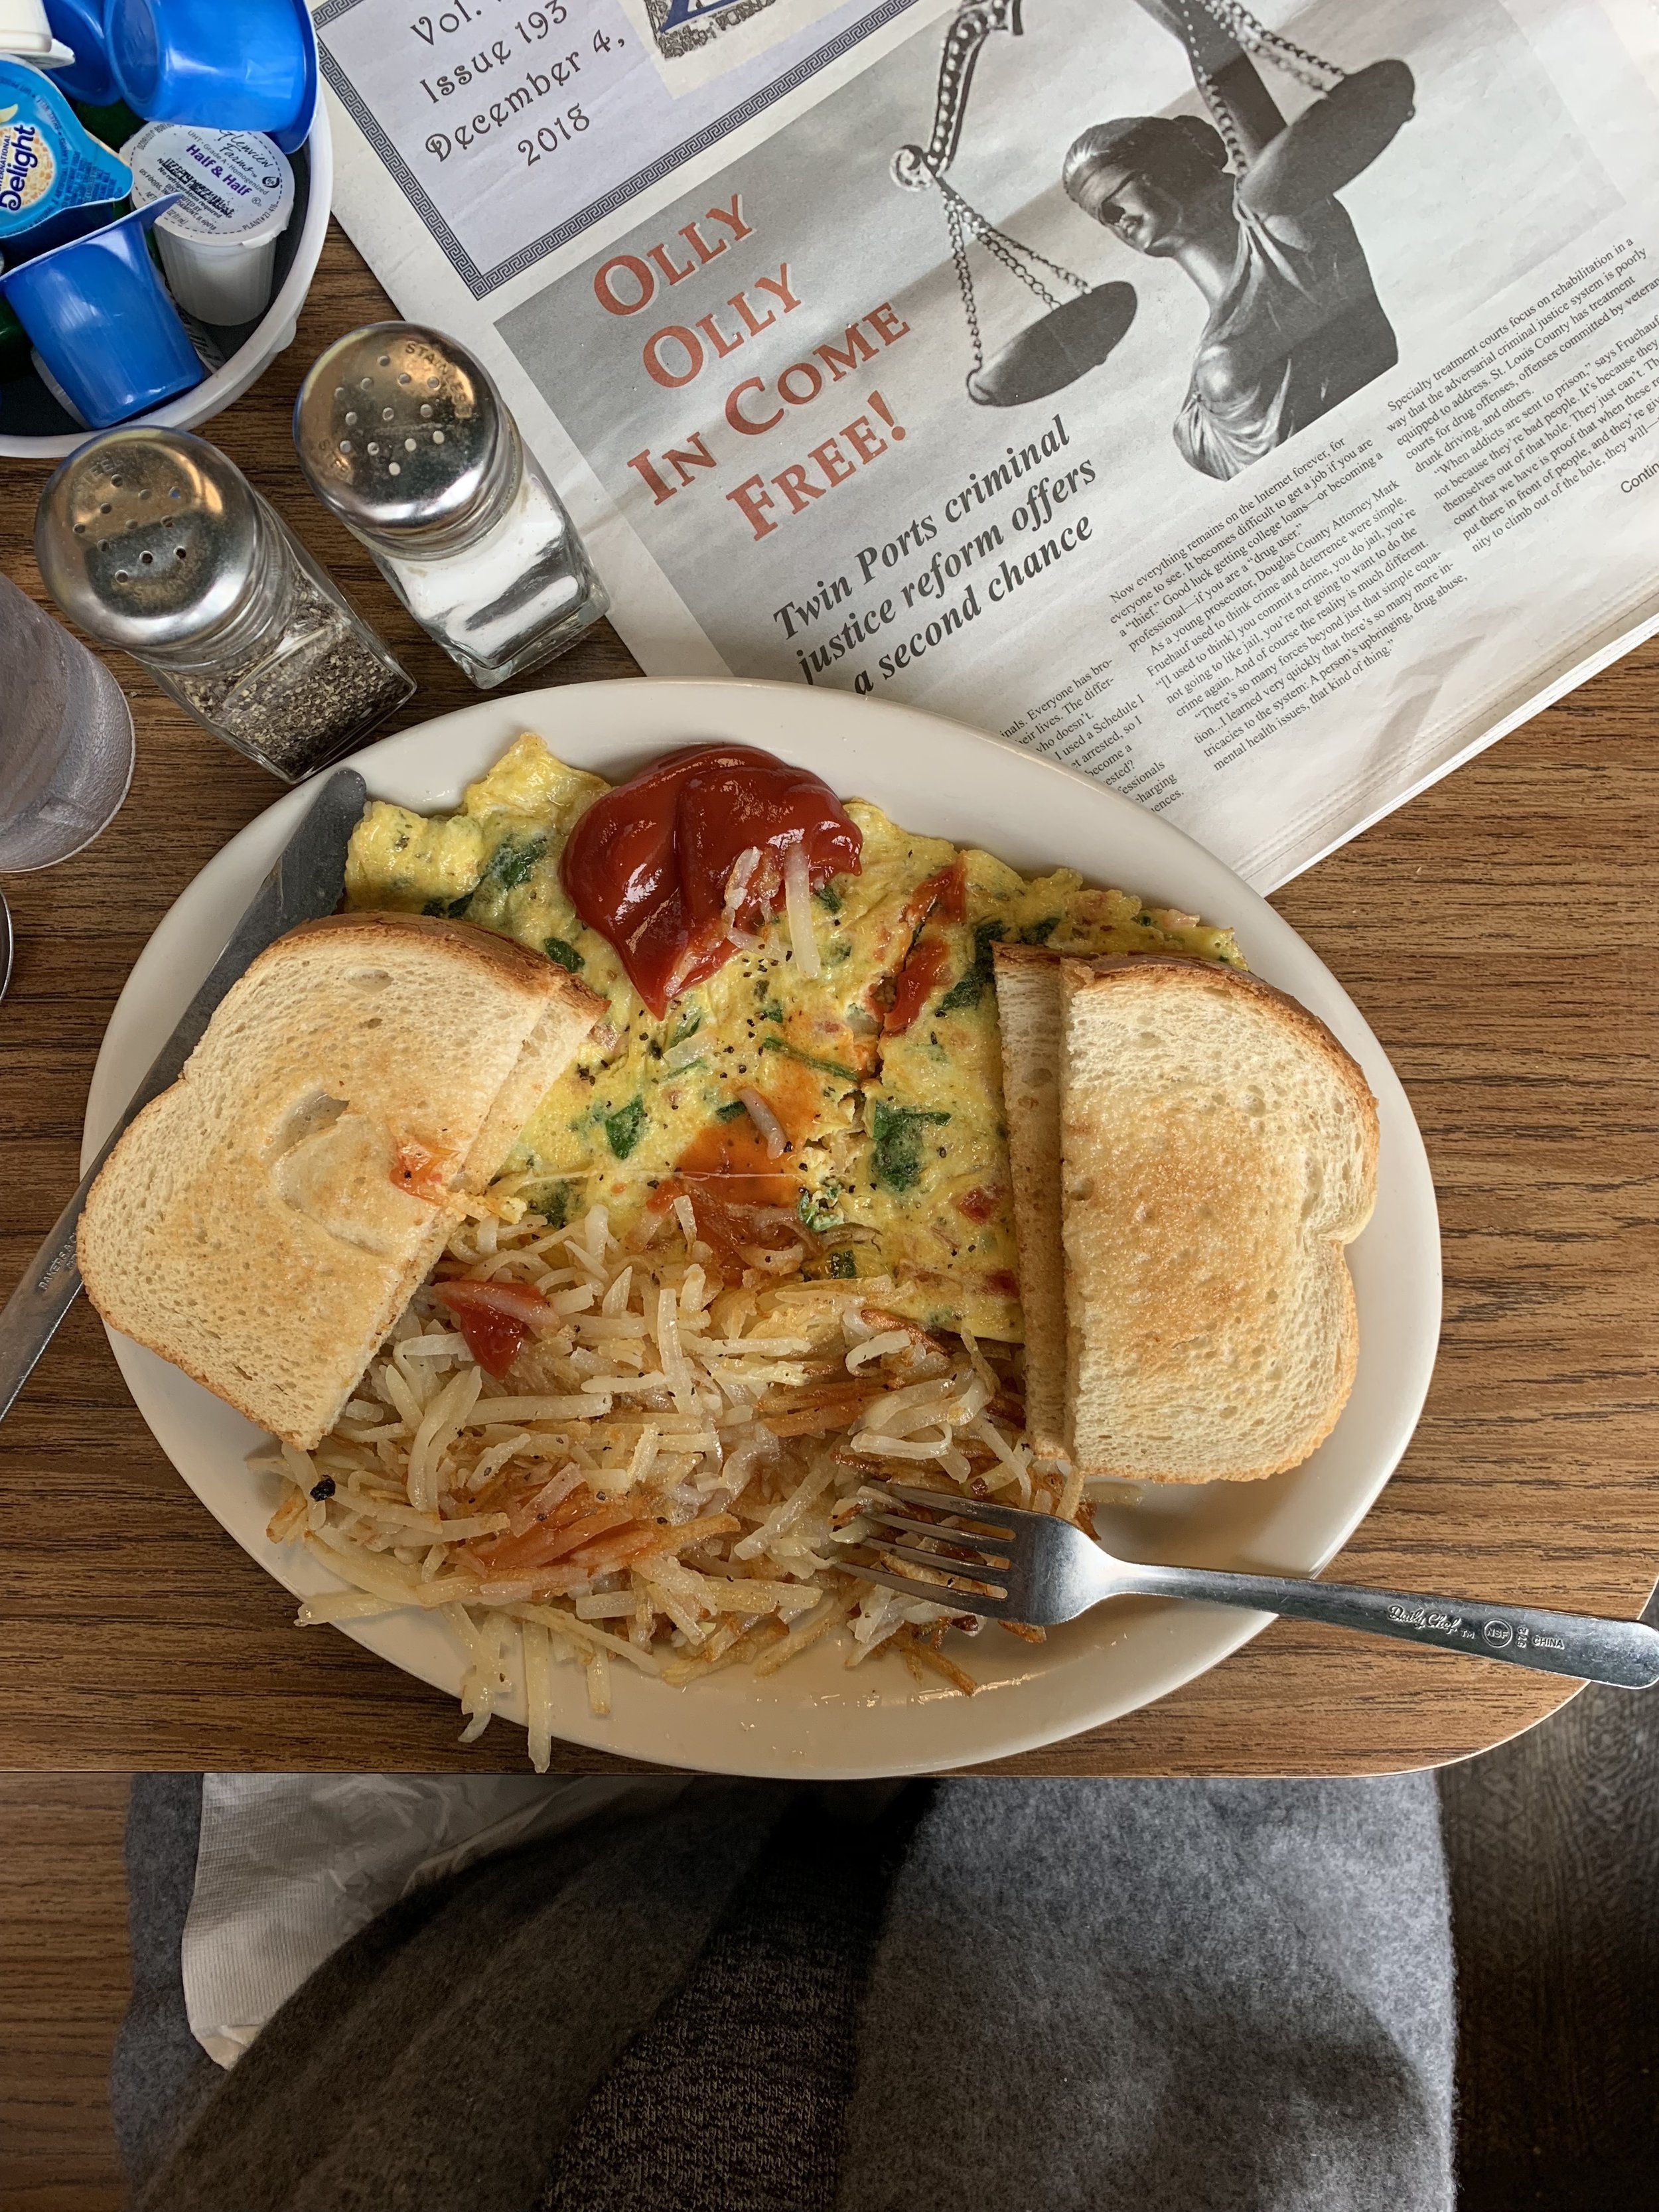
Uncle Loui’s Cafe- A perfect diner. In my storyboard for the Duluth curling team Olympic gold medal movie, at least two important scenes take place here.
Bemidji, MN
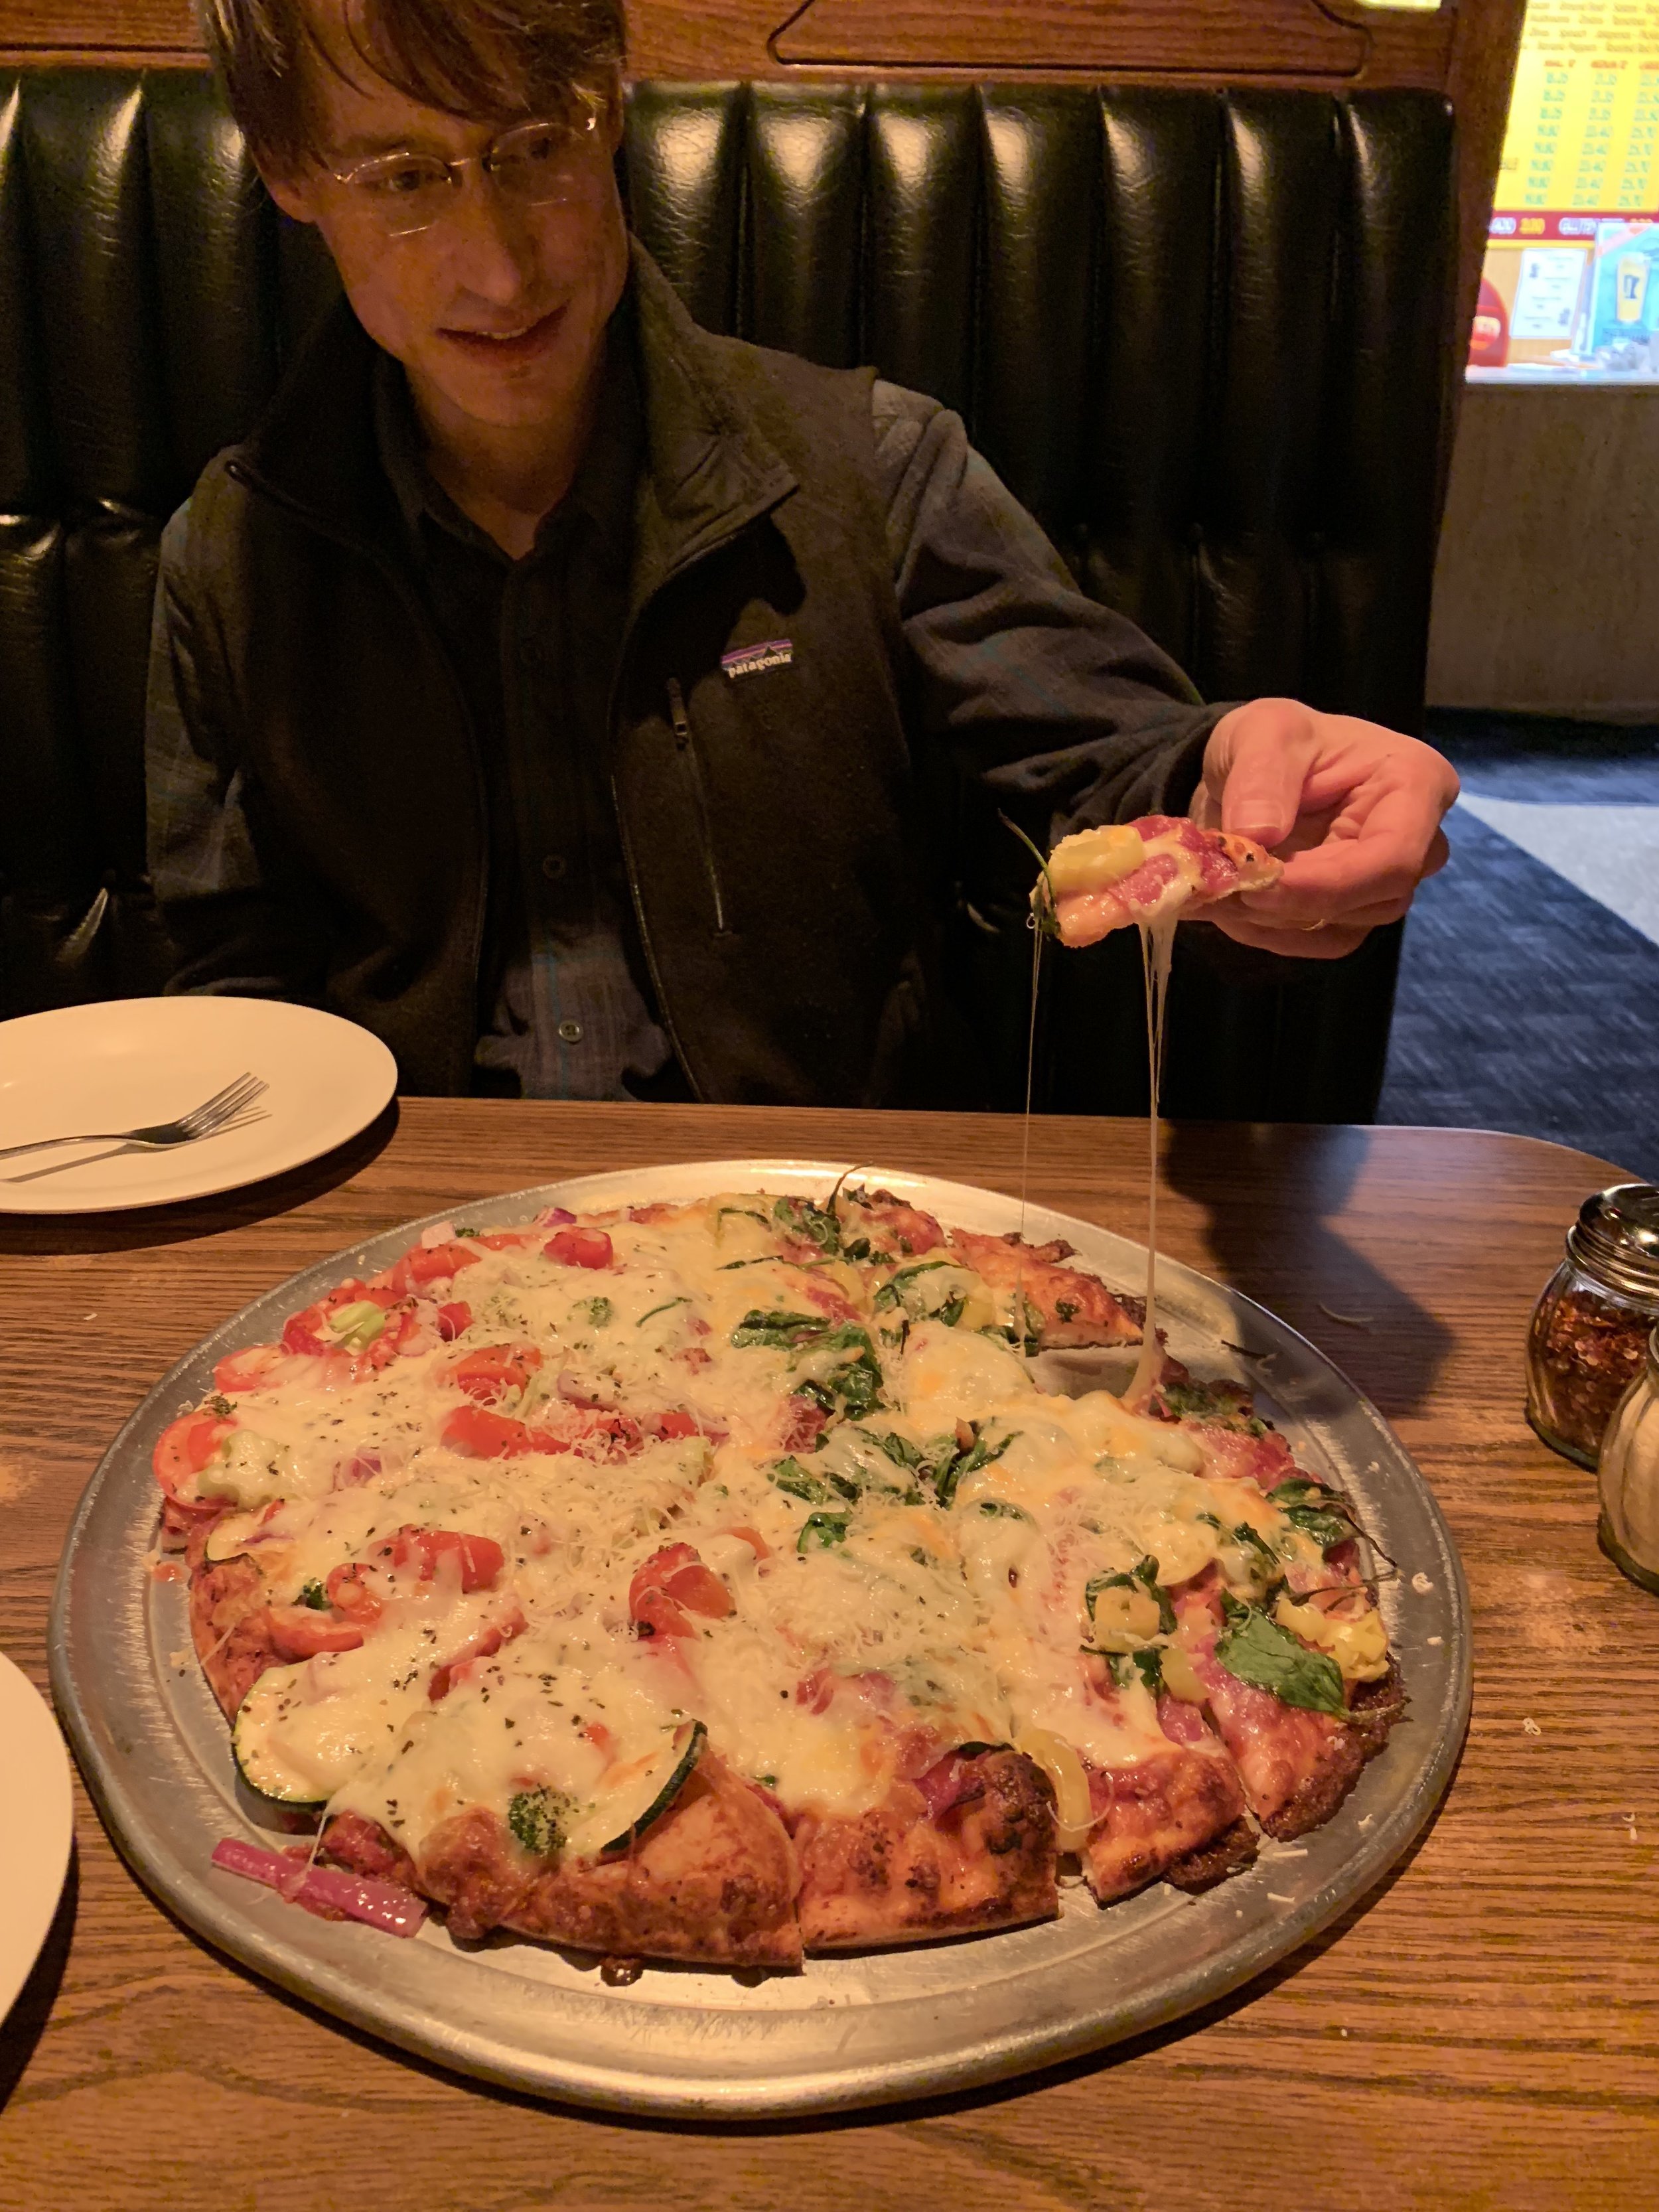
Dave’s Pizza- We finally went here after hearing about it for years! I’d been craving classic Midwest square cut cracker crust pizza (I know, I know, shame on me for talking smack on square cut pizza, I knowww, I’m terrible) and it was perfect. Finished it off with a spumoni.
Chicago, IL
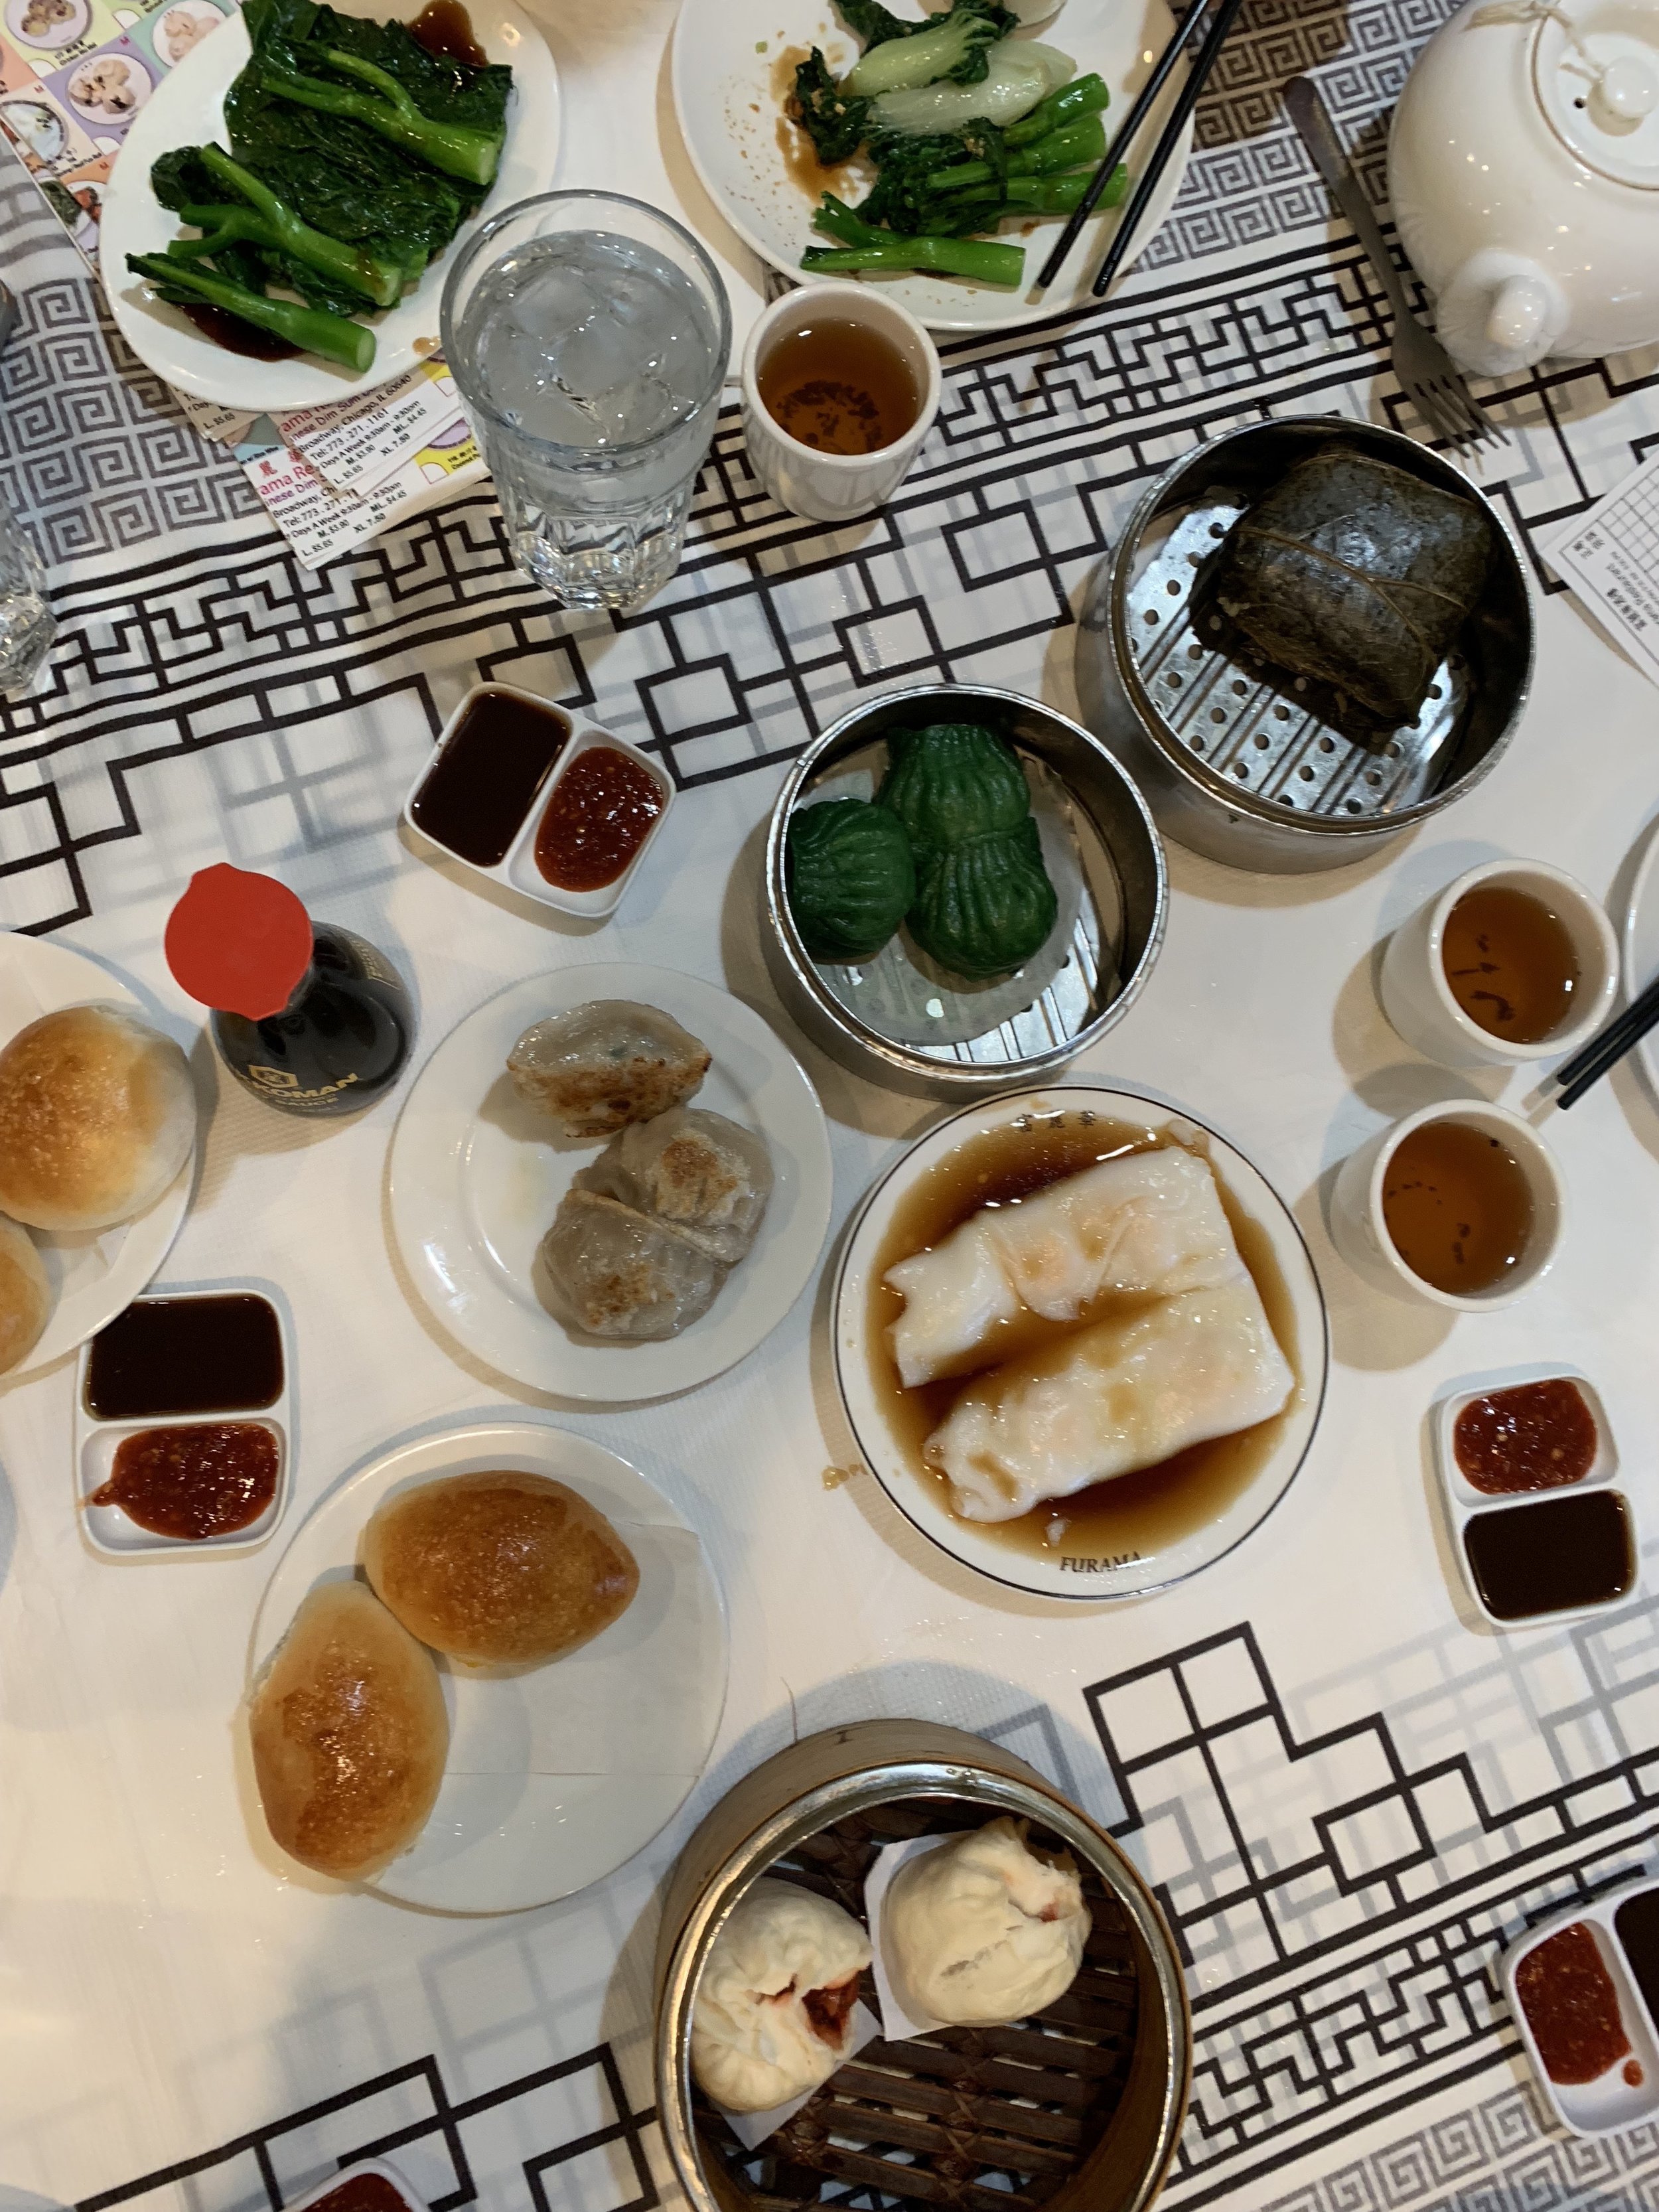
We spent time at some of our old trusty favorites: Russian Tea Time, Christkindlmarket, and Furama!
Things I learned on this trip:
-Using a real paper map is wayyyy more fun than a cell phone map.
-Sometimes places that are the cutest and have the most personality and history (and that I end up loving the most) have lower star ratings on the internet than newer hipper places. So I’m learning not to put so much weight on star ratings on Yelp and stuff.
-I will never take another road trip without my Birdling Weekender. It’s set up like a clothing bento box, with different compartments that you can access quickly and easily. We stayed in a different place each night on our trip and I was not *once* stressed out about packing/unpacking/locating my underpants.
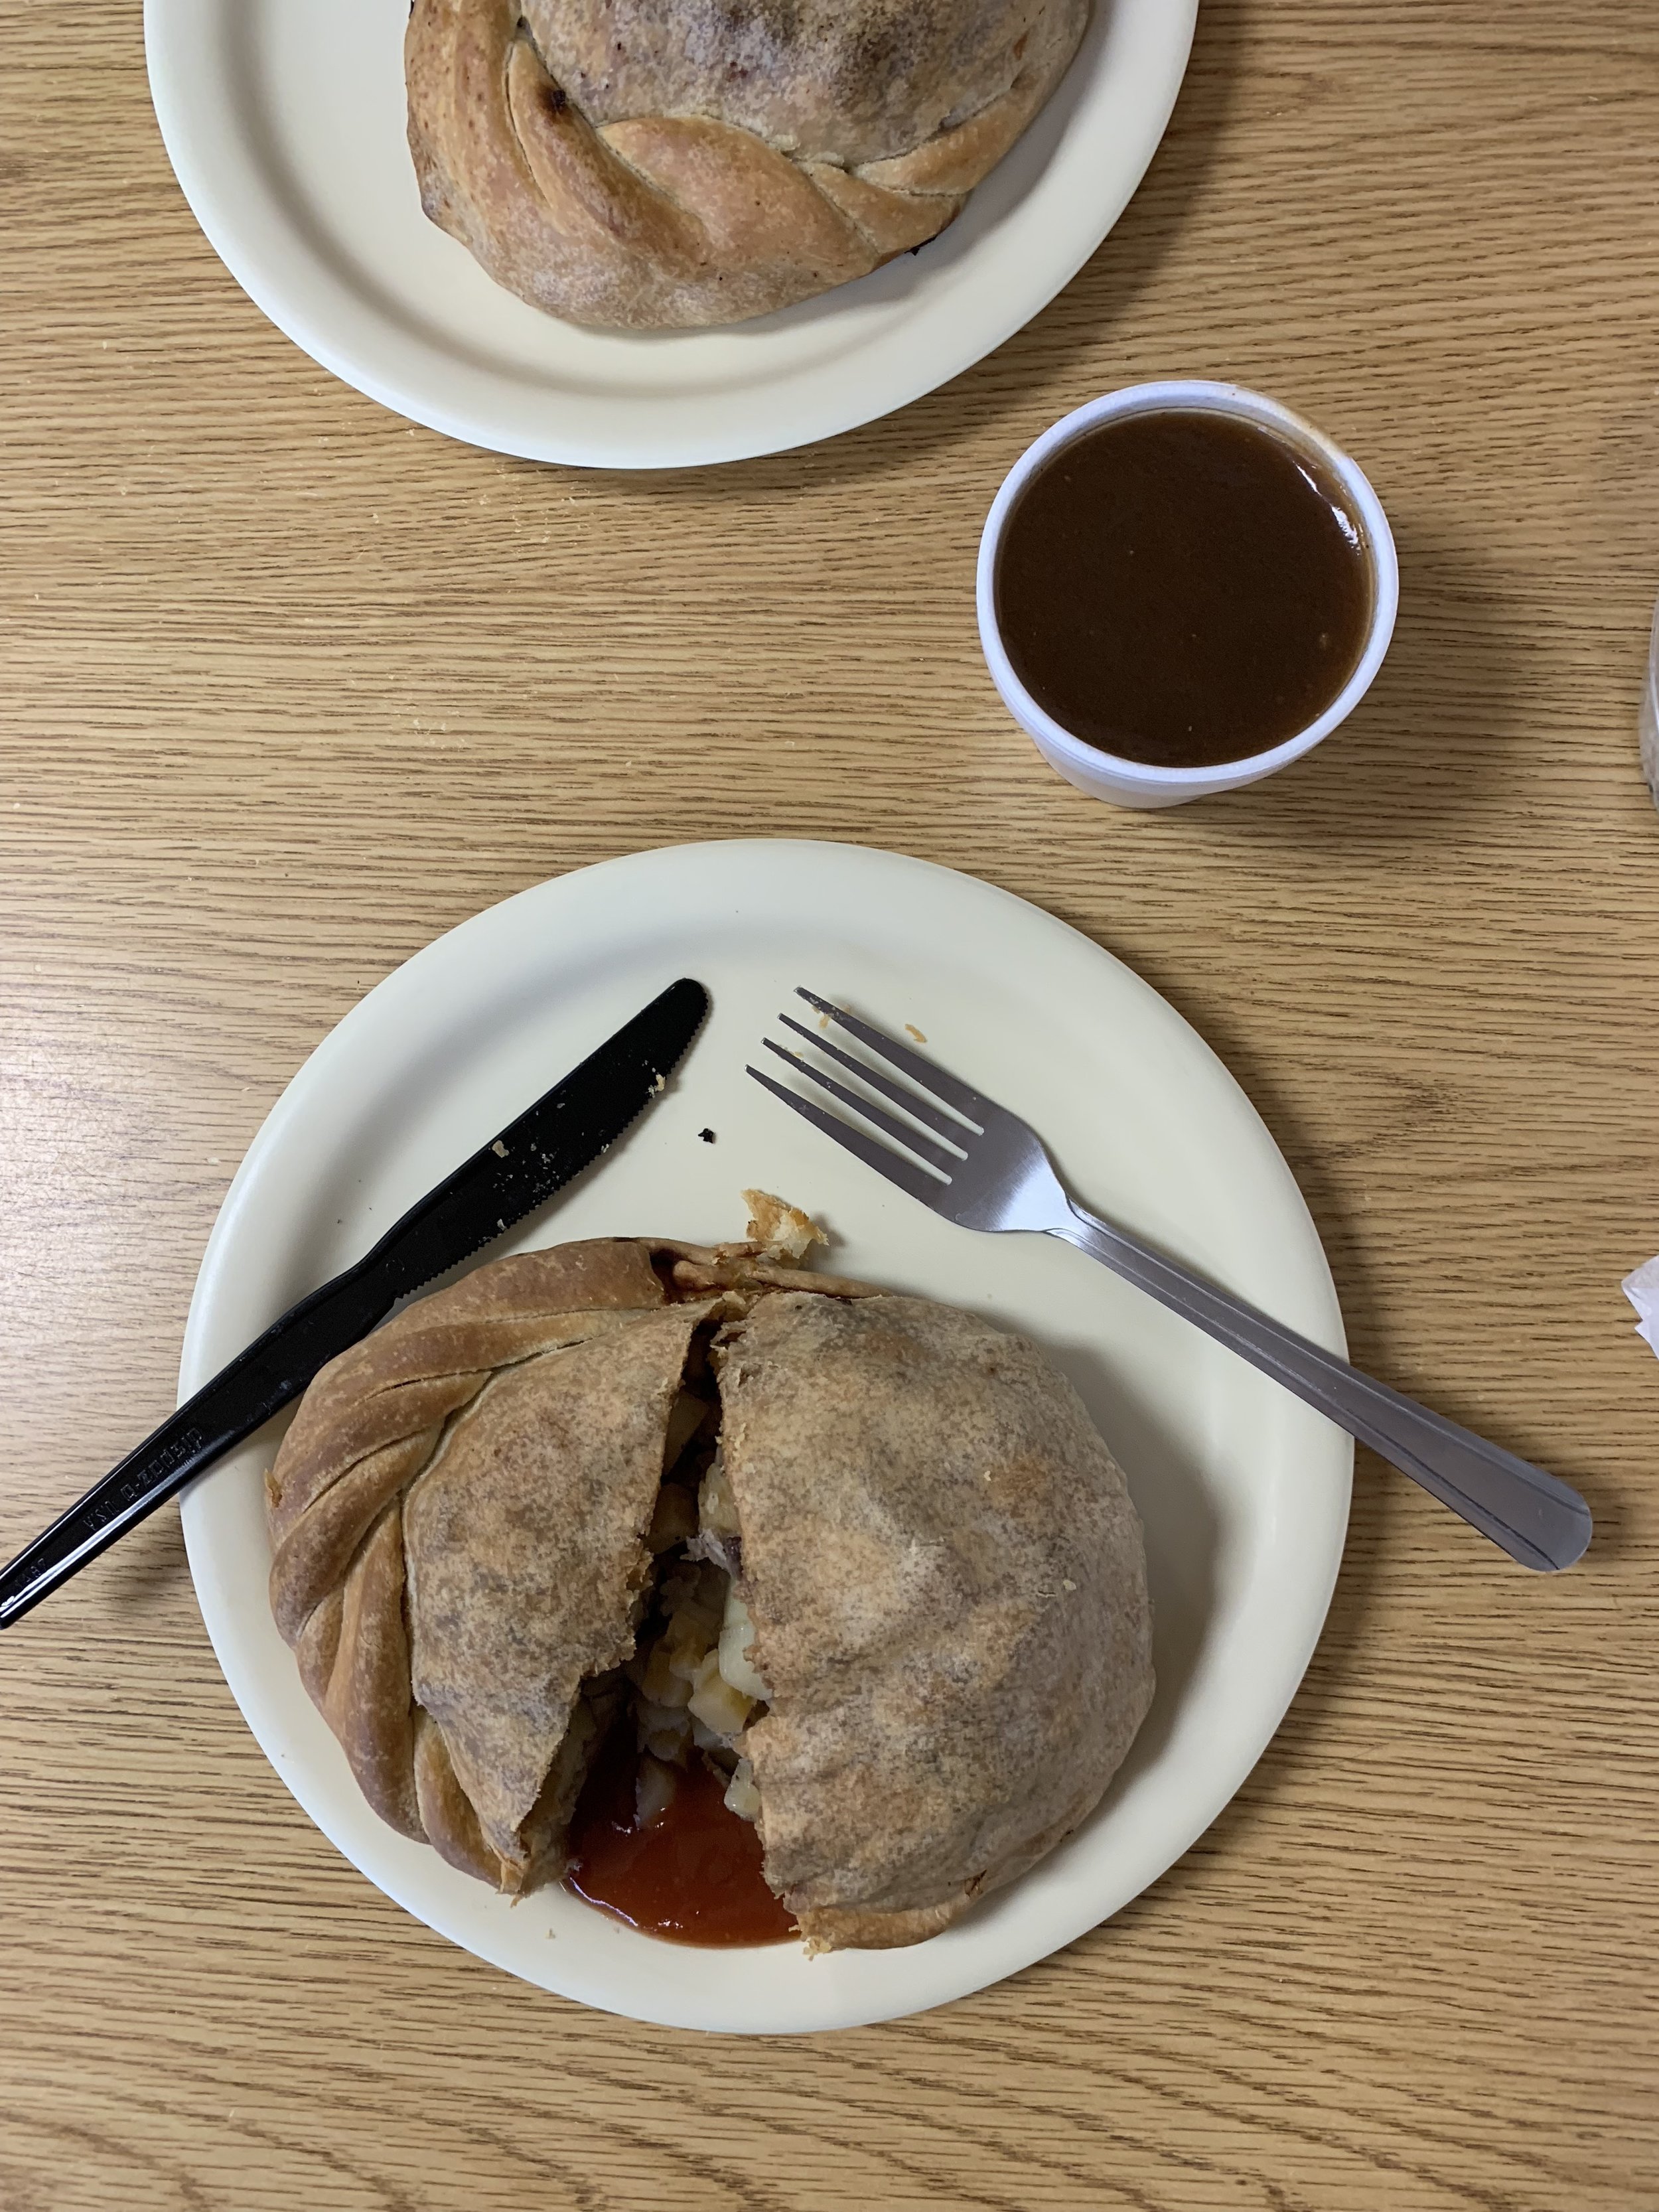
-I like my pasties with both gravy and spicy ketchup.
-Small cocoon-like bedrooms/hotel rooms rule. We stayed in two very large rooms and I barely slept those nights. The best sleep was in the smaller rooms.
-Ok, yes, I LOVE square cut cracker crust pizza.
-Duke Ellington’s Nutcracker is bananas!!
-Trips where you only bring sweatpants are the best trips.
In other news, I have to tell you about this miraculous recipe that I have been obsessing over since I first read it. It’s in Cynthia Chen McTernan’s book, A Common Table, which was a book that I was counting down the days to because I have been a fan of Cynthia and her delicious blog for years and years and years. She makes all of my favorite foods: mochi, steamed buns, potstickers, black sesame things, matcha things… and she makes them all look so darn beautiful! One time we shot a bacon and sweet corn ice cream sandwich blog post together and it was the best day ever. Cynthia is truly just as sweet and awesome IRL as she comes across on her blog and now in her book, I am definitely a good candidate for president of the Cynthia fan club. My copy of A Common Table is filled with bookmarks and dates scribbled into recipes that I’ve already made. We had her bulgogi on New Year’s Eve, mochi pancakes for the premiere of GMF season 2, and I’m planning to make like all of her sweets. I just love how her recipes tie in her heritage with her southern upbringing and beautiful stories, and they’re all so playful and fun too! I think it goes without saying that if you like good food and also fun, then you need her book.
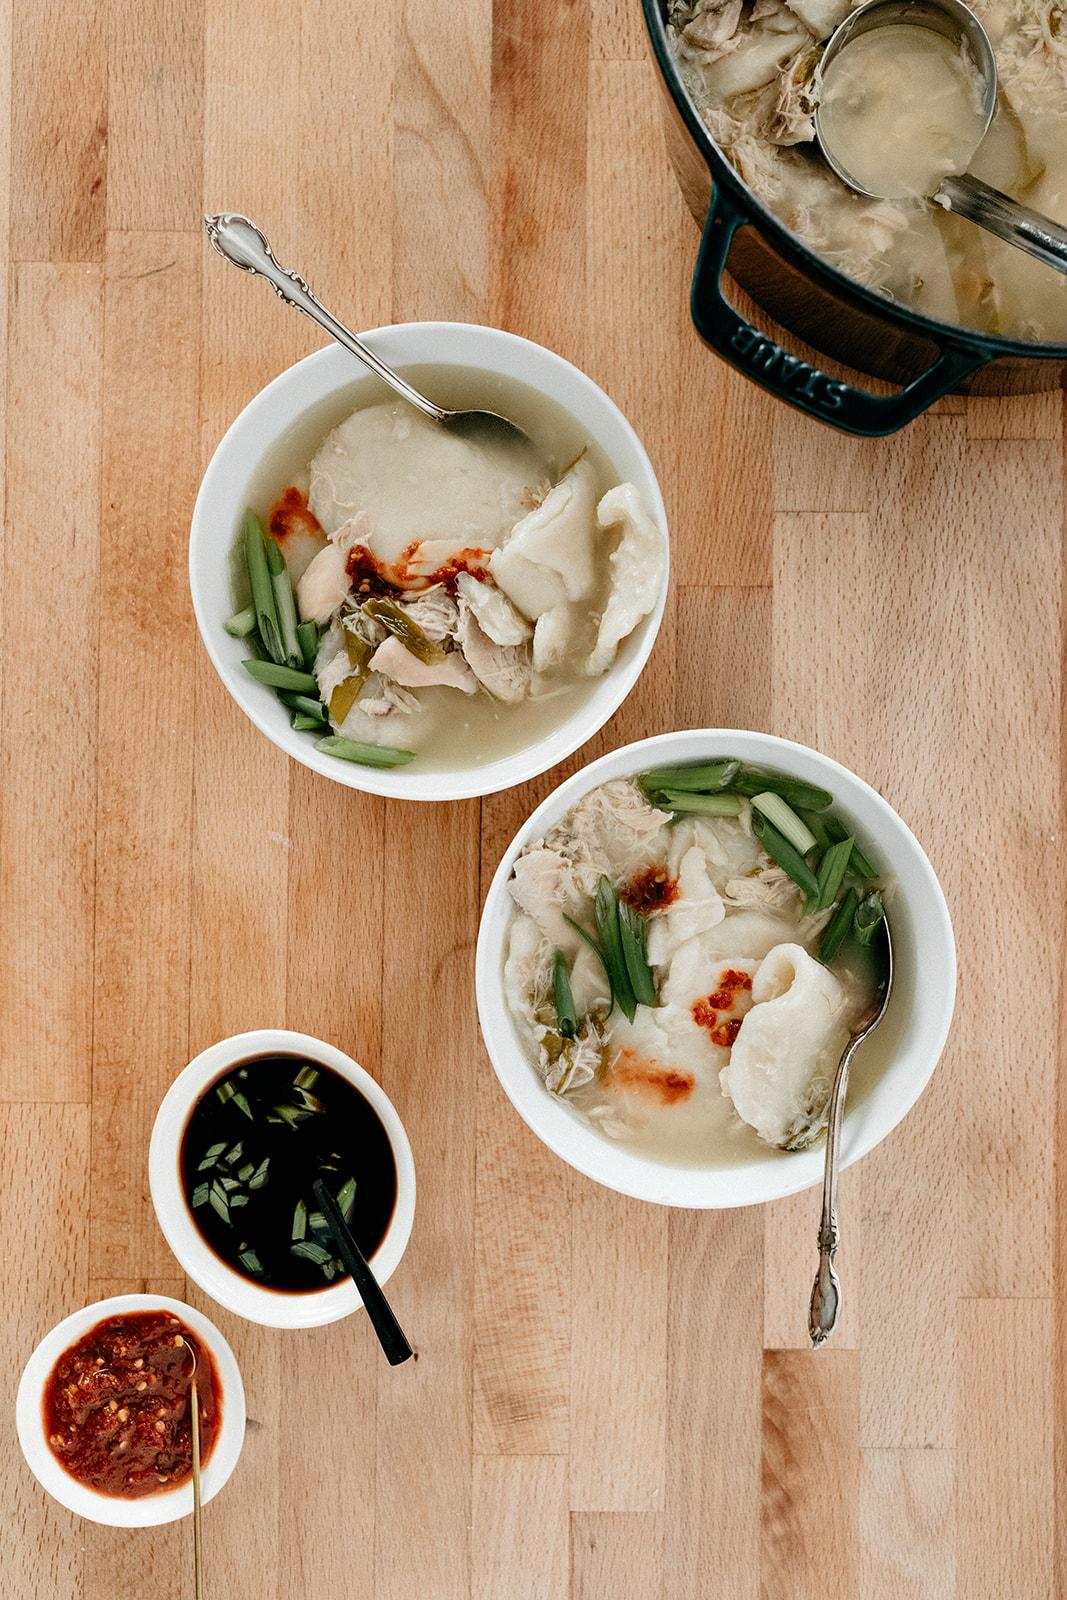
Here is my favorite recipe from her book. I like it because its ingredients produce the 1 + 1 = 3 magic. You’ve seen the magic in Melissa Clark’s salt and pepper chicken recipe, it’s the thing that happens when a stunningly short list of simple ingredients produces a thing that explodes with flavor and awesomeness. After making Cynthia’s chicken and dumplings once, I had the recipe memorized. It’s ginger, scallions, and chicken. Just memorize that! Then you make chewy rustic dumplings which are like thick potsticker wrappers and, holy smokes, I could eat them all day. It’s nourishing and strikes a perfect balance between comforting and not too heavy. Eating it makes you feel like you’re curing ailments you didn’t even have. I’m so in wuv.
ingredients
2 lbs chicken drumsticks or thighs, skin-on and bone-in
1 1/2 tsp kosher salt
3 or 4 scallions, sliced into 1” pieces (about 1/2 c)
3 inches ginger root, peeled and sliced into 1/8” pieces (about 1/3 c)
6 c water
1 c (130g) all-purpose flour, plus more as needed
soy sauce, for serving
chili garlic paste, for serving
clues
make the soup: season the chicken generously with 1 teaspoon salt. place it in a medium pot with the scallions, ginger, and water. (if desired, tie the ginger in cheesecloth to make it easier to remove later.) bring to a boil over high heat, then reduce to medium-low, keeping the soup at a bare simmer.
make the dumpling dough: after the soup has been simmering for about 30 minutes, start the dumplings. in a medium bowl, whisk together the flour and remaining 1/2 teaspoon salt. ladle about 6 tablespoons broth and trickle it into the bowl of flour while stirring the flour with chopsticks or a silicone spatula. a wet dish towel under the bowl may help keep it in place while you stir. after you’ve added all the broth, continue to stir until the flour mixture becomes pebbly and the water is evenly incorporated. make sure the dough is a comfortable temperature to touch, then use your hands to knead the dough until smooth and taut, 5 to 10 minutes. the dough should be fairly firm, not tacky, and should not stick to your hands or the bowl. if it does, add more flour, a tablespoon at a time, until the dough is firm. place in an airtight container or a Ziploc bag and allow to rest while the broth simmers for another 25 to 30 minutes (for a total of 1 hour altogether).
skim any scum off the top of the broth and remove the ginger, if you’d like. transfer the chicken to a plate or cutting board and use a fork to pull the meat from the bones. return the meat to the pot and let the soup continue to simmer gently while you make the dumplings.
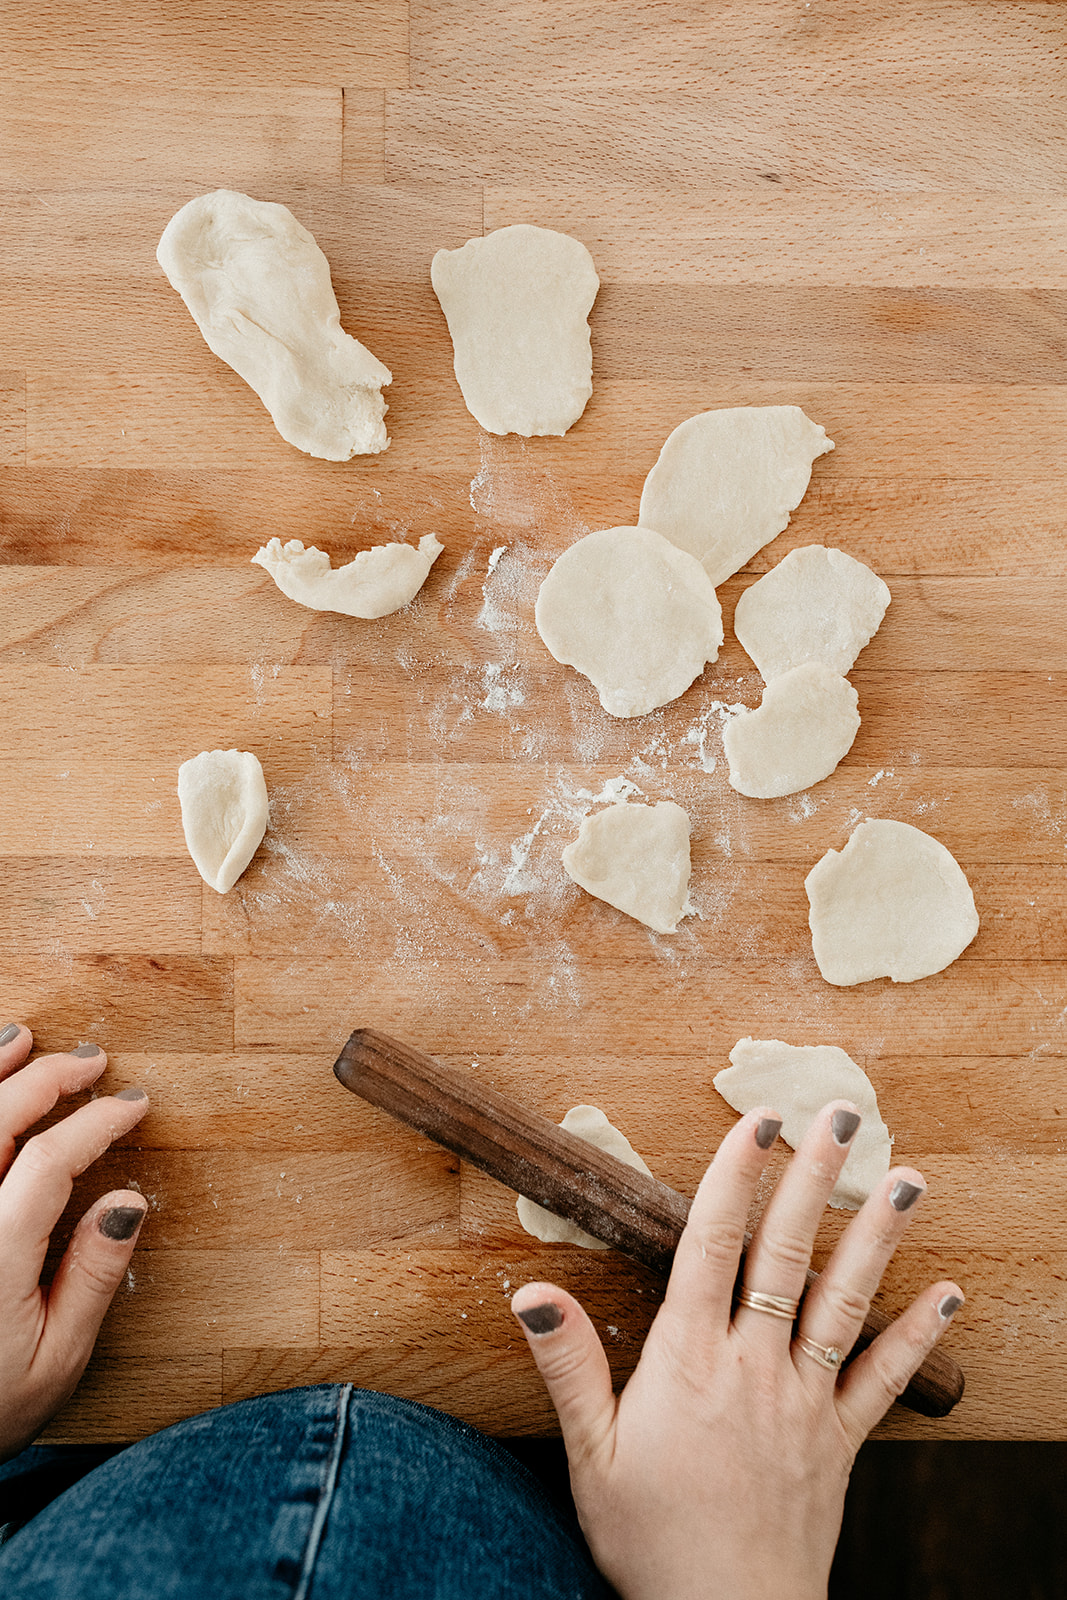
form the dumplings: by now, the dumpling dough should be nice and pliable after its rest. the traditional method of preparing flat dumplings is to roll the dough out to a large rectangle, 1/4” or less in thickness, and then slice the rectangle into 1” x 2” strips. alternatively, you can form them the way noodles are torn for kimchi sujebi: pinch off a tablespoon of dough and pull it in half so that it forms 2 flat pieces. flatten the pieces to about 1/4” or less, if needed, but otherwise the pieces need not be uniform. roughly torn edges create a nice texture. repeat until the dough is gone.
bring the soup back to a lively simmer over medium heat, then drop the dumpling pieces into the pot. simmer until the dumplings float to the surface, 1 to 2 more minutes, then serve, with soy sauce and chili garlic paste on the side, if desired.
-yeh!
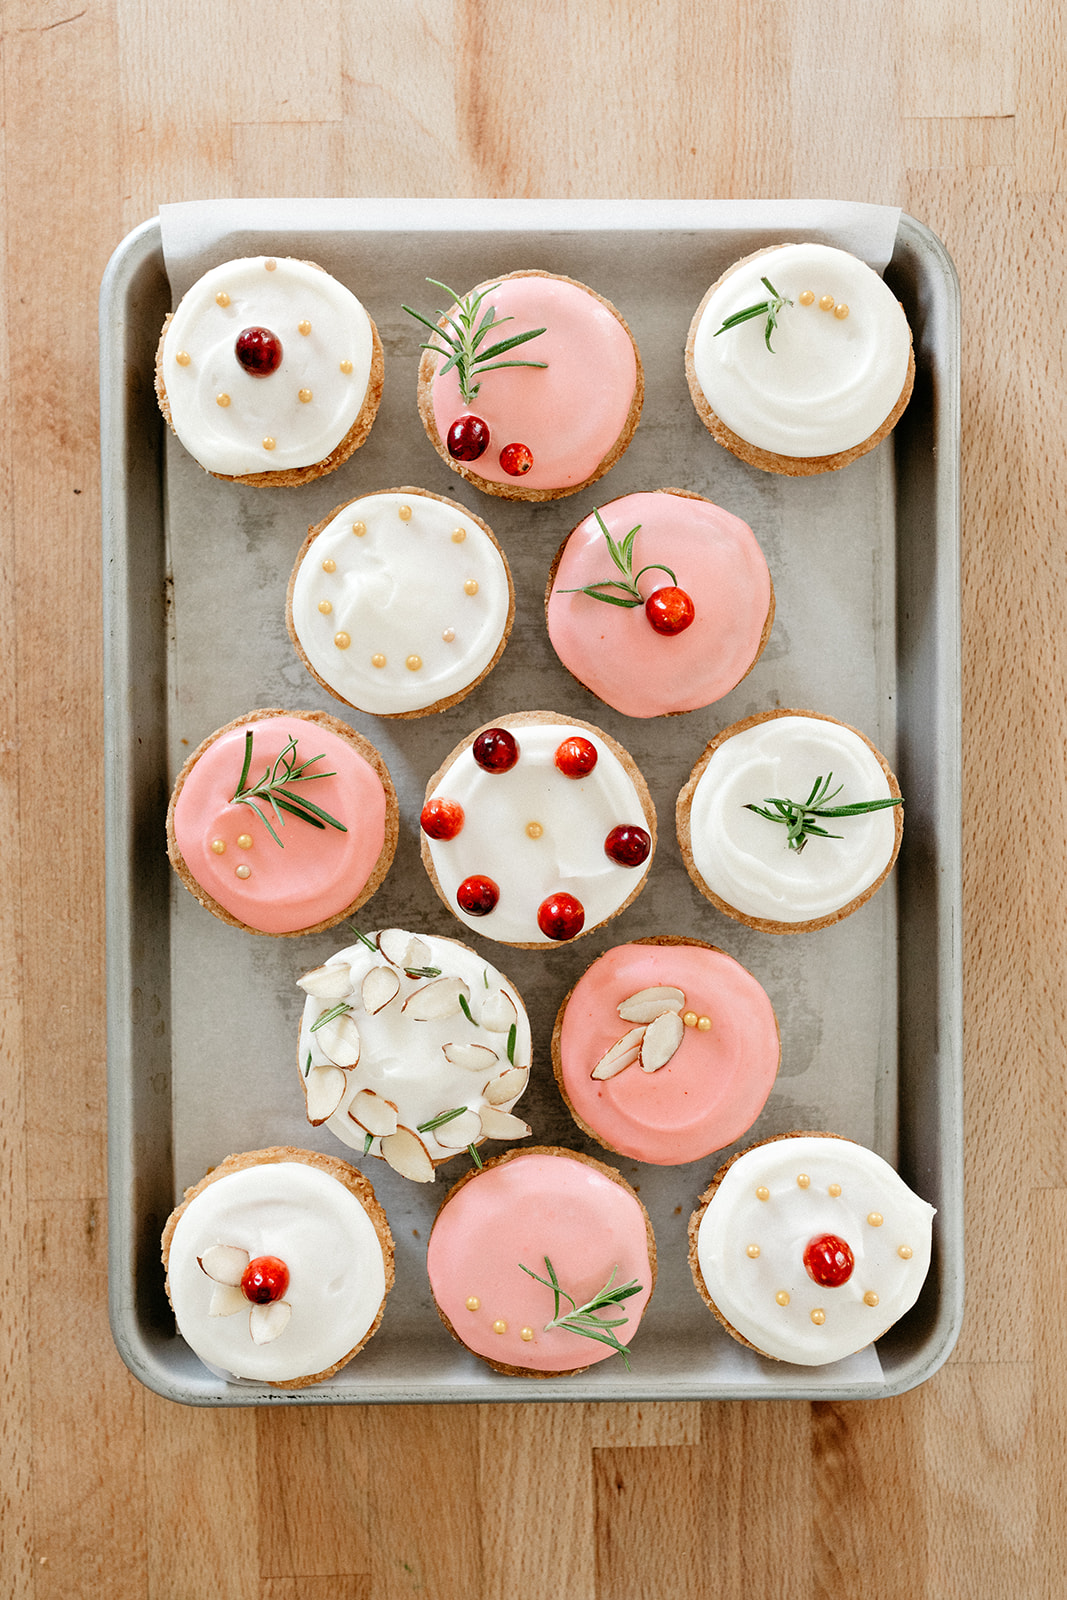
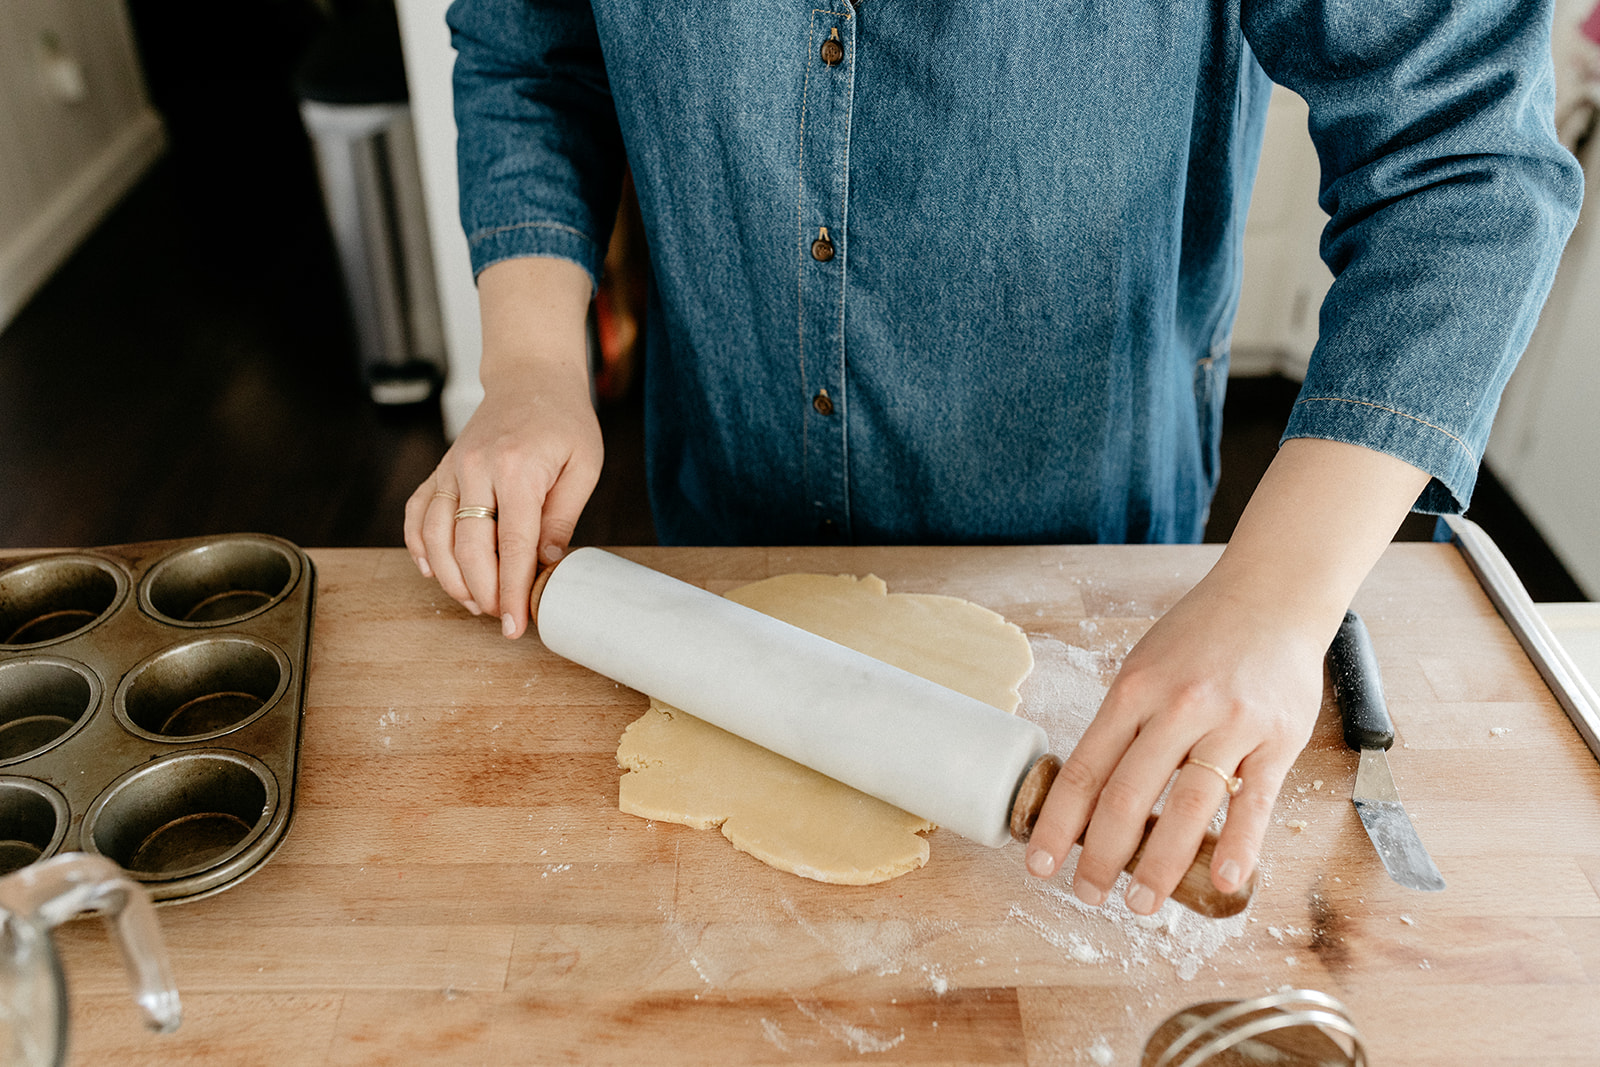
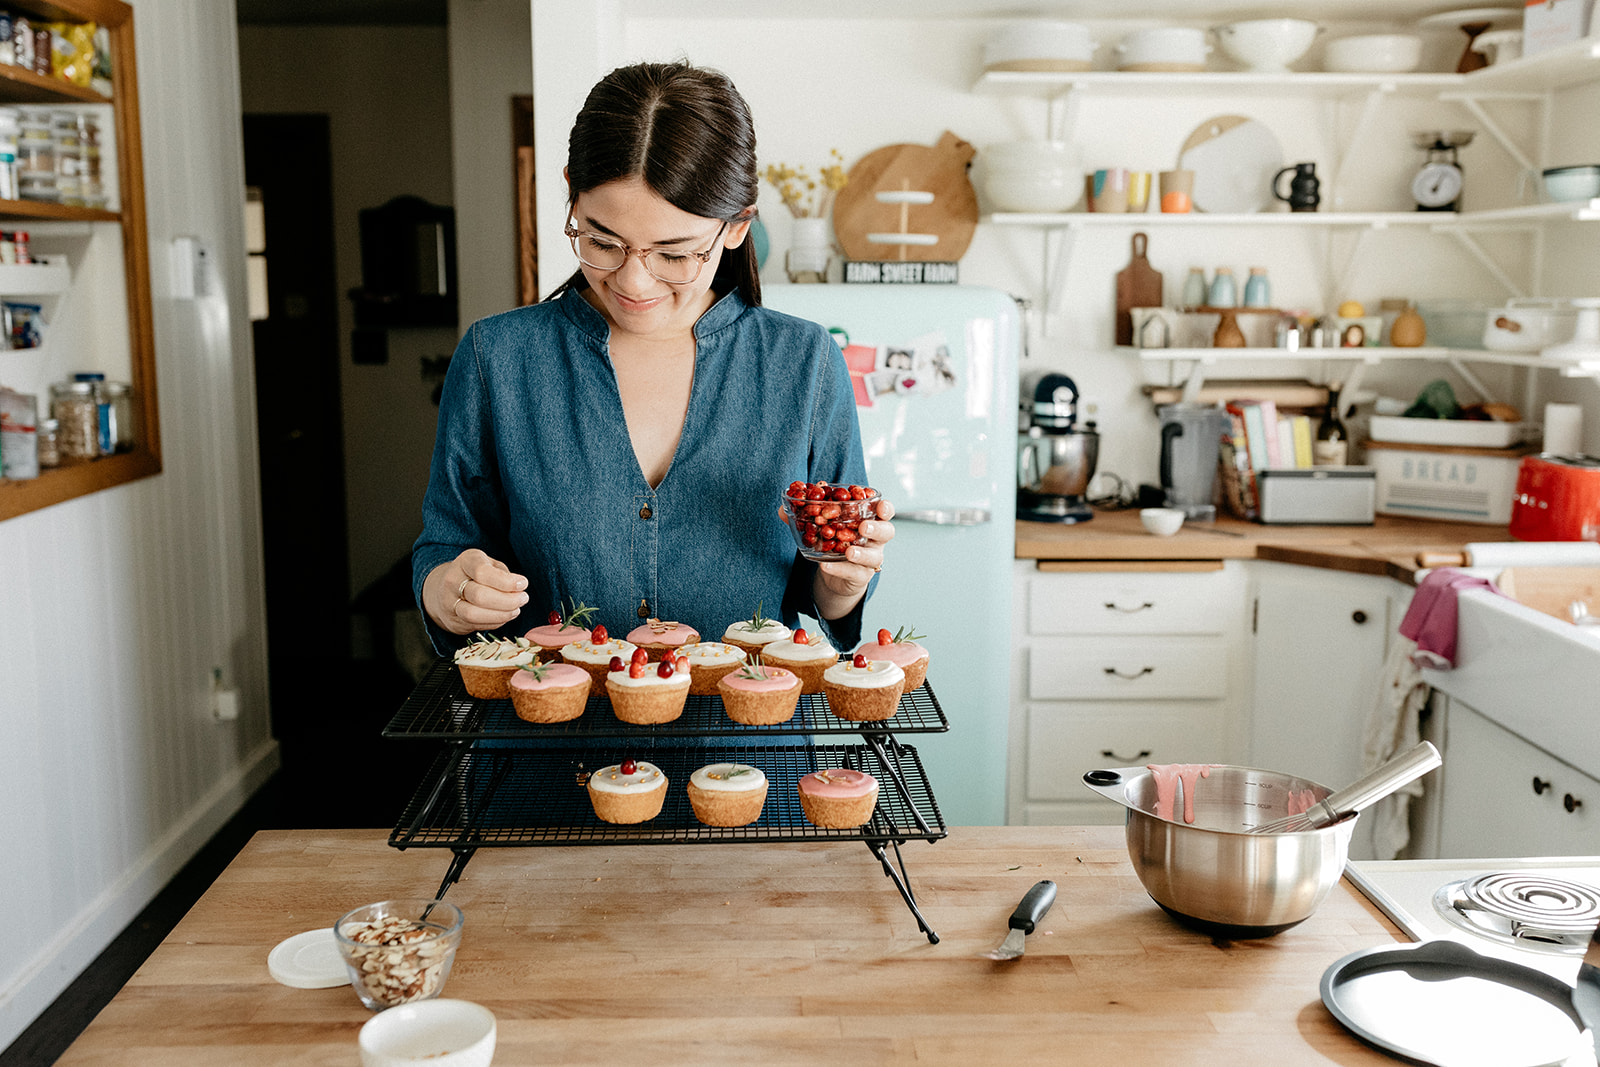
photos by chantell and brett!


![IG_Story_1080x1920[2].jpg](https://images.squarespace-cdn.com/content/v1/515ecaf0e4b0875140cb8775/1529419018979-VR6FV7NTV4G7GEYGMFU4/IG_Story_1080x1920%5B2%5D.jpg)


