lefse

It has come to the point in the holiday season where I really just want to stick a straw into the balloon that is the month of December and blow it up a little. I’d like it to be two weeks longer, or maybe three. That’s the amount of time that I estimate I’d need to get all of the holiday things done that I want to get done, including just being able to sit comfortably in the holiday spirit without getting nervous that it’s going to end before I can have enough Sufjan Christmas moments.

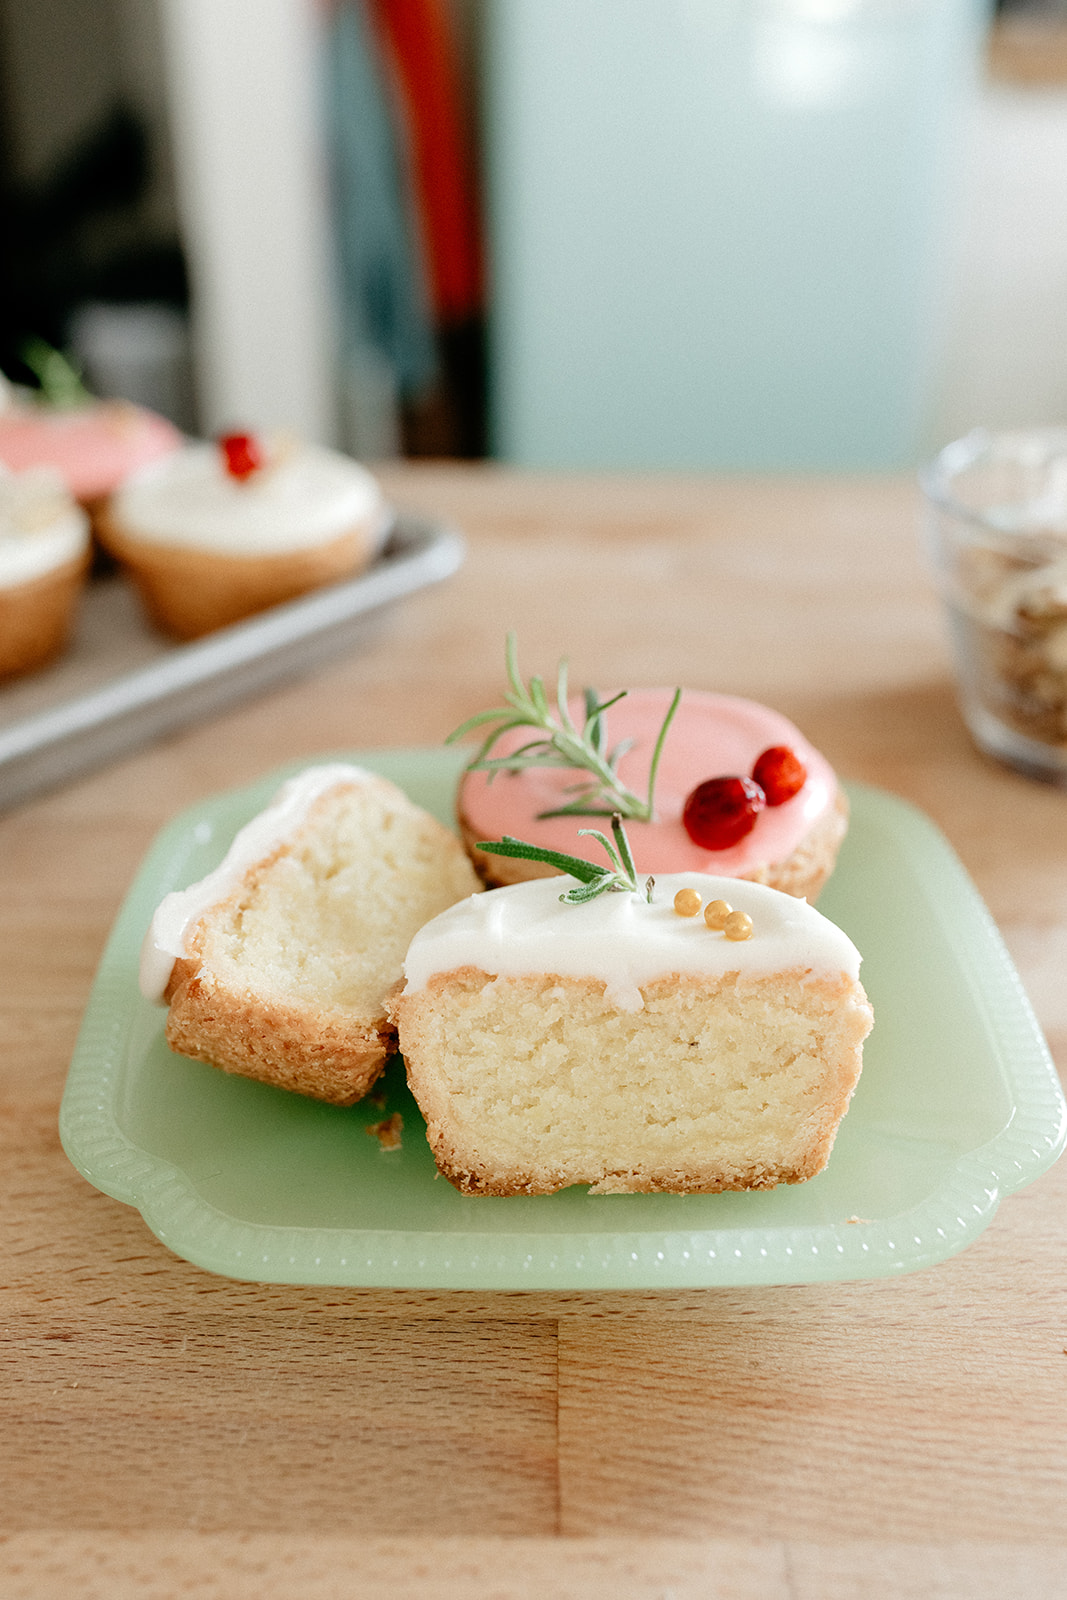
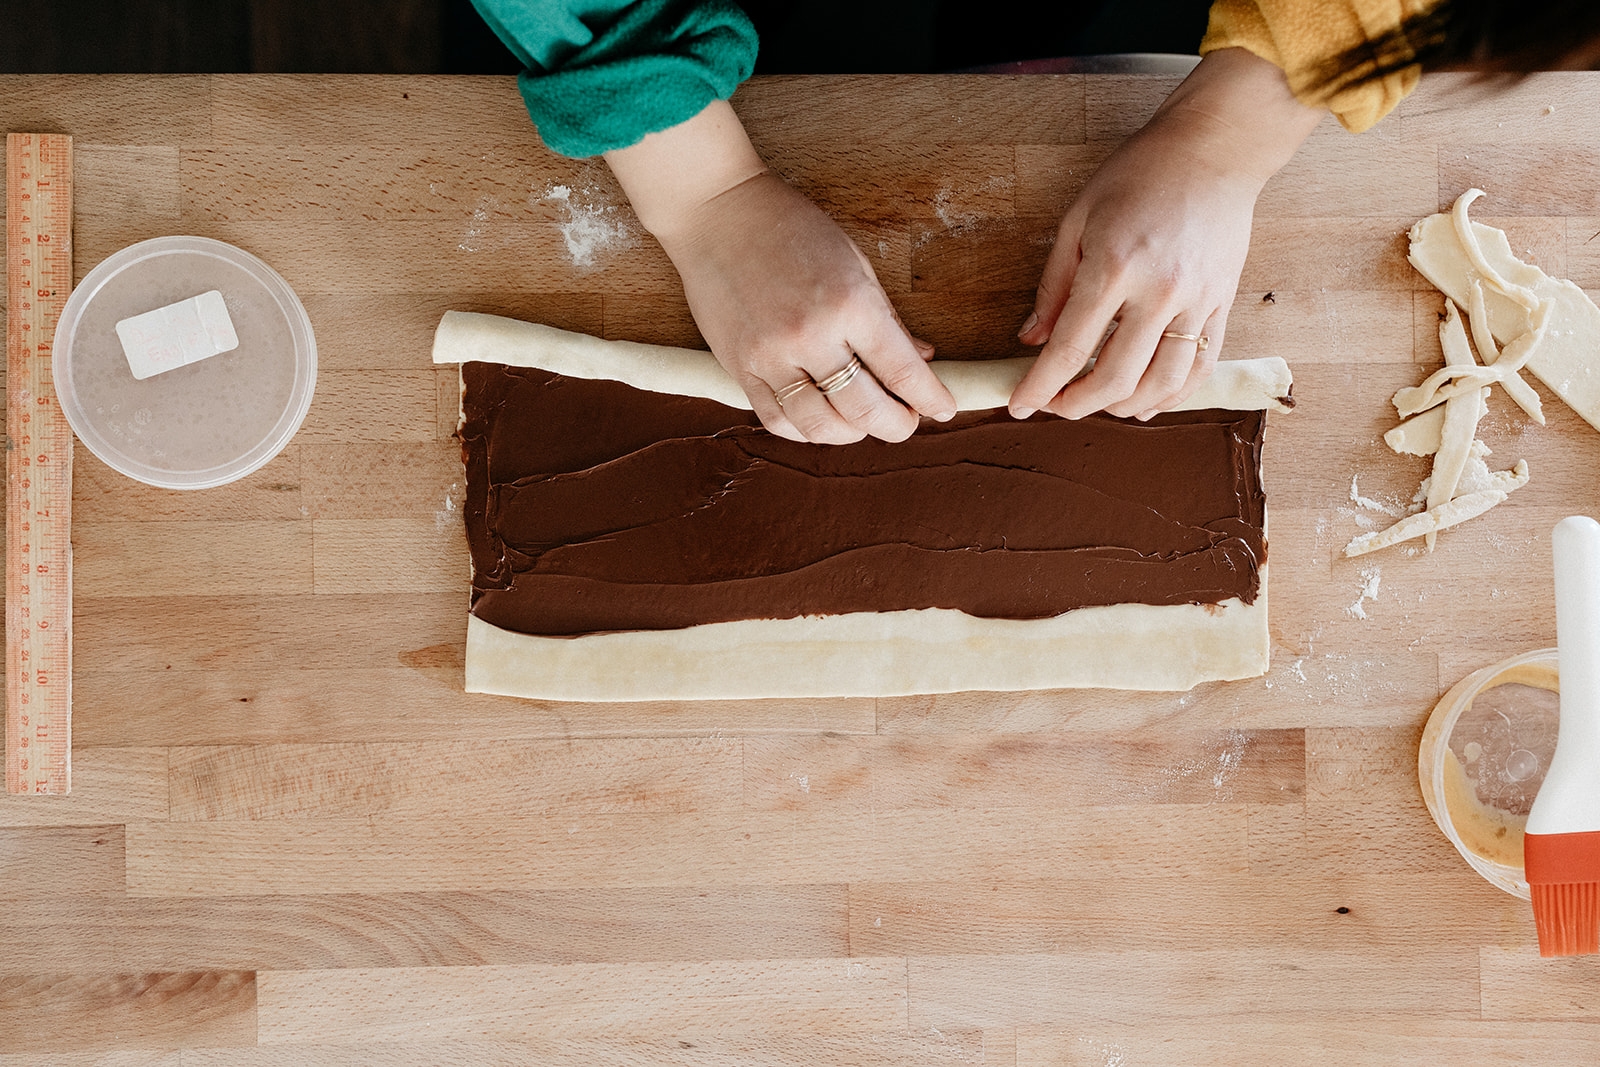
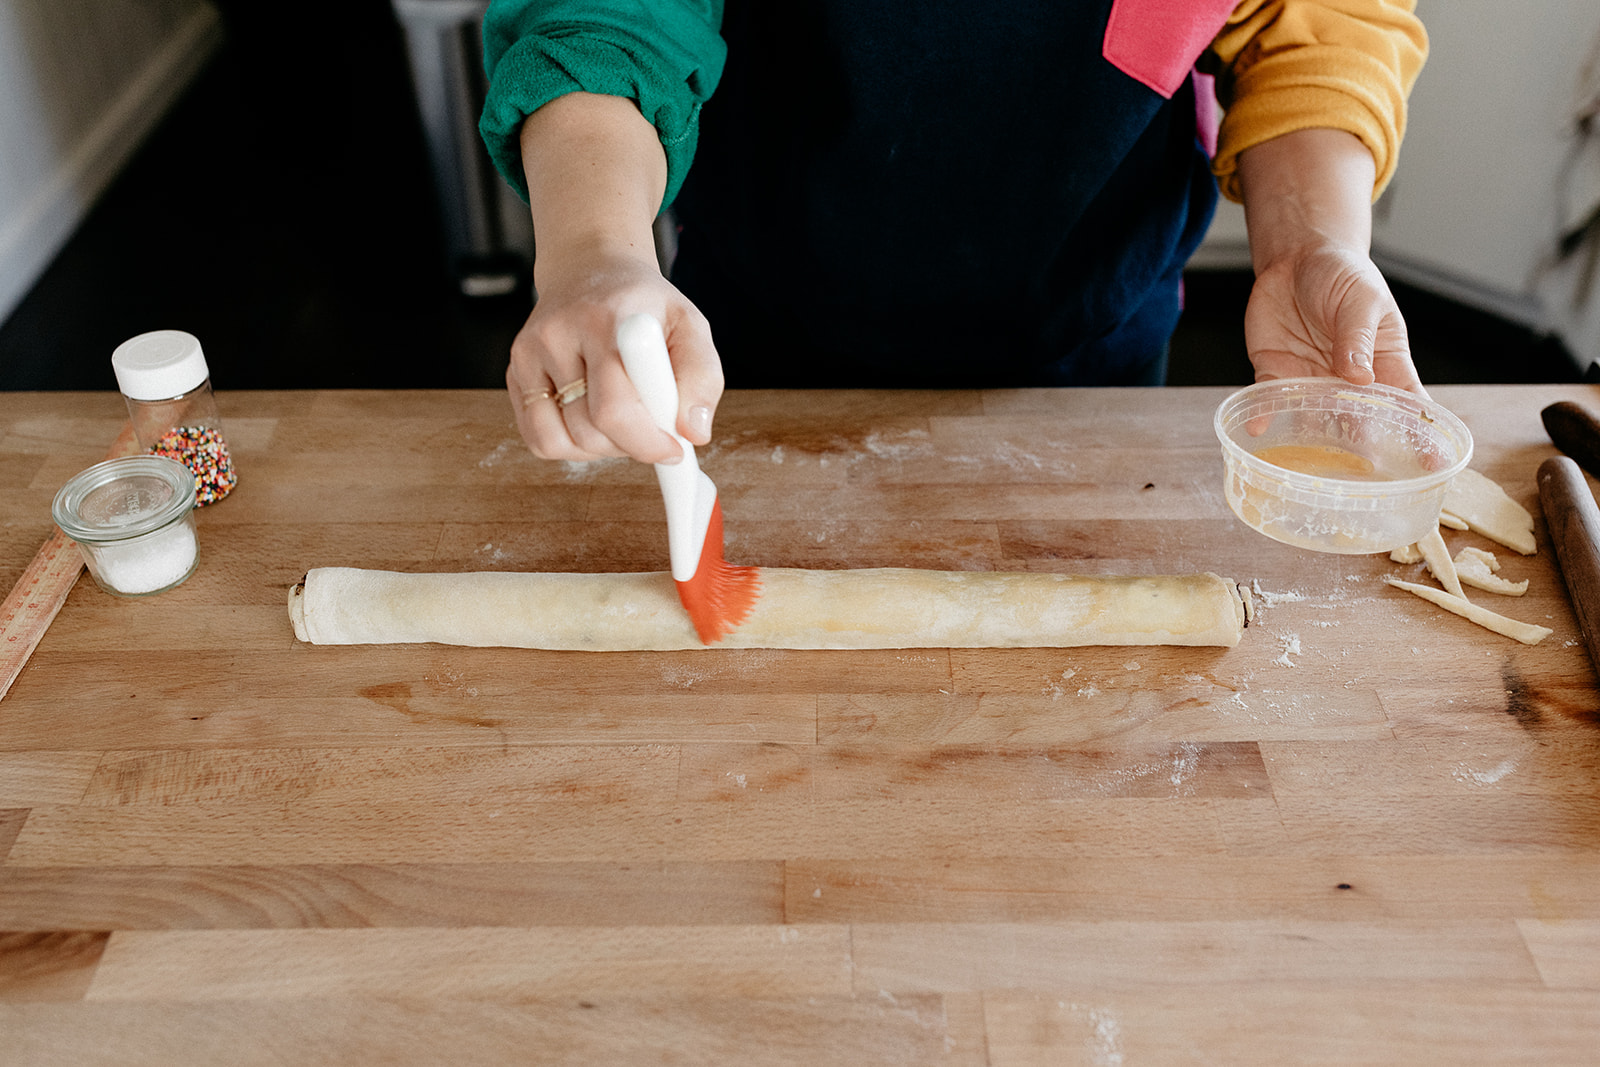
I had a lot of mediumly grand plans this holiday season: adding rose nougat to my annual cookie boxes, throwing a Lefse and Latke Chrismukkah Party, making a Dala horse shaped stollen-y cake, and not having to pay for expedited shipping on the gifts I ordered online. At most, I only achieved abridged versions of these (thanks to these quick stollen bars and free shipping from Pendleton). But no party and no nougat. Which is fine because this season was still packed with other people’s parties, almond-heavy cookie swaps, and little Cliff’s Baptism bash. It also has yet to be packed with Christkindlmarket and an Upper Peninsula pasty tour. And I have a dentist appointment at the beginning of January so it’s probably best that I didn’t make nougat. 

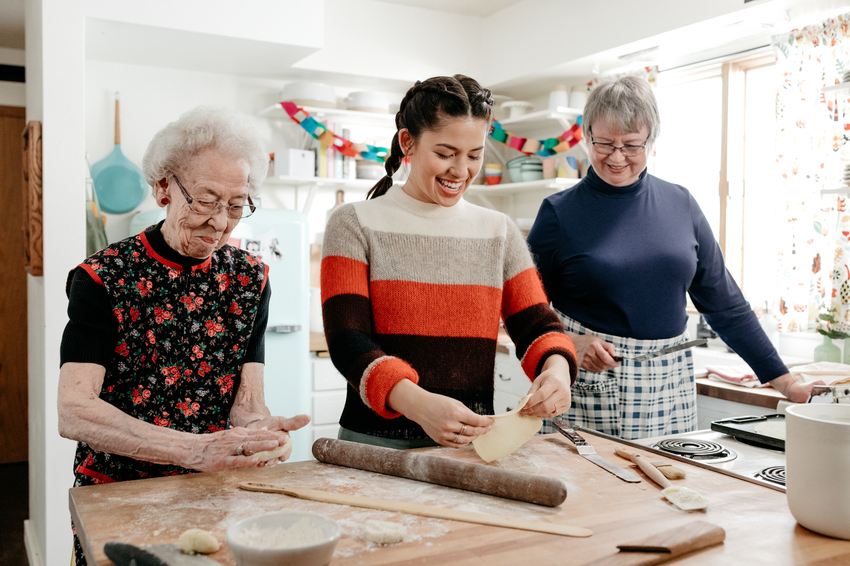
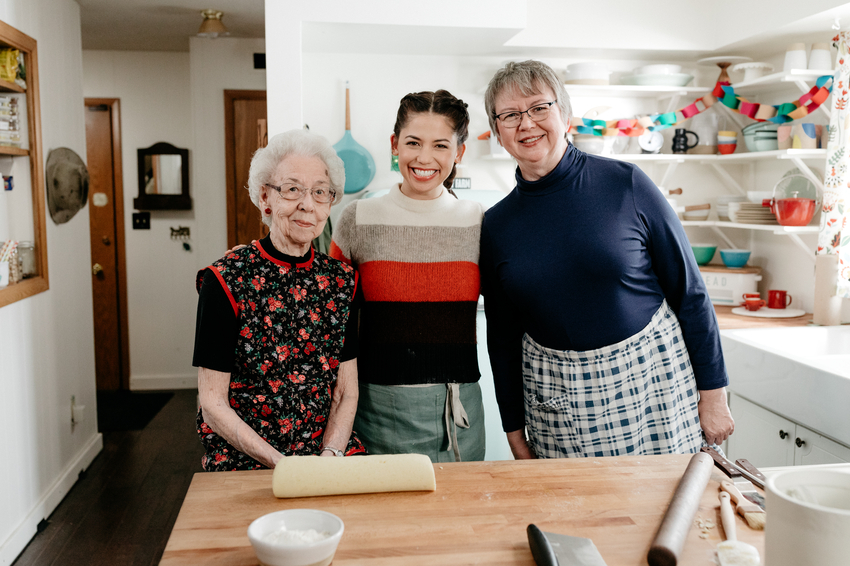
But the one thing that I would seriously schedule first in the event that my expansion of December by way of blowing it up with a straw plan actually worked is a lefse weekend. Ever since I learned about the lefse making tradition when I first moved here, I admired it (even despite the fact that the first time I made it, it ended in tears). Making lefse symbolizes the holidays in the upper Midwest, it’s a group activity that’s been happening year after year for generations, and there are so many stories surrounding it. But to be totally honest, it wasn’t until I made lefse with cousin Elaine and aunt Ethel when we filmed the Chrismukkah episode of Girl Meets Farm back in October that it became a food that I craved with all of my might. Is it because I’m pregnant? Maybe. Good things, especially potato-centric things, do tend to taste better these days. Or maybe it’s because the last few times I’ve had it, it was store-bought. When we made it on the show, I was reminded of how fluffy, soft, tender, and flavorful it is when it’s fresh off the grill and slathered with softened butter. I wish I could have eaten more of it during the filming. I wish I could have paused cameras for a minute so that I could run to my cabinet and pull down all of my jams, nut butters, Nutella, etc., and just sit there eating a bite of lefse with each. But we were on a schedule and I needed to pace myself because that was also spätzle week. 

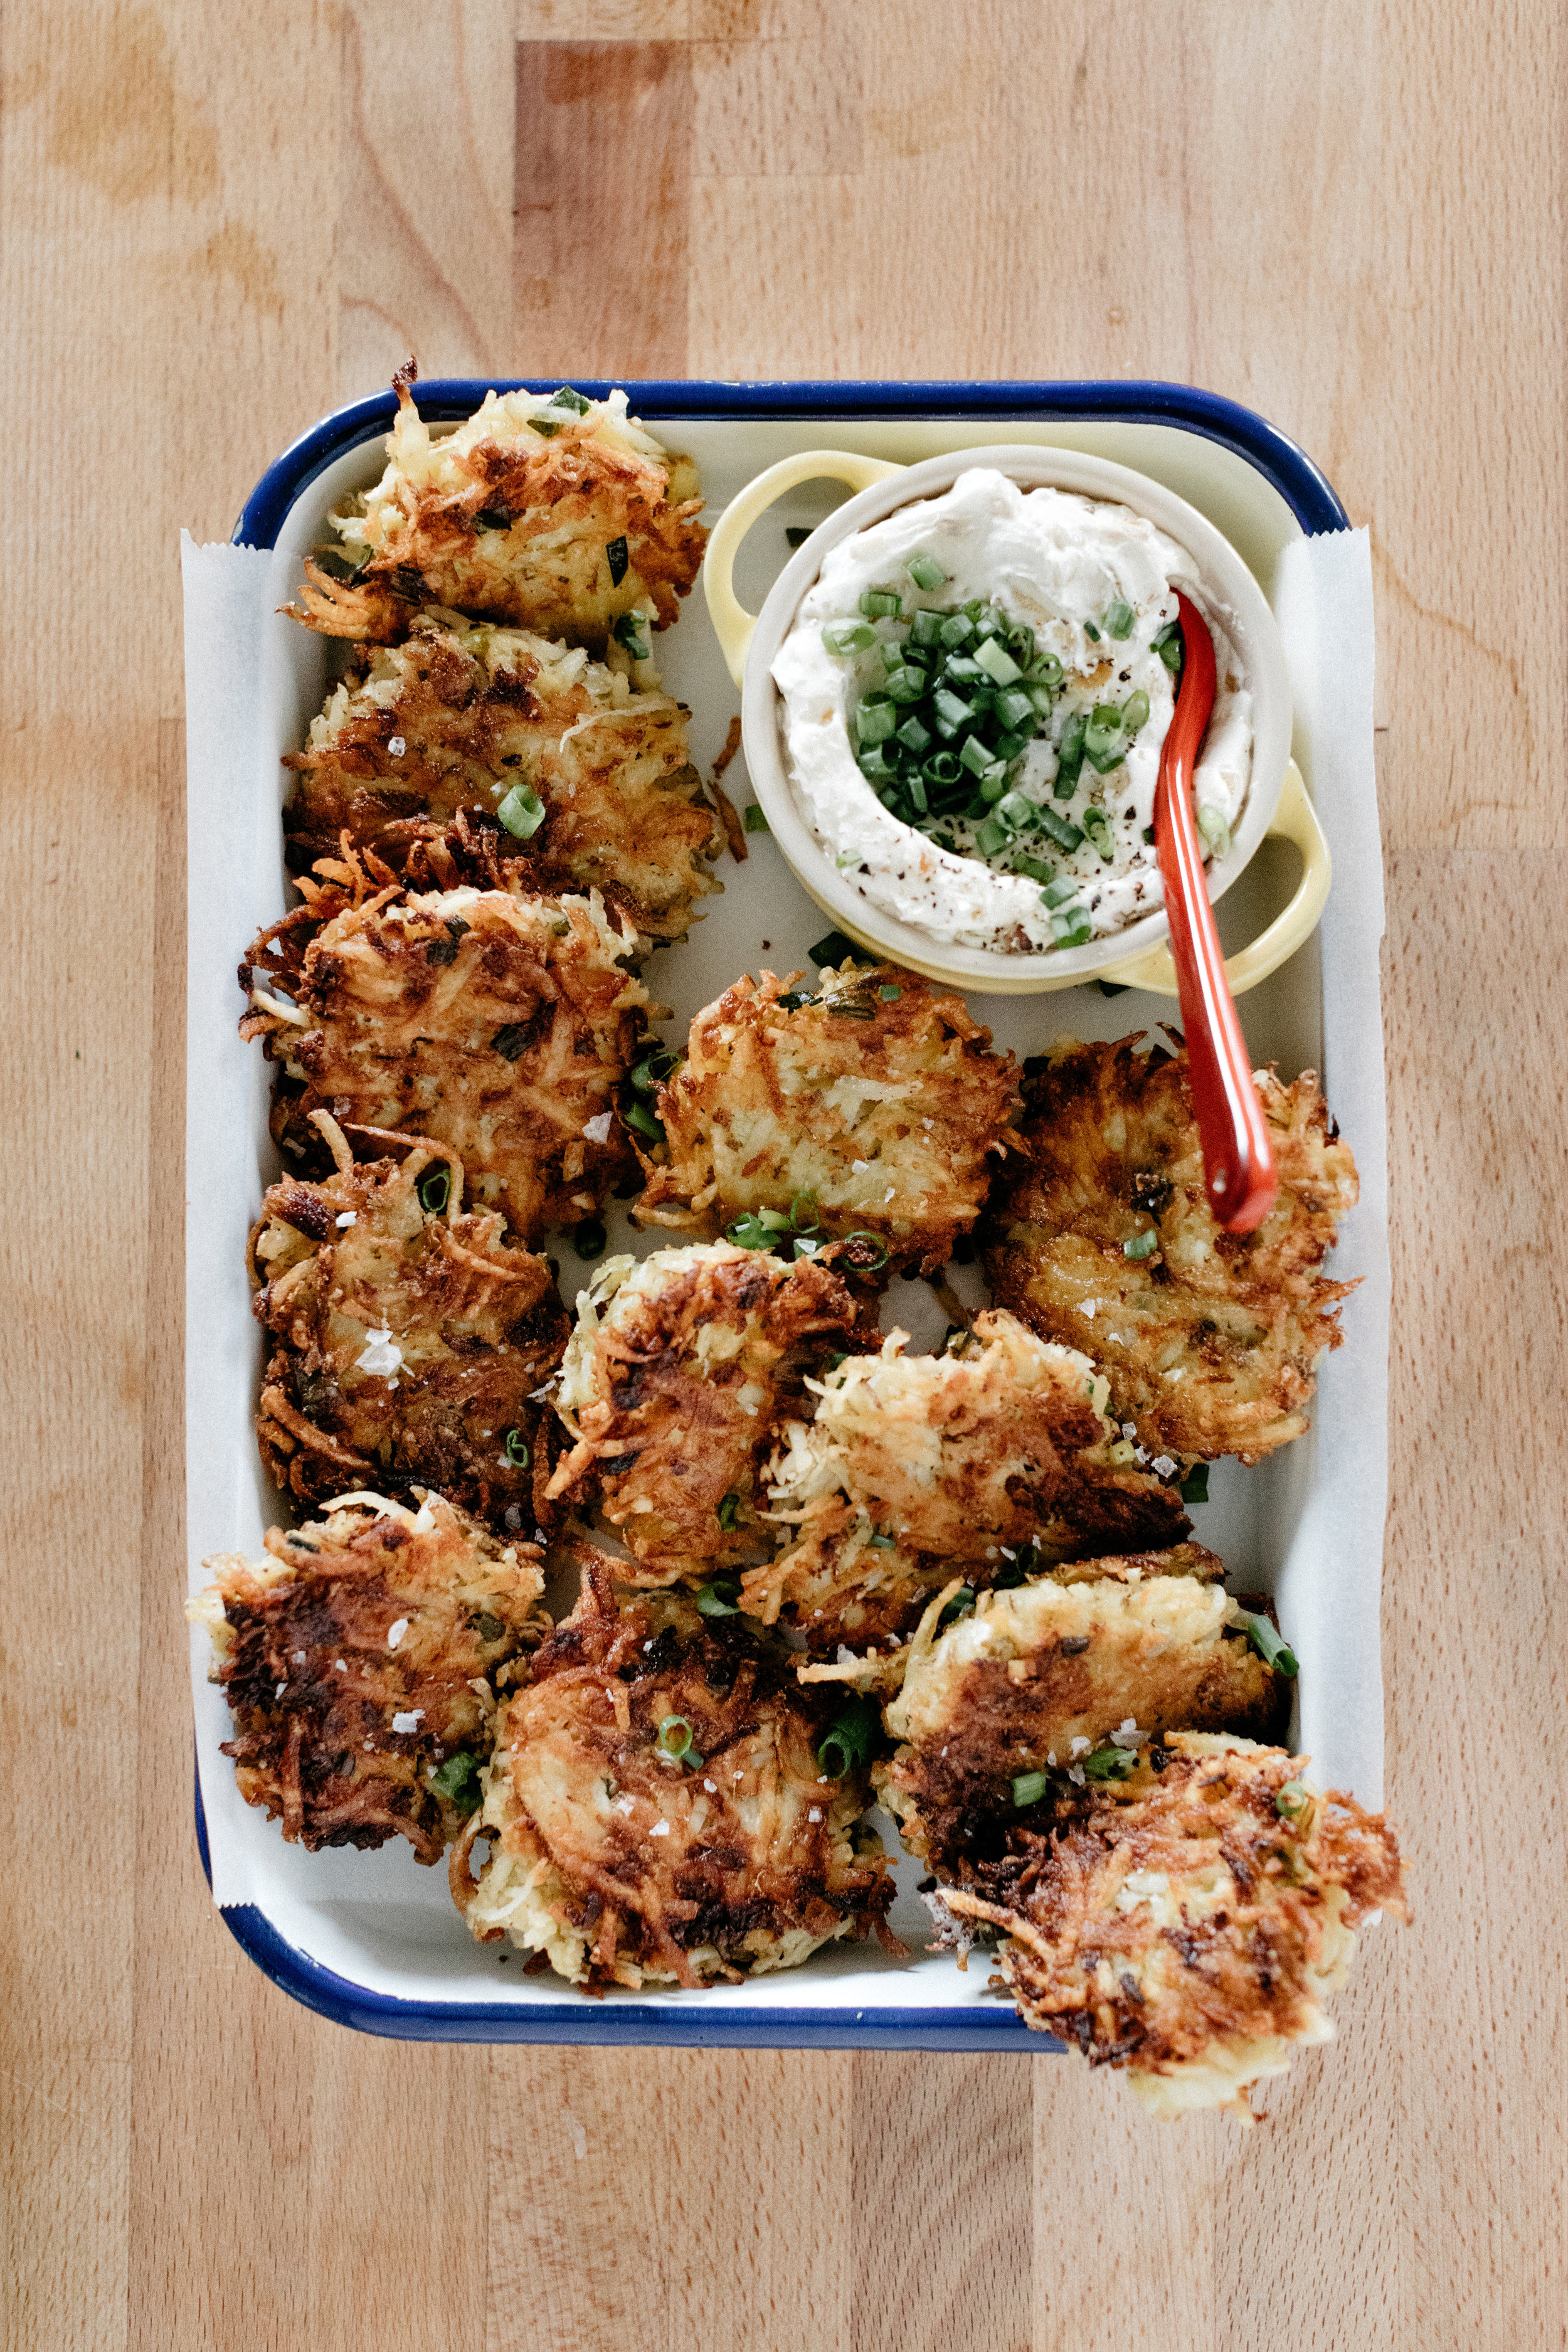
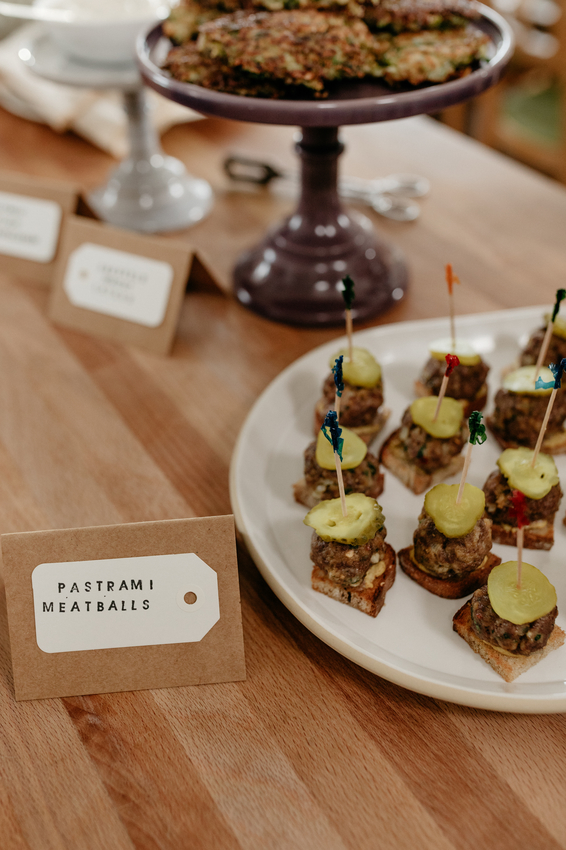
And then after filming wrapped I had one ultimate foam-at-the-mouth pregnant lady epitome. It happened on the plane to Florida when I opened up the December Bon Appetit and saw the most drop dead beautiful spread of roast beef, pickles, a white creamy sauce, and salty buttery fluffy rolls, all set up for a party. It was simple and stunning. I shoved it in Eggboy’s face and he also started foaming at the mouth. The more I stared at that spread, the more I realized I had to do it… but replace the rolls with lefse. And replace the roast beef with ham (I’m going through a ham phase). I mean??!!! Just imagine a soft warm sheet of lefse slathered with mayo and wrapped around salty hot ham. The pickle could be in it too, or it could be on the side, it would be perfect either way. I am a little dead just thinking about it. I might need to schedule a random January party just to do this. But something tells me that lefse ham tacos would taste better without the vibe of New Year’s diet mishegas in the air. 

Anyway, that’s what I’ve been daydreaming of.

<3 Lefse and ham. <3

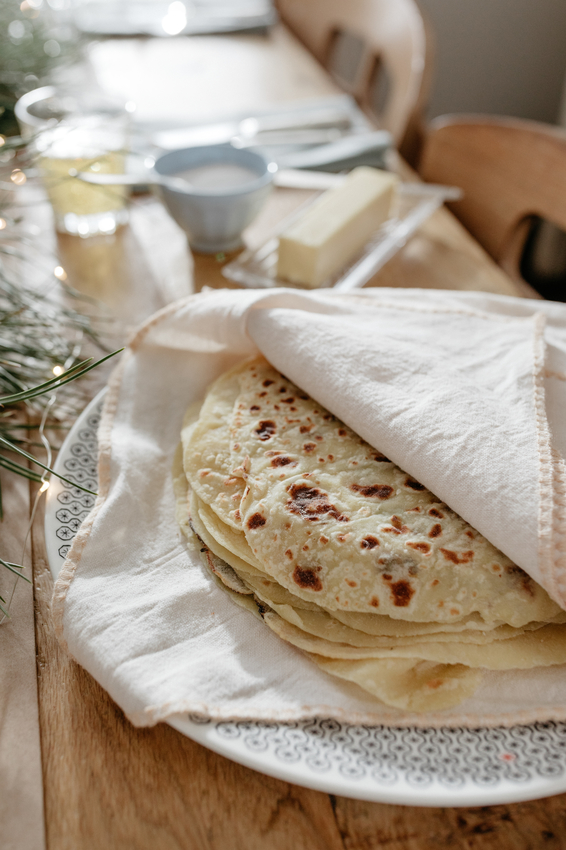
Here is our family lefse recipe, which was developed by Ollie Amundson, my second cousin three times removed in-law in-law. (Or, the wife of Eggboy’s great grandpa’s second cousin.) It has more sugar than many other lefse recipes, and the fact that it uses oil instead of butter has been raising some eyebrows. But it’s the family recipe that Ethel has scribbled on a very special notecard and I love it for its extra sweetness and soft moist texture. The following includes directions for if you have a lefse setup (a lefse grill + a lefse stick) and if you do not (you’ll need a low-sided skillet and a large offset spatula). FYI, my ham taco fantasy uses smaller, skillet-sized lefse. This is best made as a group activity and it is best eaten the day of, however it is very common to keep a stock of it in the freezer. For video help, check out the video that the New York Times filmed at our house a few years ago!


lefse

makes 18 large sheets or 36 smaller sheets

ingredients

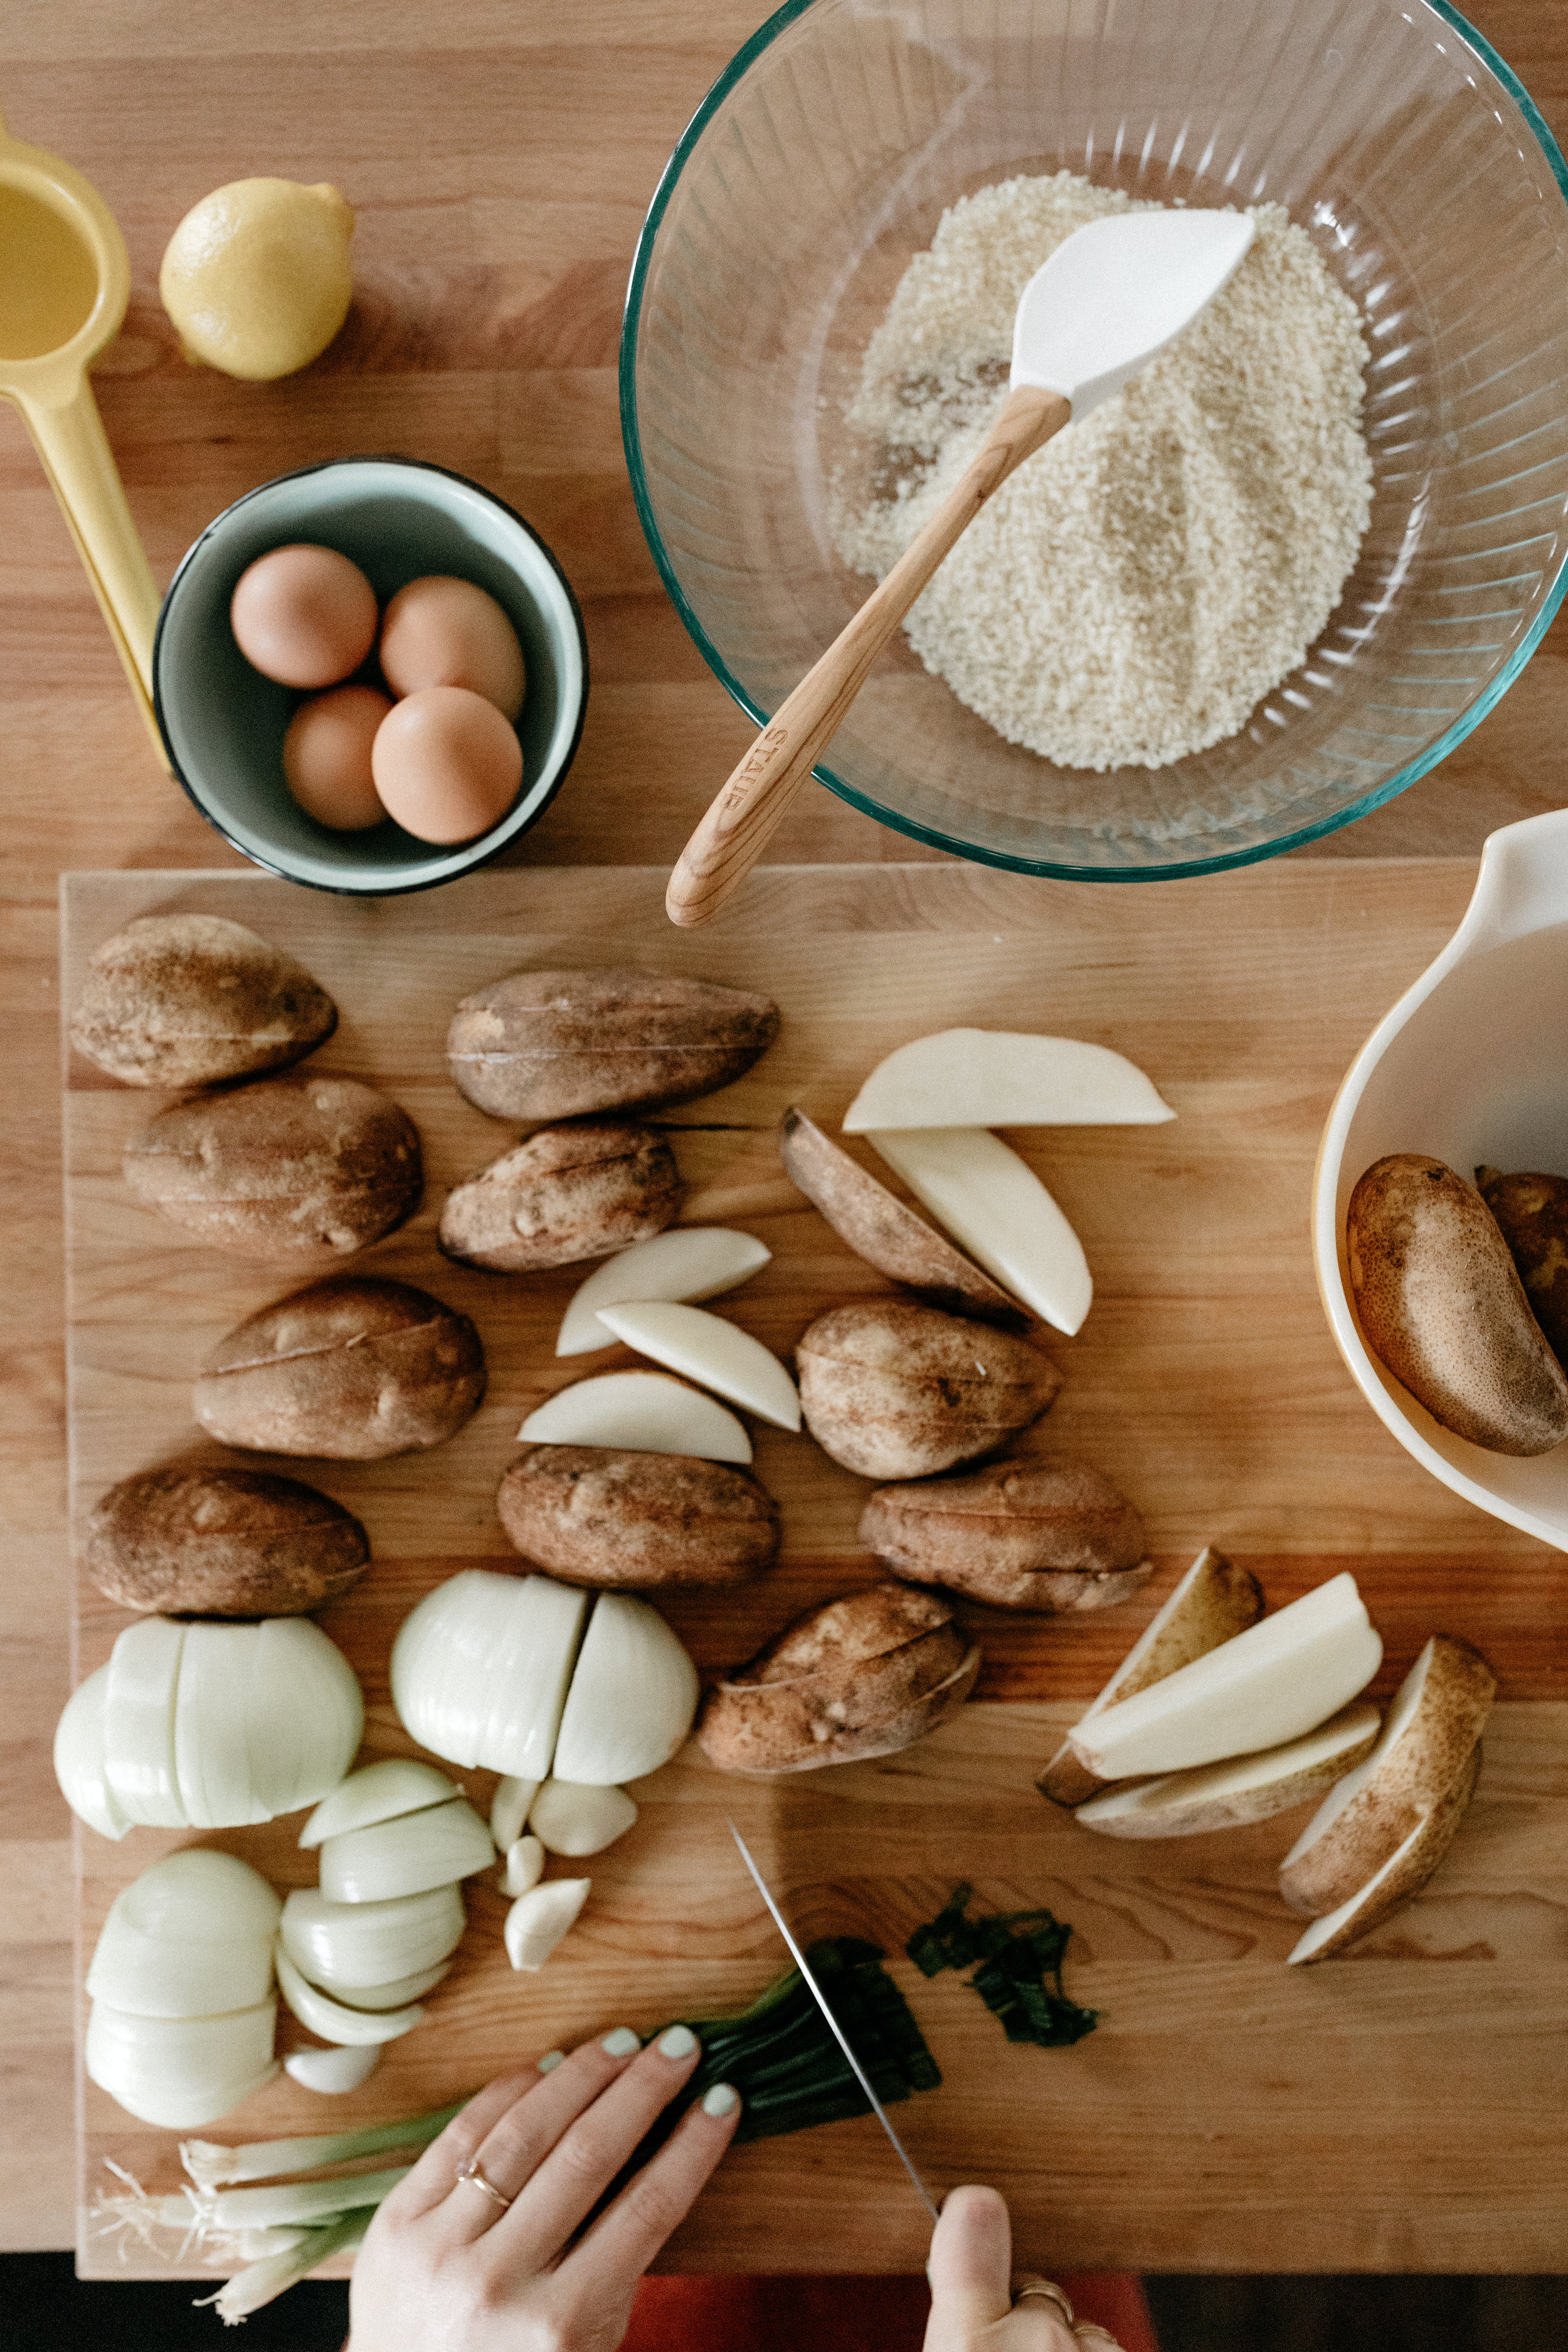
5 lbs. (2.25kg) red-skinned potatoes, peeled and cut into 1-2” cubes

1/2 c (100g) sugar

2 tsp kosher salt

2/3 c (133g) neutral oil, such as canola

1 (5-oz) can evaporated milk

2 1/2-3 c (325-390g) all-purpose flour, plus quite a bit more for dusting

Softened butter, sugar, cinnamon sugar, jam, or any other toppings as desired (like ham.)

clues

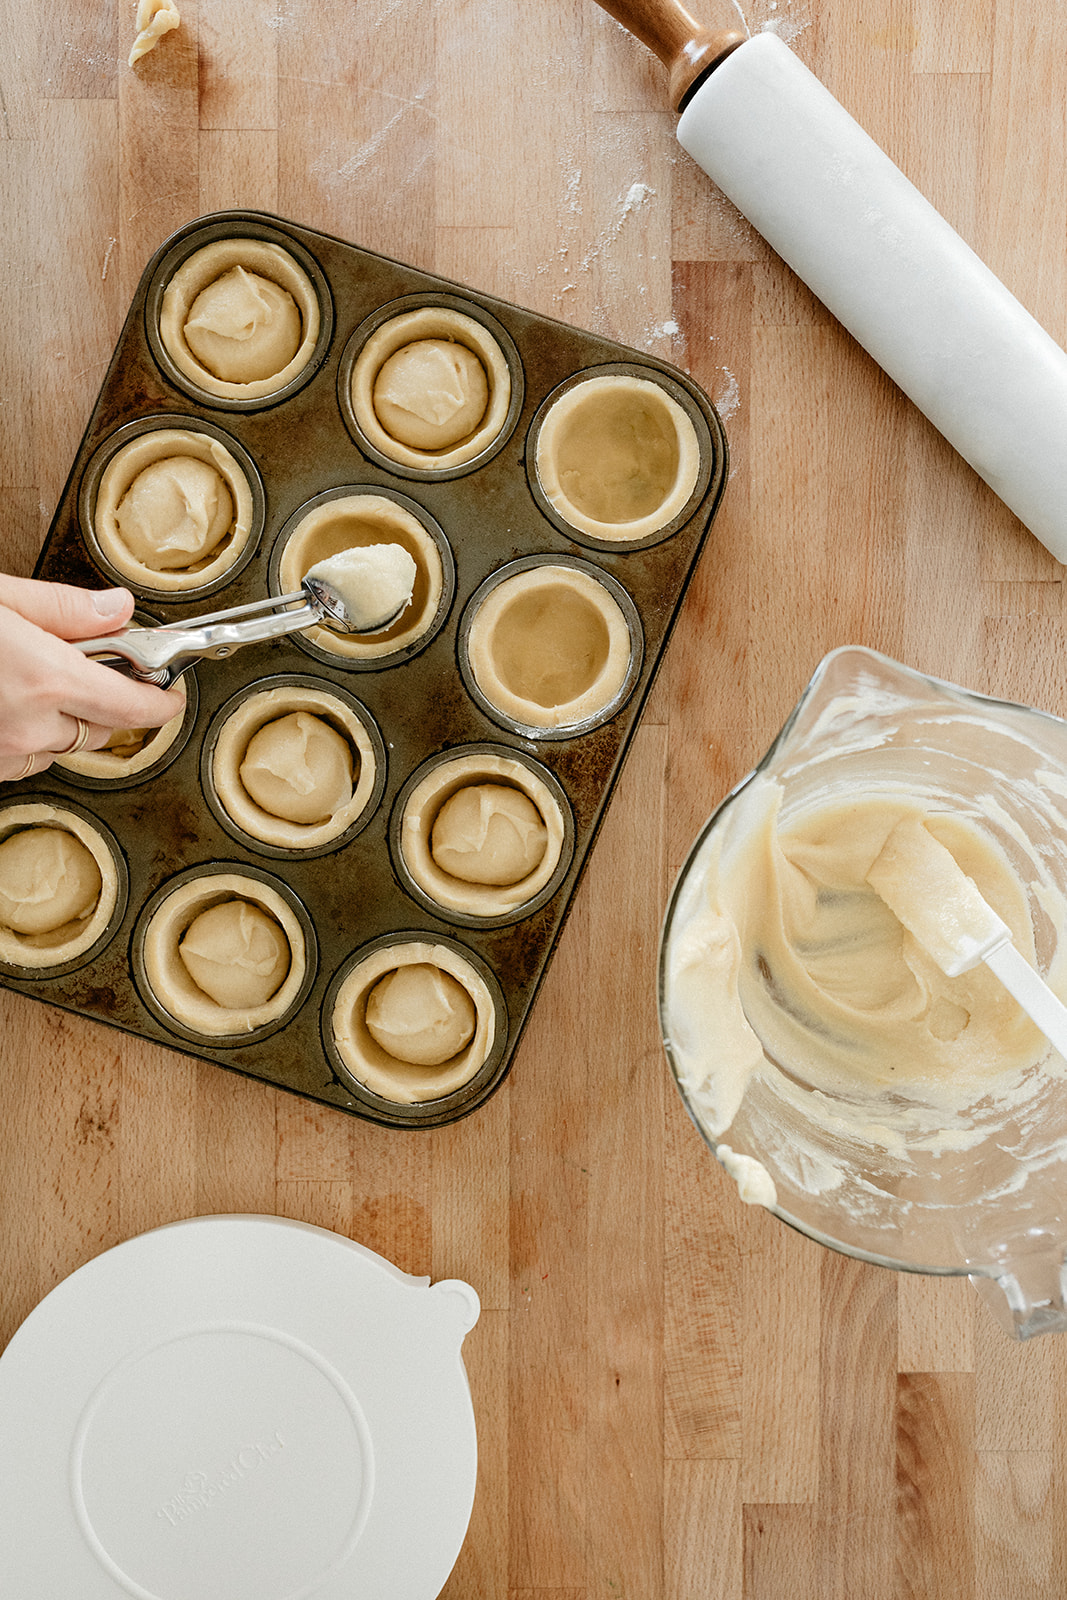
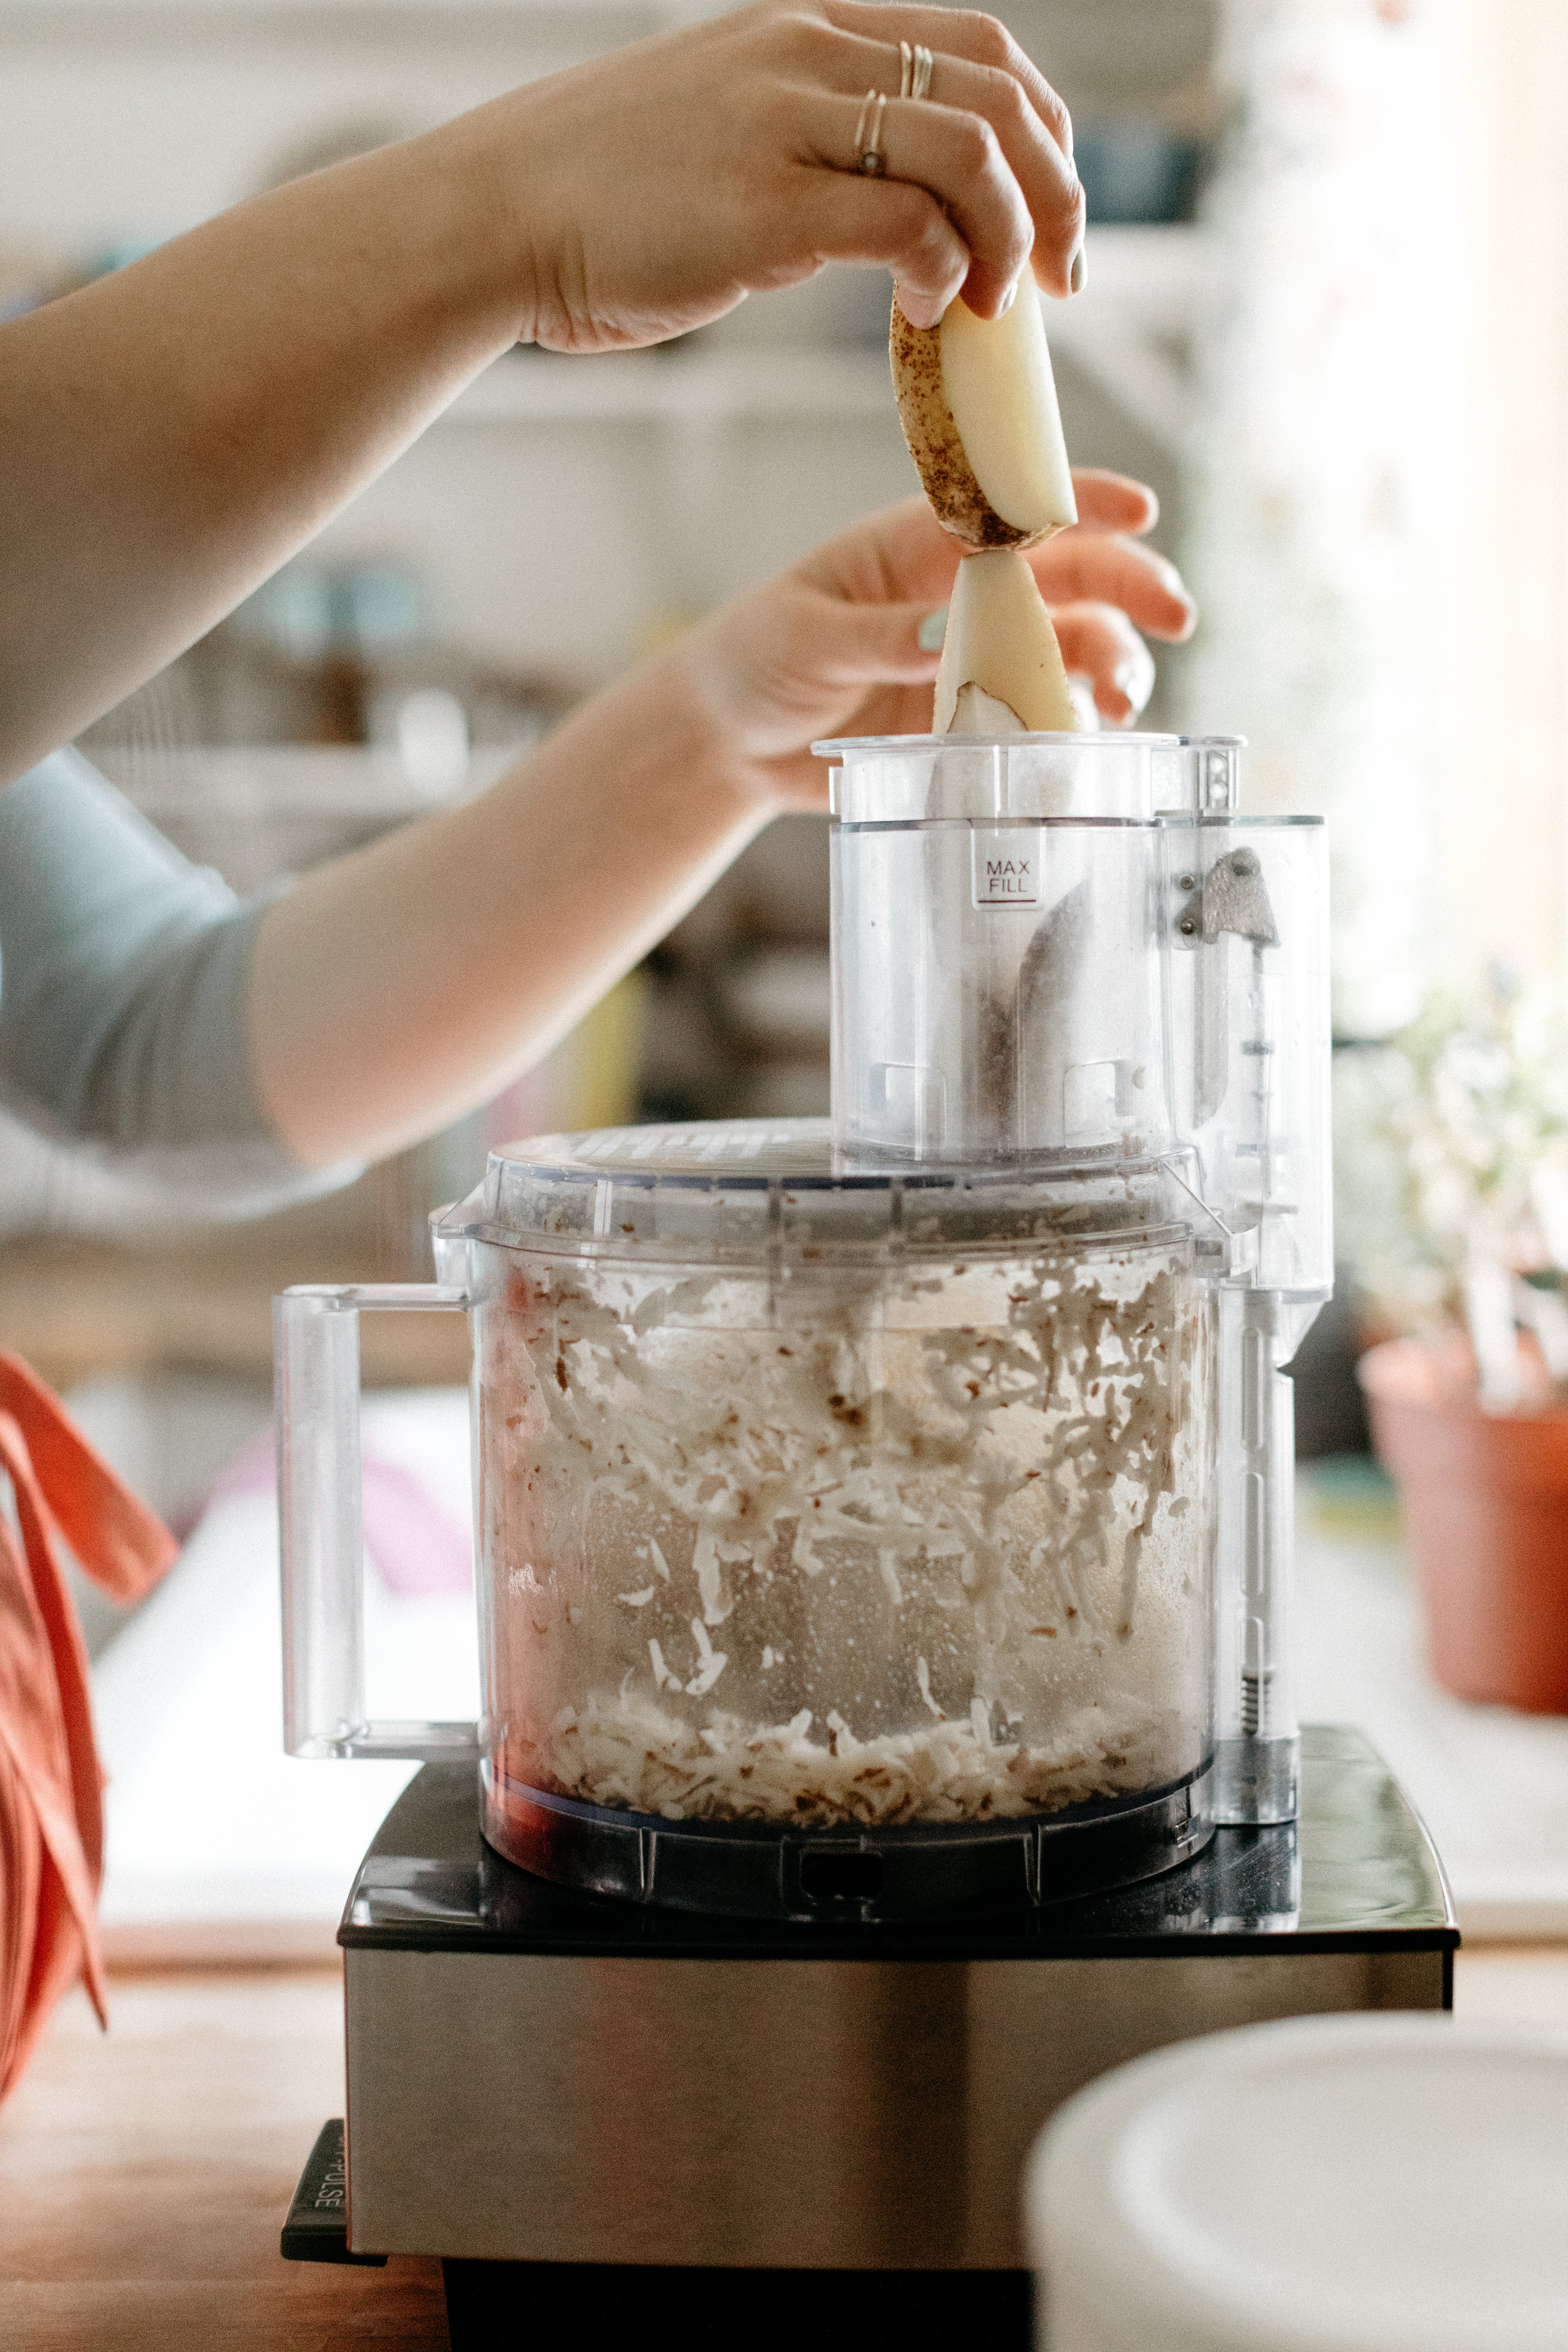
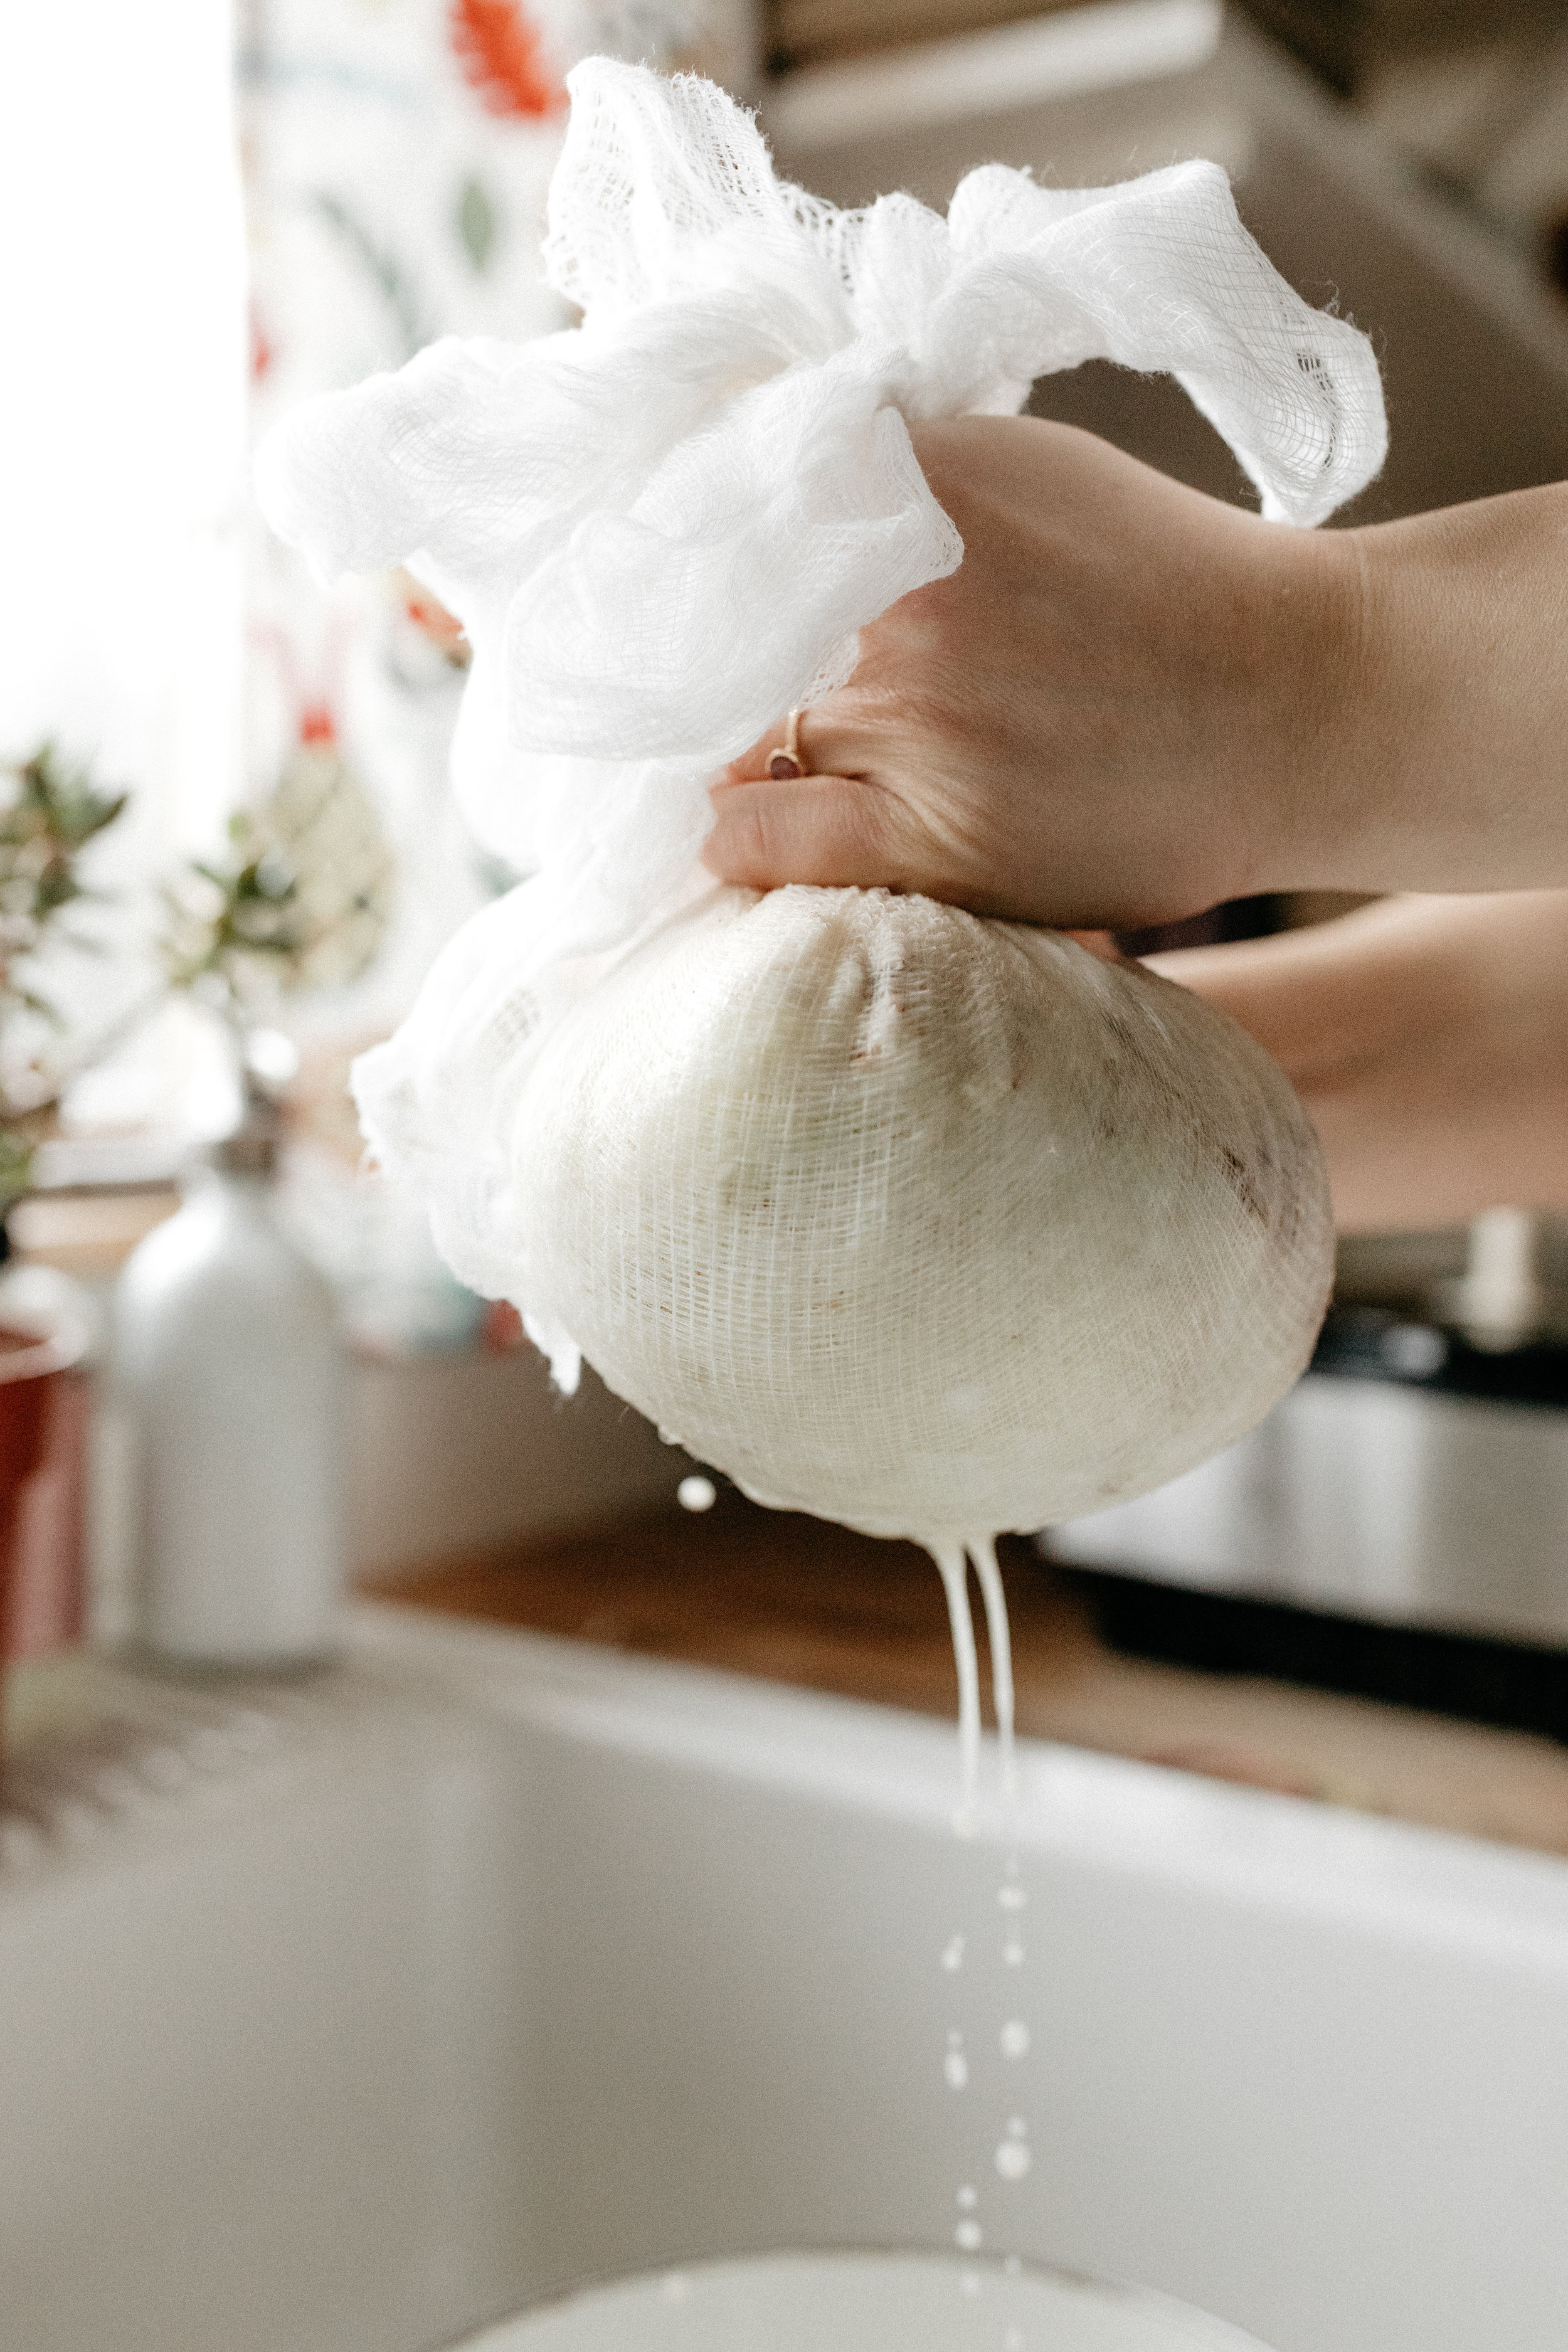
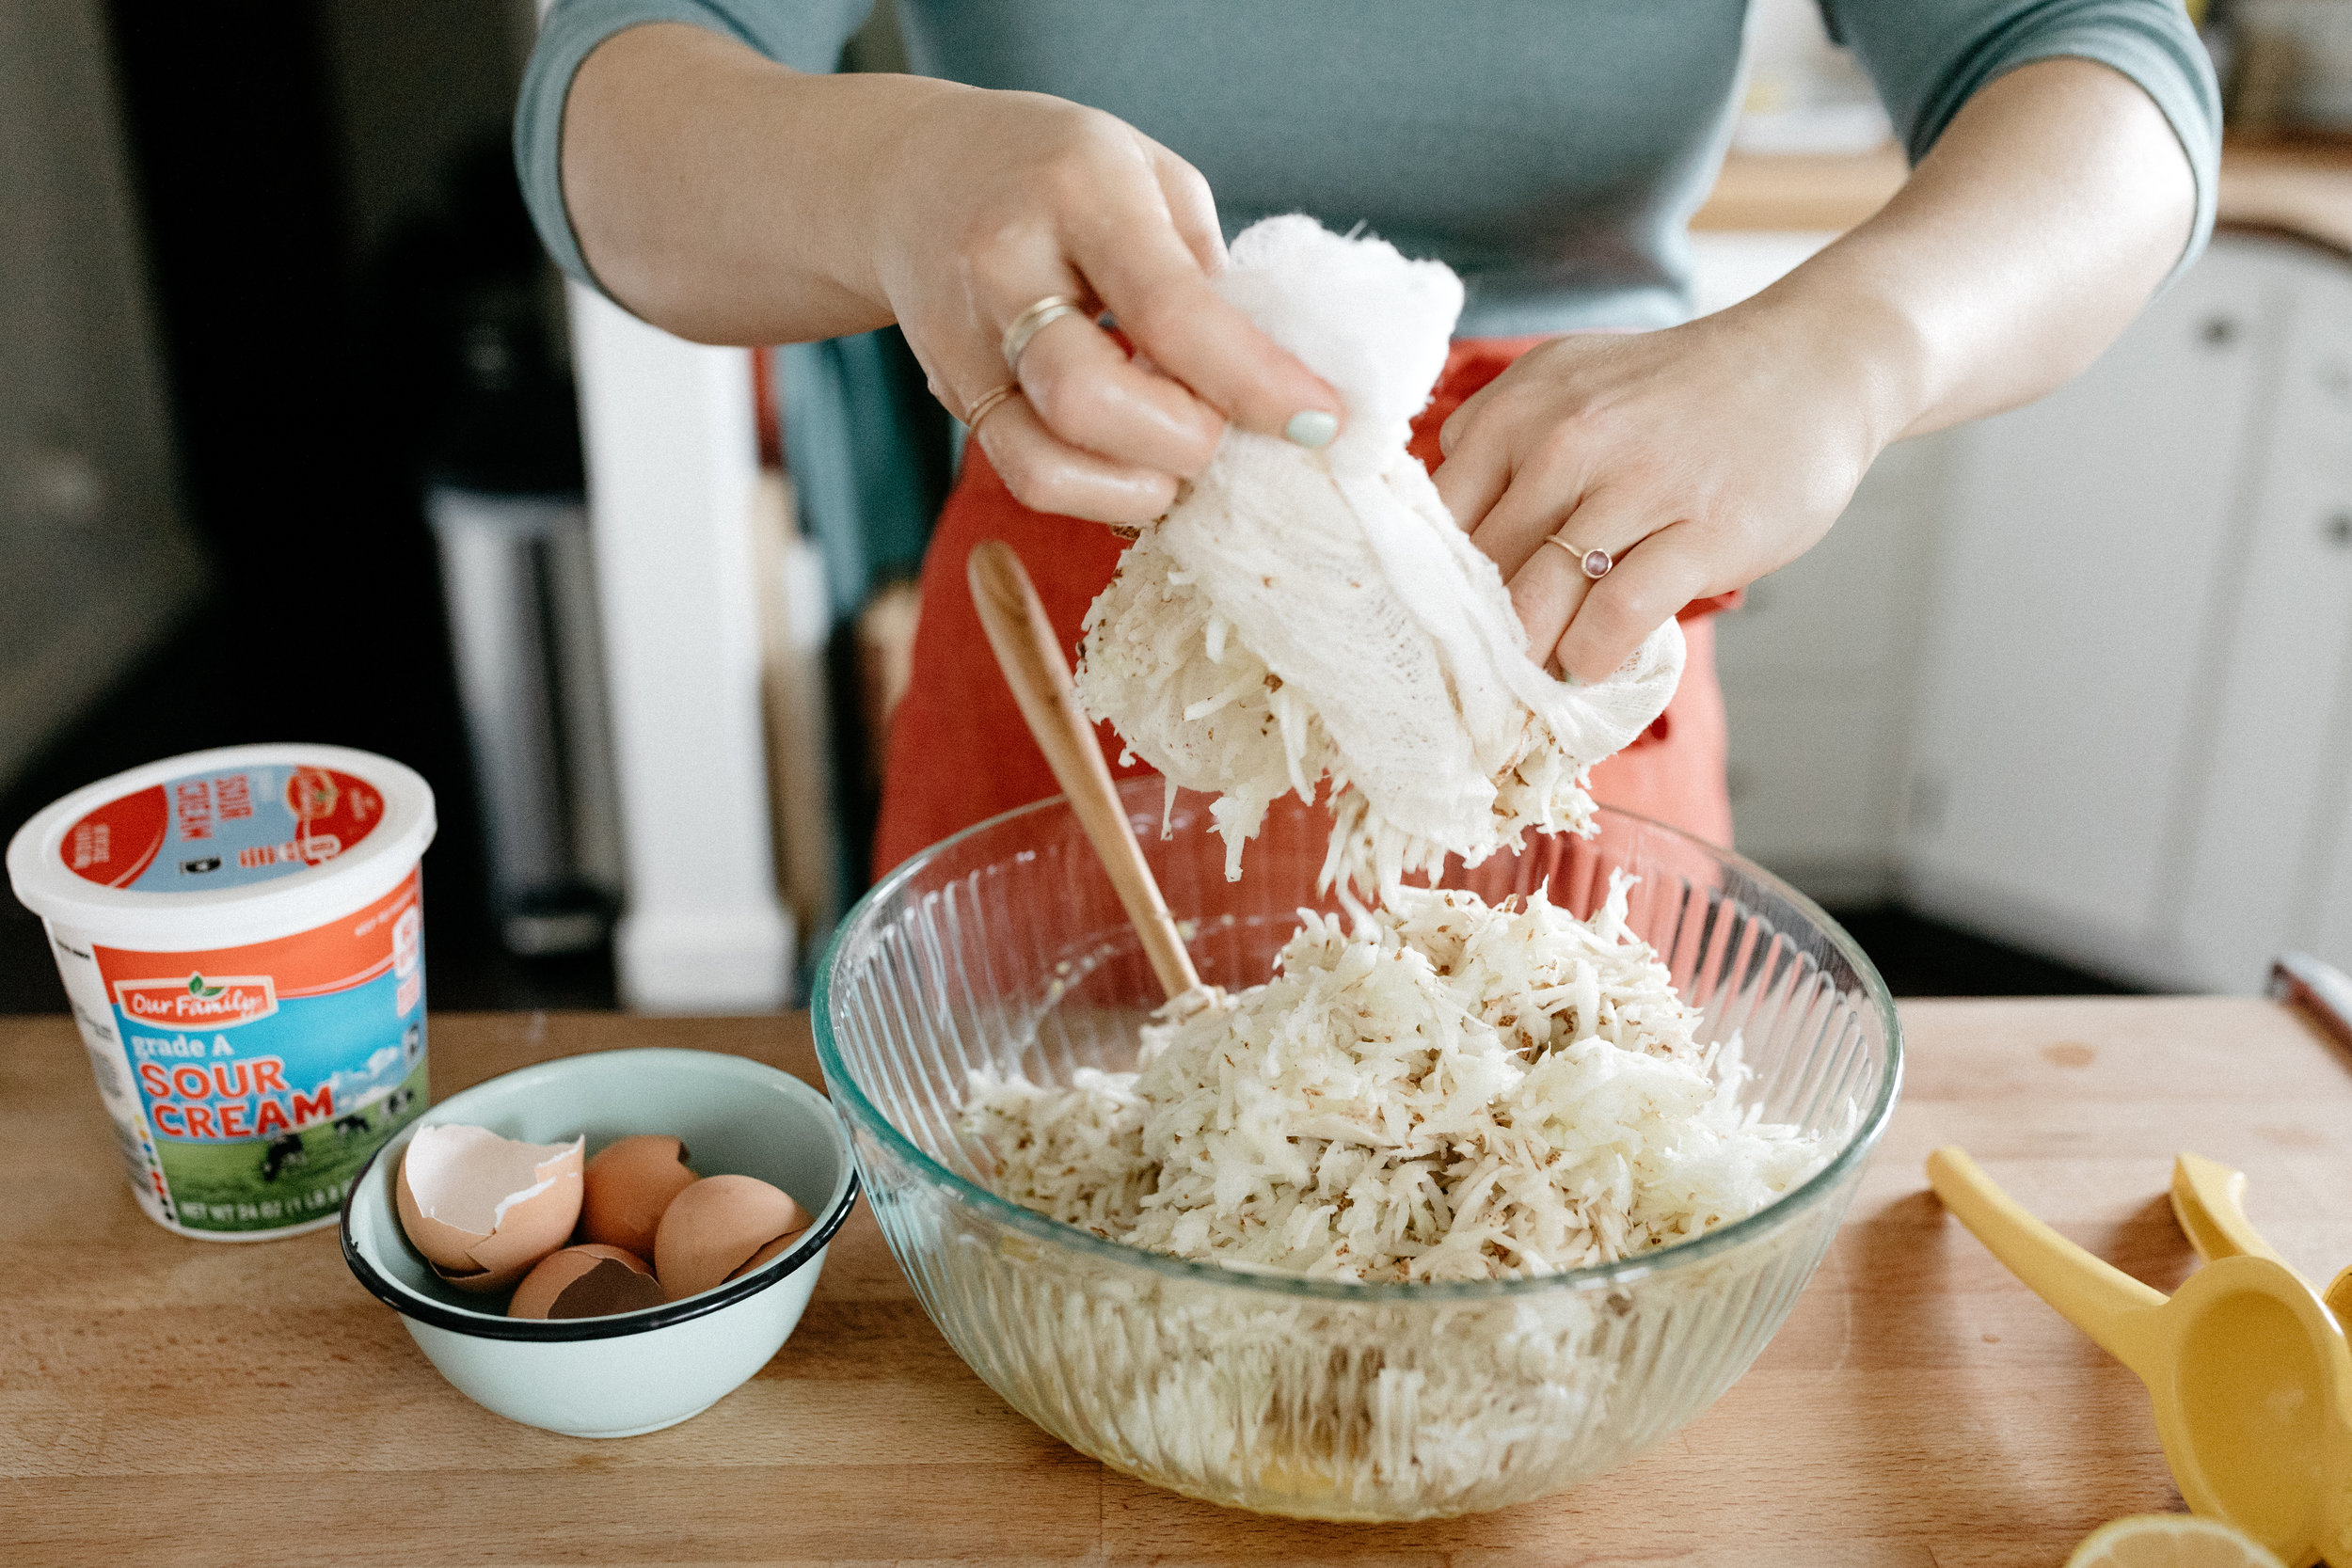
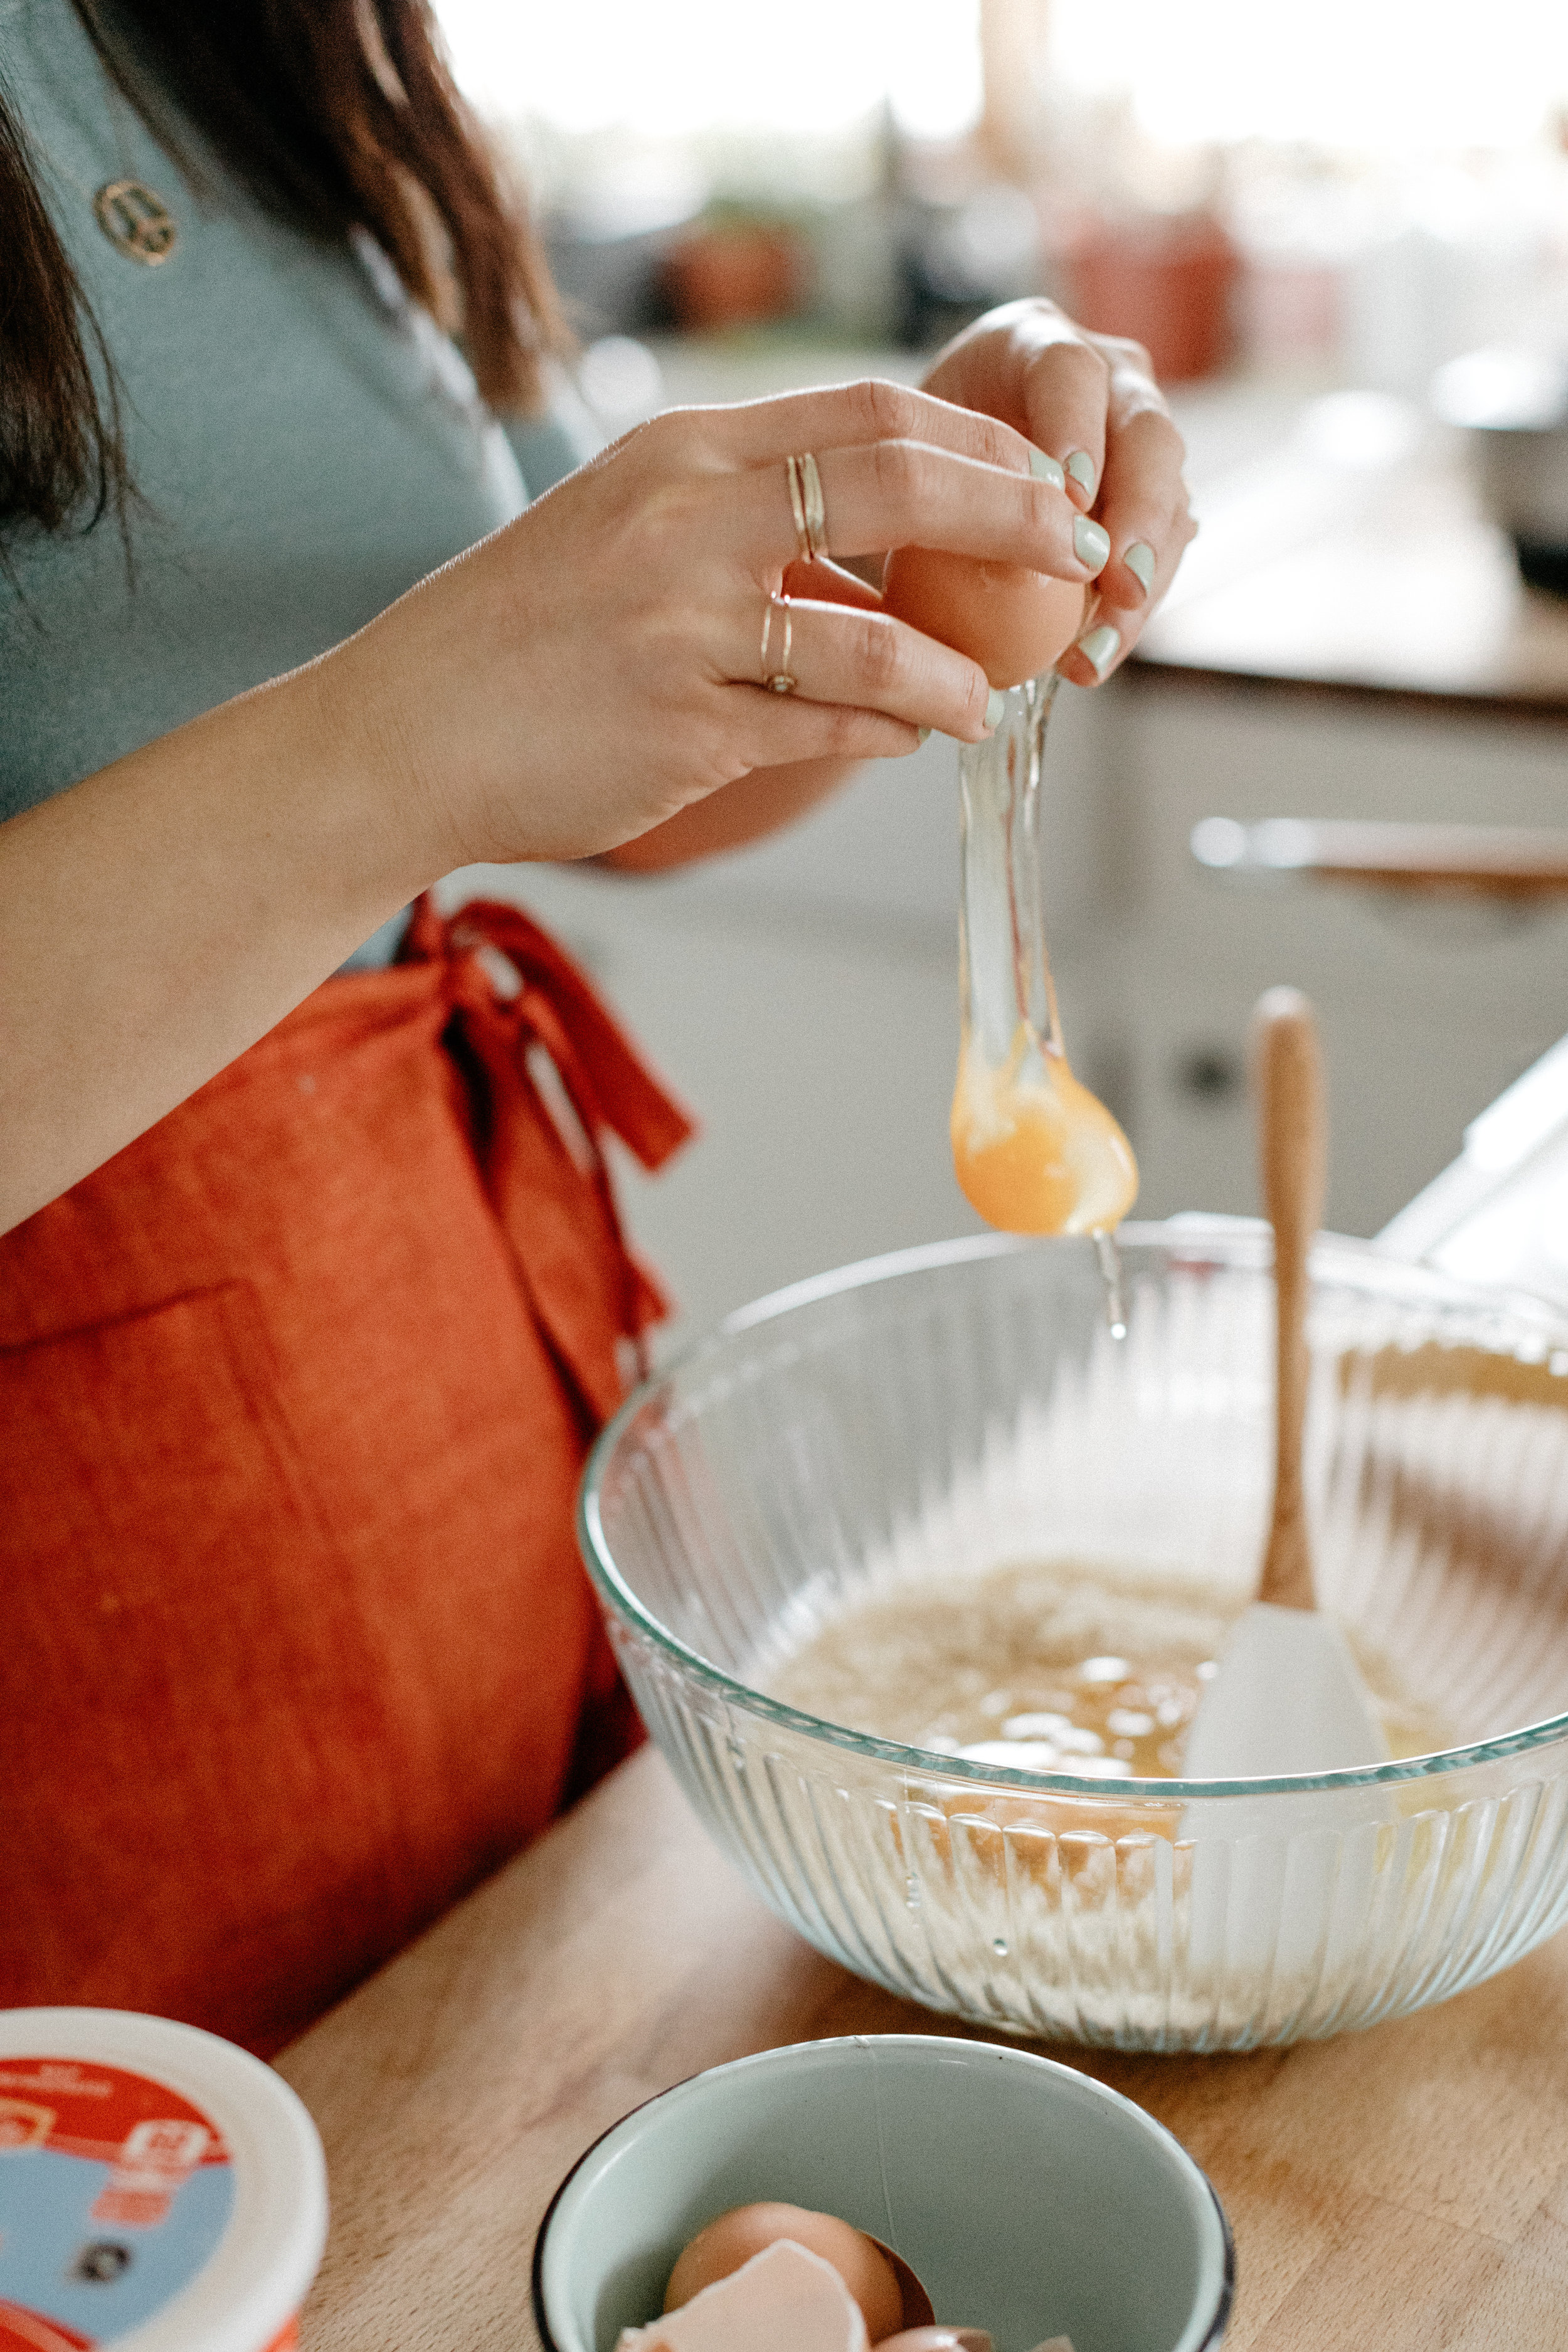
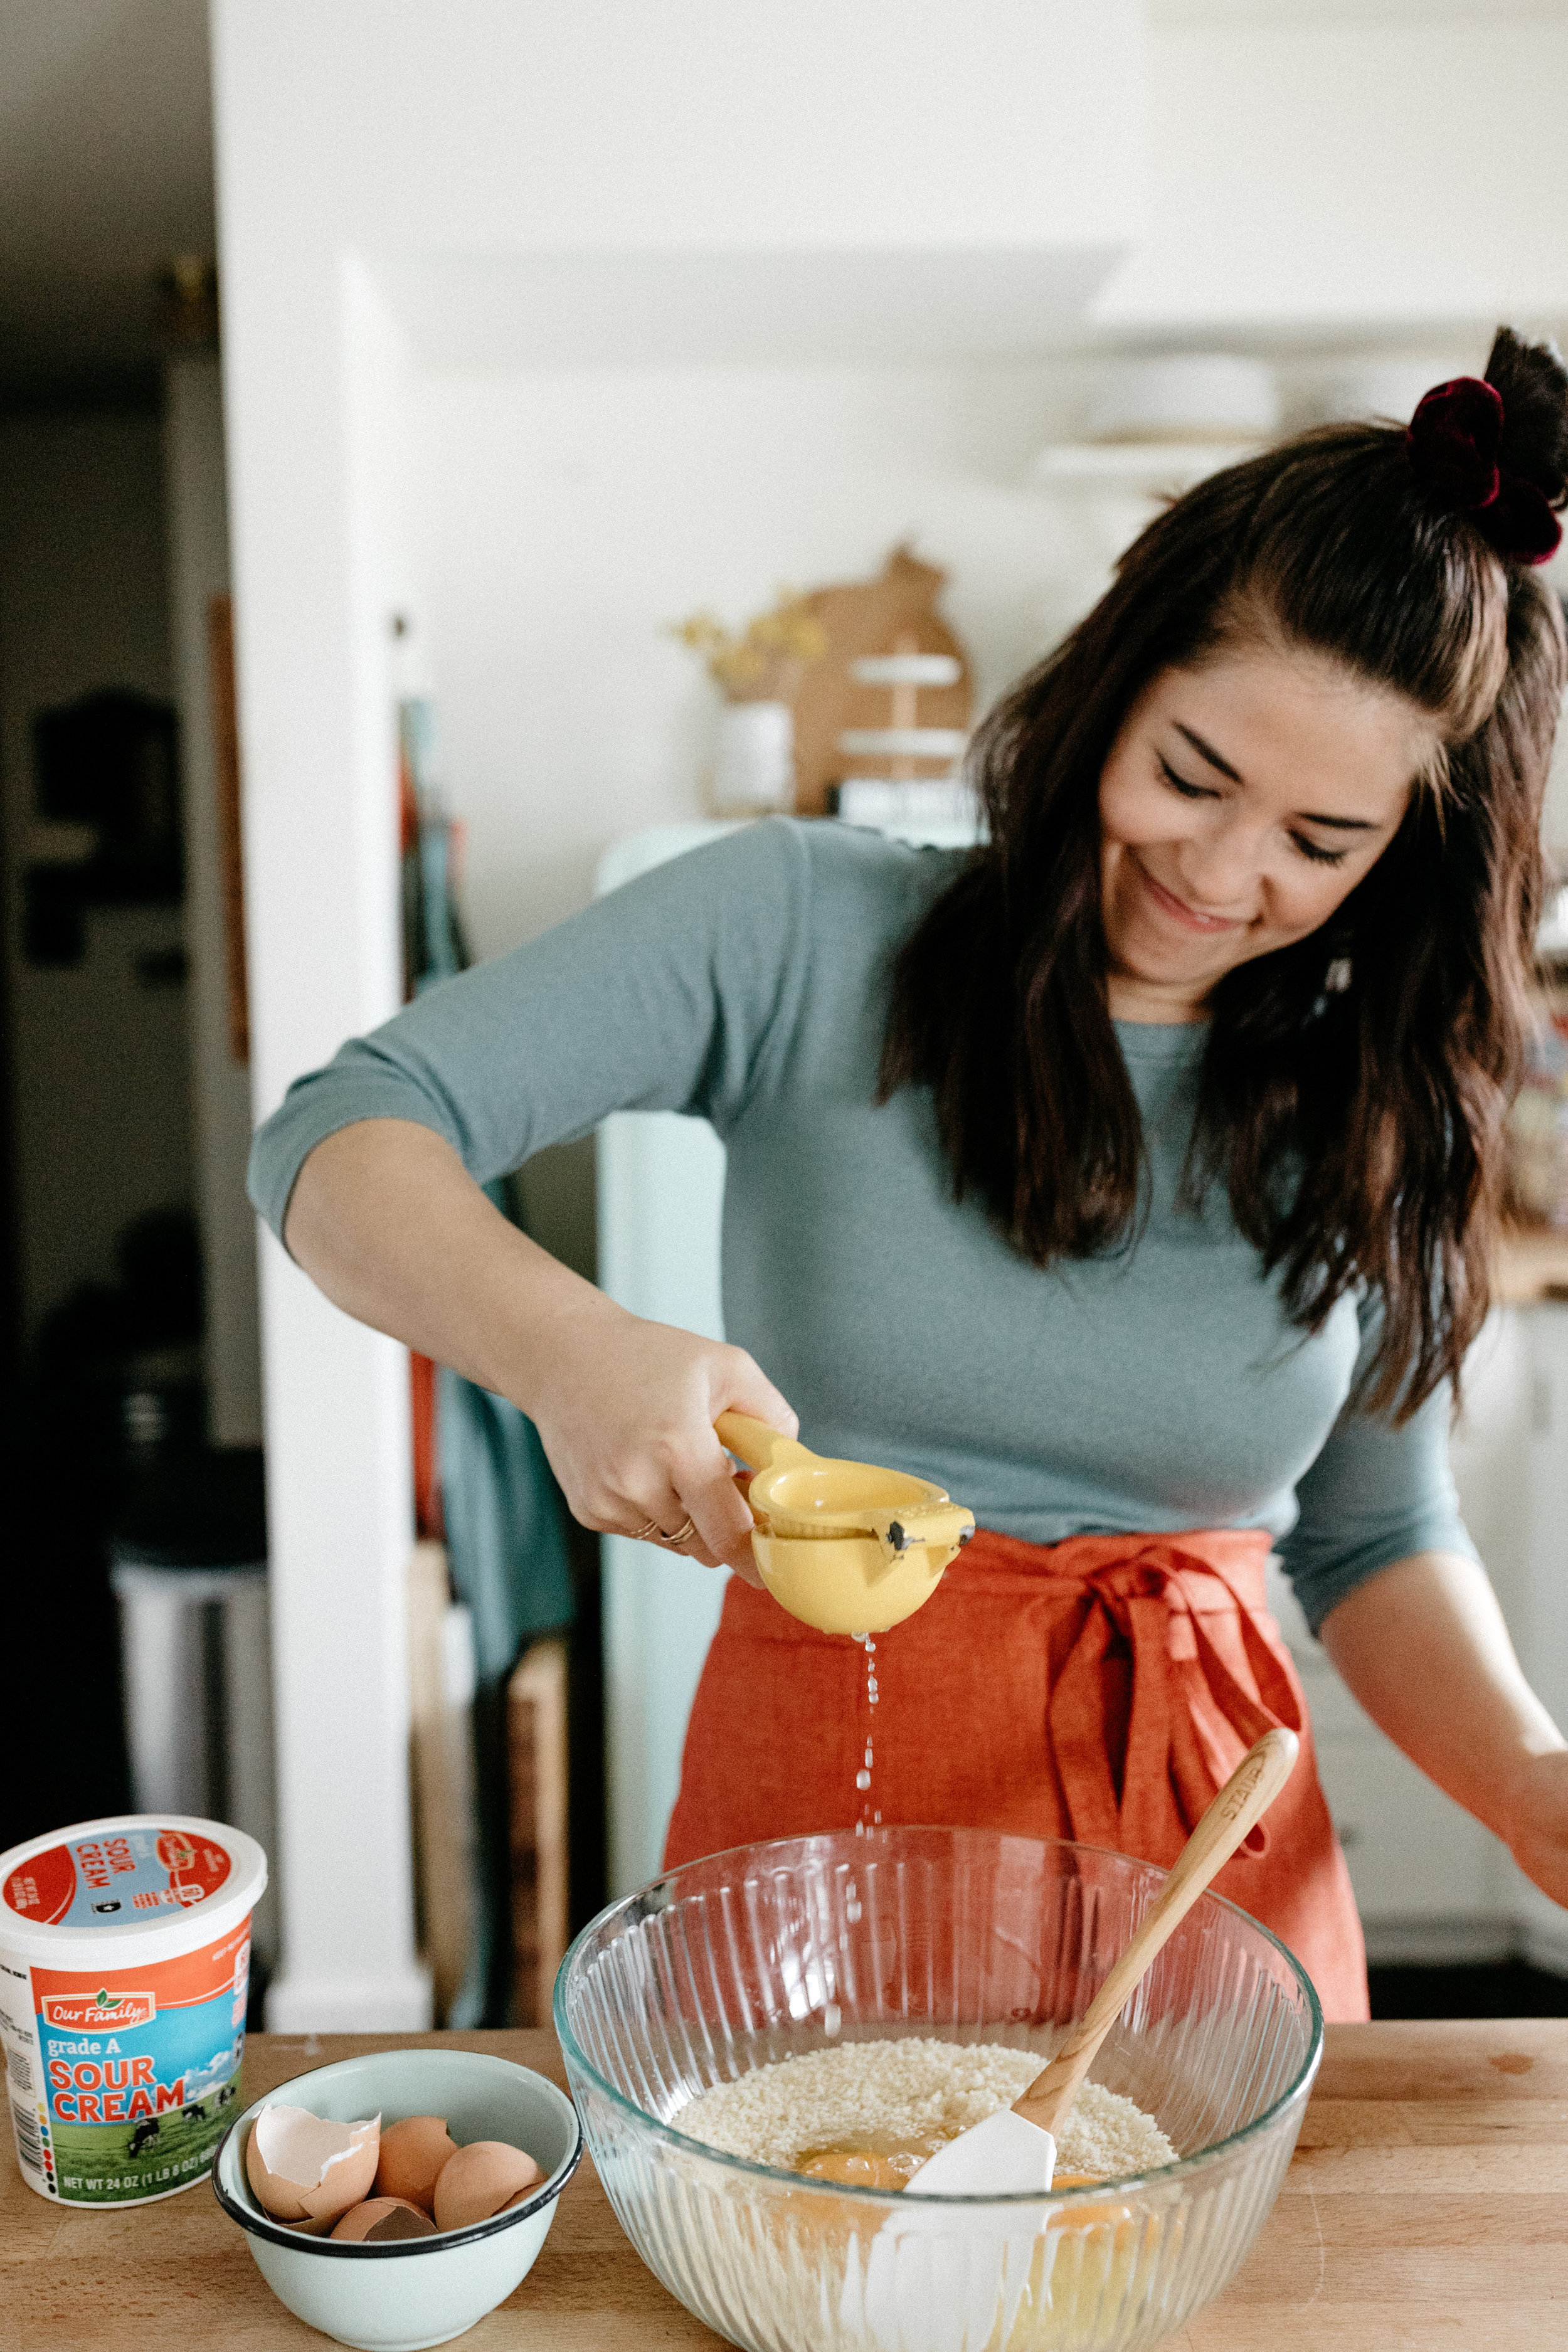
Add the potatoes to a large pot and cover with water. Bring to a boil over high heat and boil until the potatoes are tender, 15-20 minutes. Drain the potatoes and rice them into a bowl, continuing until you have 8 cups. Add the sugar, salt, oil, and evaporated milk, and mix to combine. Let cool, then cover and refrigerate for a few hours or overnight. 

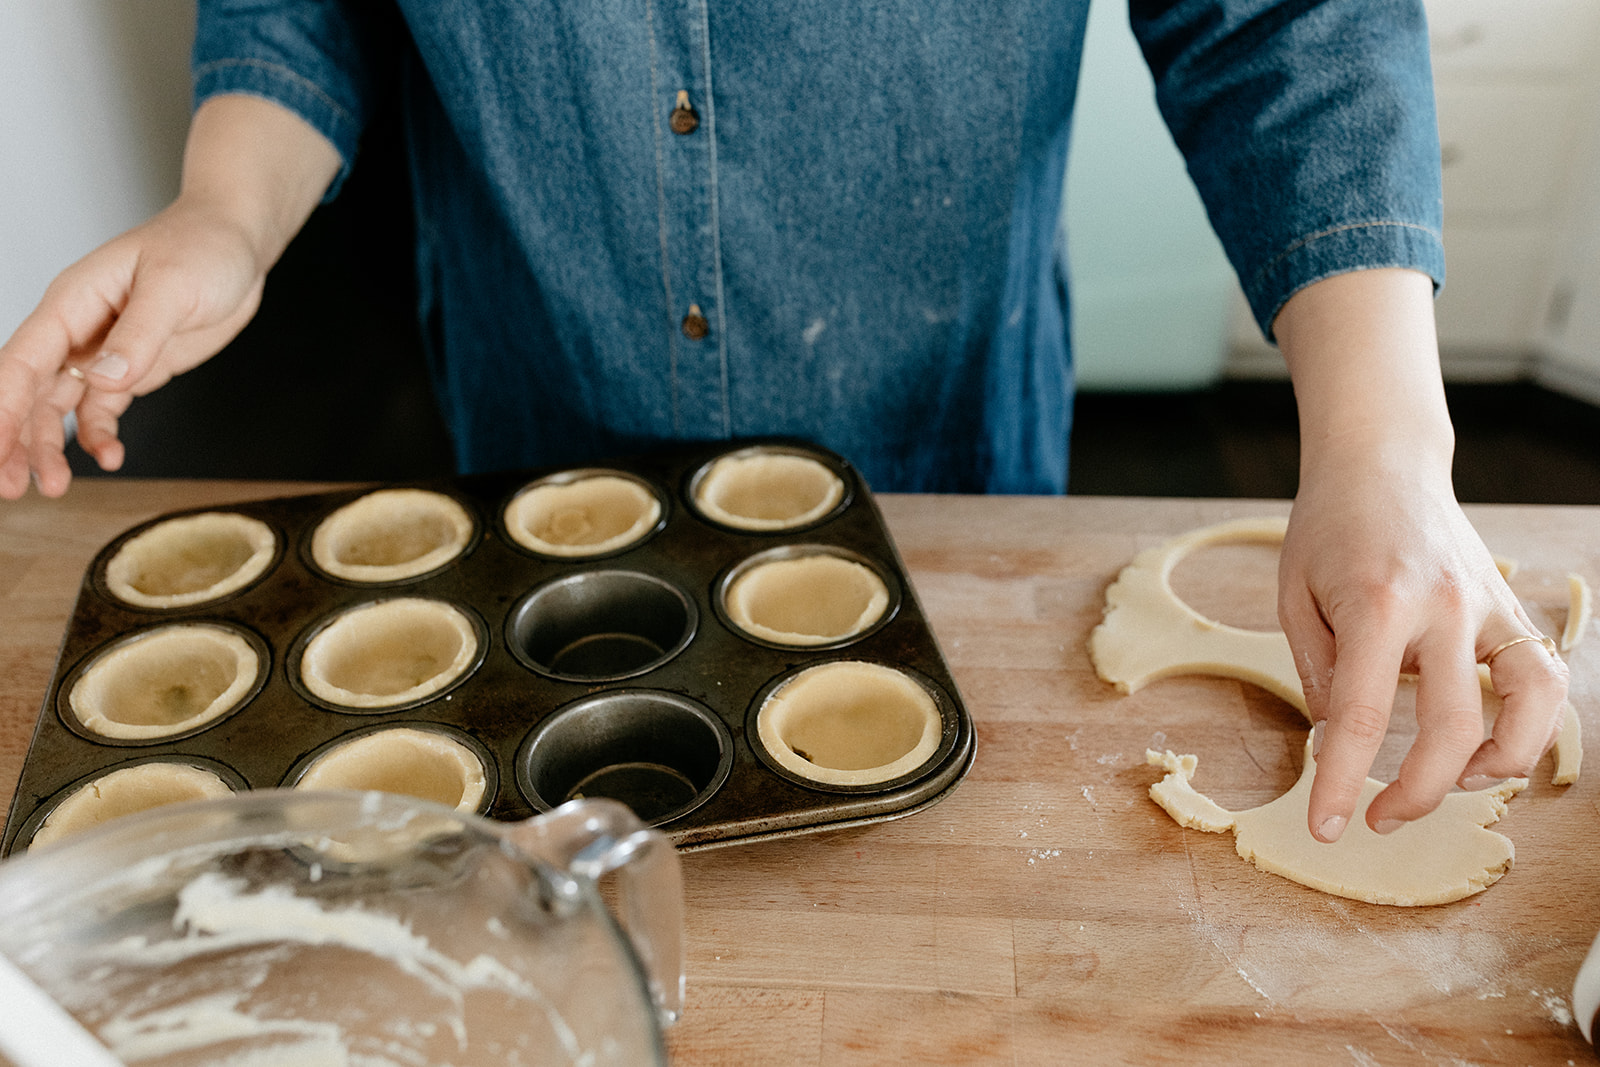
When you’re ready to grill, preheat a lefse grill to 400º or set a low-lipped skillet over medium high heat (I like using a cast iron pan, at least 10” big). Add the 2 1/2 cups of flour to the potato mixture and mix to combine. It should be sticky and hold together, but not so sticky that it’s impossible to work with, if so, add the remaining 1/2 cup of flour. Divide dough into two logs if you’re using a lefse grill, and four if you’re using a skillet. Cut each log into 9 pieces and place three of the logs on plates or a cutting board in the refrigerator. Keep the dough chilled while you’re not working with it, and work with one log at a time. 

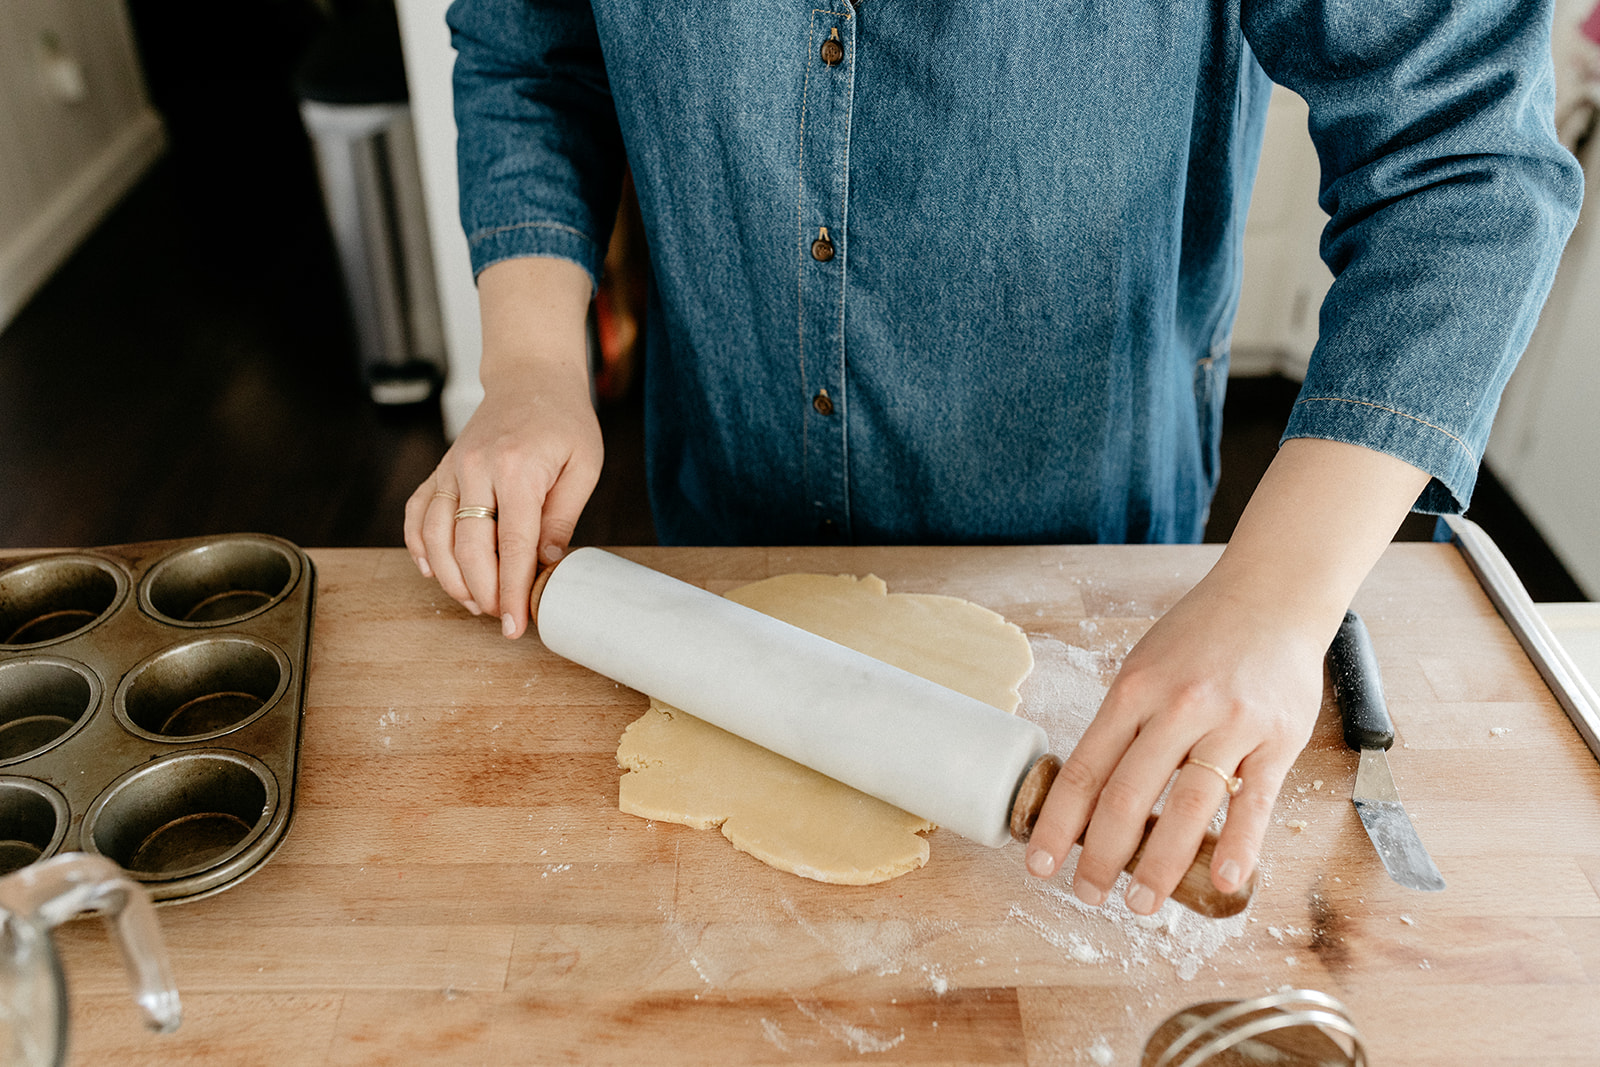
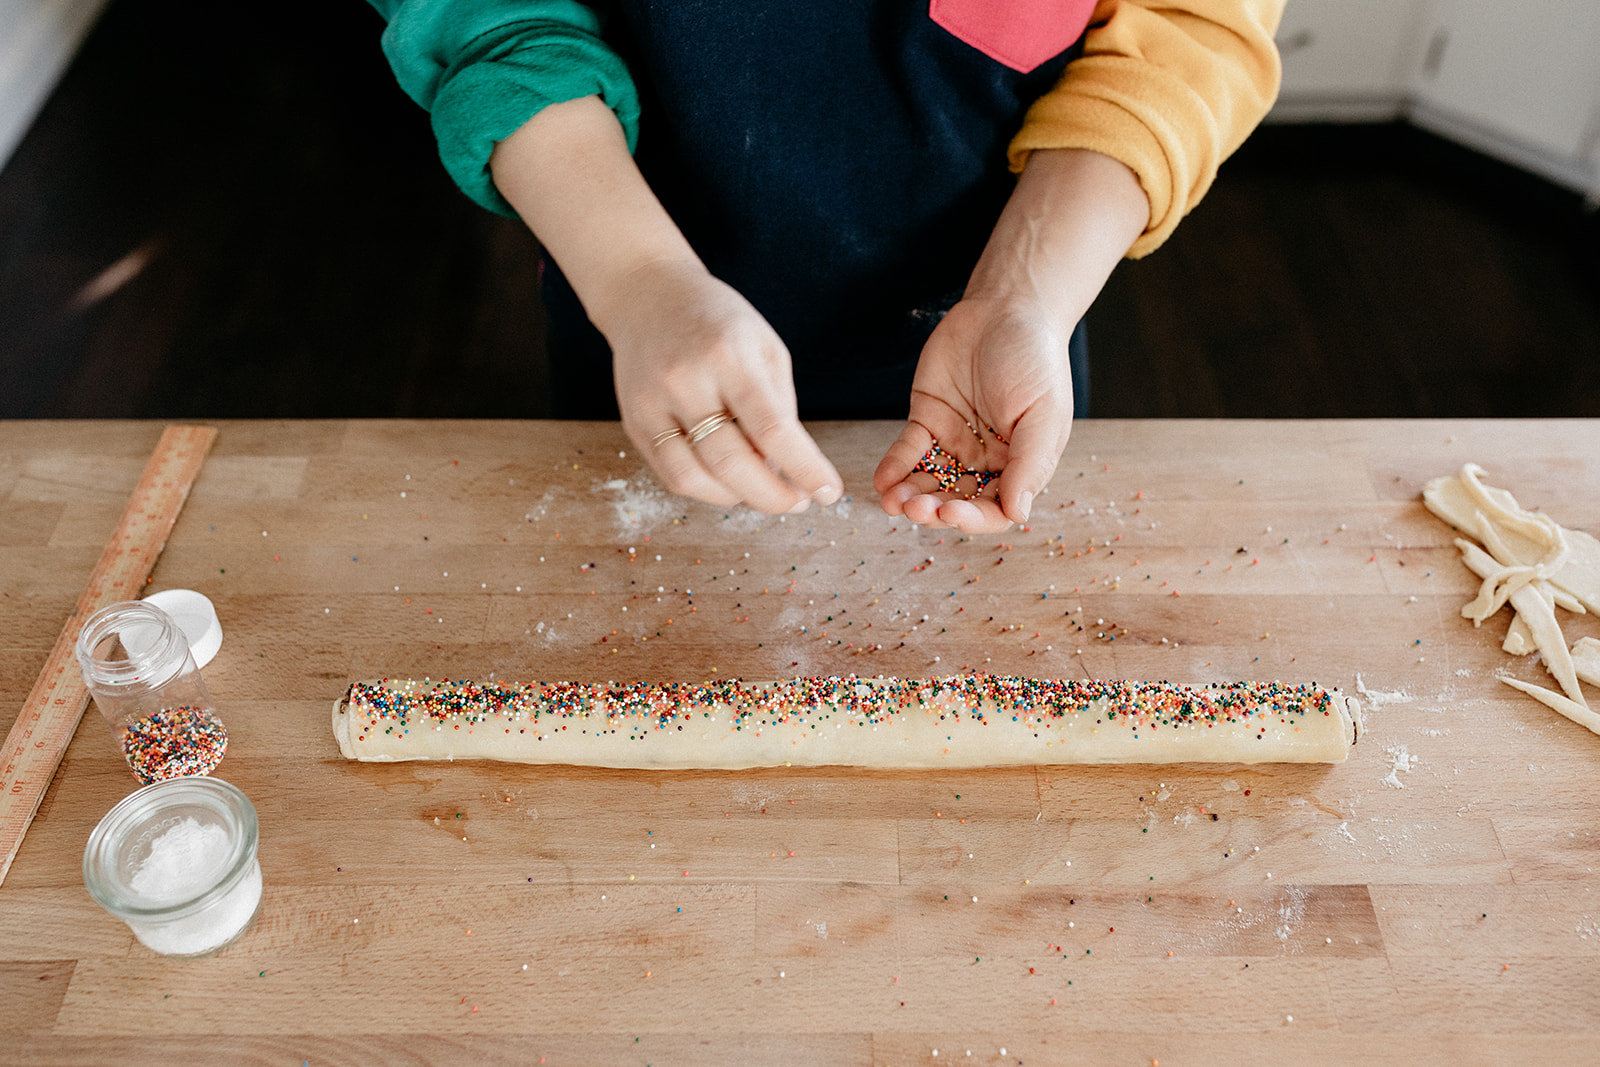
Roll one ball of dough into a ball and place it on a work surface dusted with flour. Dust the top of the dough with flour as well and gently roll it out into a large thin circle, about 1/4” thick, adding more flour as needed. Rotate and flip the circle frequently as you’re rolling it out so that it doesn’t stick. And again- add more flour as needed! Not knowing to do this is what brought me to tears the first time. Using a lefse stick or a large offset spatula, transfer the circle to the grill or skillet and cook until small brown splotches appear on the bottom, about a minute. Using the lefse stick or spatula, flip it and cook on the other side, until small brown splotches appear. Transfer to a plate lined with a clean dish towel and cover it with another. Repeat with the remaining dough, stacking lefse on top of one another between the towels. 

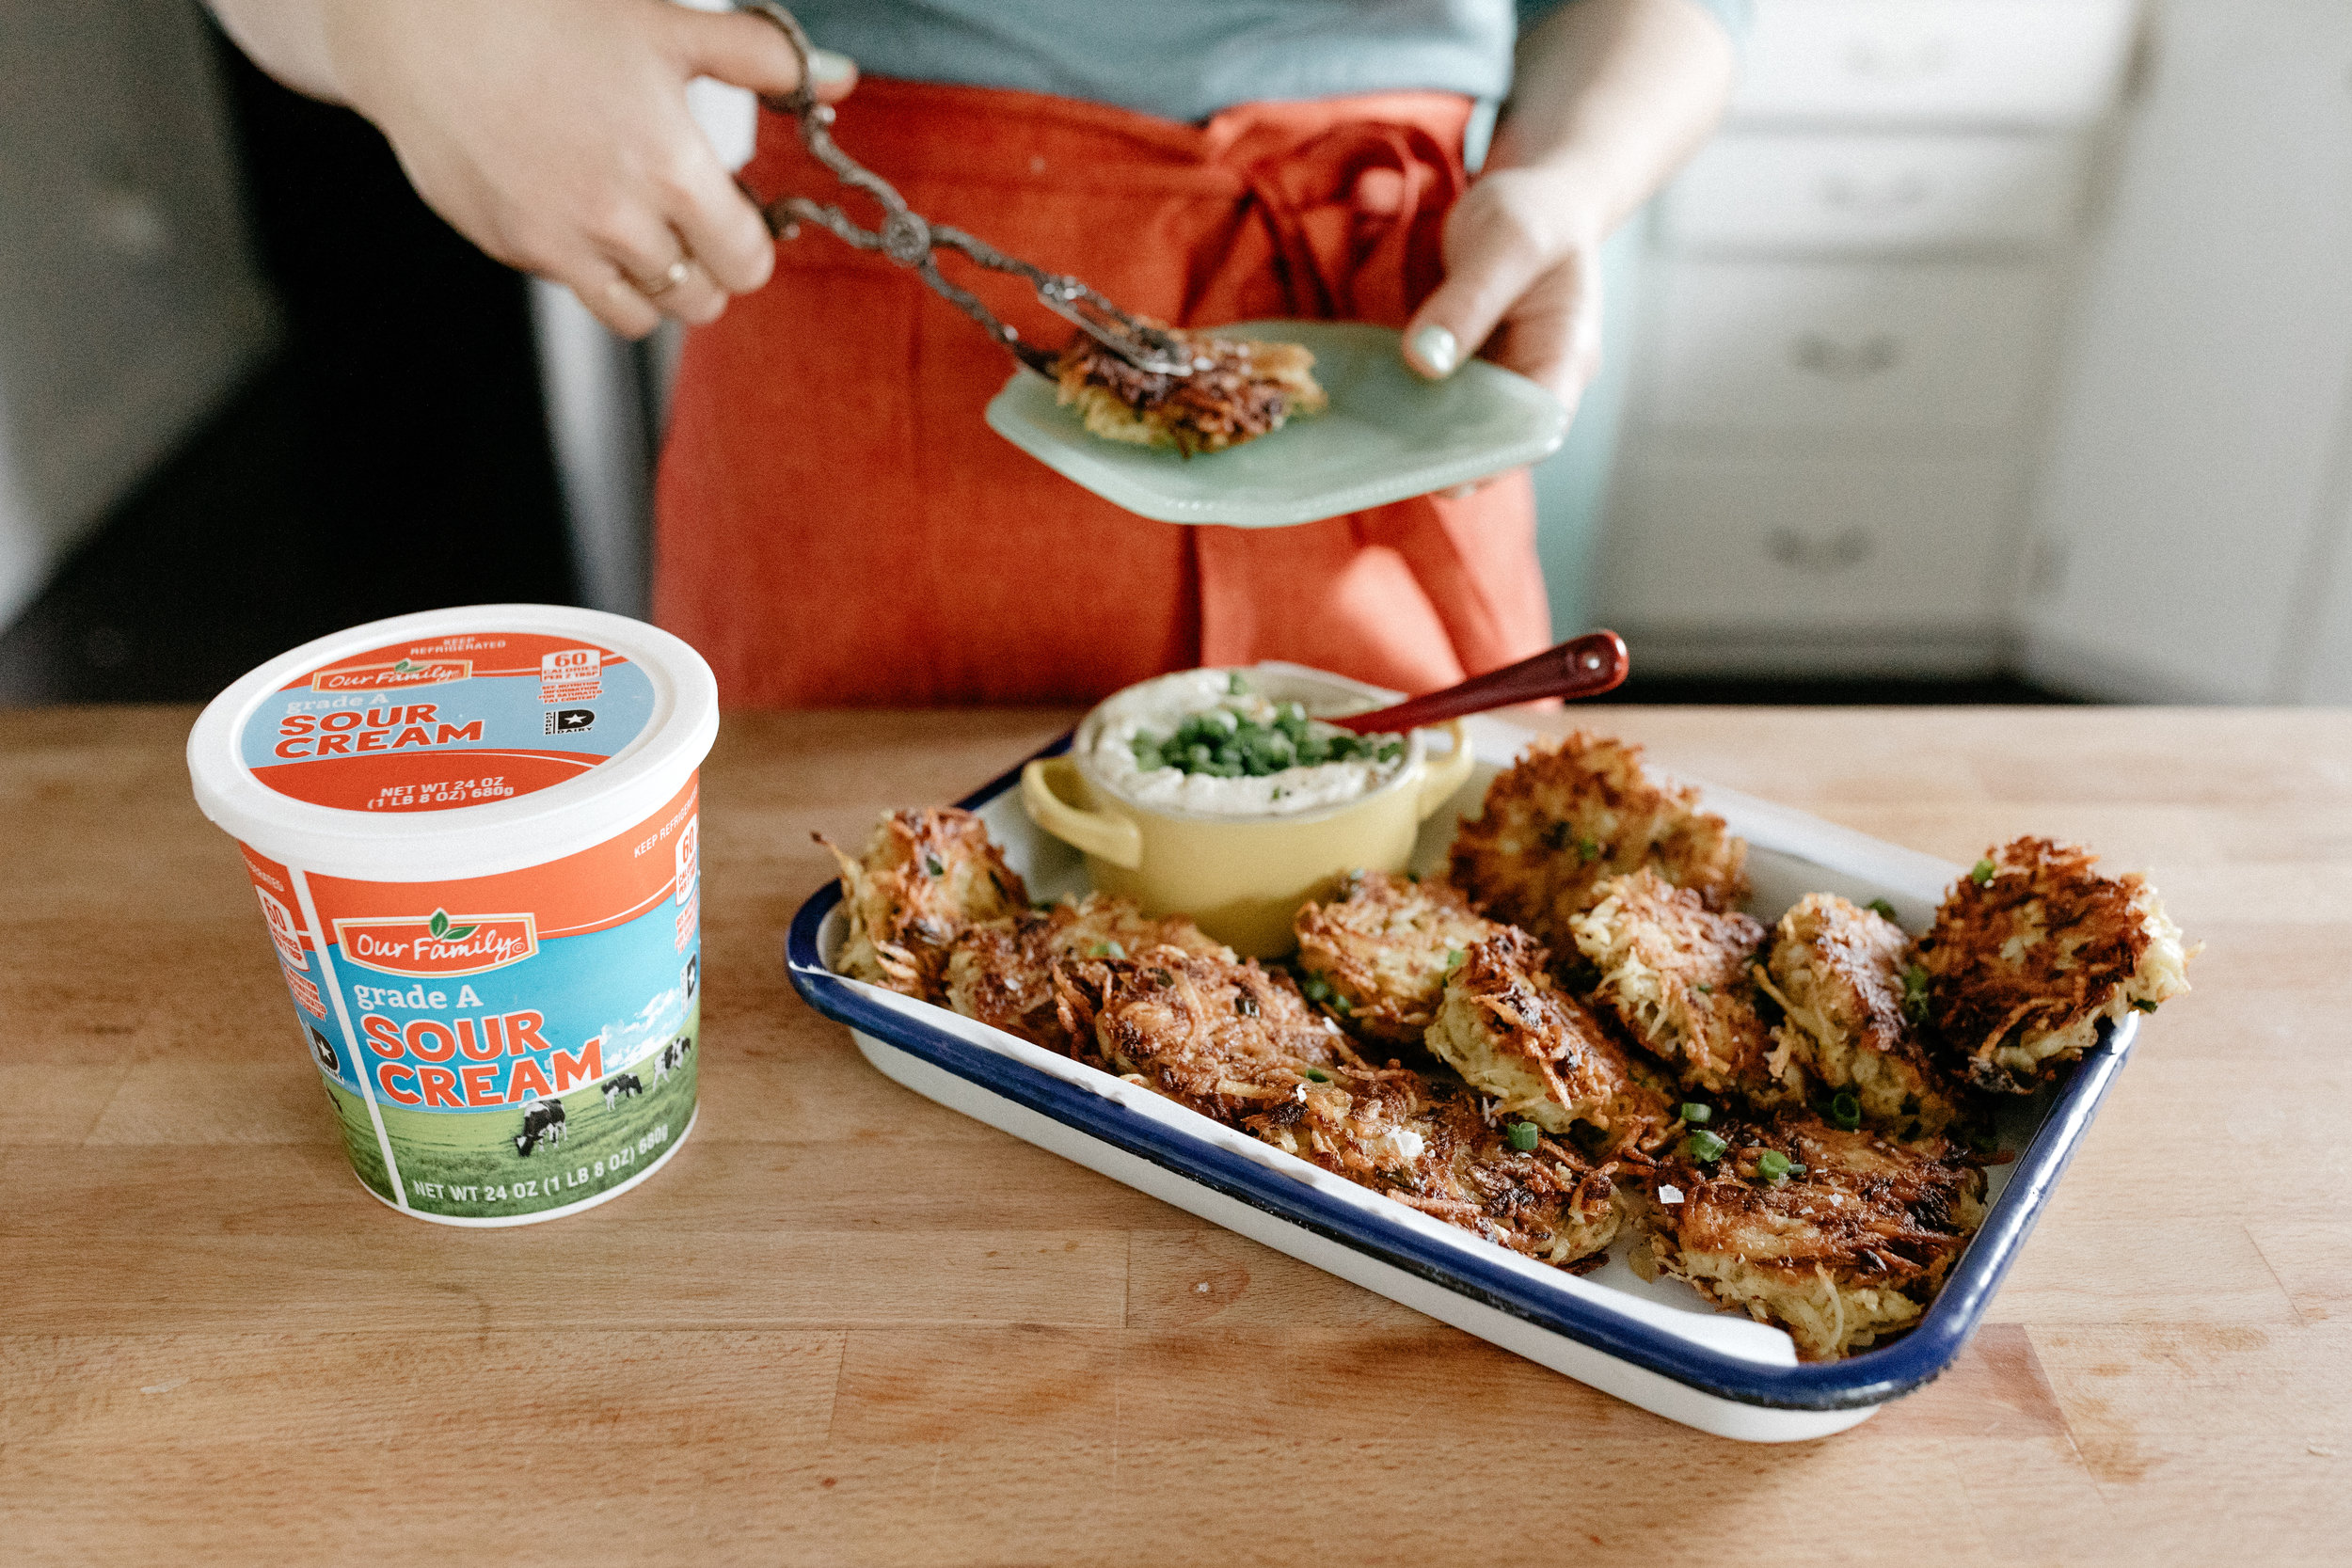
Serve with toppings as desired. This is best eaten the day of but leftovers can be refrigerated in a ziploc back and reheated in the microwave until warm. Or frozen and then thawed/microwaved before eating.


-yeh!

photos by chantell and brett!

mazariner

OK, I am officially in major baking mode for the holiday season. But Molly, aren’t you always in major baking mode?? Well, uh, yes, but consider this major baking mode plus because these days I’m not just testing blog recipes and baking the occasional birthday cake, but I’m also cranking out tasty lil gift boxes for people around town and my entries for the various cookie swaps that I’m going to this month. 

So what does baking mode plus look like? There is a steady supply of butter softening on my counter at all times, my fridge is filled with stacks of discs of dough wrapped in plastic wrap, two stand mixers are out on the counter, I have a regular container of well beaten egg wash sitting in my fridge ready to go at a moment’s notice, the smell of almond and vanilla is in the air, there is probably flour on my face, and I am dressed warmly in fluffy socks and sweaters because I like keeping it kind of cool in the kitchen so that doughs are easier to handle. Also, Christmas movies or ice skating are always always on the TV. And water is in my cup. Because cold Midwest tap water has been at the top of my cravings list and also because everything I read about drinking tea while preggo is kind of a question mark?? I can’t really keep it straight, so I’ve pretty much been avoiding it altogether, even though I realllly want to complete this vibe with sugar cookie Christmas tea, which is probably just vanilla flavored water, but I’m just that paranoid. 

One treat I’ve been baking a ton of has been Mazariner, Swedish almond tarts. They are basically a buttery crunchy cookie cup filled with dense almond cake. In my mind, they’re marzipan in tart form, and you know how marzipan runs through my veins this time of year. I always used to get them for dessert at IKEA when my mom and I would go eat Swedish meatballs. They weren’t the prettiest dessert because they were unglazed and just two shades of brown, but they were by far the tastiest. I don’t actually know if they serve them anymore, but still to this day, I just cannot get enough of the texture of the filling. It’s a texture that I don’t see too often in desserts because even though it’s cakey, the only leavening agent in it is eggs, so it’s extra dense, almost as if it wants to be a blondie when it grows up. The whole tart is quite sturdy, which is one reason why I plan to gift a bunch of these this month. I’ve been topping them with a powdered sugar and heavy cream glaze, which makes a thick cloud-like topping, and to some of them I’ve been adding cranberry juice for bright natural color. And it’s kewt to decorate all of them differently, with fresh cranberries, herbs, sprinkles, etc., you know the drill!

And I’ve partnered with Pampered Chef on this post because their tools have been such amazing help during my big long baking days. I seriously use their stackable cooling racks every single day because of how much I can fit on them and how much space I save. I also love their medium sheet pans because of how sturdy and heavy duty they are. Other tools of theirs that rock are their pretty marble rolling pin, small spreaders (perfect for decorating these tarts), medium scoops (great for distributing the tart filling evenly), sturdy serving spatulas, heavy duty silicon-coated sauce whisks, classic batter bowls, muffin pan, small glass mixing bowls, and stainless steel mixing bowl set. All of the bowls I’ve used in this post have lids, which are so great because sometimes I need to keep glazes and egg washes going for a couple of days, or prep fillings and such a day in advance. Thank you so much, Pampered Chef, for providing these tools and sponsoring this post!!


mazariner

makes 12

Ingredients

Shells:

1/3 c (67g) sugar

1 3/4 c (228g) all-purpose flour, plus more for dusting

1/2 tsp kosher salt

3/4 c (168g) unsalted butter, cold and cubed

2 large eggs, separated

Filling:

1 c (120g) almond meal

3/4 c (150g) sugar

1/2 tsp kosher salt

6 tb (85g) unsalted butter, softened

1 tsp almond extract

1 large egg

Glaze:

1 c (120g) powdered sugar

1/4 c (60 ml) heavy cream or 2 tb cranberry juice

1/4 tsp almond extract

To decorate: sprinkles, fresh herbs, sliced almonds, fresh cranberries

Clues

To make the shells, in a food processor, pulse together the sugar, flour, and salt to combine. Add the butter and continue to pulse until mealy. Add the egg yolks (reserve the egg whites for the filling) and pulse until the dough comes together. Press the dough into a disk, wrap in plastic wrap, and refrigerate for at least an hour, or overnight.

To make the filling, combine the almond meal, sugar, salt, and butter, either by blending it in the food processor (no need to clean it out after making the dough, you can just use it immediately for this step), or by stirring it together in a large bowl (I find it’s easiest to get in there with my hands). Add the almond extract, egg, and the reserved egg whites from the shells, and continue to blend/stir until smooth and combined. Set aside while you mold the shells. 

To mold the shells, grease a muffin tin. On a floured surface, roll out the dough to 1/4” thick, dusting with more flour as needed. Cut out 3” circles and press them into the muffin cups, pressing so that the dough comes all the way up the sides. No worries if the dough tears, just patch it up additional dough. Freeze the shells for 15 minutes. 

Preheat the oven to 350ºf. Fill the frozen shells with the filling so that it comes up about 1/4” from the top. Bake until the tops and edges are lightly browned; begin checking for doneness at 30 minutes. Let cool in the pans for 10 minutes and then use a small offset spatula or a knife to remove to a wire rack to cool completely. 

To make the glaze, combine the powdered sugar and heavy cream or cranberry juice until smooth. Add additional powdered sugar or liquid to thicken it up or thin it out so that you get the consistency of a thick glue. Spread the glaze over the cooled tarts and decorate with sprinkles, herbs, cranberries, almonds, and anything else you’d like! These will keep for several days at room temperature or in the fridge. 


-yeh!

thank you, pampered chef, for sponsoring this post!!

photos by chantell and brett!

chocolate sea salt rugelach

Even though it’s already Hanukkah, I feel like we never fully debriefed from Thanksgiving! How was yours? Did the stuffing taste good? Was there family drama?? Our beachside situation was as strong as possible. We hung out with all of our little cousins (who are not so little anymore), played card games by the pool, and ate a deeeelicious feast. I lived in my maternity bathing suit!! And Eggboy became BFFs with my uncle, I couldn’t believe the bromance forming before my very eyes. By far one of my very favorite parts of our trip, however, was when my mom strolled down to the pool with a gigantic container of her homemade rugelach. It was the best thing ever. They were so tangy from the cream cheese and soft on the inside (my mom bakes them at a cool 350ºf and the insides stay delightfully soft this way), and the Florida sun warmed them just the teensiest bit, which made them even softer and melted the chocolate just perfectly. 

It occurred to me that I haven’t had rugelach that much since my college days when my mom would send me huge care packages of it. I’d walk around to my friends’ practice rooms and pass them out and we’d eat them together in the hallway. The arrival of “Jody’s Arugula” became the perfect occasion to just sit and commiserate about how hard playing the xylophone can be. 

Our poolside Thanksgiving rugelach was so similar to my college care package rugelach because in both cases it had been sitting in a container for a couple of days, which emphasizes that certain special homemade quality. You know what I’m talking about right?? Where the texture isn’t perfectly crisp and they’re a little bit crumbly but that’s 100% ok because you can taste all the love and coziness in them?? What I’m getting at is that I feel like rugelach is a perfect holiday cookie because it stays great for a good few days, so you can send it in the mail or bring it with you on your travels this season. 

Speaking of travels, Eggboy and I are making the miniature trek to Fargo this week for the annual sugar beet farmers’ meeting. It’s called a meeting, but it’s actually more of a party because the farming season is dunzo and school’s out for the summer (errr, well, you know what I mean). So we’ll get dressed up and mingle with other farmers and eat cute hors d’oeuvres… one of our favorite parts about the meeting though is that it’s held *right* next to a Barnes & Noble. We don’t have a very big bookstore in Grand Forks, so having this in Fargo is theee best. I don’t think Eggboy has ever in his life been able to walk by a Barnes & Noble without going in for hours. So I mean, do we ever sneak out of the sugar beet party early to go sit in the aisles in our fancy clothes and read and put together a stack of books for presents for ourselves and our family until the store closes? Yes, yes it happens every single year. It’s the best place to get our holiday shopping done. So it’s perfect timing that I’m partnering with Barnes & Noble on this week’s blog post to help spread the word about their #MyCookieStory contest which starts today! It is a super fun contest because the winner will have a version of their cookie sold at Barnes & Noble in the 2019 holiday season! (So I’ll be able to eat it during next year’s sugar beet meeting :). Scroll to the bottom of this post for details for the contest!

Here is the recipe for this sea salty chocolate rugelach, inspired by my mom’s. I love rugelach because the dough isn’t too sweet, and it’s just like a pie dough that’s been enriched with cream cheese. To help get those pie dough-like flakes, you want the ingredients to stay cold and you don’t want to over-mix the dough (some clumps of butter and cream cheese are a good thing). Also, the refrigerator is your friend while you’re making these, so clear some space. Since the dough is not too sweet, you can control the sweetness based on the kind of chocolate you use. I love using milk chocolate, but for a less sweet option, go with semisweet or darker. You can also choose to sprinkle the tops with sanding sugar, turbinado sugar, any kind of sprinkle (duh), or do what my mom does and simply dust them with powdered sugar after they’ve been baked. I know I said that my mom bakes at 350º but lately I’ve been bumping that up to 375º to get a bit more golden color. I dunno, it depends on my mood. Either way works. Oh and one more thing and then I’ll shut up: grating marzipan or almond paste over the melted chocolate is a welcome addition. Just a thought!


chocolate sea salt rugelach

makes 24 cookies

ingredients

2 1/2 c (325g) all-purpose flour, plus more for dusting

1/4 c (50g) sugar

1/2 tsp kosher salt

1 c (226g) unsalted butter, cold and cubed

8 oz (226g) cream cheese, straight from the fridge

2 large egg yolks

1 tsp vanilla extract

1/2 tsp almond extract, optional

1 1/2 c (260g) chocolate chips or chopped chocolate, I prefer milk but any type will do!

Egg wash: 1 large egg beaten with a splash of water

Flaky salt

Sprinkles, sanding sugar, or turbinado sugar

Clues

To make the dough, combine the flour, sugar, and salt in a stand mixer fitted with a paddle. Add the cubed butter, distributing it all over the top of the dry ingredients, and dollop in the cream cheese (1” dollops should do it, but it doesn’t need to be perfect). Turn the mixer on low and stir until the mixture is mostly mealy and there are still some larger clumps of butter and cream cheese in tact. Continue mixing and add the yolks, vanilla, and almond extract, if using, and then continue mixing until the dough comes together. Divide the dough in half and shape into discs. Wrap tightly in plastic wrap and refrigerate for at least an hour or up to two days.

To form the rugelach, melt the chocolate in a double boiler while stirring or in a microwaveable bowl in 30-second increments, stirring after each. Set aside to cool briefly while you roll out the dough. Working with one dough disc at a time, roll it out on a lightly floured surface, dusting with flour as needed to prevent it from sticking, until it is a wide rectangle, 18” by 9”. Use an offset spatula to spread on half of the chocolate in a thin even layer, leaving a 1” border along the long edge that’s furthest from you. (Try to work kinda quickly so the chocolate doesn’t harden.) Brush the 1” border with a thin layer of egg wash and then start on the end closest to you and roll the dough into a long tight log, placing it seam side down. Transfer to a cutting board or baking sheet and refrigerate for at least an hour or up to two days (depending on fridge space, you might want to cut the log in half so you’re dealing with four shorter logs as opposed to two really long ones). If you’re only refrigerating for an hour or two, no need to cover the logs. If longer than that, cover with plastic wrap. 

To bake, preheat the oven to 375ºf and line two baking sheets with parchment paper. Brush the logs with a thin layer of egg wash, sprinkle with a few pinches of flaky salt, and a ton of sprinkles or sugar. Cut into 1 1/2” slices and transfer to the baking sheets, 1” apart. Bake until golden brown on top; begin checking for doneness at 24 minutes. (You might notice that the cookies seem to sweat and leak out some fat while in the oven, this is completely normal.) Let cool on the pans for 5 minutes and then transfer to a wire rack to cool completely. Or enjoy them warm! Leftovers can be stored at room temp for several days.


-yeh!

Thank you, Barnes & Noble, for sponsoring this post! Barnes & Noble is full of stories, and this year they’re asking you to share the story of your favorite holiday cookie along with the recipe for their #MyCookieStory contest. The winner will receive $5,000 and their cookie will be sold at Barnes & Noble during the 2019 holiday season! The contest runs from December 4-17 and you can enter here!

photos by chantell and brett quernemoen

garlic and onion latkes and sour cream

Zomg it’s almost Hanukkah already! Any earlier and I feel like we would have come dangerously close to reliving the Thanksgivukkah mash-up of 2013 all over again. Luckily I feel like having this week free of any feast-driven holidays has allowed us to create space for all of the latkes and sufganiyot that we’re about to eat… but who am I kidding, the entire holiday season is a feast-driven holiday?! And so is the entirety of pregnancy! Ok, this is gonna be great.

I’m cutting no corners this Hanukkah and following all of the rules for good Hanukkah food:

  1. I will not let impatience get the best of me and I will let the oil heat up completely before frying anything.

  2. I will let the potatoes sit with their salt for at least half an hour to allow the moisture to escape, for the sake of an extra crispy latke. 

  3. I will let them get appropriately browned!! Extra crispy!! Ugh, this always takes more time than I want it to, but it’s gonna be worth it.

  4. I will not go the route of frying store bought biscuit dough and calling it sufganiyot. I’m thinking of going a chocolatey brioche route this year, maybe chocolate and strawberry??

I’m so excited to be able to use Eggboy’s menorah again and, oh gosh, I just got emotional thinking about how this time next year we’ll be lighting the candles with little Poppy Seed. I can already see the Eight Days of Baby Books happening. 

Ok before I get ahead of myself, I’m gonna talk about these latkes. They’re basically an amped up version of the classic latkes that I typically make and they are sooo good. Flavor-wise, I’ve added garlic and scallions (to an already onion-y mixture) and paired them with a caramelized onion sour cream situation that’s just like French onion dip. Texture-wise, I’ve replaced my standard flour binder with panko breadcrumbs for a thicker heartier texture. I find it helps these latkes fry up more like hockey pucks, which is a good thing because we live in hockey country. I supposed you could also use matzo meal!

And since I feel like it’s been a while since we talked latkes, let’s review some tips for prepping them ahead if you’re planning on hosting a big party this year:

-For the most low maintenance route, follow the below directions but instead of transferring to a wire rack or paper towel as written, transfer the latkes in a single layer to a sheet pan covered in foil. Let cool and refrigerate for up to two days or freeze for up to a few weeks. The foil is so that they retain that excess oil and you want them to do that so that when you reheat them on that pan (in a hot oven, 400º or 425º should do), the excess oil lightly re-fries them.

-For a slightly higher maintenance route, follow the below directions as written, taking them out of the oil just before they get to be optimum goldenness. Let cool and refrigerate for up to two days. And then when you’re ready to serve, simply fry them again. They’ll fry up faster and they’ll be super crispy because twice fried latkes are a very good thing.

-The garlic and onion sour cream can totes be made a day in advance.

And I’m using Our Family sour cream with this recipe! It’s reliable and comes in a cute package with cows all over it. And! It comes in the huge tubs, which is a must for Hanukkah. Thanks for sponsoring this post, Our Family!


garlic and onion latkes with garlic and onion sour cream

makes 20 latkes

ingredients

for the latkes:

2 1/2 lbs russet potatoes

2 medium yellow onions

4 cloves garlic

1 1/2 tsp kosher salt, plus more for sprinkling

4 large eggs

2 tb lemon juice

black pepper

2/3 c (40g) panko breadcrumbs

4 stalks scallions, chopped

Flavorless oil, for frying

for the garlic and onion sour cream:

2 tb olive oil

1 yellow onion, finely chopped

1/2 tsp kosher salt, divided

1/2 tsp sugar

2 cloves garlic, minced

1 c (240g) Our Family sour cream

1/2 tsp onion powder

black pepper

scallions, for topping

clues

Using the shredding attachment on a food processor (or mandoline), shred the potatoes, onions, and garlic. Line a colander with 2 layers of cheese cloth and set it over a bowl or in the sink. Add the potatoes/onions/garlic to the cheese cloth and sprinkle with salt. Let sit for 30-45 minutes. Gather up the edges of the cheesecloth and use your hands to squeeze out any excess moisture. 

In a large bowl, mix together the eggs, lemon juice, a few turns of black pepper, and the breadcrumbs and add the potato mixture. Stir in the scallions.

In a large skillet, heat 1/4” of oil over medium-high heat, until shimmering. It’s ready when a strand of potato added to the oil immediately starts to sizzle. Use an ice cream scoop to add blobs of the mixture to the oil, spacing them out so as not to crowd the pan. Press the scoops down lightly with a spatula to get 1/2” thick patties. Fry until golden brown on both sides, a few minutes per side. Transfer to a wire rack or paper towel and sprinkle with salt or flaky salt. Repeat with the remaining mixture, adding more oil to the pan as needed.

for the garlic and onion sour cream:

Heat the oil in a large skillet over medium and add the onion, 1/4 teaspoon of salt, and sugar. cook, stirring, until golden brown and caramelized, about 30-40 minutes. Add garlic and cook for 2 more minutes. Let cool and then stir with the sour cream, remaining 1/4 teaspoon salt, onion powder, and a few turns of black pepper. Taste and adjust seasonings as desired. Cover and refrigerate until ready to serve. Serve with a sprinkle of chopped fresh scallions. 


-yeh!

thank you, our family, for sponsoring this post

photos by chantell and brett quernemoen


p.s. tune into this weekend’s #girlmeetsfarm for brussels sprout latkes, lefse, pastrami meatballs, speculoos sheet cake, and marzipan chocolate bars!