classic cookie salad

I’ve been watching so many '60s period dramas that dressing up to make cookie salad felt like a fun thing to do. And it totally was! I figured since we had so much fun with classic tater tot hotdish, it was also time to make another classically upper Midwestern delicacy, the cookie salad. Cookie salad blows the other upper Midwest sweet salads, like candy bar salad, out of the water. Easily. It’s not like hotdish, where wild rice and tater tot would definitely make for an edge-of-your-seat 7-game neck-and-neck series. It’s truly more like a UND hockey team versus every team in their conference situation, where they are just in an entirely different league and there are fireworks at every game. 

A typical cookie salad consists of the following things:

Fudge stripe cookies 

Canned Mandarin oranges or sliced bananas

Vanilla instant pudding mix stirred into buttermilk

frozen whip

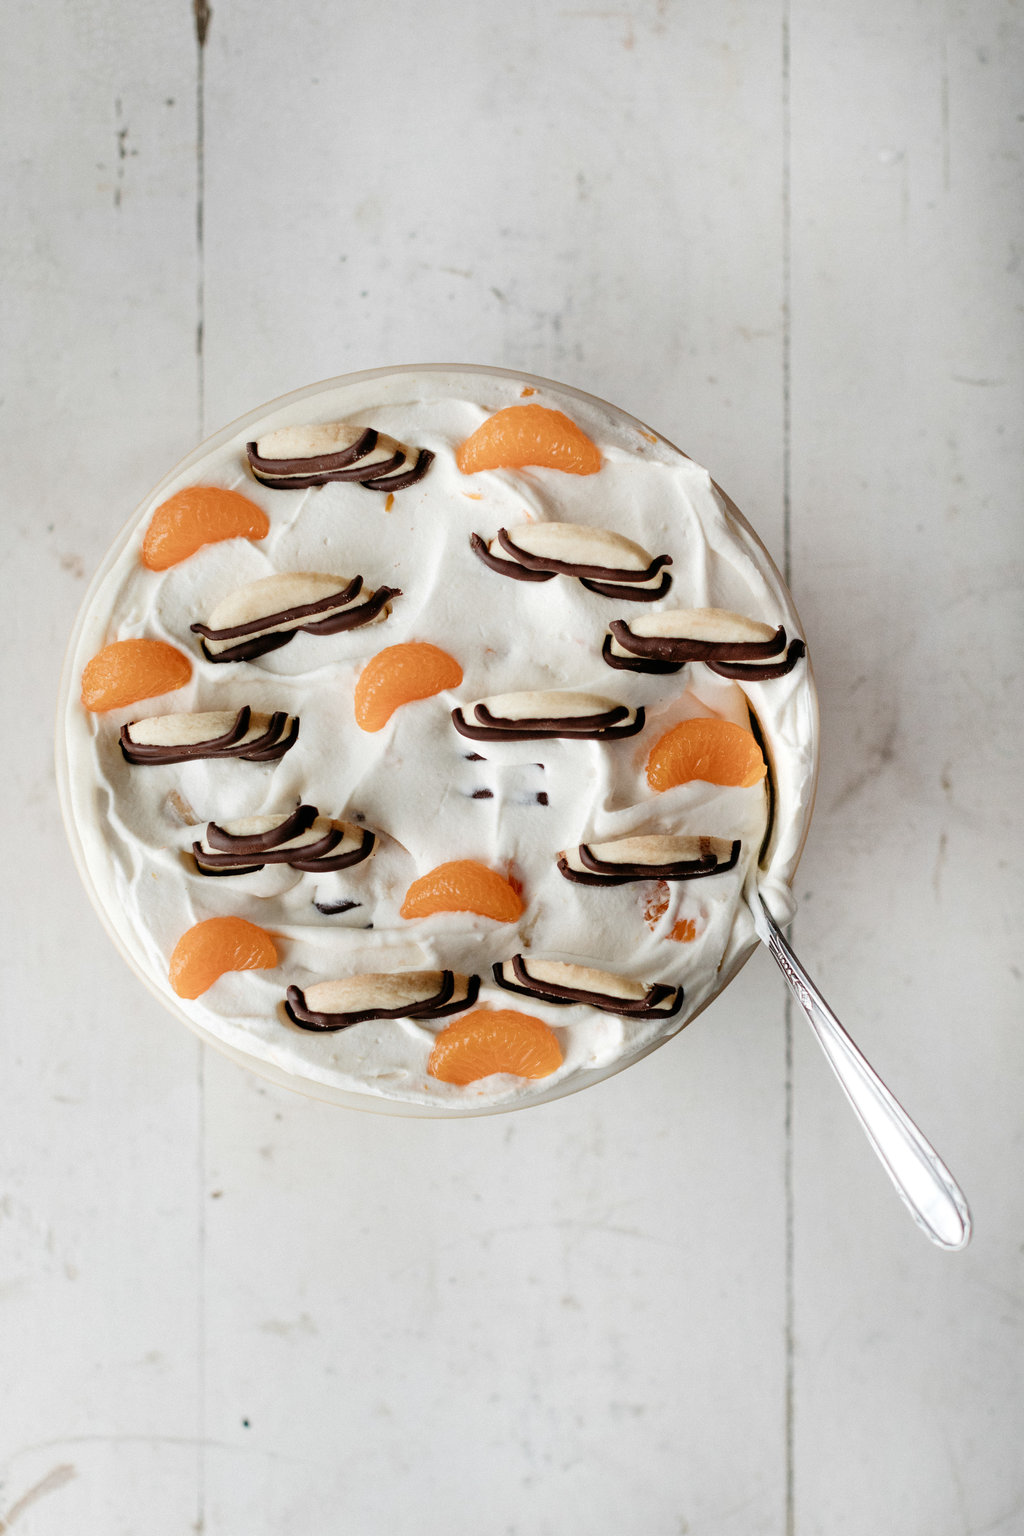
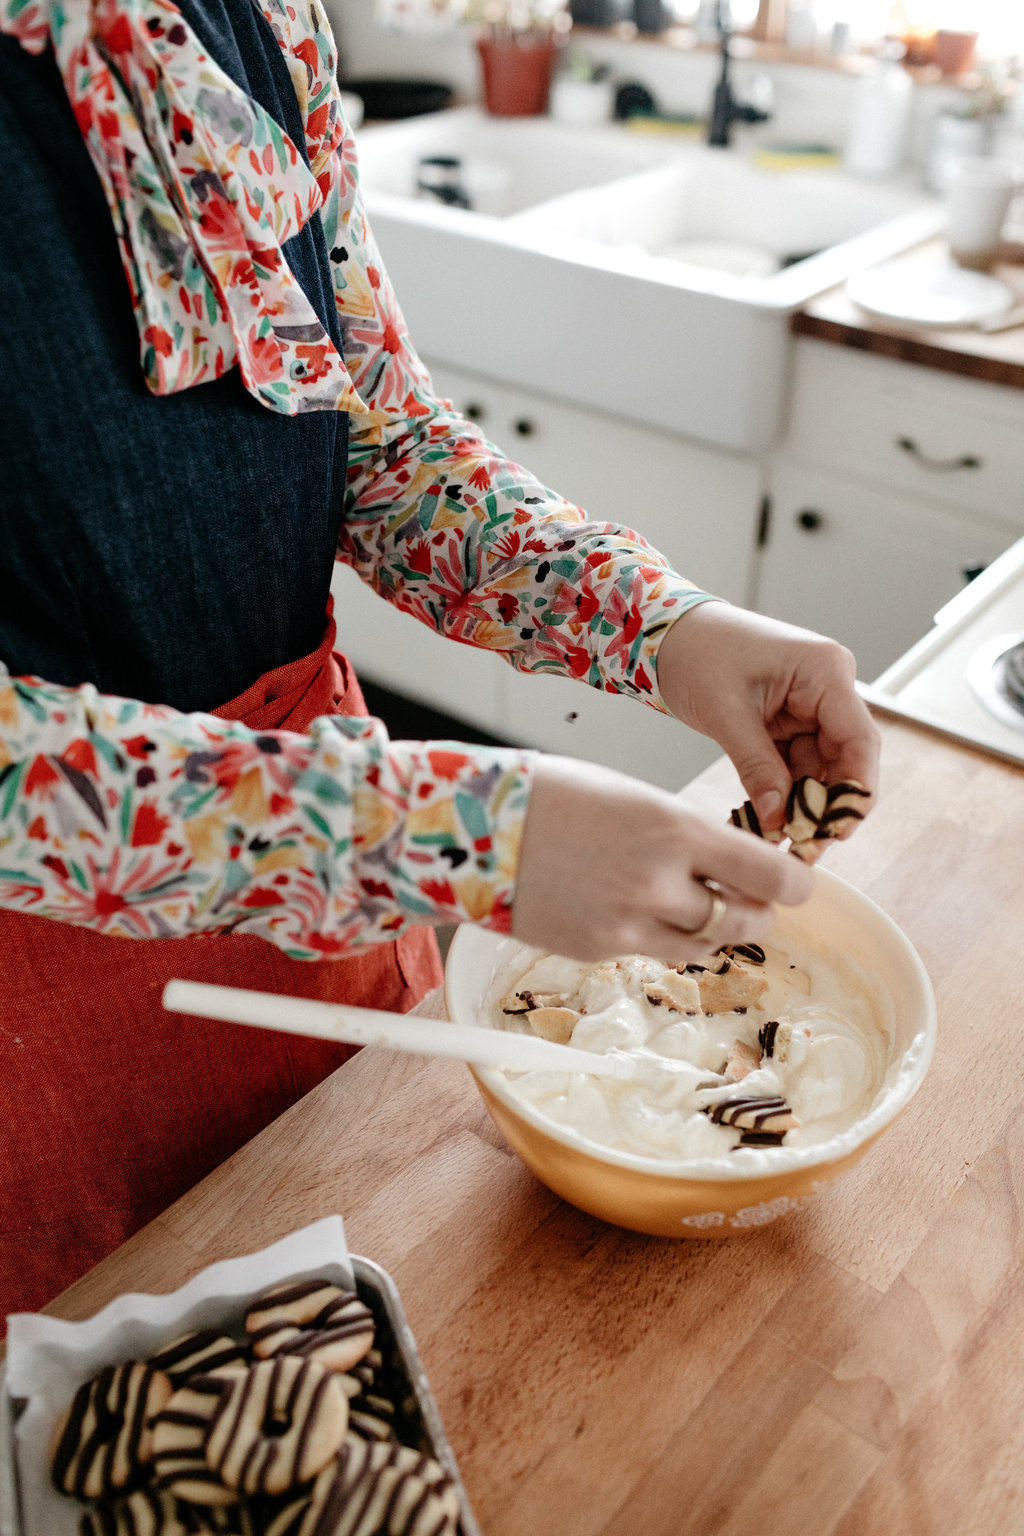
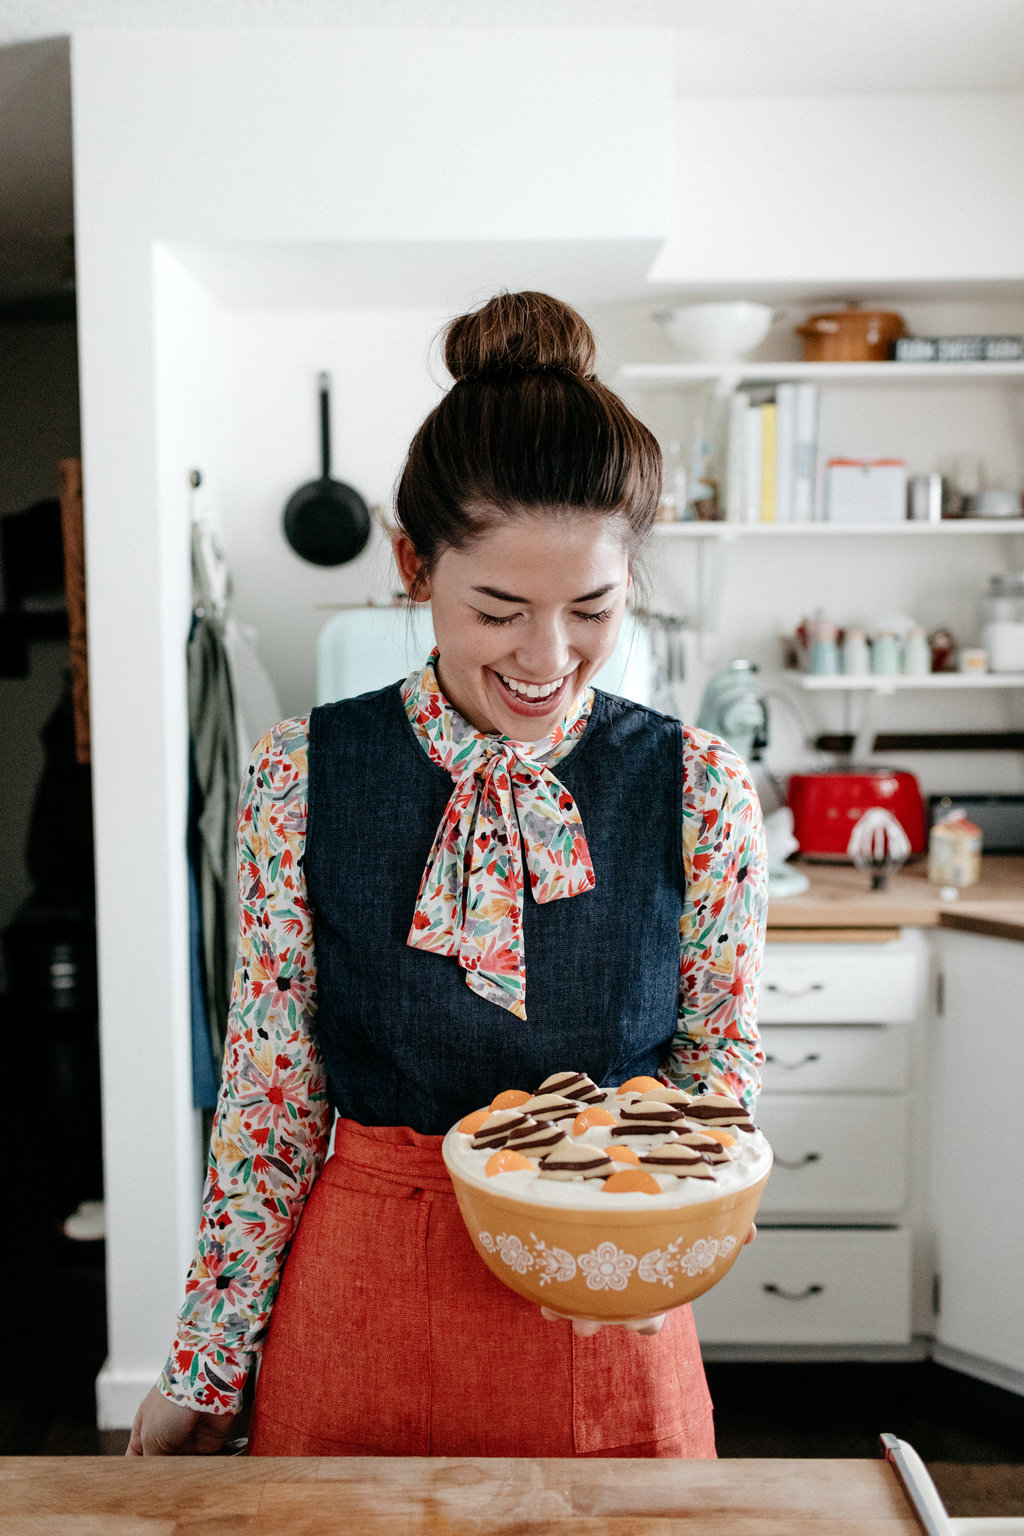
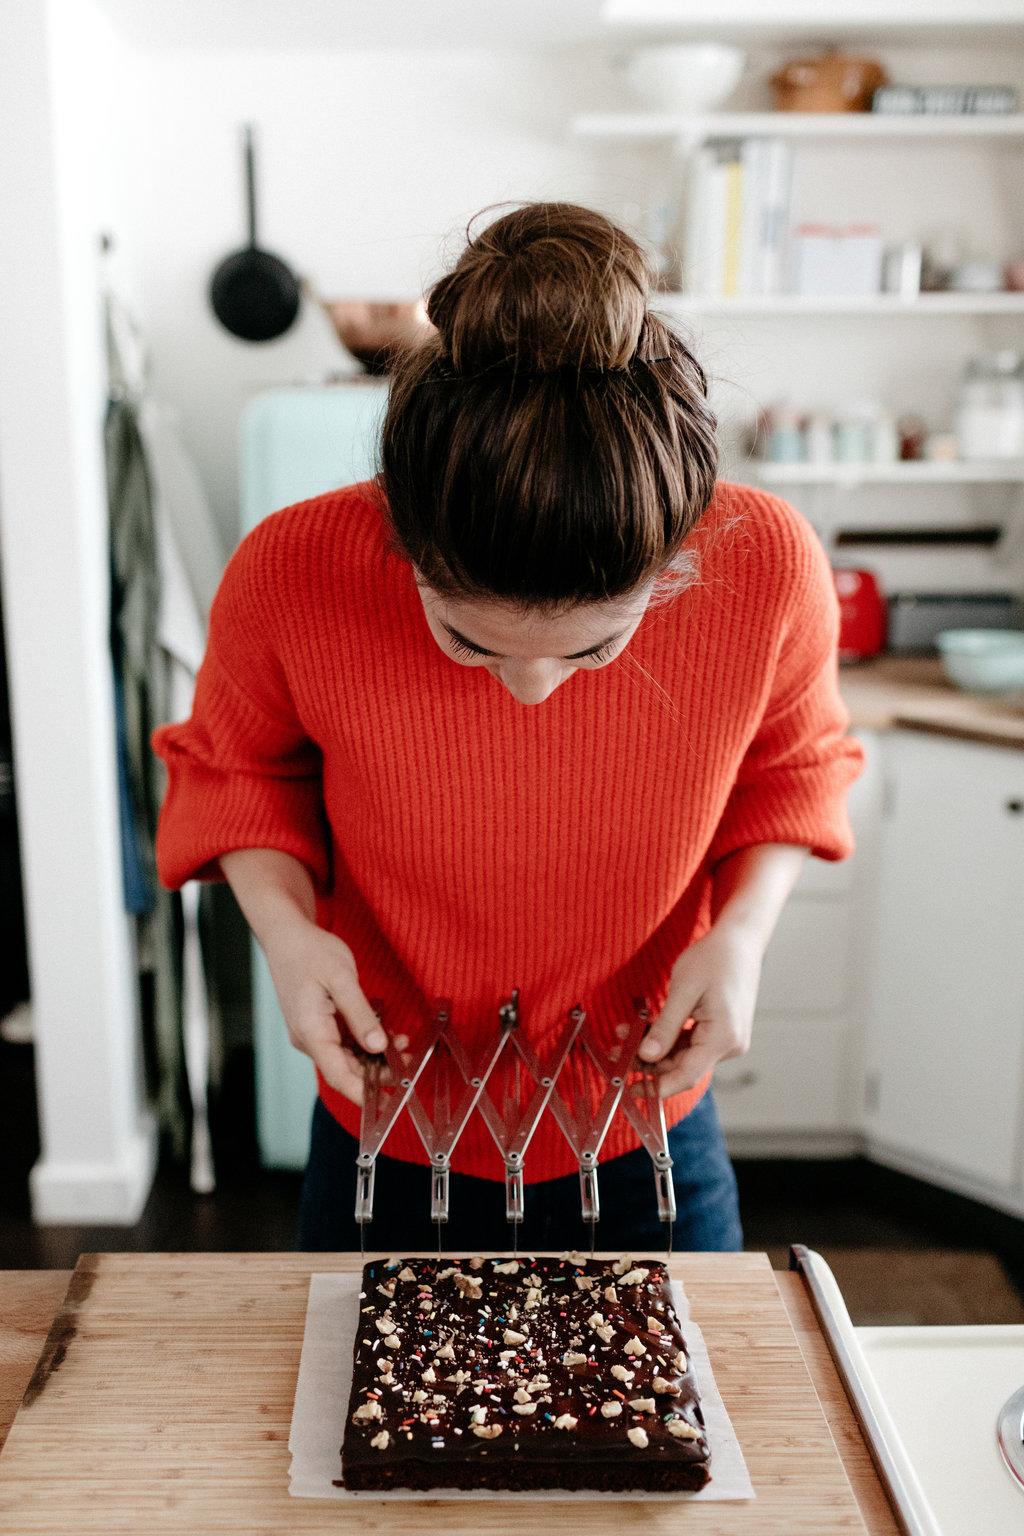
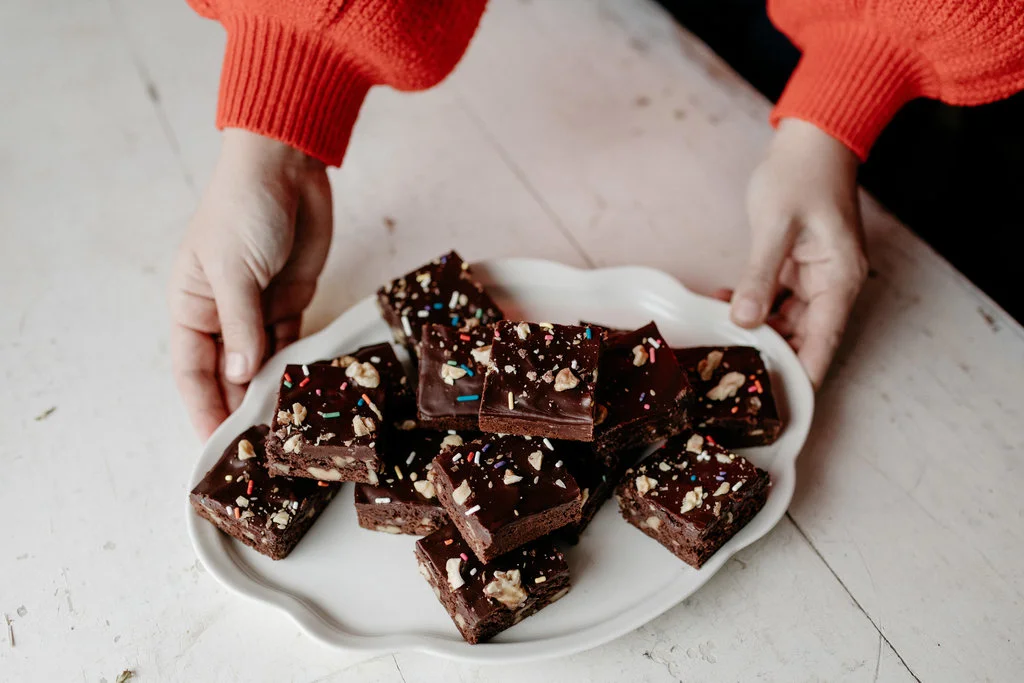
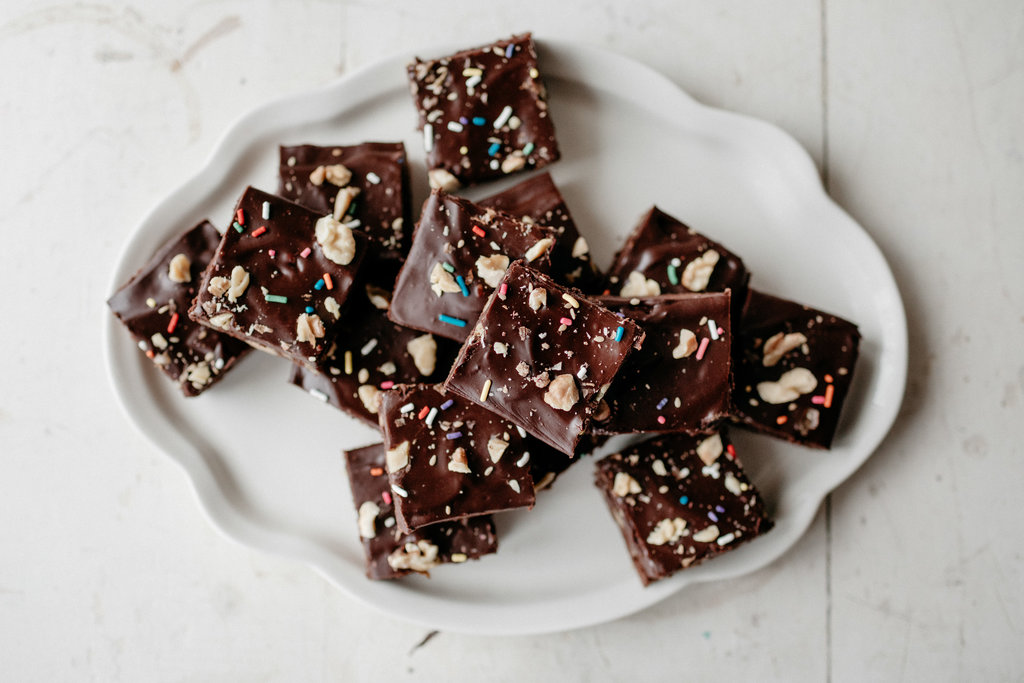
They all get mixed together into a fluffy puddingy dessert and then topped with crushed cookies or cookies broken in half and stuck on top to look like little tombstones. This is an important distinction. Your family either crushes or breaks and there’s not a whole lot of overlap except for now because Eggmom crushes and look, I break. I just like the aesthetic, ok? Eggmom taught me both though. She also taught me that mini marshmallows and jelly beans are acceptable mix-ins (I love the textural sensation that marshmallows add).

And,

Ok,

Here is where things get a little…different: Eggmom serves this with the main course. And so does everyone else!!!!! I thought I was hearing things when she said she serves it with the ham (!!!!) but as I dug further and further it slowly became clear that this. is. actually. served. with. the. salads. and. not. the. desserts. 

This is a next level sweet/savory relationship, right???? 

If ham and cookie salad can work as a marriage then surely we aren’t all doomed.

I present to you, my audition picture for women laughing alone with salad:

On my journey to a homemade cookie salad, I did the following:

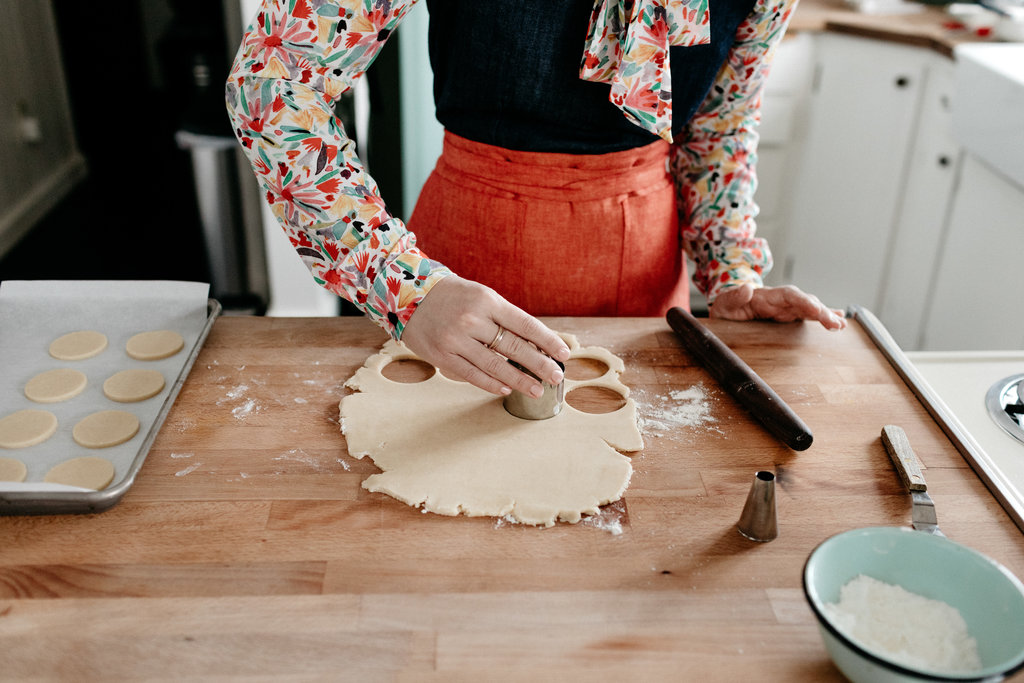
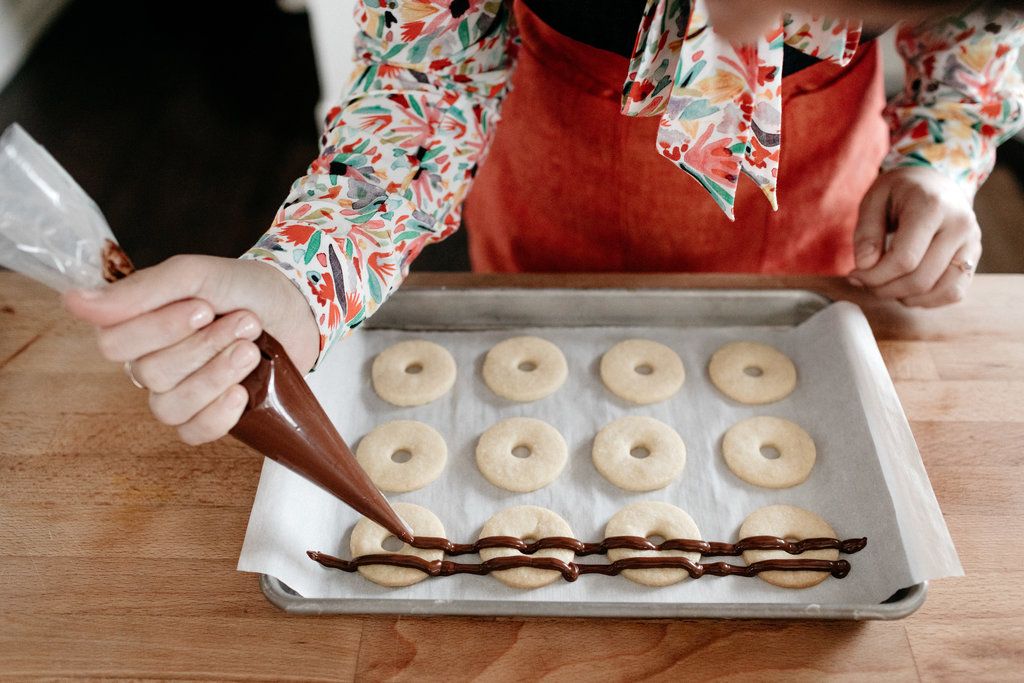
Made homemade fudge stripes! I went with a simple buttery shortbread that’s sweet and crispy and has a hint of almond. And rather than dealing with the mess of getting chocolate on the bottom, like regular fudge stripes, I gave them thicker-than-usual stripes on top. 

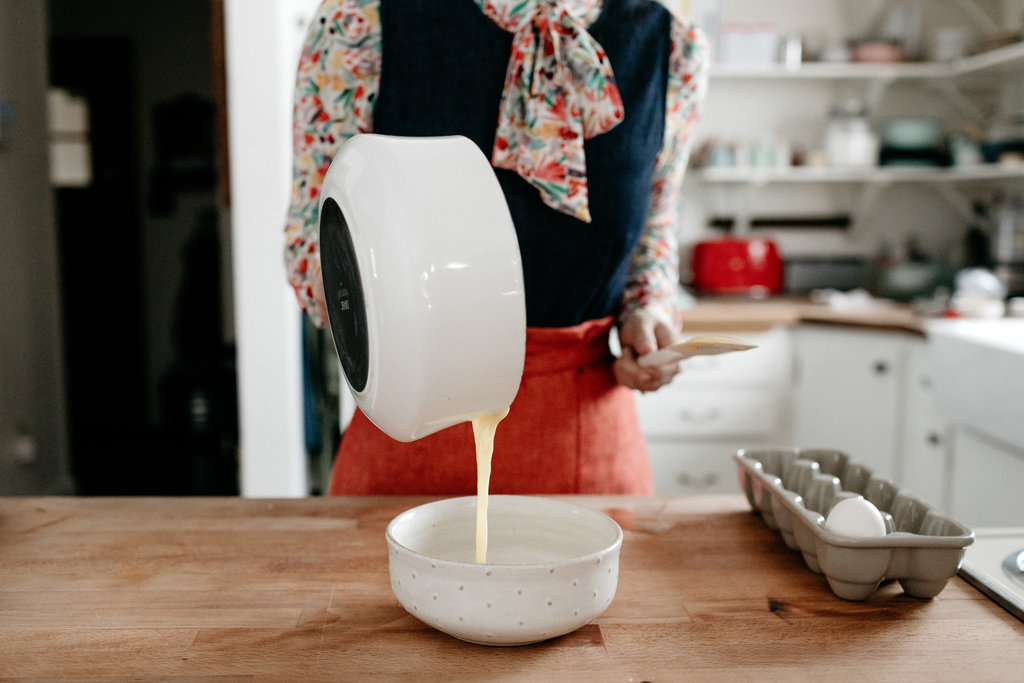
In place of the pudding + buttermilk combo, I experimented a bit with making homemade buttermilk pudding but found the buttermilk to be just too sour for my tastes. I don’t remember it being this sour when Eggmom made me hers. I wonder if something in the instant pudding packets offsets the sourness of buttermilk. Instead I went with a rich vanilla pastry cream.

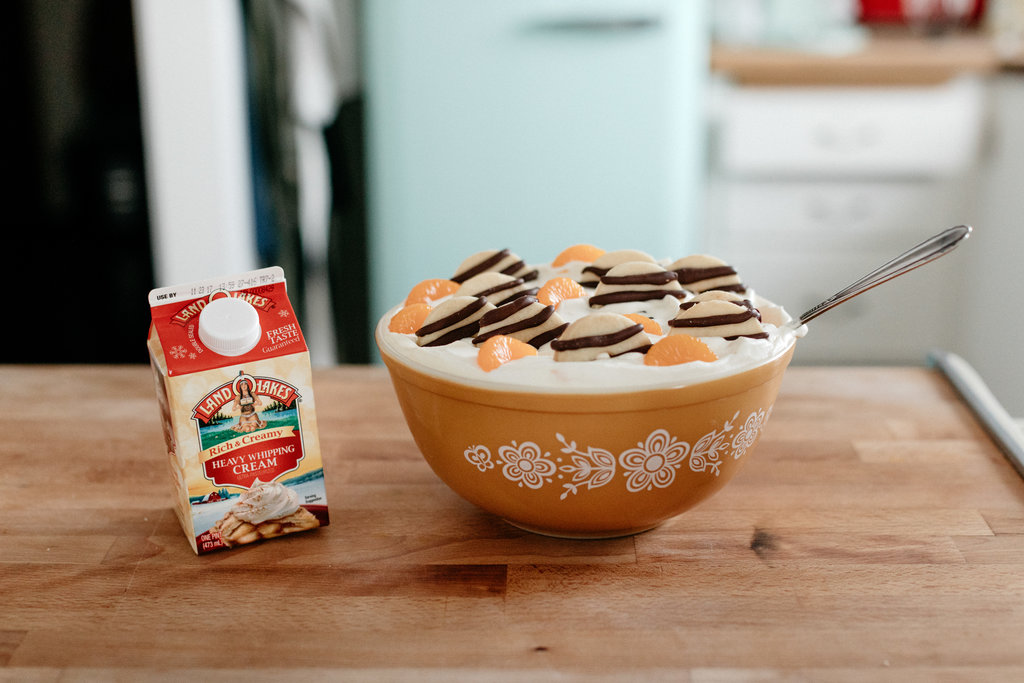
And instead of frozen whip I obviously went with a good old fresh whip because duh. I’ve always been a sucker for fresh whip, it is the heavy cream at its best. I’m using Land O Lakes® Heavy Whipping Cream here which has a deliciously pure flavor. 

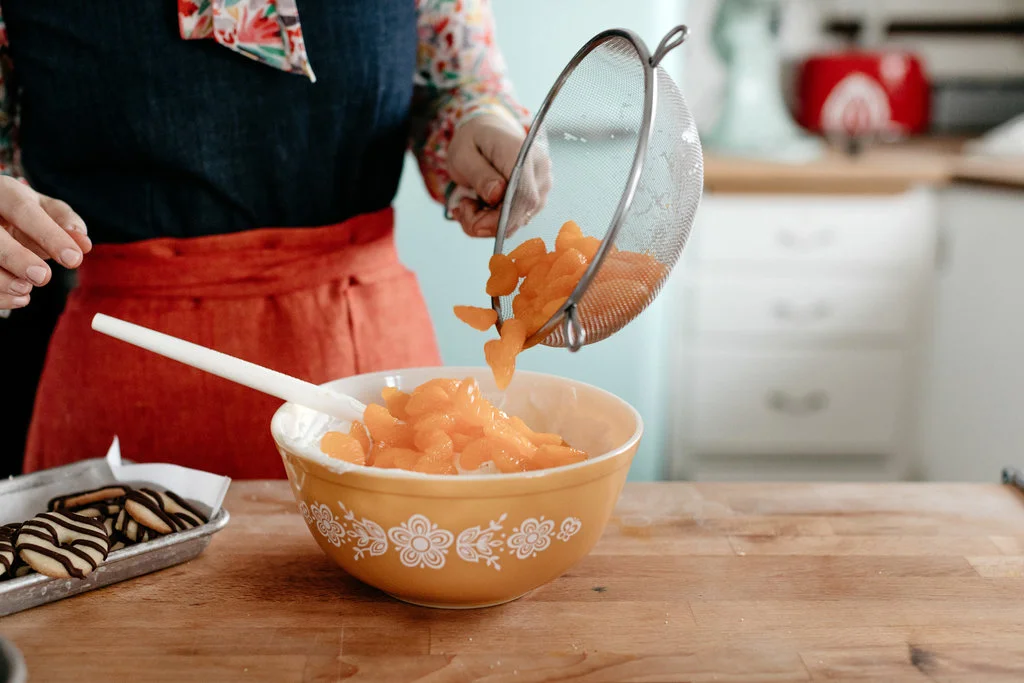
I stuck with the canned mandarins for this but you could definitely go with fresh mandarins as well. 

Lastly, here is a pro-tip: make this the day before so the cookies soak in the pudding and take on a cake-like texture. It is so satisfying. I love it forever. And of course the fact that this can be prepped a day (or even two days!) ahead of time makes this a perfect Thanksgiving dessert. I mean salad! Omg. 


Classic Cookie Salad

Serves 8

ingredients

For the pudding

3 tb (24g) all-purpose flour

6 tb (75g) sugar

1/4 tsp kosher salt

3 egg yolks

1 1/2 c (360g) Land O Lakes® Heavy Whipping Cream

1 tsp vanilla extract

1/4 tsp almond extract


For the cookies

1 c (130g) all-purpose flour, more for dusting

1/2 c (60g) powdered sugar

1/2 tsp kosher salt

1 tsp vanilla extract 

1/2 tsp almond extract 

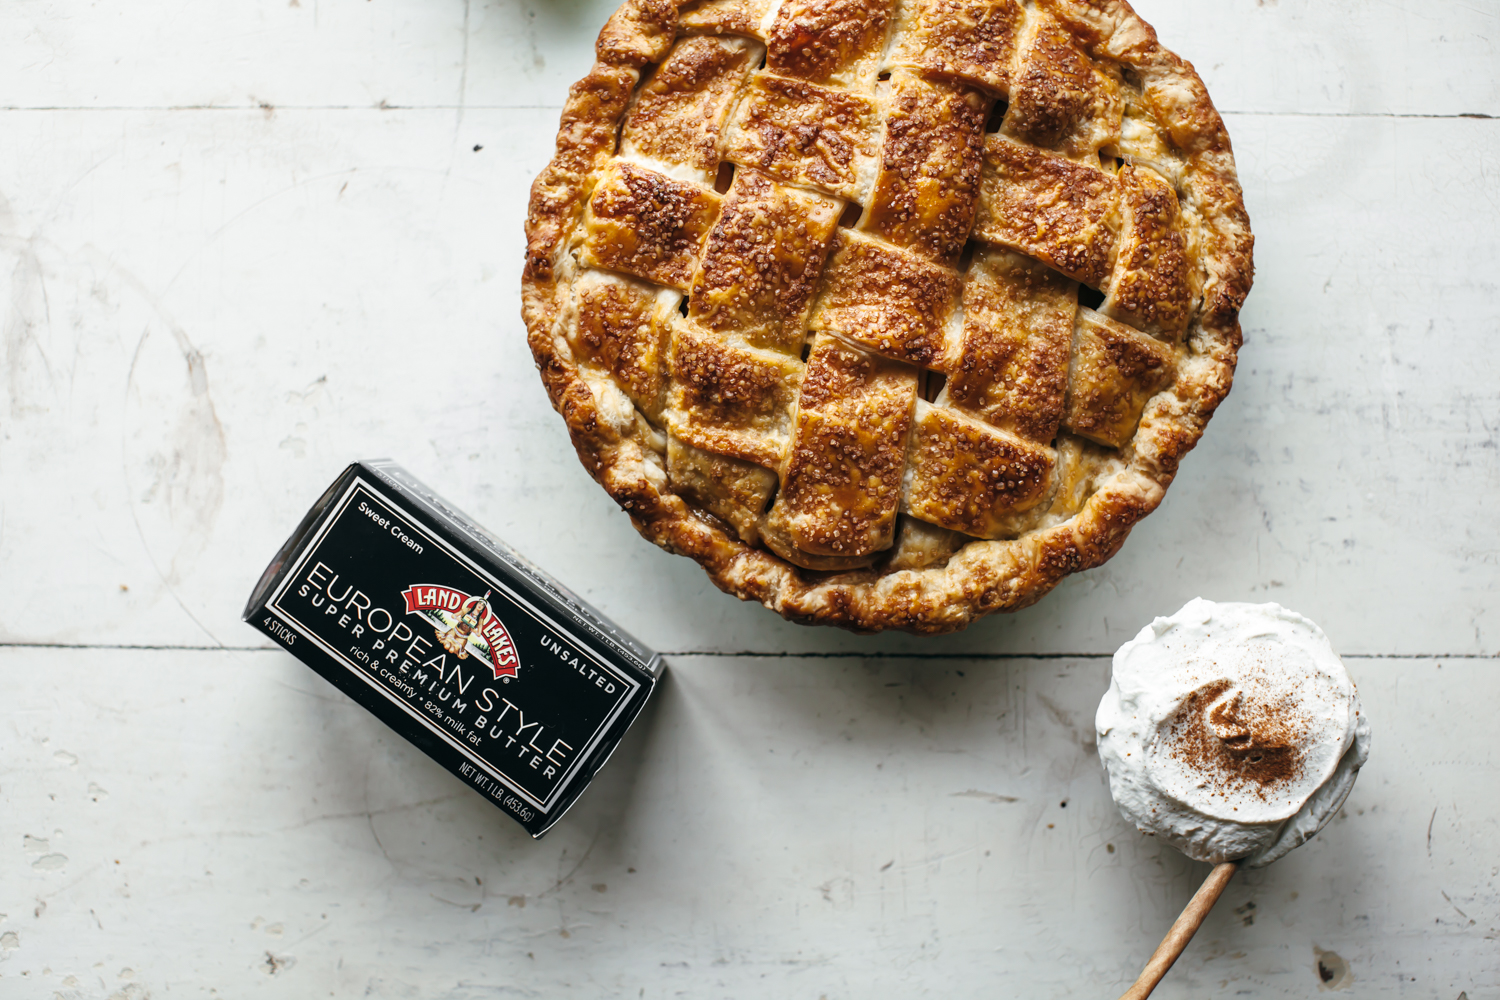
1/2 c (113g) Land O Lakes® European Style Unsalted Butter, cold and cubed

5 oz semi-sweet chocolate chips


For assembly

1 1/2 c (360g) Land O Lakes® Heavy Whipping Cream

1/4 c (30g) powdered sugar

2 (11 oz) cans mandarin orange slices

Sprinkles, optional

Clues

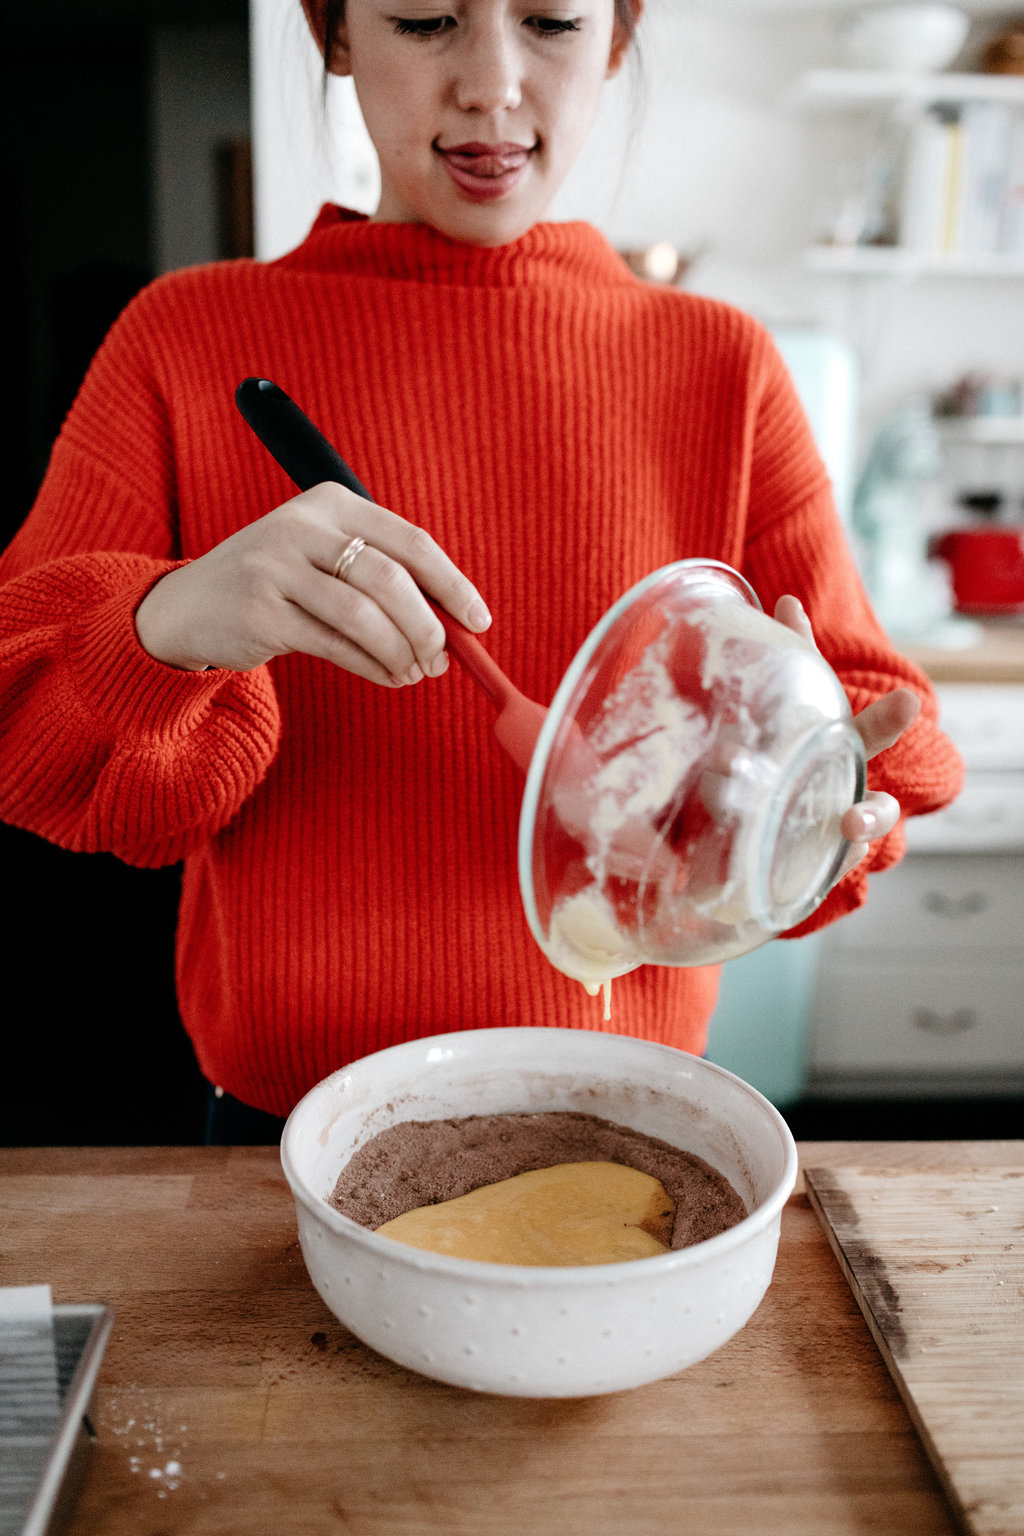
To make the pudding, combine the flour, sugar, and salt in a medium saucepan. Whisk in the egg yolks and then the heavy cream. Heat over medium heat, stirring constantly until it’s thickened and coats the back of a spoon. Add the vanilla and almond extracts, pour into a heat safe bowl, and cover with plastic wrap so that it touches the surface of the pudding. Refrigerate until cooled, about 1 hour or overnight. 

To make the cookies, combine the flour, powdered sugar, and salt in a stand mixer fitted with a paddle attachment. With the mixer running on low, add the vanilla and almond extracts and then gradually add the butter. Mix until the mixture comes together into a dough, slowly increasing the speed once you’re confident that doing so won’t result in flour flying everywhere. Divide the dough in half, press into discs, wrap in plastic wrap, and refrigerate for 30 minutes or overnight. (If you’re impatient, fine, skip this step.)

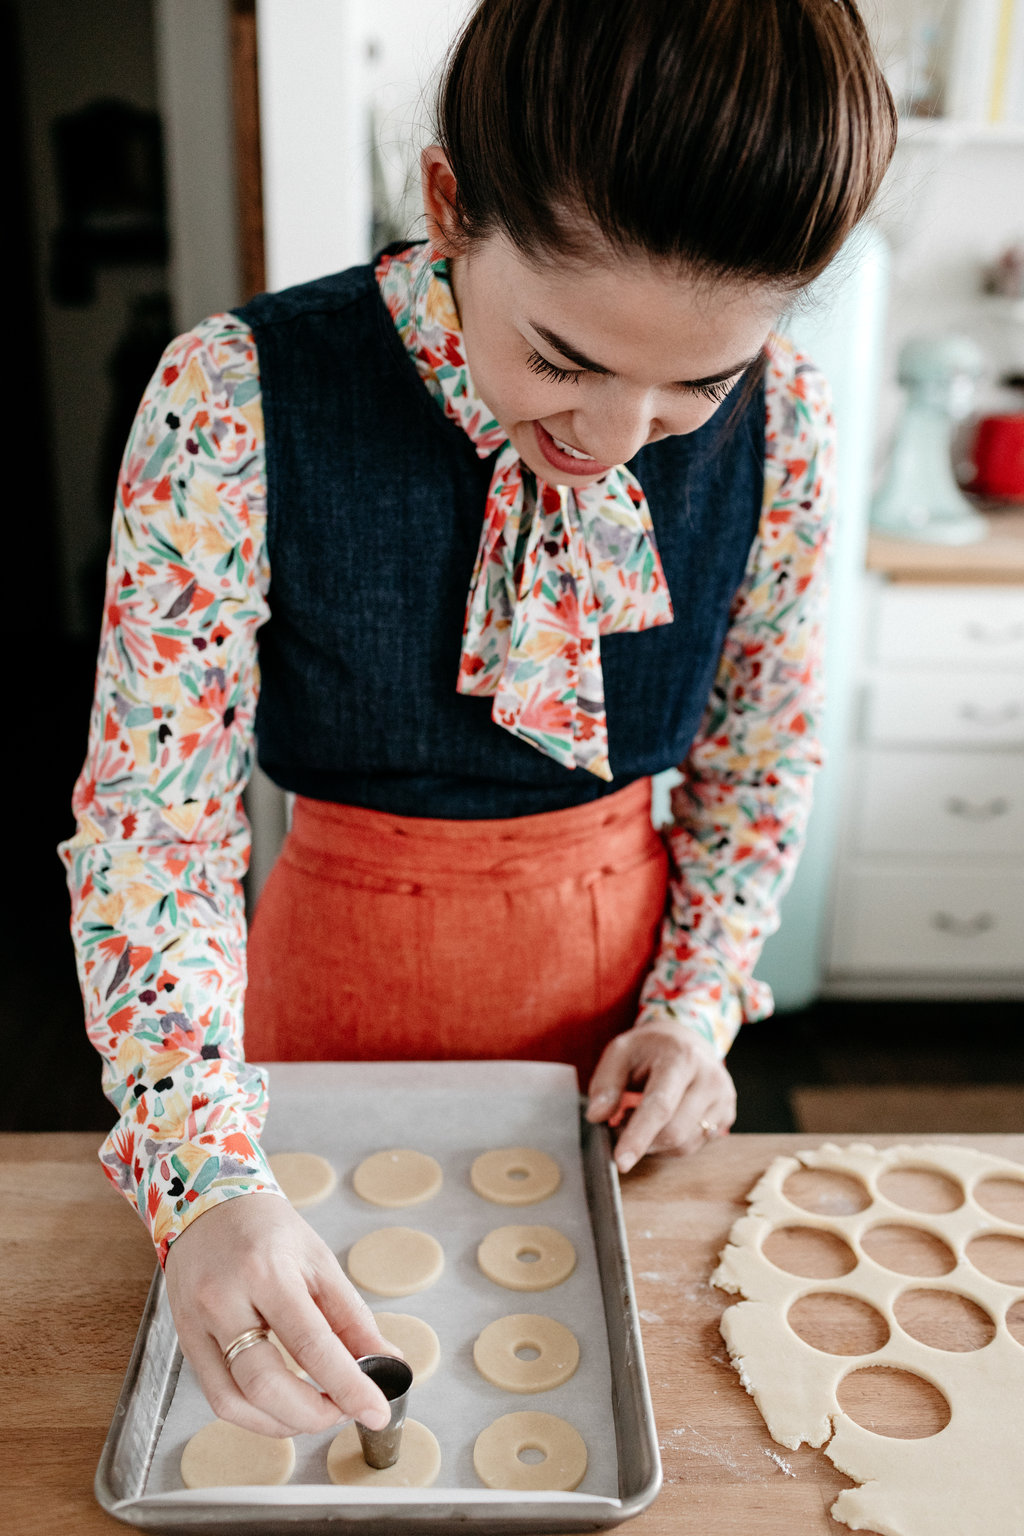
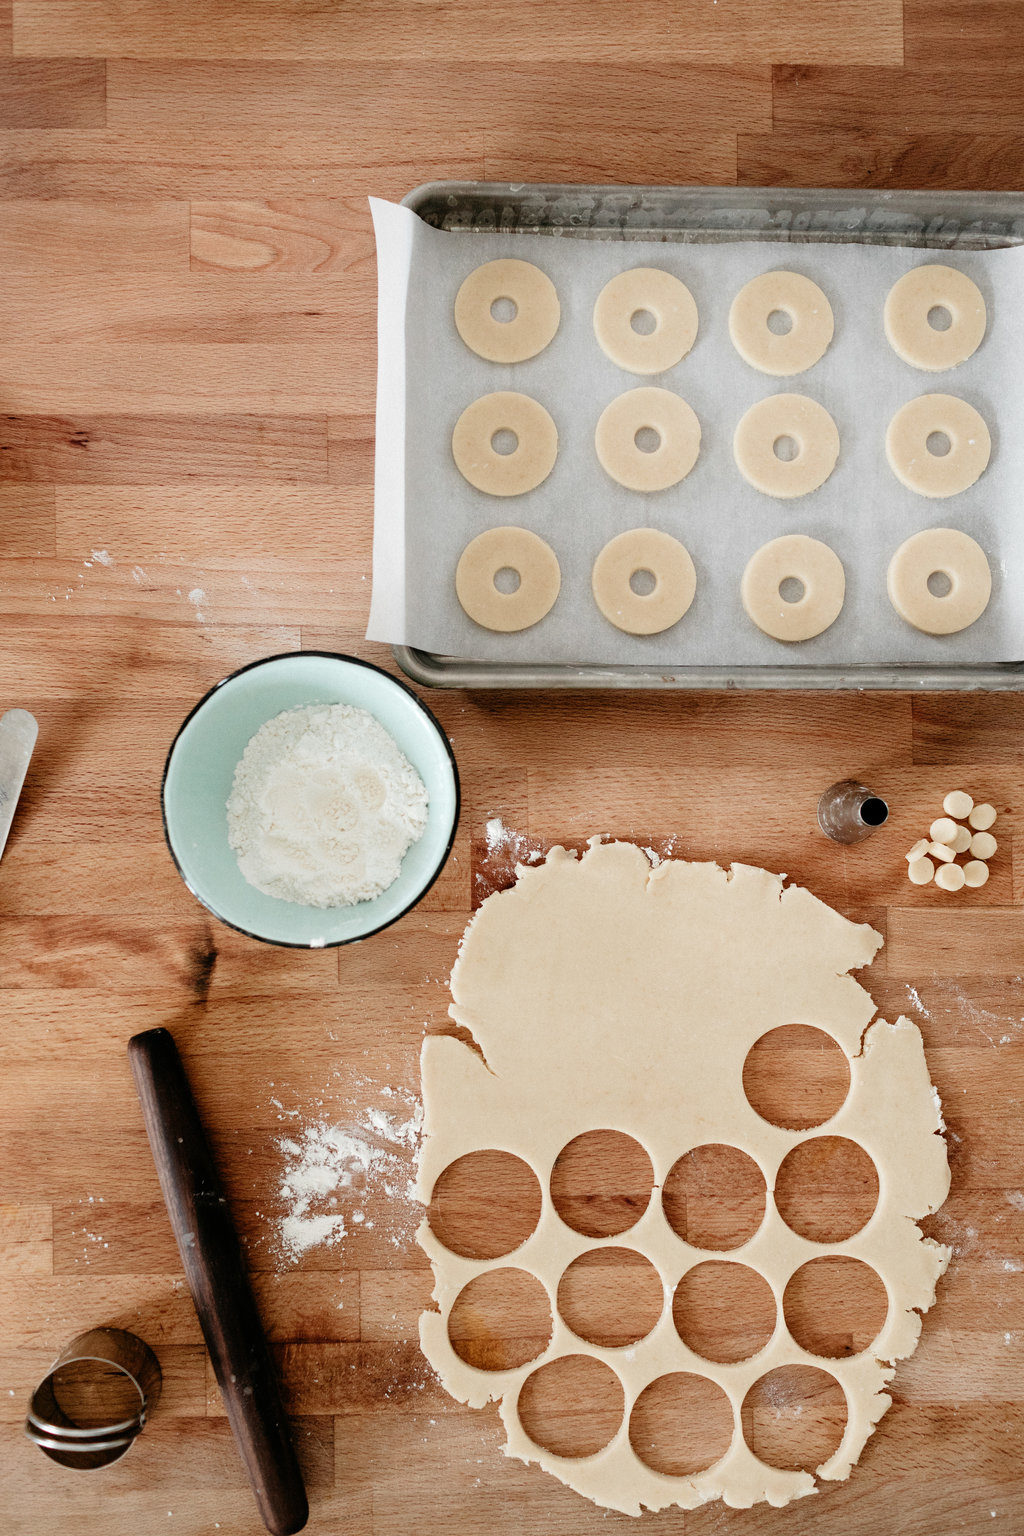
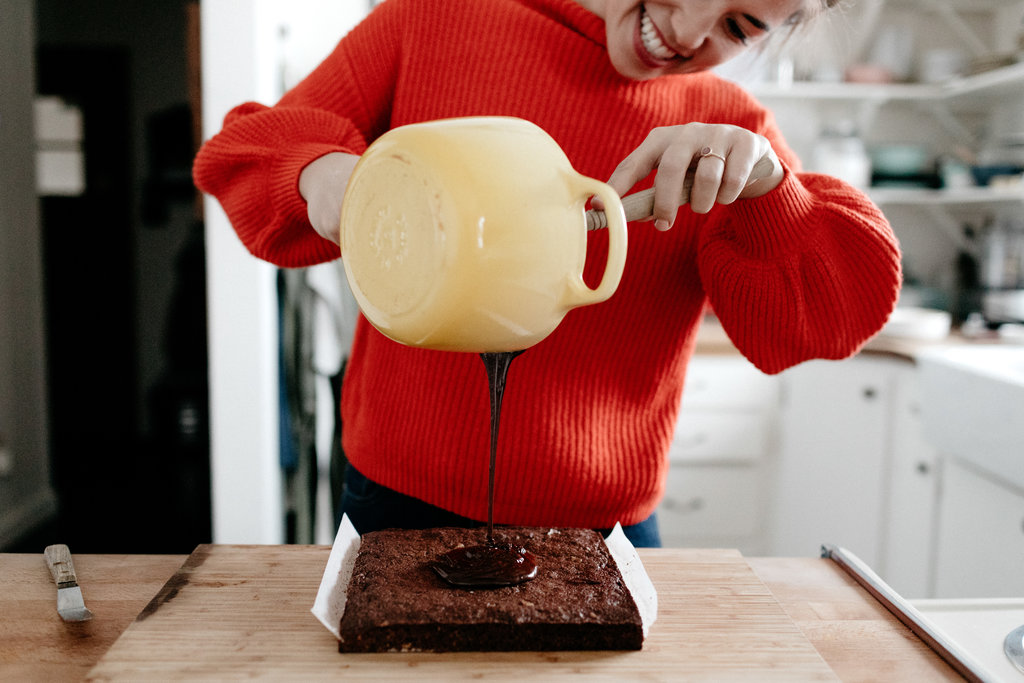
Preheat the oven to 350ºF, and line two baking sheets with parchment paper and set them aside. On a floured surface, roll out the dough to 1/8”-1/4” thick. Cut out 2” circles with a biscuit cutter and then use a big piping tip to cut out 1/2” holes from the center. (Re-roll scraps as needed.) Place them on the baking sheets an inch apart and then bake until they’re jusssst starting to brown around the edges, start checking for doneness at 12 minutes. Let cool on the pans. Meanwhile, melt the chocolate in a double boiler or in a microwave in 30 second increments, stirring after each. Let it cool slightly and then pour it into a piping bag. Snip off the tip and then pipe on 4 thick chocolate stripes. Let the chocolate harden at room temp or in the fridge.

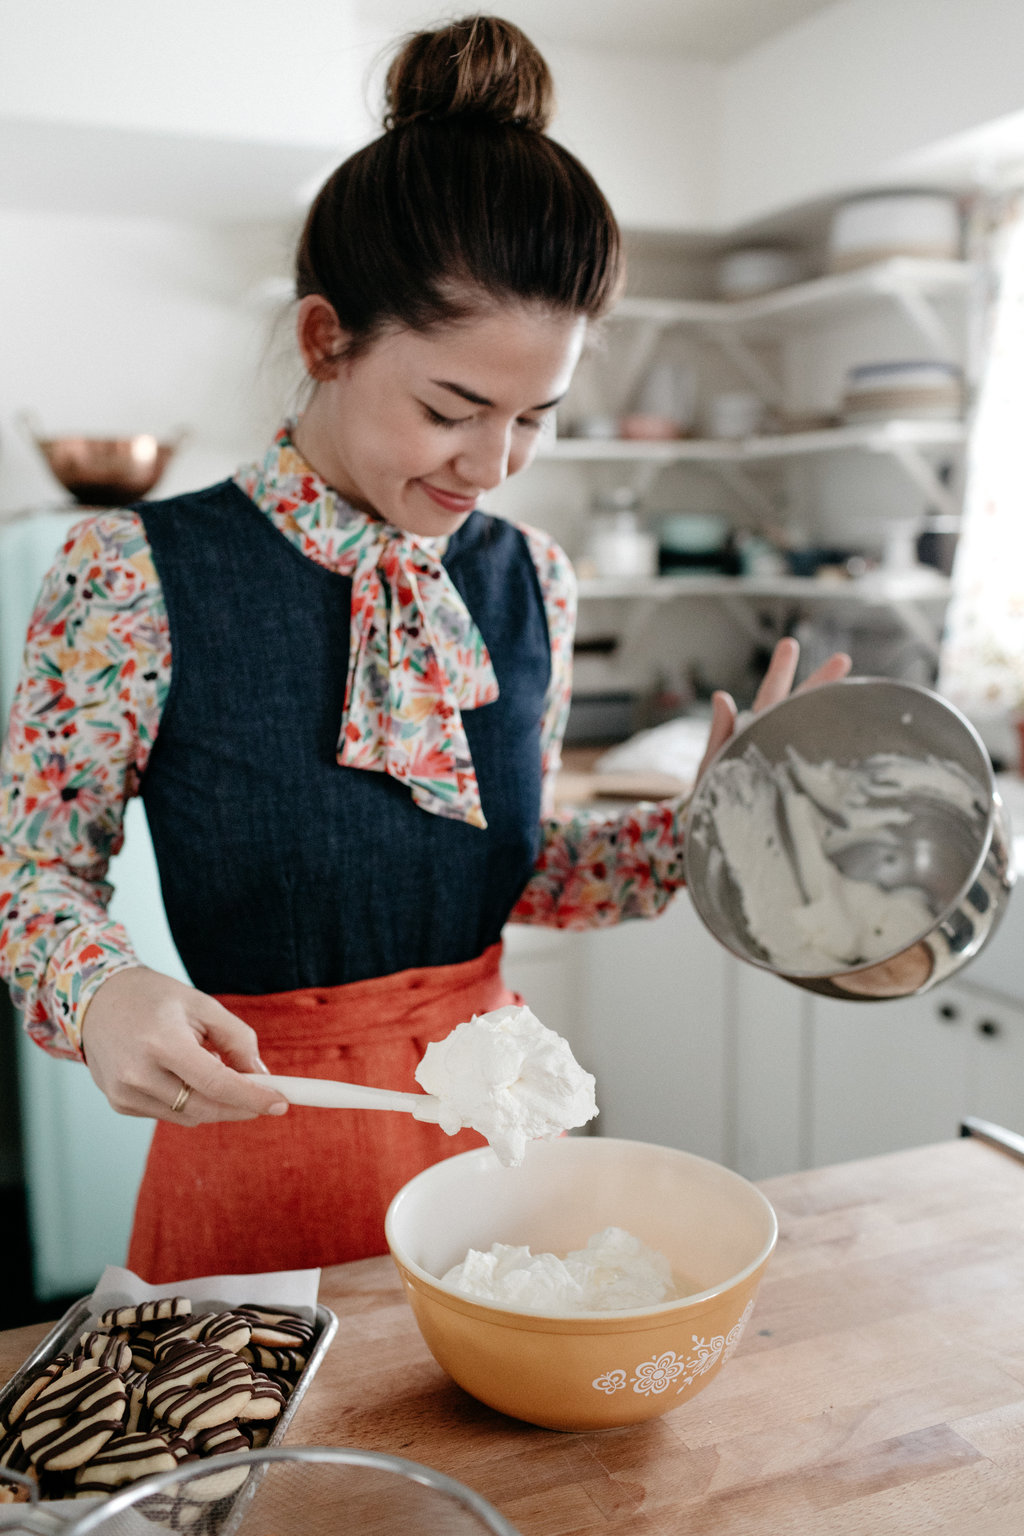
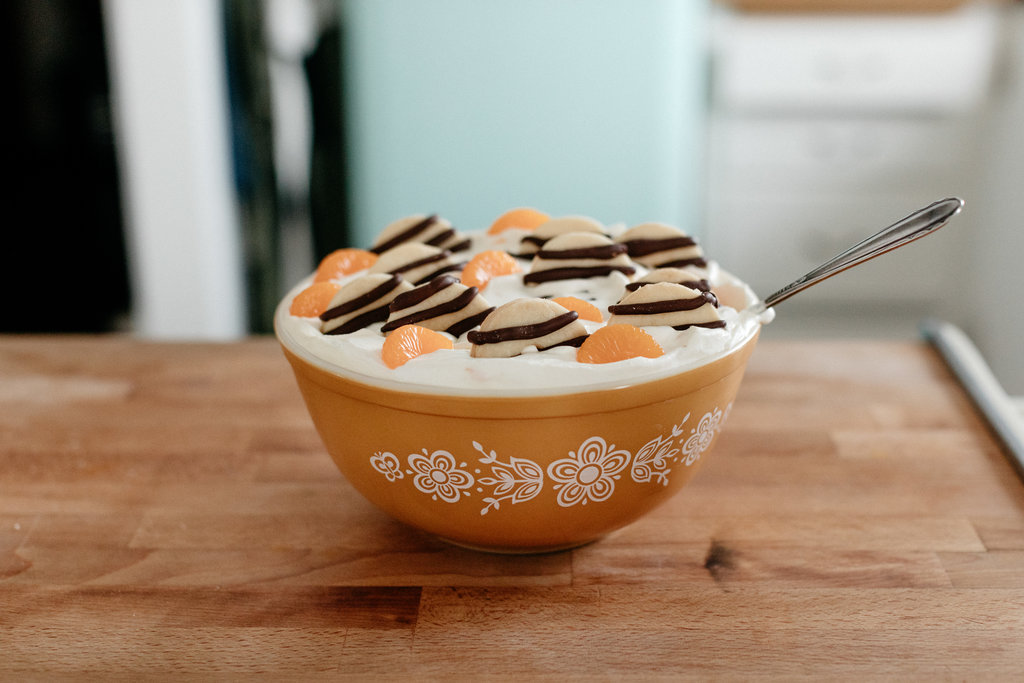
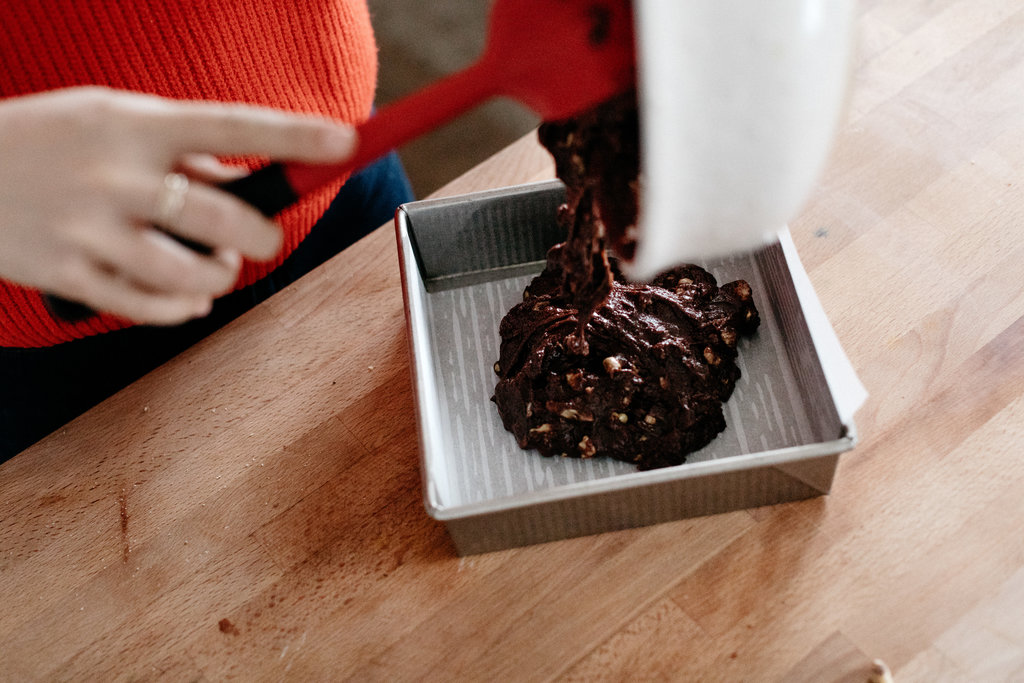
To assemble, first make the whipped cream. In a stand mixer fitted with a whisk attachment, beat the cream and powdered sugar to stiff peaks. In a large bowl, fold together the whipped cream and pudding. Crush the cookies by hand or in a ziplock bag with a rolling pin or other blunt object (reserving 6-8 for the topping) and fold them in. Drain the mandarin slices and fold those in (reserve some of these for the topping too). Top with remaining cookies, mandarin slices, and sprinkles. Refrigerate until you’re ready to serve. 

-yeh!

thanks to land o’lakes for sponsoring this post!

photos by chantell and brett quernemoen

turkish coffee brownies

Ok some little life updates!

The snow is here to stay, I believe. I keep seeing the high of 37º that’s in the forecast for the middle of the week and get very nervous that the snow will leave but Eggboy has assured me that because the ground is frozen the snow likely won’t be going anywhere.

I wear one kind of sock now. They are thick hiking socks, made by Stance, that hug my feet and will never get holes. I never thought I would feel so satisfied about finding a good sock but then again I also never thought that I’d be living in the north pole. 

It’s floor length parka weather!! 

I am in a fantasy figure skating league. I didn’t rank so well for the Cup of China but I’m hoping to be as familiar with this year’s competitors as possible so that the Olympics are that much more exciting. I’ve also obviously begun planning my Olympic party menus, which, no offense to my friends, will probably be served during all of the other sports besides figure skating because when the Shib Sibs come on I’ll need to be in silence and alone so that I can weep. 

An embarrassing amount of my time these days is spent looking for an outfit for my 10 year high school reunion. Do I wear a dress that shows that I’ve been going to the gym an average of 3.5 times a week and eating my yogurt? Or do I wear a wool romper that says that I don’t care if they care that I’ve gone to the gym an average of 3.5 times a week and et my yogurt? Or do I just wear my winter going out uniform of a dark grey turtleneck and dark jeans because it’s comfy and this is about seeing my old friendsies?????? Do they even want to see me????? Will there be name tags??? Should I wax my eyebrows?? Plz send help. But mostly Shopbop gift cards. 

Macaroni have let themselves go. It gets dark around here practically right after lunch and then doesn’t get light again until after my twelfth coffee so there is basically just enough sunlight to foster the entire Macaroni flock laying a collective one egg a day. It is so dumb!!!! The ones who lay the blue eggs have just stopped. 🙄 Come on you silly birds. 

It’s fine though cause I’ve also let myself go and went to bed at 9:50 last night. Yolo!

So in keeping with the theme of letting ourselves go, let’s make something that will be ready by the time the sun goes down. It always blows my mind how quickly and easily brownies come together and I wonder why I don’t make them more often. But easiness does not equal a lack of fanciness in this case, no way. These brownies are based off of my mom’s fudgey schnapps brownies (in Molly on the Range) but instead of schnapps, they’re taking on a flavor profile inspired by Turkish coffee, which often has cardamom mixed in. I first had a Turkish coffee brownie at Fargo’s cute little bagel shop, Bernbaum’s, and recognized its beauty right away. Coffee and chocolate are an obvious good match, but coffee and chocolate and cardamom??? That is a power trio on par with Haim, ya dig? I’ve added a bit of cinnamon as well to help drive home the warmth of the cardamom and the result is one truly fancy brownie.

And a fancy brownie needs a fancy nut!!! Here I’ve added Heirloom Walnuts, which are part of Diamond of California’s new line of Heirloom Reserve Nuts (Pecans and Marcona Almonds are the other two nuts in this line). These walnuts are a varietal that have remained unchanged for generations and have natural, beautifully rustic irregularities. They lend wonderful flavor and texture to these brownies!!


turkish coffee brownies

makes 16 brownies

ingredients

1/2 c (64g) all-purpose flour

1 c (200g) sugar

1/3 c (27g) unsweetened cocoa powder

1/4 tsp kosher salt

1/4 tsp baking powder

1/4 tsp cinnamon

1/2 tsp ground cardamom

2 tsp instant espresso powder

1/2 c (113g) unsalted butter, melted but not hot

2 large eggs

1 tsp vanilla extract

3/4 c (90g) toasted chopped diamond of california heirloom walnuts, plus more for topping


for the glaze:

1 c (120g) powdered sugar

3 tb (15g) cocoa powder

3 tb unsalted butter, melted

1 tb brewed coffee or 1/4 tsp espresso powder + 1 tb water

1 tb (21g) honey

1/4 tsp cardamom

Pinch salt

1 tsp vanilla


Sprinkles, for topping

clues

Preheat the oven to 350ºF. Grease an 8” by 8” pan and line with parchment paper, allowing 1” wings to hang over the edges.

In a large bowl, whisk together the flour, sugar, cocoa powder, salt, baking powder, cinnamon, cardamom, and espresso powder. In a medium bowl, whisk together the butter, eggs, and vanilla. Pour the wet mixture into the dry mixture and stir to combine. Fold in the walnuts and pour the mixture into the pan. Spread it out evenly (it will be quite a thin layer) and bake for 25 minutes.

Cool in the pan on a rack for 10 minutes. Lift them out of the pan and place on the rack to cool completely.

To make the glaze, whisk all ingredients until smooth. Pour the glaze on the brownies, spread it around, and top with walnuts and sprinkles. Let dry and then cut into squares. Enjoy!

-yeh!

Thank you to diamond nuts for sponsoring this post! Starting this month, their new line of Heirloom Reserve Nuts are available in the produce sections of fine grocery retailers. To learn more about Diamond of California, visit their website and follow their Instagram and Facebook.

photos by chantell and brett quernemoen

pictured: plate, pan, pot, pastry cutter

classic tater tot hotdish

These last couple of post-harvest, post-travel weeks have been but a dream, filled with hockey games and cat belly rubs and house concerts and Sunday meatballs. Eggboy has been power washing all of the tractors and combines so that they can get tucked in for their winter slumber and I’ve been finishing up my yogurt book and studying Hebrew! So far I think I know about half of the alphabet, or at least enough to know that it’s going to be a very long time before I can read the Instagram captions of my Israeli food blog friends. Because the vowels! Where did all of the vowels go??? From my limited understanding, modern written Hebrew doesn’t have vowels, so, like, “pizza” would be “pzz.” I appreciate the minimalist nature of this but I am also anxious to be able to read Al Hashulchan and this one Janna Gur book that I have that’s only in Hebrew, and I see a long road ahead of me. Regardless, I’m having a bunch of fun learning it and the classes are giving me more ways to get rid of the 12,000 scones and things that I’m having to test for yogurt book.

Now that yogurt book deadline is very near, I’ve begun thinking about all of the projects that I’d like to do after it’s turned in. Like make potstickers and kubbeh and maybe start a soup and bread club, and maybe do Facebook lives??? Do we like those? Do you watch those? Oh and (!) did I tell you this, we are in the beginning stages of planning to build a house or remodel our current one. We don’t know what the heck we’re doing so if you have links to posts that are basically like house building for idiots plz send. 

It occurred to me recently that I’ve never posted a classic hotdish. I just went straight to Chinese hotdishes and miniature hotdishes, but there’s a reason that the classic is a classic and that’s because it’s delicious and comforting, and for the lucky people who grew up with it here in the upper Midwest, as nostalgic as can be. 

To review, a hotdish is: a meat, a vegetable, creamed soup, and a starch. Hotdishes make up a subset of casseroles that are a very hearty meal in a pan. They're like creamy meat pies that are everything you could ever want when it's cold, and they're also great make-ahead meals. The battle for most classic hotdish usually comes down to wild rice versus tater tot, and because I have a kick butt recipe for wild rice hotdish that I’ll be posting a little bit later, in time for you to make it with all of your Thanksgiving turkey leftovers, we’re starting here with tater tot. 

The flavors are not fancy, they are meat, potatoes, and very basic soup seasoning. But they are cozy and lovable, like your oldest fleece pullovers. This is what you need for your winter hibernation. The fanciest we’re getting here is in making our own homemade creamed soup, because mum would text me some very sassy bitmojis if ever she caught wind of me buying canned creamed soup. But it’s easy, just make a roux! The hardest part is arranging the tater tots in perfect rows and columns that would have made egggrandma proud. Wait no the hardest part is waiting for it to cool so you don’t burn your mouth (but we have ketchup to help with that)!

It’s supposed to snow on Thursday, so I suggest you pickup some tots. 


classic tater tot hotdish

serves 8

ingredients

1/2 c (113g) unsalted butter, divided

2 carrots, finely chopped 

2 stalks of celery, finely chopped

1 large onion, divided and finely chopped

Kosher salt

3/4 cup (95g) all-purpose flour

3 c (715g) whole milk 

2 tb chicken, vegetable, or beef soup mix (i prefer the orrington farms brand, but something similar, like a bouillon cube or better than bouillon or a homemade bouillon will work)

Black pepper

2 1/4 pounds ground beef (I typically go for around 85% lean)

9 oz frozen peas or corn

1 1/2 pound tater tots


If you’re feeling wild: a few handfuls of shredded cheese, for topping

If you’re feeling fancy: fresh chopped parsley, for topping

If you’re feeling like you and I should be bffs: ketchup, for serving

clues

Preheat the oven to 400ºf. First, make the creamed soup: in a large pot, melt 6 tablespoons of butter over medium high heat. Add the carrots, celery, half of the onion, and a pinch of salt and cook, stirring, until soft, about 12-15 minutes. Stir in the flour and cook for another minute. Stir in half of the milk and cook, stirring, until thickened. Stir in the remaining milk and cook, stirring, until very thick. Add the soup mix, a bunch of turns of black pepper, and a teaspoon of salt. Taste and adjust seasoning as desired. Pour into a heat safe bowl and set aside. Wipe out your pot and set it back over medium high heat. Melt the remaining 2 tablespoons of butter and add the remaining half of the onion and a pinch of salt. Cook, stirring, until soft, about 5-7 minutes. Add the ground beef and cook, breaking up with a wooden spoon, until browned. Season with salt and pepper. Stir in the peas or corn. Using a slotted spoon to drain the juices, transfer half of the beef mixture to a 4-quart casserole dish and spread it out evenly. Layer on half of the soup mixture, and then the other half of the beef, and the other half of the soup. Cover with perfect rows and columns of tater tots. Sprinkle with another pinch of salt and pepper, top with cheese, if desired, and bake until the tots are golden brown and crispy on top, about 45 minutes. Let cool slightly, top with parsley if desired, and serve with ketchup.

To make ahead: complete the steps up through topping with tater tots (and cheese, if using). Let cool, wrap in plastic wrap, and refrigerate or freeze until ready to cook. It'll last 2 days in the refrigerator and 3 months in the freezer. If reheating from the fridge, proceed as directed but add on a few more minutes in the oven to ensure that it’s heated through. To reheat from frozen, cover with foil and bake at 350º for an hour, and then uncover and then increase the heat to 400º and bake for another 20-30 minutes, until tots are golden brown and the innards are heated through. 


-yeh!

p.s. vegetarian friends!! i have the tastiest hotdish cooking up for you (it is also vegan). it's quite different from this one but if you're looking for a straight up vegetarian version of this classic tater tot hotdish, jenny has cooked up one idea and it's north dakotan husband approved!

pictured: casserole dish, ketchup dish

hawaij apple pie with cardamom whipped cream

it's a video!! 👇🏼👇🏼👇🏼👇🏼 (and turn the sound on, it's my pops playin!) 

I have some personal news… I make pie now. 

Which is awkward since my whole life is basically a display of loyalty to #teamcake. I even wrote a whole thing in my book about kondo-punting homemade pie dough out of my life and didn’t even feel bad. 

But now here I am in 5778 and I not only make pies but I also post near daily pictures of Sven, a cat. Which is weird because I come from a long line of dog people and so genetically I am a dog person. I just can’t help it with the fluffy ball of glee that is Sven and with the pies, well, I suddenly just can’t get enough of them. (What’s next? You think I’ll eat a banana?) I think this pie thing actually started when Erin posted a few pie videos last year. That is when the crimping thing suddenly made sense and seemed like something that would actually be fun and not miserable to do. I had just gotten home from my book/#teamcake pride tour where a bunch of you urged me to just give pie making another chance, one of you even brought me a jar of lard about it, and from there I slowly started ruling out the idea of never making a homemade pie crust again. 

I also couldn’t really stop thinking about a few bites of peach and apple pie that Sarah fed me like two years ago while she was testing recipes for her book and grew this desire to not have to drive all the way down to the cities anytime I wanted a Sarah-quality pie. 

So I took a seat in back, reached across the aisle to #teampie, and began my research. I sat with a stack of all of my favorite baking books and flipped to the very shiny, untouched pages with the pies. It felt like going down an unexplored aisle of the grocery store but I was ready to just rip the band-aid off. Here were some takeaways:

1. At first I resented the fact that when the pie comes out of the oven you can’t level off the top and have a few scrap snacks, as you would a cake. But then! I learned the satisfaction of egg washing the pie dough scraps, salting the bejeezus out of them, and then baking them into little crackers. I even made some cat shapes. 

2. I have become such a rabid pie maker that I won’t even turn the heat on in our house for fear that the crust will get too warm. Have you any long underwear recommendations?

3. You can really pile those apples into the crust since they bake down quite a bit. But, as I learned in Stella’s book, it’s important not to over-bake them, lest they get mushy and prevent you from getting a clean slice. Baking until the apples are 195ºf is what Stella recommends and that ensures that the apples are fully cooked but still retain their structure. 

4. All-butter pie crust (Pâte Brisée) recipes are all pretty much the same and consist of 1 1/4 c flour, a bit of salt and sugar, 1/2 c butter, and 3-4 tb water. There are a lot of small variations out there, like adding an egg or some dairy. I found that I prefer subbing a tablespoon of the water for a tablespoon of vinegar, as vinegar helps prevent the development of gluten, which will result in an even flakier crust. I also like using Land O Lakes® European Style Unsalted Butter here which has a fat content that is 3% higher than American butter and more fat = more flavor. 

5. A good pie has a thick golden crisp crust and innards that sing with flavor. It’s important that when you’re rolling out the dough you don’t make it too big and that when you’re trimming the edges you don’t trim off too much because you want that crust to be as thick as possible. Sarah suggests baking on a pizza stone to help the bottom crust get crispy, which is great because I like letting my pizza stone live in my oven. And as for the innards, I like amping up the apple flavor with a bottle of boiled cider that’s been in my cabinet for forever and Hawaij, which as we discussed a few falls ago, is what happens when pumpkin spice goes swimming in cardamom. It is so very good. (You can order boiled cider here but if you just can’t wait, omitting it will not be the end of the world. And you can make Hawaij with this quick lil recipe.) This baby is topped with cardamom whipped cream which only makes the Hawaij more… Hawaij-y and the whole situation more celebratory. 


6. I’m sorry, I am not sure what kind of apples are growing on our trees out back (they might be McIntosh??) but they are not too sweet, pretty crisp, and great for baking since they hold up and taste good. Here’s some literature on apple pie apples in case you don’t have a tree in your yard

Ok I can’t actually get over how satisfying pie making is and I have a feeling that I’m about to start making up for lost time as a cake snob. Molding pie crust is just so soothing. Let the crispy fall air roll in, put on the Sufjan, and omg, let me crimp the edges. That’s my favorite part. And can we just take a moment to enjoy giving it that little hug at the end to make sure his crust stays on the pie pan rims?? I don’t plan on getting into all of those fancy pie crust art productions that I see around the internet but I do plan on latticing through the winter and beyond. 

Hello, #teampie!!!! 
 

it's another vid!! 👆🏼👆🏼👆🏼👆🏼👆🏼


hawaij apple pie with cardamom whipped cream

makes one 9-inch pie

Ingredients

Filling

8 apples (1000g), washed and dried
Juice of 1 lemon
1 c (200g) dark brown sugar
2 tsp Hawaij
1/4 tsp cinnamon
3 tb cornstarch
3/4 tsp kosher salt
1 tsp vanilla extract
2 tb boiled cider 

Crust

1 tb apple cider vinegar
6 tb water
2 1/2 c (318g) all-purpose flour, plus more for dusting
1 tb sugar
1 tsp kosher salt
1 c Land O Lakes® European Style Super Premium Unsalted Butter, cold and cubed

Assembly

2 tb Land O Lakes® European Style Super Premium Unsalted Butter
1 egg, lightly beaten
1 1/2 tb turbinado sugar
Flaky salt, optional

Cardamom Whip

1 c Land O Lakes® Heavy Whipping Cream
1/4 c powdered sugar
1/4 tsp ground cardamom
 

Clues

Chop the apples into 1/4” slices, place them in a large bowl, and toss with the lemon juice. Add the brown sugar, hawaij, cinnamon, cornstarch, and salt and mix to combine. Mix in the vanilla and boiled cider. Cover the mixture and let it sit at room temperature for an hour or so (while you make the pie dough). 

To make the dough, combine the cider vinegar and water in a measuring cup and stick it in the fridge (or the freezer even) to get really cold. In a large bowl or food processor, combine the flour, sugar, and salt. Add the butter and either use your hands to toss it with the flour and pinch the butter into flat sheets or pulse in the food processor, incorporating the butter so that about 75% of the mixture is mealy. The rest of the mixture should have some slightly larger, pea-sized bits of butter. Drizzle in the vinegar and water and mix with your hands or continue to pulse in the food processor just until the mixture comes together to form a dough. If it seems dry or is having a hard time coming together, add a bit more water a few drops at a time until it comes together. Turn it out onto a clean surface, using your hands to press on any stray crumbs, and divide the dough in half. Pat the halves into discs, wrap with plastic wrap, and refrigerate for 30 minutes. 

Adjust a rack to the lower third of the oven (with a pizza stone if you have one) and preheat the oven to 400ºf. On a floured surface roll out one of the discs to a circle just larger than 12 inches. Place it in a 9” pie plate and refrigerate it for 15 minutes. Meanwhile you can roll out your top crust. For a basic top crust roll out the remaining dough disc on a floured surface until it’s a little larger than 10”. For a lattice crust, divide the remaining dough disc into two and roll out two 10” circles. Cut the circles into 2” strips. 

Fill the pie crust with the apples (it will seem like a lot but they bake down!) and pour the juices over it. Chop the 2 tablespoons of butter into small pats and distribute it all over the top. For a basic crust, place the top crust over the pie, pinch the edges to seal, trim any stray bits with kitchen sheers and then fold the edges over and crimp. Cut 4 slits in the top. For a lattice crust, refer to the video above for how to assemble. Pinch the edges to seal, trim, fold the edges over, and crimp. Give the edges a little hug to make sure they are sitting snuggly on the rim of the pie pan otherwise they could fall off in the oven. 

Freeze the pie for 15 minutes. Brush it with egg wash, sprinkle with turbinado sugar and flaky salt, if desired, and then place it on a baking sheet and bake until the internal temperature reaches 195ºf. Begin checking for doneness at 45 minutes. Let it cool slightly.

To make the cardamom whip, combine the heavy cream, powdered sugar, and cardamom in a large bowl or stand mixer fitted with a whisk attachment. Beat on medium high to stiff peaks. 

Serve pie with a large dollop of cardamom whip and enjoy! 


Thank you so much to Land O’Lakes for providing me with the butter and heavy cream for all of my pie baking adventures and for sponsoring this post. Their European style butter is so gosh darn good and rich and perfect for pie crust.

Additional thanks to Eggboy for his videography and to pops, Jim Stephenson, Patrick Godon, and Cedille Records for the soundtrack on that first vid!