blog — molly yeh

cheese

everything bagel mac and cheese

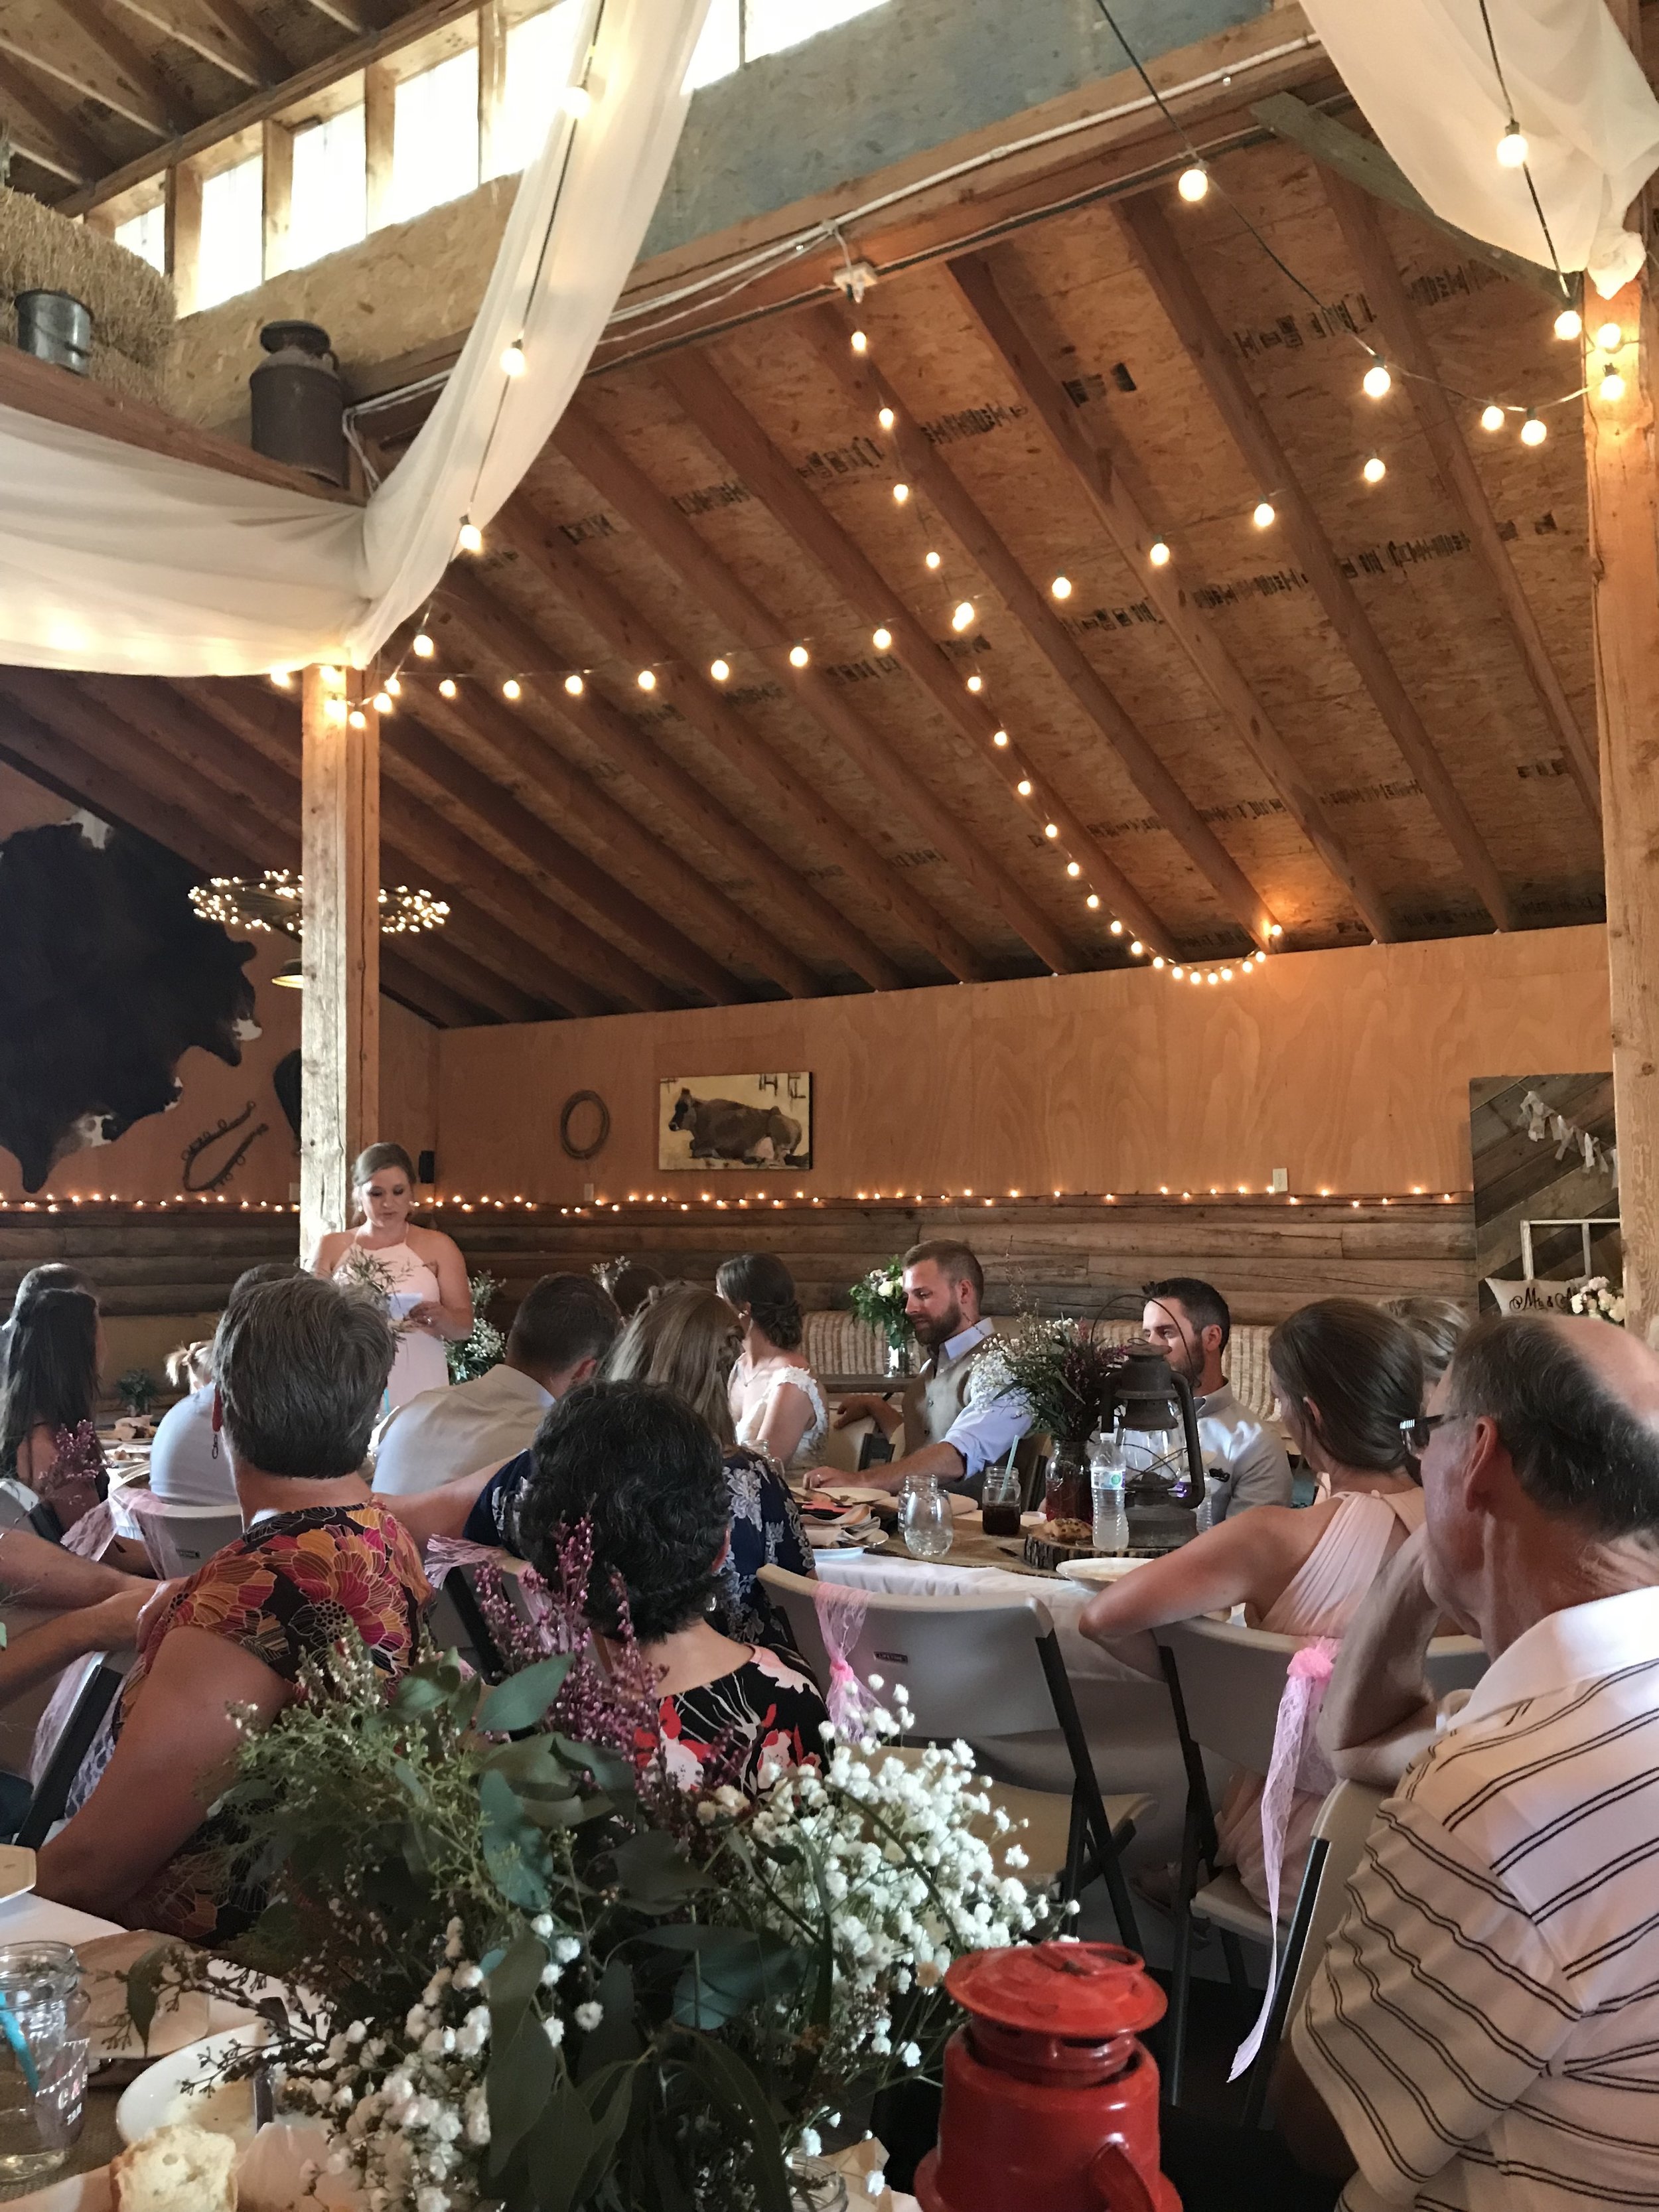
Ok, as long as no one we know gets surprised engaged and decides to surprise go to Hawaii and get married at the last minute, we are done going to weddings for a few good months, which I’m kind of sad about because the Rent the Runway dresses I’ve been finding have been off the hook. And I love a good dance party. And the far off destinations that we get to go to. This past weekend we were right on the Idaho/Wyoming border for an Eggcousin wedding at a ranch that made me want to go back and watch Hey Dude reruns. (Was that a good show? Or just an obstacle on the way to Bug Juice and Double Dare? Will we ever know?)

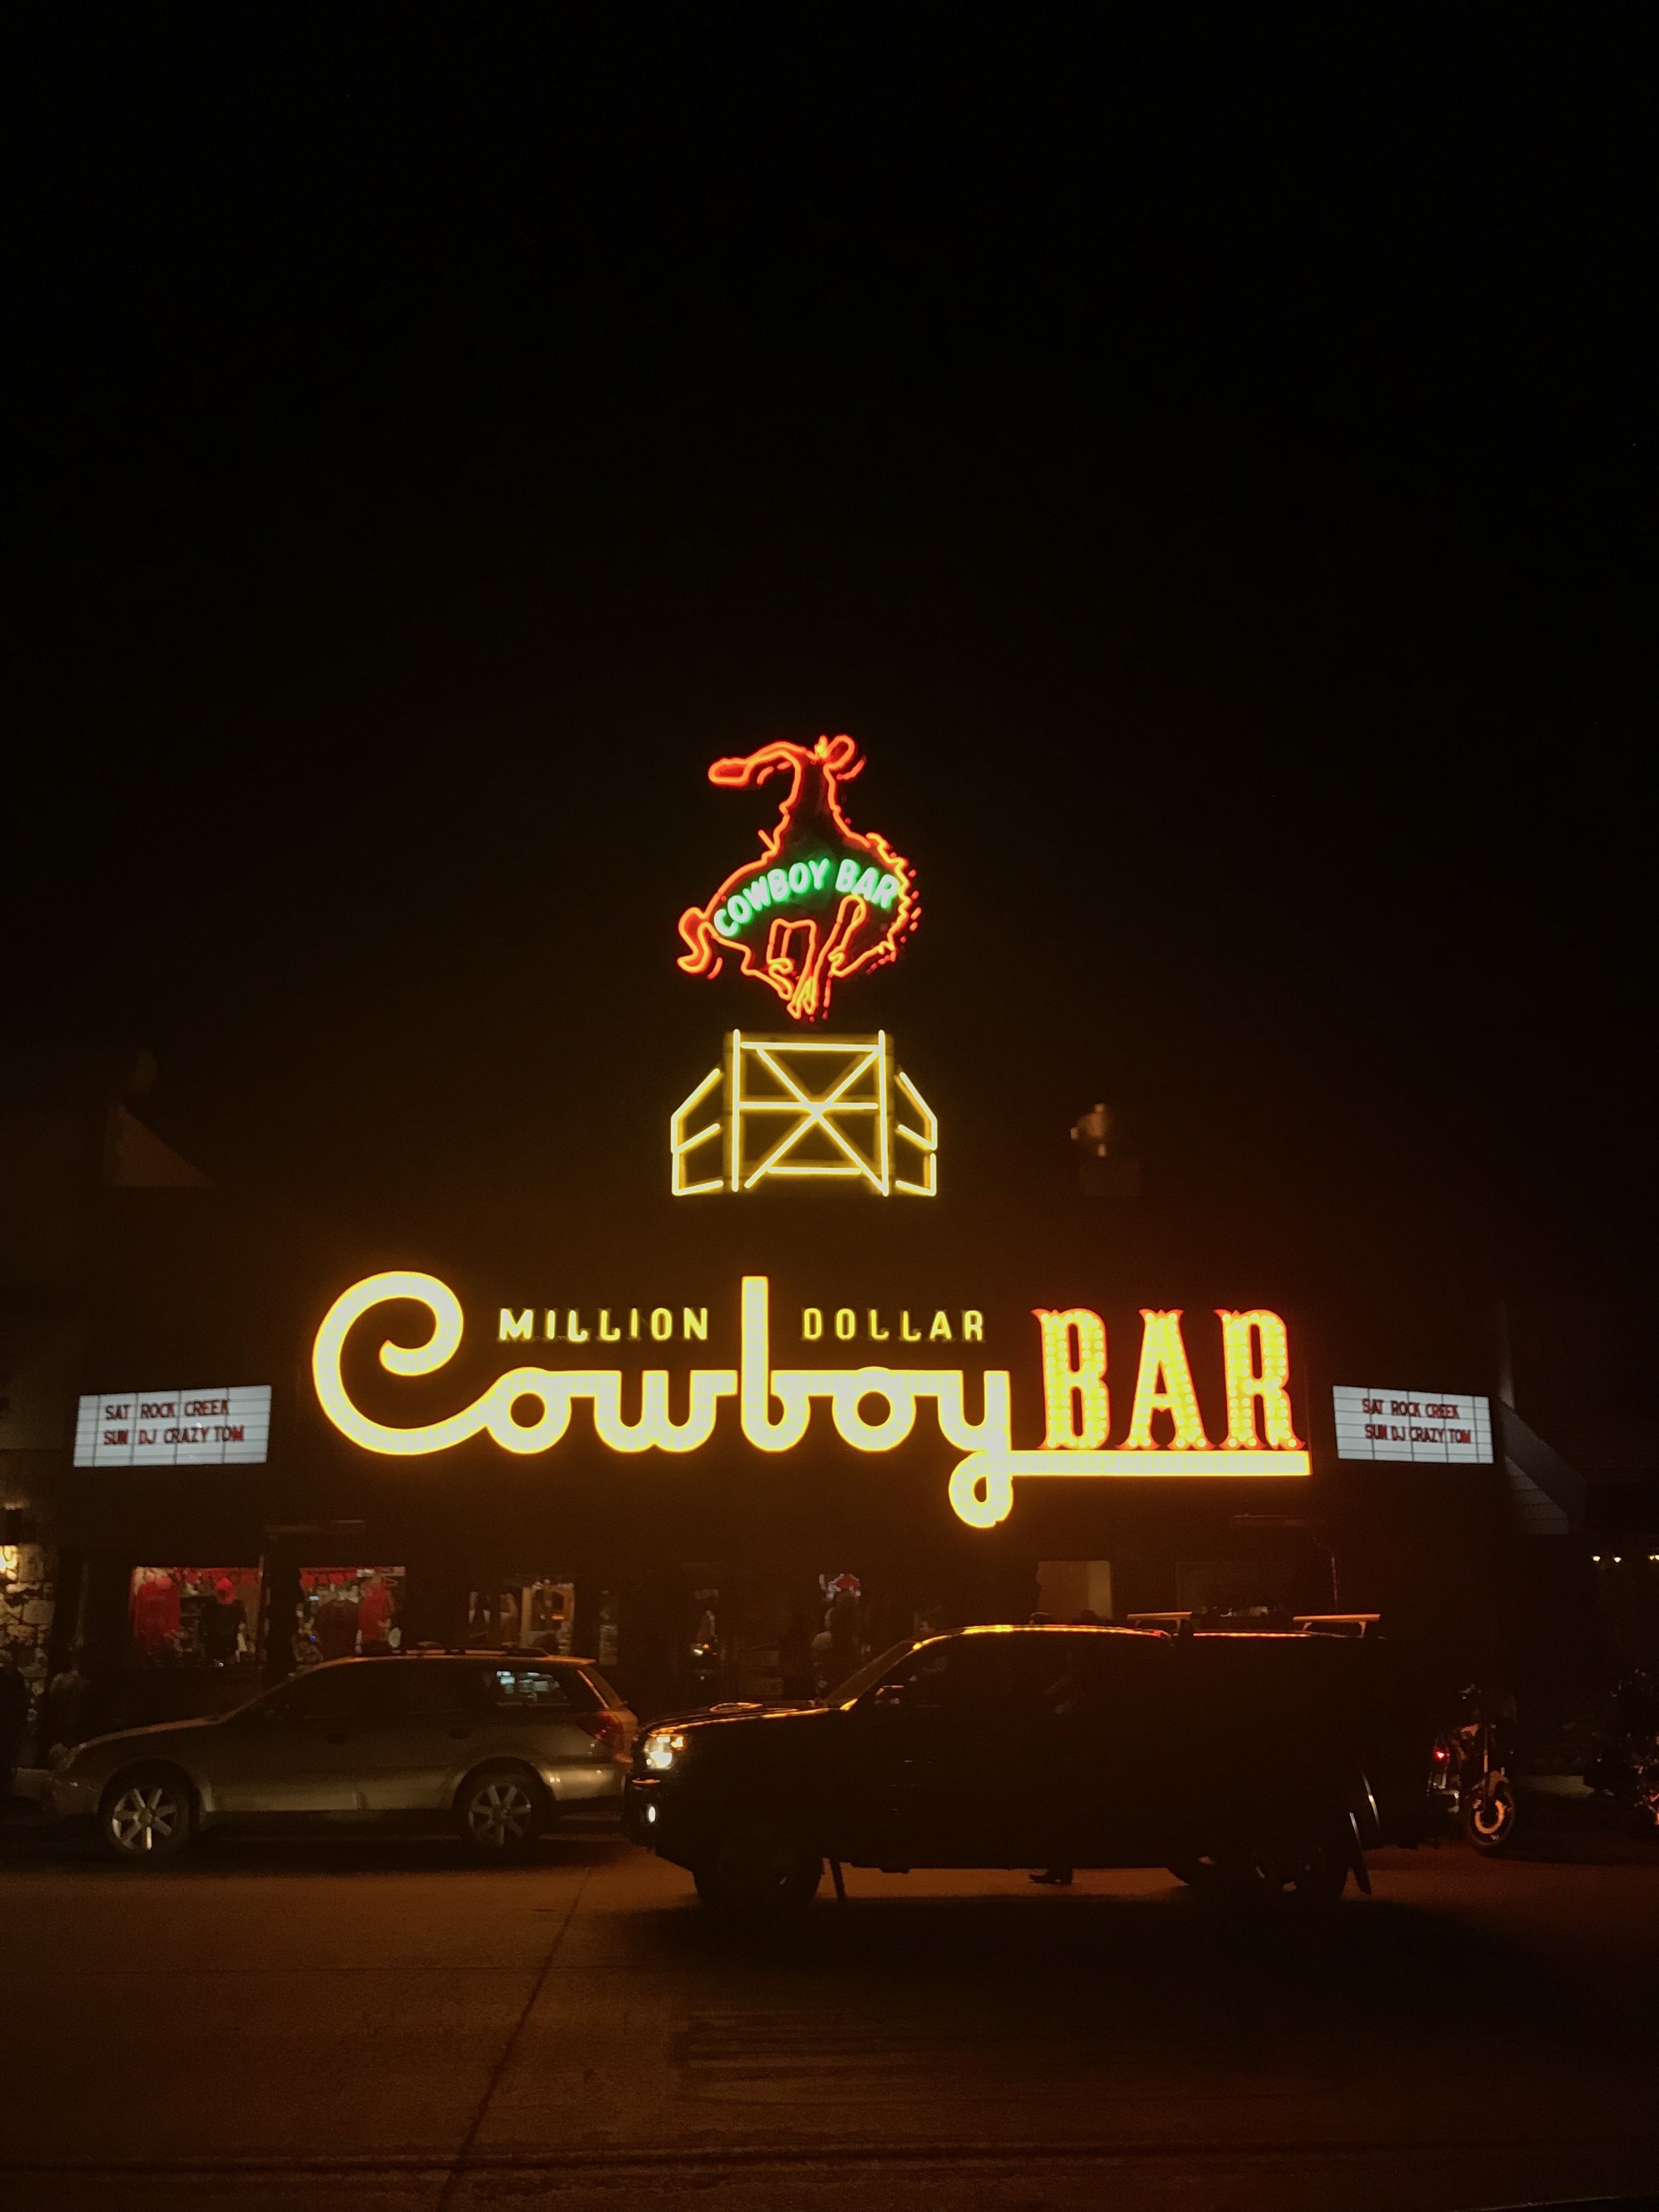
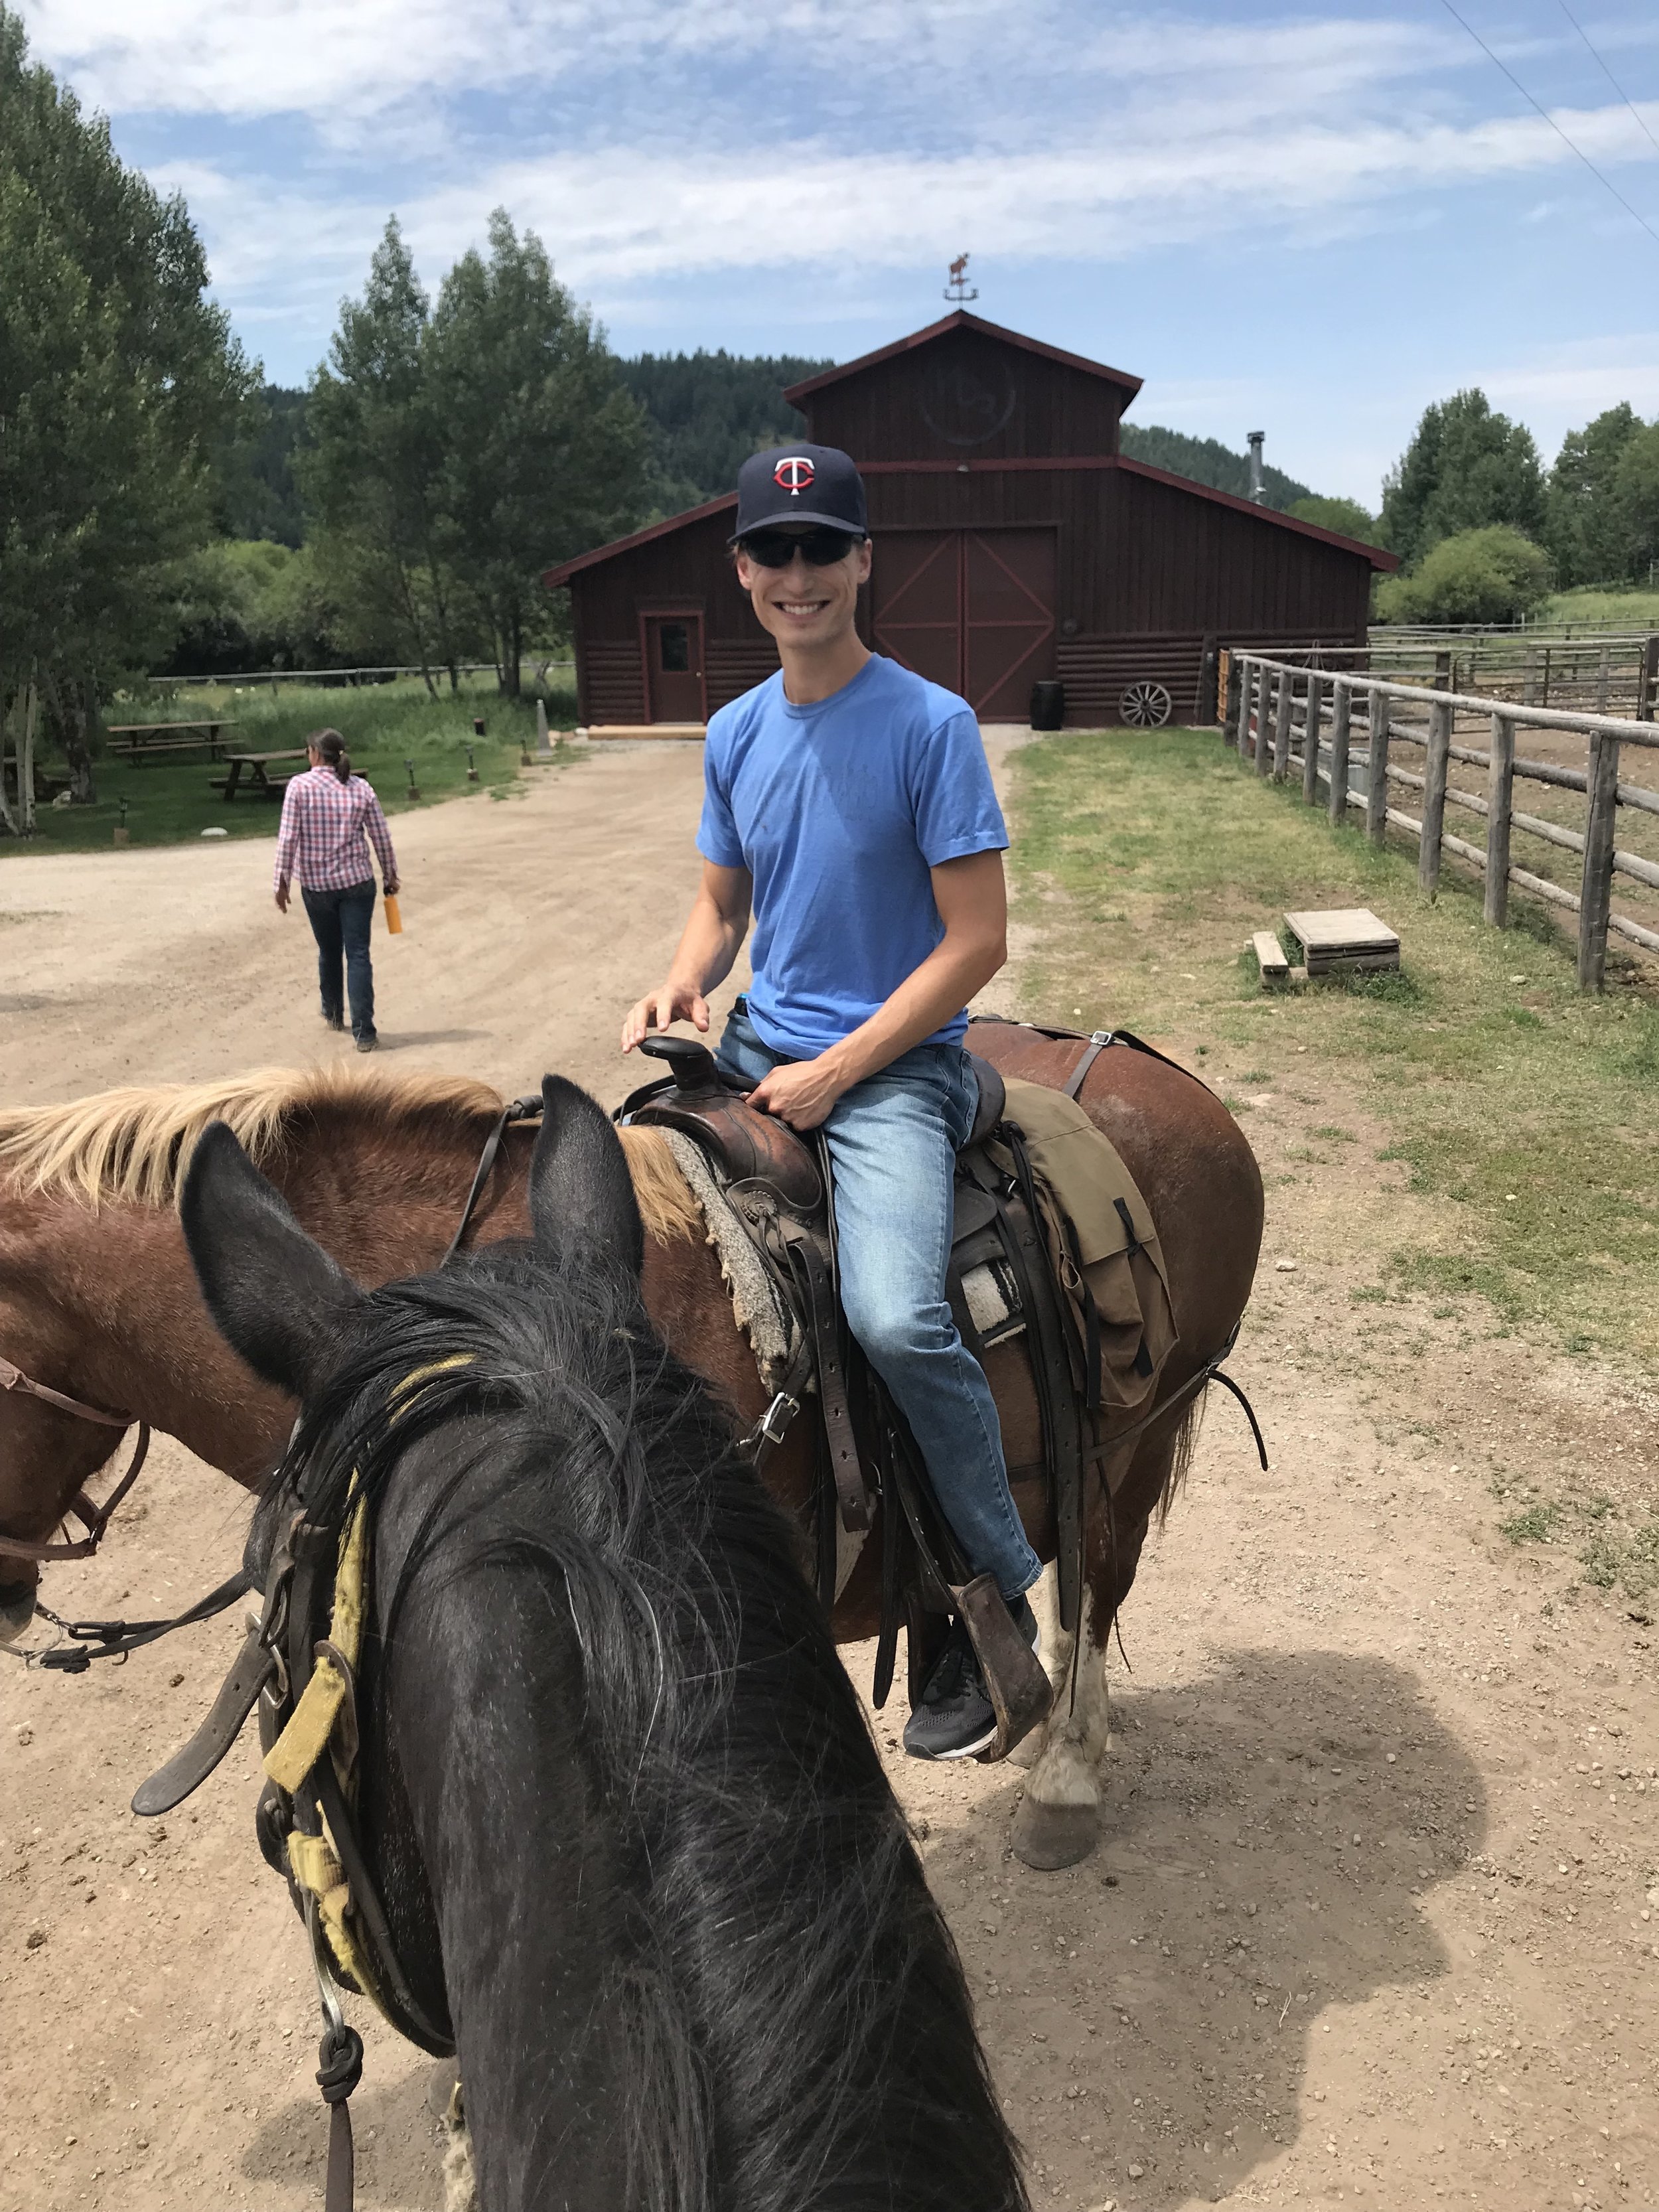
It was my first time in Wyoming and I gasped when I saw the scenery. Mountains are so good. On our first night we stayed at the adorable Anvil Hotel in Jackson and had a delicious and inspiring crispy honey chicken with creamed corn at Glorietta. I pretty much never order chicken at a restaurant unless it’s schnitzeled but our server said get the chicken so we got the chicken and it was one of the best decisions we’ve made at a restaurant all year. The next morning we hiked up Snow King mountain, ate an apple and peanut butter at the top, and then came down and drove across a Teton to the ranch in Idaho for the wedding. Wowee zowee, it was beautiful. We rode horses, saw a bunch of wildflowers, sat around a campfire, and Eggboy played music for the ceremony!! It was the best. 

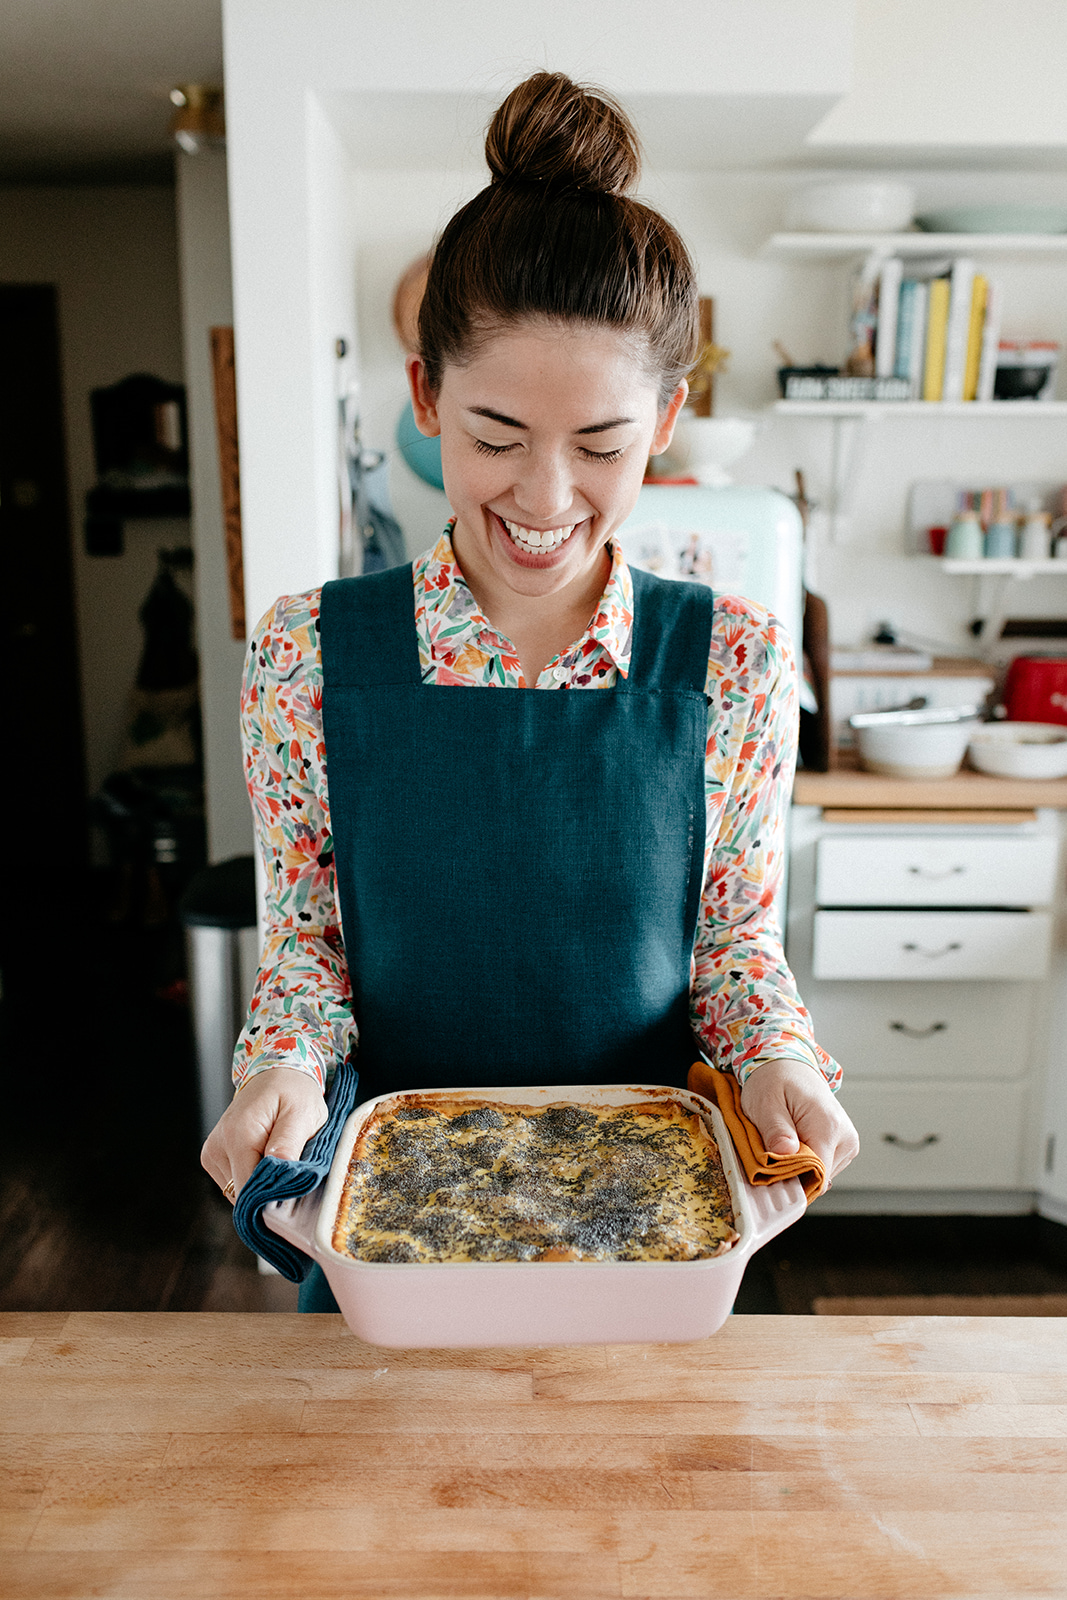
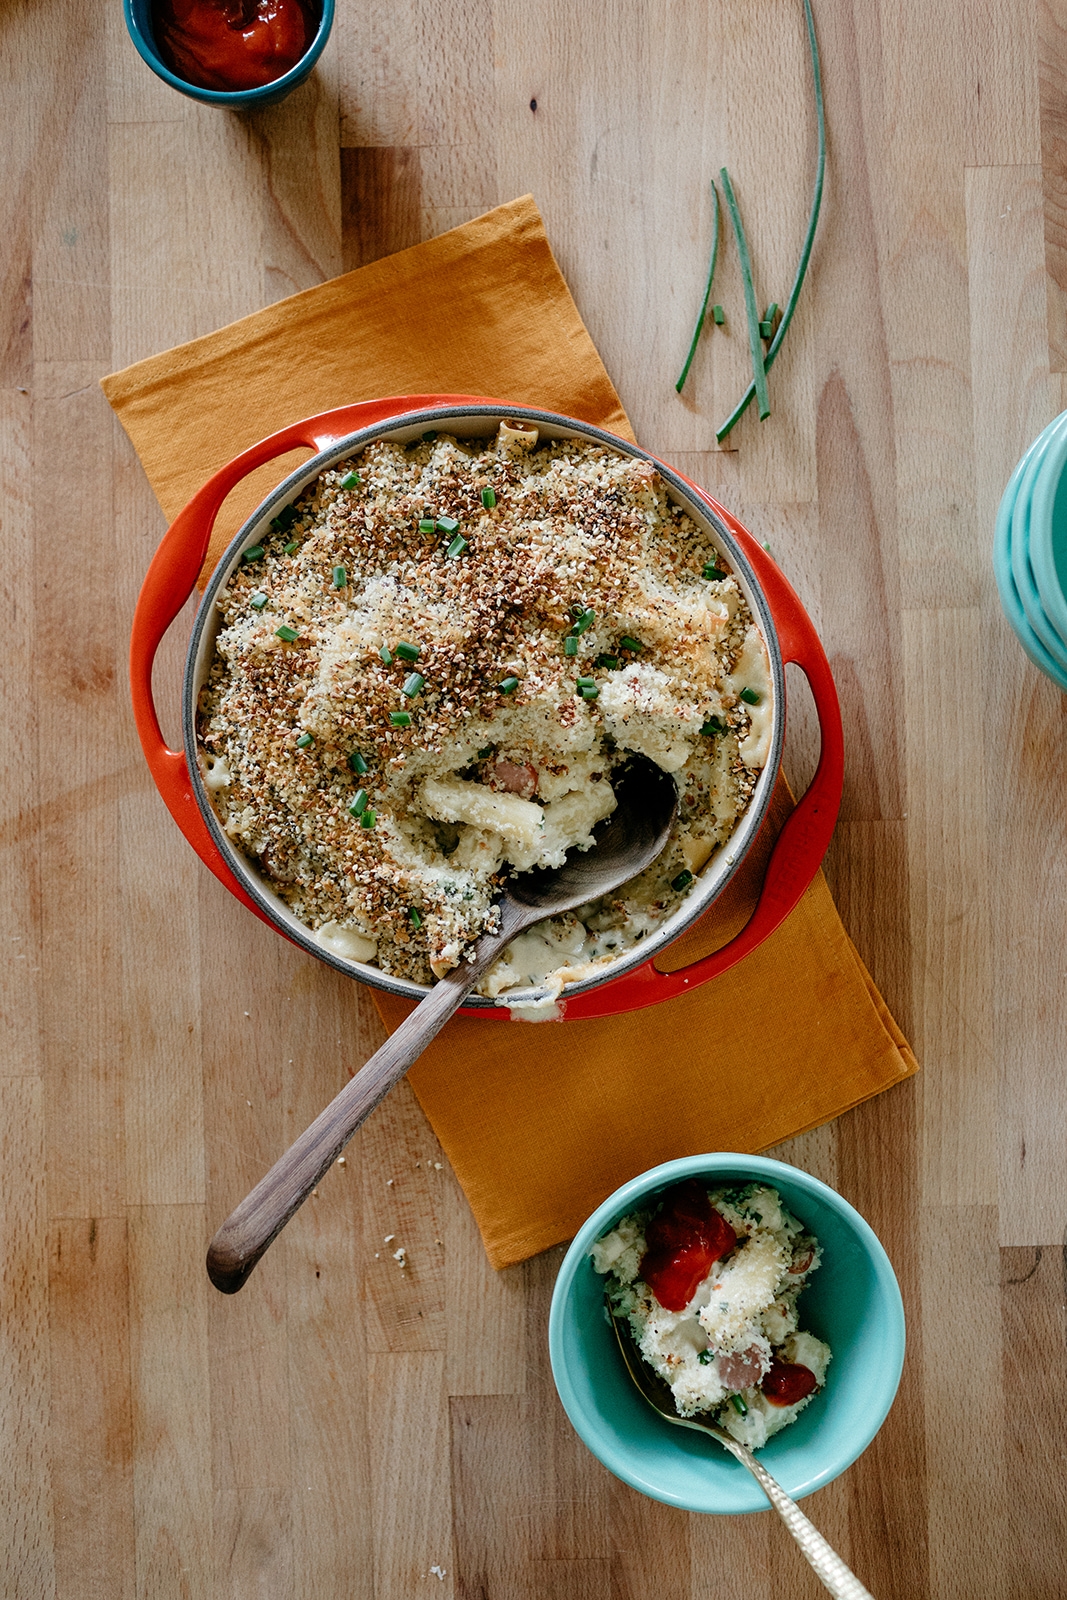
Now we’re back, just in time for National Macaroni and Cheese Day!!!! Which is the only food holiday besides donut day that I take seriously for now. It’s on Saturday. And I know, it’s kind of dumb to have it fall in the middle of summer when we should be taking advantage of fresh summer vegetables, but I don’t make the rules. So here is a recipe that I’ve been making in my low key mission to everything bagel (v.) all of the things. It was partly inspired by Alex and Sonja’s Everything Bagel Pasta, which looks sooo good. And the things that make this mac bagel-y are: 

-Cream cheese in the cheese sauce, which adds a delicious tang 

-Chives, because chive cream cheese is the best cream cheese

-Just a tiny bit of barley malt syrup, a sweet sticky substance that’s a key ingredient in making bagels taste bagel-y 

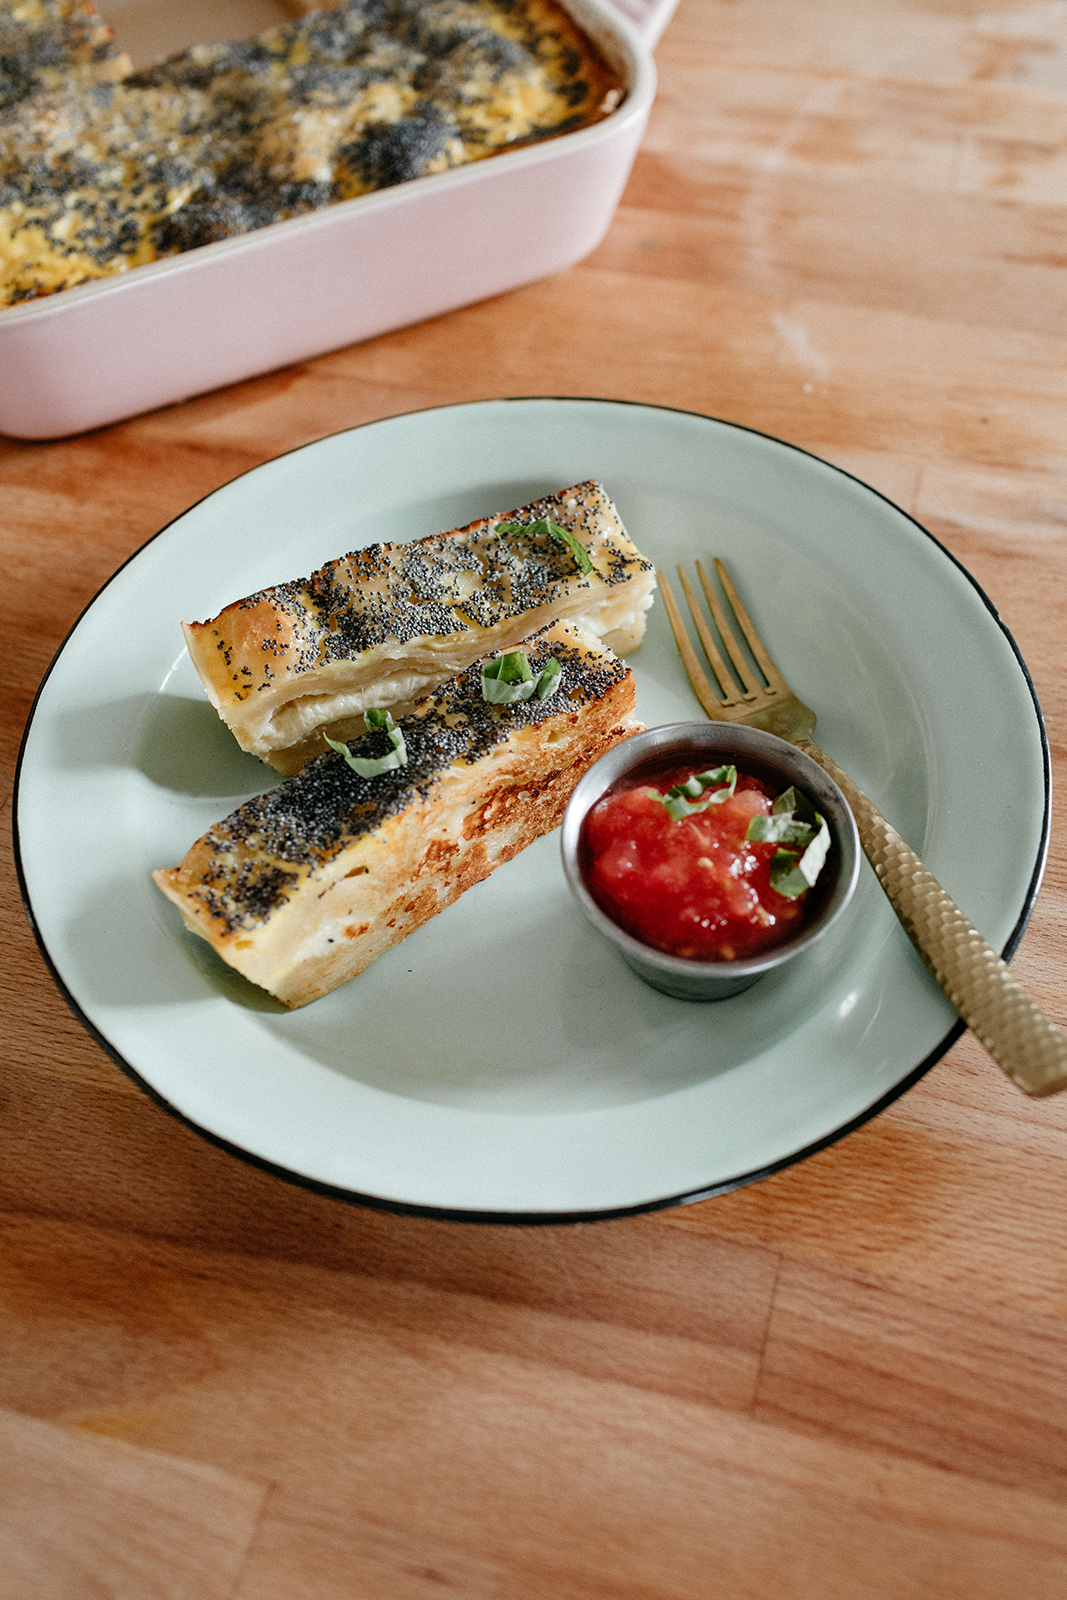
-Tons of everything bagel seasoning on top. It seems like a lot when you’re making it but it gets all crunchy in the oven and adds perfect texture. (I’ve included measurements below to make your own seasoning but you can certainly use store bought. If you use storebought: sprinkle it on to taste because some of them, like the one from Trader Joe’s, are extreeeeemely salty.)


-And if you’re feeling extra, sub out the panko breadcrumbs for bagel crumbs!

-And for bonus points: add hot dogs or veggie dogs and then it’s bagel dog mac and cheese.

…And there is no bagel-driven reason for the ketchup. I just like it.


Everything Bagel Mac and Cheese

Serves 4

Ingredients

1/2 lb (226g) pasta, I prefer rigatoni
Olive oil
1/4 c (68g) unsalted butter
1/2 yellow onion, finely chopped
Kosher salt
1/4 c (33g) all-purpose flour
2 1/2 c (590g) whole milk
4 oz (113g) cream cheese
4 oz (113g) white cheddar or gruyere or a mix of both, shredded
1 oz (28g) parmesan, shredded
1 1/2 tsp barley malt syrup, optional
Crushed red
Black pepper
1/2 c chopped chives or scallions
Bonus points: 2 cut up cooked hot dogs or veggie dogs

Topping

3/4 c (75g) panko breadcrumbs
1 tb unsalted butter, melted
1 tb each: sesame seeds, poppy seeds, dried minced garlic, dried minced onion
A few pinches of Kosher salt

Ketchup, for serving
 

Clues

Preheat the oven to 375ºF.

Prepare the pasta according to the directions on the box, cooking for one minute less than directed. Drain, toss with a drizzle of olive oil, and set aside. 

In a large pot, melt the butter over medium high. Add the onions and a pinch of salt and cook, stirring, until soft, 5-7 minutes. Stir in the flour and cook for 1 minute. Add 1 cup of the milk and cook, whisking continuously, until thickened, and then repeat with another cup, and then the remaining 1/2 cup. Add the cheese and stir until melted, and then add the barley malt syrup (if using), a few pinches of crushed red pepper, a few turns of black pepper, and salt to taste. Stir in the pasta, chives, and hot dogs, if using. Transfer to an 8” baking dish or a dish that’s a similar size. In a medium bowl, mix together the breadcrumbs and melted butter and then distribute it over the top of the mac and cheese. Combine the sesame seeds, poppy seeds, dried minced onion, dried minced garlic, and salt in that same medium bowl and sprinkle it liberally over the top.

Bake for 25 minutes, or until golden brown on top. Let cool slightly and then serve with ketchup.


-yeh!

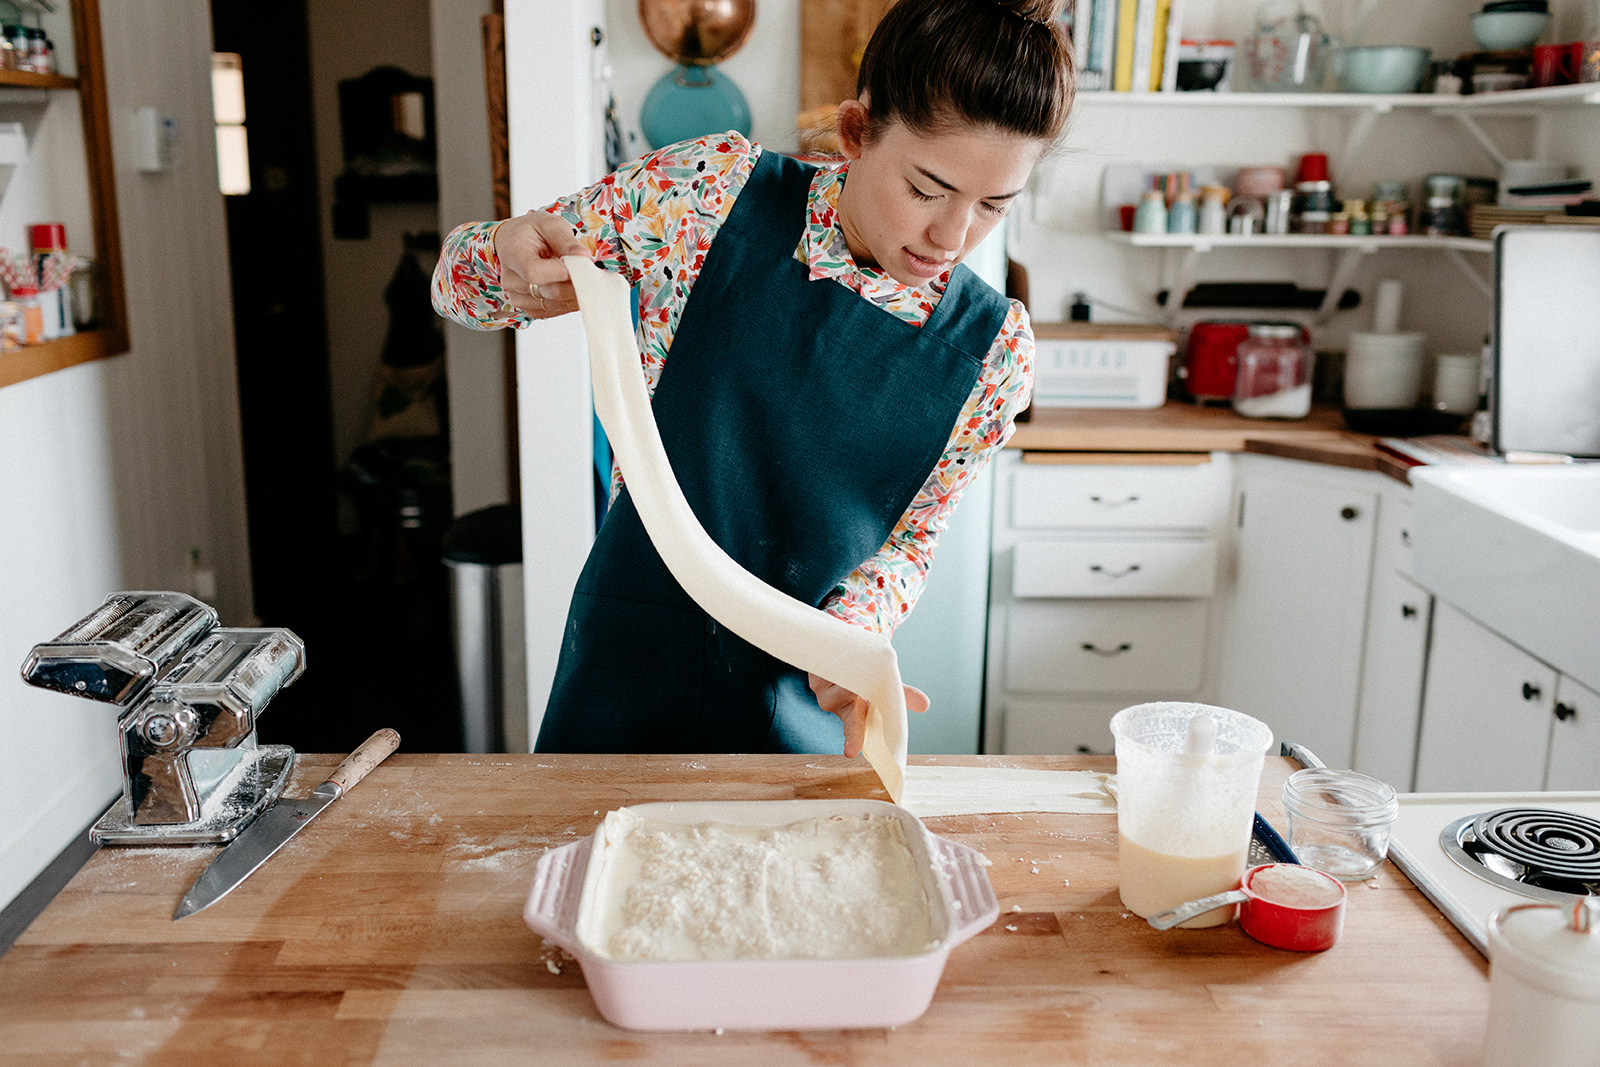
mac and cheese photo by chantell and brett


P.S. I have a few fun appearances on Food Network this weekend!! 

On Saturday at 11am eastern I will be making peanut butter cake on one of my favorite shows, The Kitchen!!!!

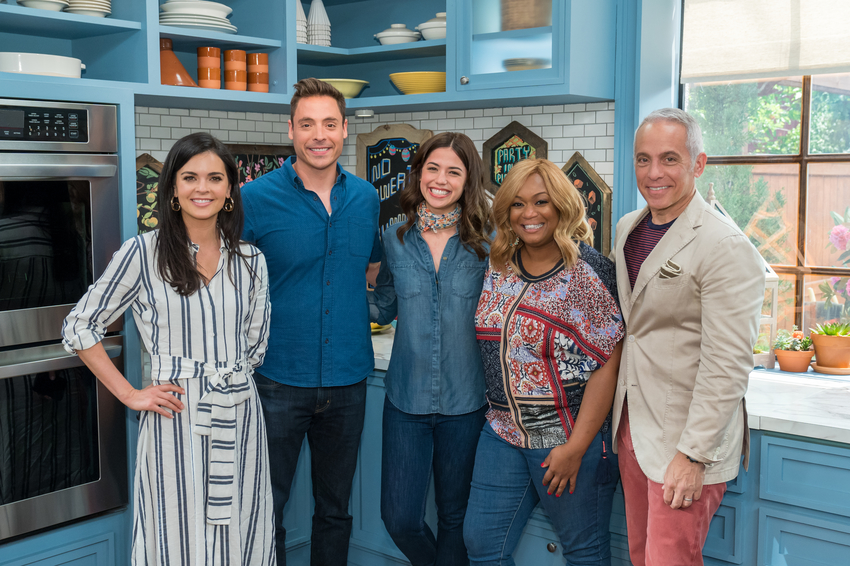
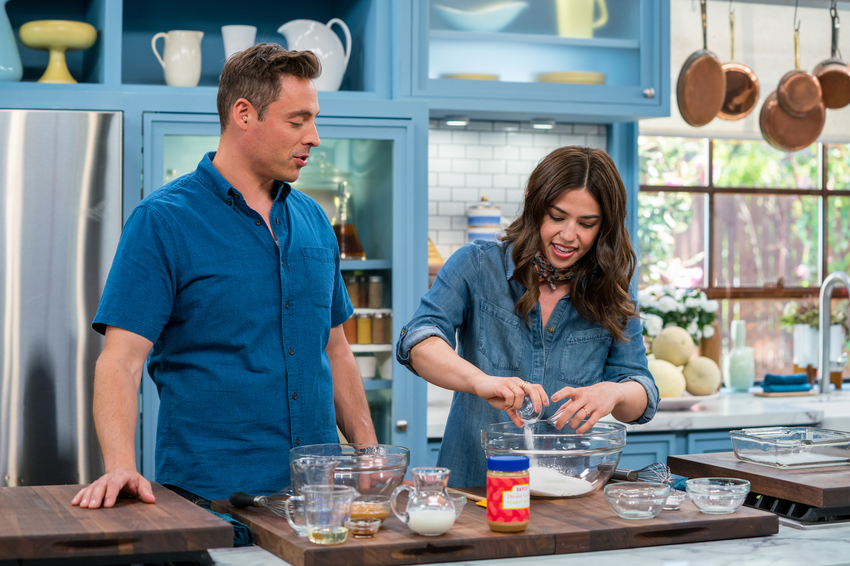
👆🏼👆🏼Feeling very at home in the presence of Jeff Mauro and his great Chicago accent.

And on Sunday at 9pm eastern I will be a guest judge on Food Network Star!

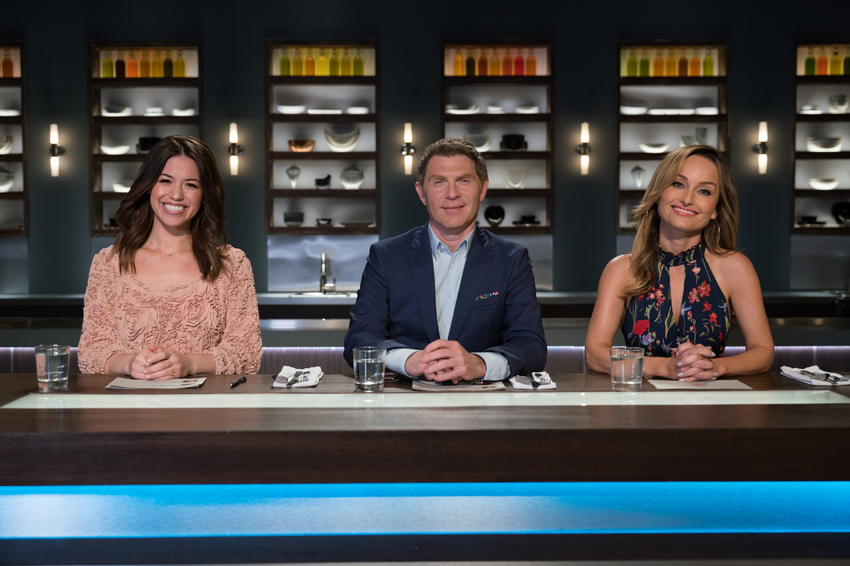
Bobby and Giada were soo nice!!!! 

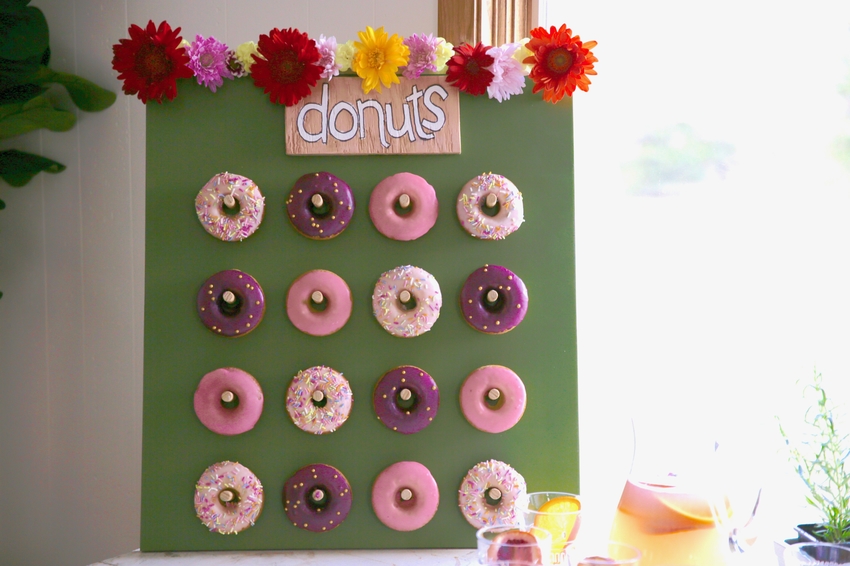
And on Sunday at 11am eastern on Girl Meets Farm, we will be celebrating Eggsister's baby shower!!! There will be donuts!! And ~walking tacos~! 

cheese borek

What a delightful birthday month this has been so far! I can’t really say I’ve done too much out of the ordinary other than receive a Jason Brown hug and tell all of my favorite figure skaters to their beautiful glowing faces that I love them. (Stars on Ice was sooo good!!!) I picked rhubarb with Sven, made cake after cake, ate cheesy pickles with my homies, and listened to a lot of Live from Here and Little Fires Everywhere on tape. I also treated myself to sprinkle pillowcases and socks. Nothing too wild, yet everything I love. And now this week I am heading to Paris for the first time ever, with Lily and Sarah and Bonne Maman, and I am so excited!!! I am bringing some new disposable cameras I just discovered, don’t those look fun?? More on Paris later...

Right now I am enacting a new birthday month tradition which includes reflecting back on all of the best things I ate this year during my travels and cooking one of them. There was an amazing crispy rice salad at Hai Hai, in Minneapolis, that was like eating a bowl of fried chicken breading and tons of fresh herbs, my favorite doughy breakfast burrito at Los Favoritos, in Arizona, an avocado toast to end all avocado toasts at Lodge Bread Co, in LA, a lobster in Maine, salmon in Alaska, and Bulgogi in Korea. One thing that haunts me particularly regularly though is the borek that I ate at Sofra, in Cambridge, with Zach and Jeff. It was October, it was unseasonably warm so we sat outside, we ordered one of almost everything, and I was sick as a pup! So I was mainly focused on navigating my utensils and bites in such a way that wouldn’t spread my cooties to anyone else. But then I tasted the borek and, goodness gosh geez, I could have died after that first bite. 

It’s… illegally good. It’s kind of like a slice of mac and cheese that’s been crisped up in a skillet, but it’s milder and doughier than that. On the sweet/savory spectrum it's about halfway between a lasagna and a kugel. Structurally it's layered like a lasagna, with Yufka, which is a Turkish flatbread that's thicker than phyllo dough and thinner than a tortilla, and it has fresh mozzarella in it, so it’s very creamy and doesn’t have any sharpness. It's also yogurty, so it has some subtle sourness, and there’s an egg custard situation swimming into the layers, holding everything together, ohmygahhh it’s good. 

After tracking down the recipe in Sofra's book, I’ve decided that It’s actually insane that such a simple set of ingredients can make something this delicious. Basically what you do, or rather what I did since I didn’t plan ahead far enough to order Yufka dough online, is you knead together a simple flour/water/olive oil dough and then roll it out until it's very very thin (I used my pasta roller). Then you layer it with yogurty milk and grated fresh mozzarella. I’d never grated fresh mozzarella before but it turns out you can do that! Unlike lasagna, the layers don’t get boiled or cooked at all before layering up with the yogurt and cheese which makes them soak everything up and stay soft and doughy in the oven.

Then after it's baked, you brown slices on both sides and eat them with grated tomato. Then you die!!!

If you don’t have yufka dough and choose to make your own, use a double batch of this recipe. Roll it out to the second thinnest setting on your pasta roller and cut out enough rectangles to make eight layers (it's ok if there's some overlap). You can either roll them all out at once and keep them separated with a dusting of flour and layers of parchment until the rest of your borek ingredients are ready, or you can roll them out as you assemble the borek. Doing this will make this process long but it will be 100% worth it. And a great thing about this borek is that you can make it a day or two in advance and reheat slices in a pan before serving.


cheese borek

serves 10 to 12

from soframiz by ana sortun and maura kilpatrick of sofra

ingredients

1/2 c (113g) unsalted butter, melted

1 1/2 c whole milk 

3/4 c (164g) plain whole milk Greek yogurt

1 tsp kosher salt

2 large eggs plus 2 egg yolks

4 sheets store-bought yufka pastry, weighing about 2 pounds (907g) (many brands of yufka are available online)

4 (4-oz) balls buffalo milk mozzarella, grated

3 tb all-purpose flour

2 tb nigella seeds (note: I used poppy seeds!)

tomatoes, grated with the big holes of a box grater, for serving

clues

preheat the oven to 425ºf. butter an 8-inch square baking dish or an 11 by 7-inch baking pan with 1 tablespoon of the melted butter.

in a small mixing bowl, whisk together the milk, yogurt, salt, and whole eggs until very smooth. whisk in the remaining 7 tablespoons of melted butter.

cut the yufka so that you have about eight large pieces that cover the bottom of the pan. it's okay if they don't fit the pan perfectly or if the edges hang over; you can fold everything over the top at the end of assembling.

place one layer of yufka on the bottom of the pan and brush lavishly with the milk mixture. repeat until you have four layers of brushed pastry. distribute the mozzarella over the top of the four soaked yufka layers. place another four layers of yufka over the cheese filling, brushing with the milk mixture between every layer. 

using a small knife, cut the borek, scoring the pastry so that the custard seeps into the cuts. make 10 to 12 cuts. it doesn't matter if it breaks the pastry: you can press it back down with your hands. you don't need to worry about doing it neatly; the cuts will disappear while the borek bakes.

mix the remaining milk mixture with the egg yolks and flour. pour over the top and let soak for 20 minutes. eventually, the liquid soaks into the pie, so don't worry if it seems like a lot. sprinkle the top with the nigella seeds.

place the borek in the oven and lower the heat to 350ºf. bale for about 50 minutes, until golden on top and puffy. let rest for 15 minutes before slicing. either serve as is or heat a skillet and brown on both sides.

serve with grated tomato.


-yeh!

photos by chantell and brett quernemoen!

and this apron is part of enrich and endure's new line! i'm hosting a giveaway with them right this way!

kale matzo pizza with garlic, lemon, and almonds

A truth about matzo pizza that I only recently learned is that it has the ability to take on the life of a very tasty cracker crust pizza and become something that is delicious enough to have year-round and, in this case, healthyish enough to have for lunch pizza. You have to do the following though: use a fresh cheese (like fresh mozzarella) that will lend some of its excessive moisture to the dry matzo and soften it slightly, salt the shit out of it, and brush it with olive oil so the edges get just slightly kind of fried and light and crispy. I believe that the world is your matzo pizza kosher oyster when you do these things and I’m going to demonstrate it with this tasty recipe inspired by the broccolini and preserved lemon pizza at the hip joint Young Joni, in Minneapolis. That Young Joni pizza has my favorite flavor combo: green + lemon + garlic, and then it also has almonds! Which turns out is a brilliant way to add protein to a vegetarian pizza. I’ve used kale instead of broccolini here because the dainty matzo wanted a daintier topping than broccolini and also I opted to go with lemon zest instead of preserved lemons because I think I’ve recently overdosed on preserved lemons. But you can use them if you want! 


kale matzo pizza with garlic, lemon, and almonds

makes 4

Ingredients

4 slices of matzo (egg matzo or gtfo)
Olive oil
6 oz (170g) fresh mozzarella, torn
Kosher salt
1/3 c (40g) sliced almonds
4 cloves garlic, sliced
4 oz (113g) kale, thinly sliced
1/4 tsp dried thyme
Black pepper
Zest and juice from 1/2 lemon
Parmesan, for serving
Sriracha, for serving, or other spicy stuff
 

Clues

Preheat oven to 425ºf.

Place the matzo on baking sheets lined with parchment and brush all over with a thin layer of olive oil. Top with the fresh mozzarella and a few good pinches of salt. Distribute the almonds all over. In a large bowl, combine the garlic, kale, 1 tablespoon olive oil, and a pinch of salt, and massage it for a minute or two to soften the kale and get it evenly coated in olive oil. Pile it onto the pizza. It is a lot of kale (and a lot of garlic) but it will cook down in the oven and also a lot of kale is good! Sprinkle with the thyme, a few turns of pepper, and the lemon zest and bake for 10 minutes, or until the cheese is melted and the edges of the matzo are brown. 

Finish with a squeeze of fresh lemon juice, a shower of shaved parmesan, and some very good drizzles of sriracha or other spicy stuff and enjoy! Yogurt ranch is also good drizzled on this.


-yeh!

farmhouse party quesadillas

To know Eggboy is to know that, when left to his own accord, lunchtime means dumping a can of beans into a bowl and topping it with raw walnuts and dinnertime means going across the street to eat Eggmom’s salmon and roasted vegetables. In the past year or so he’s started salting his beans so that’s a step up. I used to feel guilty when I’d go out of town without leaving a lasagna in the freezer but I’ve witnessed him do the beans for lunch thing enough times even when there is a perfectly good leftover soup in the fridge that I think he actually just… likes it? He’s the first person I’ve ever really gotten to know who basically just eats to survive and doesn’t seek out the best bakeries wherever he travels. And yeah, aside from the occasional egg and my annual birthday cake, he doesn’t really cook! At all. I’ve never had an issue with it because he is a great dishes doer and also I like cooking haha. 

So imagine my surprise when he took up a tortilla making hobby! Last fall I returned home from a trip to find a baggie of really adorable amoeba shaped tortillas that were doughy and delicious. They were slightly thicker than the tortillas that we buy at the store and super dense. I thought it was a one off thing that he did while I was away but then there were multiple nights when I’d be standing at the stove stirring a pot of something and I’d turn around to find him kneading tortilla dough. It was so fun!!! I’d made Turkish Yufka before, which is super similar, and a few of our friends once had us over for tacos with homemade tortillas, but this was the first time we’d made tortillas at home and I can’t believe it took us this long. They are soo good. So for Chrismukkah I got him a few tortilla themed goodies like a server, a press, and a few taco holders to up our taco Tuesday game and we can never go back to store bought tortillas now. 

We always make a big batch to have some leftover, and when it’s lunchtime and we have leftover tortillas I usually make quesadillas. Quesadillas were the best already but when you throw in two thick doughy homemade tortillas, it is like, game over, it does not get much better. For the topping, I like to clean out the fridge of whatever vegetables we have on hand and pile them on top for a colorful fork and knife situation that is a total party. I usually start with a layer of something creamy, like yogurt or sour cream, and add some avocado, pickled onions, fresh herbs, chopped peppers, maybe some greens, a squeeze of lemon or lime, hot sauce, etc., etc., and when the tomatoes come back there will be those too. Inside the quesadilla, I have been using Cabot’s Farmhouse Cheddar which has a delicious sharpness that shines through brightly from under this bed of toppings. And it’s called Farmhouse! And Eggboy is a farmer! So it all checks out and I’m running with it! 


Note: lard is traditionally used in tortillas but we don’t typically have that on hand so we usually use canola or olive oil. I kinda wanna try schmaltz in a tortilla though?? Don’t tell Macaroni. 

Farmhouse Party Quesadillas

Makes 4

Ingredients

Tortillas

2 c (254g) all-purpose flour, plus more for dusting

1 tsp kosher salt

1 tsp sugar

3/4 c water

1/4 c flavorless oil or olive oil, plus more for cooking the quesadillas


Filling and Topping

6 oz cheese Cabot Farmhouse Cheddar, shredded

Plain Greek yogurt or sour cream

sliced onions, pickled or raw

Sliced avocados 

Sliced Radishes

Fresh herbs

Fresh greens

Other chopped veggies, as desired

Lemon or lime wedges

Hot sauce

Kosher salt

Black pepper

Clues

To make the tortillas, combine the flour, salt, and sugar in a medium bowl. Mix in the water and oil and stir to form a dough. Turn it out onto a surface and knead for 5-7 minutes to form a smooth, slightly sticky dough, adding more flour if needed. Cover it with plastic wrap or a towel and let it rest for 30 minutes. (Full disclosure, when we’re hungry we skip this step. But letting the dough rest does make it easier to roll these out.) Heat a dry skillet over medium heat. Divide the dough into 8 equal parts and roll them out until they’re really thin, keeping the dough balls covered until you roll them out. I like a 1/16” or 1/8” thickness but wouldn’t turn down a 3/16” thick one. Cook them in the skillet on both sides until they’re just starting to show some brown spots. Keep in mind that they’ll cook more when you’re making your quesadillas so don’t be afraid to keep them on the undercooked side. Immediately transfer cooked tortillas to a large ziploc bag, stacking them up, and keeping the bag mostly closed while you finish cooking the rest. This will steam them and make them nice and soft.

To make the quesadillas, keep your skillet hot but add a thin layer of oil. Top 4 of the tortillas with the cheese, distributing it evenly, and top them with the remaining tortillas. Cook on both sides until they’re splotchy and golden and the cheese is melted. Top with a blob of yogurt or sour cream, any and all veggies and herbs as desired, a squeeze of lemon or lime, a few shakes of hot sauce, and a sprinkle of salt and pepper. Enjoy! 

Any unused tortillas can be stored in a ziploc bag in the fridge!

thank you, cabot, for sponsoring this post! 

-yeh!! 

photos by chantell and brett!