Is French Onion Dip Actually French is what I just googled and it turns out that it was invented in California! So that’s a fact that you can rattle off if ever you’re standing near the dips and need something to talk about that’s not the weather. This here is a French Onion dip that is made with—wait for it—yogurt. Predictable! I know. But I just wanted to put this somewhere since it was cut from Short Stack Yogurt and I love it so much. In the first draft of my manuscript, it was paired with butternut squash tots which were tasty! But I never wanted to make them. I dreaded having to test them because that meant peeling a big dumb squash, shredding a big dumb squash, molding like a hundred dumb tots, and frying them. And for what? So I could slow down the acquisition of my bikini bod??
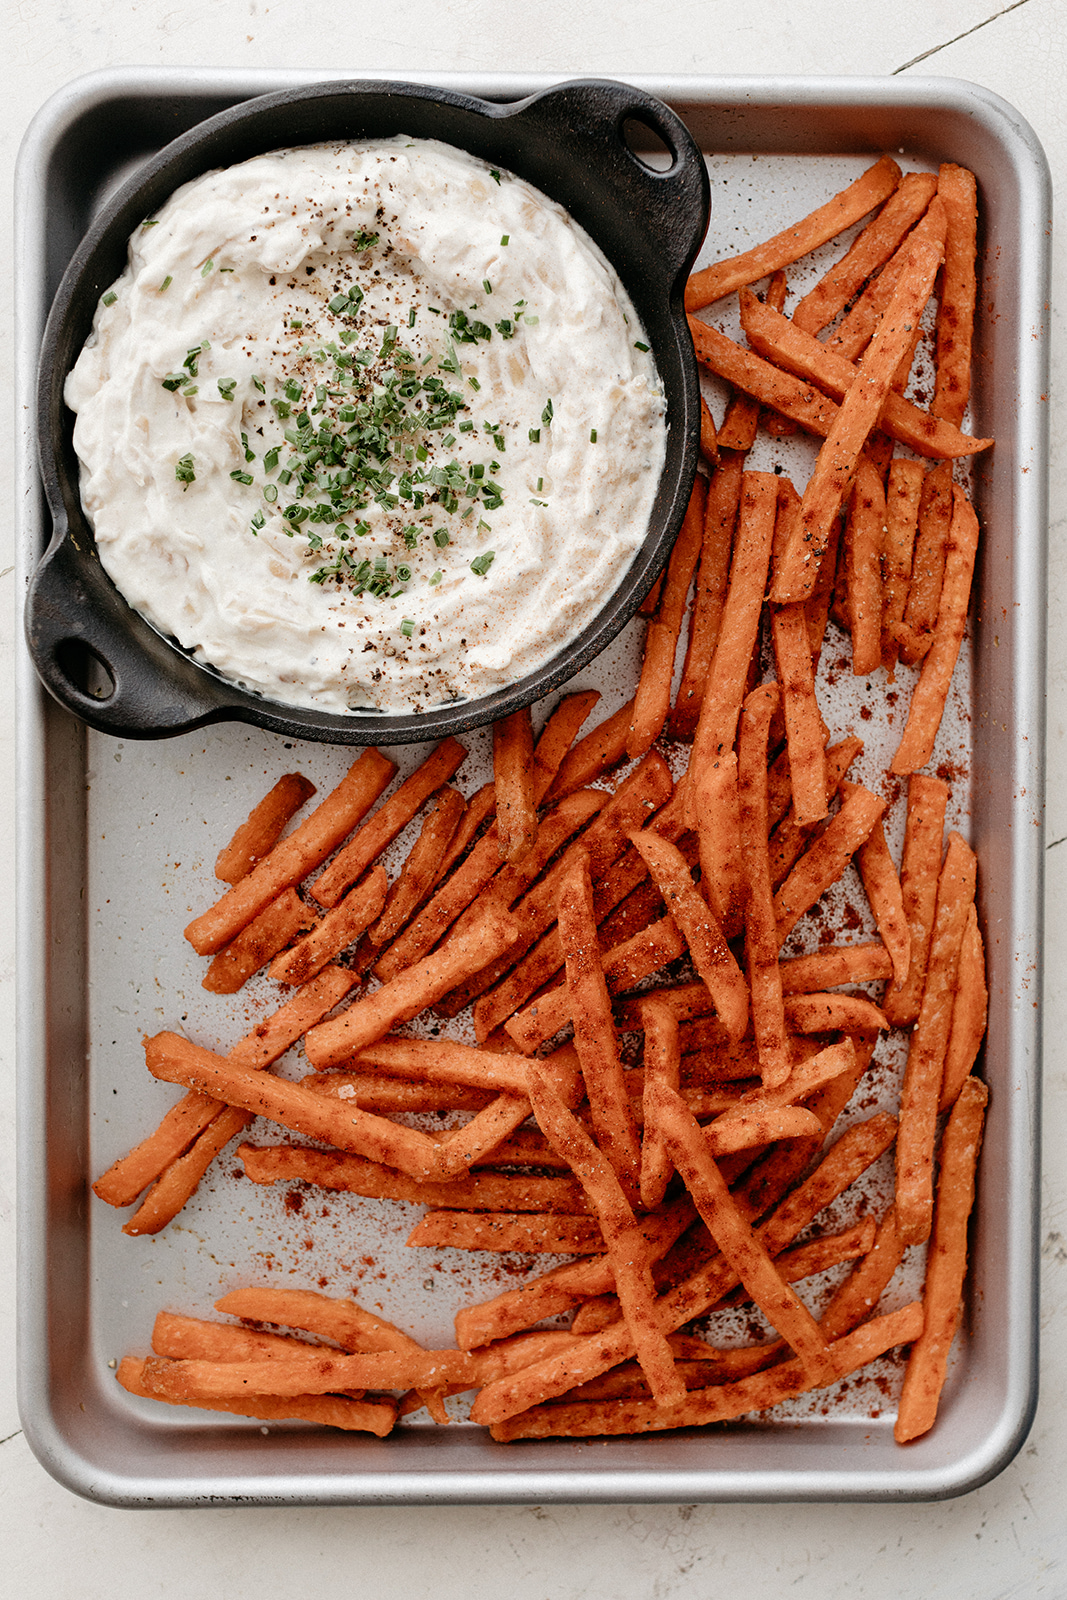
I liked the sound of the words “Squash Tots with French Onion Yogurt” all strung together, but if I was dreading making them then chances were that you would too. So it fell to the cutting room floor and unfortunately dragged this great dip along with it. Oops! It’s ok now though because here it is, and I’ve served it here with sweet potato fries but it is good with anything fried because fried things and yogurt go together like peanut butter and jelly. The fried thing provides the oomph, the crunchy satisfaction, the bulk of the dish, while the yogurt cools it down, offers a bit of creaminess, and takes some weight off of an otherwise heavy bite. It’s a perfect partnership, and pretty much whenever I fry up a vegetable or fritter, my first instinct is to grab some dollops of yogurt out of the fridge.
This sweet onion yogurt dip bursts with a nostalgic flavor that will take you straight back to junior high basement parties. It's very simple to make and cooking it will make your house smell ~amazing~.
French Onion Yogurt
Ingredients
2 tb unsalted butter
1 yellow onion, finely chopped
1/2 tsp kosher salt, divided
1/2 tsp sugar
1/4 c white wine
3/4 c (170g) whole milk greek yogurt
1/2 tsp onion powder
Black pepper
Chives, for topping
Clues
Heat the butter in a large skillet over medium and add the onion, 1/4 teaspoon of salt, and sugar. Cook, stirring, until golden brown and caramelized, about 30-40 minutes. Deglaze the pan with the wine: add it to the pan, scrape off any bits that have stuck to the pan and continue to cook until the wine is mostly reduced. Let cool and then stir with the yogurt, remaining 1/4 teaspoon salt, onion powder, and a few turns of black pepper. Taste and adjust seasonings as desired. Cover and refrigerate until ready to serve. Serve with a sprinkle of chopped fresh chives.
I’d also like to include some shoutouts to friends who have blogged about Short Stack Yogurt and posted recipes!! Thank you sooo much, sweet friends!!! ❤️❤️❤️❤️❤️ (If you’ve blogged about Short Stack Yogurt, let me know in the comments or by tagging #shortstackyogurt on social!!)
challah french toast with sumac yogurt and pickled onions on kale + caramel
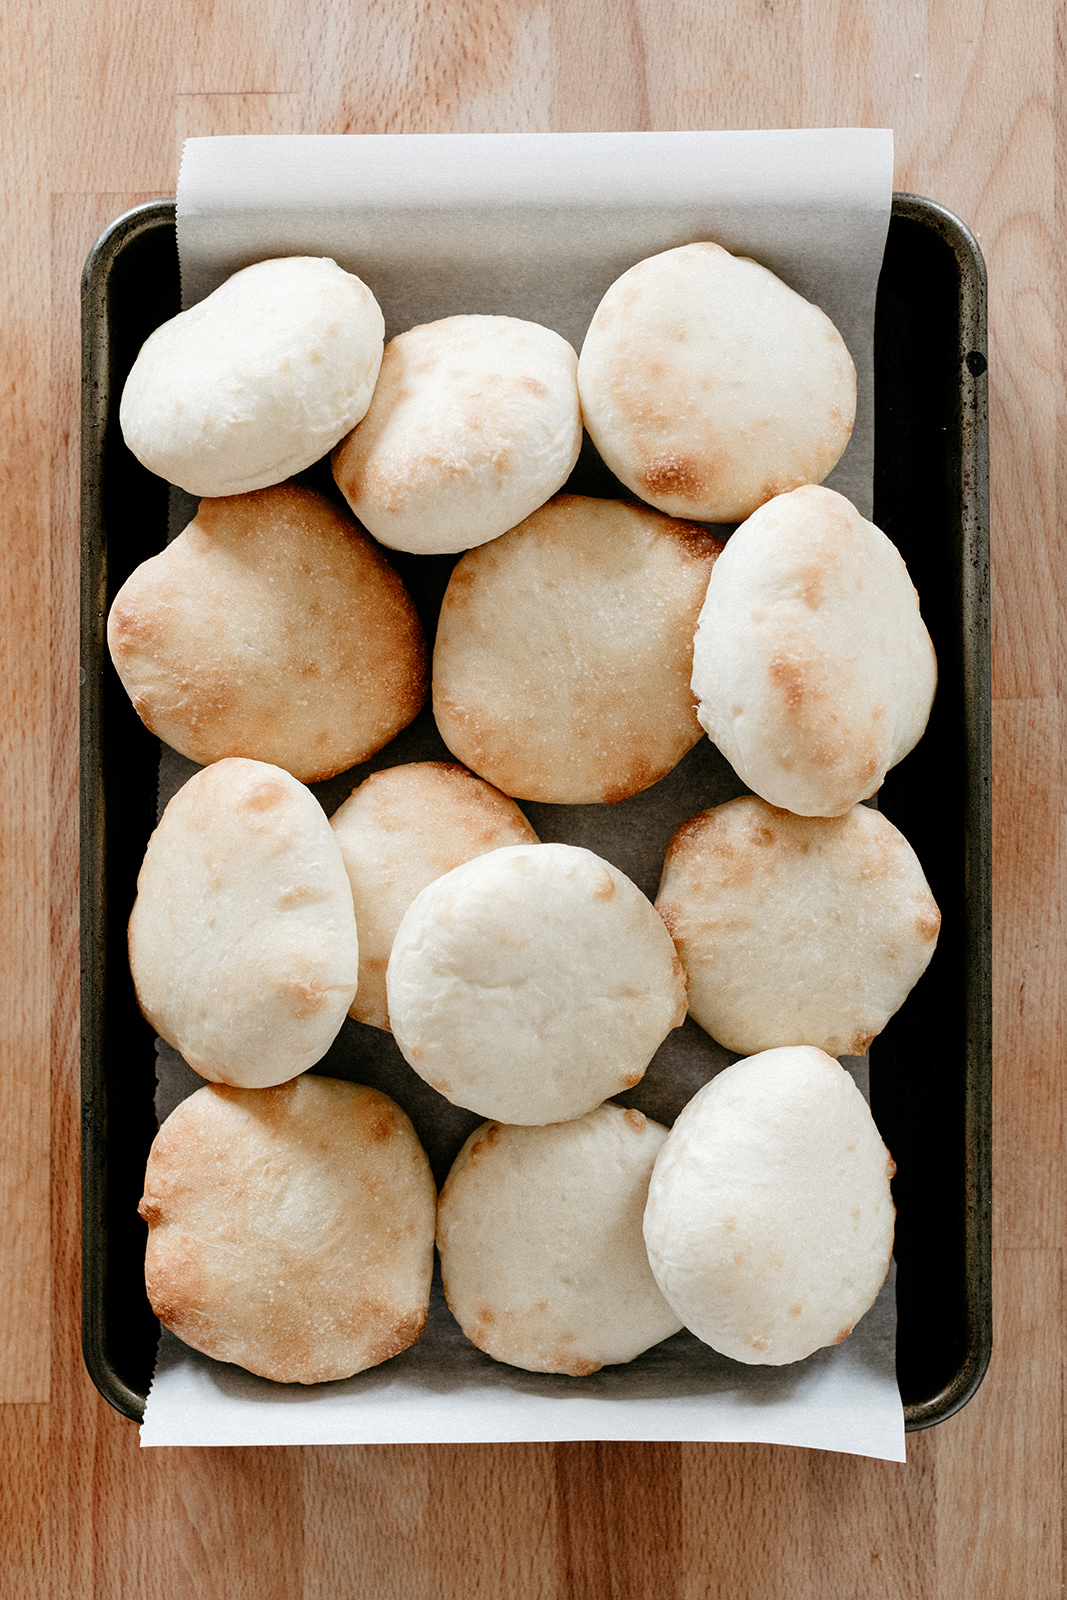
pita on rose water and orange blossoms
lazy b mac and cheese on chatelaine
Pistachio Rosewater Cake With Labneh Frosting on buzzfeed
yogurt-marinated ras el hanout chicken skewers on a cozy kitchen
yogurt ranch salad pizza on a couple cooks
pita on fig and bleu
yogurt cookies with strawberry and thyme on oh curious rose
yogurt pita and baked chicken shawarma on joy the baker
dulcey yogurt pretzels on hummingbird high
-yeh!
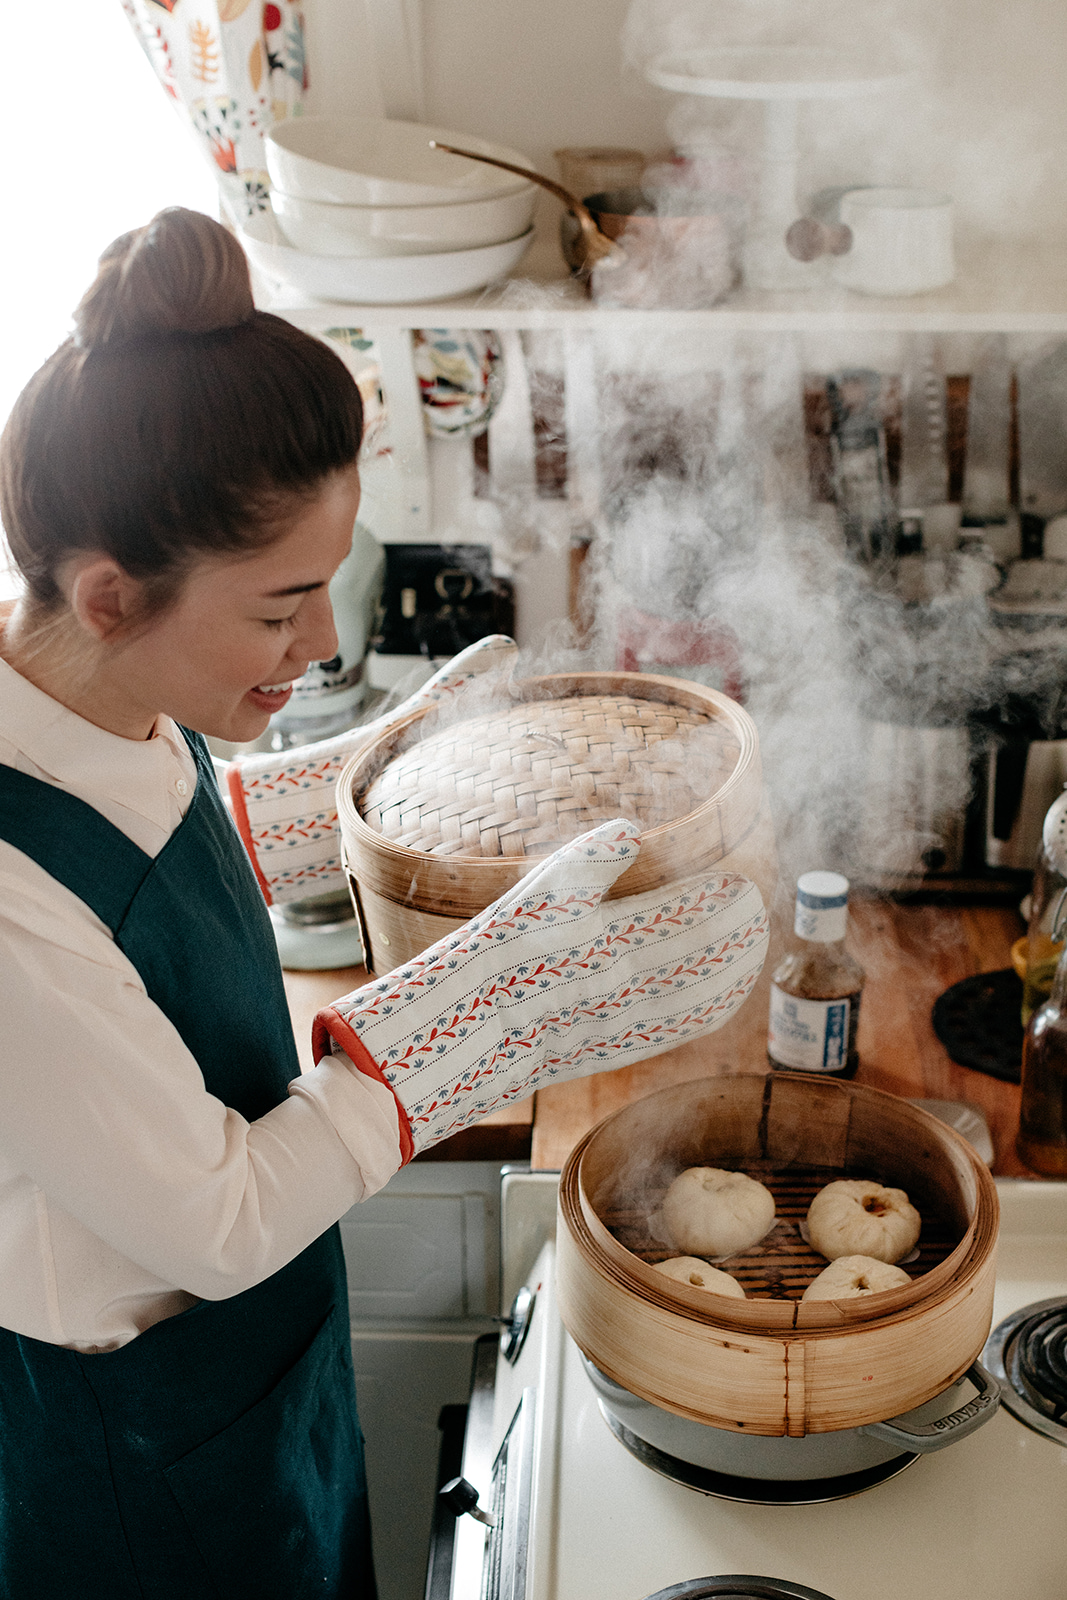
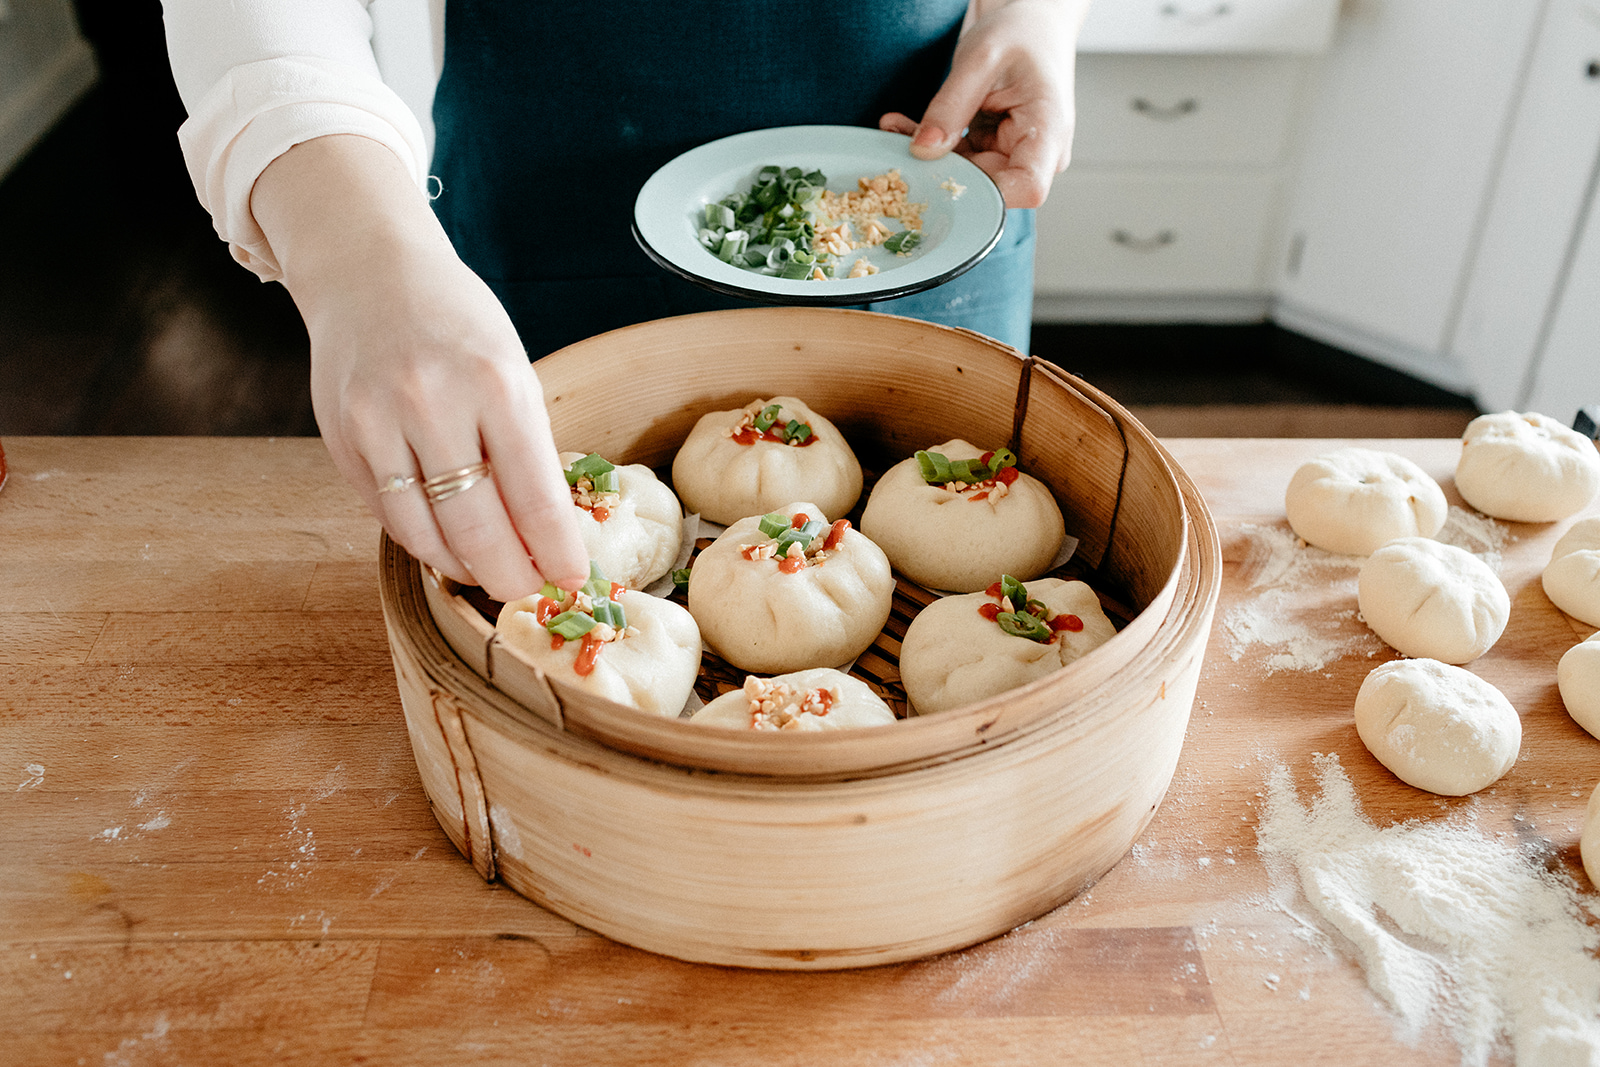
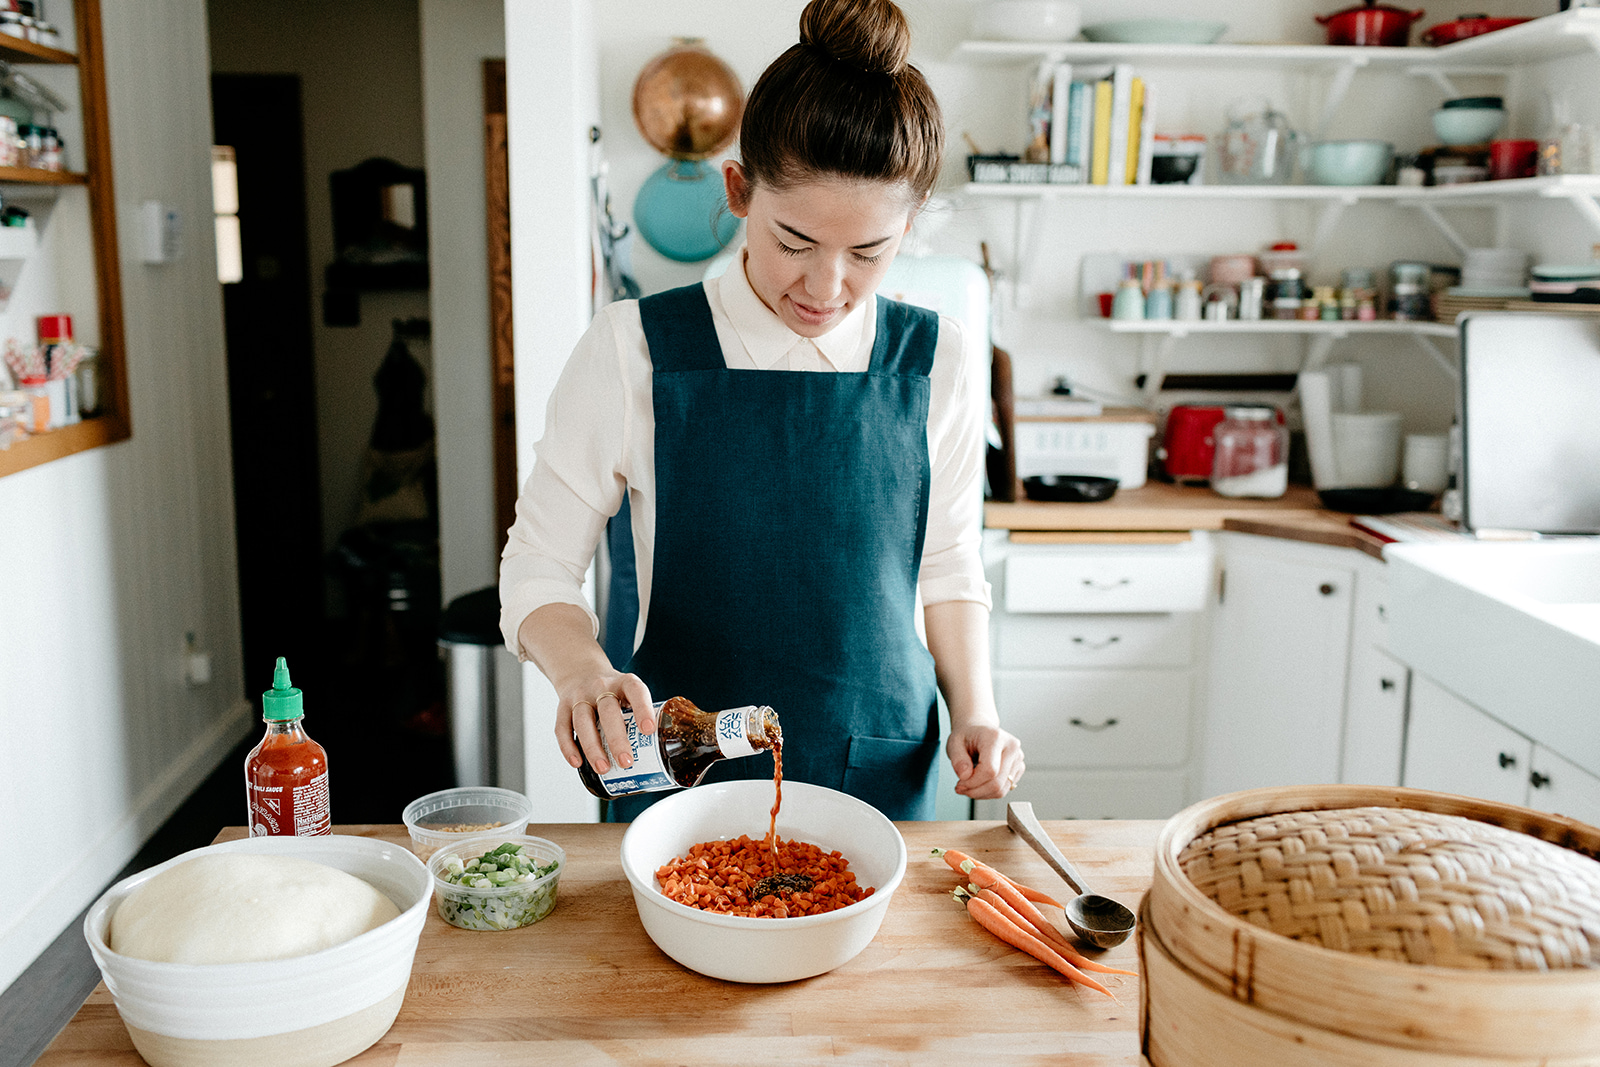
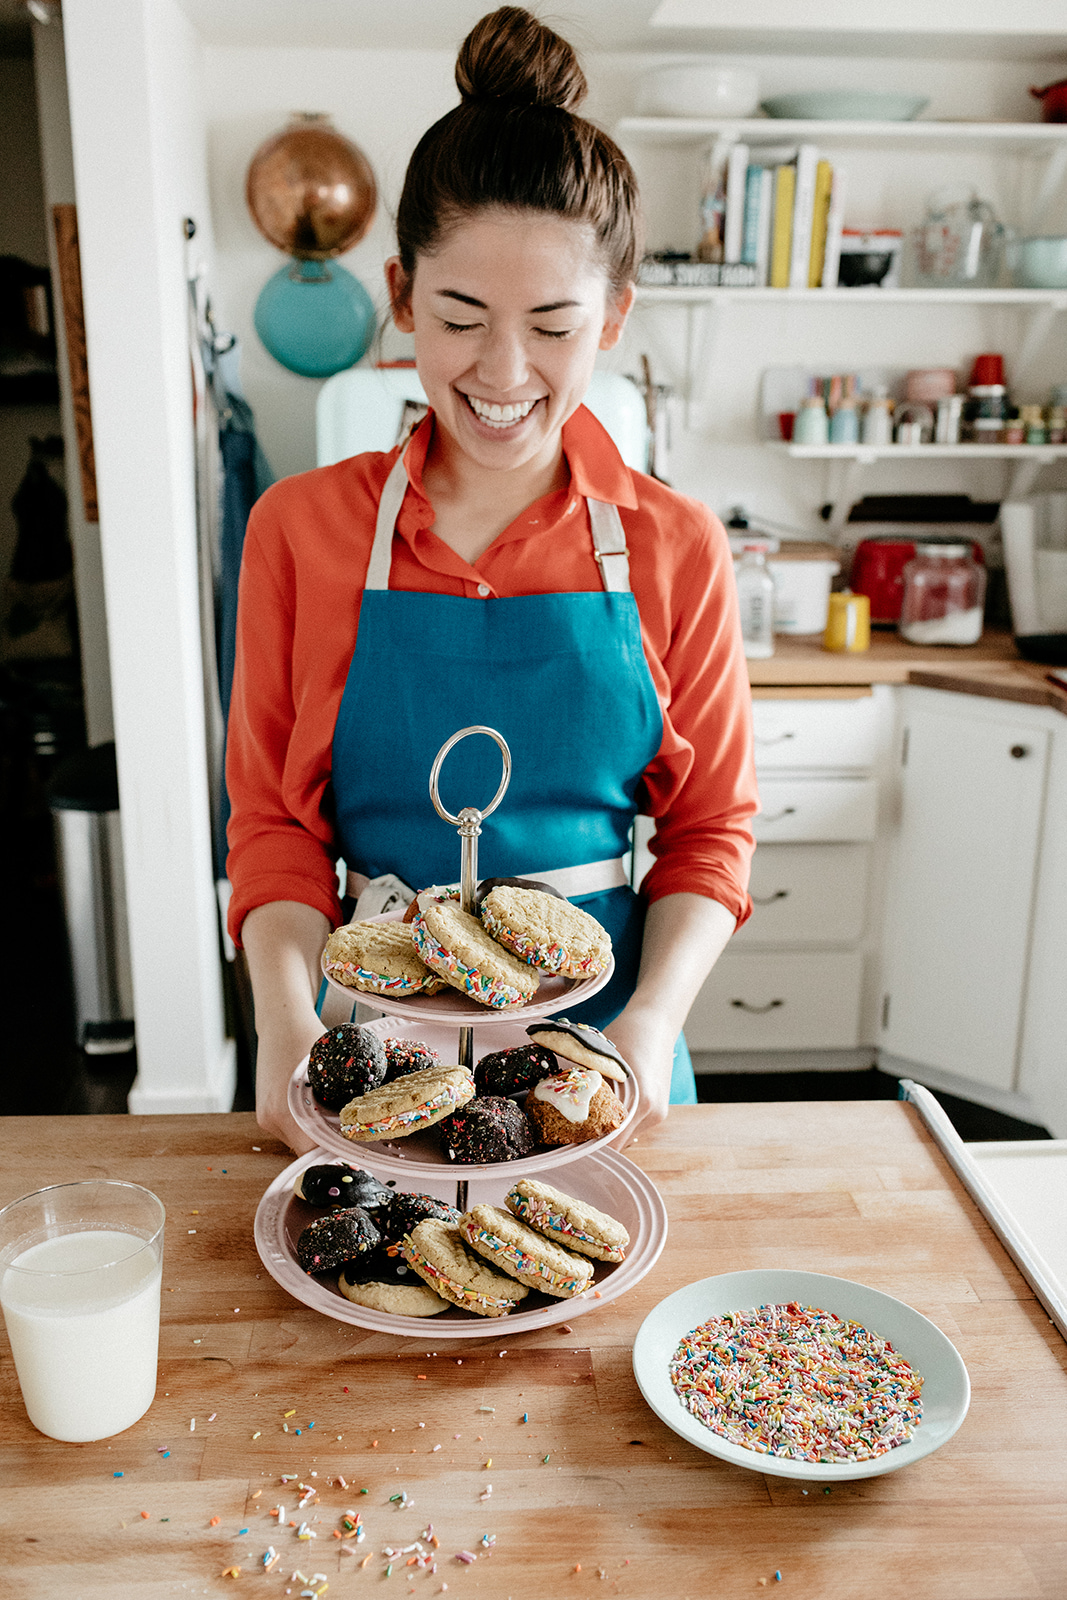
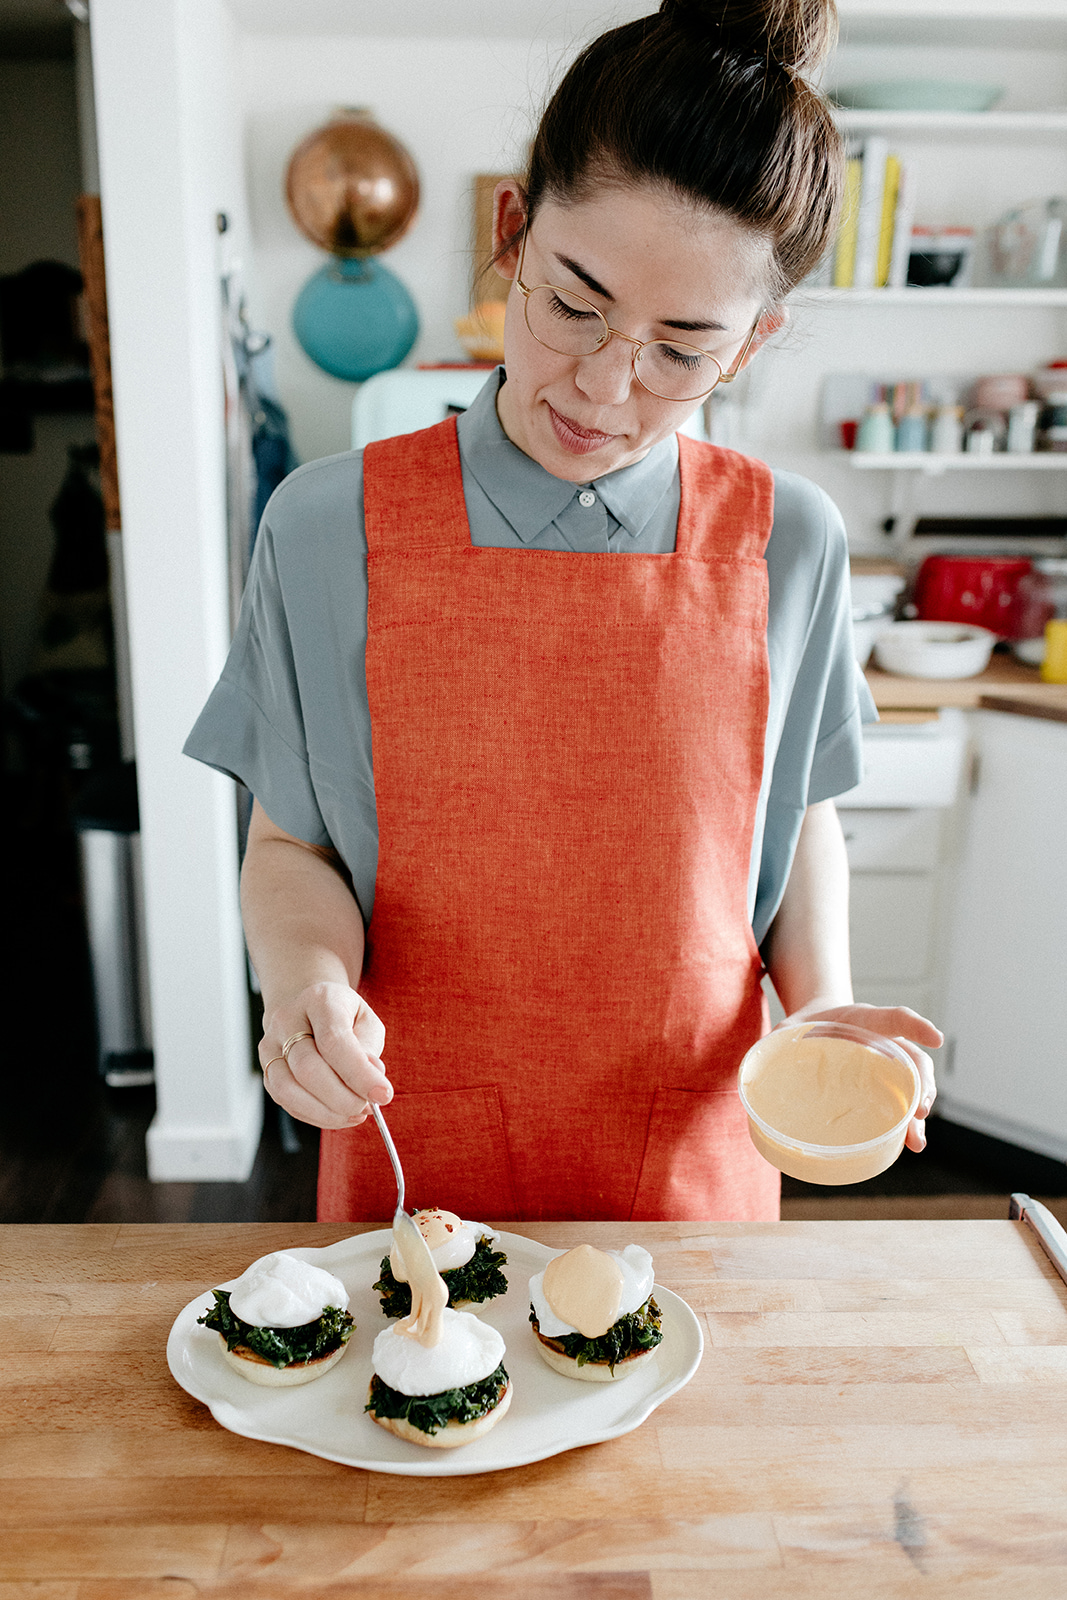
photo by chantell and brett quernemoen

short stack yogurt, is out now!