manapua (barbecue pork buns!) + maui!

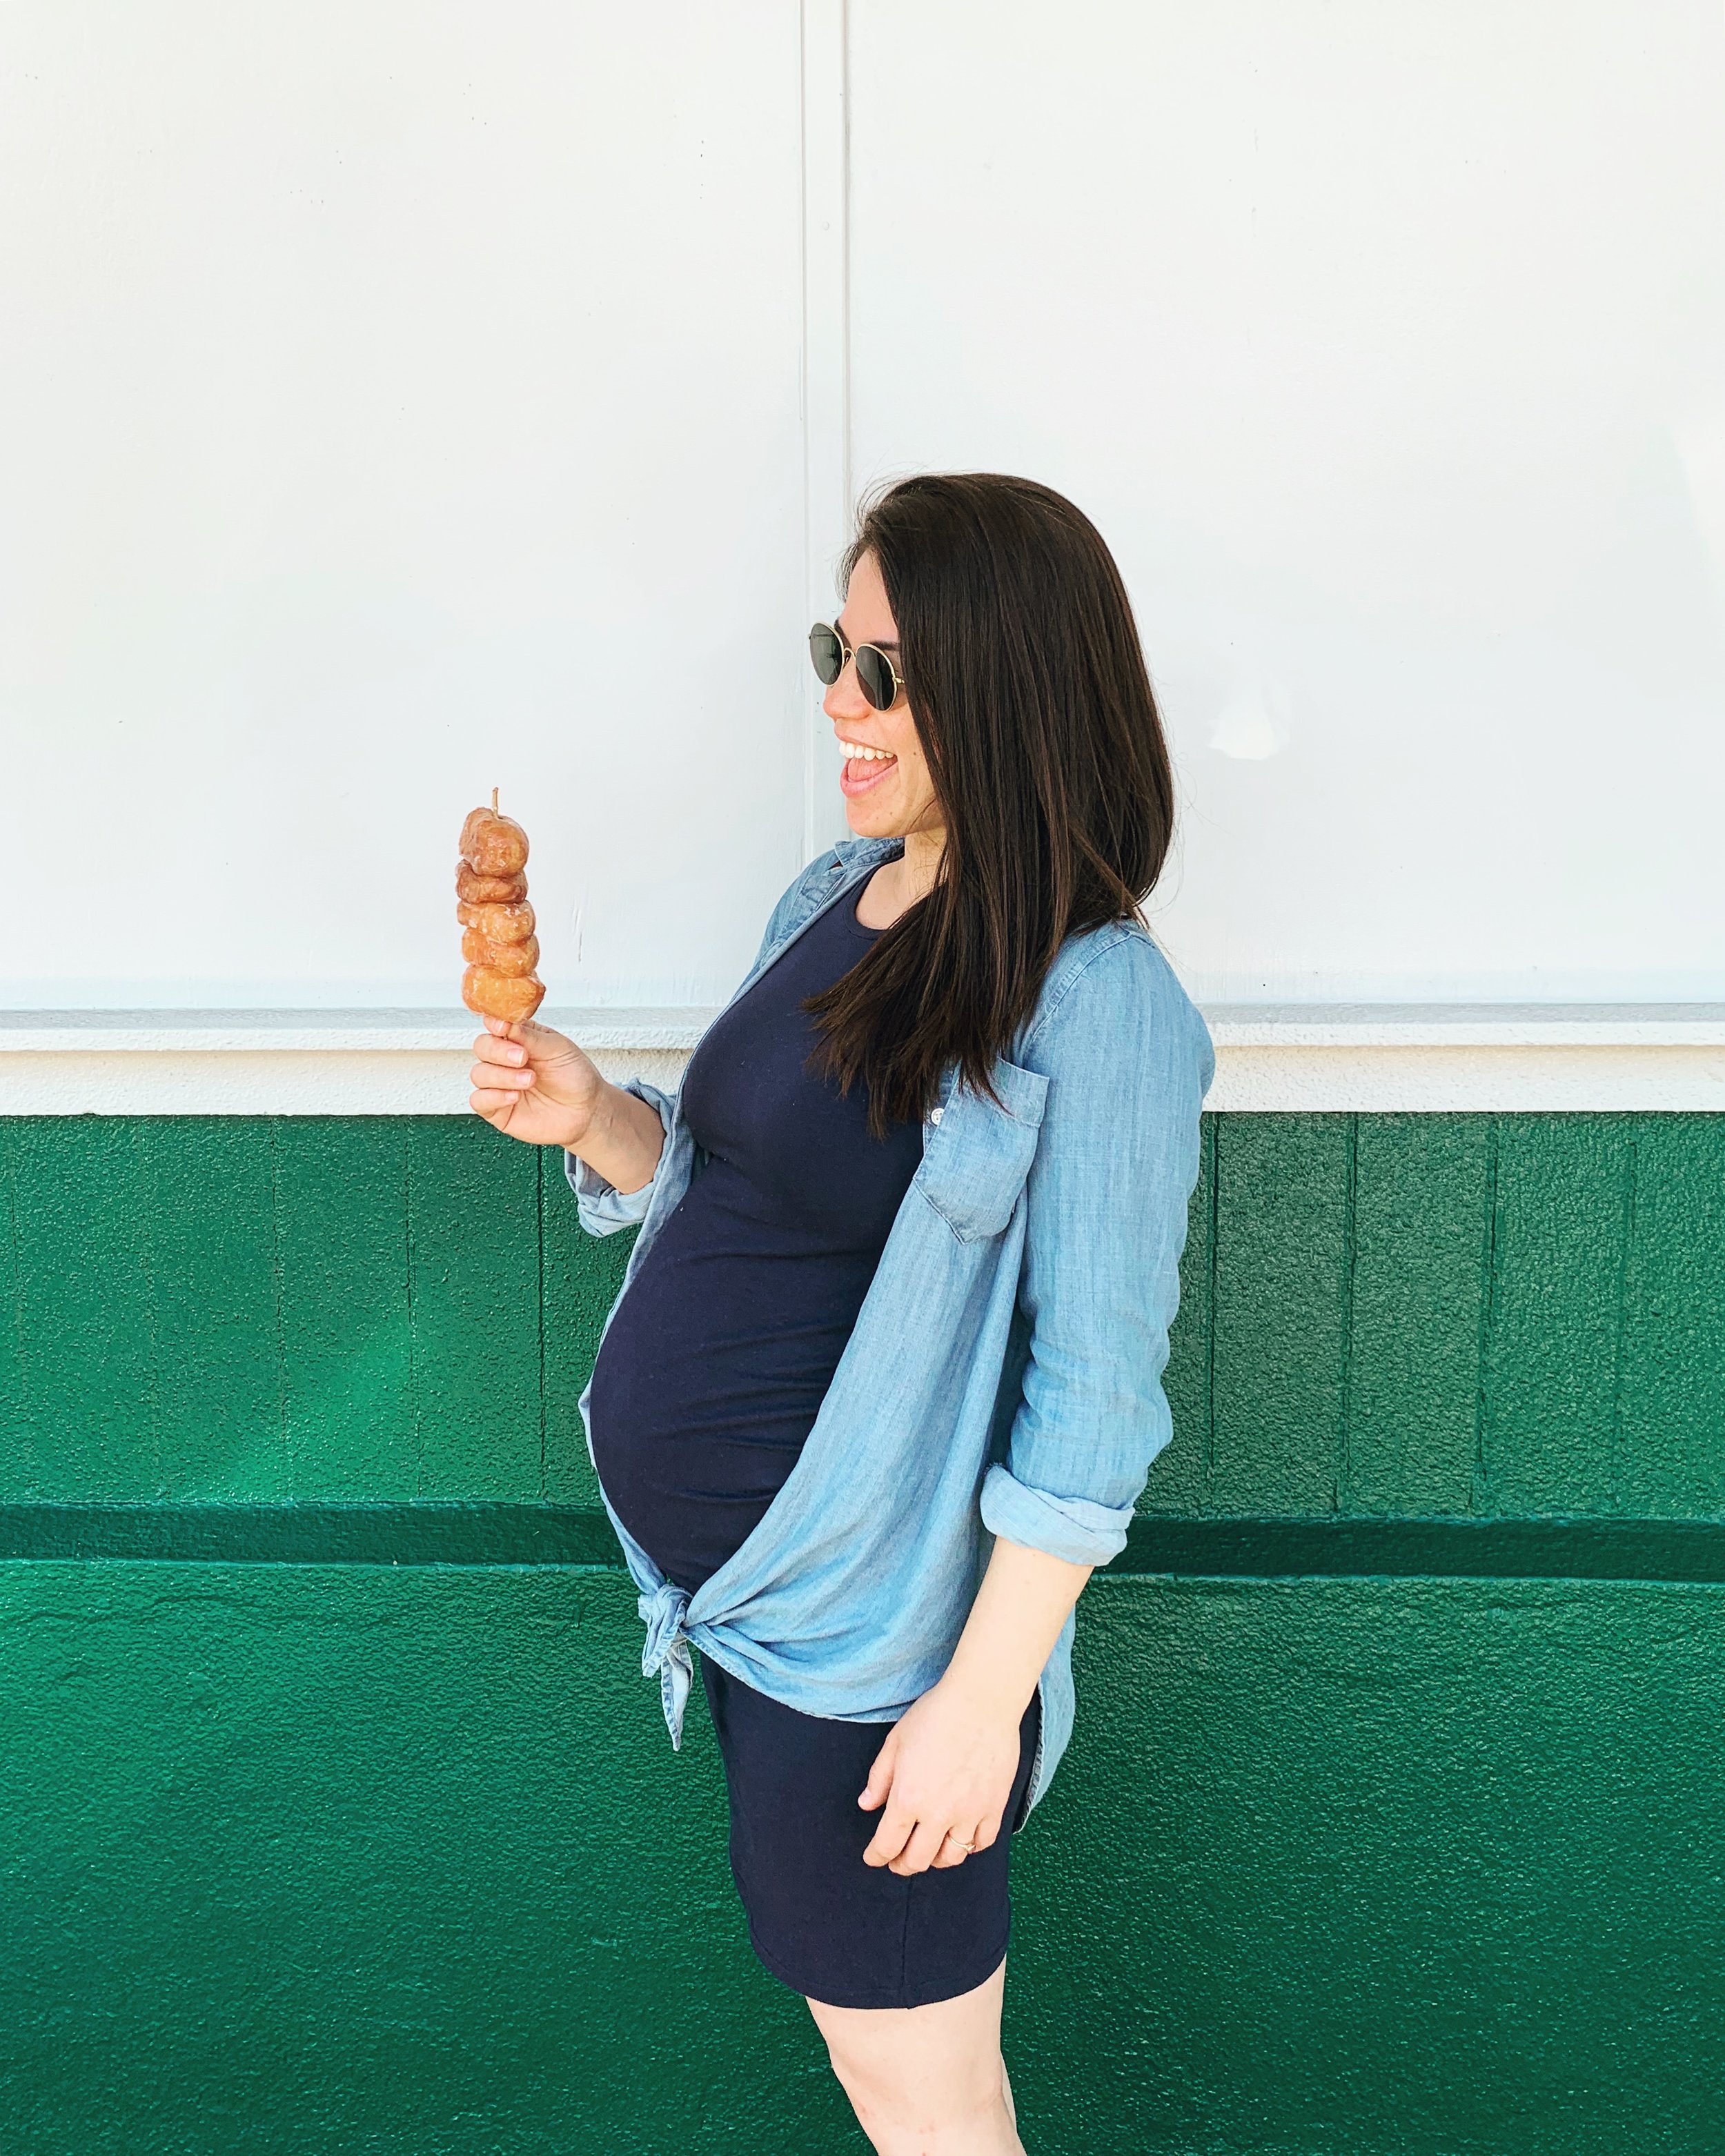
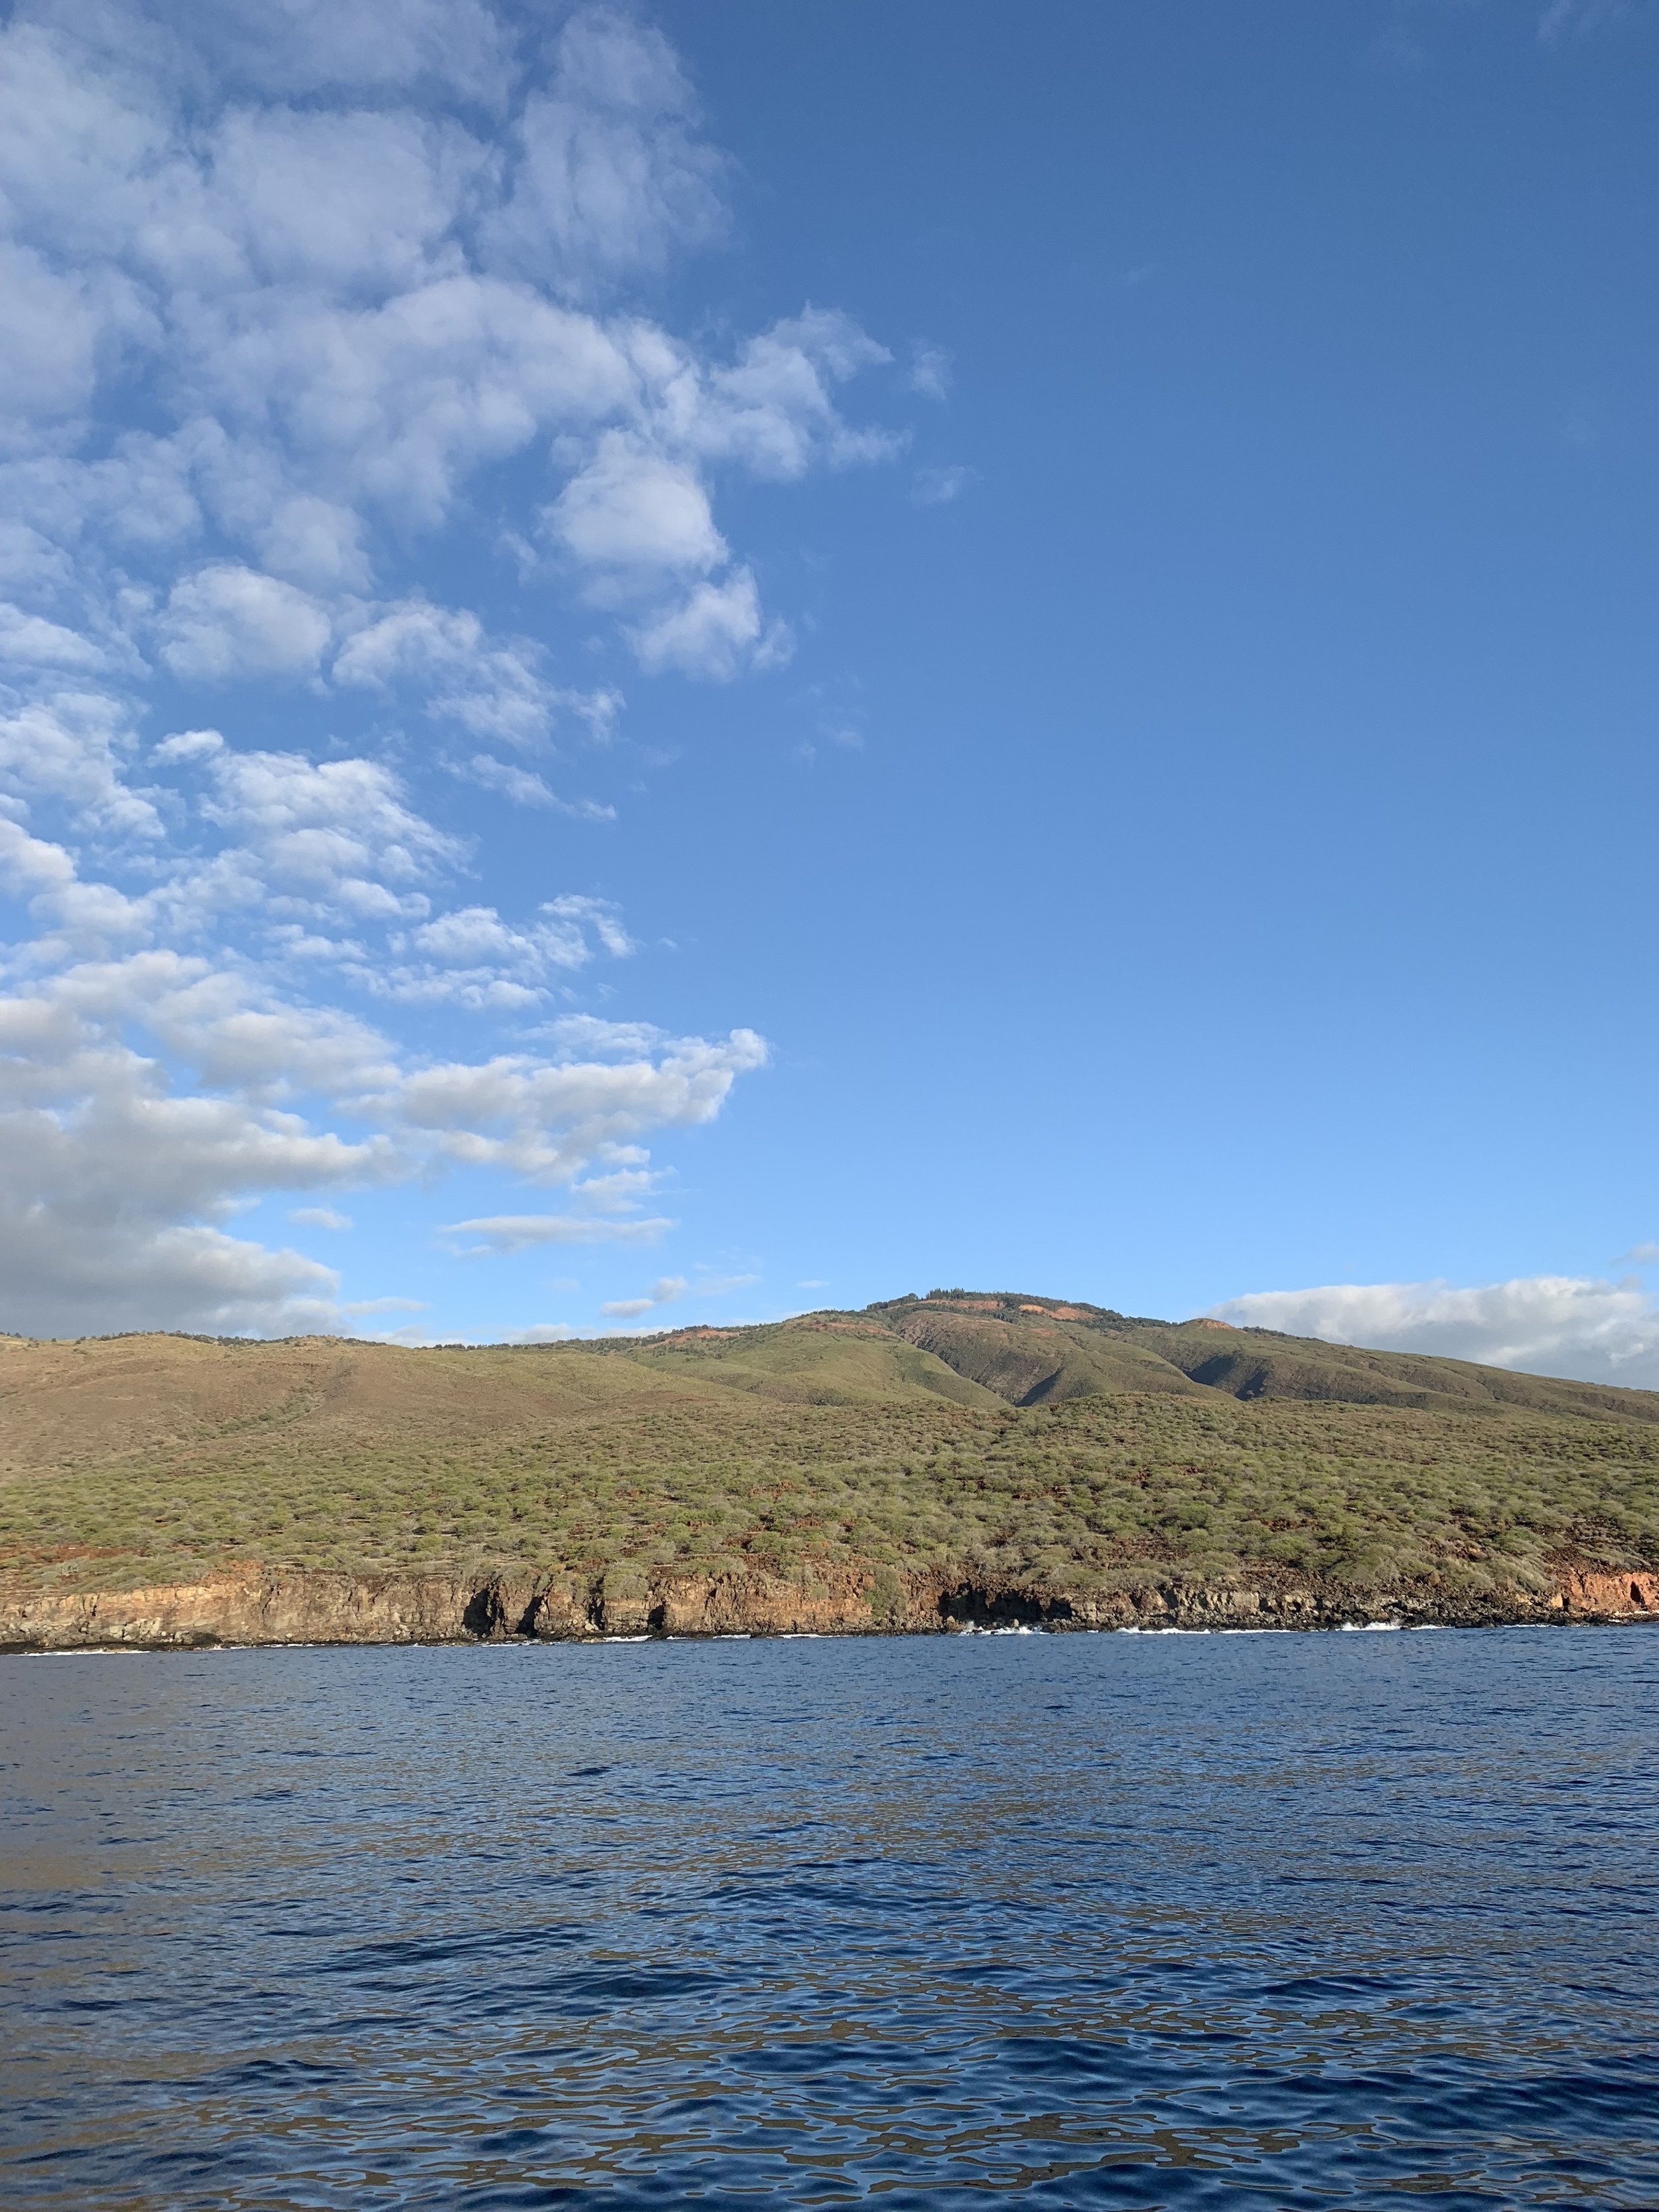
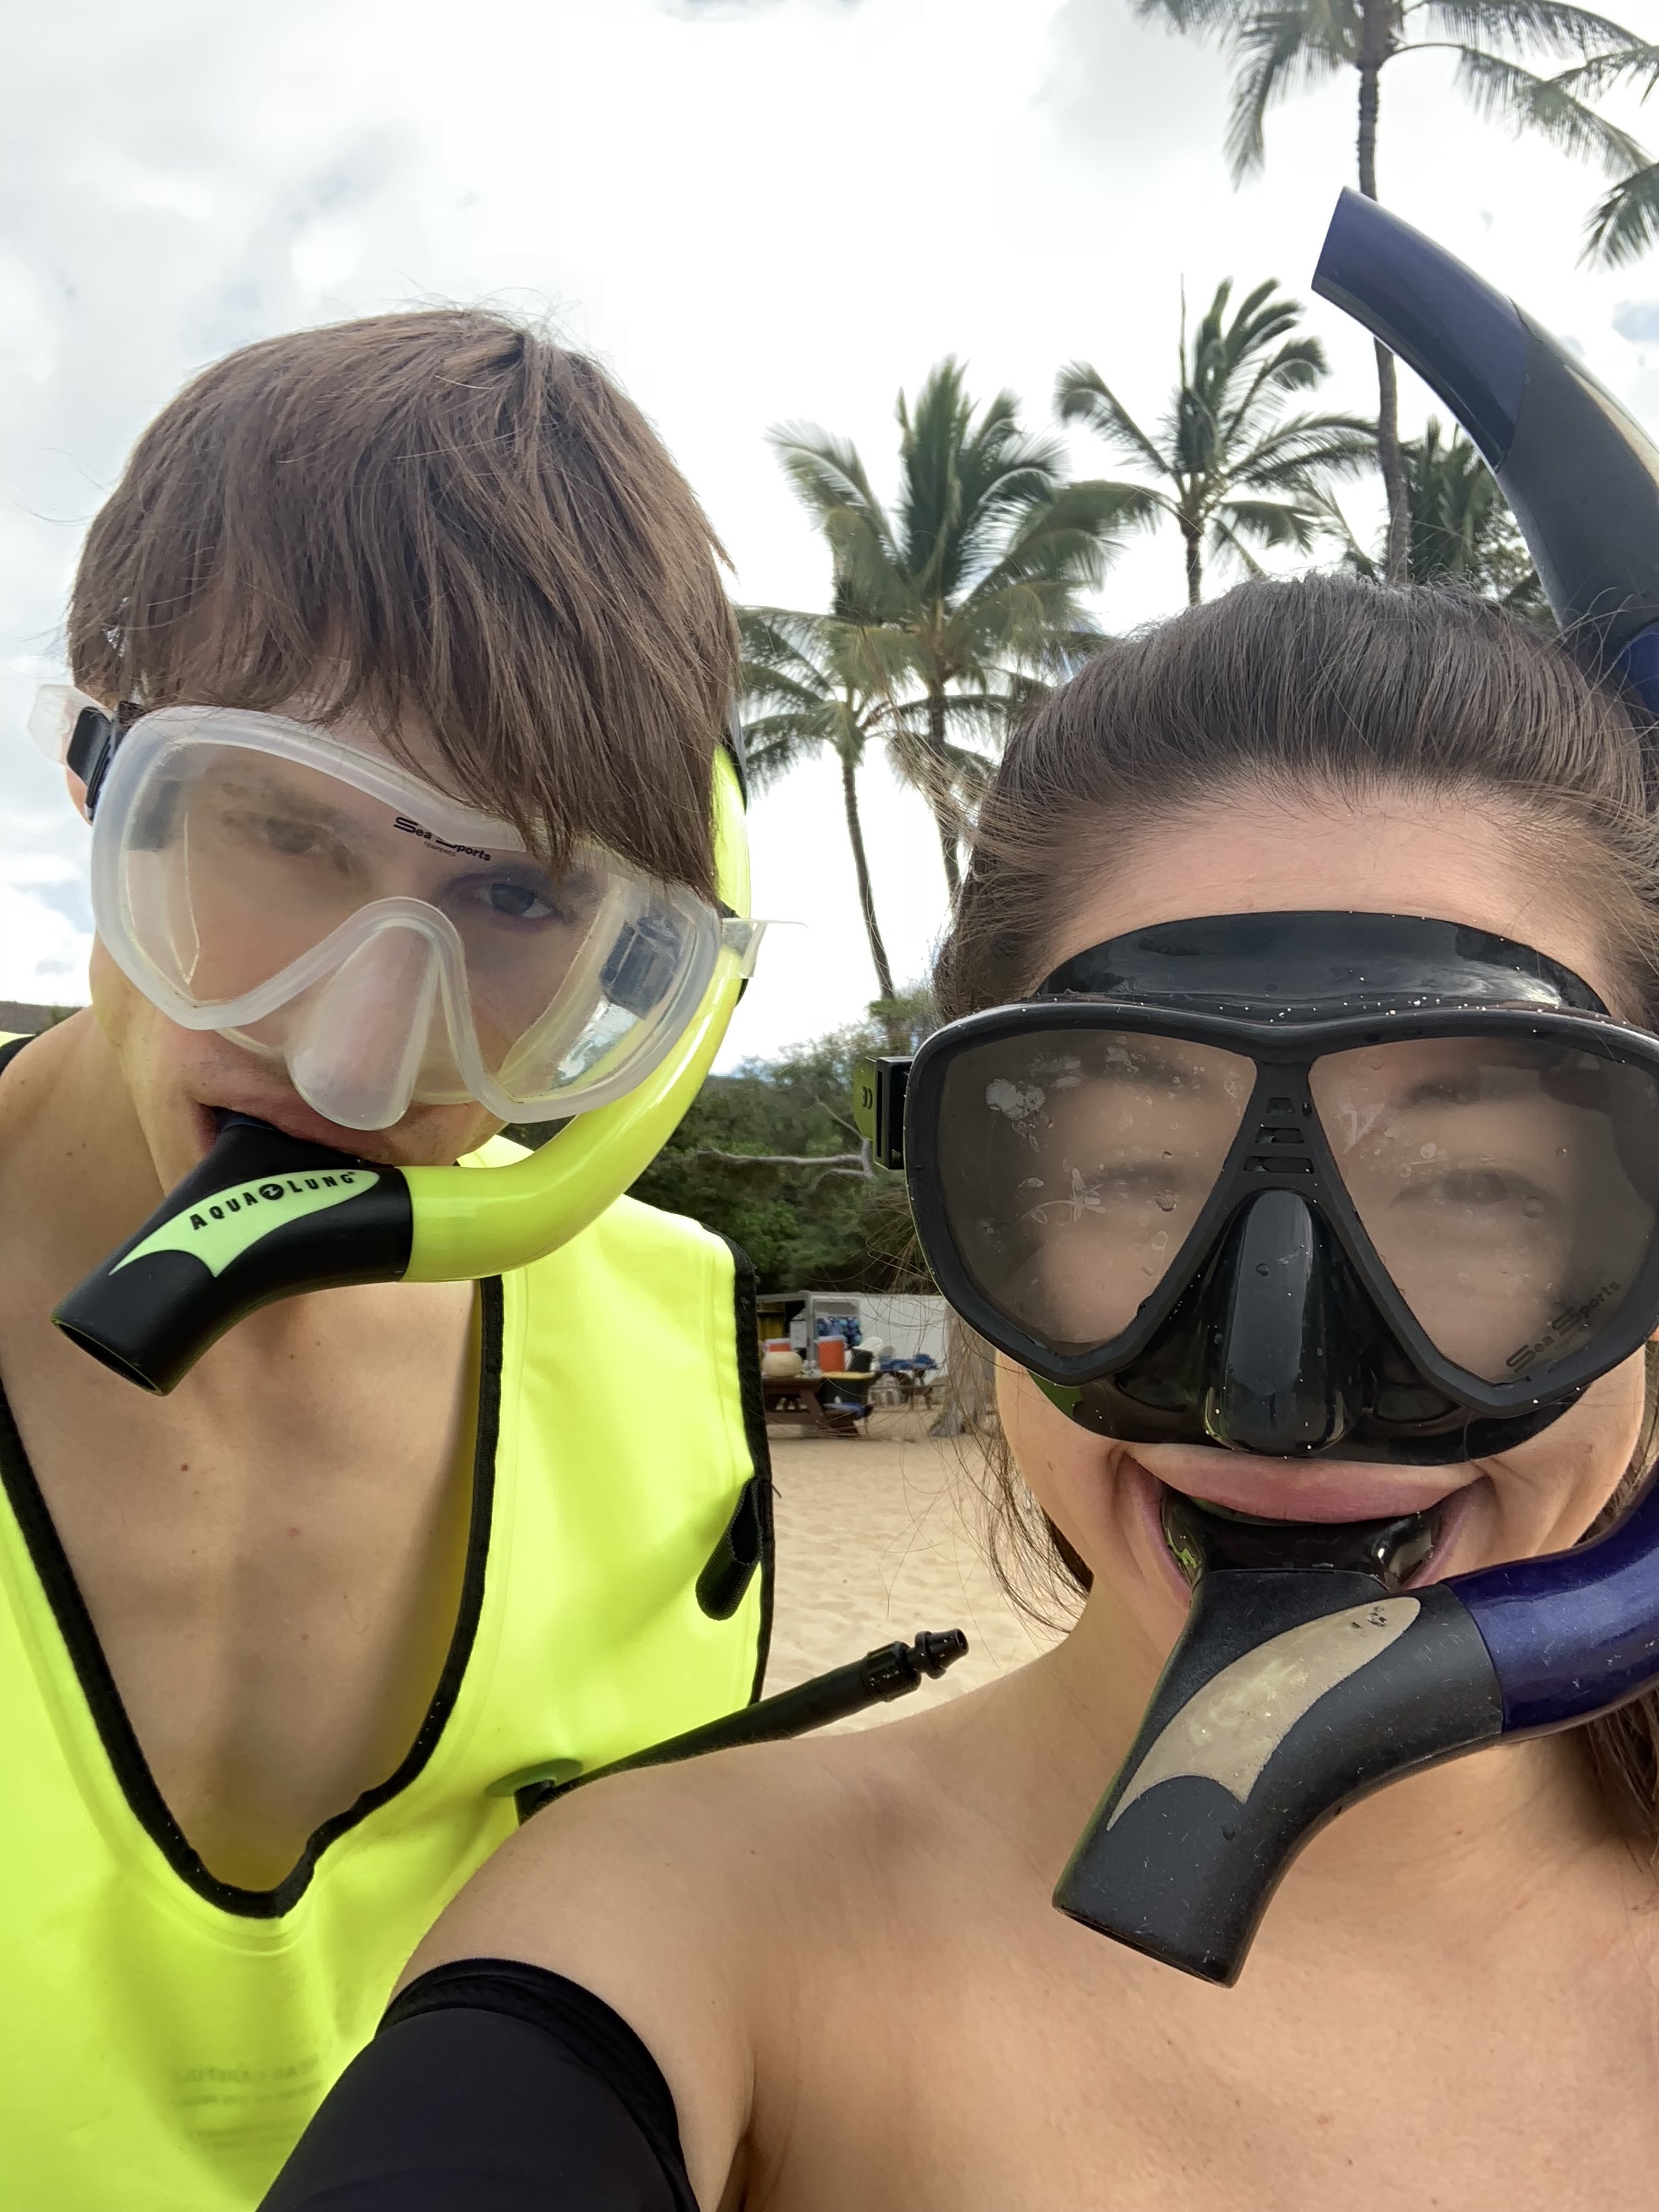
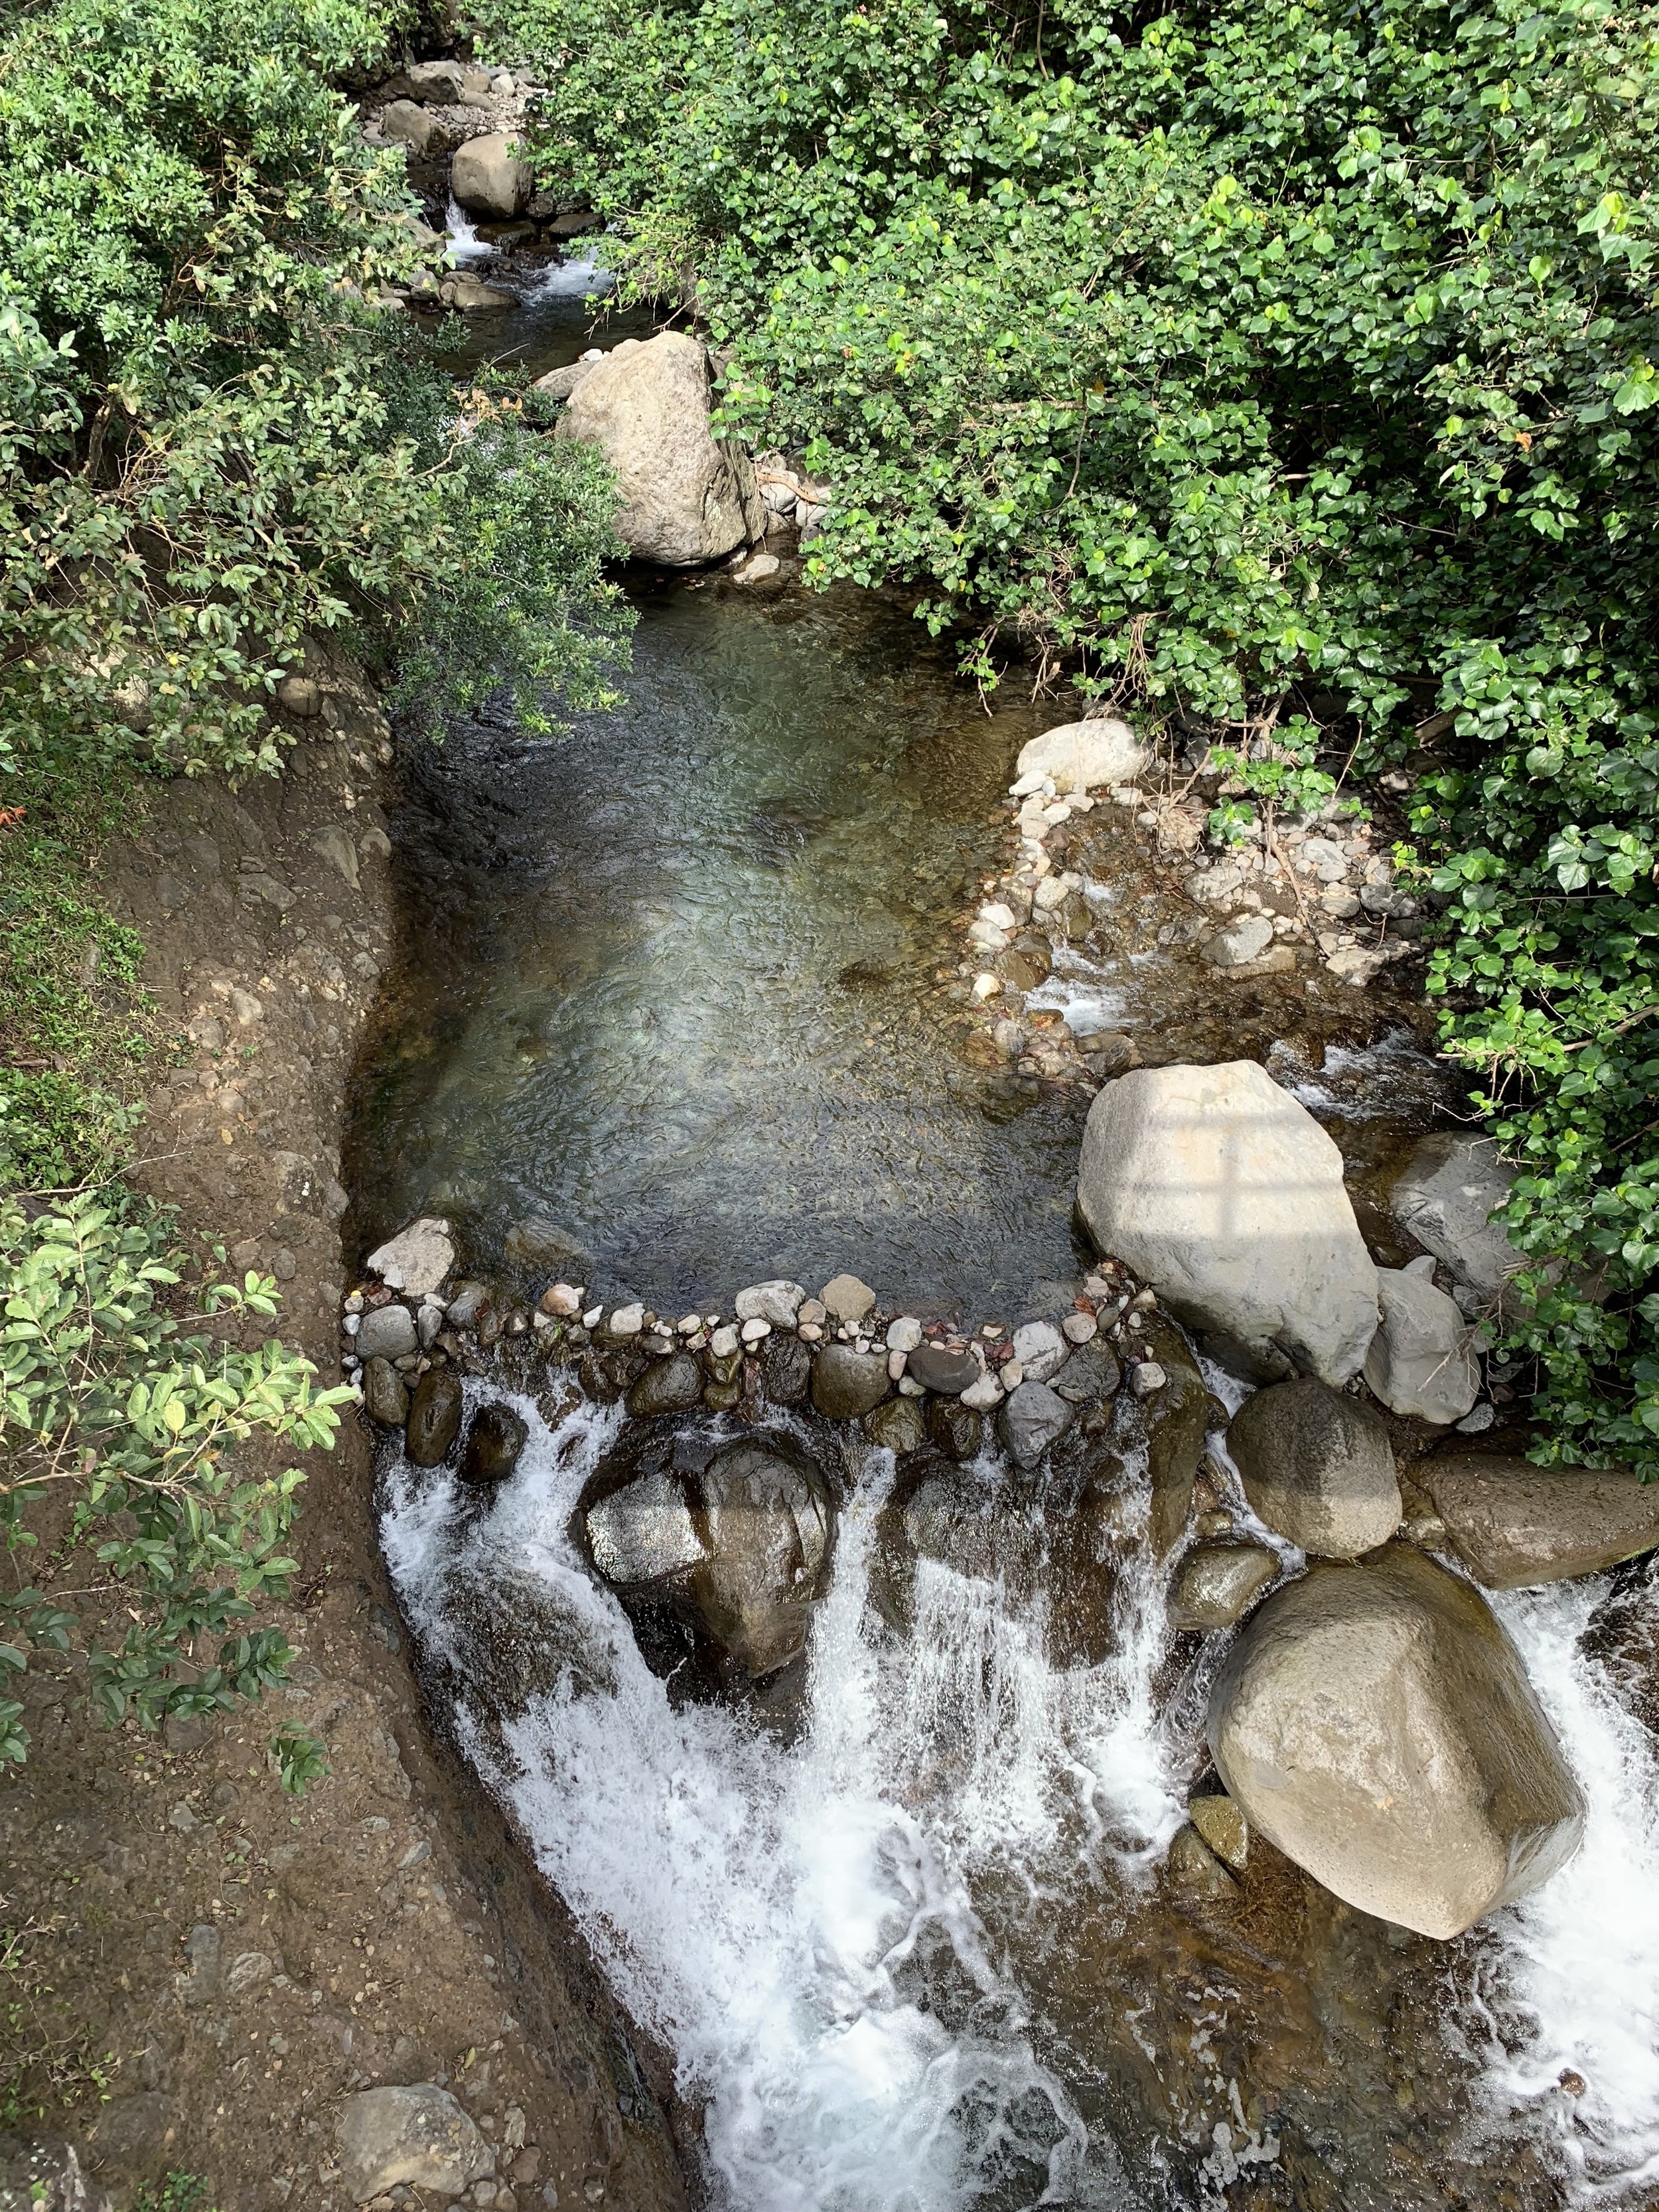
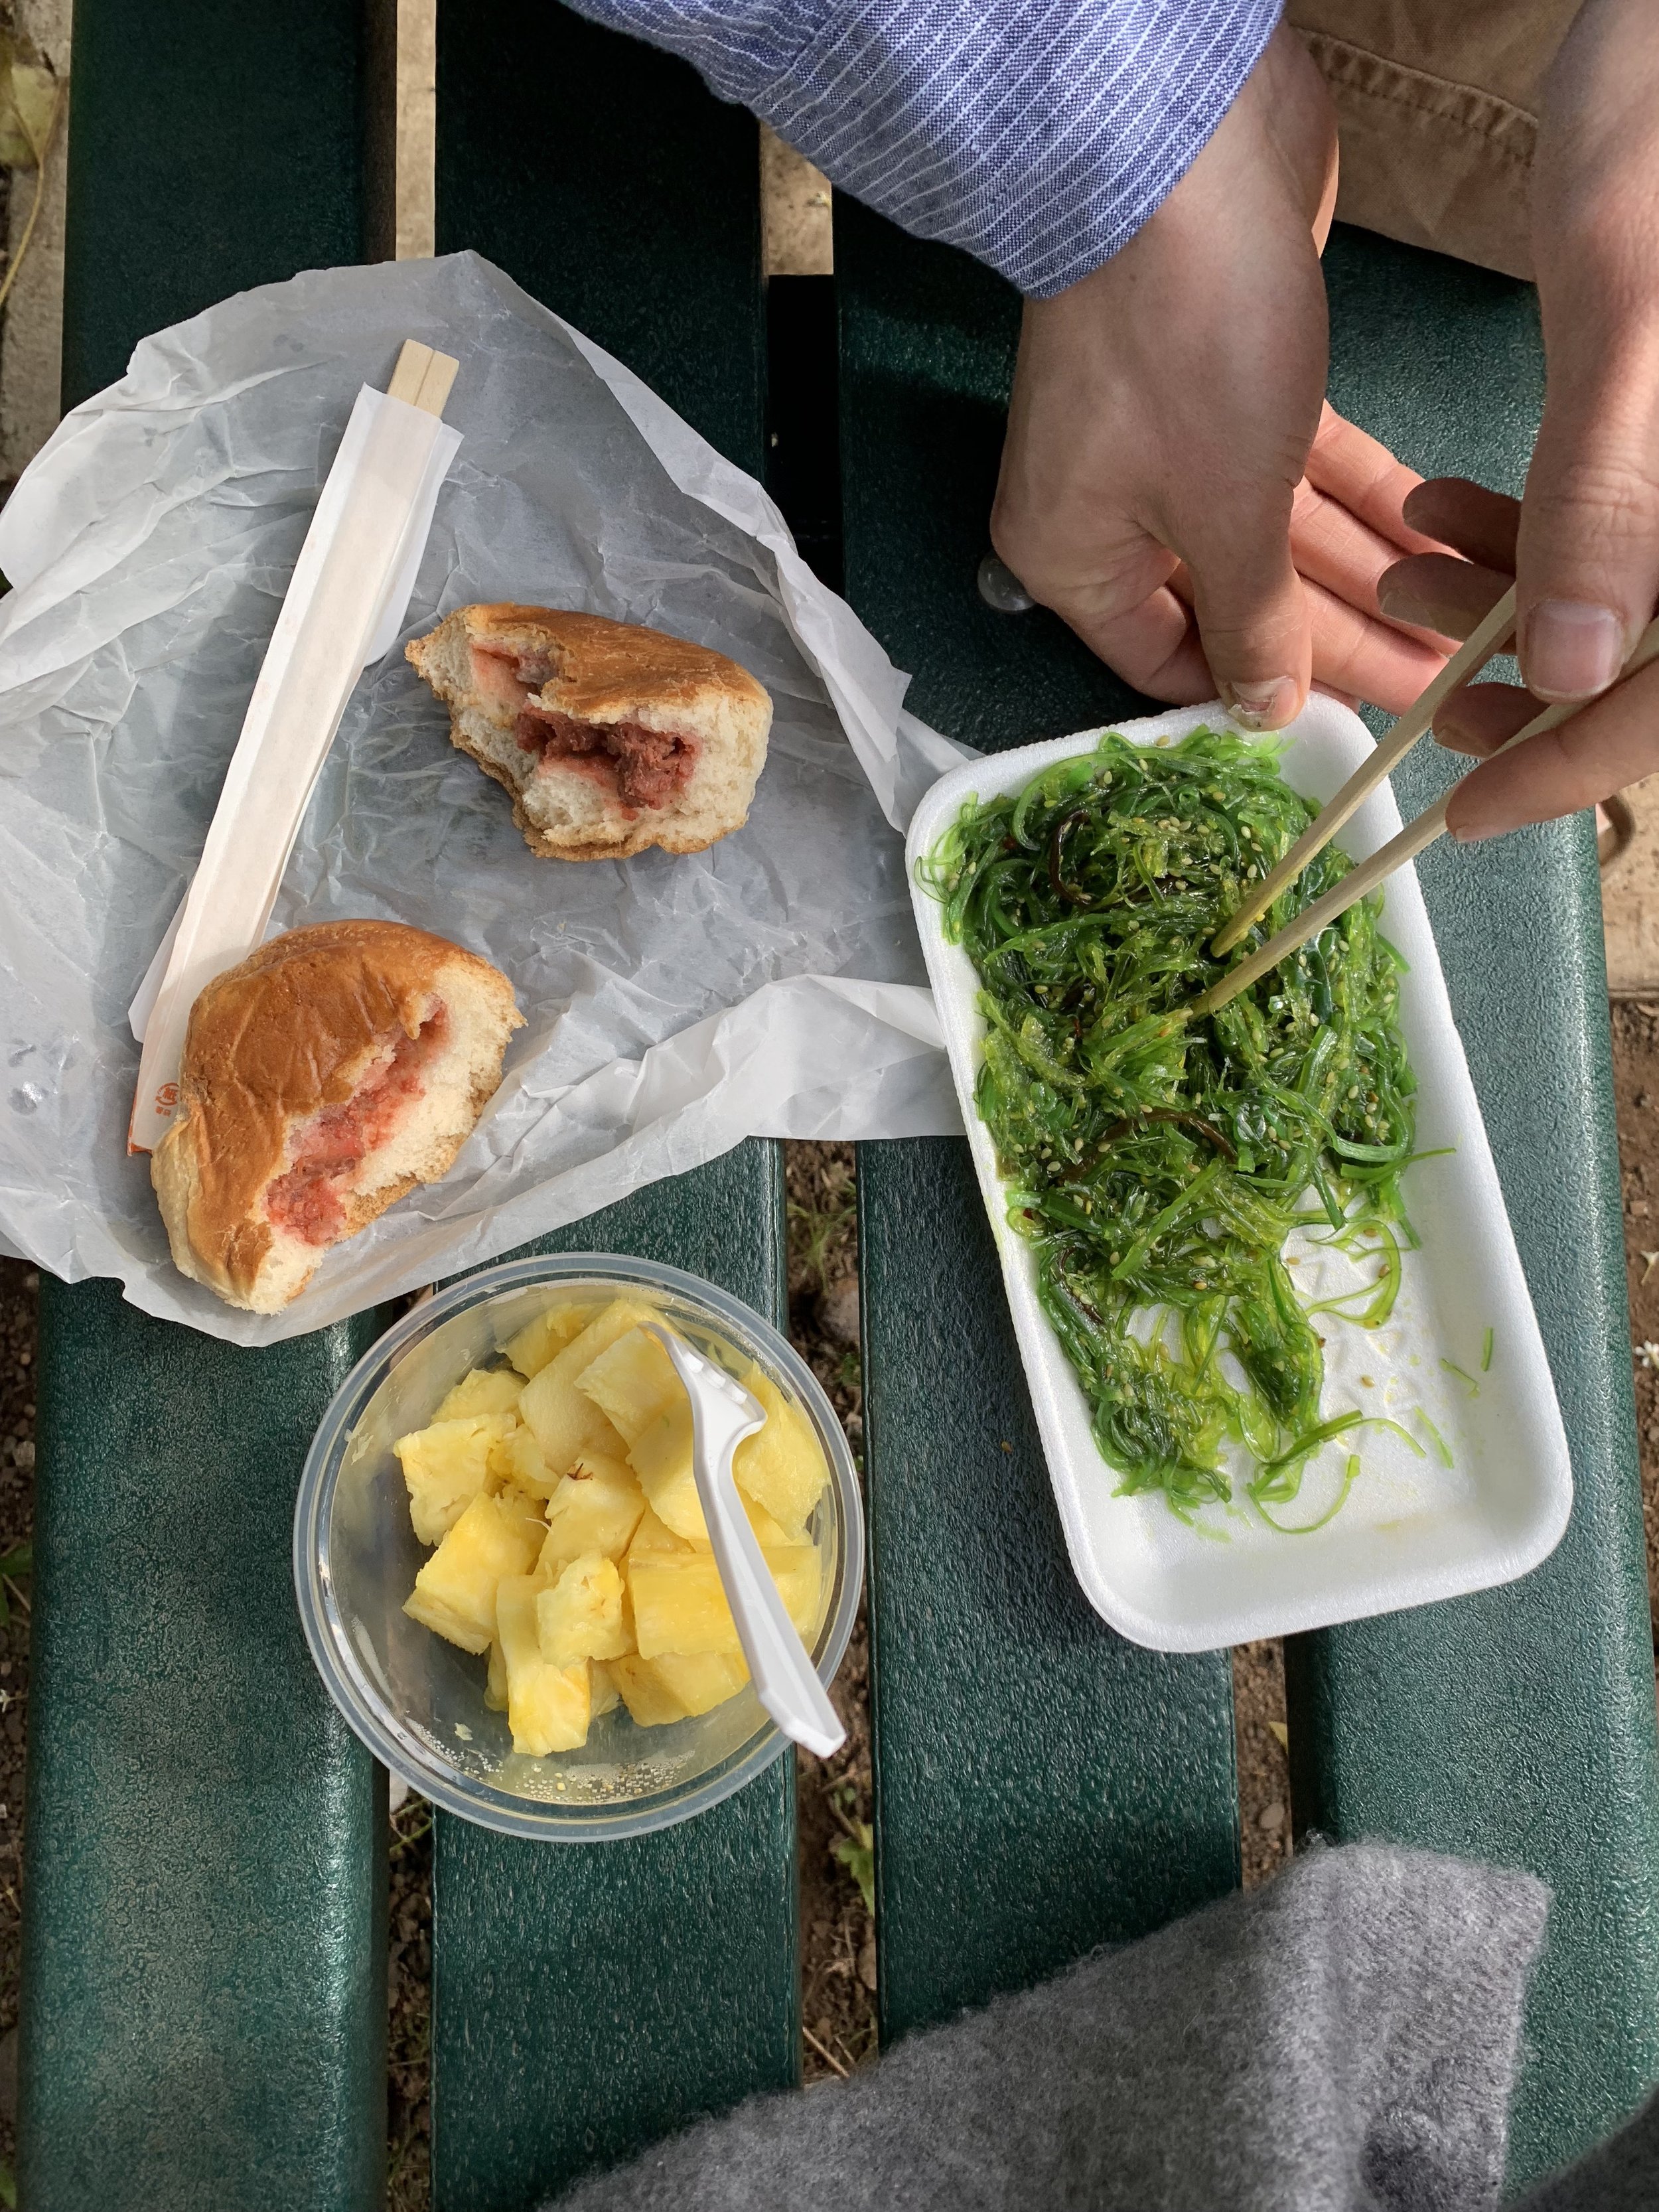
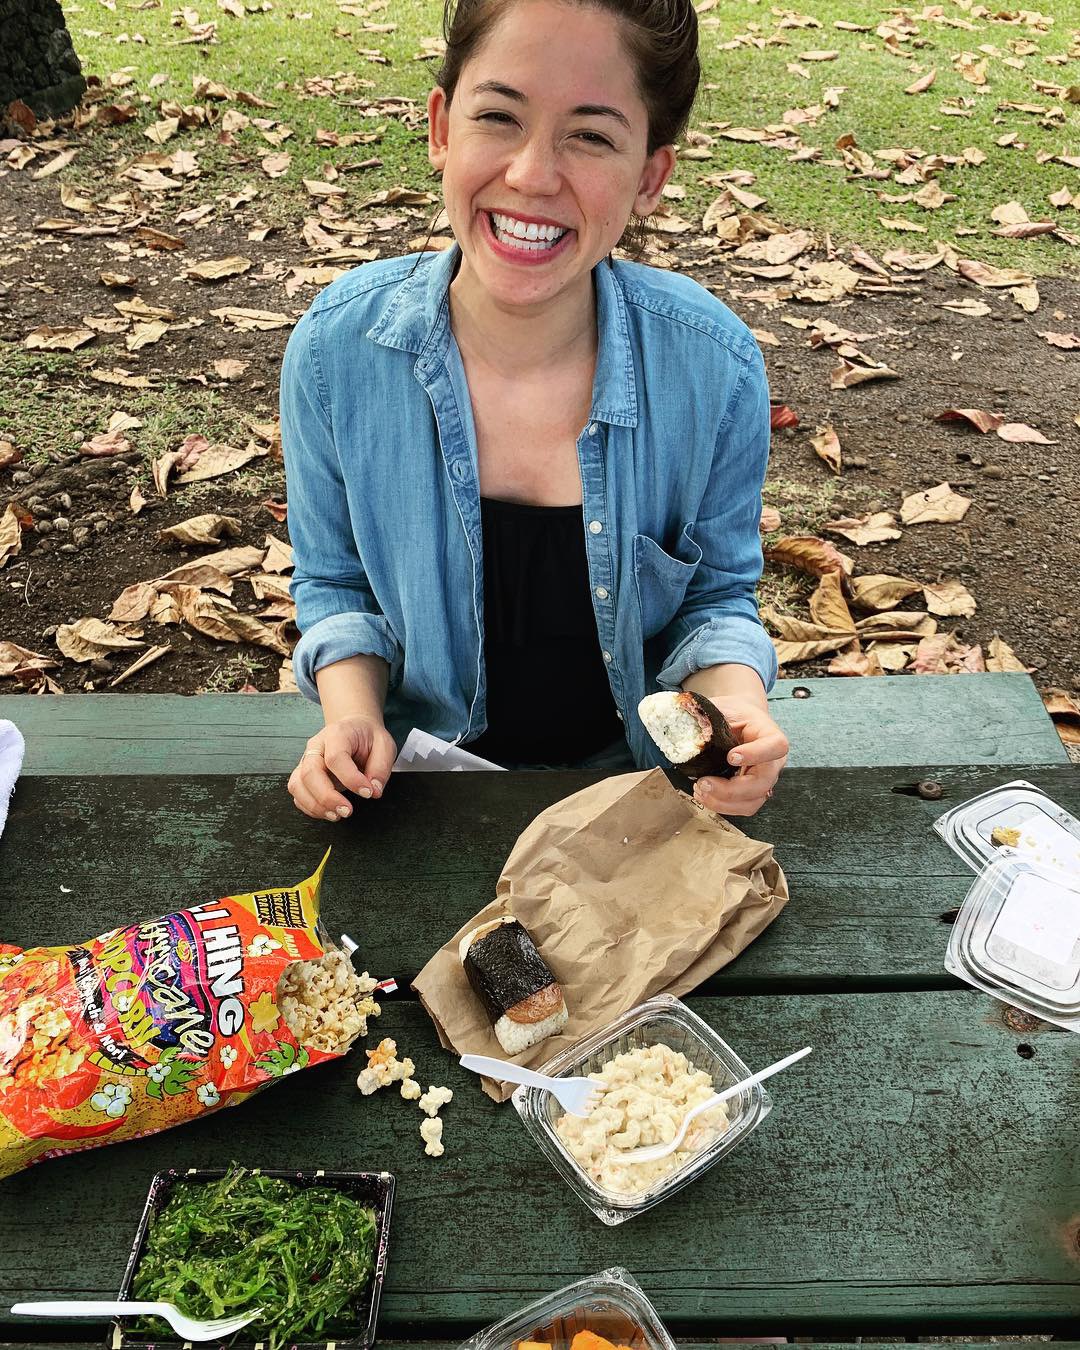
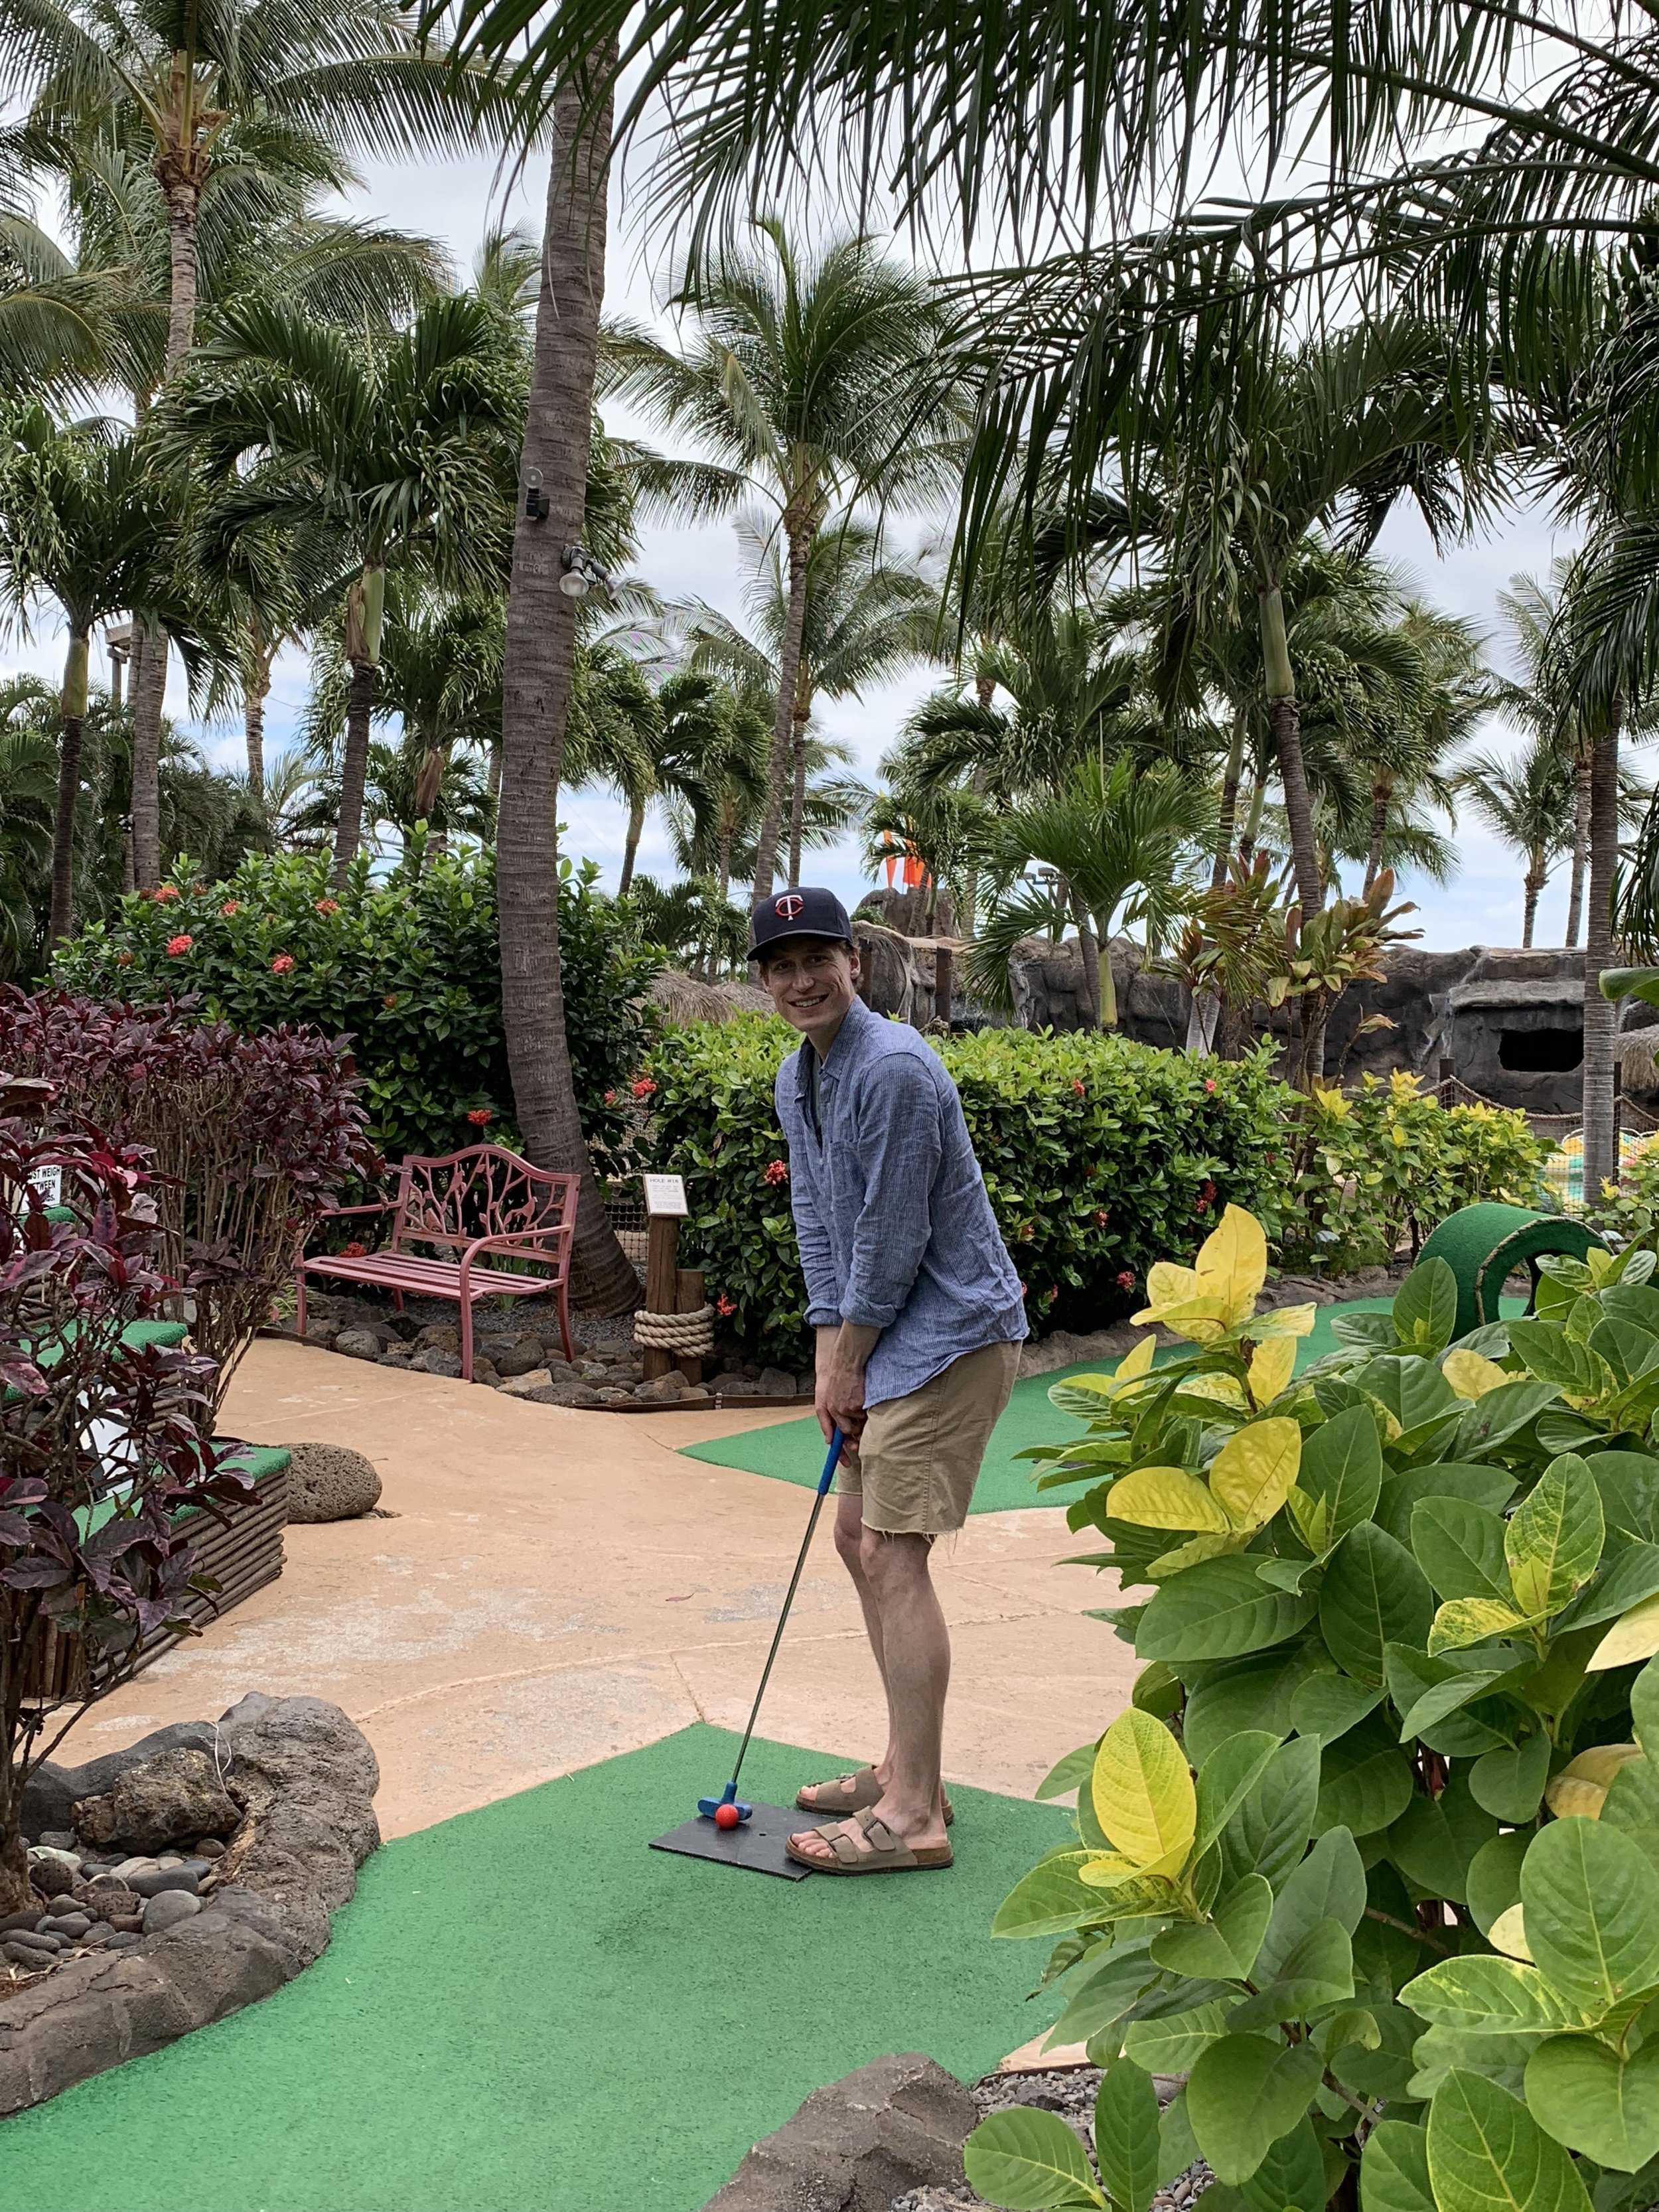
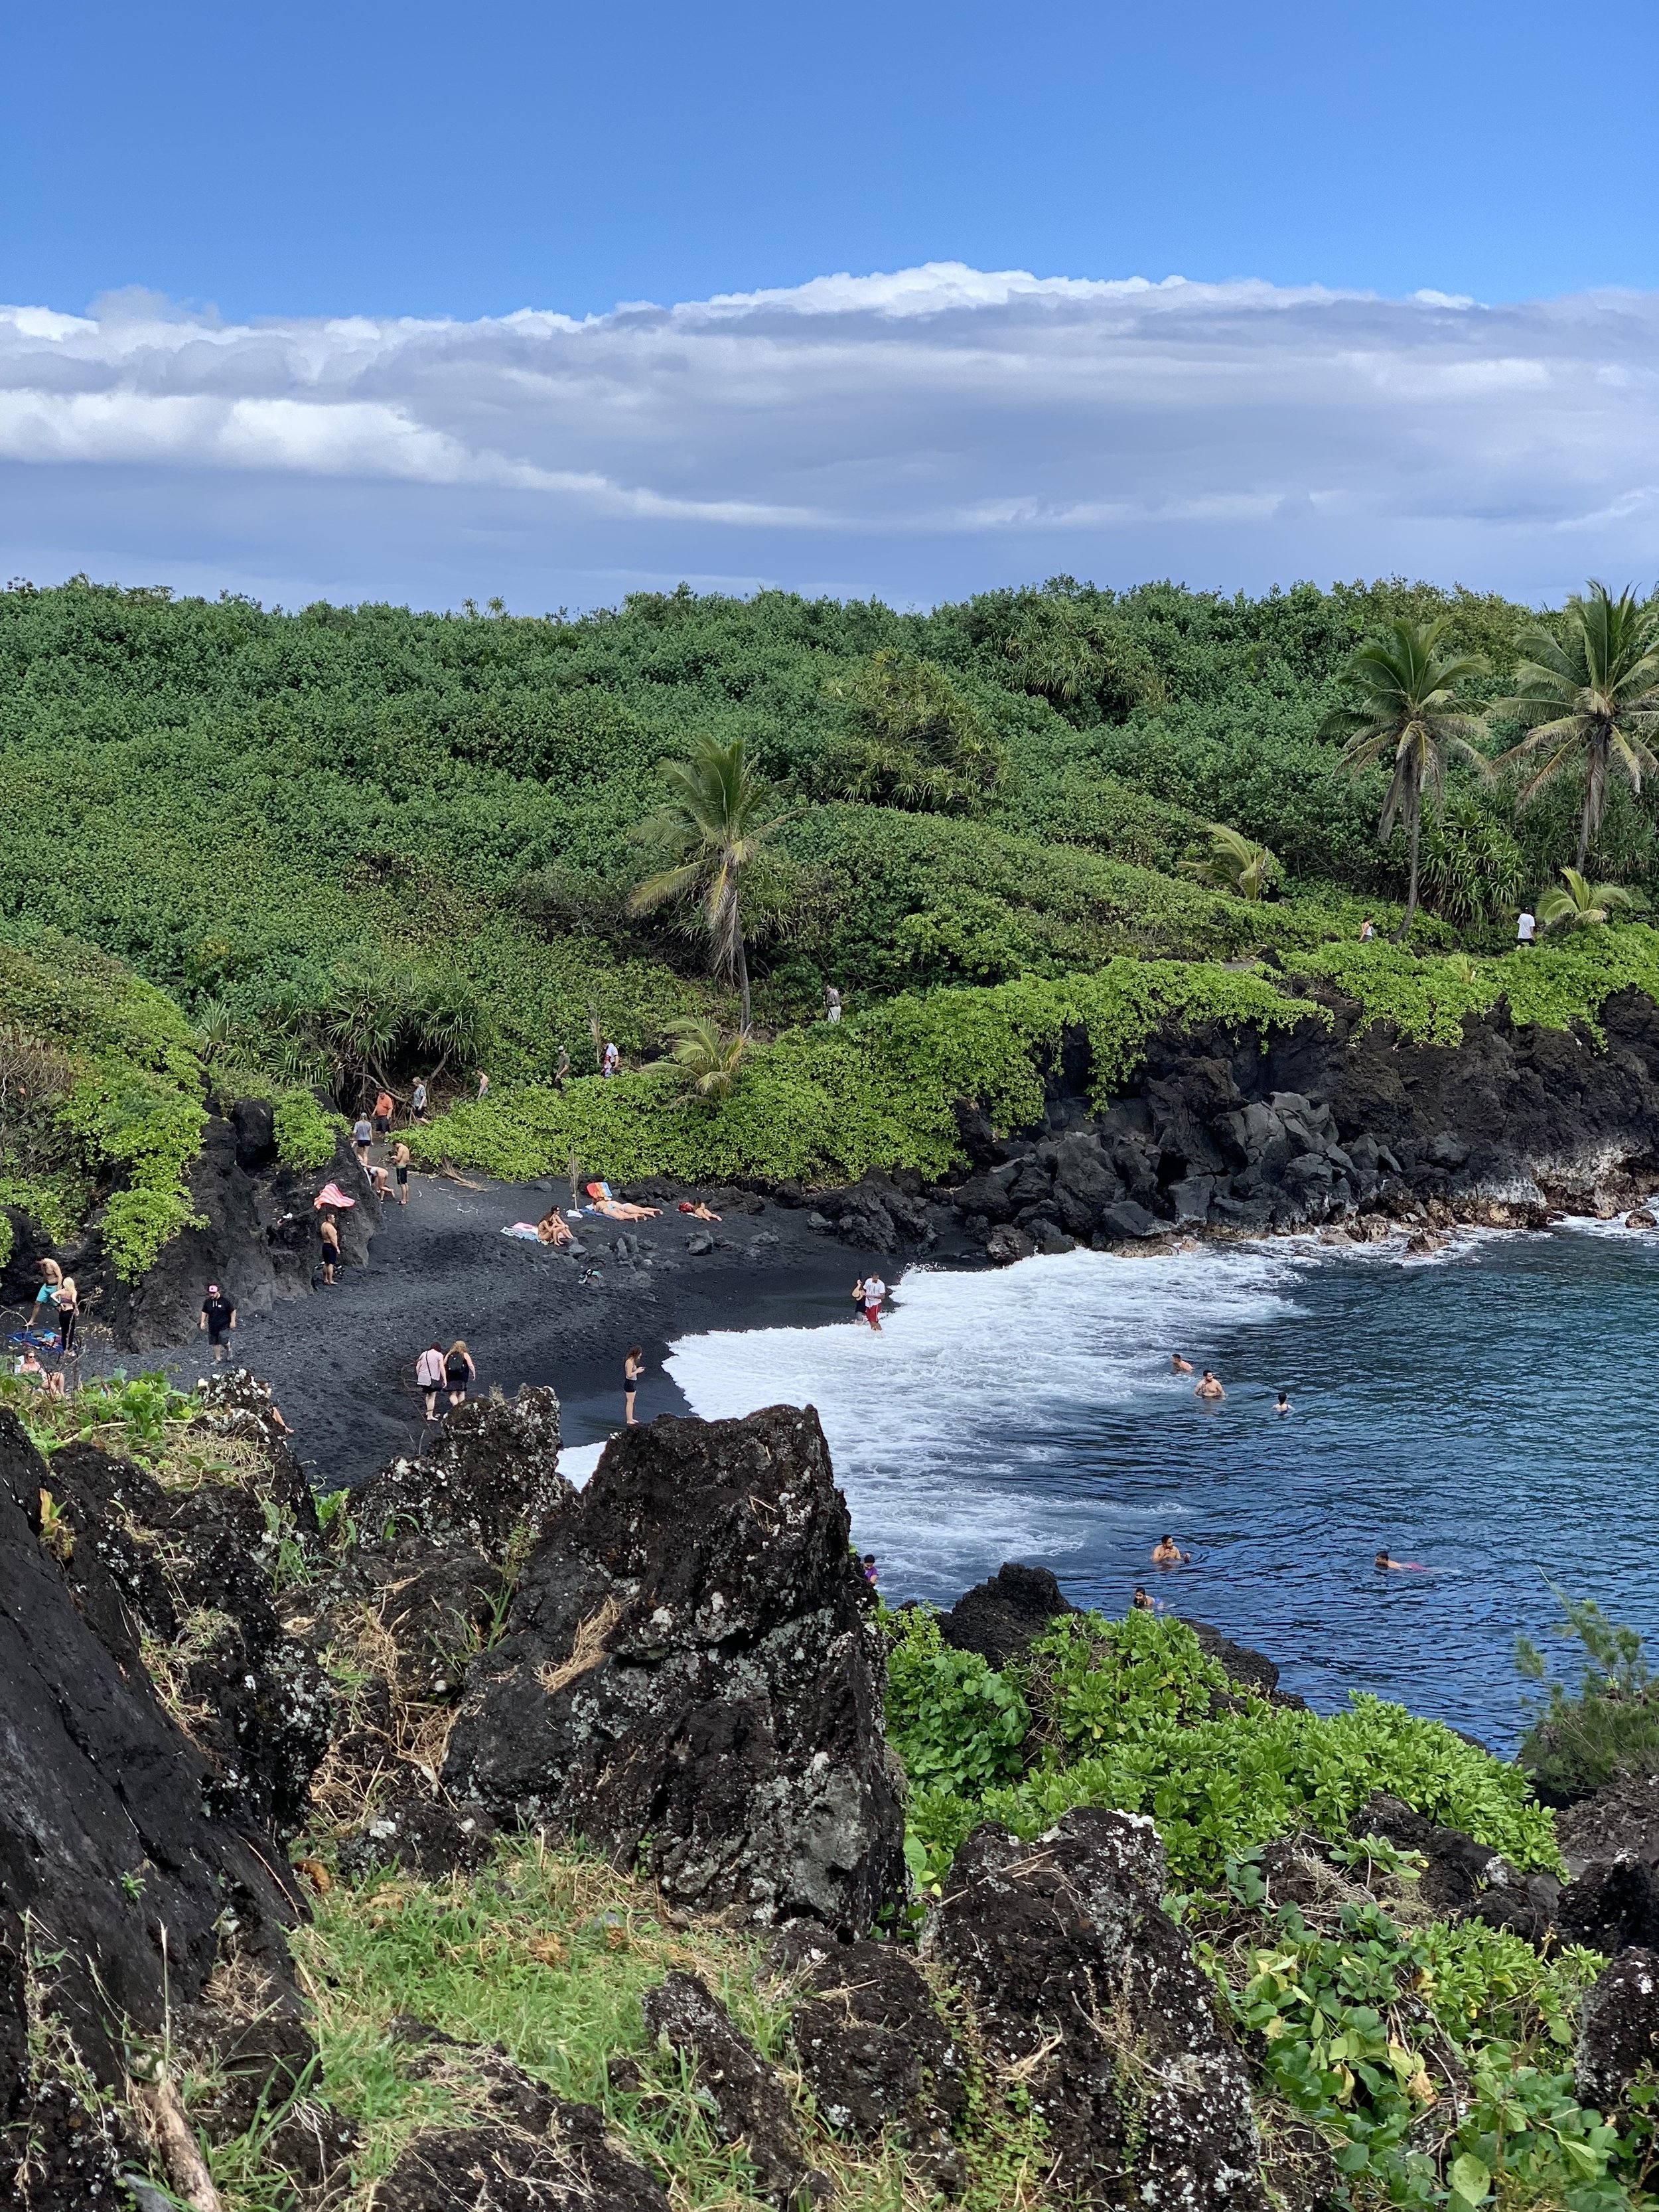
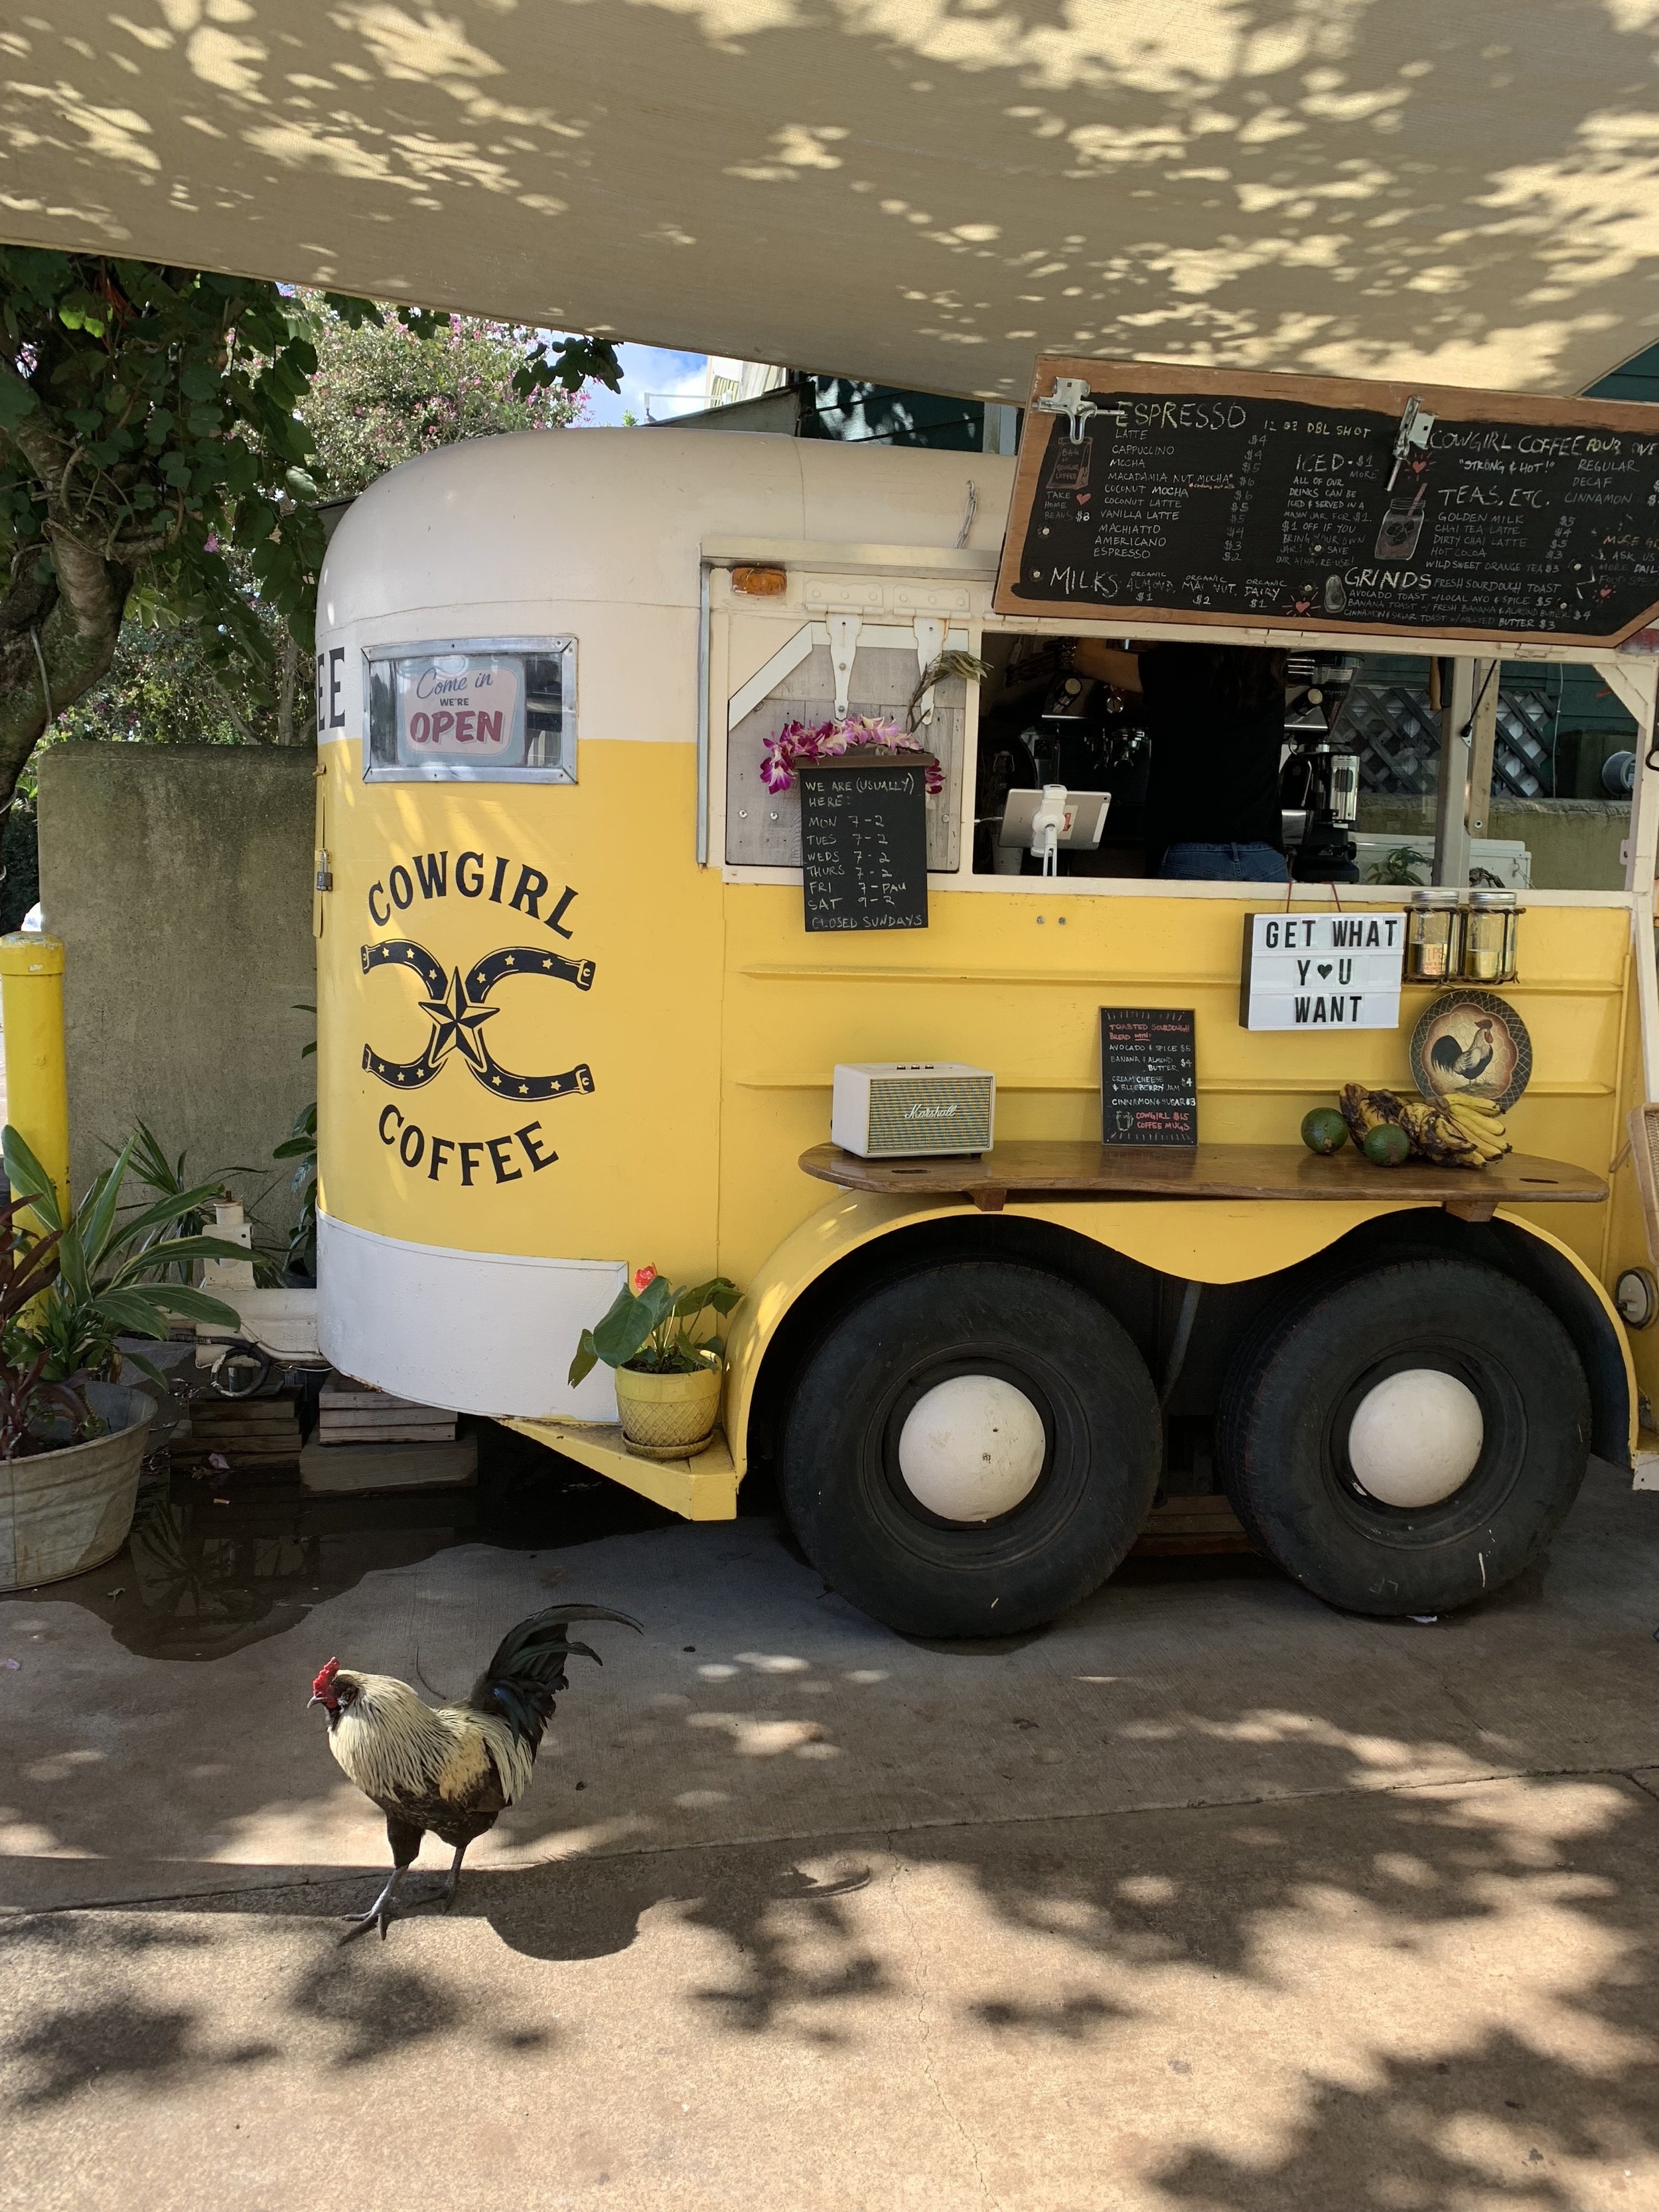
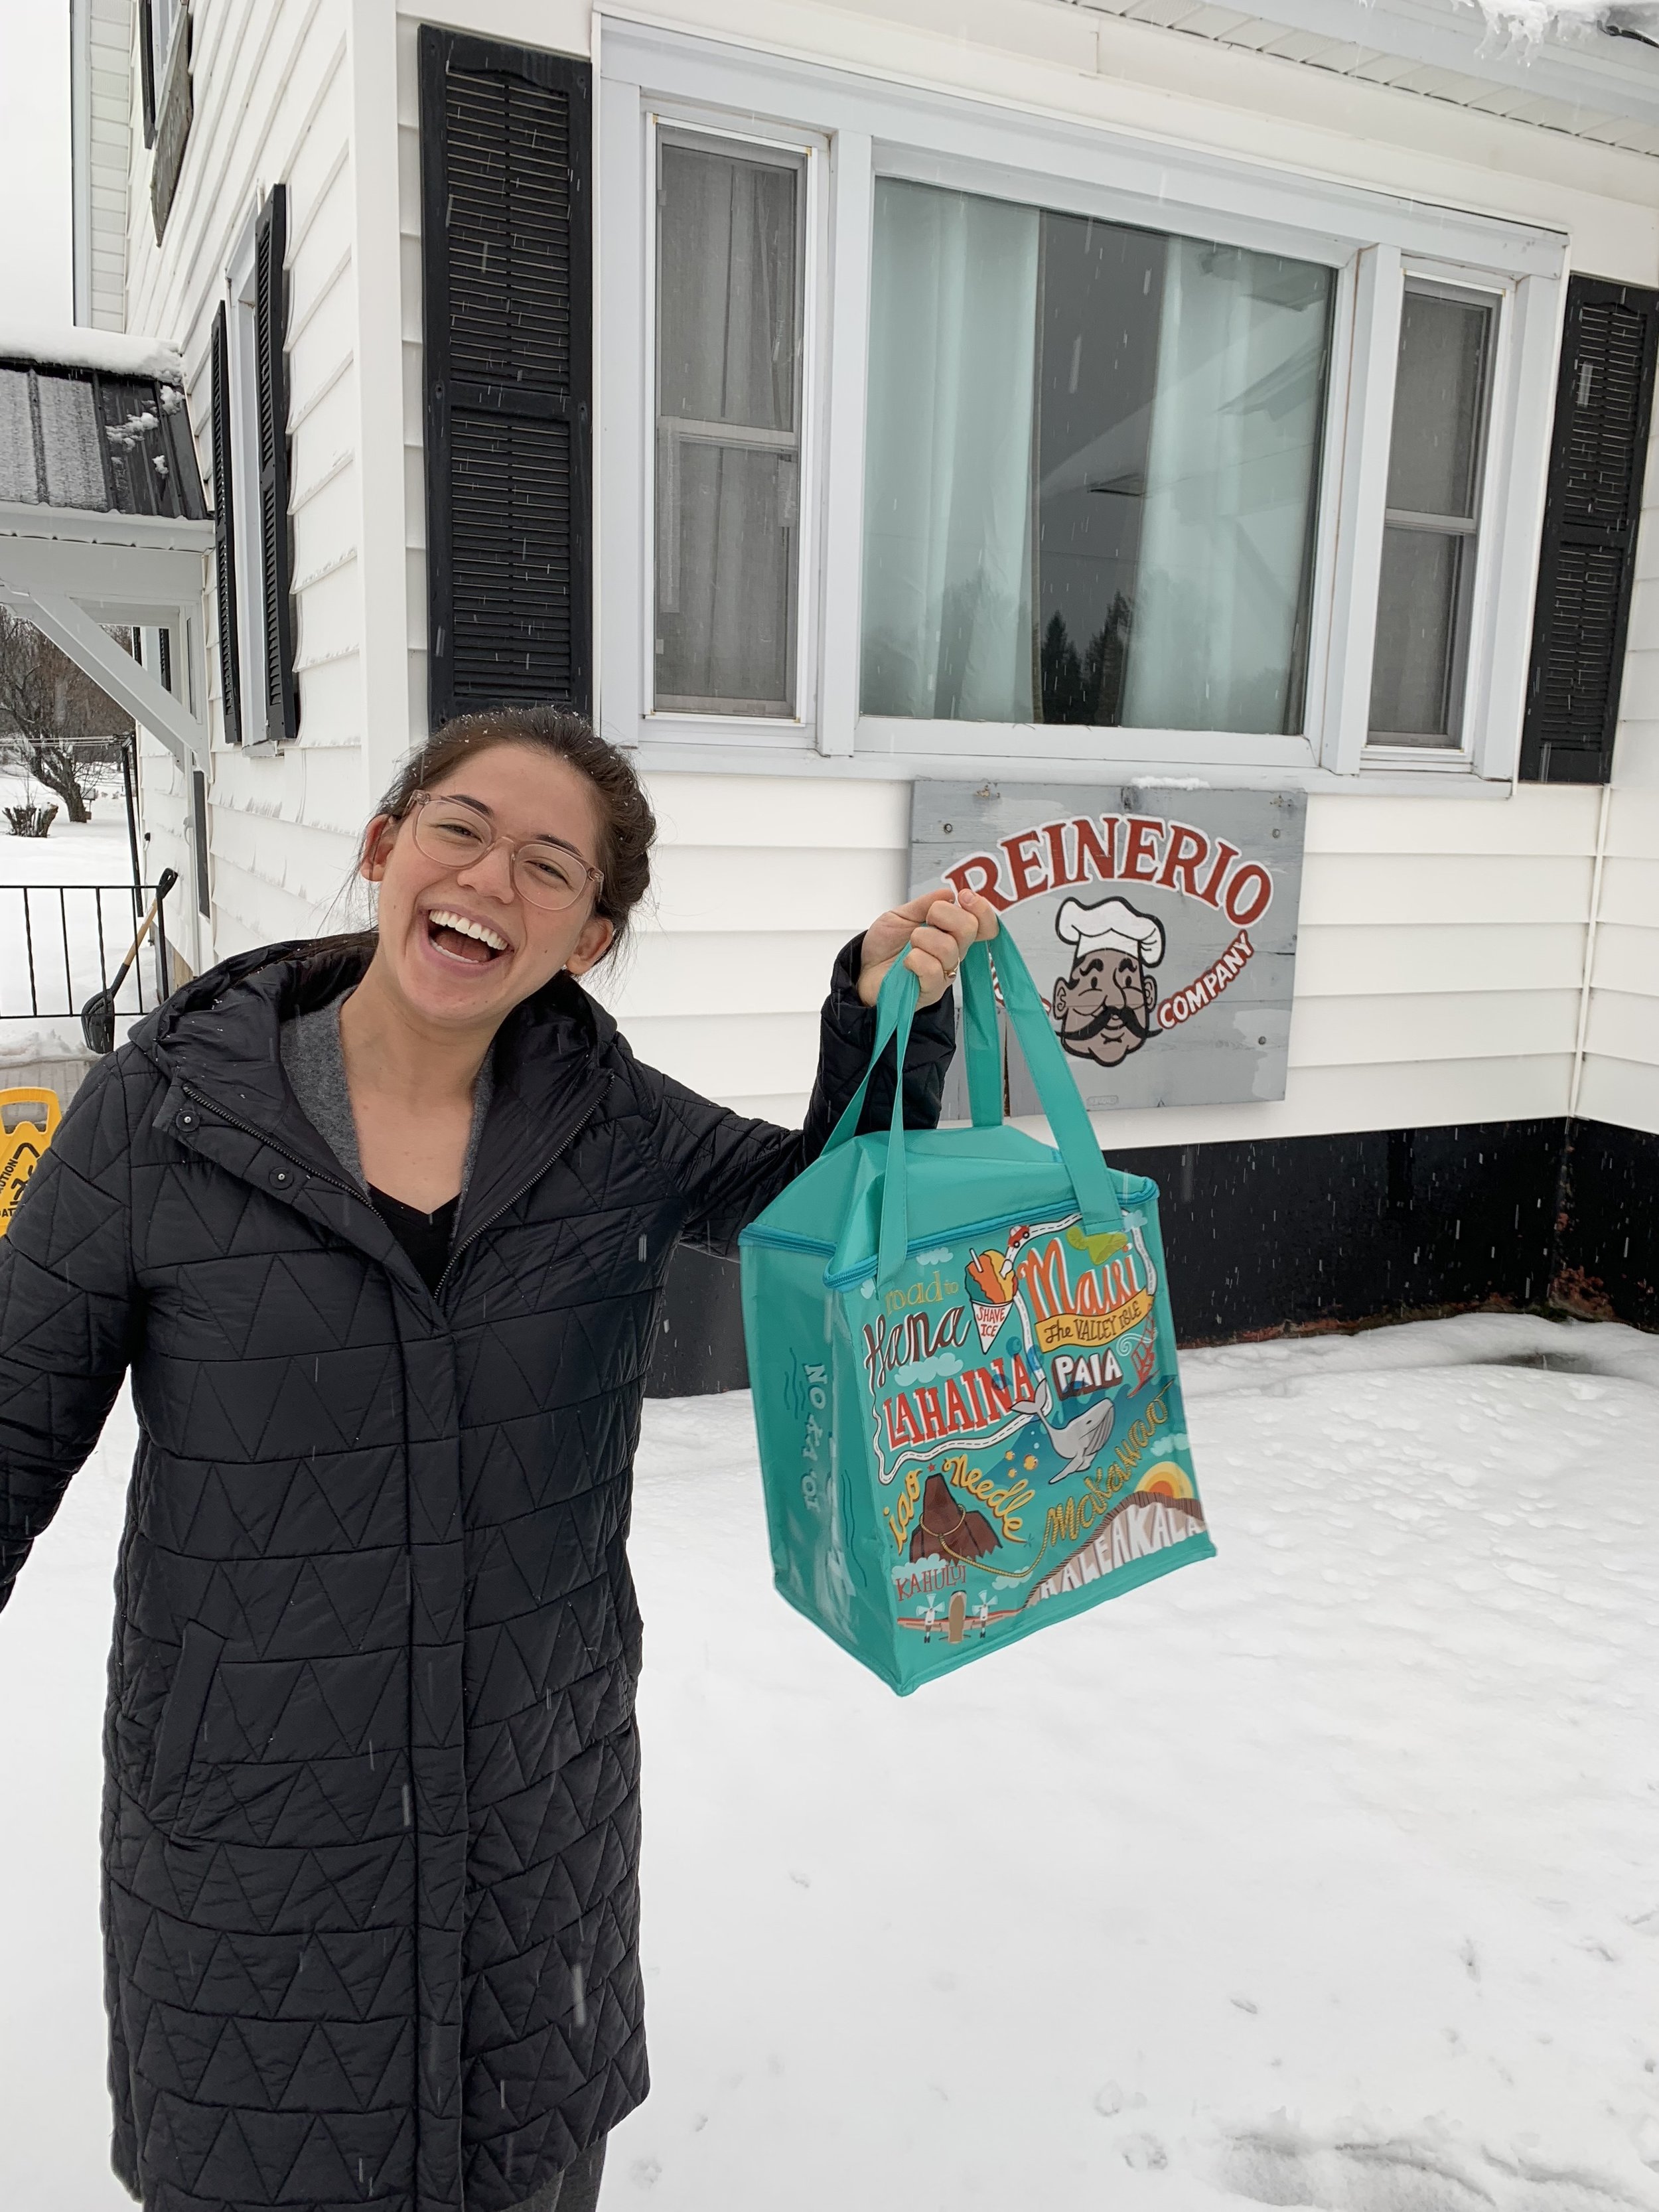
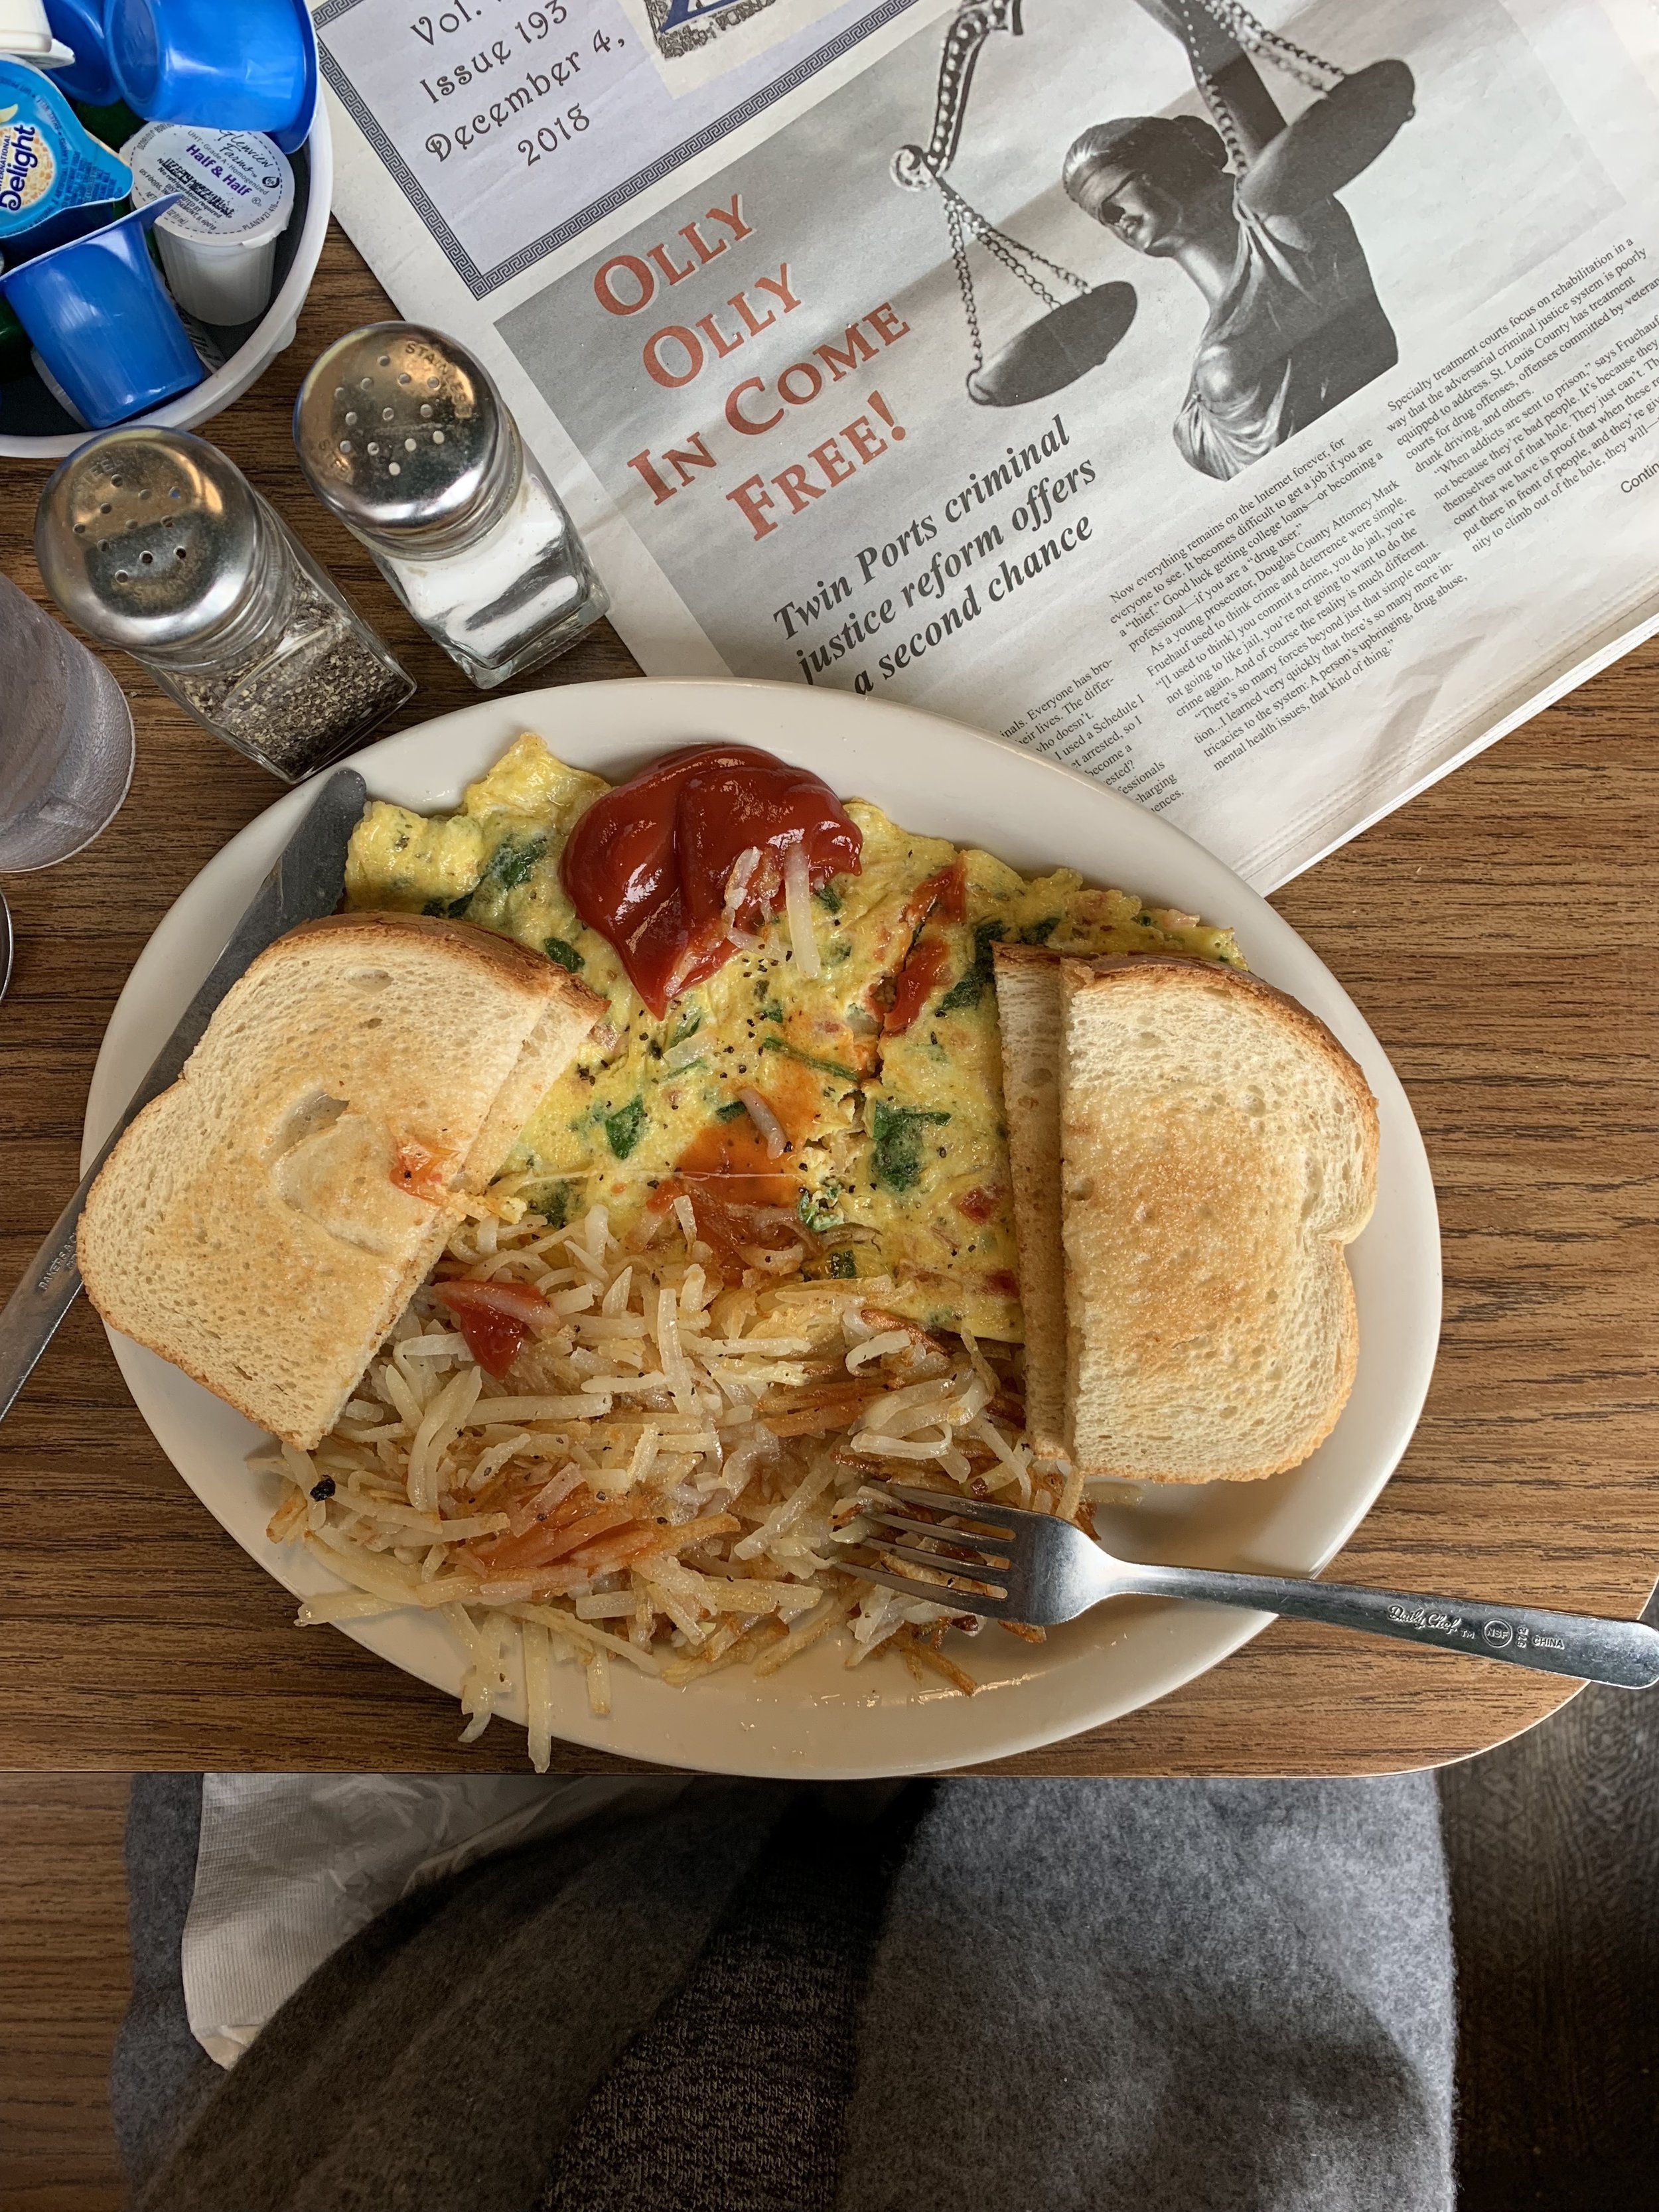
Babymoon success!!! Our trip to Maui was perfect in every way, from the dolphins we met to the donuts we ate to the fact that we wore the same clothes almost the entire time. Each morning we walked outside, did an arm stretch, and said out loud ahh, another day in paradise! And then we either picked up a spam musubi at the Foodland and went on an adventure or went to the breakfast buffet, read the newspaper, and then rolled outside for our daily dip. We swam in such wonderful settings, first snorkeling on Lanai where we saw the most beautiful florescent blue fish, then sunset beach floating near our hotel, then snorkeling near our other hotel where we saw two sea turtles (and they saw us! they waved!), and finally actual lap swimming at the infinity pool to burn off all of our musubis. My swimming skills still hover around Guppy, but boy do I love it. We read parenting books on the beach, ate hurricane popcorn and pineapple by the pound, and just generally got lost in daydreams of Poppy Seed. Eggboy took an interest in learning everything there was to learn about the tiny macaroni-shaped island that we could see from the beach in Wailea. And though we searched long and hard for the one legged chicken that I saw on my Maui trip three years ago, we did not find him. 

Hawaii cured me of the cold that I denied having before I left and it made me feel readier than ever to tackle these next two months, even if none of my pants fit and walking up a flight of stairs feels like climbing Mount Everest. We’ve got baby classes to go to, a crib to set up, hospital bags to pack, and every single fluffy baby teddy bear suit to buy (omg). 

Leaving Hawaii was so bittersweet because it really was the best week ever and I didn’t want to leave but as we left, Eggboy reminded me that the next time we’d be back, we’d have a little nugget in tow, armed with floaties and sand castle tools and everything! Oh I can barely imagine that without crying. I’m going to be a very weepy mum. 

Here are a list of my Maui recs from this trip! There aren’t too many this time since most of the places we went were places we’d been to and loved before. For those recs, see this post and this post.

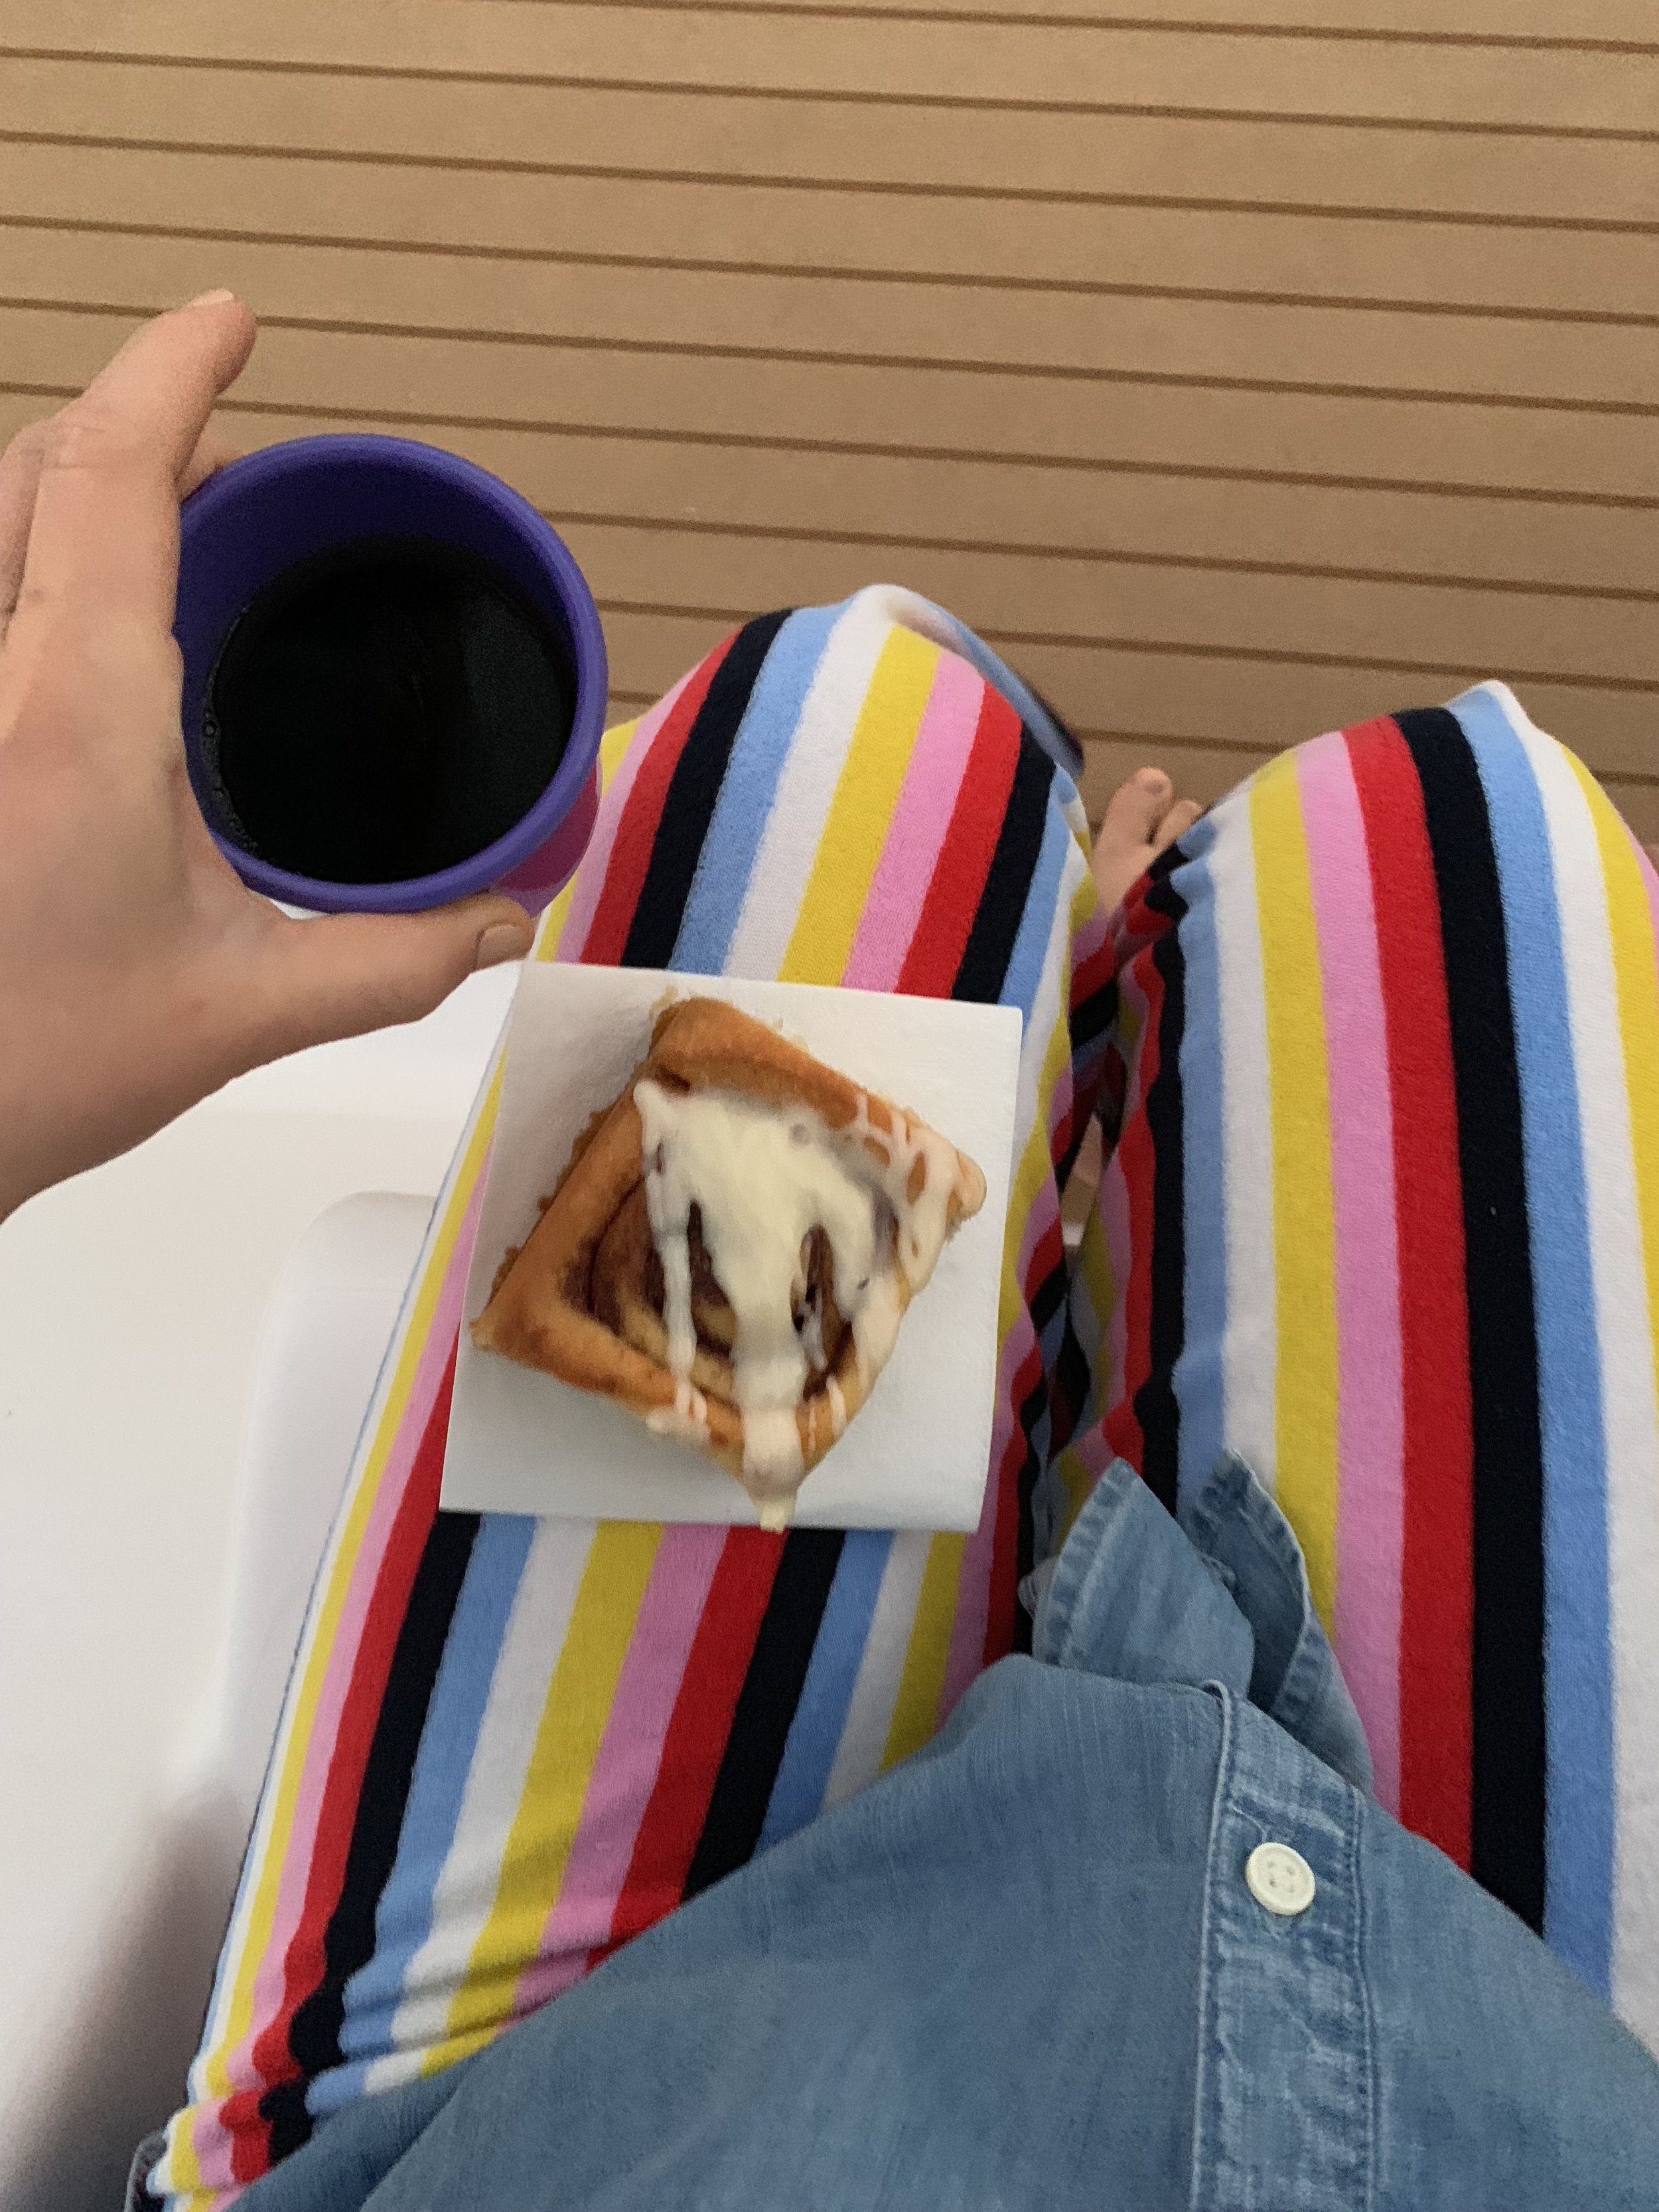
Trilogy’s Lanai trip! The best thing to do on the first day when you’re still on mainland time and can wake up super duper early is to do this sunrise boat tour to Lanai where you eat great cinnamon rolls and watch whales as the sun comes up and then spend the day snorkeling, touring, and eating. 

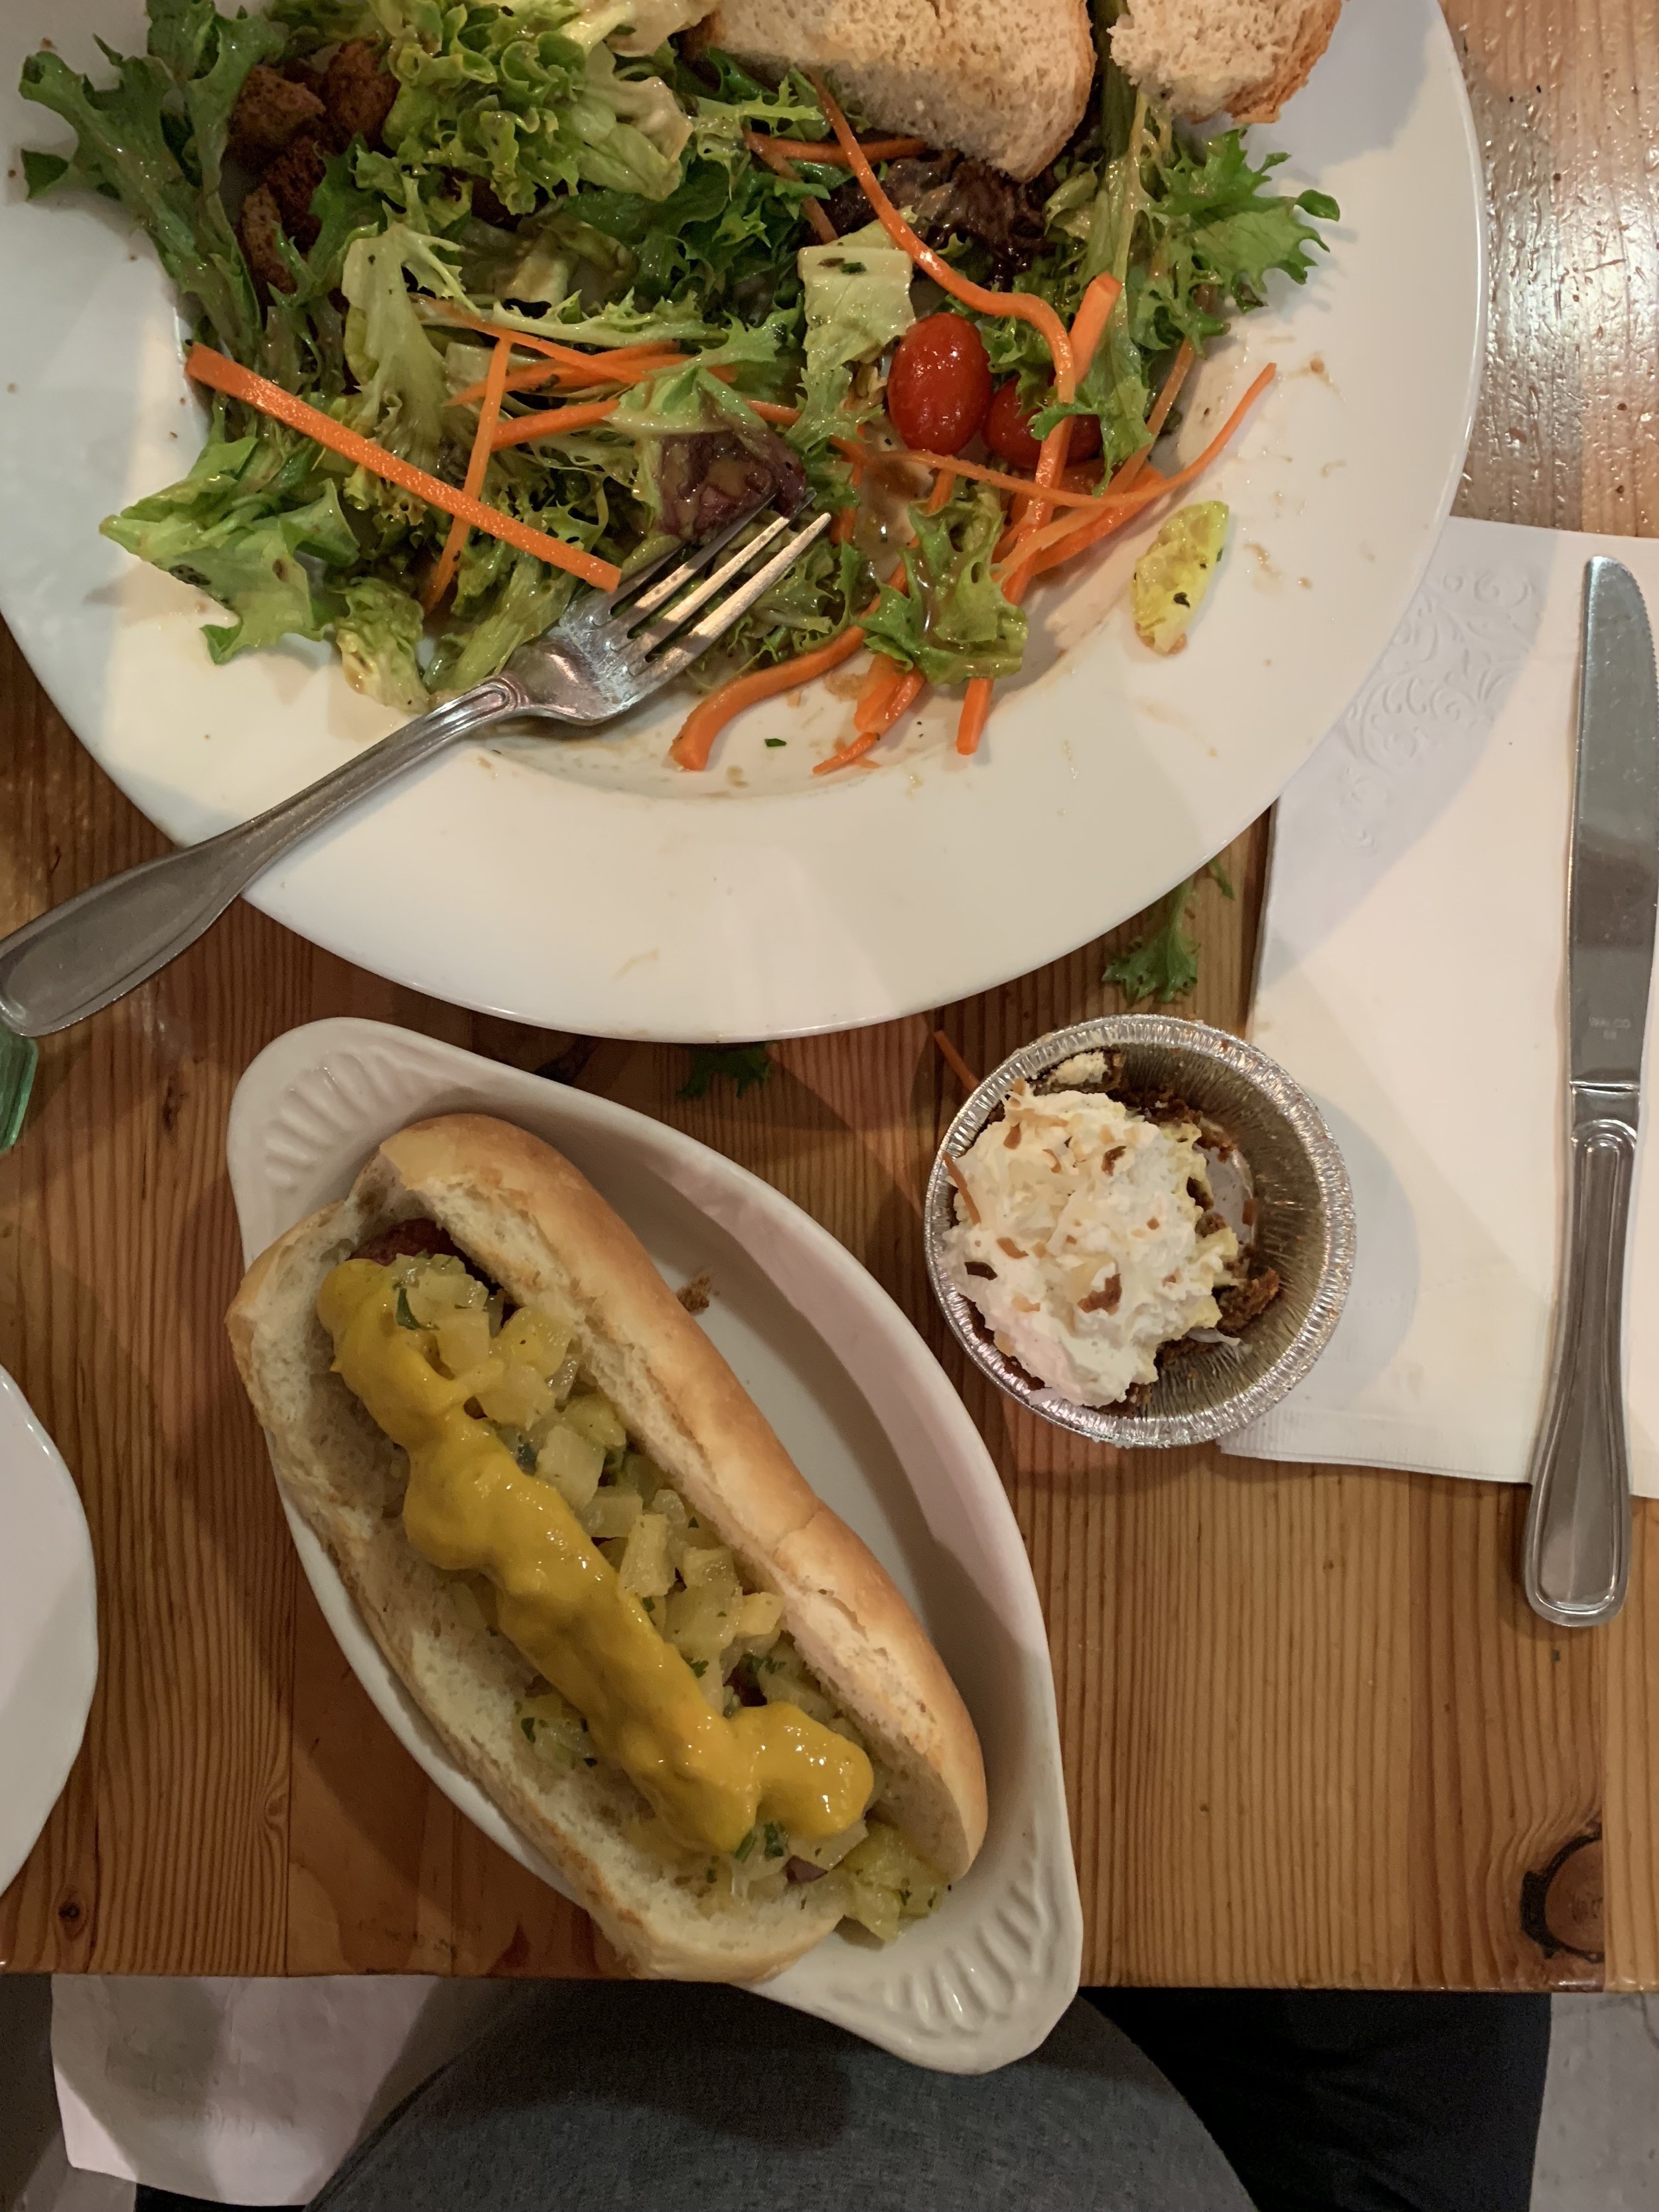
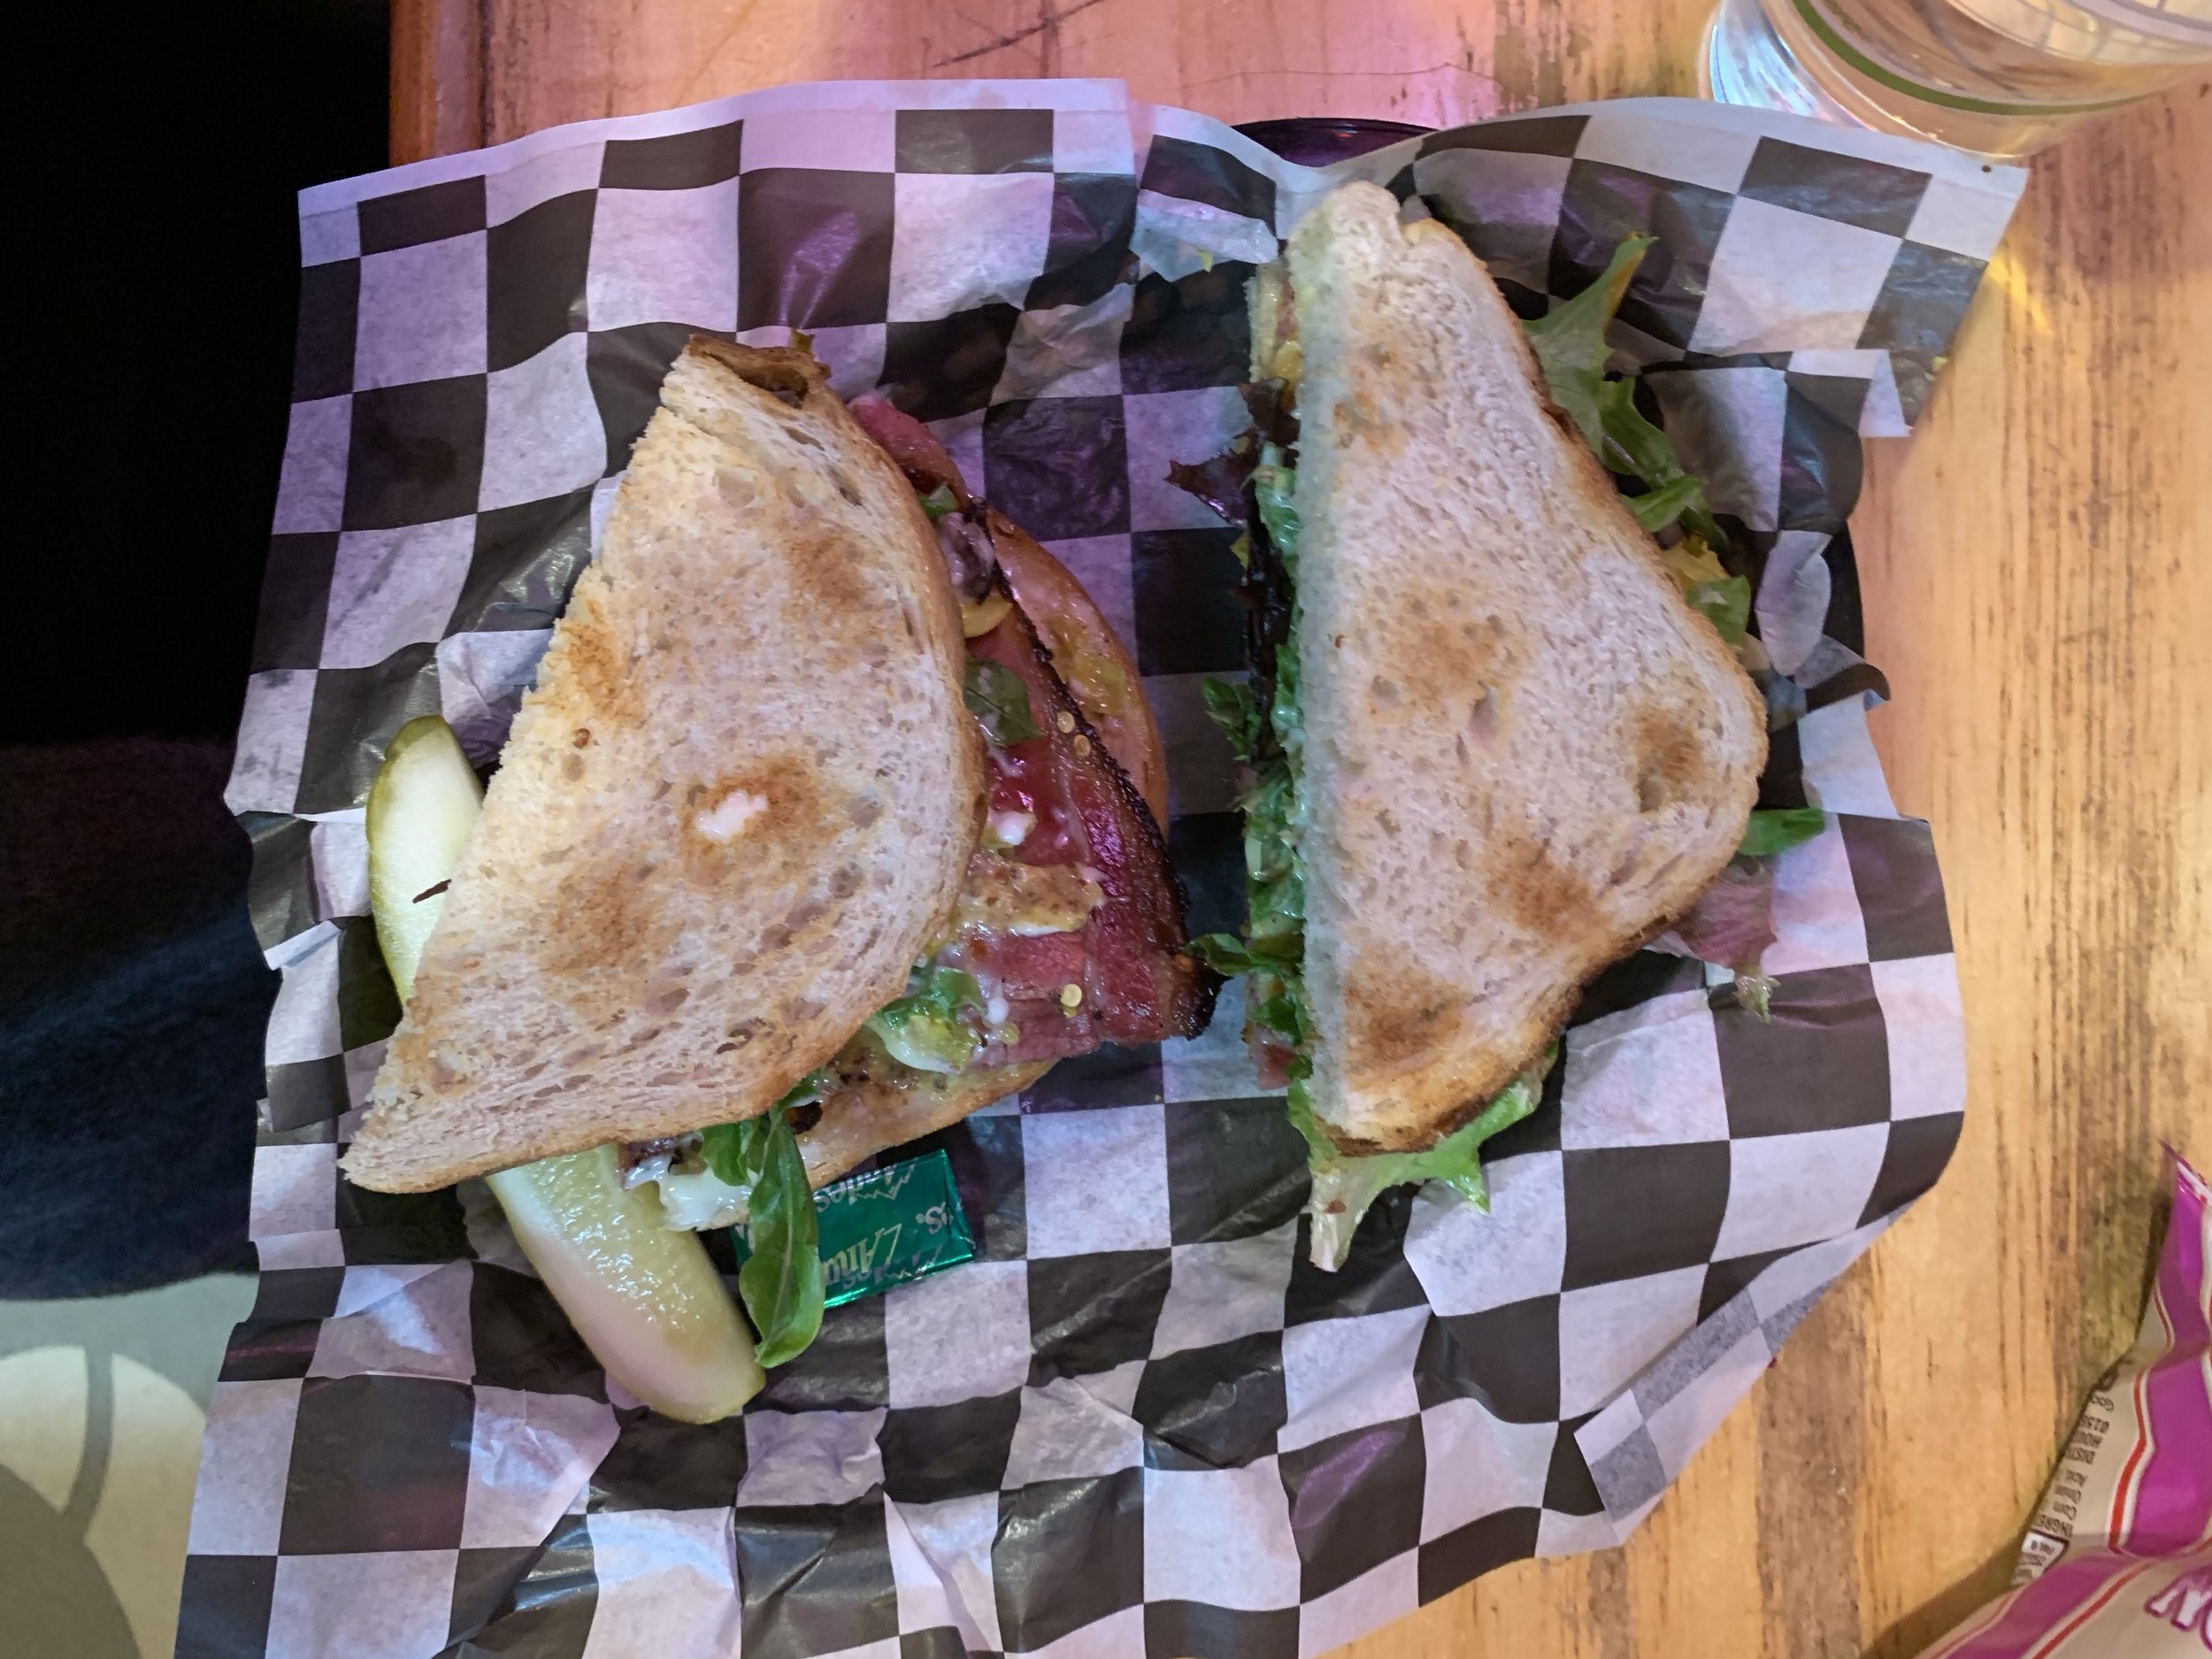
Lineage: There were so many surprising delights at Lineage, like the salad covered in meat juice and pasta salad mayo meant to represent the bottom of a plate lunch, the fresh veggies from Oprah’s garden, and this thing called a Flying Saucer which was basically a meat and cheese Uncrustable.

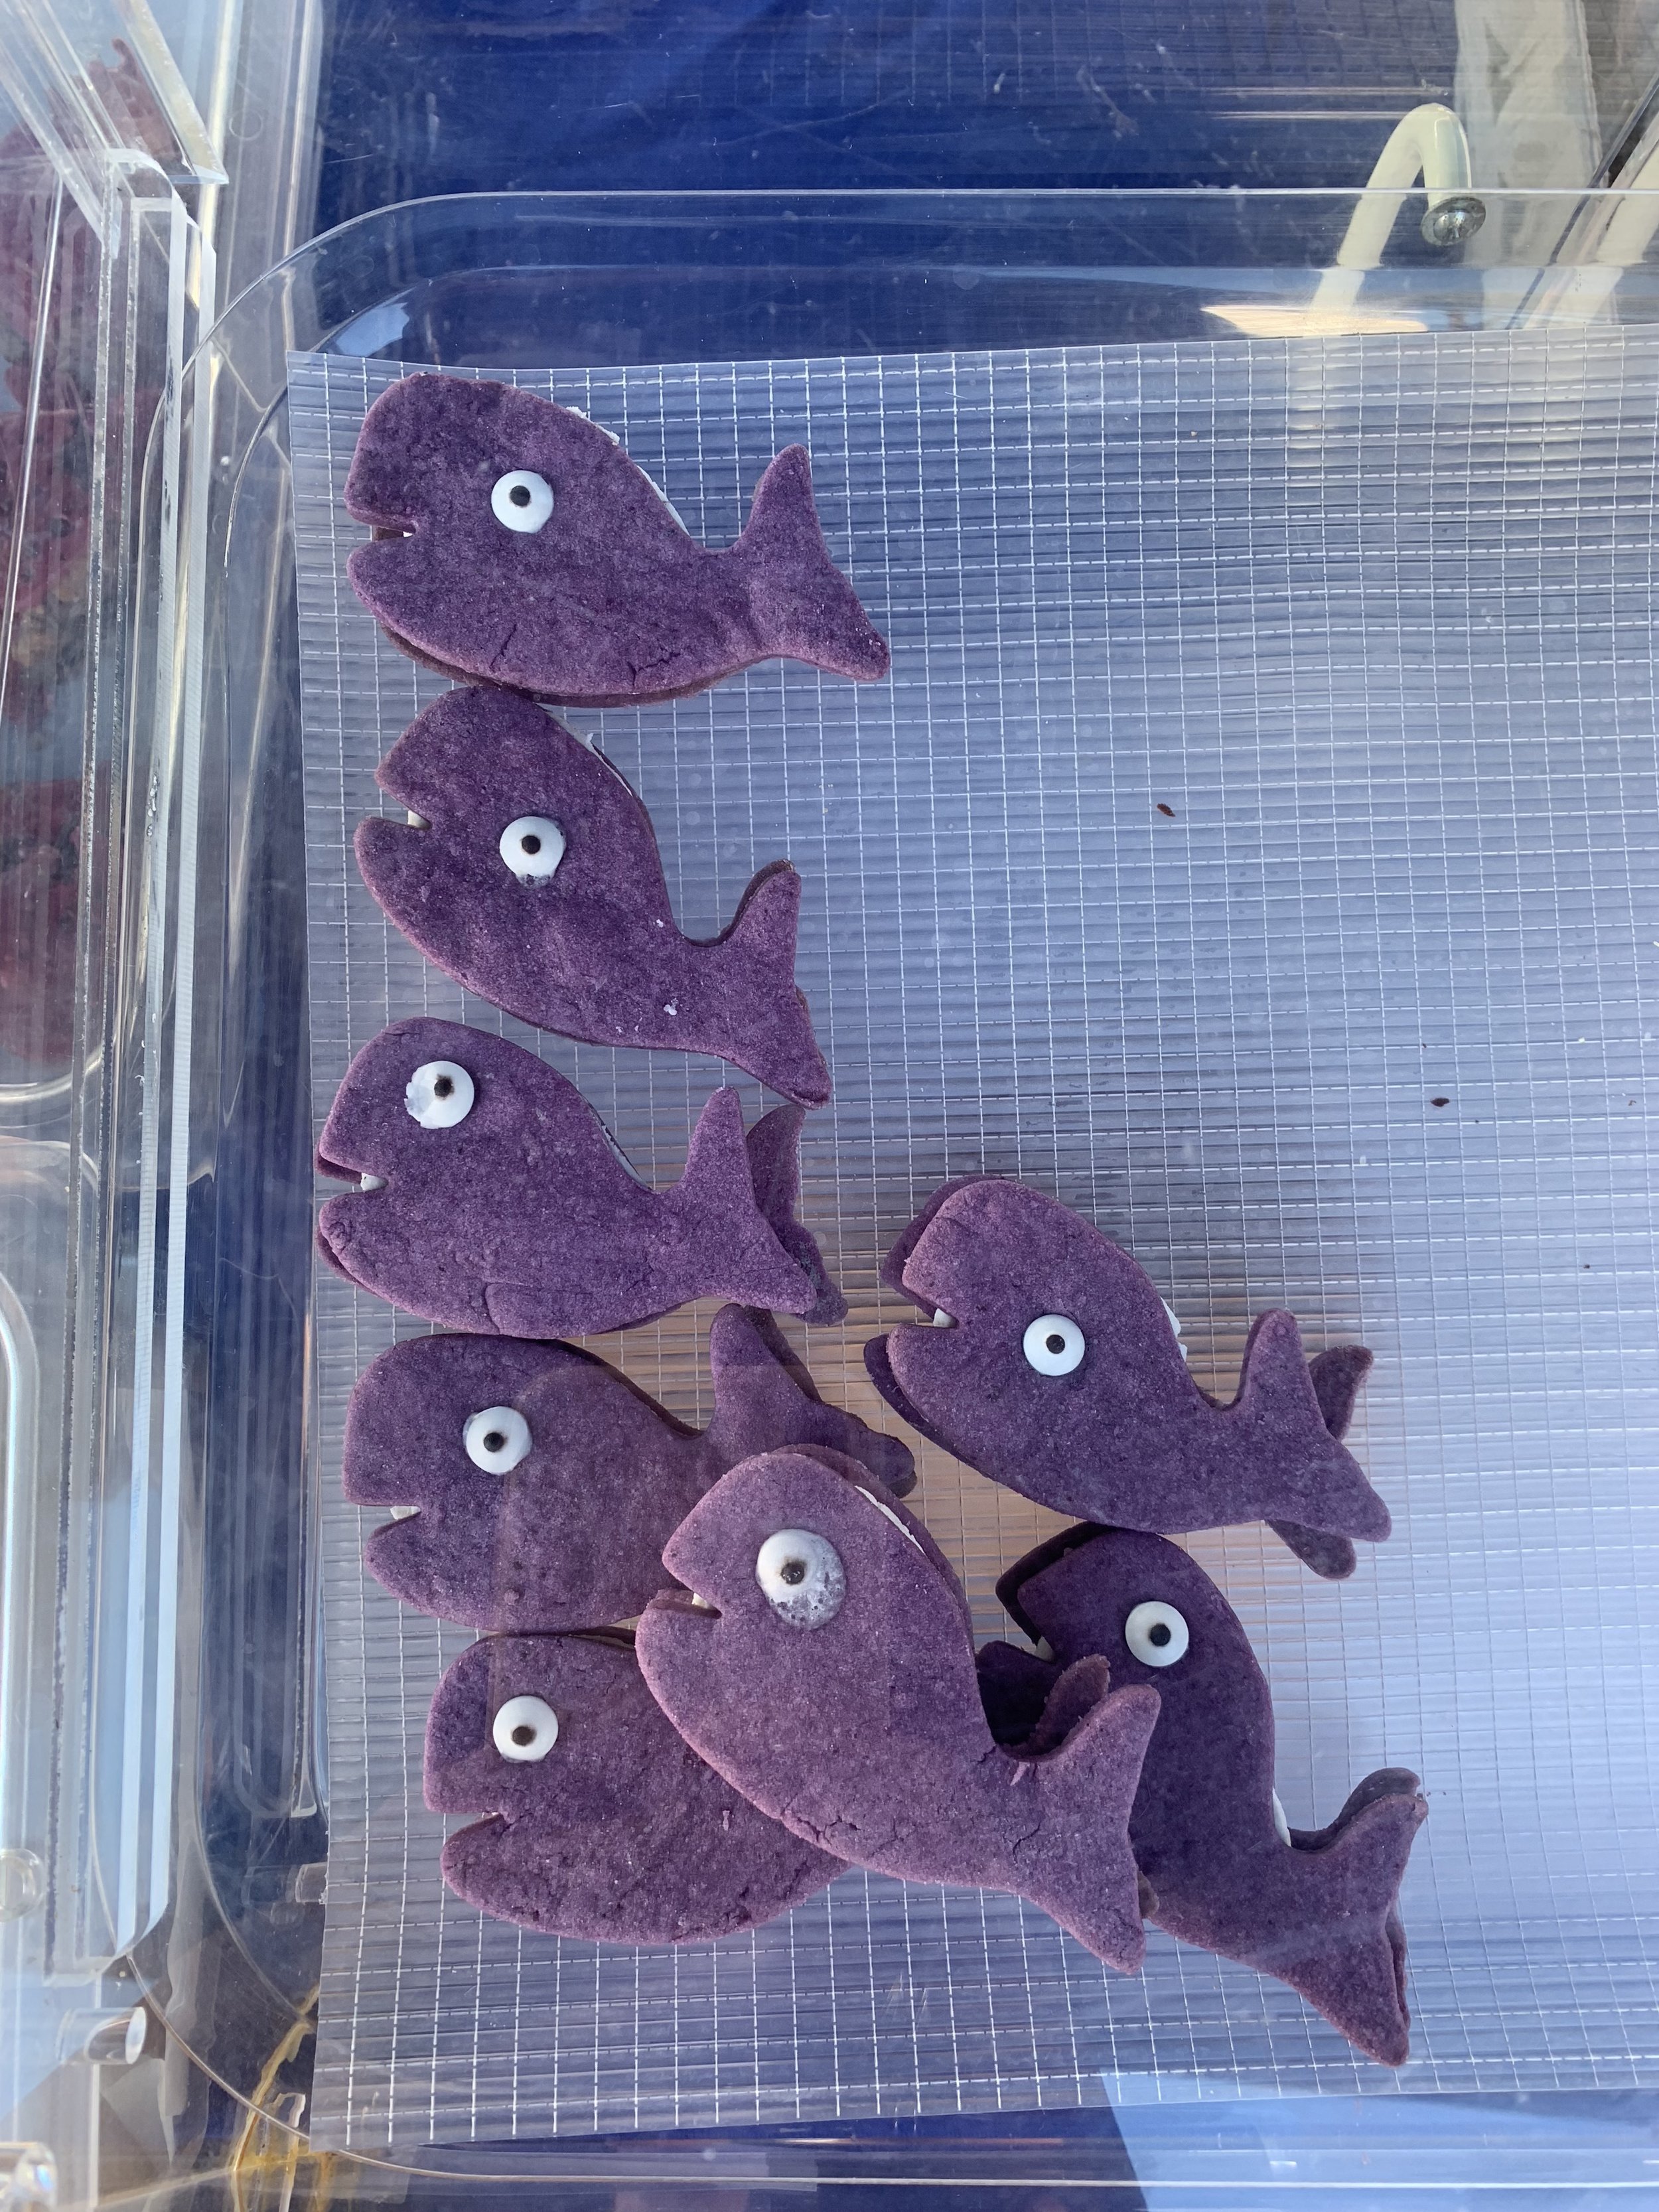
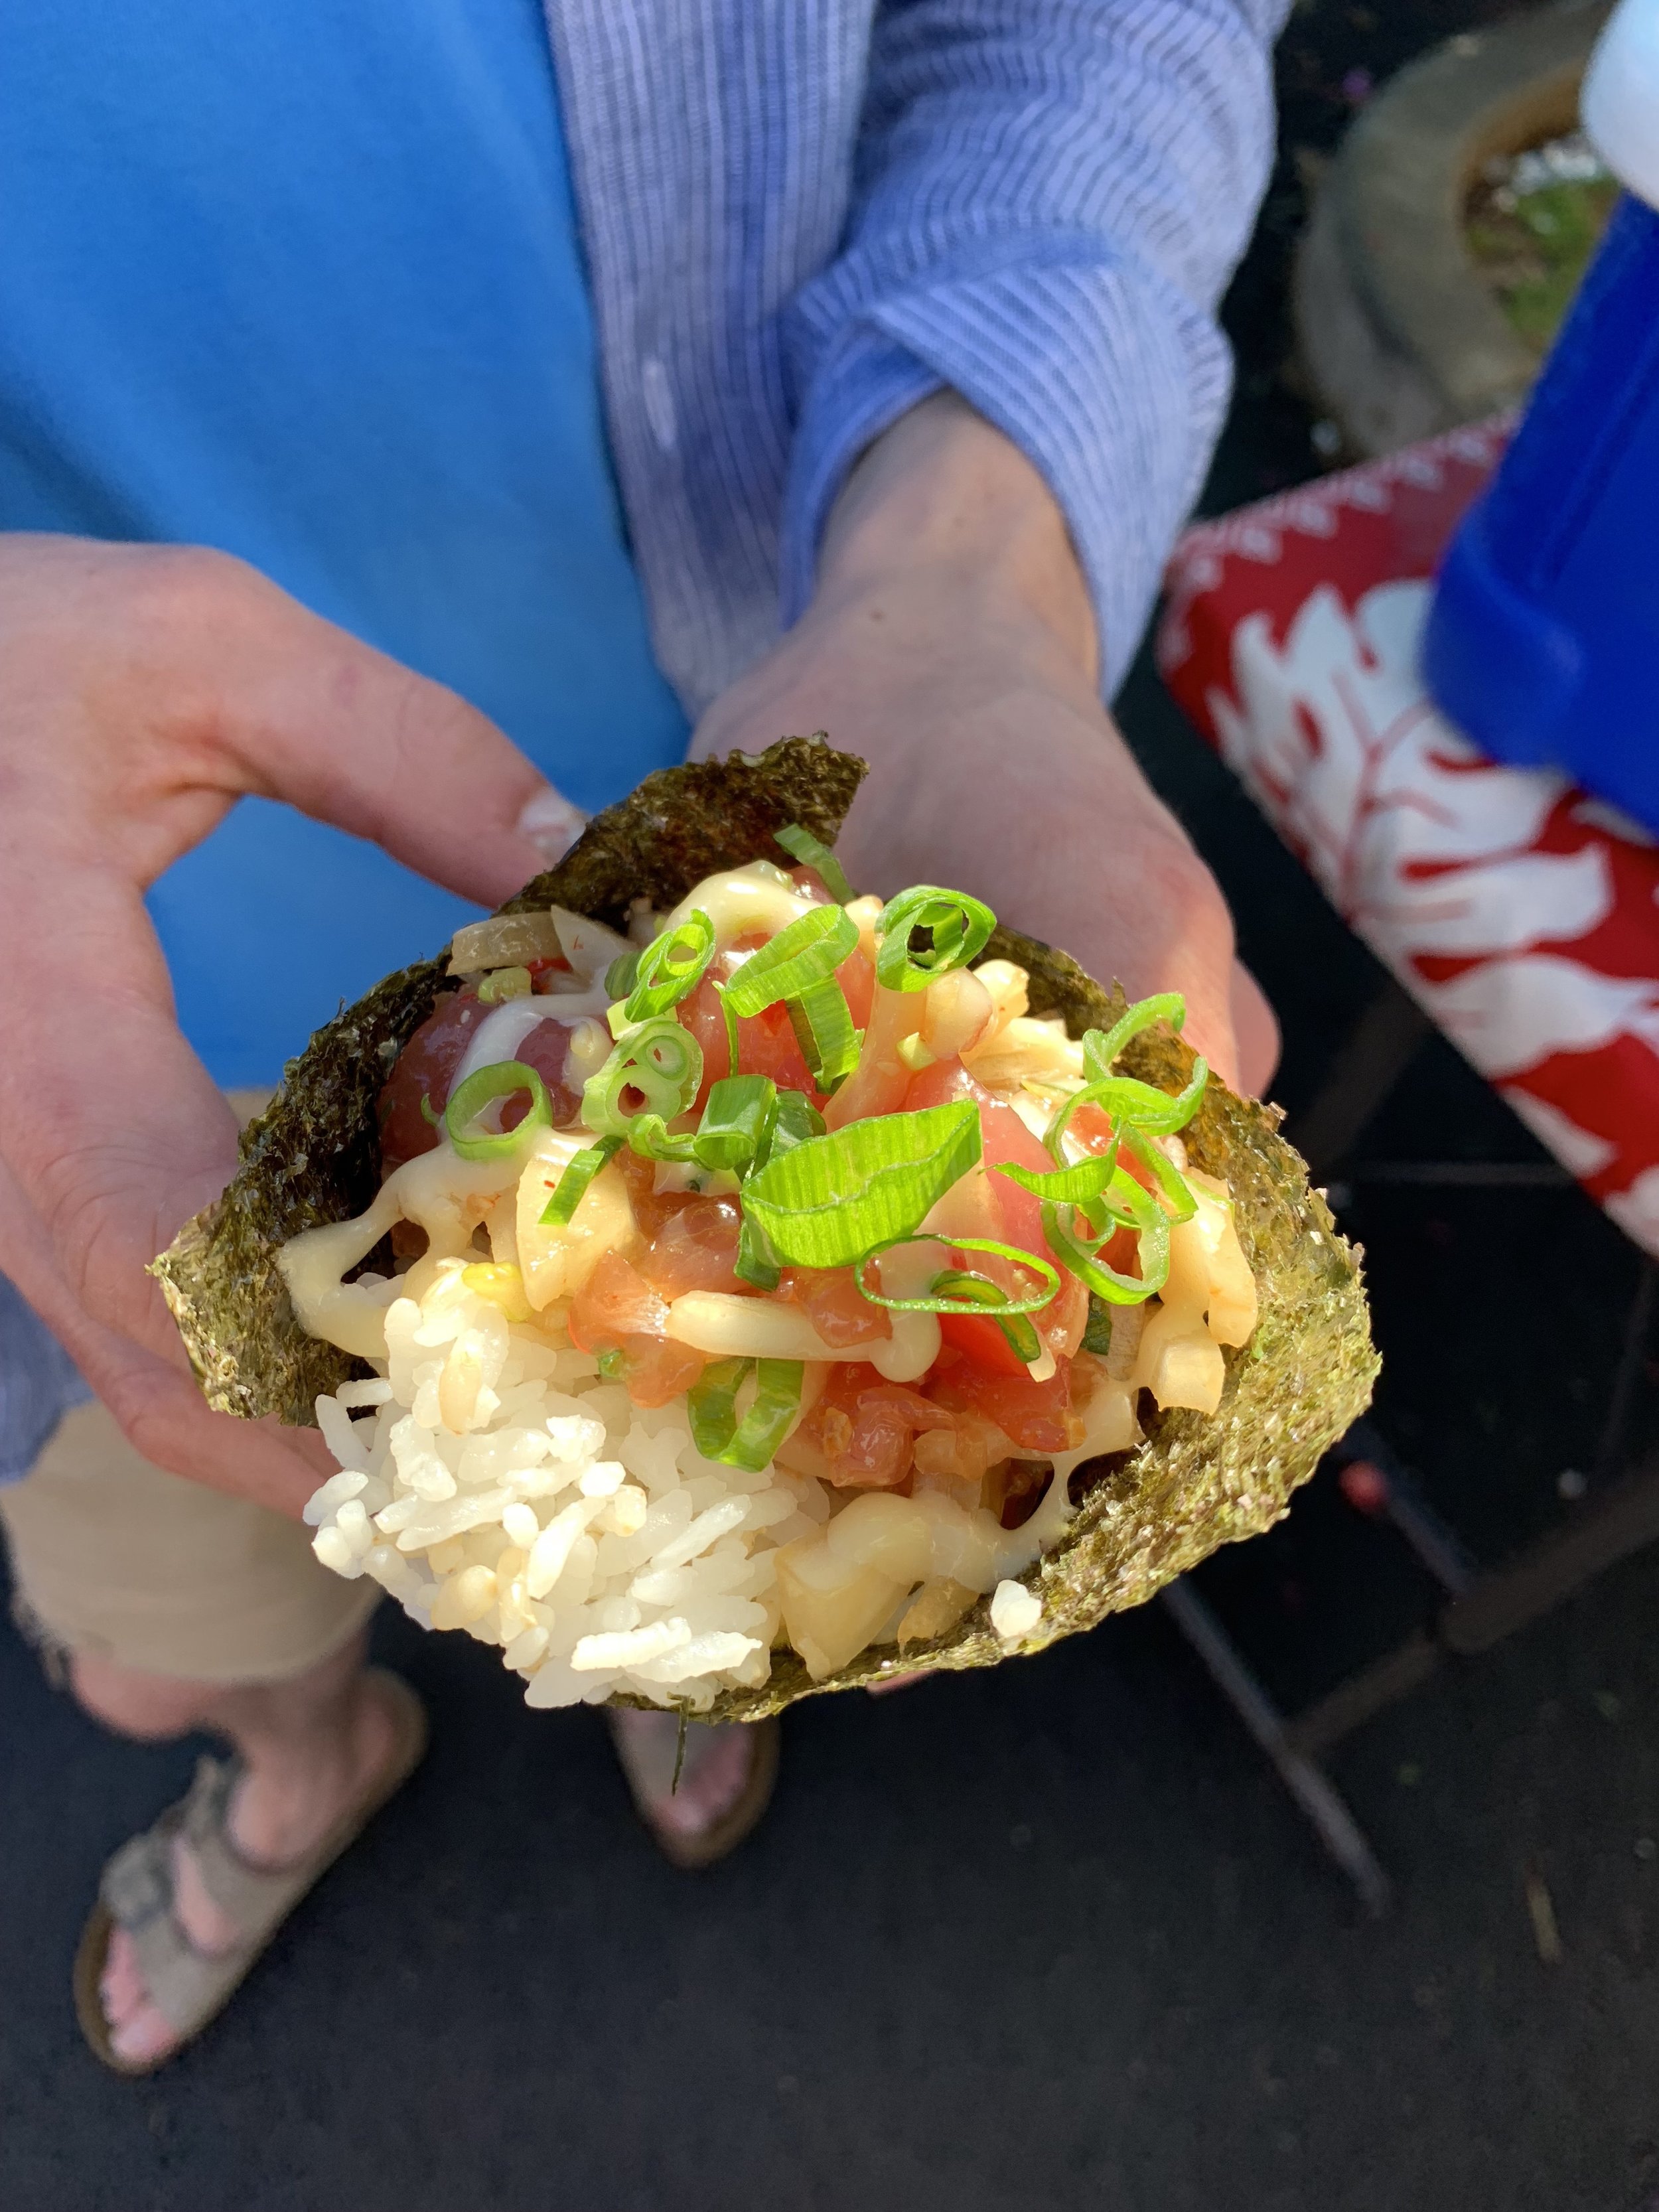
Maui Cones at the Upcountry Farmers Market: This is Alana’s friend Kammy’s sushi and mochiko chicken cone stand and it is soo tasty. And the whole Upcountry Farmers Market is great! I got a super cute ube whale oreo. 

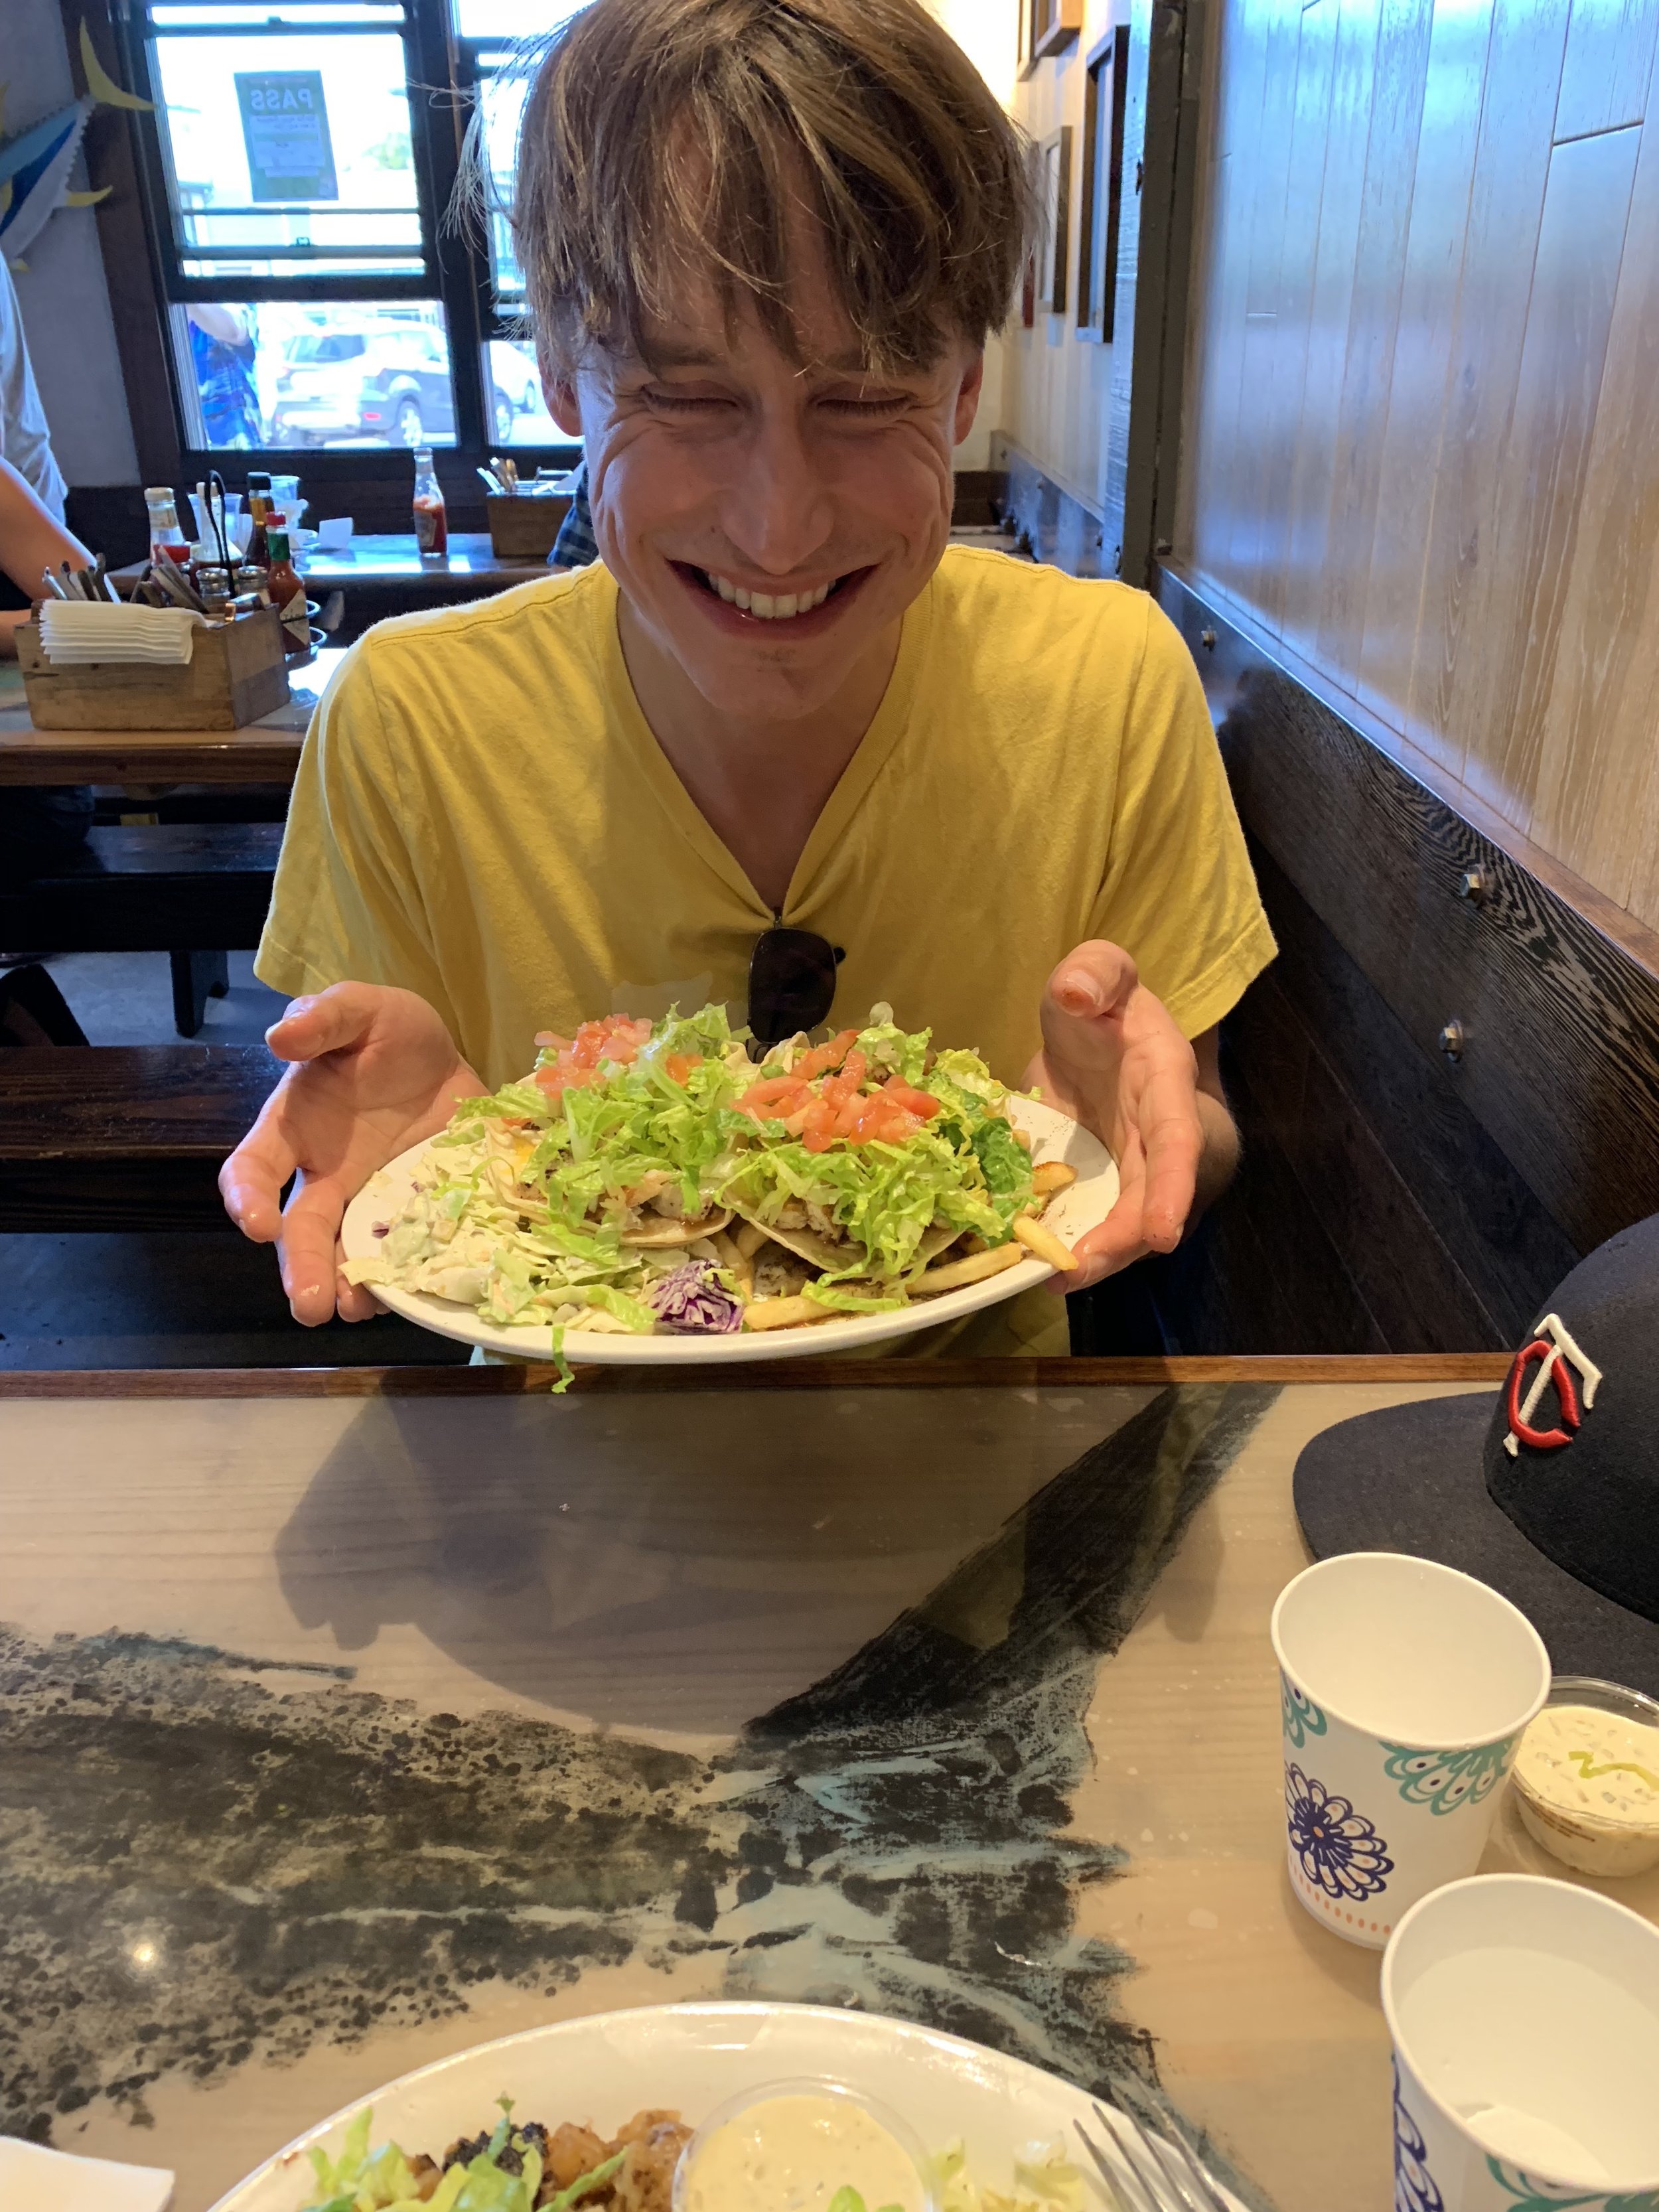
Paia Fish Market: I just wanted more stomach space here so that I could squeeze in another fish taco. 

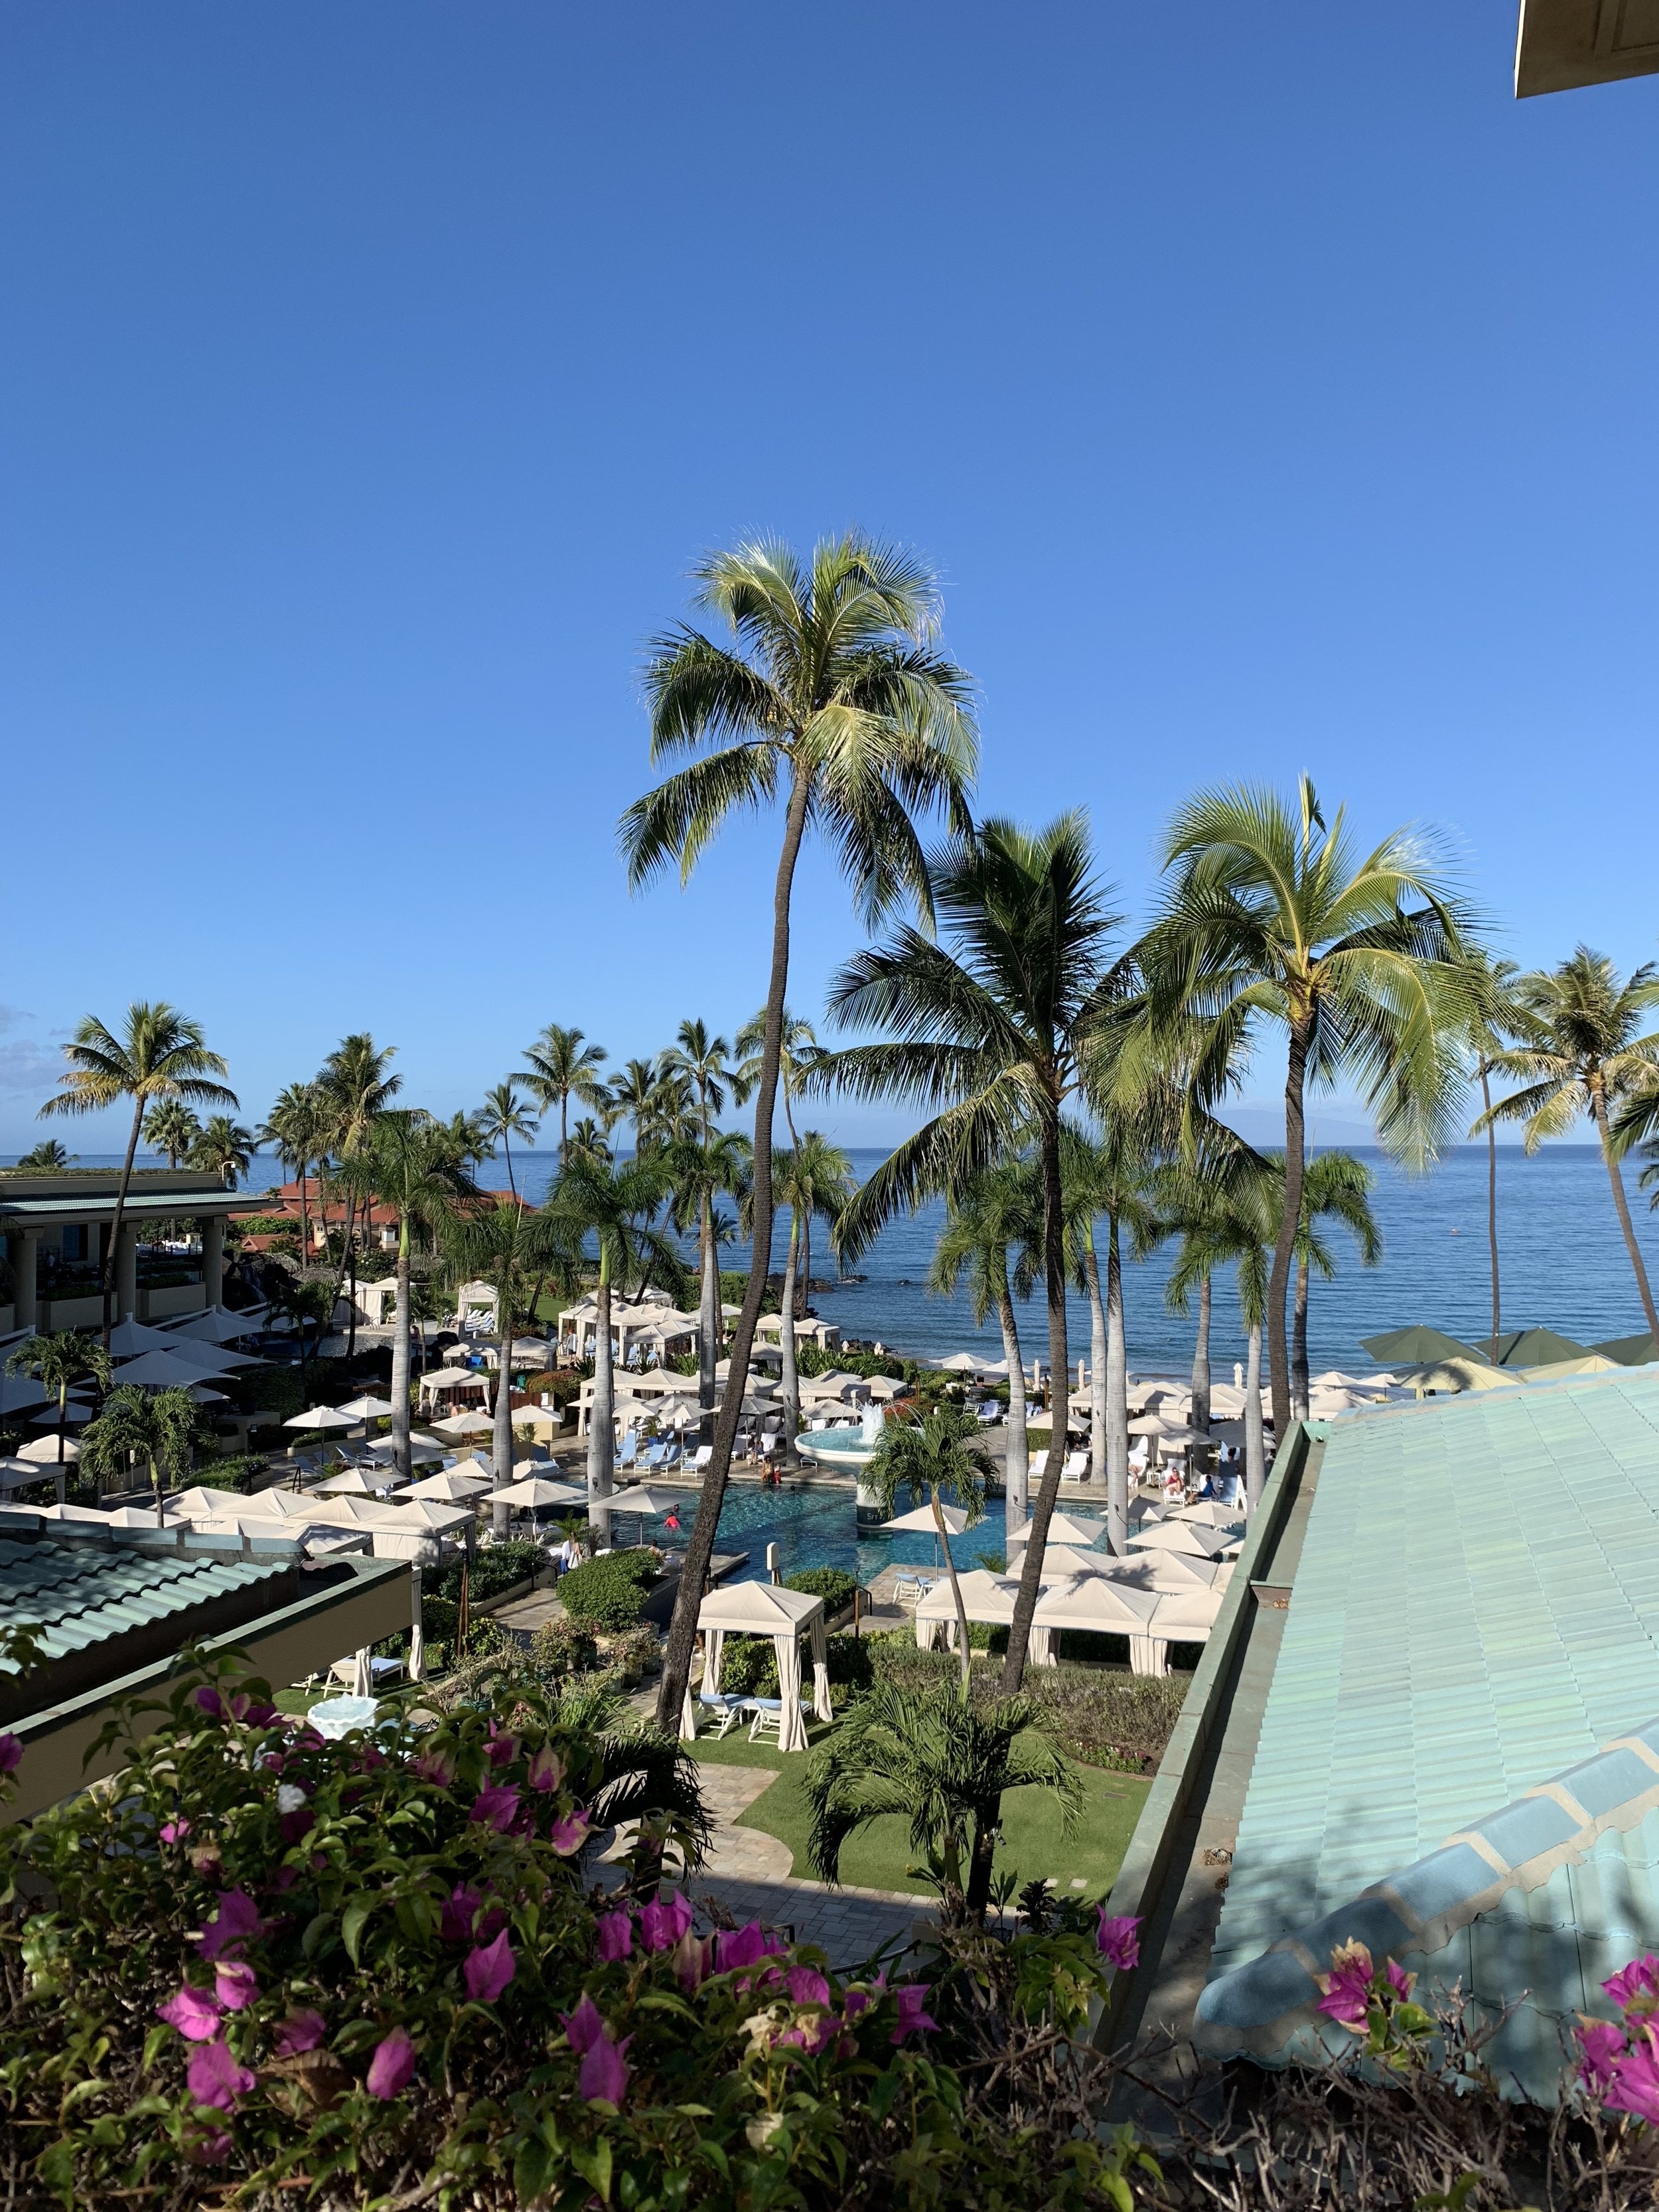
Four Seasons and Ritz: We split our time between these two hotels and they were both great!!

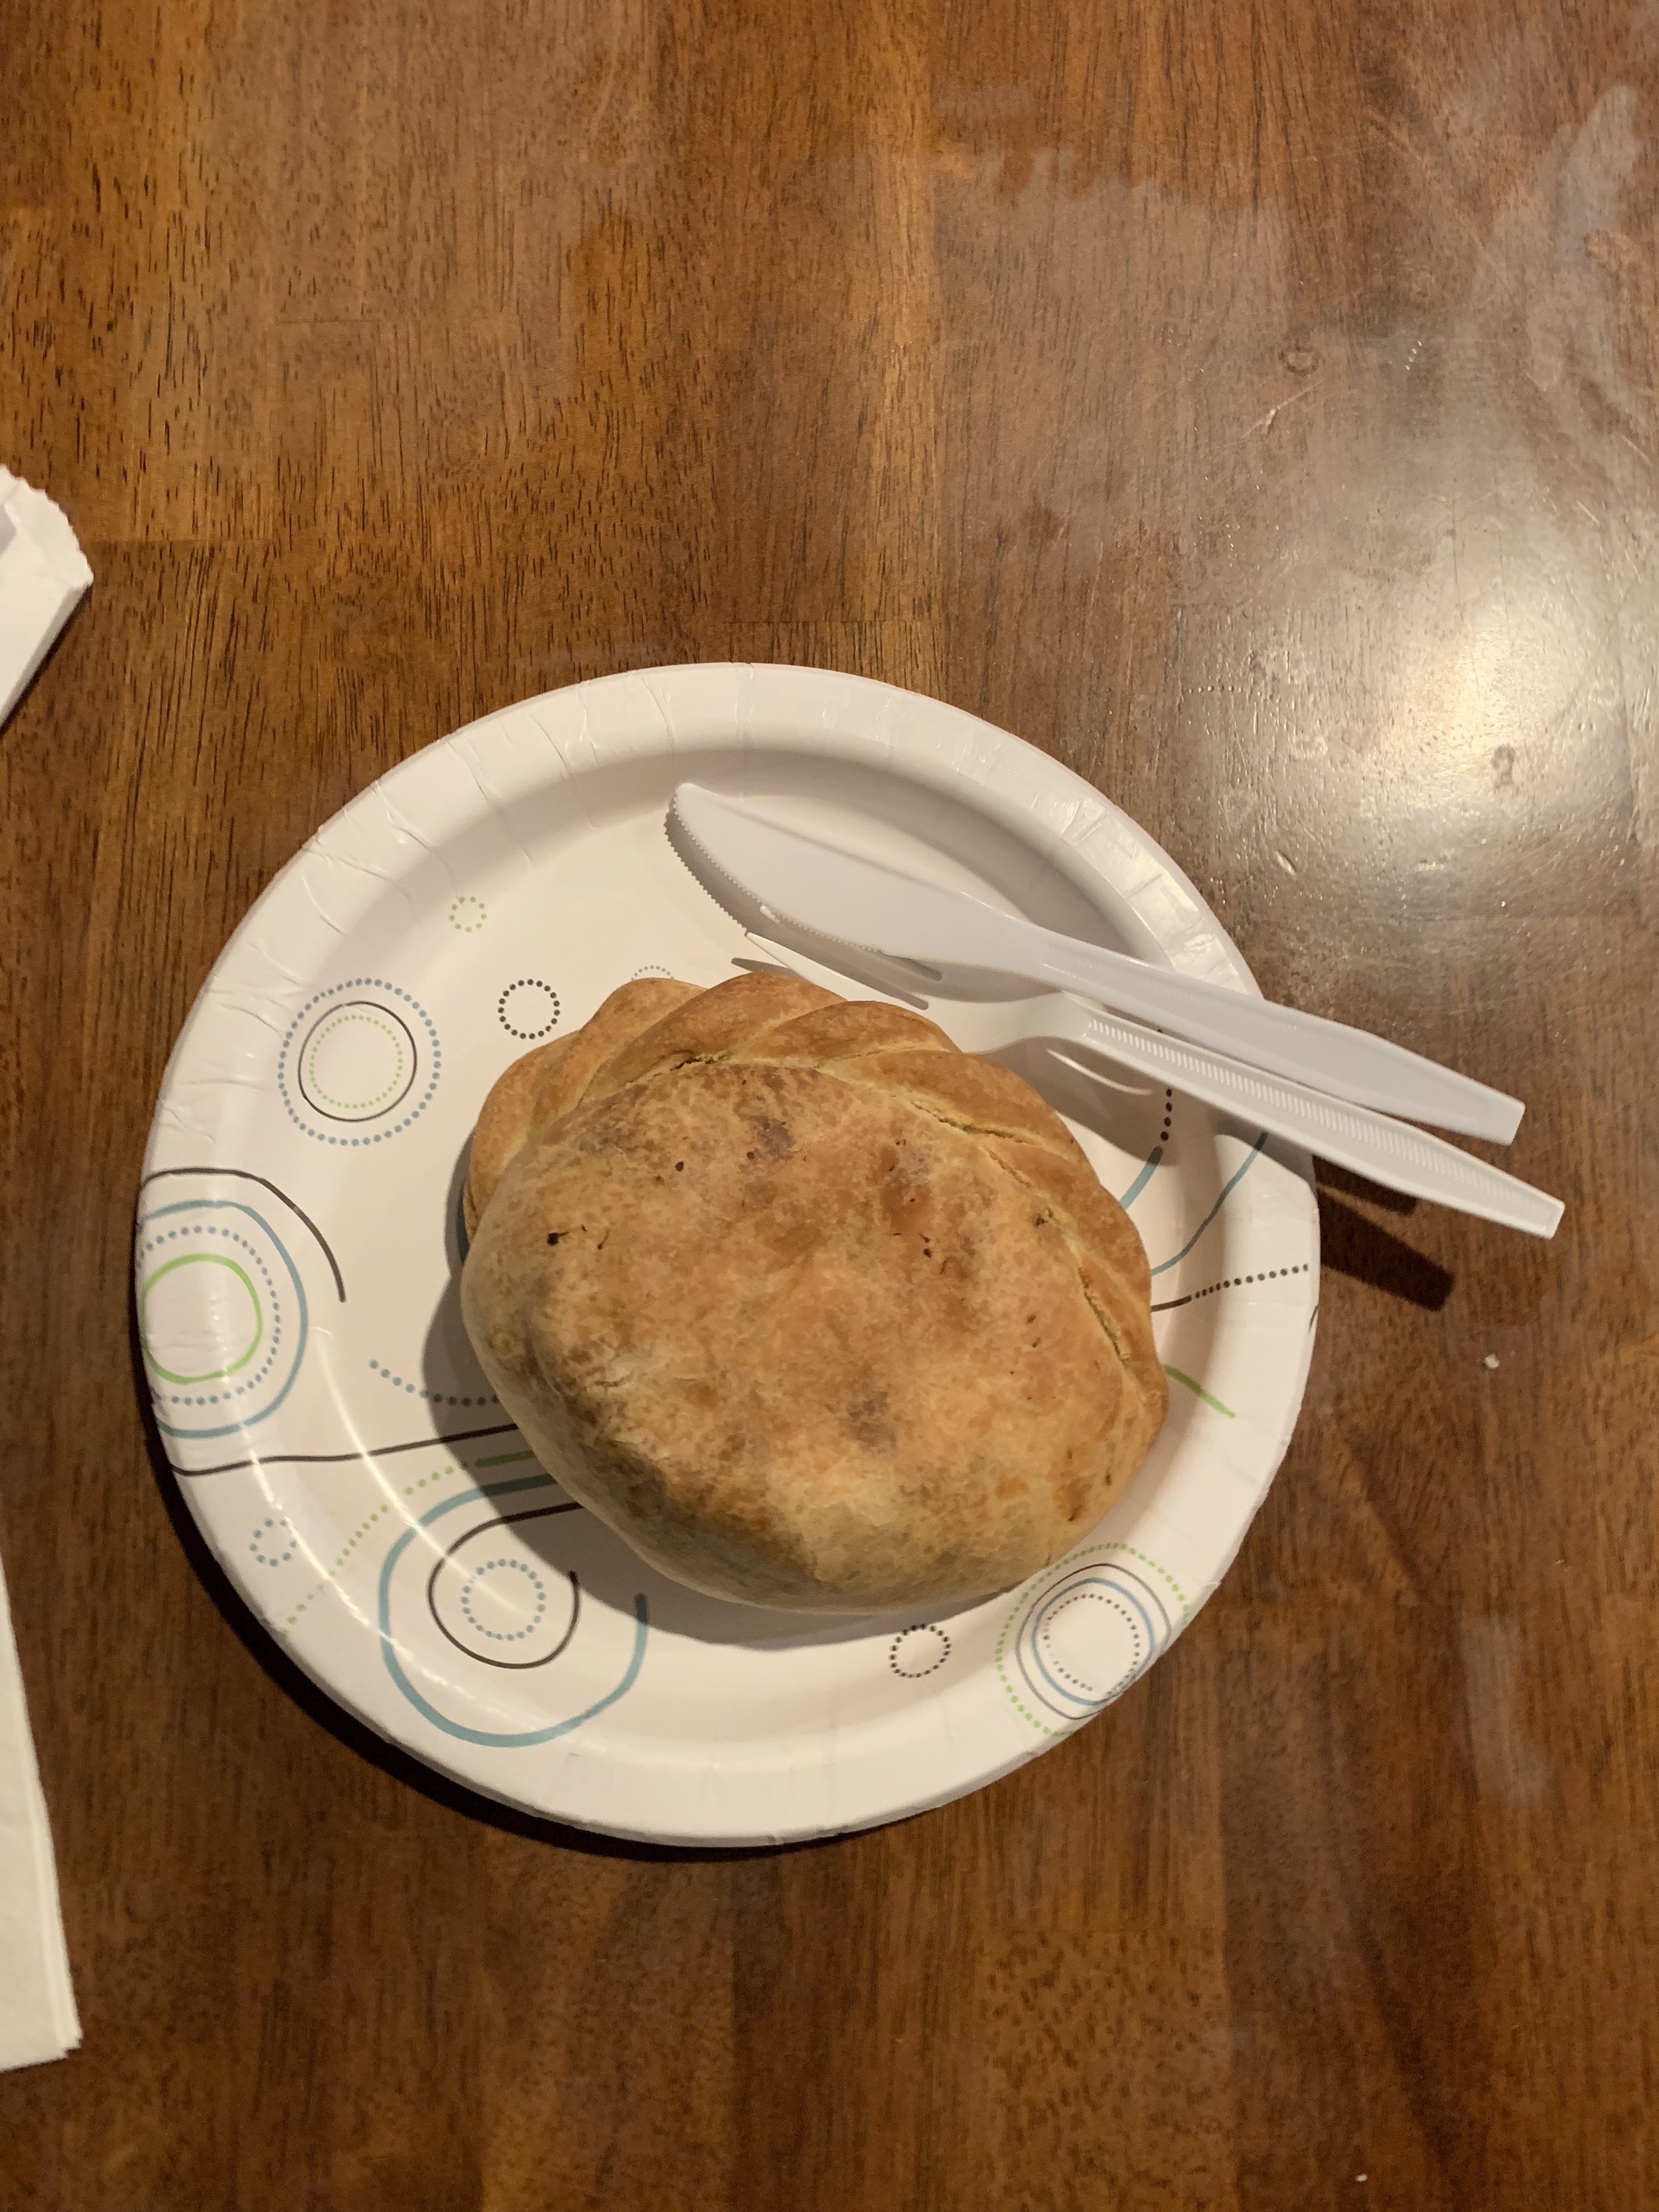
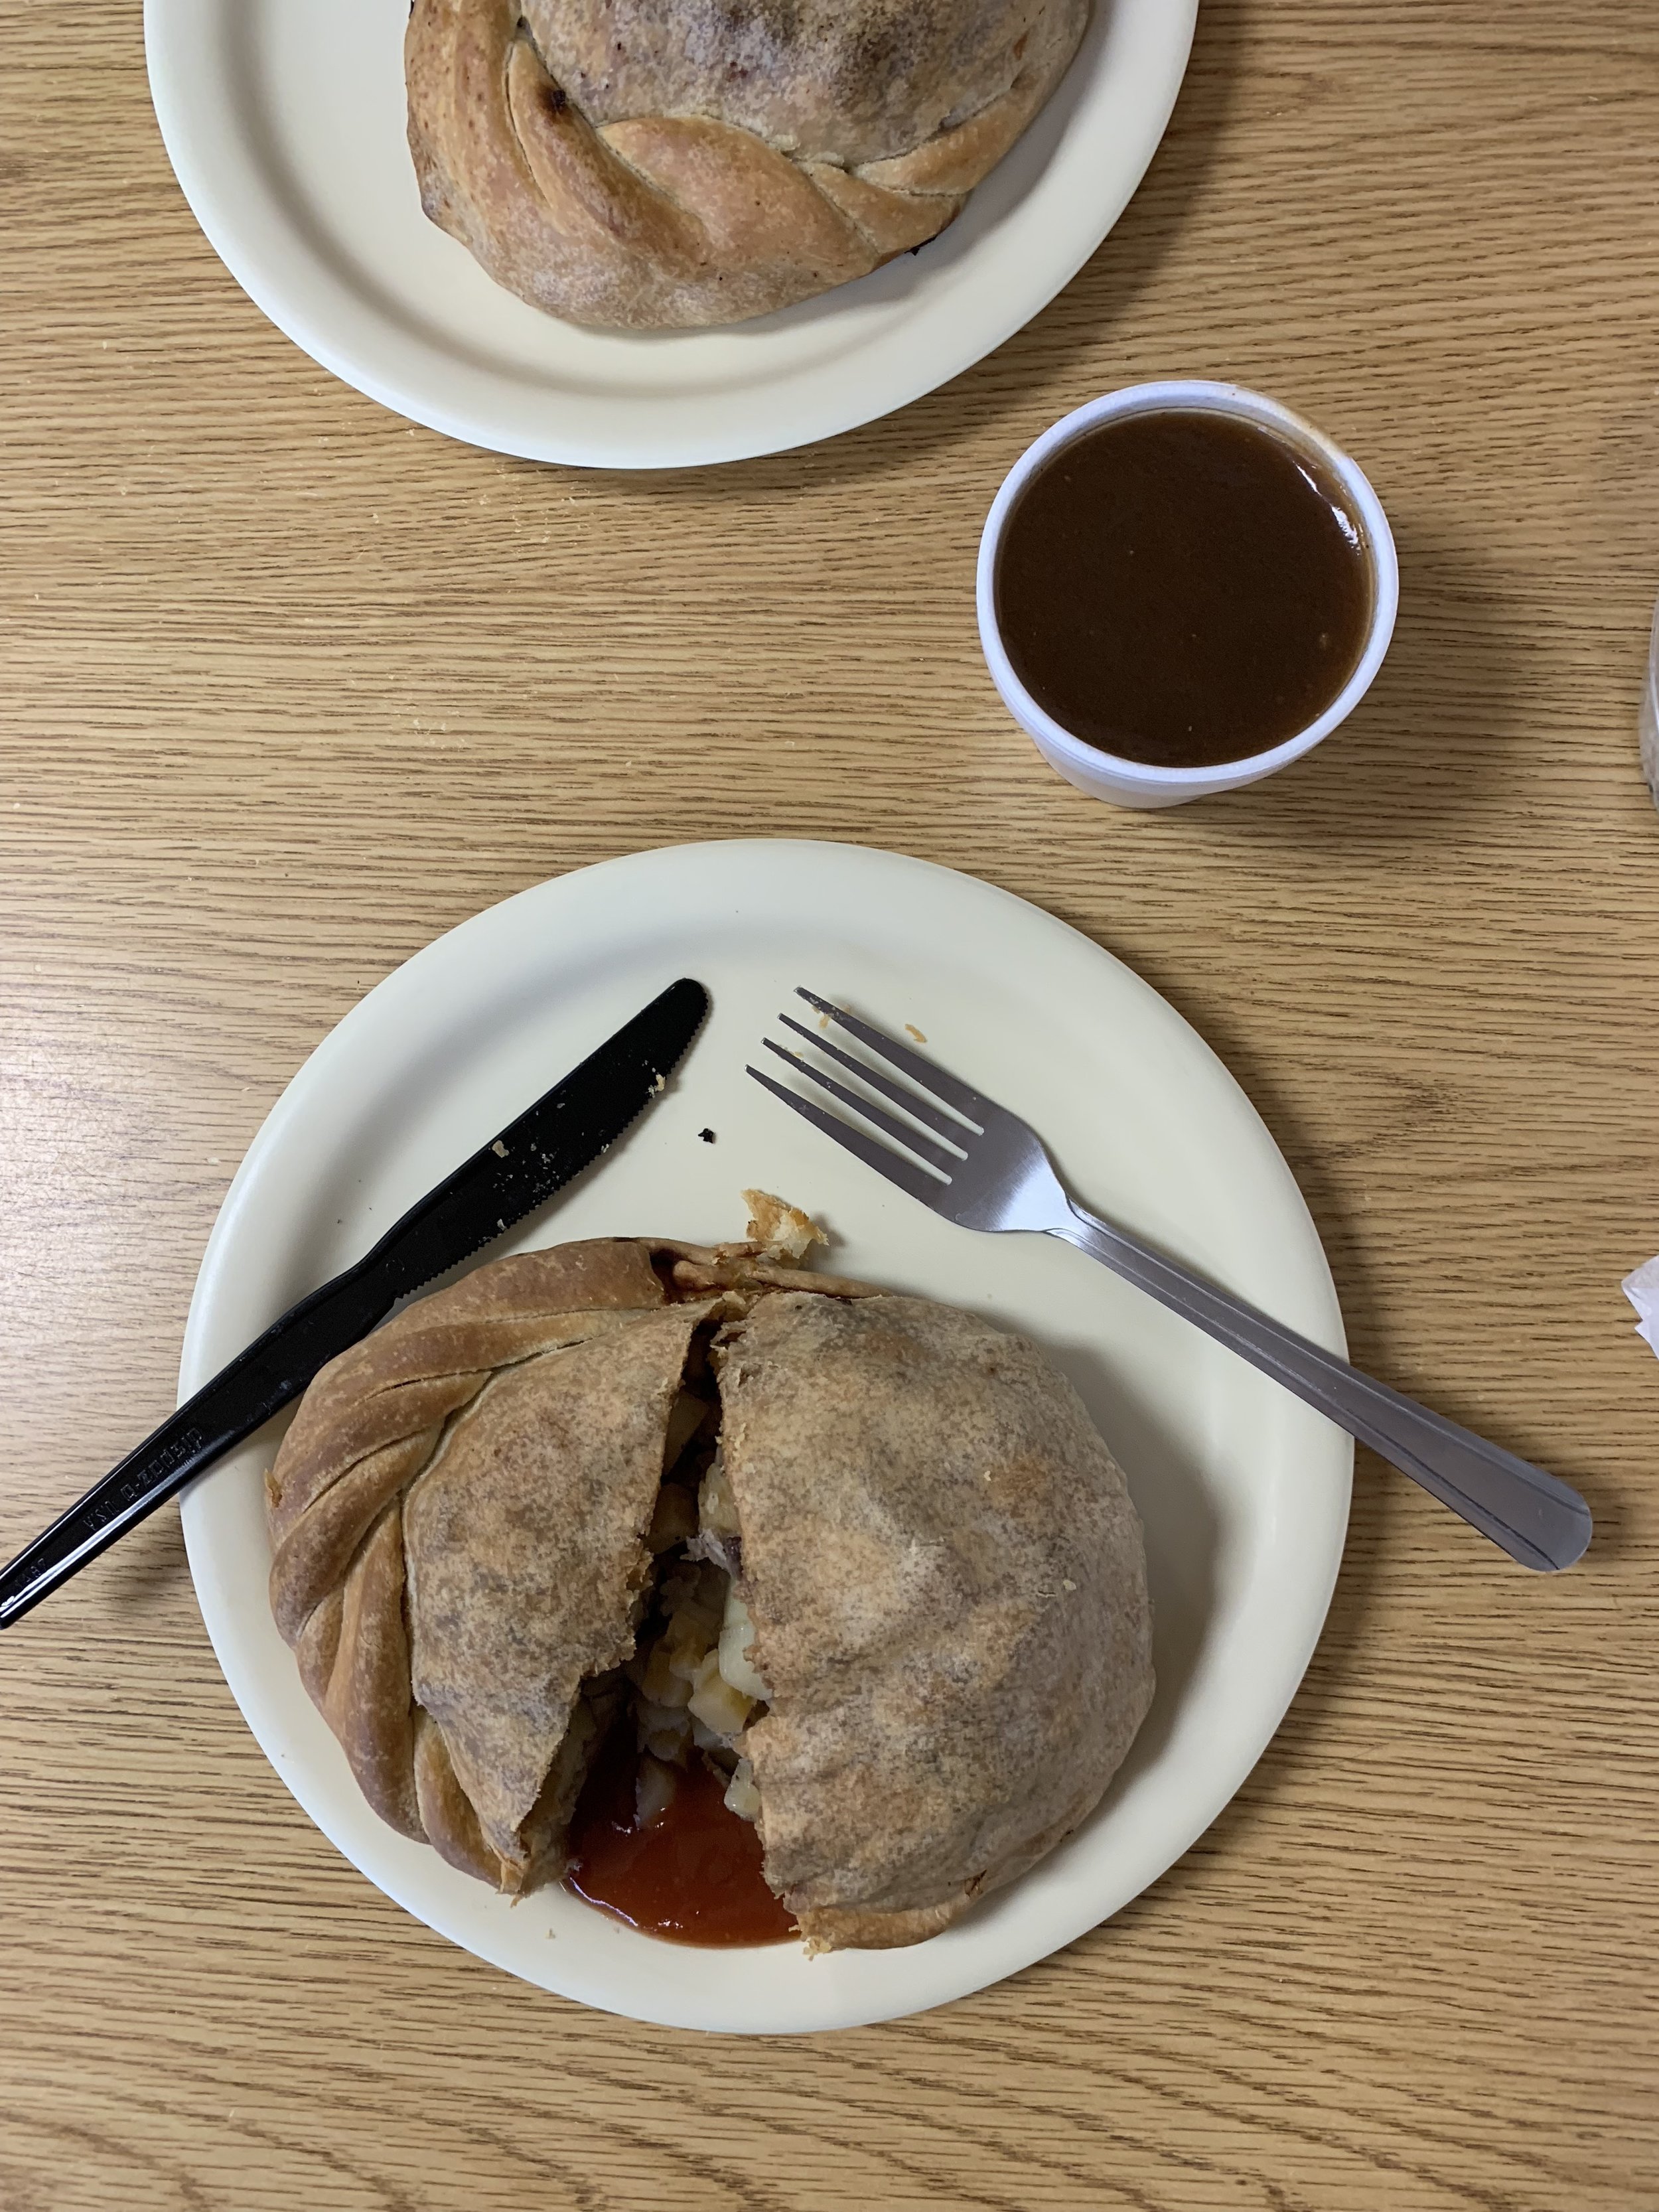
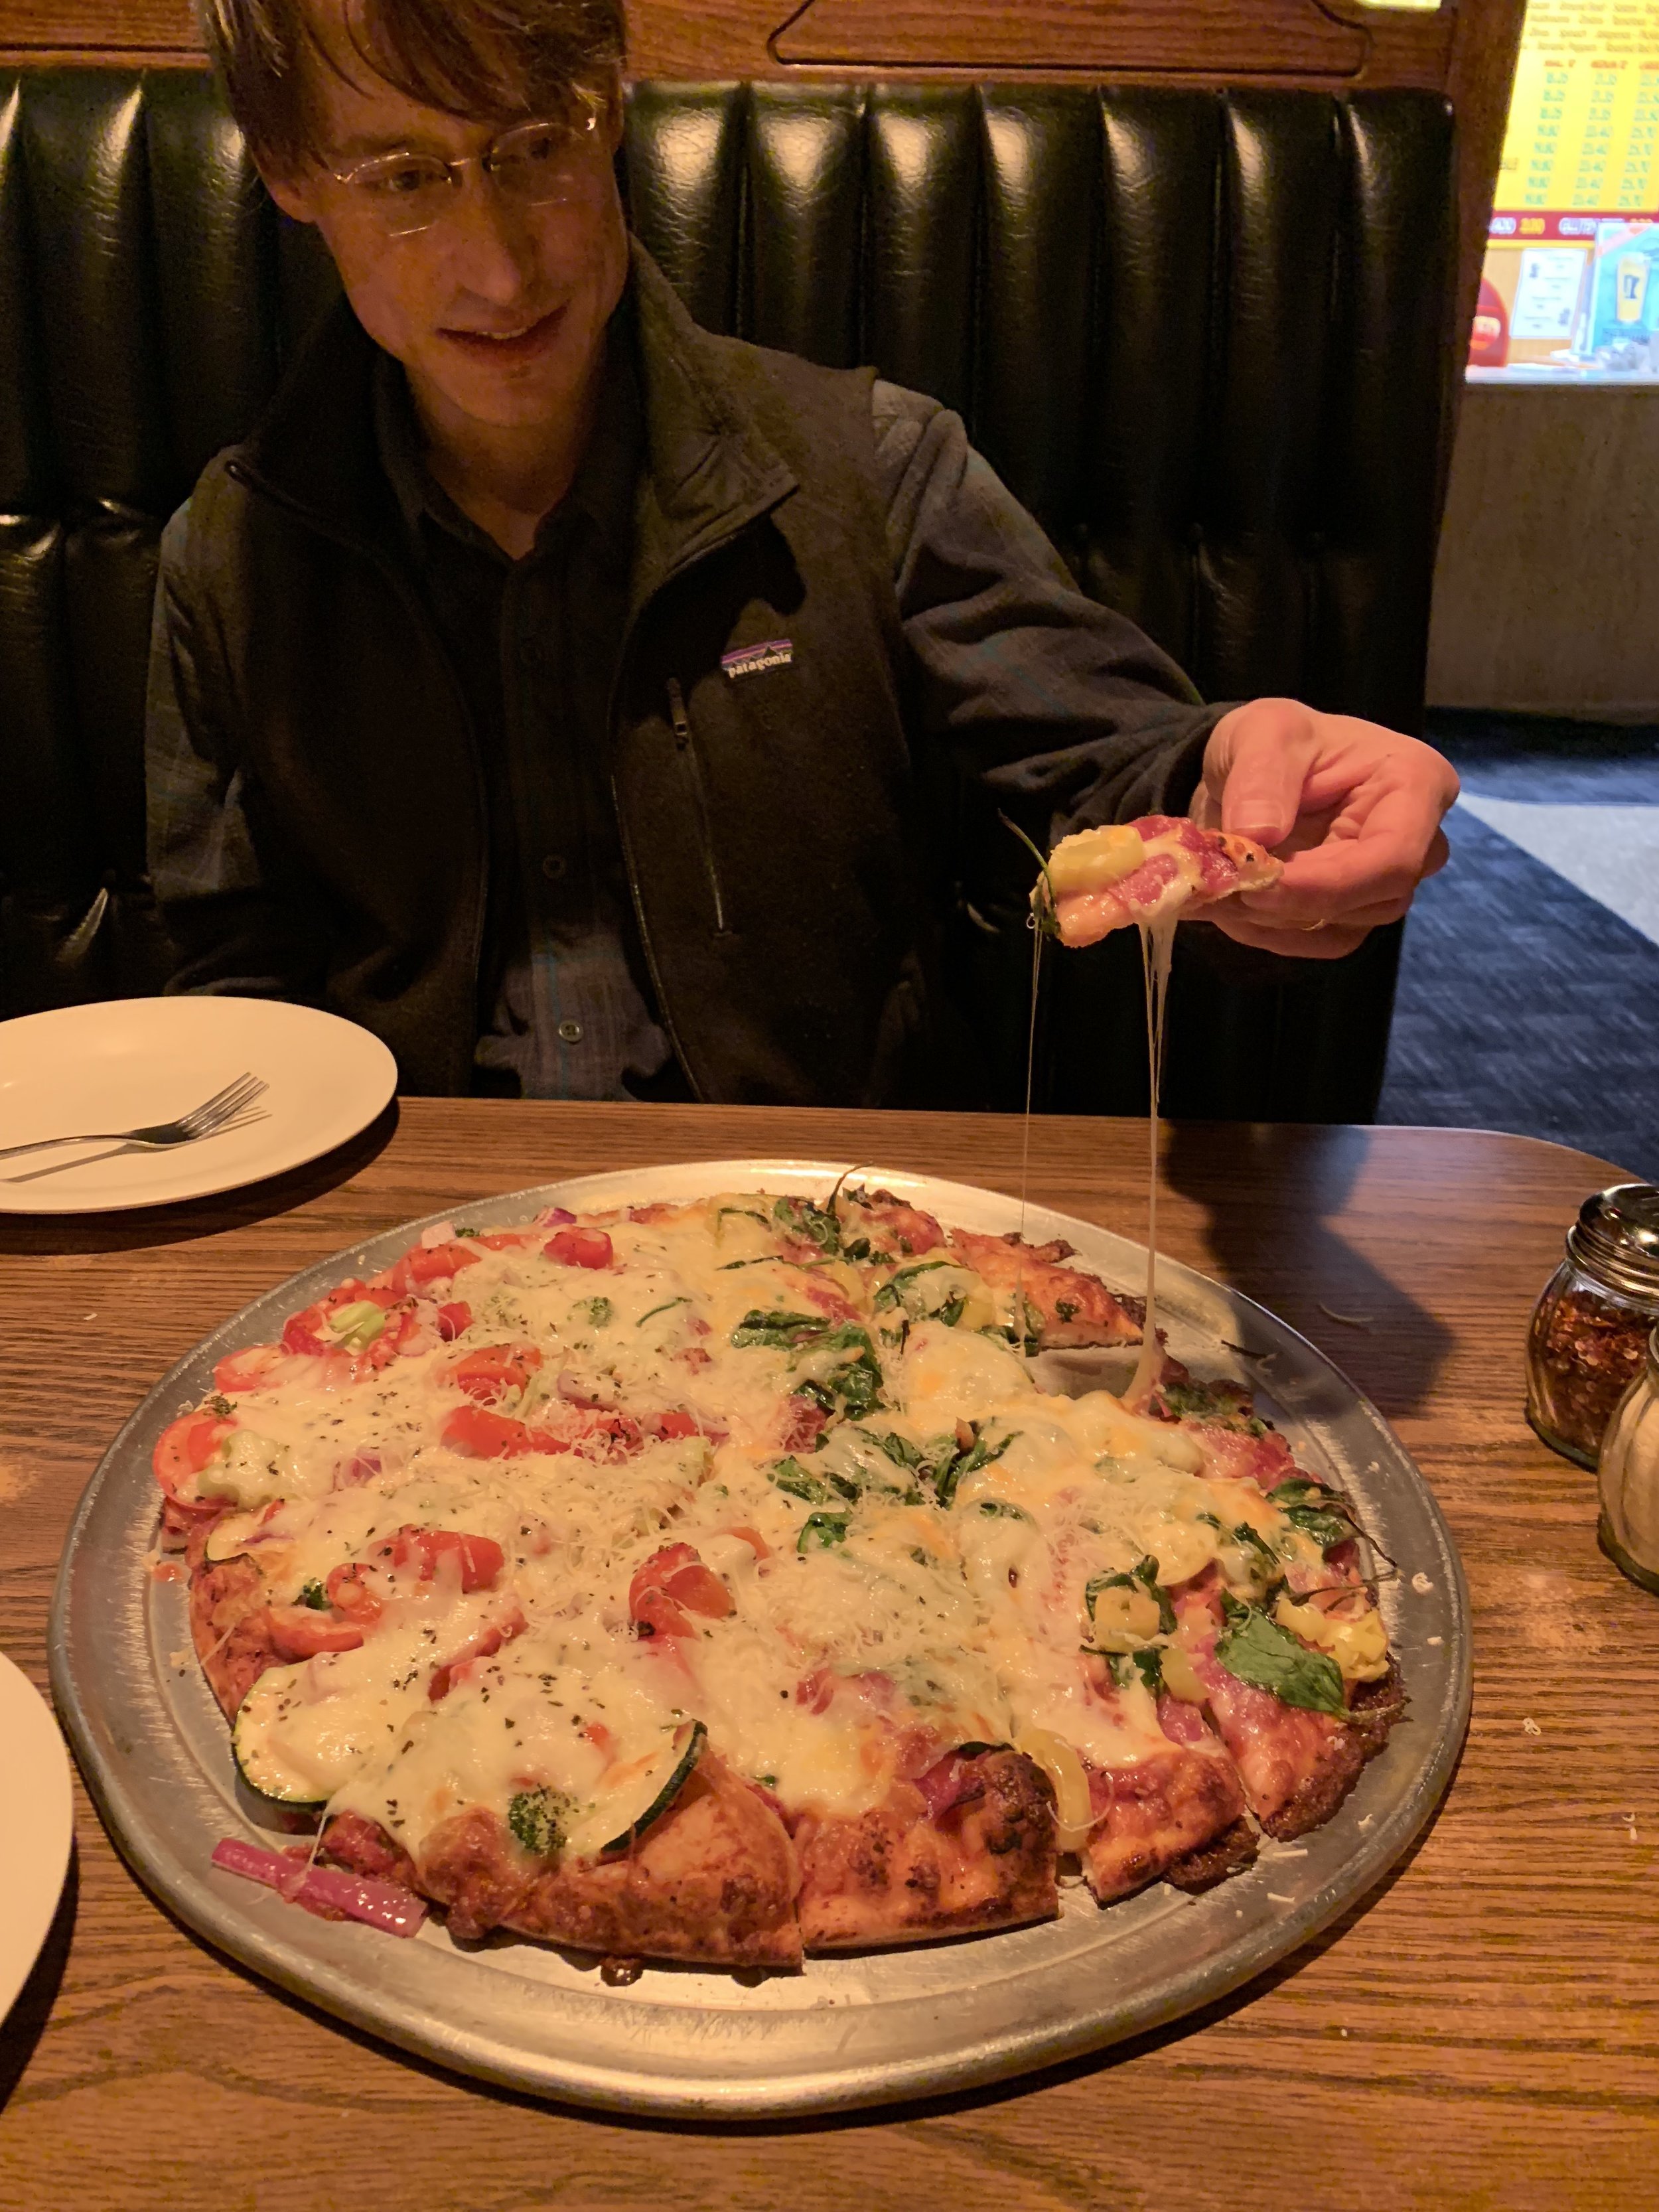
In celebration of all things Hawaii (and in advance of the upcoming Chinese New Year), I’m sharing the barbecue pork bun recipe from Alana’s forthcoming cookbook, Aloha Kitchen!!! This is a book that you need, and that the world needs, because too many people (including myself until I became friends with Alana) have this impression that Hawaiian food is pineapple and ham. On a pizza. I mean, I love pineapple and ham on a pizza, but if there is one single most important thing that Alana has taught me (other than how to use a straightener to curl my hair haha), it’s the real definition of food in Hawaii. It’s vibrant and dynamic and it wears its history on its shoulders, with displays of Portuguese, Chinese, Japanese, Filipino, Korean, Western, and native Hawaiian influences. I was surprised to see how meat-centric the food of Hawaii is, but it makes sense when you consider the influences, and between the mochiko chicken and spam musubi recipes, I am so into it. I’m also extremely excited about the recipes for the kinds of fun snacks that make browsing in Hawaii grocery stores so fun, like li hing gummy bears and hurricane popcorn. 

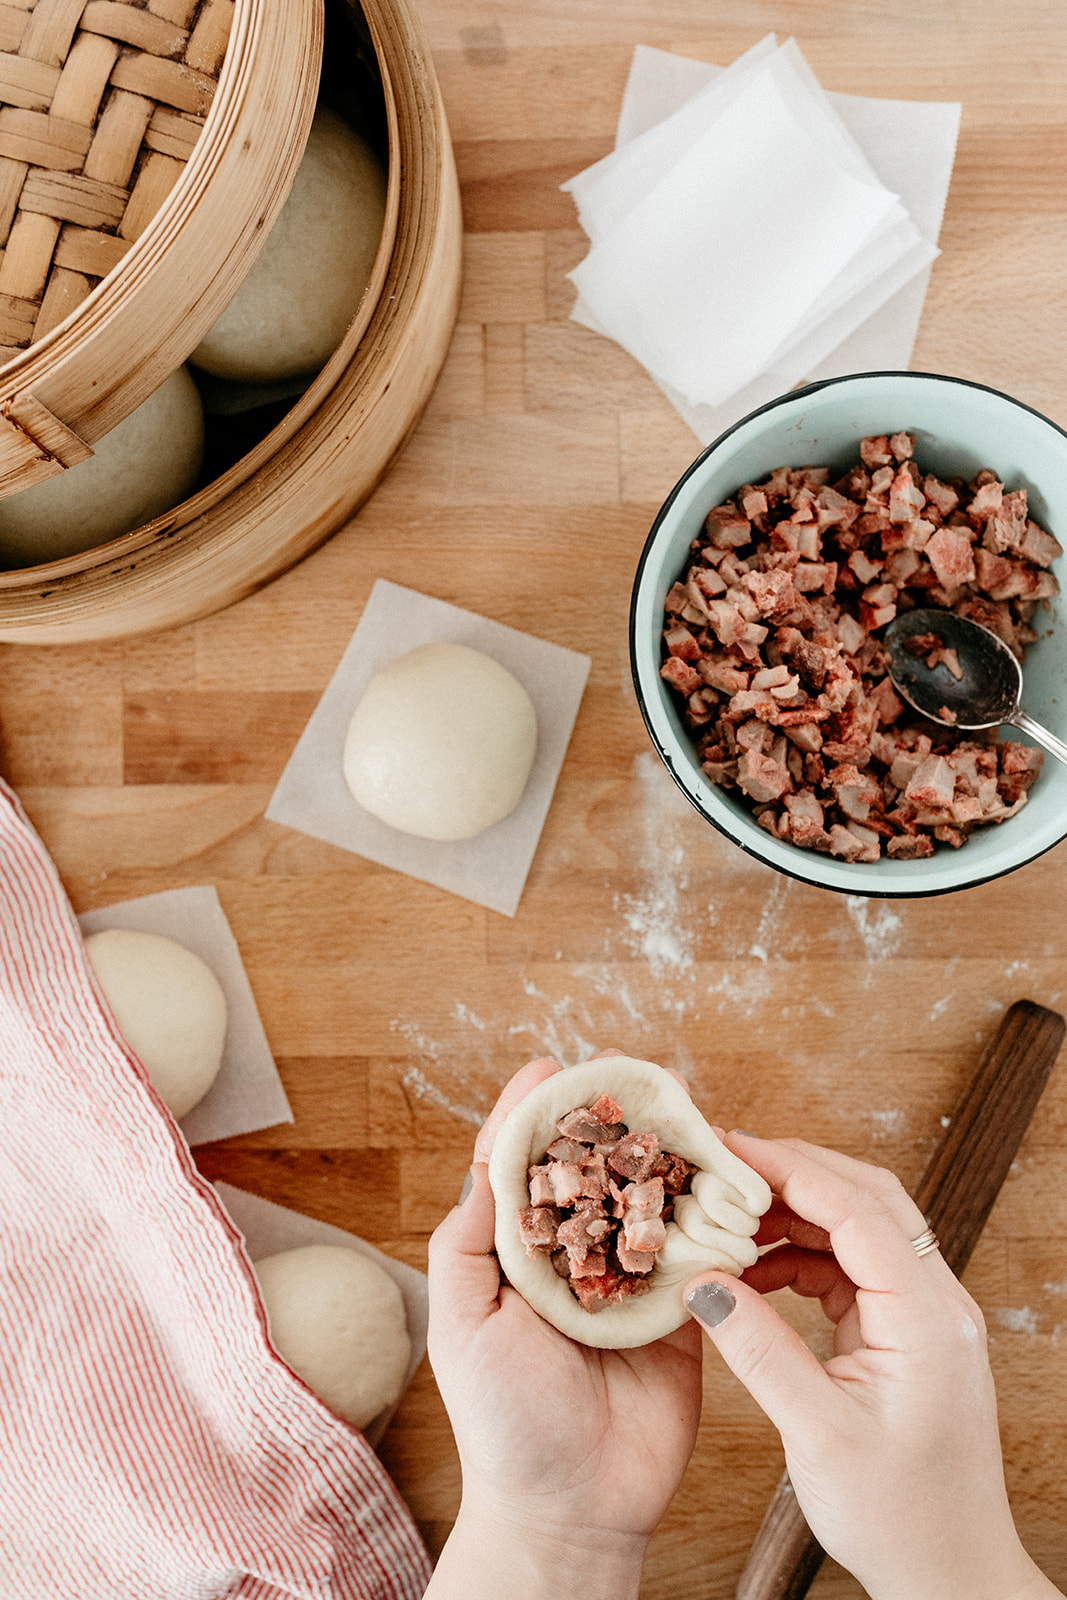
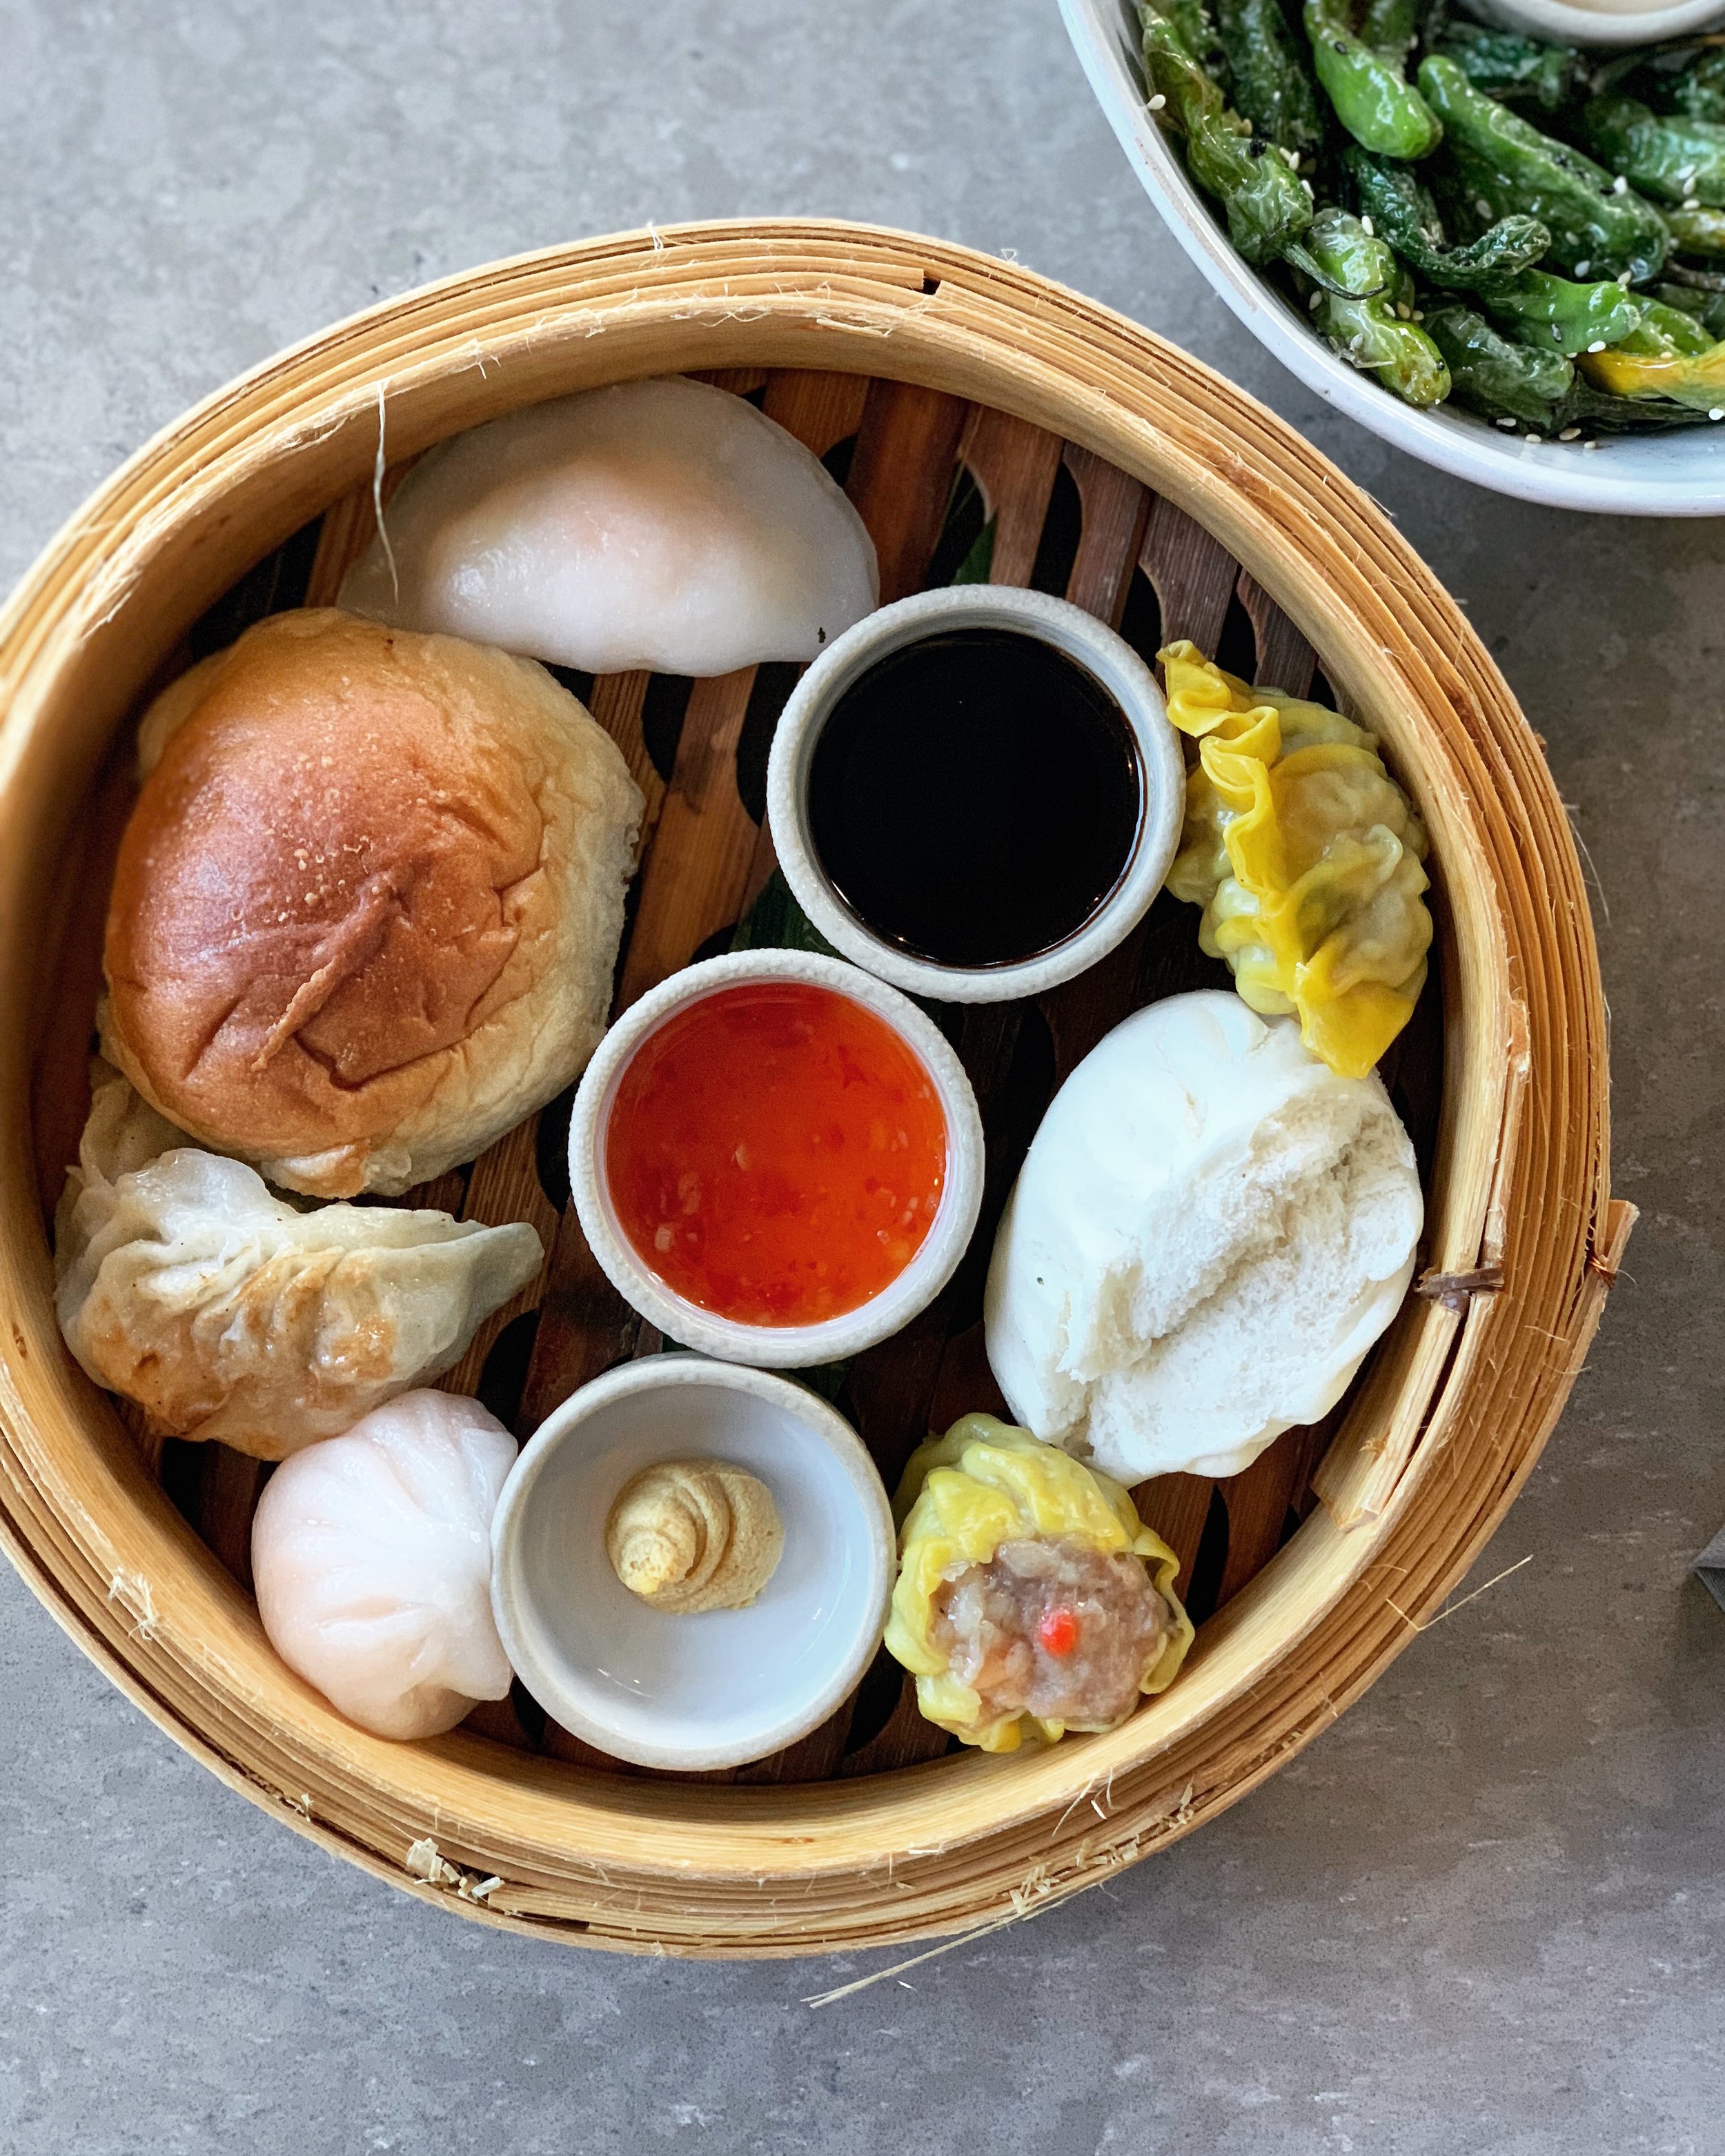
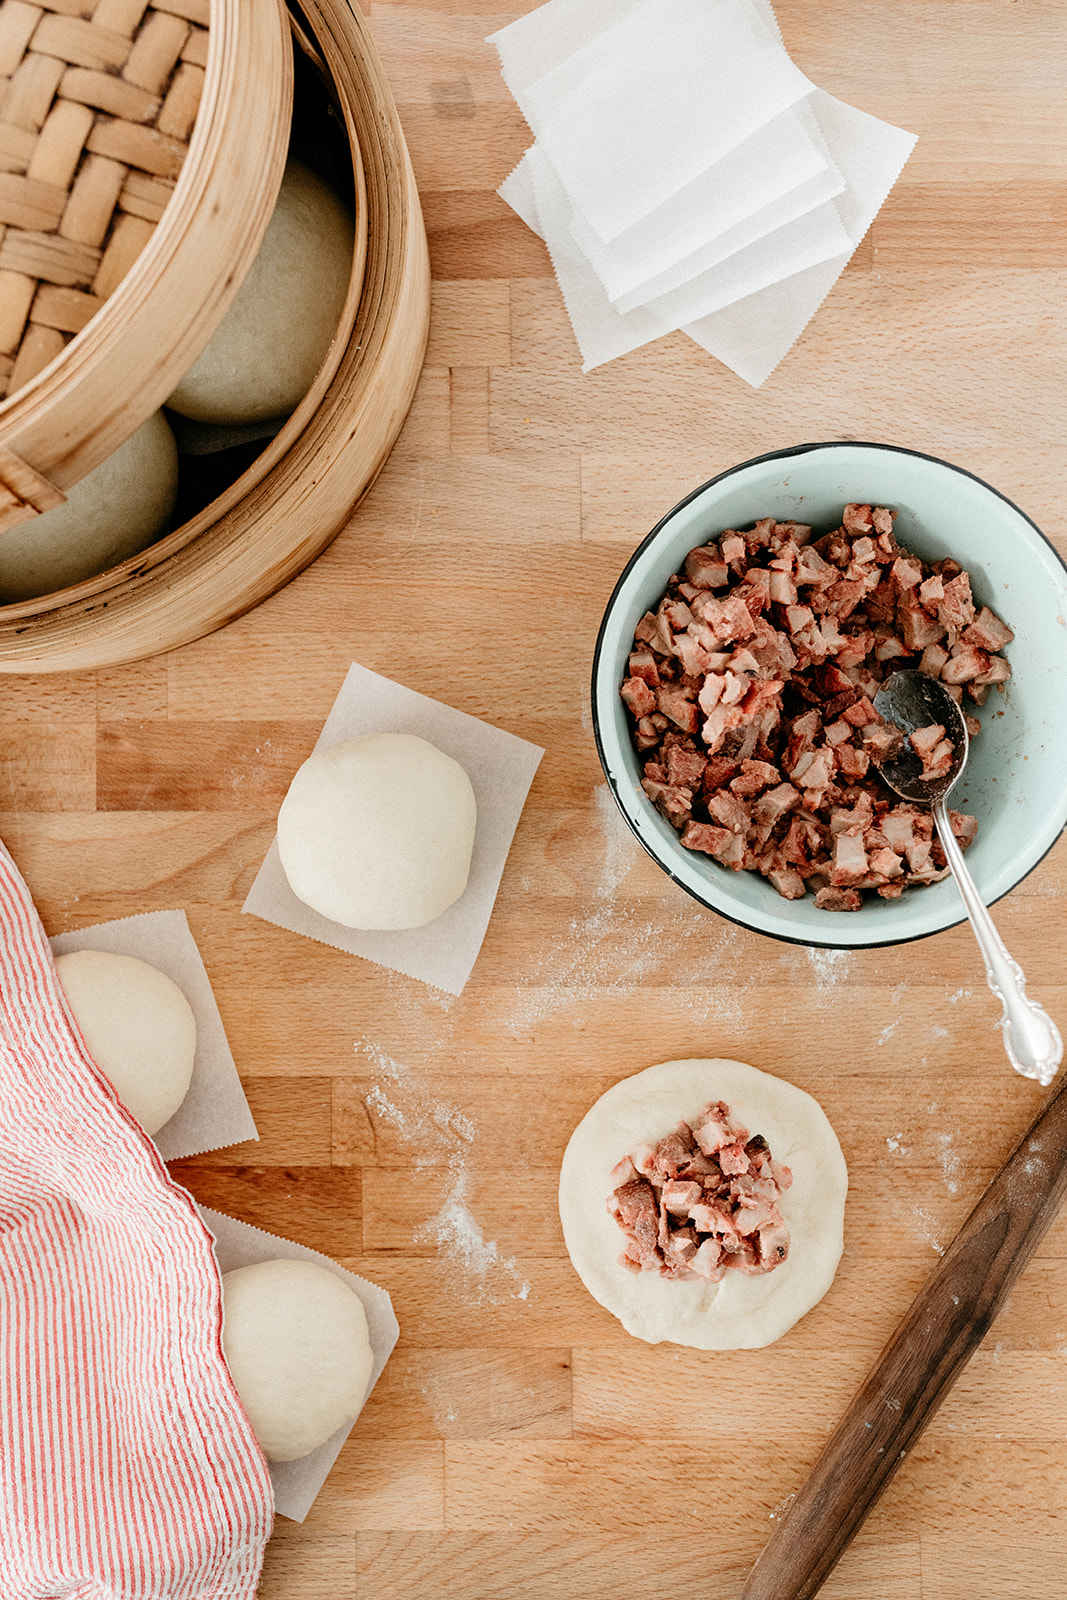
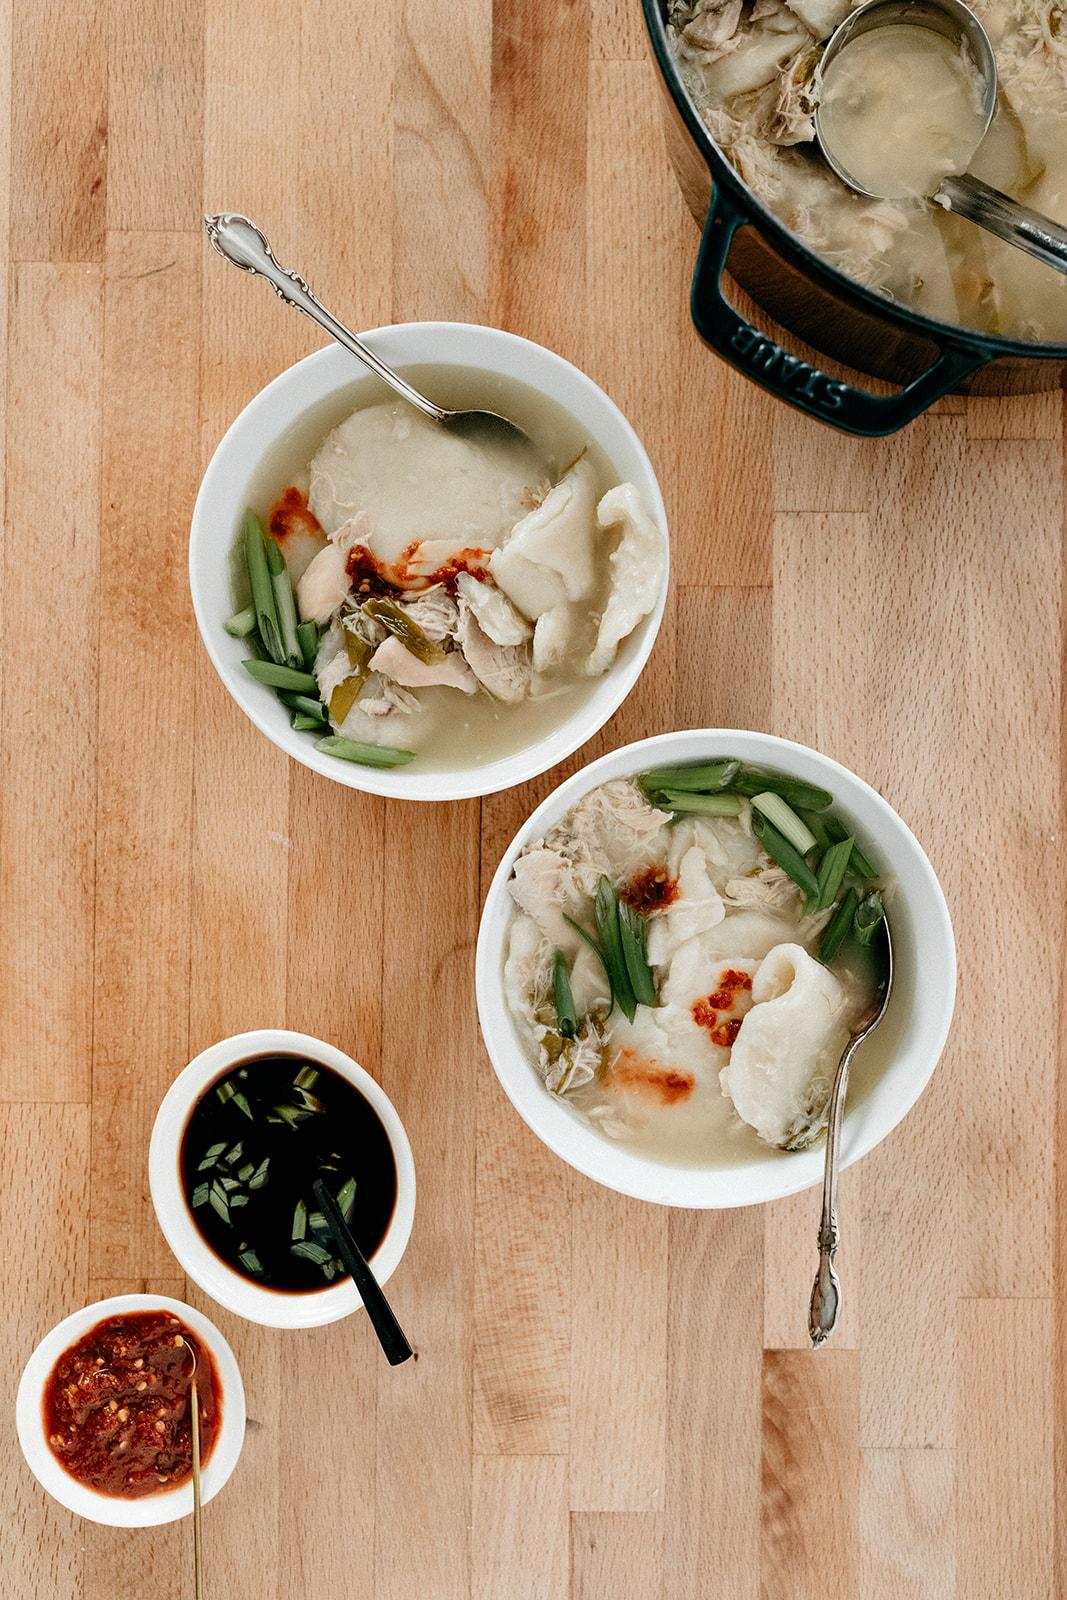
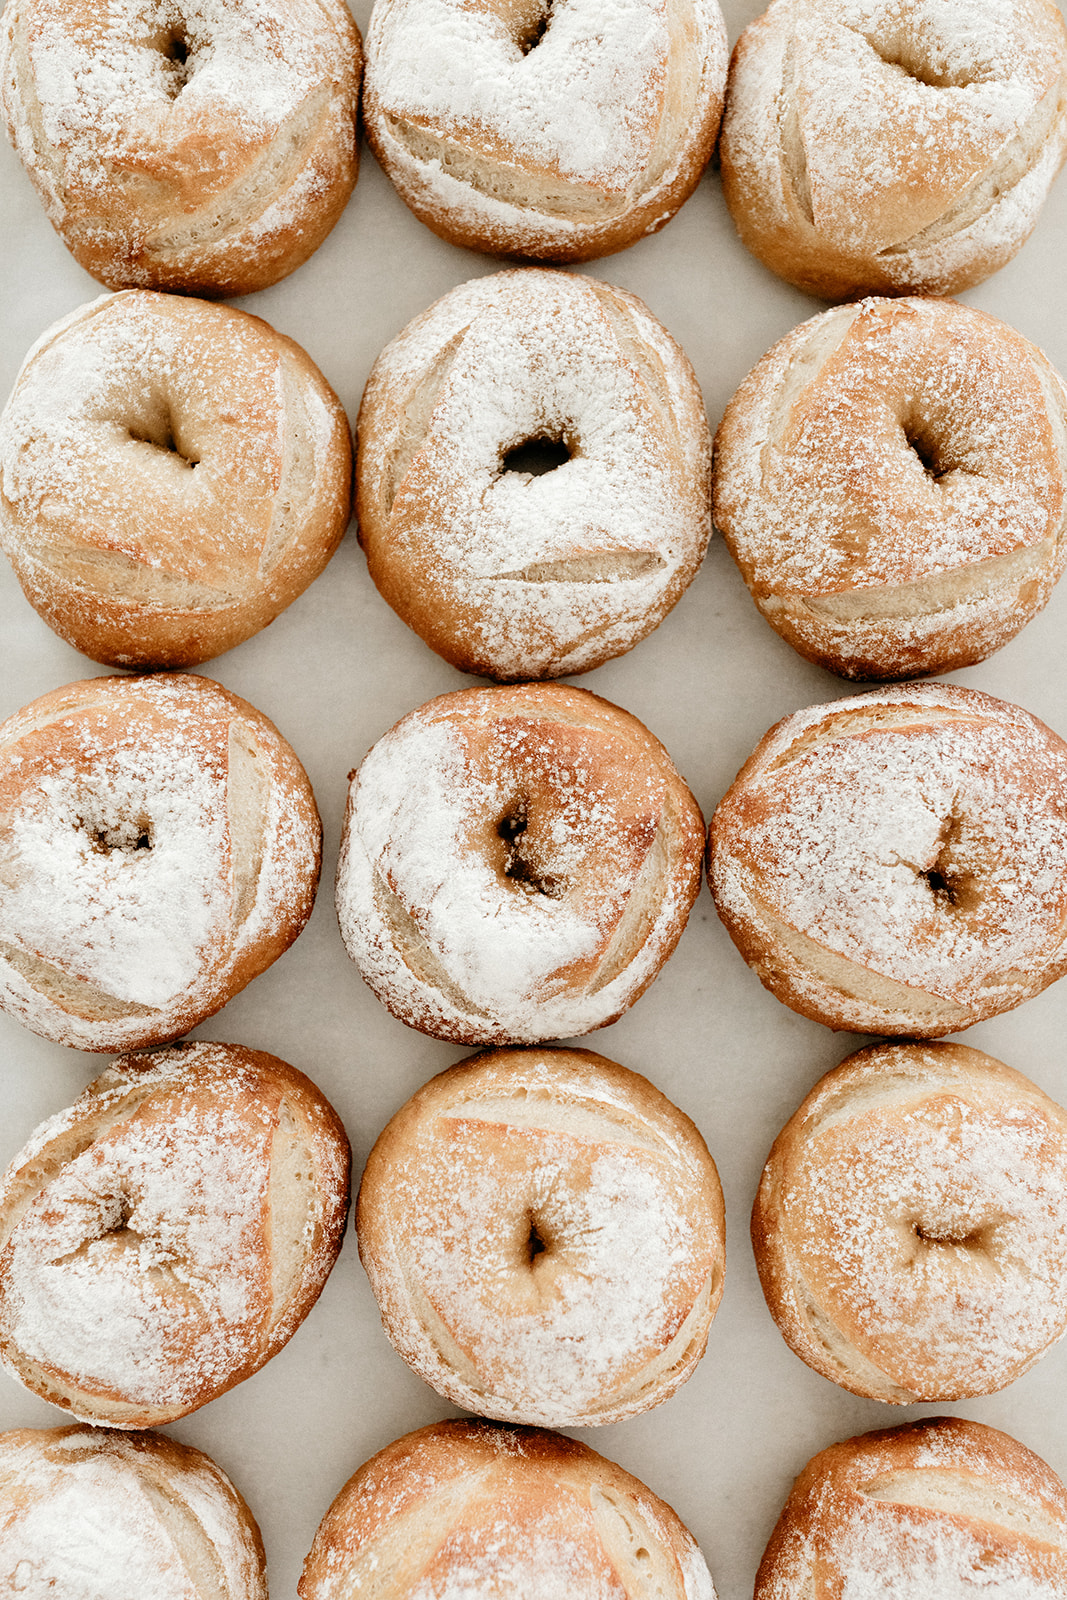
But of course the first thing I had to make from Aloha Kitchen were these barbecue pork buns, or manapua, which is a Hawaiian word that literally means “delicious pork thing.” This is Hawaii’s version of the Chinese classic, and I love that in Hawaii, you can get gigantic versions. It’s like eating a burger. I tasted tested these when Alana was testing them for her book, and they brought me right back to eating dim sum with my family when I was little. I used to remove the filling and only eat the bready parts, but I loved the sweet meaty flavor that the filling left behind. I think I just didn’t like the texture. These days though I love all of the parts of the bun, the fluffy outters and the chewy innards. They are the best. Alana nailed it with this recipe and you really ought to make these. They freeze beautifully and reheat quickly in the microwave too, so these will no doubt be on my list of freezer foods to make before Poppy Seed’s arrival. 

Also pre-order Alana’s book right now please.  It’s beautiful and incredible!


manapua

makes 12

from alana’s aloha kitchen

ingredients

for the bun dough:

3/4 c (177g) water, warmed (100º to 110ºF)

1 1/4 c (295g) whole milk, warmed (100º to 110ºF)

two 0.25-ounce packages (14g) active dry yeast (4 1/2 tsp total)

1 tsp plus 3/4 c (150g) sugar

4 c (520g) all-purpose flour, plus more as needed

2 c (260g) cake flour

1/2 tsp kosher salt

1/2 c (100g) neutral oil, plus more for the bowl

for the filling:

1/2 c (118g) water

2 tsp cornstarch

2 tsp all-purpose flour

1 tb sugar

1/4 tsp kosher salt

1 1/2 lb char siu pork (recipe follows), minced

clues

to make the dough for the buns, combine the water, milk, yeast, and 1 teaspoon of the sugar in a bowl and whisk together. let the mixture sit until the yeast is activated and foamy, about 10 minutes.

in the bowl of a stand mixer fitted with the dough hook, combine both flours, the salt, and the remaining 3/4 cups sugar. mix the dry ingredients together on low speed. keep the mixer running and slowly pour in the yeast mixture followed by the oil. increase the speed to medium and knead the dough until it is smooth and pulls away from the sides of the bowl, 5 to 7 minutes. if it does not start to pull away from the sides, add more flour, a tablespoon or two at a time. turn the dough out onto a clean work surface quickly so that you can oil your stand mixer bowl. transfer the dough back into the oiled bowl, flipping once to coat both sides, and cover the bowl loosely with plastic wrap or a clean kitchen towel. let the dough rise until doubled in size, 1 to 2 hours.

While the dough is rising, cut twelve 4-inch squares of parchment paper for the bottom of the manapua.

To make the filling, in a small saucepan, whisk together the water, cornstarch, flour, sugar, and salt and bring to a boil over medium-high heat. Lower the heat to low and simmer for 1 minute, whisking continuously. Meanwhile, put the char siu in a bowl. Remove from the heat and pour over the char siu. Stir with a wooden spoon or toss with your hands to evenly coat the meat with the sauce.

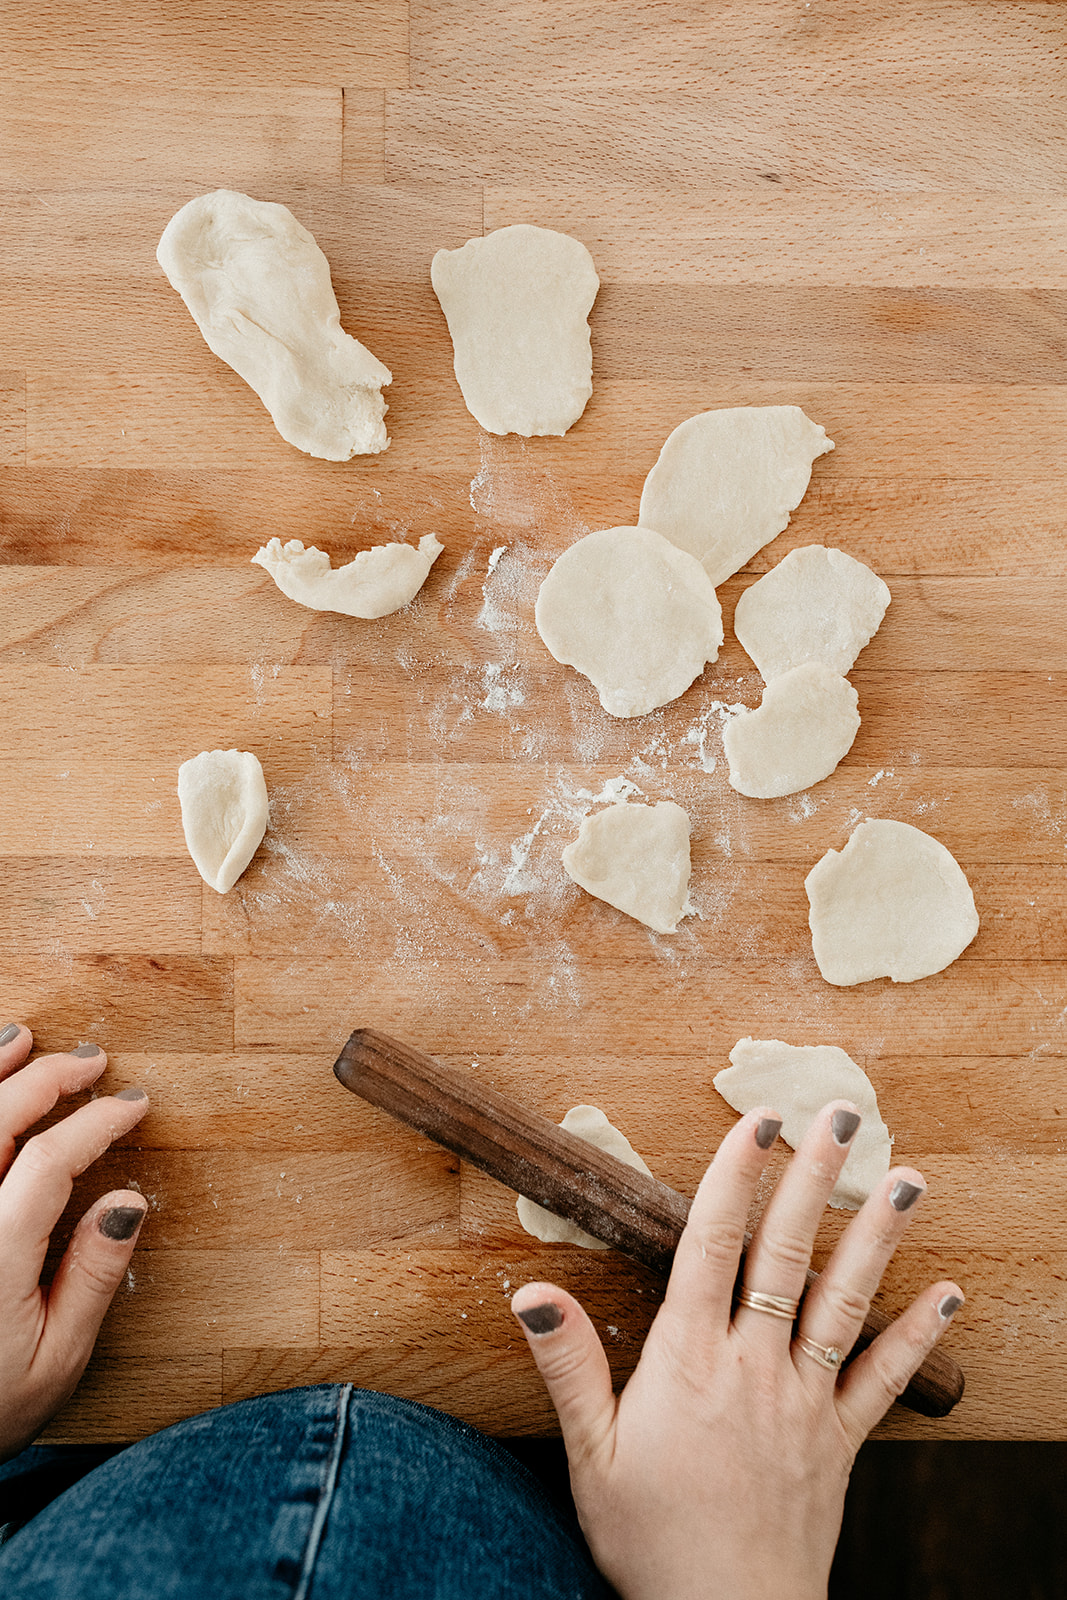
Turn the dough out onto a clean work surface and divide it into twelve equal pieces. Transfer all but one piece back to the bowl, covering it with plastic wrap or a kitchen towel. Roll the piece of dough into a ball before flattening into a pancake with the palm of your hand. Use a rolling pin to roll the edges of the pancake out to a 5-inch round; you want the center of the dough to be a bit thicker—it should look like a little bump. This will help give the manapua a uniform thickness on the top and bottom. Add about 1⁄4 cup filling to the center of the round, then bring the edges up and around the filling, pinching them together to seal in the filling. With the seam side down and your hand in a cupping motion, gently roll the manapua into a ball with a few circular motions. Place the round ball, seam side down, on one of the precut parchment squares. Cover the ball with a clean kitchen towel and repeat until all the dough has been used. Let the dough rise for 30 minutes.

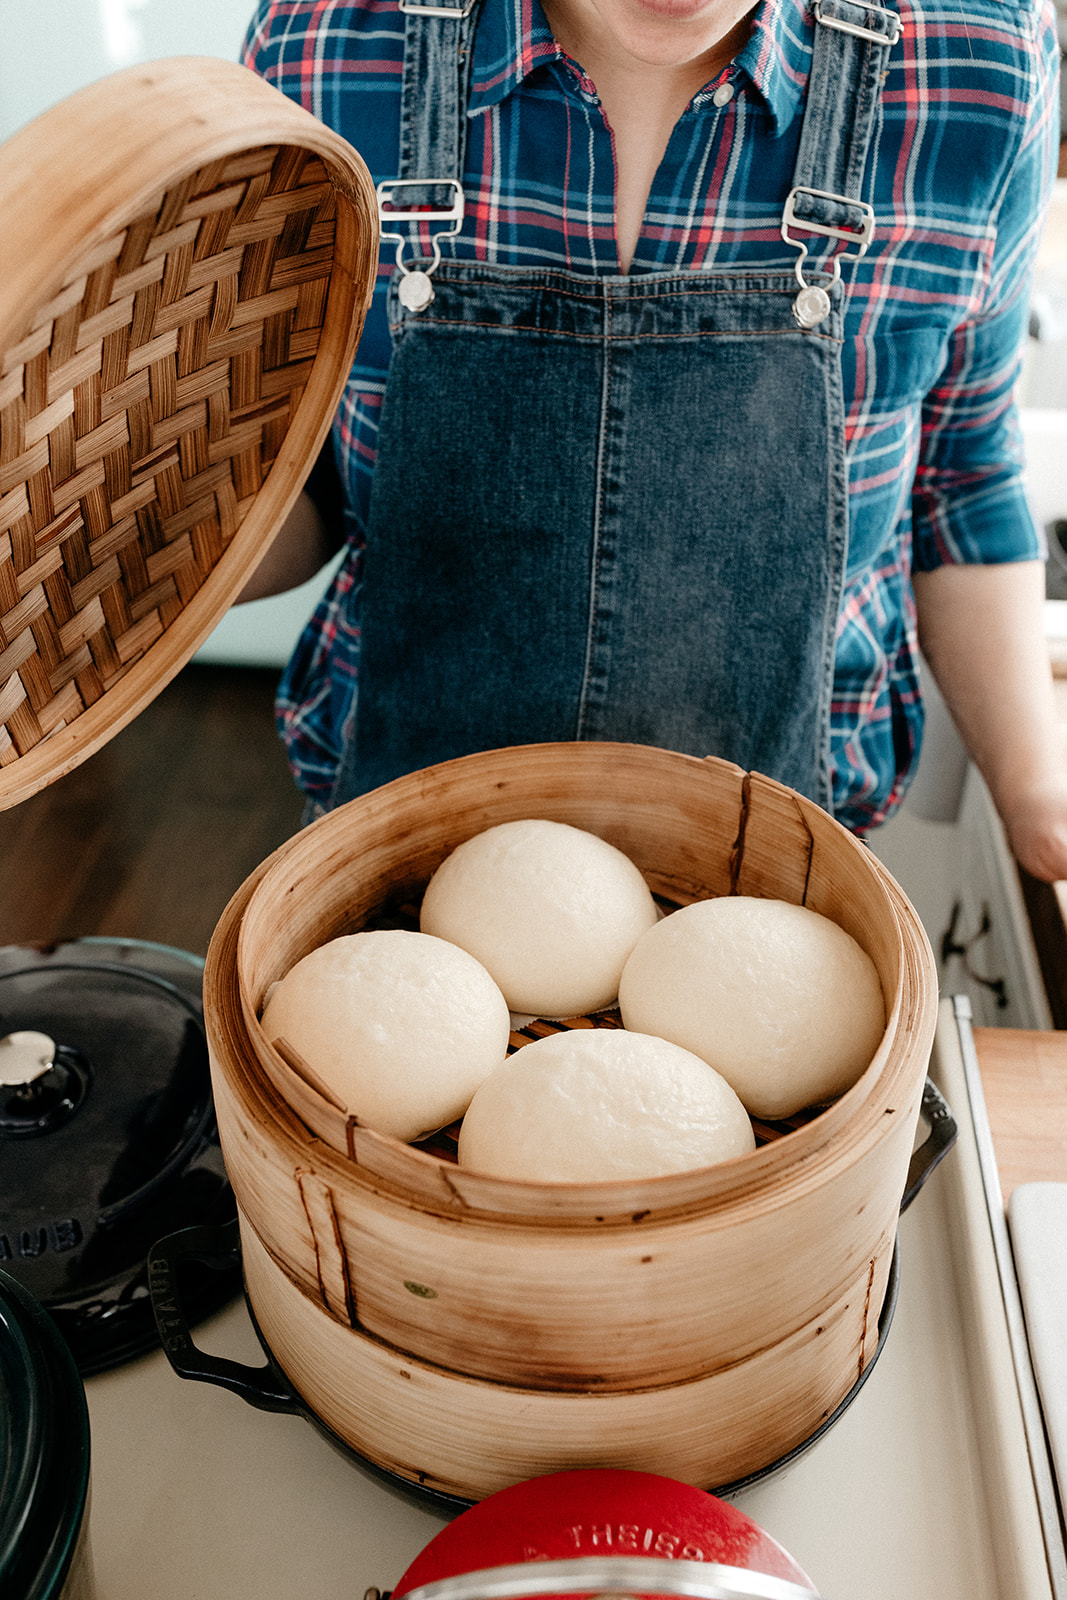
Meanwhile, bring a large pot of water to boil with the lid on. Set a steamer basket over it and lower the heat to low, keeping the water at a simmer. Place the manapua with the parchment squares in the basket, spacing them about an inch apart. If you are using a metal steamer or a glass lid, place a clean kitchen towel between the basket and the lid to capture the condensation. Steam until the buns are light and fluffy, 15 to 20 minutes; they should be touching or almost touching. Transfer to a wire rack, cover with a clean towel, and let cool for 5 to 10 minutes before serving.

Store leftovers in a ziploc bag in the refrigerator or freezer. To reheat, simply wrap in a damp paper towel and microwave for 30 seconds or resteam them in a steamer basket for 10 minutes until heated through.


char siu pork

serves 6 to 8; recipe can be halved

from alana’s aloha kitchen

ingredients

4 lbs pork butt, cut into 1 1/2” wide strips

1 tb hawaiian salt (‘alaea)

1 c (200g) packed brown sugar

1/2 c (170g) mild honey

1 1/2 tsp chinese five-spice powder

1/4 c (64g) hoisin sauce

3 tb whiskey

3/4 tsp red gel food coloring, or 1 1/2 tsp red liquid food coloring (optional)

clues

rub the pork butt strips with the salt and place in a wide rimmed pan or in a gallon-sized ziploc bag. in a small bowl, combine the brown sugar, honey, five-spice powder, hoisin, whiskey, and red food coloring for the marinade. whisk together until well combined. reserve one third in a bowl covered with plastic wrap for basting the next day. pour the remaining marinade over the pork strips and gently rub the strips with your hands to evenly coat them. cover the pan with plastic wrap or zip up the bag. transfer both the reserved marinade and the pork strips to the refrigerator overnight.

the next day, preheat the oven to 350ºF. fit a roasting pan with a rack that is at least 2 inches tall. fill the pan with a 1/4 inch of water. lay the strips over and baste with some of the reserved marinade. roast for another 20 minutes. flip all of the strips over and baste with some of the reserved marinade. roast for another 20 minutes. flip all of the strips one more time and baste again before roasting for another 20 minutes. transfer the strips to a wire rack set in a rimmed baking sheet to cool a bit. the pork can be served immediately or cooled completely before using for another recipe.


-yeh!

wild blueberry cake with cream cheese frosting

We are babymooning in Hawaii right now! 

What happens on a babymoon? 

You sit by a pool and eat. And then waddle to the beach, eat some more, and apply more sunscreen. You space out, look over at Eggboy and his stack of newspapers and you ask what’s happening in the world today? And he tells you about some fun storyline about an obscure sports championship that’s going on or a record that’s about to be broken or discovery that might have just been made. Or he shows you John Mayer’s latest Instagram Story. Then you plan your next meal.  

Then you come home, put the car seat in the car, and have a baby! 

Or something like that?? (I dunno, Molly of last week wrote this, Molly of this week is not here right now.) My point is, even though I’m totally away this week, I wanted to leave you with this blueberry cake because I made it recently and the only thing that stopped me from eating it all was visions of failing my gestational diabetes test. I made it for Eggnephew Cliff’s baptism!

When I asked Eggsis what kind of cake I should make, she said blue! And I said, …berry?? And we got really excited. Blueberries have become kind of a default craving of mine since they go so well with my top craving of cream cheese. And I love that they work so nicely as a natural food coloring, even though their color skews more purple. This cake is a variation of my go-to rich buttery vanilla cake, which is the richest densest cake in all the land, and I’ve added some flavors that play nicely with blueberries: lemon zest for brightness, cream cheese for tanginess, and cinnamon for a muffin-like warmth. I also like using unrefined coconut oil in this for the faintest coconut flavor, it’s not overpowering and really lovely. It’s a lot like eating a party version of a blueberry muffin. I decorated it with marzipan cutouts inspired by those wooden toy letter blocks because… babies. 

Even though I haven’t tried it yet, I imagine that this recipe would be tasty with other fruits and berries. A strawberry cake or raspberry cake would be delicious. Or a mixed berry cake! 


wild blueberry cake with cream cheese frosting

makes one 3-layer, 8-inch cake (the cake pictured has an extra layer since I needed to make it bigger to feed all of Cliff’s friends)

ingredients

cake:

4 c (520g) + 1 tb all-purpose flour, divided

1 tb baking powder

1/2 tsp cinnamon

1 1/2 tsp kosher salt

1 1/4 c (300g) heavy cream, room temperature

1/2 c (120g) sour cream, room temperature

1 c (225g) unsalted butter, softened

1/2 c (100g) unrefined coconut oil, soft but not melted

2 1/4 c (450g) sugar

zest of 1 lemon

4 large eggs, room temperature

1 tb vanilla bean paste or extract

1/2 tsp almond extract, optional

1 1/2 c (210g) frozen wild blueberries

frosting:

1/2 c (70g) frozen wild blueberries

2 tb water

1 c (225g) unsalted butter, softened

3/4 c (168g) cream cheese, softened

4 c (480g) powdered sugar

a pinch kosher salt

1 1/2 tsp vanilla bean paste or extract

3 tb heavy cream

clues

to make the cake layers: preheat the oven to 350ºf. grease and line the bottoms of three 8” cake pans with parchment and set aside.

in a large bowl, sift together the 4 cups of flour, baking powder, and cinnamon, and then lightly stir in the salt and set aside. in a large measuring cup, whisk together the heavy cream and sour cream and set aside. 

in a stand mixer fitted with a paddle attachment, cream together the butter, coconut oil, sugar, and lemon zest on medium high for 3-4 minutes, until light and fluffy. add the eggs, one at a time, beating well after each. add the vanilla and almond extract, if using. reduce the mixer to medium low and add the dry mixture and cream mixture in 3 alternating additions, mixing until just combined. toss the frozen blueberries with the remaining tablespoon of flour and fold them in (don’t rinse the blueberries). distribute the batter evenly between the cake pans, and spread it out evenly (don’t be alarmed if the frozen blueberries cause the cake batter to firm up, that’s ok!). 

bake until the tops of the cakes are starting to brown and a toothpick inserted into the center comes out with a few crumbs on it; begin checking for doneness at 33 minutes and try your darnedest not to let it over-bake. let cool in the pans for 10 minutes and then transfer to a wire rack to cool completely. 

to make the frosting:

combine the frozen blueberries with the water in a medium saucepan and heat over medium for about 10 minutes, stirring and mashing occasionally with a rubber spatula, until the blueberries have broken down and released their juices. strain the juices through a fine mesh sieve into a bowl or measuring cup, using your rubber spatula to mash the blueberries and wring out any juices that they’re still holding onto. you should get around 3 tablespoons of liquid (if it’s much more than that, discard any excess or reserve it for another use). 

in a stand mixer fitted with a paddle attachment, beat together the butter and cream cheese until creamy. gradually add the powdered sugar, and then mix in the salt, vanilla, blueberry juice, and heavy cream. mix until creamy.

to frost the cake, level the top of the layers and then stack them up with a layer of frosting in between. frost all over and decorate as desired! enjoy!


-yeh!

photos by chantell and brett!

ginger scallion chicken and dumplings

Hello, hi!! How are you all January-ing and coping with the Monday of Months/post-holiday slump/dry weather? Warning, I’m about to be the overly cheery person in the room but once I re-arranged my open shelves with all of my pink and purple kitchenware to be Valentine’s Day themed and also splurged on a tube of Kiehl’s coriander hand cream, I remembered how I’ve actually become kind of obsessed with January. I used to dread it soo much but that was back in college when it’d still be dark when I emerged from the practice room and then have to schlep around the streets in the dirty slush if I wanted to do anything social. These days, however, winter means Eggboy’s version of summer, which means we can go on more trips and stuff! It’s the most fun time of the year. And I want to tell you about our most recent adventure, our Great Midwest road trip!!

We drove from Grand Forks to the cute town of Red Wing, MN, to Chicago, to Kalamazoo, MI, and then up around the Upper Peninsula, through Wisconsin, on to Duluth, and then back home, by way of Bemidji, for pizza. We stuck to smaller roads and searched out historic and one-of-a-kind places that bursted with personality. It was delightful and tasty and we saw so many adorable cute towns that all felt like they came right out of a snow globe.

Here were some of the best places we went:


Red Wing, MN

St. James Hotel- A beautiful historic hotel in the little cute town of Red Wing. It was so beautiful that I didn’t even care that it was exactly the type of place that would be a little bit haunted. We’d seen it a bunch of times from when we’d pass by on the train from Grand Forks to Chicago but this was our first time inside and we loved it.

Hanisch Bakery- The coziest homiest bakery, with a killer sprinkle donut and orange slices as a side to their breakfast sandwiches. The donut had like a sprinkle crust. It was perfect.

St. Ignace, MI

Bentley’s Cafe- Ok, I don’t know whose idea it was to take a pasty tour of the U.P. in the dead of winter (oops, it was my idea…) but basically the first four stops on our tour were closed for the season and Eggboy and I got soooo hangry, I don’t think we’d ever been that hangry before. Finally we found Bentley’s and they had pasties! OMG they were amazing. Their crust was extra buttery and flaky and the veggie one had lots of cheese in it. I would eat this pasty again and again. 

Marquette, MI

Landmark Inn- Another beautiful historic hotel! (We hit the beautiful historic hotel jackpot on this trip.)

Lawry’s Pasties- Amazing pasties!! The crust was way sturdier than the one at Bentley’s but in a really satisfying way.

Jean Kay’s Pasties- More amazing pasties!! Between Lawry’s and Jean Kay’s, these had a higher ratio of vegetables to meat, but I couldn’t choose a fave, they were both delicious. 

Pence, WI

Reinerio’s Sausage- Secret basement sausage!!! This was recommended to me by my instagram friend Britt and it was just a little bit out of our way, in the itsy bitsy unincorporated town of Pence, WI. The owner makes sausage in his basement and it’s so good! We came home with a cooler full of fresh salami, breakfast sausages, other sausages, and a giant chunk of Asiago. 

Duluth, MN

Duluth’s Best Bread- This is new since we were last in Duluth (on our mini moon four years ago!) and I’m so glad we went. We bought a giant soft pretzel for the road and crusty loaves of flax seed bread and wild rice bread to take home that I have been toasting up in the morning to have with the Asiago from the secret sausage man.

Northern Waters Smokehouse- We ate here on our anniversary and it was the tastiest most casual anniversary there ever was. I ate a pastrami sandwich that had the perfect amount of mayo (aka a gigantic load of mayo).

Uncle Loui’s Cafe- A perfect diner. In my storyboard for the Duluth curling team Olympic gold medal movie, at least two important scenes take place here.

Bemidji, MN

Dave’s Pizza- We finally went here after hearing about it for years! I’d been craving classic Midwest square cut cracker crust pizza (I know, I know, shame on me for talking smack on square cut pizza, I knowww, I’m terrible) and it was perfect. Finished it off with a spumoni.

Chicago, IL

We spent time at some of our old trusty favorites: Russian Tea Time, Christkindlmarket, and Furama!

Things I learned on this trip: 

-Using a real paper map is wayyyy more fun than a cell phone map.

-Sometimes places that are the cutest and have the most personality and history (and that I end up loving the most) have lower star ratings on the internet than newer hipper places. So I’m learning not to put so much weight on star ratings on Yelp and stuff.

-I will never take another road trip without my Birdling Weekender. It’s set up like a clothing bento box, with different compartments that you can access quickly and easily. We stayed in a different place each night on our trip and I was not *once* stressed out about packing/unpacking/locating my underpants. 

-I like my pasties with both gravy and spicy ketchup.

-Small cocoon-like bedrooms/hotel rooms rule. We stayed in two very large rooms and I barely slept those nights. The best sleep was in the smaller rooms.

-Ok, yes, I LOVE square cut cracker crust pizza.

-Duke Ellington’s Nutcracker is bananas!!

-Trips where you only bring sweatpants are the best trips.

In other news, I have to tell you about this miraculous recipe that I have been obsessing over since I first read it. It’s in Cynthia Chen McTernan’s book, A Common Table, which was a book that I was counting down the days to because I have been a fan of Cynthia and her delicious blog for years and years and years. She makes all of my favorite foods: mochi, steamed buns, potstickers, black sesame things, matcha things… and she makes them all look so darn beautiful! One time we shot a bacon and sweet corn ice cream sandwich blog post together and it was the best day ever. Cynthia is truly just as sweet and awesome IRL as she comes across on her blog and now in her book, I am definitely a good candidate for president of the Cynthia fan club. My copy of A Common Table is filled with bookmarks and dates scribbled into recipes that I’ve already made. We had her bulgogi on New Year’s Eve, mochi pancakes for the premiere of GMF season 2, and I’m planning to make like all of her sweets. I just love how her recipes tie in her heritage with her southern upbringing and beautiful stories, and they’re all so playful and fun too! I think it goes without saying that if you like good food and also fun, then you need her book. 

Here is my favorite recipe from her book. I like it because its ingredients produce the 1 + 1 = 3 magic. You’ve seen the magic in Melissa Clark’s salt and pepper chicken recipe, it’s the thing that happens when a stunningly short list of simple ingredients produces a thing that explodes with flavor and awesomeness. After making Cynthia’s chicken and dumplings once, I had the recipe memorized. It’s ginger, scallions, and chicken. Just memorize that! Then you make chewy rustic dumplings which are like thick potsticker wrappers and, holy smokes, I could eat them all day. It’s nourishing and strikes a perfect balance between comforting and not too heavy. Eating it makes you feel like you’re curing ailments you didn’t even have. I’m so in wuv.


ginger scallion chicken and dumplings

from cynthia chen mcternan’s a common table

serves 4

ingredients

2 lbs chicken drumsticks or thighs, skin-on and bone-in

1 1/2 tsp kosher salt

3 or 4 scallions, sliced into 1” pieces (about 1/2 c)

3 inches ginger root, peeled and sliced into 1/8” pieces (about 1/3 c)

6 c water

1 c (130g) all-purpose flour, plus more as needed

soy sauce, for serving

chili garlic paste, for serving

clues

make the soup: season the chicken generously with 1 teaspoon salt. place it in a medium pot with the scallions, ginger, and water. (if desired, tie the ginger in cheesecloth to make it easier to remove later.) bring to a boil over high heat, then reduce to medium-low, keeping the soup at a bare simmer.

make the dumpling dough: after the soup has been simmering for about 30 minutes, start the dumplings. in a medium bowl, whisk together the flour and remaining 1/2 teaspoon salt. ladle about 6 tablespoons broth and trickle it into the bowl of flour while stirring the flour with chopsticks or a silicone spatula. a wet dish towel under the bowl may help keep it in place while you stir. after you’ve added all the broth, continue to stir until the flour mixture becomes pebbly and the water is evenly incorporated. make sure the dough is a comfortable temperature to touch, then use your hands to knead the dough until smooth and taut, 5 to 10 minutes. the dough should be fairly firm, not tacky, and should not stick to your hands or the bowl. if it does, add more flour, a tablespoon at a time, until the dough is firm. place in an airtight container or a Ziploc bag and allow to rest while the broth simmers for another 25 to 30 minutes (for a total of 1 hour altogether).

skim any scum off the top of the broth and remove the ginger, if you’d like. transfer the chicken to a plate or cutting board and use a fork to pull the meat from the bones. return the meat to the pot and let the soup continue to simmer gently while you make the dumplings.

form the dumplings: by now, the dumpling dough should be nice and pliable after its rest. the traditional method of preparing flat dumplings is to roll the dough out to a large rectangle, 1/4” or less in thickness, and then slice the rectangle into 1” x 2” strips. alternatively, you can form them the way noodles are torn for kimchi sujebi: pinch off a tablespoon of dough and pull it in half so that it forms 2 flat pieces. flatten the pieces to about 1/4” or less, if needed, but otherwise the pieces need not be uniform. roughly torn edges create a nice texture. repeat until the dough is gone.

bring the soup back to a lively simmer over medium heat, then drop the dumpling pieces into the pot. simmer until the dumplings float to the surface, 1 to 2 more minutes, then serve, with soy sauce and chili garlic paste on the side, if desired.


-yeh!

photos by chantell and brett!

potato bagels

Potato bagels were my first love, years before the everything bagel became my go-to. I would get them at the Einstein Bros. in my suburb back in the early 90s when it first opened and had this cool industrial vibe and really tasty cakey black and white cookies. I loved the potato bagels because they were all around softer than the others, and there weren’t any scary toppings like poppy seeds and dried garlic looking to ruin my day. They fit comfortably into my very picky childhood and I’d usually have them with fluffy whipped butter, or plain cream cheese if I was feeling wild. I pretty much forgot about potato bagels though until my severe first trimester bagel craving brought me back to an Einstein for the first time in forever. It was actually right around Yom Kippur I think. I’d been planning for weeks to make bagels for Yom Kippur break fast, even though I didn’t fast this year after reading mixed things on the internet about fasting while pregnant. I made my dough on a Monday, and you know the dough needs to rest overnight before you complete the process, but my craving by Monday night was soooo insane that I had no choice but to put the bagel dough to sleep and then immediately drive out to the other end of town to the Einstein to buy a bagel so that I could eat one ASAP. And I got a potato bagel because when I spotted it in the basket it made me all nostalgic and brought back my earliest bagel memories. I also chose it because as intense as my craving was, I was still in need of very bland food as to not get nauseous. This potato bagel was not as I remembered it though, it seemed skinnier and much less doughy. Or maybe it was exactly the same, and I was the one who had changed. Living in New York must have just spoiled me bagel-wise because these days when I eat a bagel I’m looking for tons of height, doughiness, and a moderate jaw workout. So although I didn’t break out in a jaw sweat in the parking lot scarfing down my bagel (ew, jaw sweat? Sorry, that just came out.), it was still good enough to hold me over until the next day when my homemade bagels came out of the oven.

I couldn’t shake my desire for a hot mind-blowing potato bagel though! So I made these. I added riced potato to my go-to bagel recipe and learned that the defining look of the Einstein potato bagels is easy to achieve. The outcome is a deliciously chewy bagel that has a perfect amount of tenderness and the faint flavor of potato. My freezer is packed with them now, so I no longer run the risk of emergency cross-town bagel runs. Which is good because my pants don’t fit anymore, I really don’t wanna put on pants and drive across town.

A note on bagel size: I’ve been making smaller bagels (batches of 16) because I just find that they’re less committal that way and yield a good size for breakfast with a side of green smoothie or lunch with a side salad. Or first dinner that leaves you room for second dinner. That’s what’s pictured. If you’re looking for larger bagels, go ahead and make 12. 

For more bagel talk and a tutorial video, check out my everything bagel post.


Potato Bagels

makes 16 small-ish bagels or 12 large-ish bagels

Ingredients 

12 oz peeled russet potatoes, cut into 1” cubes

1/2 c (118ml) cool water

2 1/4 tsp active dry yeast

1 tsp + 2 tb (25g) brown sugar, divided

6 c (780g) high gluten flour, plus more for dusting

1 tb kosher salt

2 1/2 tb (54g) barley malt syrup, divided

1 tb baking soda

Clues

Place the chopped potato in a large pot and cover it with water. Bring to a simmer and cook until a fork pokes easily into the potato, begin checking for doneness at about 10 minutes. Drain the potato, reserving 1 cup of the cooking water in a medium bowl. Rice the potato and set it aside. Add the 1/2 cup cool water to the bowl with the hot cooking water, the two temperatures of these waters should even out to warm (about 105º-110ºf), if it’s too cold, microwave it a little, or if it’s too hot, let it sit for a few minutes to cool. Add the yeast and the 1 teaspoon of brown sugar, give it a little swirl and let it sit for about 5 minutes, until foamy on top.

In a large bowl or bowl of stand mixer fitted with a dough hook, combine the flour, salt, and remaining 2 tablespoons of brown sugar. Add the mashed potato, yeast mixture, and 1 1/2 tablespoons of barley malt and mix to form a stiff dough. Knead in the stand mixer or turn onto a floured surface and knead by hand for 7-10 minutes, until smooth and slightly sticky, adding additional flour if the dough is sticking to the bowl or too sticky to handle. Transfer to a large oiled bowl, cover with plastic wrap, and refrigerate overnight. 

When ready to shape, let the dough sit at room temperature for an hour and then turn it out onto a clean work surface. Divide it into 12 or 16 equal parts (see notes about sizing) and stretch them into smooth balls, making sure to seal any dough seams well. Shape the bagels by sticking your thumb through the center of each ball and using your fingers to gently stretch a 2” hole. Cover the bagels with a towel and let rise for 15 minutes.

Meanwhile, preheat the oven to 450ºf and line 2 baking sheets with parchment paper and grease them well. Bring a large pot of water to a boil and add the baking soda and remaining tablespoon of barley malt. Working with 3 or 4 bagels at a time as to not crowd the pot, boil them for 1 minute on each side (use a timer for this). With a slotted spoon or spatula, lift them out of the water, allowing excess water to drip off, and then transfer them to the baking sheets, spacing them about 2 inches apart. (If making 16 bagels, you will likely need to bake a third pan of bagels, which you can do after the first 2 pans come out of the oven.)

With a serrated knife, make 3 cuts in a triangle shape on top of the bagels and then dust them lightly with flour. Bake the bagels for 10 minutes, switch racks and rotate the pans 180º, and bake for 5-8 more minutes, or until golden brown. Let cool slightly and enjoy! 

Leftovers should be cooled fully, stored in the freezer in plastic bags, and reheated in the toaster. Slice them before freezing if you’d like so you can put them directly from the freezer into the toaster.

Enjoy! 


-yeh!

photos by chantell and brett!