fairy french toast casserole

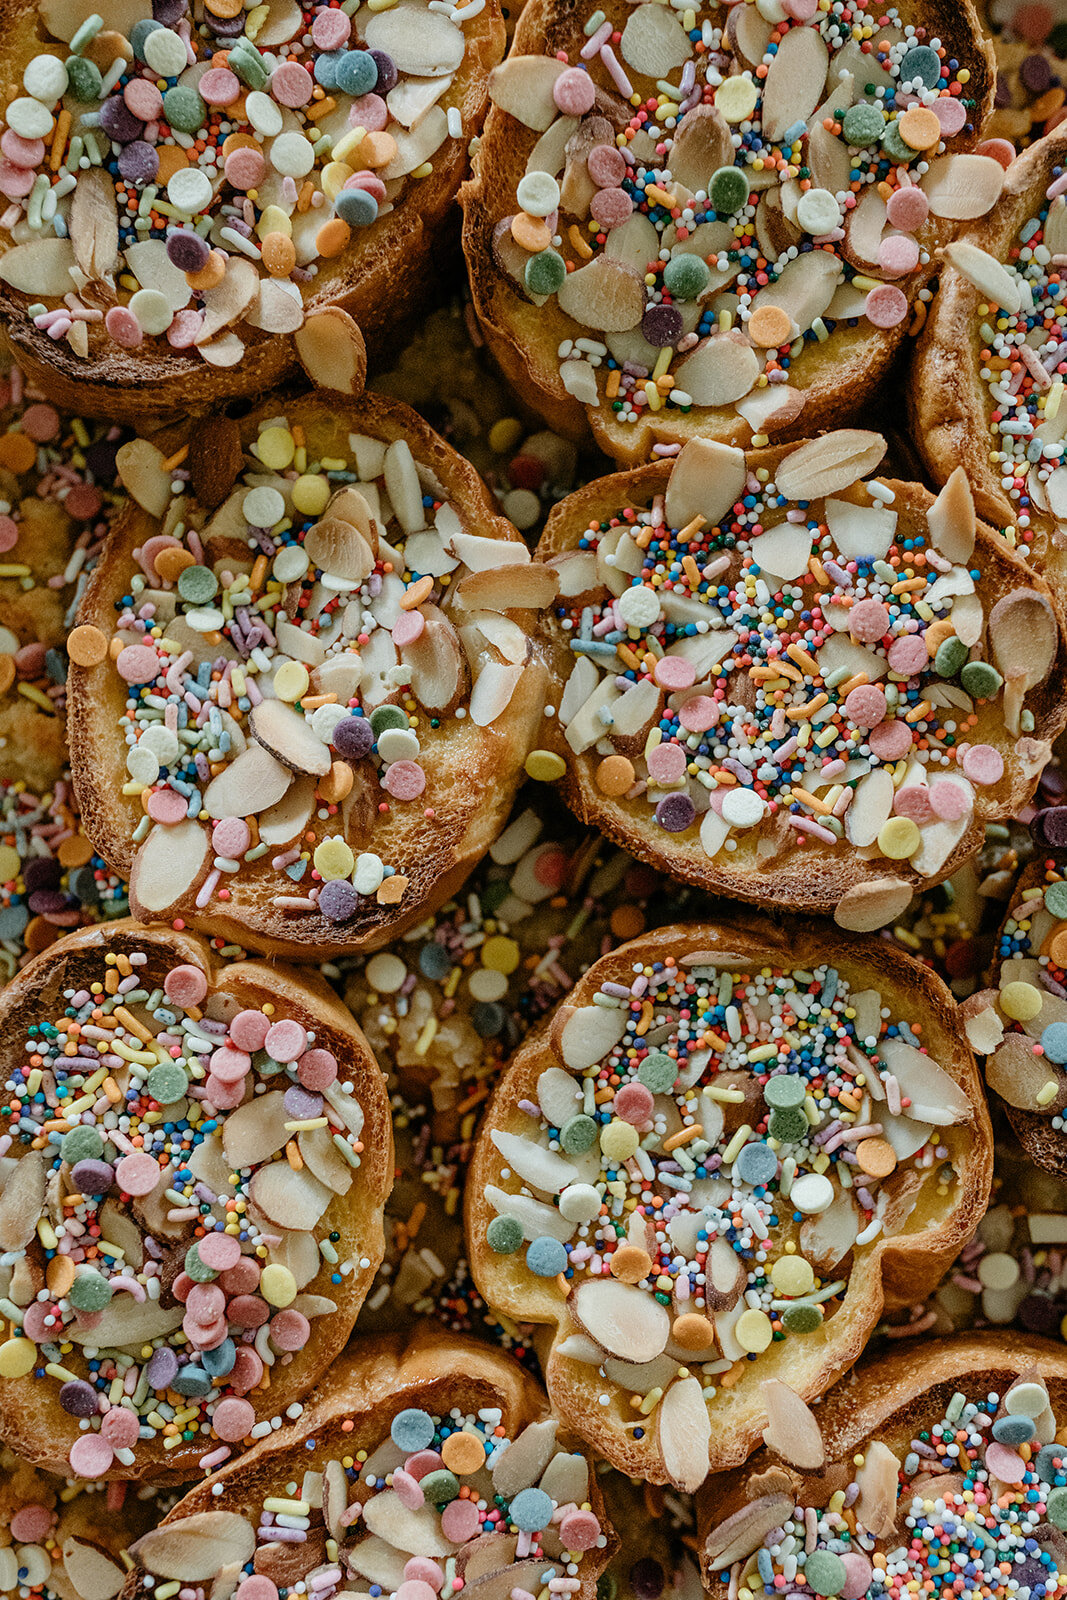
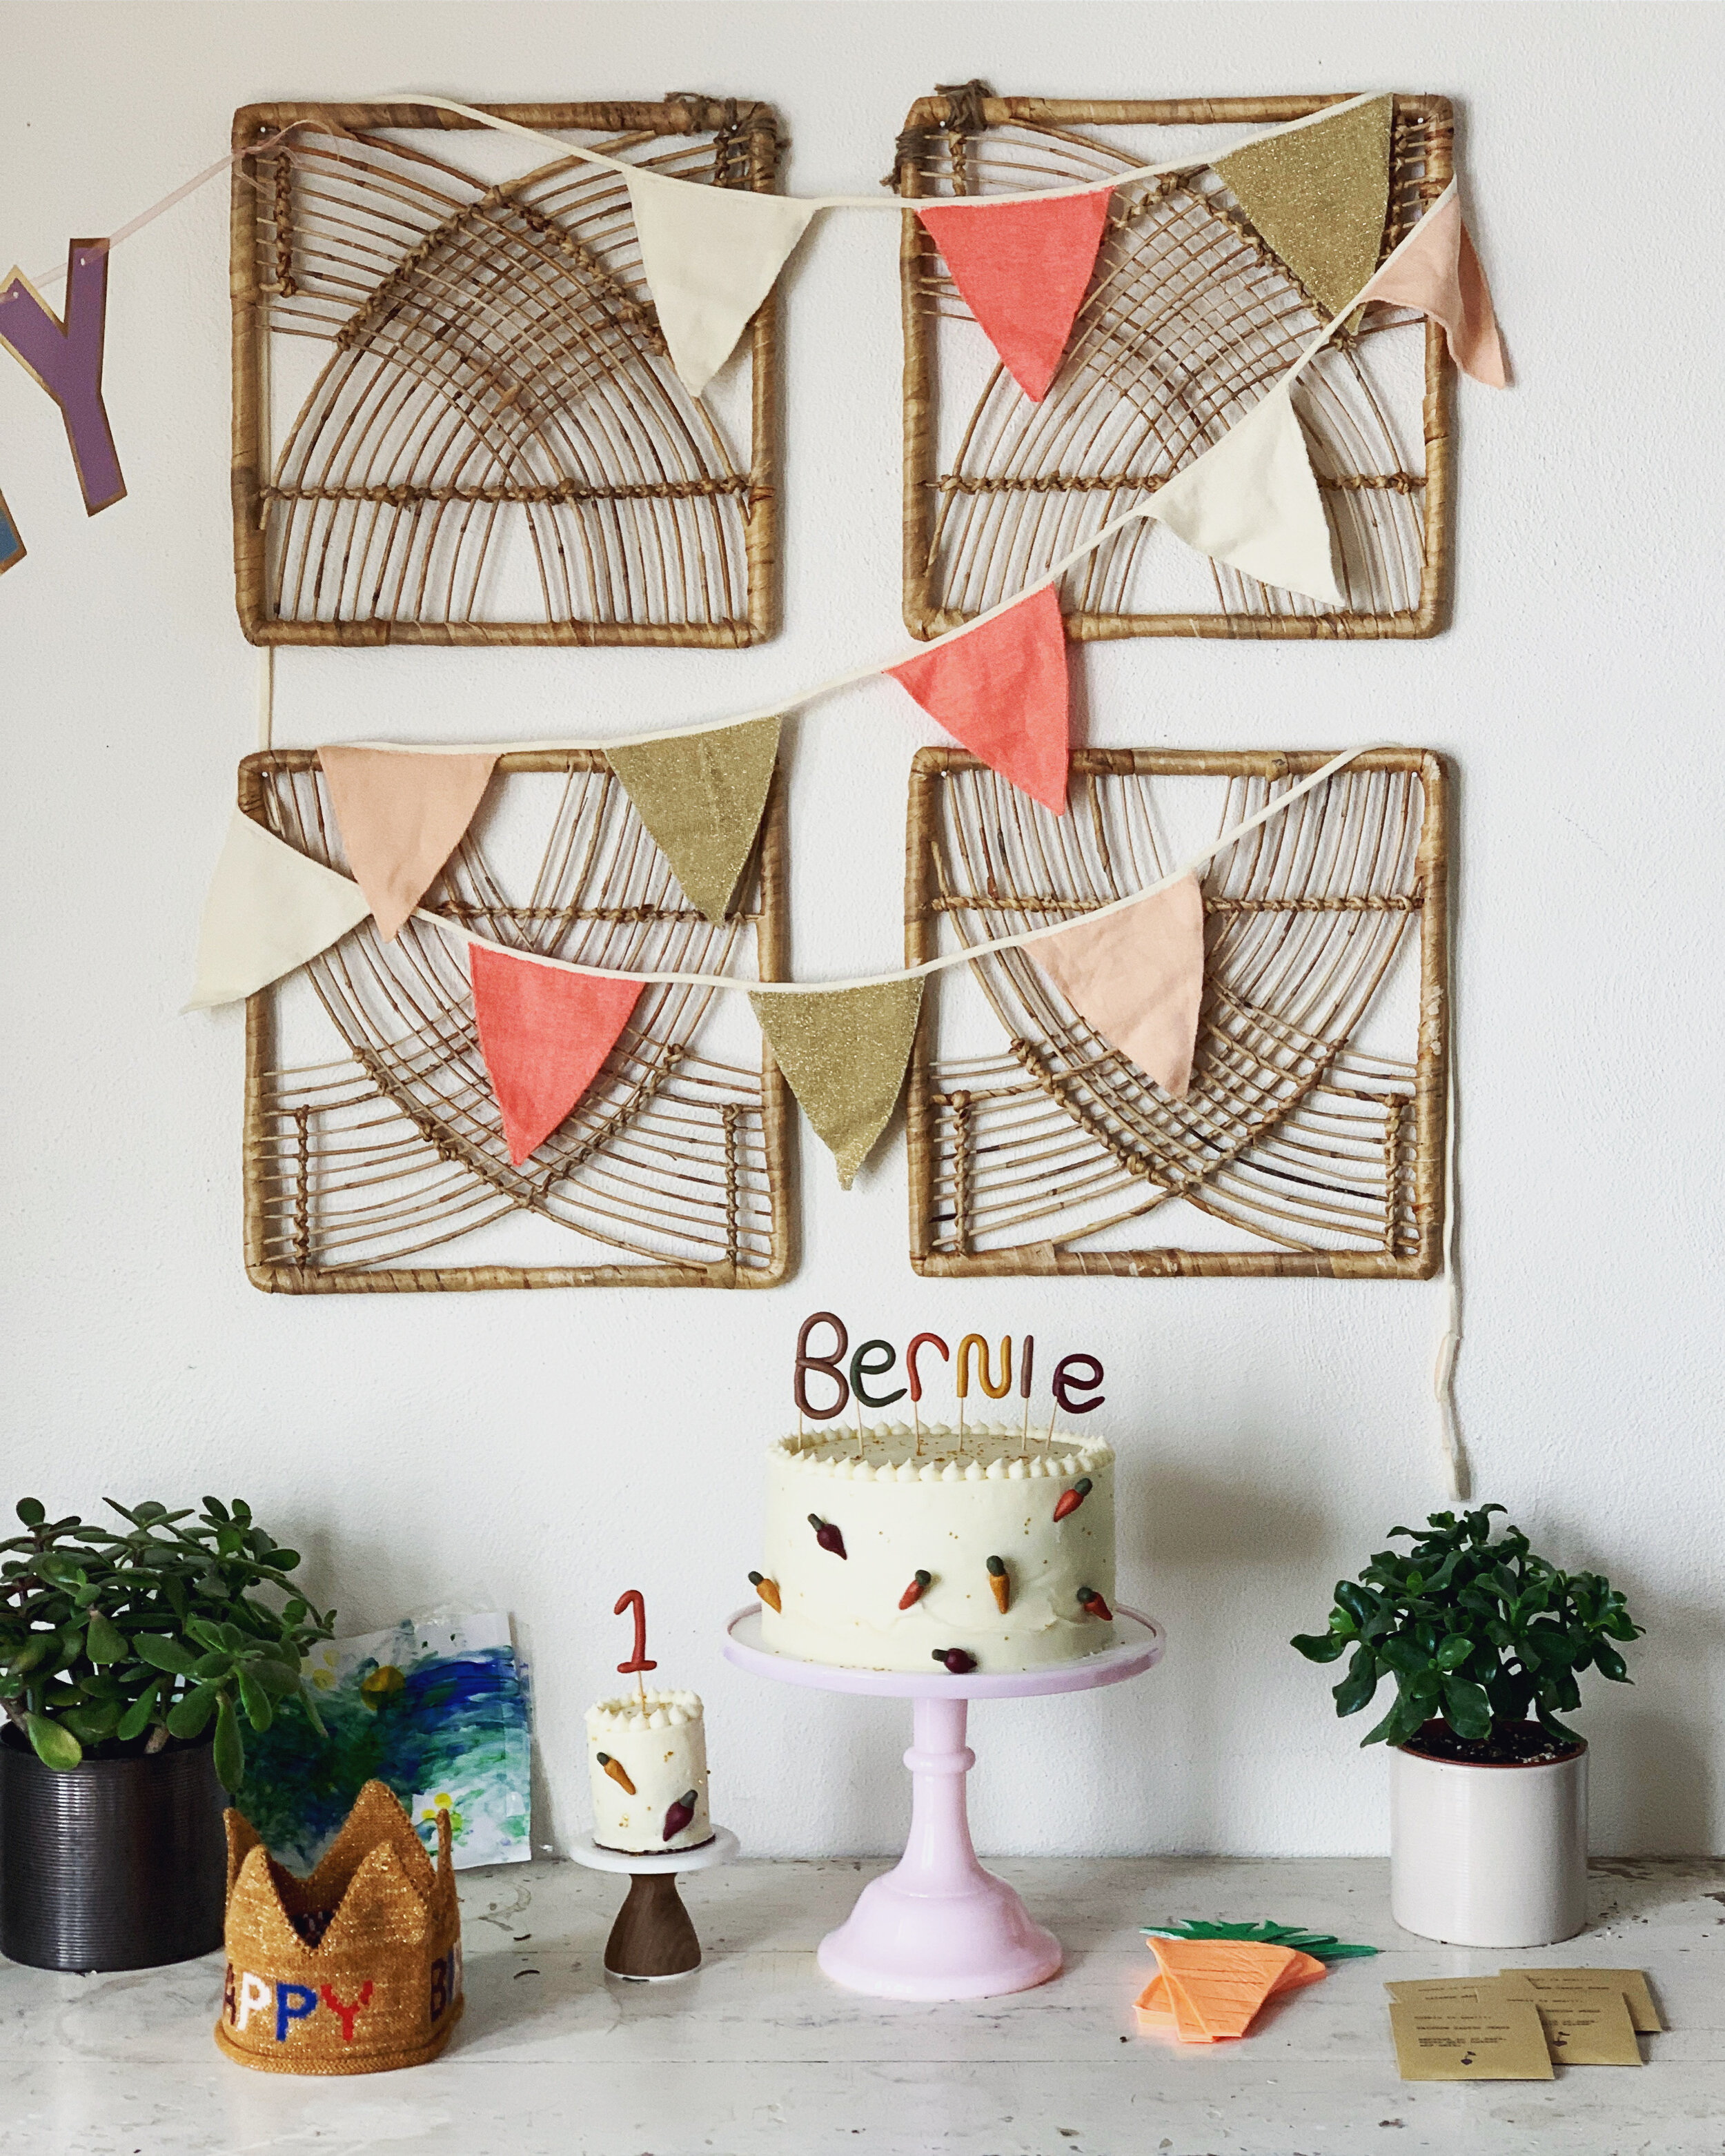
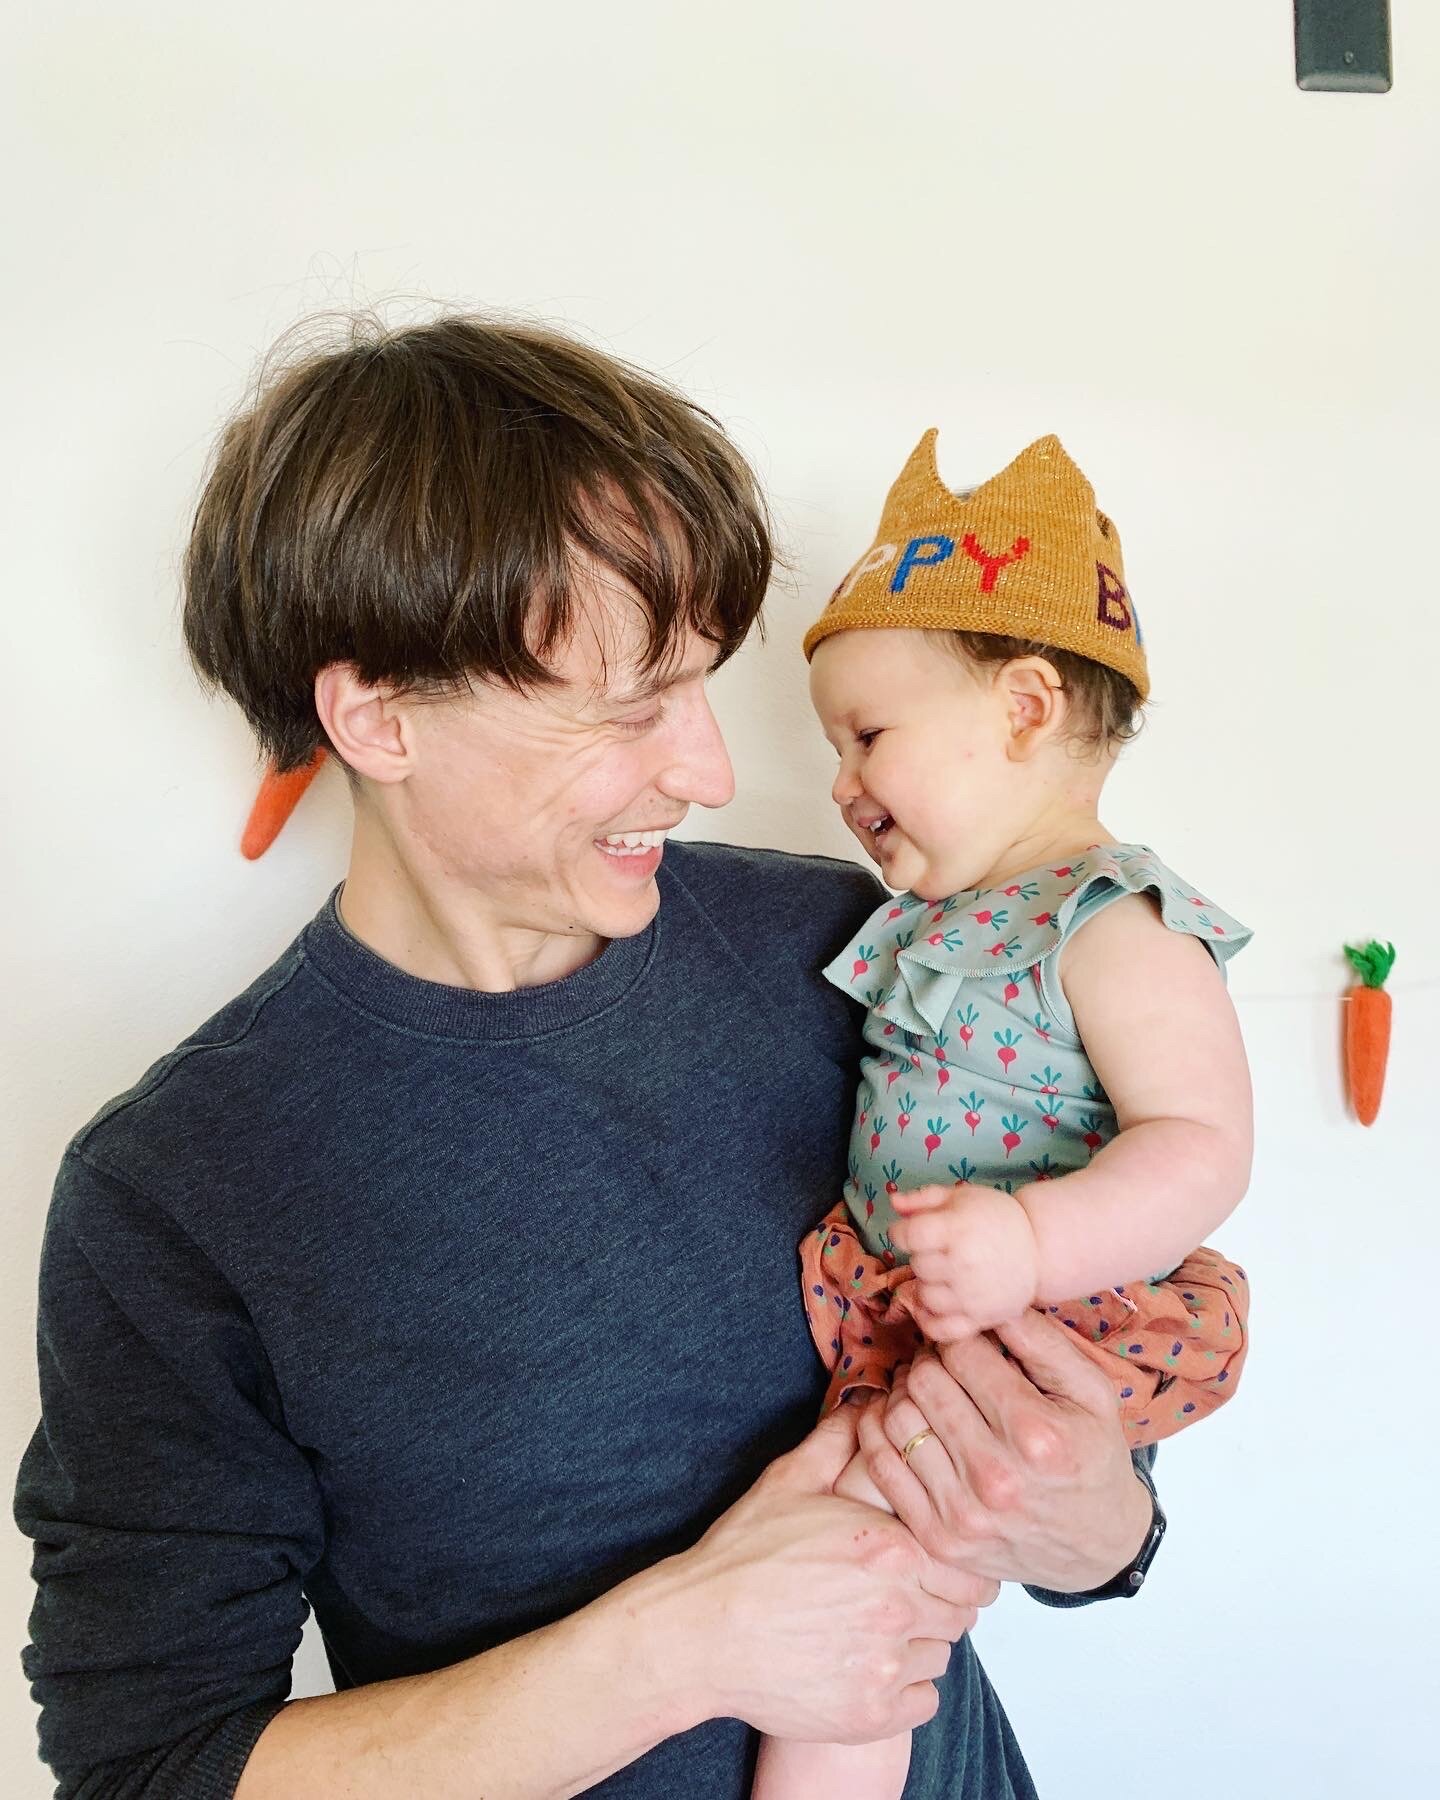
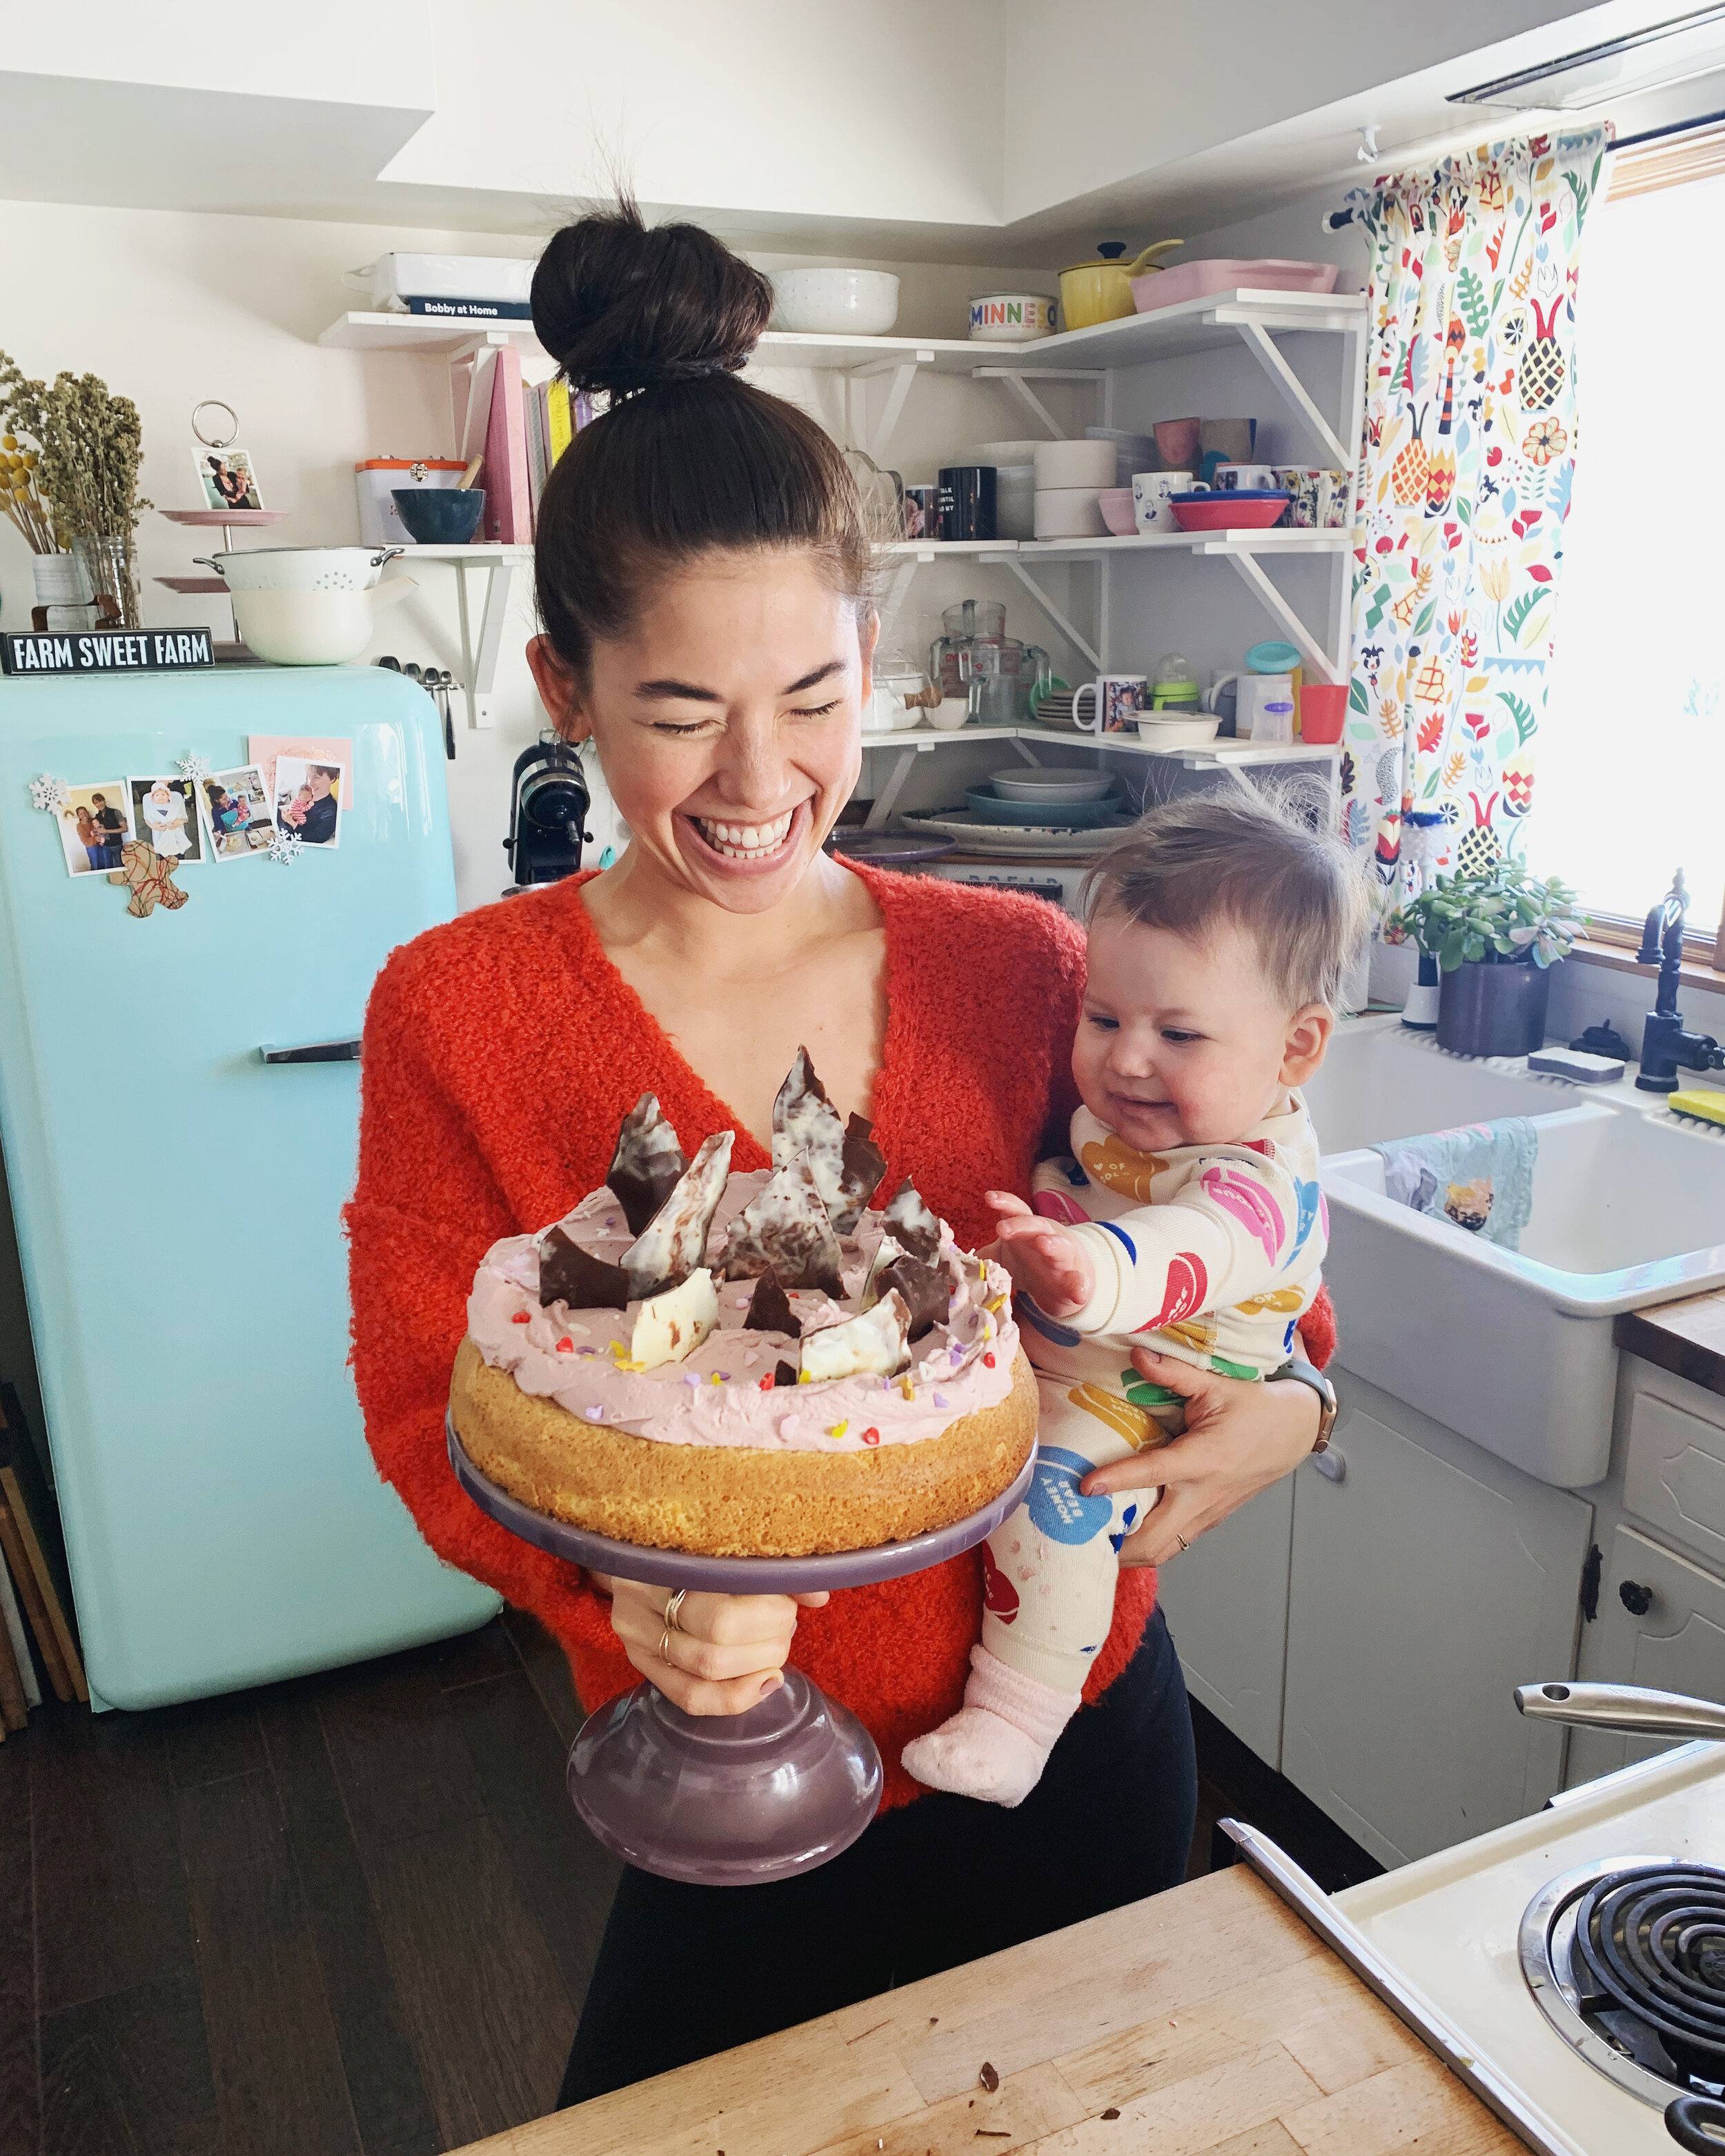
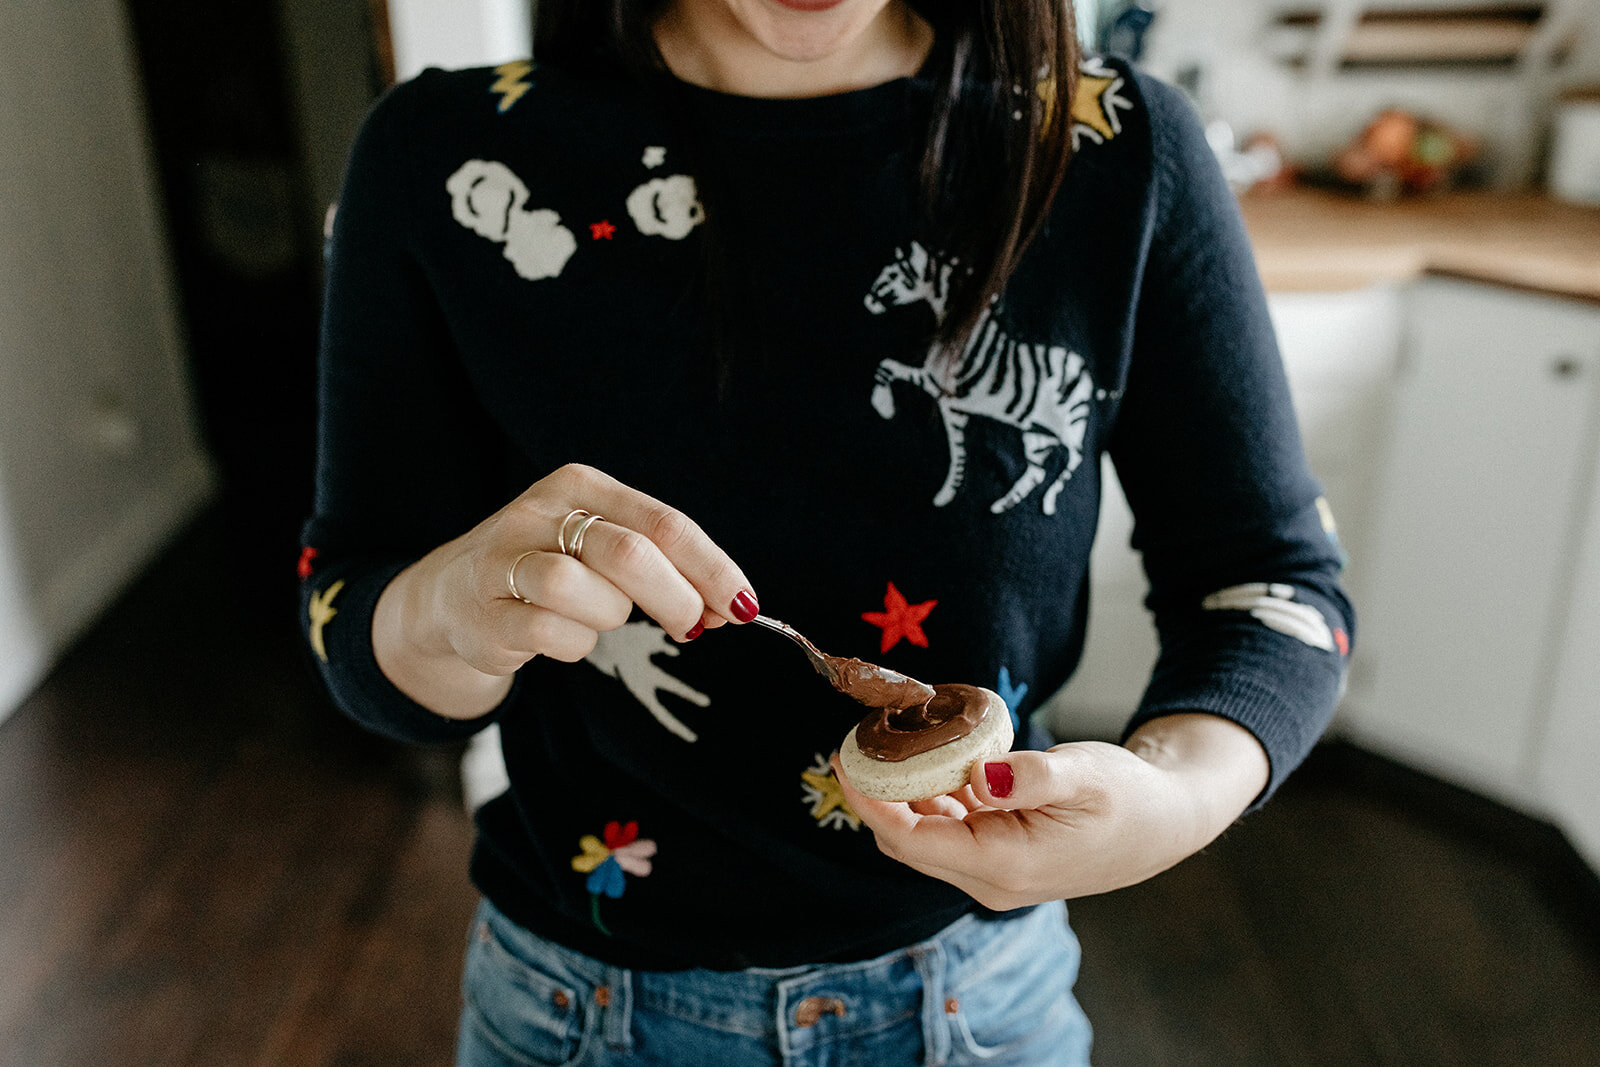
Hello all! I hope you’re enjoying your holidays!! Bernie and Nick and I are on our beautiful Italian fake-cation and I left my computer behind! But I wanted to leave you with this fairy bread-inspired overnight baked french toast because I cannot imagine a better New Year’s brunch dish. Can you??? It’s as if the Times Square ball dropped and instead of confetti, sprinkles poured out, and luckily we were standing there with a casserole of bread sandwiched with almond paste. (You are all hip to fairy bread, right? The Australian delight that consists of buttered bread and sprinkles?!! If not, get on it!!)


fairy french toast casserole

serves 4-6

Ingredients

¼ c unsalted butter or coconut oil, melted 

¾ c sugar

1 loaf challah or french bread, cut into 1-inch slices

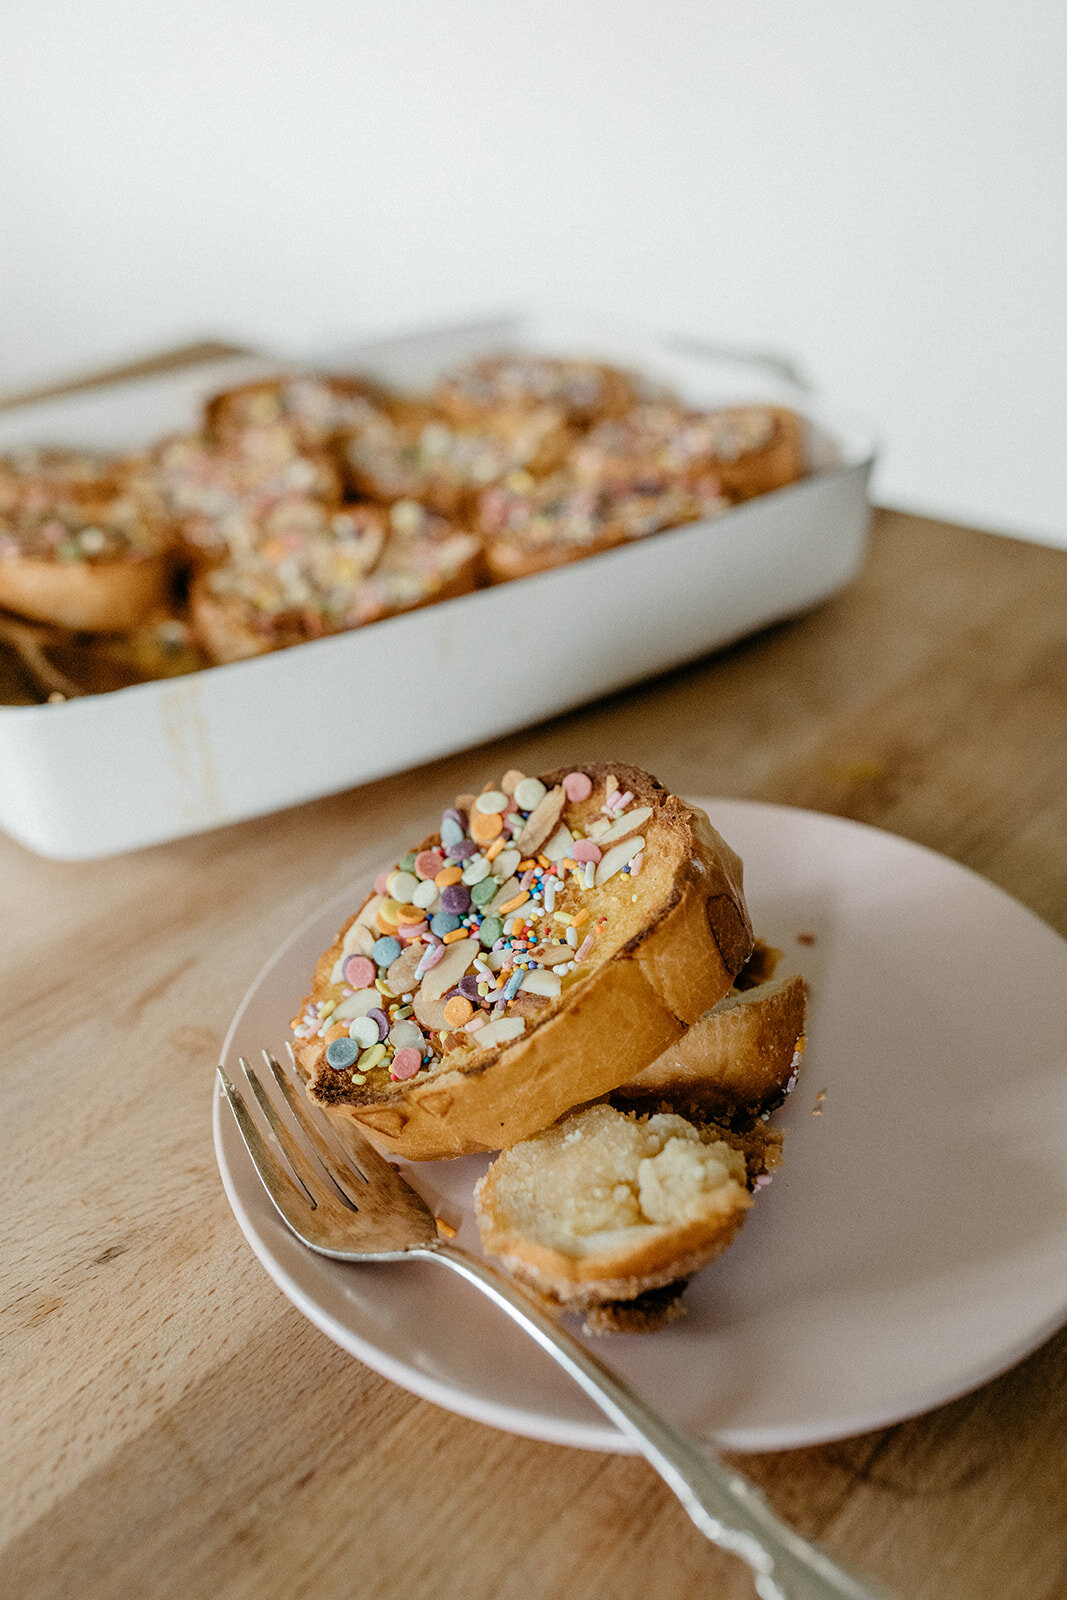
6 oz almond paste, grated on the big holes of a box grater (or if it’s too soft to grate you can tear it into little tiny pieces)

8 large eggs

1 c milk (whole, 2%, or dairy-free)

1 tb vanilla extract

1 tsp almond extract

½ tsp kosher salt 

Zest of 1 lemon

½ c sliced almonds

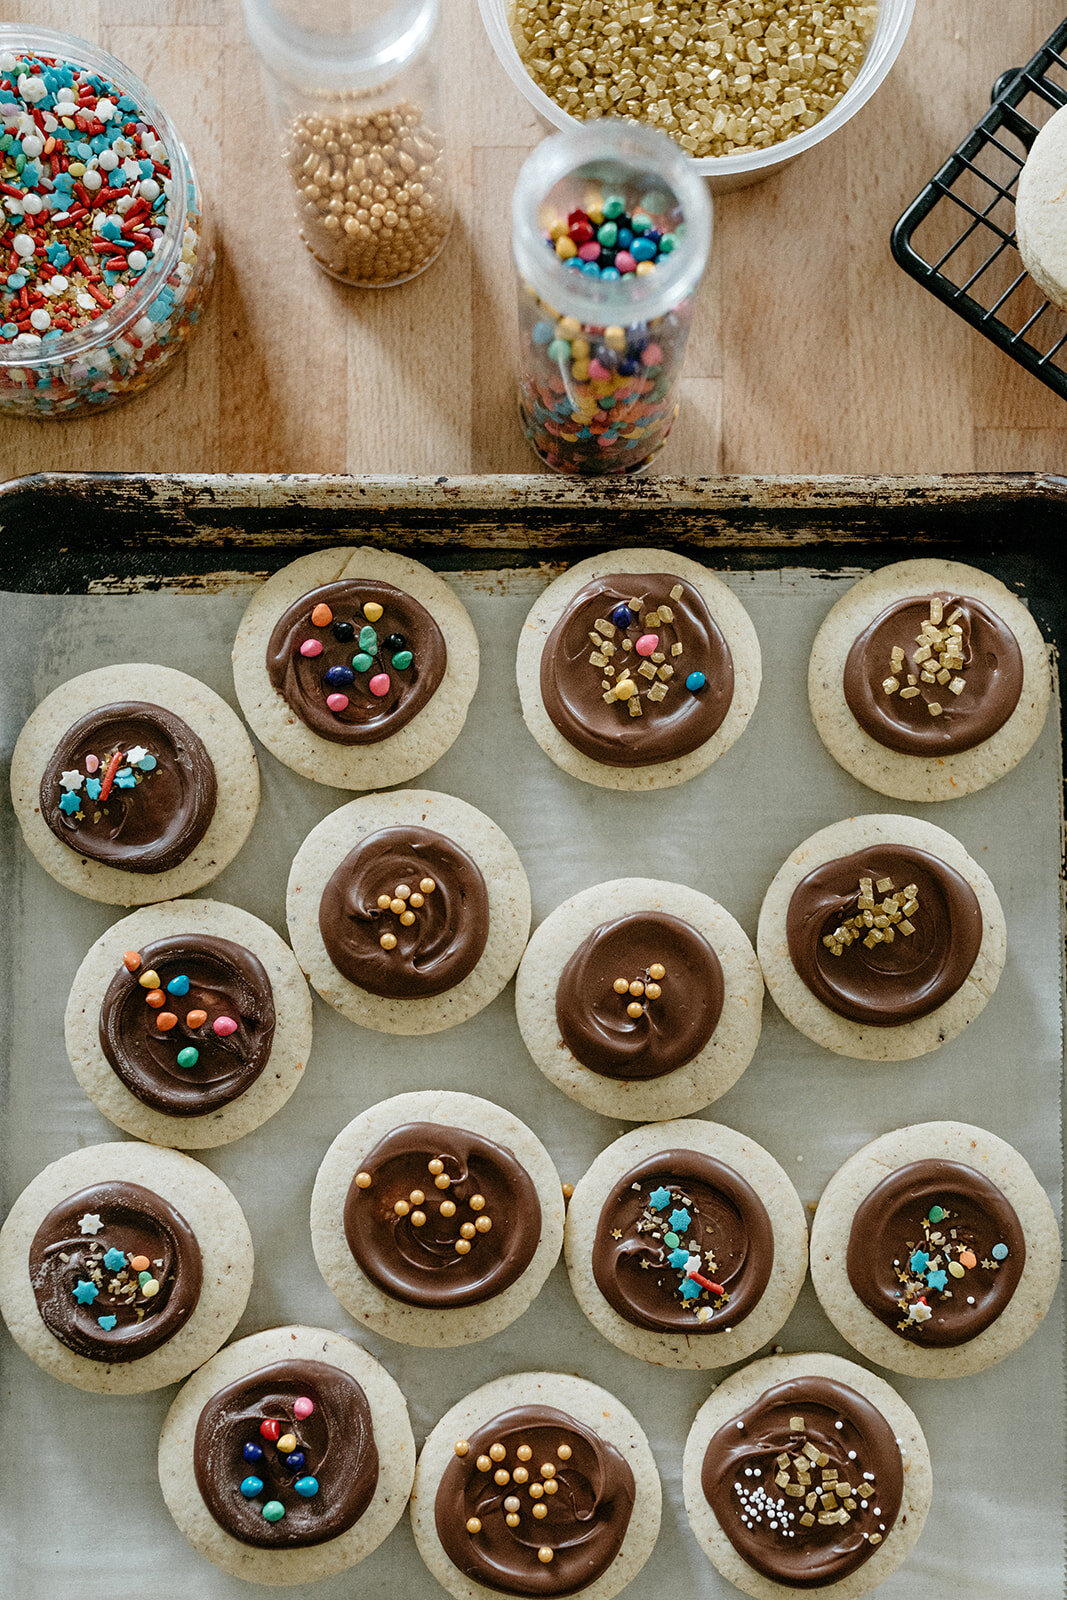
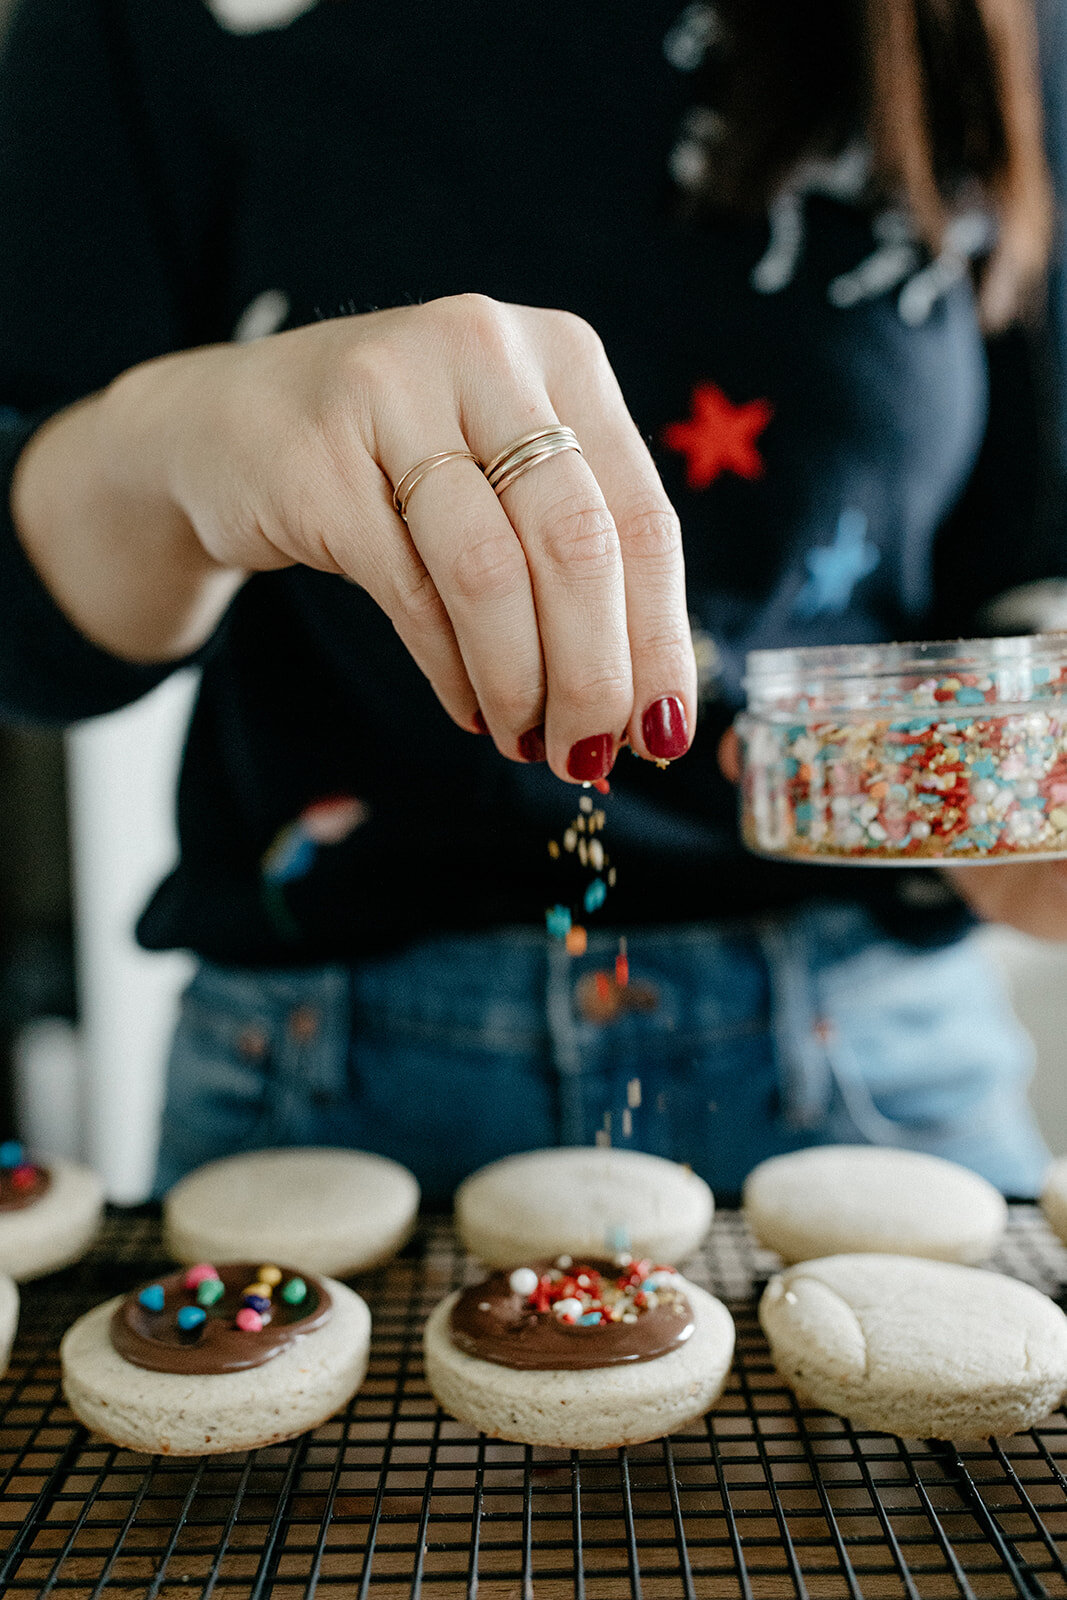
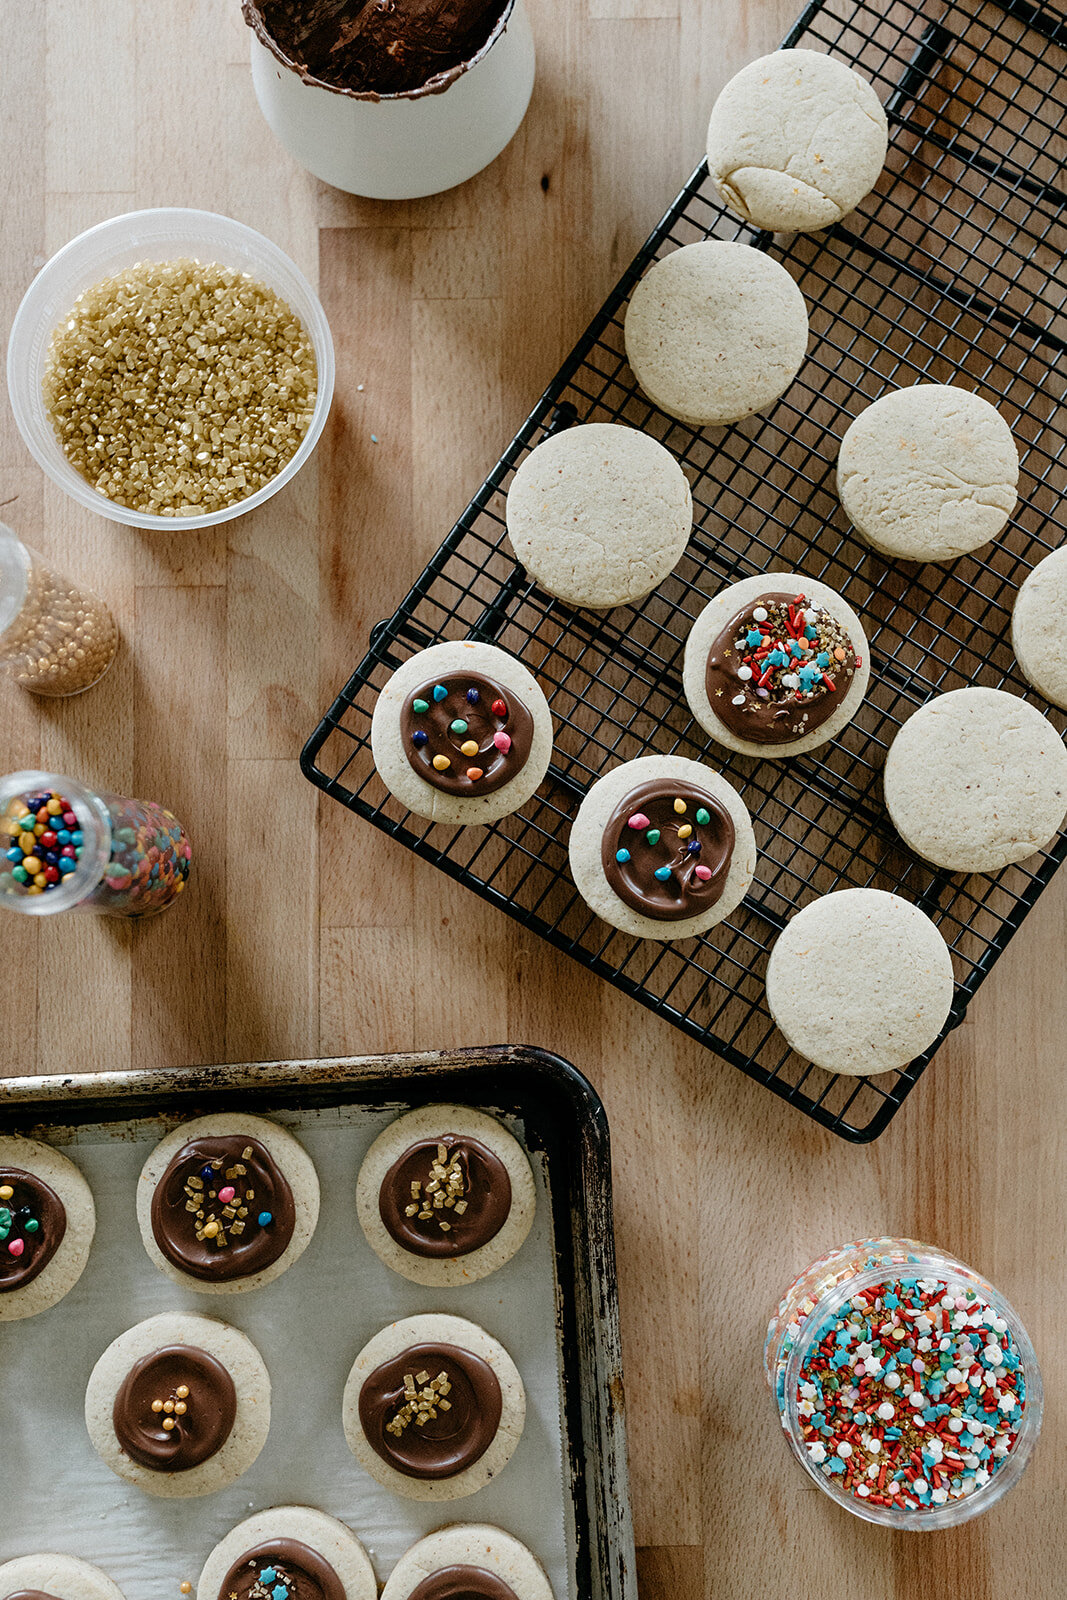
TONSSSSS of Rainbow sprinkles*

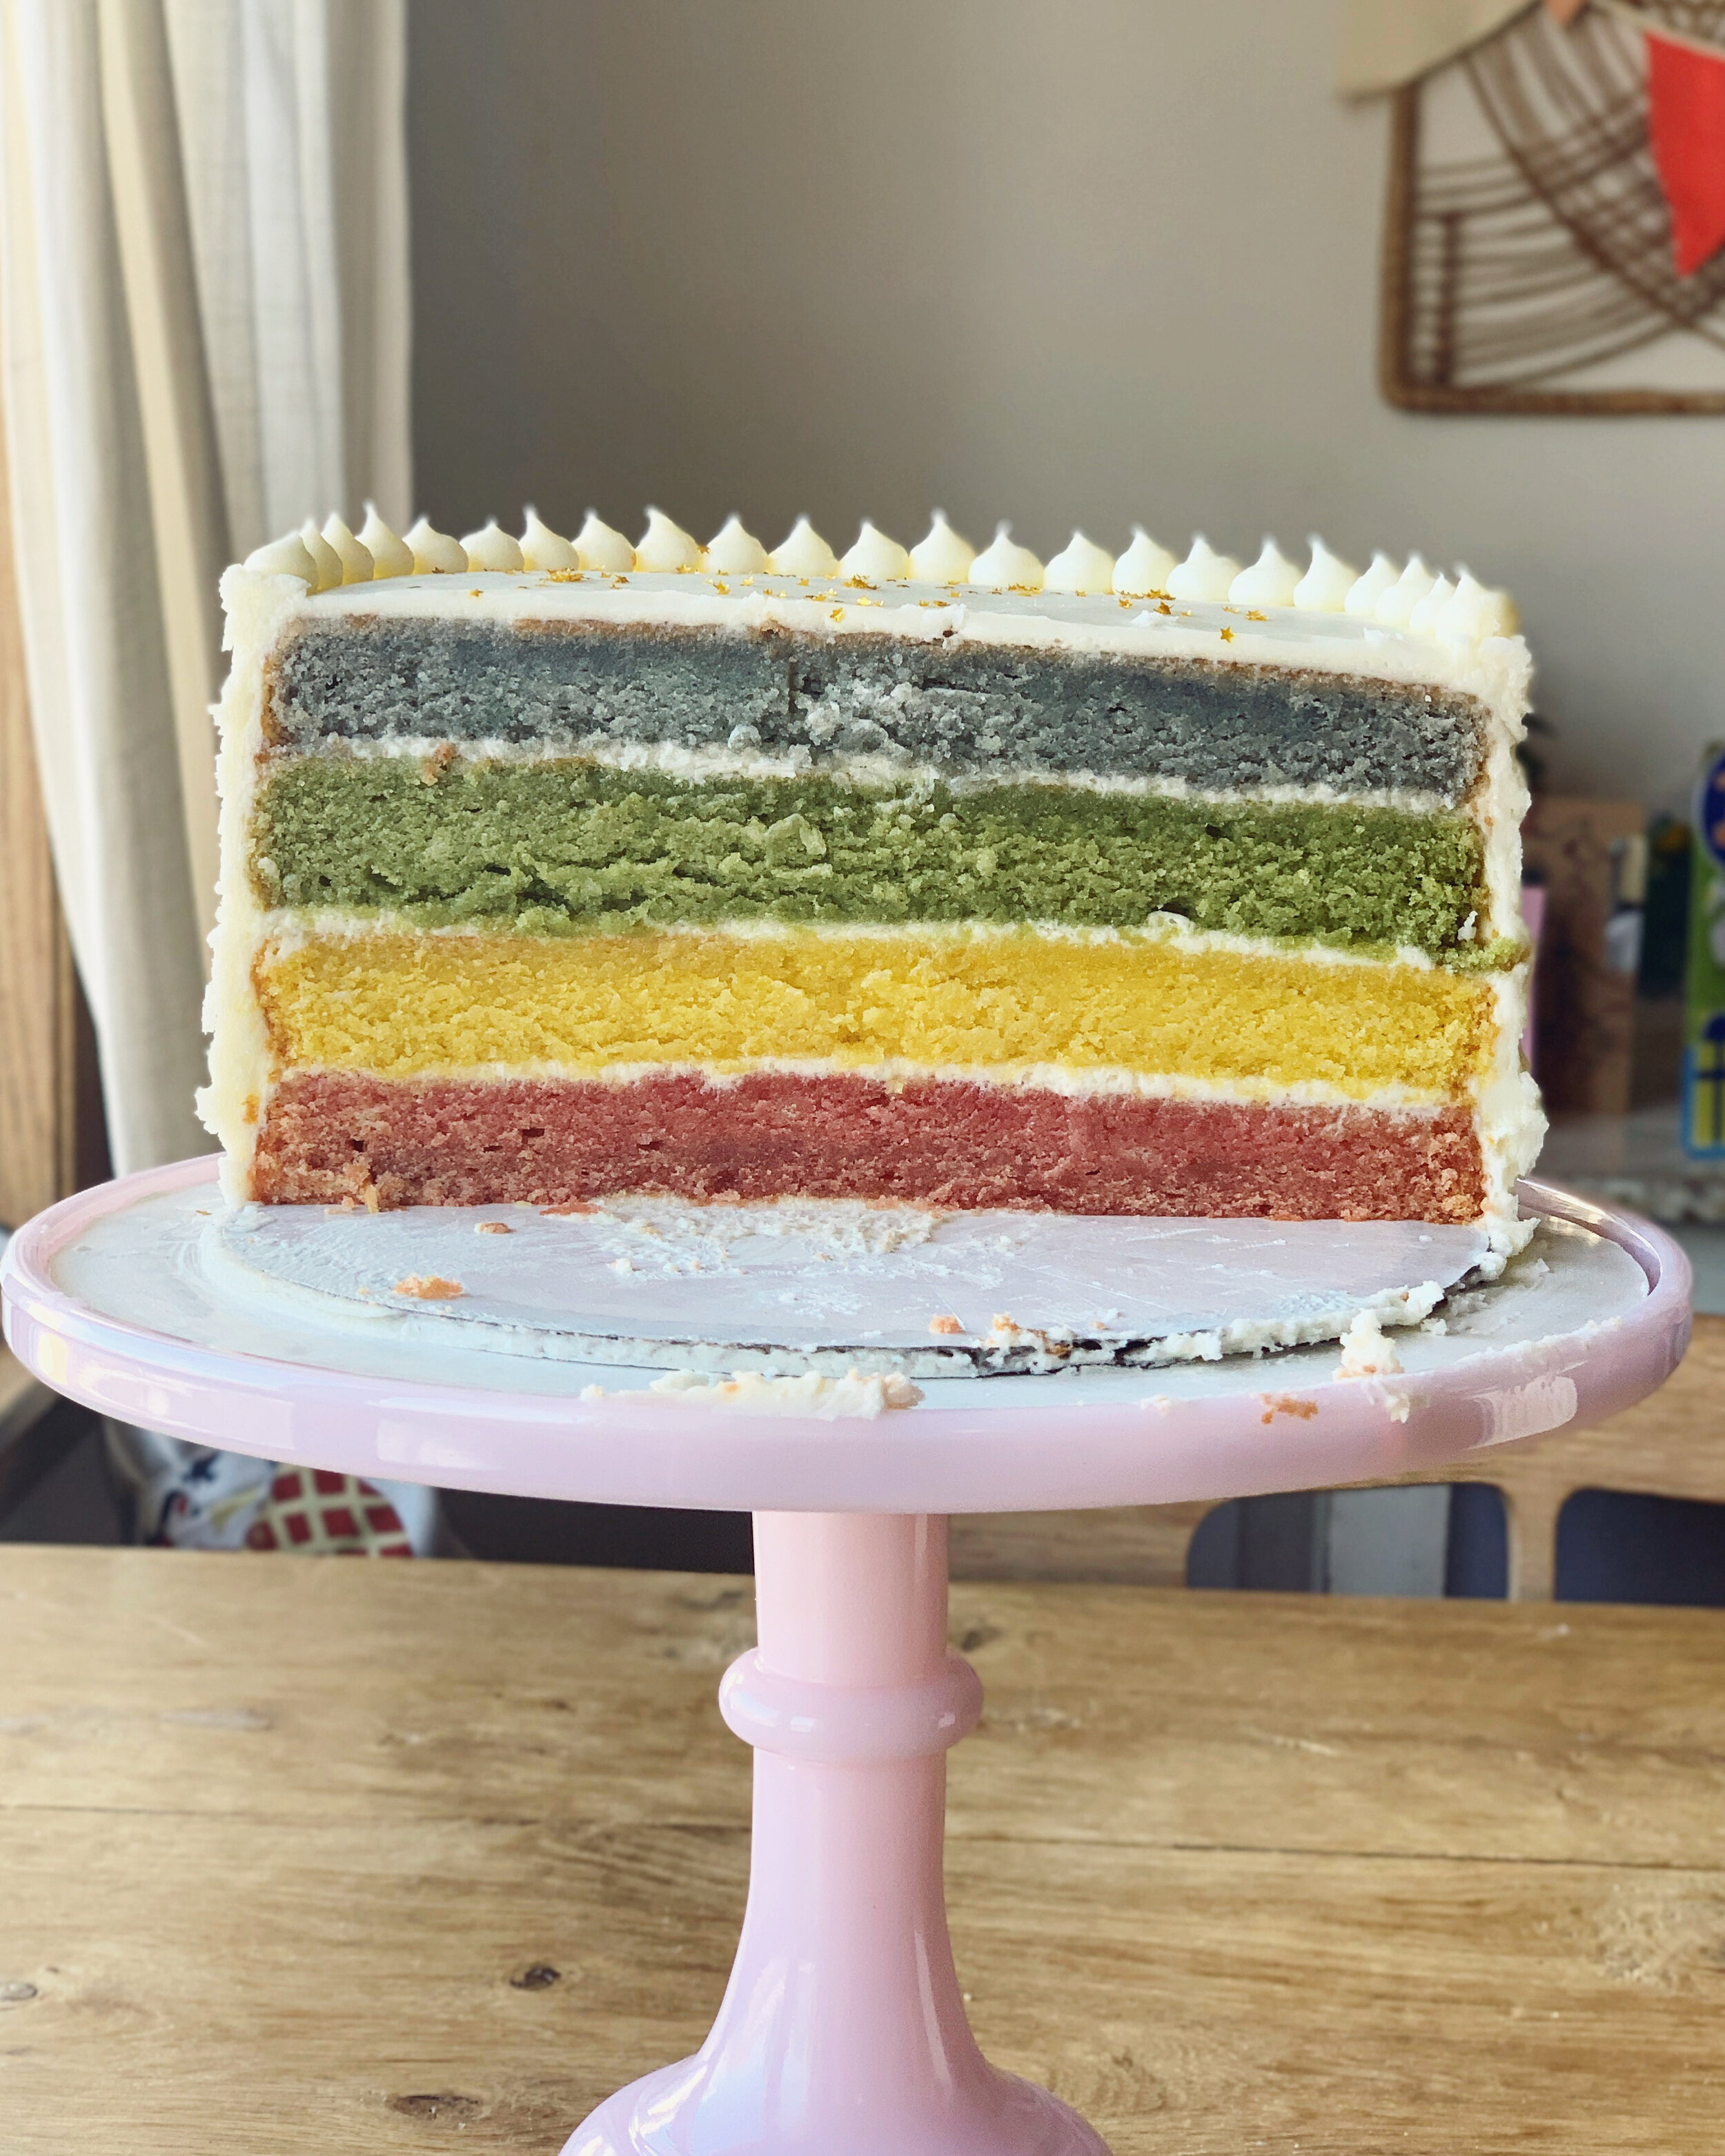
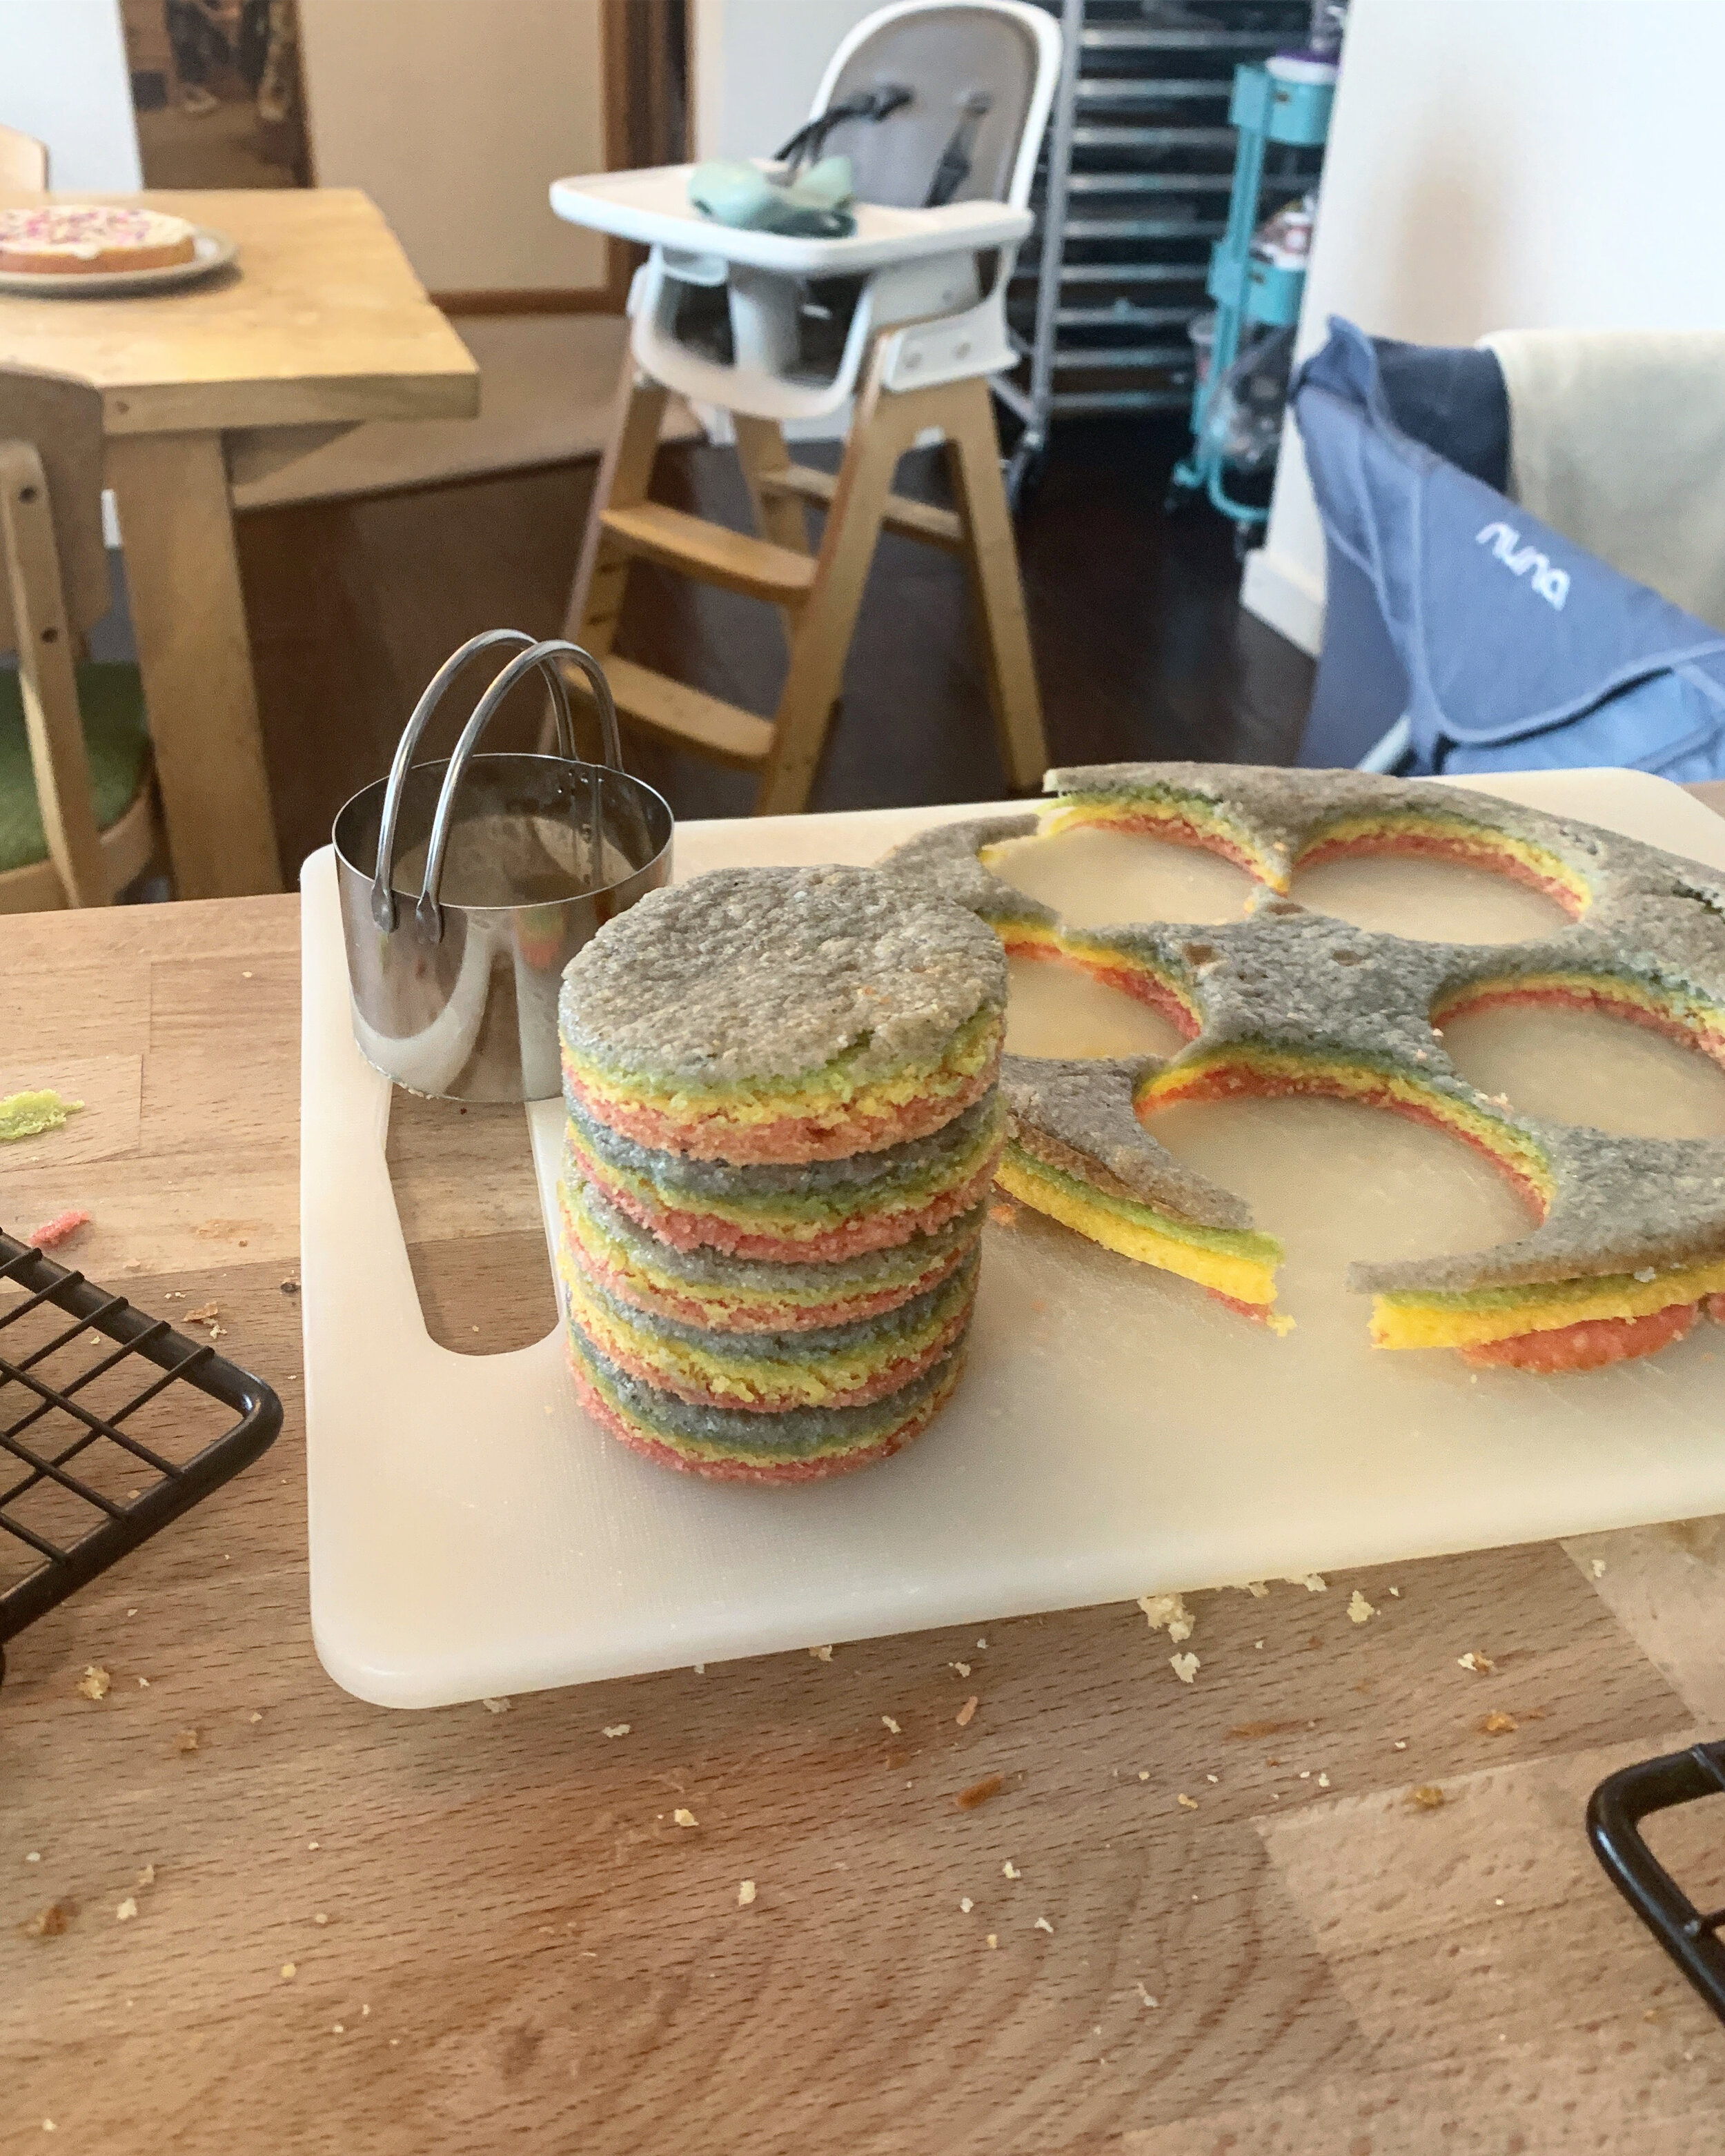
*make sure they’re rainbow sprinkles you really like the taste of. the sprinkles in this photo are a mix of india tree’s nature’s colors sprinkles and good old wilton nonpareils. 

Clues

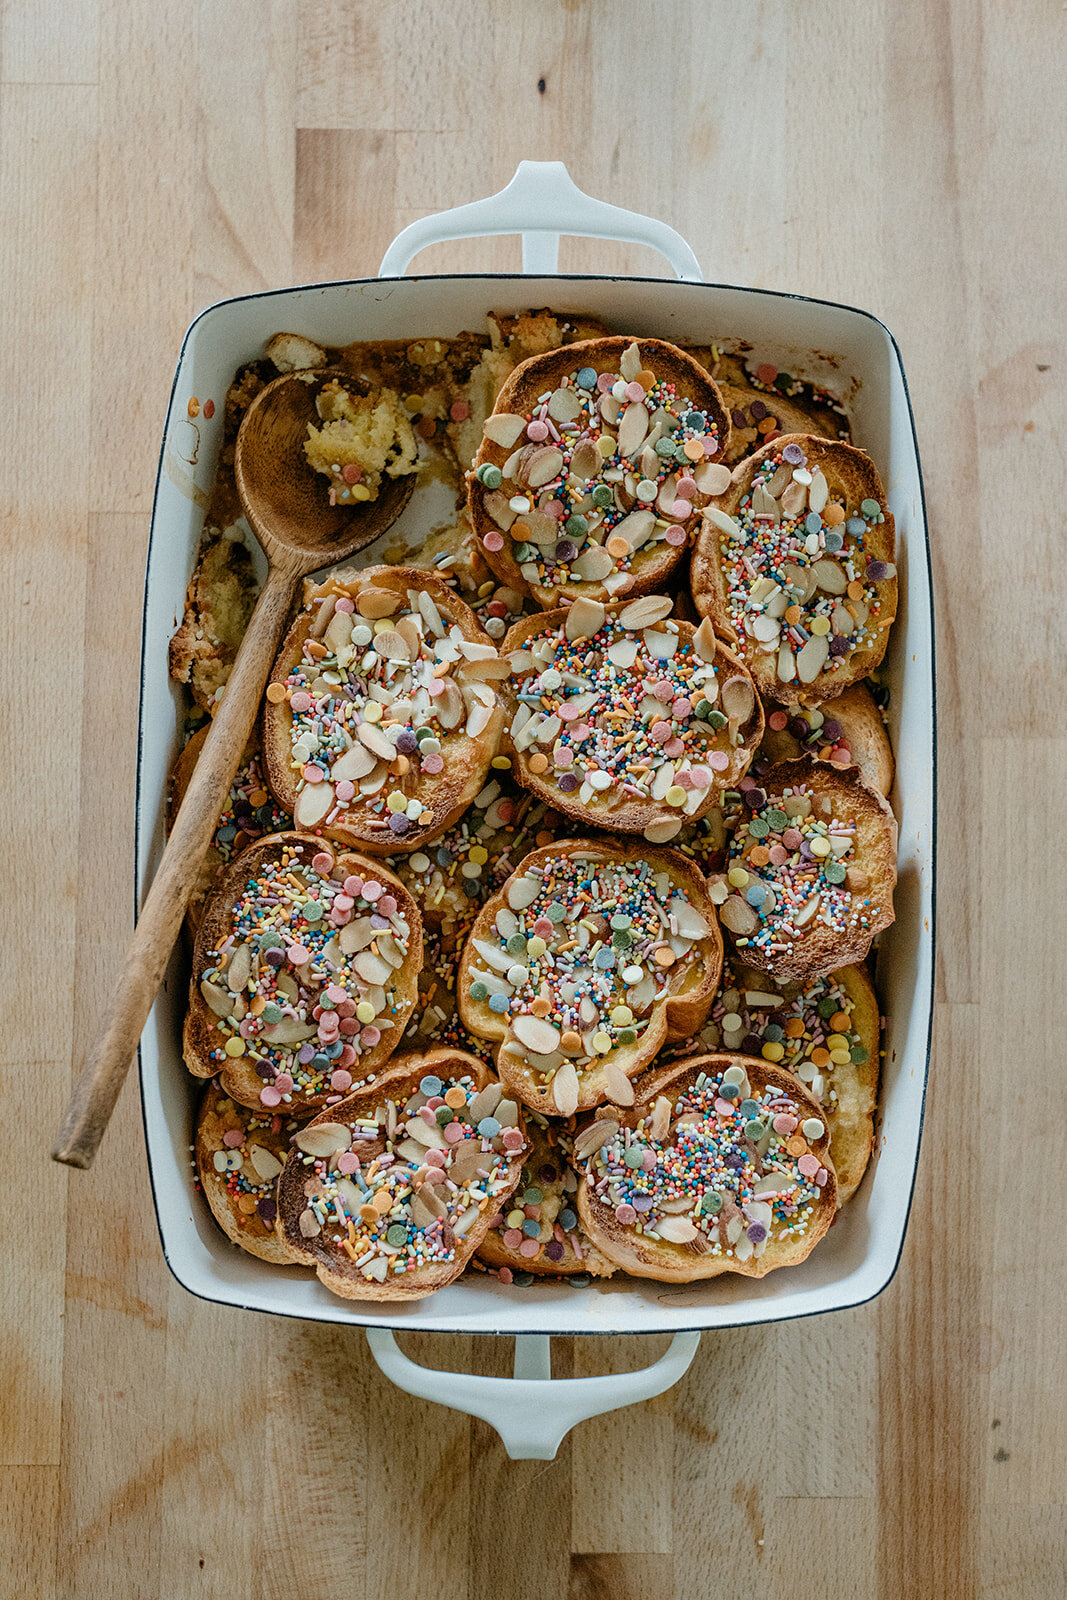
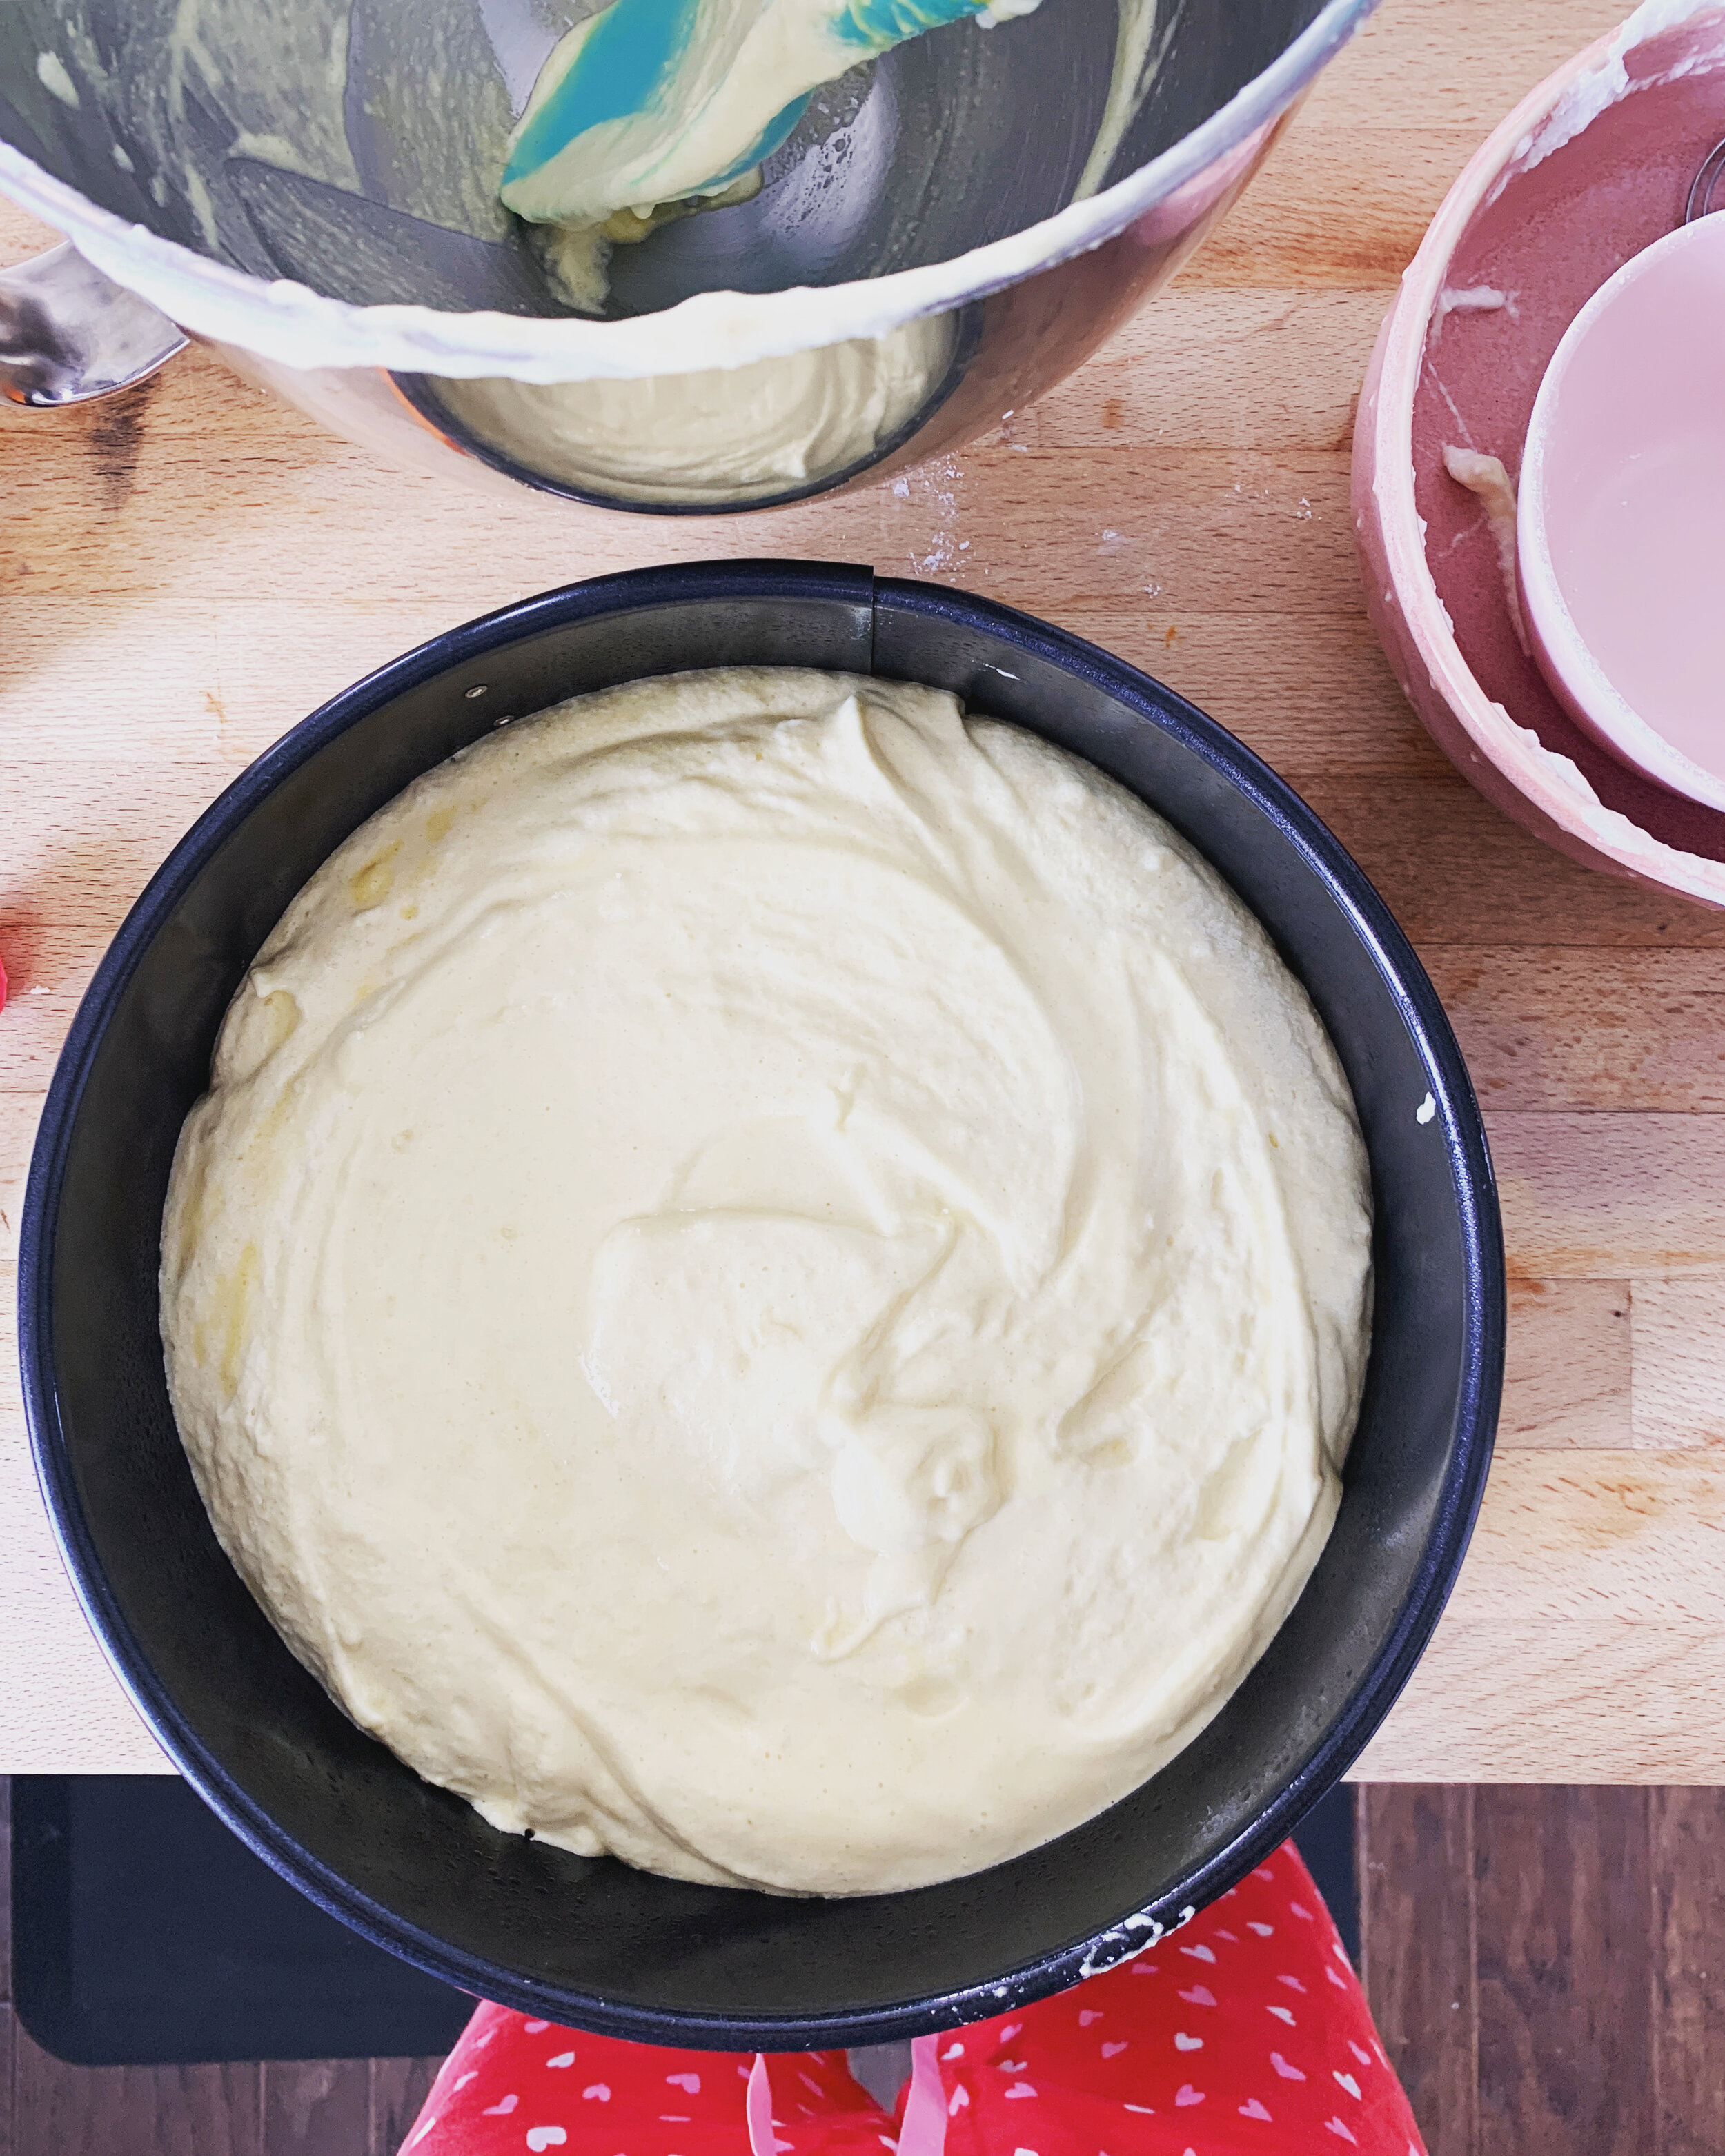
Pour the butter or oil into a 9x13 casserole dish and swirl it around to coat evenly. Sprinkle on the sugar. Arrange half of the bread in the baking dish, overlapping if necessary, and sprinkle on the almond paste. Arrange the remaining bread on top.

In a large bowl whisk together the eggs, milk, vanilla, almond extract, salt, and lemon zest and pour evenly over the bread slices. Sprinkle the almonds all over the top.

Cover and place in the refrigerator for 4 hours or overnight.

When ready to bake, preheat the oven to 350ºf.

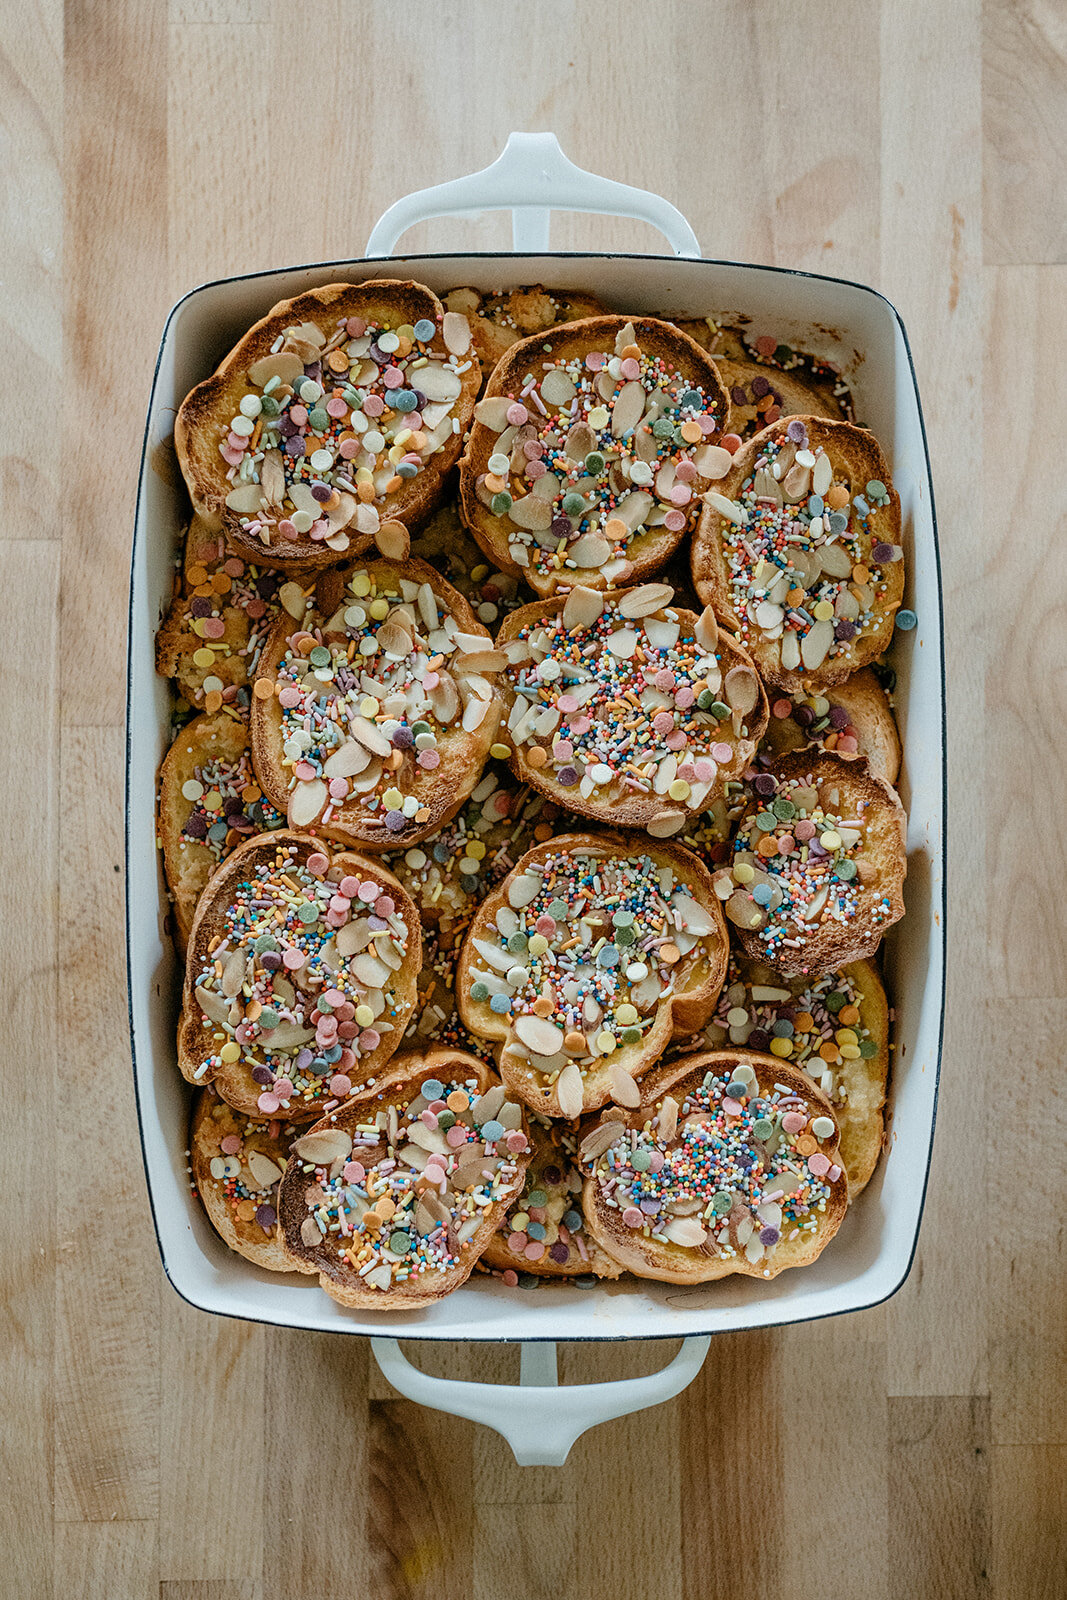
Bake uncovered until browned on top and set throughout; begin checking for doneness at 35 minutes. If the top starts browning too much, tent it with foil.

Remove casserole from oven and take no prisoners while you cover it completely with sprinkles. Enjoy!!


naturally colored rainbow cake + bernie is one!!

Bernie is ONE!! Yes, it went by so quickly! Yes, she gets more delicious every day!! Yes, I began planning her vegetable-themed birthday party more than six months ago and spent hours and hours searching for the perfect garlands and outfits, hand drawing her invitations, developing new recipes, sketching out her table scape, typewriter-ing the seed packet party favors, and scheduling the prep down to the minute. (And yes, in retrospect, I see what Nick meant when he said that I am… crazy…) And then yes, we had to cancel it ☹️! But!! Even though we missed our fronds and family dearly, it was truly a magical beautiful Bernie day and we loved every single moment of it. We had sprinkle pancakes and blueberries for breakfast, homemade chicken and stars soup for lunch, and turkey spinach meatballs with freshly made fettuccine for dinner. In between, we played in pools of Cheerios and visited the farm cats. And then we had cake! Obviously!

I am so pleased with how this naturally colored rainbow cake turned out. It took a bunch of experimenting and tweaking to get the shades to match and to figure out a method that wouldn’t require too much fussiness/juicing/boiling of beets/etc. I tried using turmeric but that was too bright, and I tried using a store-bought precooked beet but that wasn’t bright enough and just got messy. In the end, I went with a combination of store-bought carrot juice, store-bought beet juice, and a big bunch of fresh mint. The cake is based on my go-to vanilla butter cake that is so incredibly moist, dense, and delicious. It’s one of my proudest cakes! The flavor of the beets and the carrots is undetectable and the flavor of the fresh mint shines through just a wee bit, enough to lend its herby flavor but it’s far from overpowering. I went with a basic cream cheese frosting to add some nice tang and decorated with Fimo clay cake toppers.

For Bernie’s mini cake, I stacked up the scraps that I cut off from leveling the layers and cut out tiny layers with a biscuit cutter. No separate cake pans necessary. I was so excited when I realized this would work! The cake is so moist that the scrap layers stuck together without a need for frosting between them. Bernie loved it! I took enough photos of her eating it to break my phone and she didn’t even make a huge mess which makes me think that one day she’ll make a great cook that will be good at the whole clean-as-you-go thing. 

Weeks ago, I baked the cake layers, let them cool, formed Bernie’s mini cake, wrapped everything in plastic wrap and froze them so that I could have one more thing checked off my to-do list for the party. It also made frosting them, especially the mini cake, way way easier. I always like to frost frozen cakes (and then allow to sit at room temperature for a few hours or overnight before serving). 

Important note about the layers! This cake was originally supposed to be three layers (pink, yellow, and green) but I added a blue layer at the last minute because we were going to be expecting more guests than my usual three-layer cake serves and also because I needed to test two of the layers again so figured I’d experiment with a blue layer for the third. The blue layer is not a part of the recipe below but if you’d like to make a blue layer, simply use the same method as the green layer but sub out the mint for wild blueberries (I used frozen). You’ll have to either add another third batch of batter (using a scale and weighted measurements will help with this and ugh sorry about the 1/3 of an egg thing!) or replace one of the other colors with the blue. I’m sorry for any confusion that this causes!!


Naturally Colored Rainbow Cake

Makes one 3-layer 8” cake (and a mini cake!)

Ingredients

3 1/2 c (450g) all-purpose flour

1 tb baking powder

1 1/2 tsp kosher salt

1 c (225g) unsalted butter, room temperature

1/2 c (112g) refined coconut oil, room temperature

2 1/4 c (450g) sugar

4 large eggs, room temperature

1 tb vanilla bean paste or extract

1/2 c (120g) sour cream, room temperature

1 c (236g) whole milk, divided

1/4 c carrot juice

1/4 c beet juice (storebought is fine, the one I get has a little lemon juice added and that’s ok)

1/4 c firmly packed fresh mint leaves


Frosting:

1 c** (225g) good quality unsalted butter, room temperature

8 oz (224g) cream cheese, room temperature

4 c** (480g) powdered sugar

1/8 tsp kosher salt

1 1/2 tsp vanilla bean paste or extract

3 tb** (45g) heavy cream

**if you’re making a mini cake, I recommend adding another 1/2 c of butter, 1 c of sugar, and 1 tb of heavy cream to the frosting in order to have enough!

Clues

To make the cake layers: preheat the oven to 350ºf. Grease and line the bottoms of three 8” cake pans with parchment and set aside. (For a 4-layer cake, which is the one on the pictures, please see my note above!)

In a large bowl, sift together the flour and baking powder, and then lightly stir in the salt and set aside.

In a stand mixer fitted with a paddle attachment, cream together the butter, coconut oil, and sugar on medium high for 3-4 minutes, until light and fluffy. Add the eggs, one at a time, beating well after each. Reduce the mixer to low and add the vanilla and sour cream. Gradually add the dry mixture and mix until about 80% combined (you’re going to continue to mix once you add the coloring so only partially mixing at this stage prevents over mixing the batter). Divide the batter evenly into 3 bowls (using a scale helps with this!). In the first bowl, add 1/4 cup of milk and the carrot juice and fold together until smooth and just combined. In the second bowl, add 1/4 cup of milk and the beet juice and fold together until smooth and just combined. In a blender, blend together the mint leaves with the remaining 1/2 cup of milk until very smooth. Add this to the third bowl and fold together until smooth and just combined. Transfer the batters to the cake pans and spread them out evenly. 

Bake until the edges of the cakes are lightly browned and a toothpick inserted into the center comes out with a few crumbs on it; begin checking for doneness at 30 minutes and try your darnedest not to let it over bake. Let in the pans for 10 minutes and then transfer to a wire rack to cool completely. 

To make the buttercream: 

In a stand mixer fitted with a paddle attachment, beat together the butter and cream cheese until creamy. Gradually add the powdered sugar, and then mix in the salt, vanilla, and heavy cream. Mix until creamy.

To frost the cake, level the top of the layers and then stack them up with a layer of frosting in between. (The cakes bake up generally pretty flat so there won’t actually be that much to level off.) Frost all over and decorate as desired.

To make a mini cake, stack the leveled scraps of cake up, give them a good firm pat so they stick, and cut out four 2 1/2 inch circles with a biscuit cutter. Don’t worry if some of the scraps tear, the cake is moist enough that when you stack up the scraps, they’ll all smoosh together. Stack them on top of each other and, if you have the time, wrap the cake tightly in plastic wrap and freeze for a few hours or even a few weeks. This will make frosting this tiny cake way easier! Frost while frozen and let come to room temp before serving.

This cake is super moist that you could definitely decorate the day before serving. Let it sit at room temperature overnight.


-yeh!

valentine's day almond cake

Holy guacamole snowstorm almond paste, where did January and the better part of February go?? It seems like just yesterday that I was rolling around with Bernie under the Chrismukkah bush and staring down my kransekake asking what am I going to do with you? (Oh wait, that definitely was yesterday because a) we still have the bush up and b) nobody ate my kransekake and it’s still in our pantry/prop/piano room looking as handsome as ever.) My point is that wow time flies when you’re belting Sesame Street and braving the snowstorm to go to library story time. I’m so sorry I haven’t written to you in forever!!! Are we still fronds? Are we fronds on Instagram?? I find it’s much more manageable these days to document directly from my phone during nap time and in between readings of Cloudy with a Chance of Meatballs rather than opening up my computer for a longer form blog post. So for the time being, let’s just hover between Instagram and a less frequent but not totally infrequent blog post correspondence, ok??? Navigating the internet and balancing time with Bernie and other projects is hard! But I love them all so I promise to blog as often as I can!

Let me ketchup on what we’ve been doing this winter!

We’ve been snowshoeing in the yard, finger painting, tasting the finger paint, cheering on Jason Brown’s quad, screaming for Mariah Bell’s nationals moment, testing Girl Meets Farm season 6 enchiladas again and again, avoiding the flu, going to the spa in Winnipeg, and scrubbing oatmeal off of a high chair three times a day every single day. We’ve reached peak coziness on the couch, taken swim lessons, and zipped down to Arizona to see the sun. We’ve eaten plenty of pot pies and kept up our pizza Friday habit, and Bernie’s had her first boureka, hawaij, harissa, and bamba. Next week we’ll get another little dose of sun in South Beach and then before we know it, we’ll be filming again and then after that it’s spring planting! Ugh I love winter so much. How have you been? Are you staying warm? Ready for the spring??

On to the cake. It is time for Bernie’s very first annual Valentine’s Day almond cake and oh my good gosh geez, I’ve been dreaming of this moment for so very long. As you know, I make this same exact cake every single year for Valentine’s Day and have way too much fun thinking of different ways to decorate it. The cake itself is a light spongey almond cake with fluffy whipped cream and it’s so good and not too rich. (See below for links to the cakes I’ve made every year since the start of this blog.) This year I spent a really long time brainstorming ways for Bernie to help decorate, taking into account the fact that most Valentine’s candies are choking hazards and all she wants to do is put everything into her mouth. So inspired by a painting method that Hayley, the art director for Girl Meets Farm, did with Bernie to make paintings for our refrigerator, I taped a bag of melted (and mostly cooled) chocolate to her high chair tray and let her mush it around. She loves squishing things!! When she was done with her masterpiece, we put the bag in the freezer (carefully, to maintain Bernie’s artistic vision) and when the chocolate firmed up, we used it as the decorations on the cake!

This is by far my favorite Valentine’s Day cake of all time. I’m so stinkin excited to eat it. We’re going to have it with heart shaped pizza and it’s gonna be the best!!! Happy Valentine’s Day, everyone!!

(And you can see all of my past valentine’s cakes here! 2019 / 2018 / 2017 / 2016 / 2015 / 2014 / 2013 / 2012 / 2011 / 2010)


valentine's day almond cake

serves 10-12

ingredients

cake:

1/2 c (64g) all-purpose flour

1 tsp baking powder

8 oz almond paste

6 large eggs, separated

1/2 tsp kosher salt

1/2 c (100g) sugar

1 tsp vanilla extract

1/2 tsp almond extract


whipped cream:

1 1/2 c (360g) heavy whipping cream

1/2 c (60g) powdered sugar

1 tsp almond extract

pink food coloring (the food coloring in the photo is americolor’s mauve colored gel), optional


assembly:

chocolate
sprinkles of all sorts

clues

preheat the oven to 350ºf. grease and line the bottom of a 9” springform pan and set aside.

in a small bowl, whisk together the flour and baking powder.

in the bowl of a stand mixer fitted with a whisk attachment, beat the egg whites and salt to soft peaks and then gradually beat in the sugar, about 1 tablespoon at a time. continue beating to stiff peaks and then set aside.

in the bowl of a stand mixer fitted with a paddle attachment (i usually just scoop the whites out of the bowl and transfer them to a separate bowl and then reuse my stand mixer bowl without having to wash it for this step), combine the almond paste and egg yolks and beat on high for 2 minutes until pale and fluffy (but allow some almond paste chunks to remain in tact), scraping down the sides of the bowl as needed. mix in the vanilla and almond extract. gently fold the whites into the yolk mixture and then fold in the flour mixture. pour the batter into the pan and then bake until a toothpick inserted into the center comes out clean. begin checking for doneness at 30 minutes.

cool in the pan on a rack for 10 minutes and then remove to the rack to cool fully.

to make the whipped cream, in the bowl of a stand mixer fitted with a whisk attachment, beat the heavy cream, powdered sugar, and almond extract to stiff peaks. add a few drops of pink food coloring if desired.

spread the whipped cream on top of the cake. decorate with chocolate and/or sprinkles as desired and enjoy!!

store leftovers in the fridge for up to a few days.


-yeh!

hazelnut gelt cookies

These cookies were born out of my desire to build a repertoire of Hanukkah cookies in a Christmas cookie world! I mean I obviously love a Christmas cookie but I also love a Hanukkah dessert that a) doesn’t require me to fry anything and, b) can allow me to pull out all of the sprinkles and decorate stuff. A few years ago, I learned the joys of making homemade gelt. It’s so simple yet fun! You just melt blobs of chocolate and add any toppings you want. And you can control your own currency and game the dreidel system so that whatever happens, you’re rich! (Oh, your gelt is topped with sunflower seeds? Well mine is way more valuable since it’s topped with sea salt. Therefore I win.) So this year I decided to up the ante and put this gelt right on top of a cookie. Gelt on cookies is nothing new, but homemade gelt on a thick soft hazelnut cookie is a thing of modern beauty! You could obviously schmear melted chocolate on any kind of cut out cookie but I’ve used these hazelnutty orange zesty pucks here because they’ve got more personality than your standard holiday sugar cookie. The result is a combination of textures (soft cookie + snappy chocolate) and flavors (hazelnut + chocolate + orange) that is worthy of a prime spot in your Hanukkah cookie box.

So have at it and let your creativity run wild! Make some for your Ultimate Hanukkah Challenge viewing party*!!! 

*Your daily reminder that the Ultimate Hanukkah Challenge is a show that exists and it is premiering on December 21st at 9pm/8c on Food Network.


Hazelnut Gelt Cookies

makes about 26 cookies

ingredients

for the cookies:

3 1/2 c (448g) all-purpose flour, plus more for dusting

1 1/3 c (150g) ground toasted hazelnuts (you can make your own or buy hazelnut flour, bob’s red mill sells it!)

1 tsp baking powder

3/4 tsp kosher salt

1 c (226g) unsalted butter, softened

2/3 c (137g) granulated sugar

2/3 c (80g) powdered sugar

Zest of 1 orange

2 large eggs

1 tsp vanilla extract

for the topping:

6 oz (168g) chopped milk chocolate or milk chocolate chips

sprinkles

clues

to make the cookies, in a medium bowl, combine the flour, ground hazelnuts, baking powder, and salt and set aside. in the bowl of a stand mixer fitted with the paddle, cream together the butter, sugars, and orange zest on medium high until pale and fluffy, about 3-4 minutes. add the eggs, one at a time, beating after each, and then add the vanilla.

reduce the speed to low and gradually add the flour mixture, mixing until blended. at this point you can wrap the dough in plastic wrap and refrigerate for an hour, or up to two days, or you can get going on rolling out your dough and cutting out your cookies immediately. 

when ready to bake, preheat the oven to 350ºf. line two baking sheets with parchment and set aside. working with half of the dough at a time, roll it out on a lightly floured surface to a thickness that’s just under 1/2” thick. cut out 2 1/2” circles with a biscuit cutter and then transfer to a baking sheet, 1" apart. re-roll scraps and cut out more shapes. bake until they’re lightly browned on the bottom; begin checking for doneness at 12 minutes. let cool on the baking sheets for 5 minutes and then carefully transfer to a wire rack to cool completely. 

To decorate, melt the chocolate in a double boiler or in a microwavable bowl in 30-second increments, stirring after each. Melt until it’s just smooth and then remove from heat. Spoon a teaspoon of chocolate onto the top of each cookie, and spread it around with a spoon into a little Gelt-sized circle. Top with sprinkles and let set in the fridge or at room temperature. Enjoy!