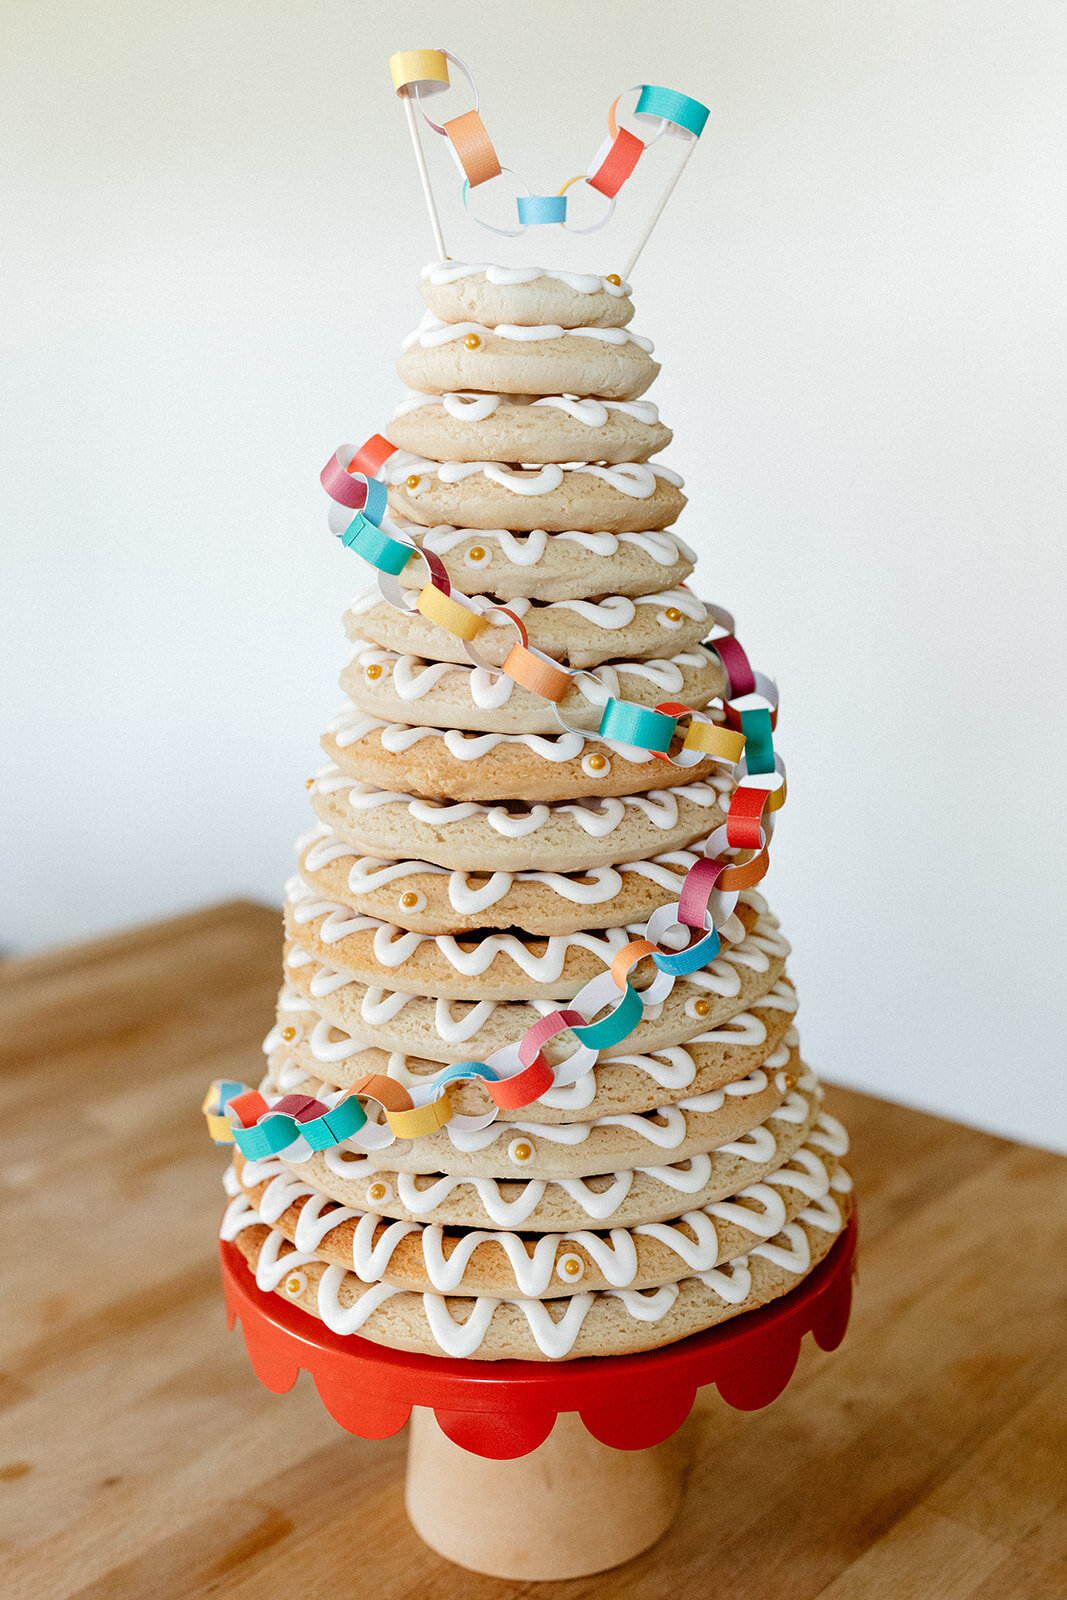
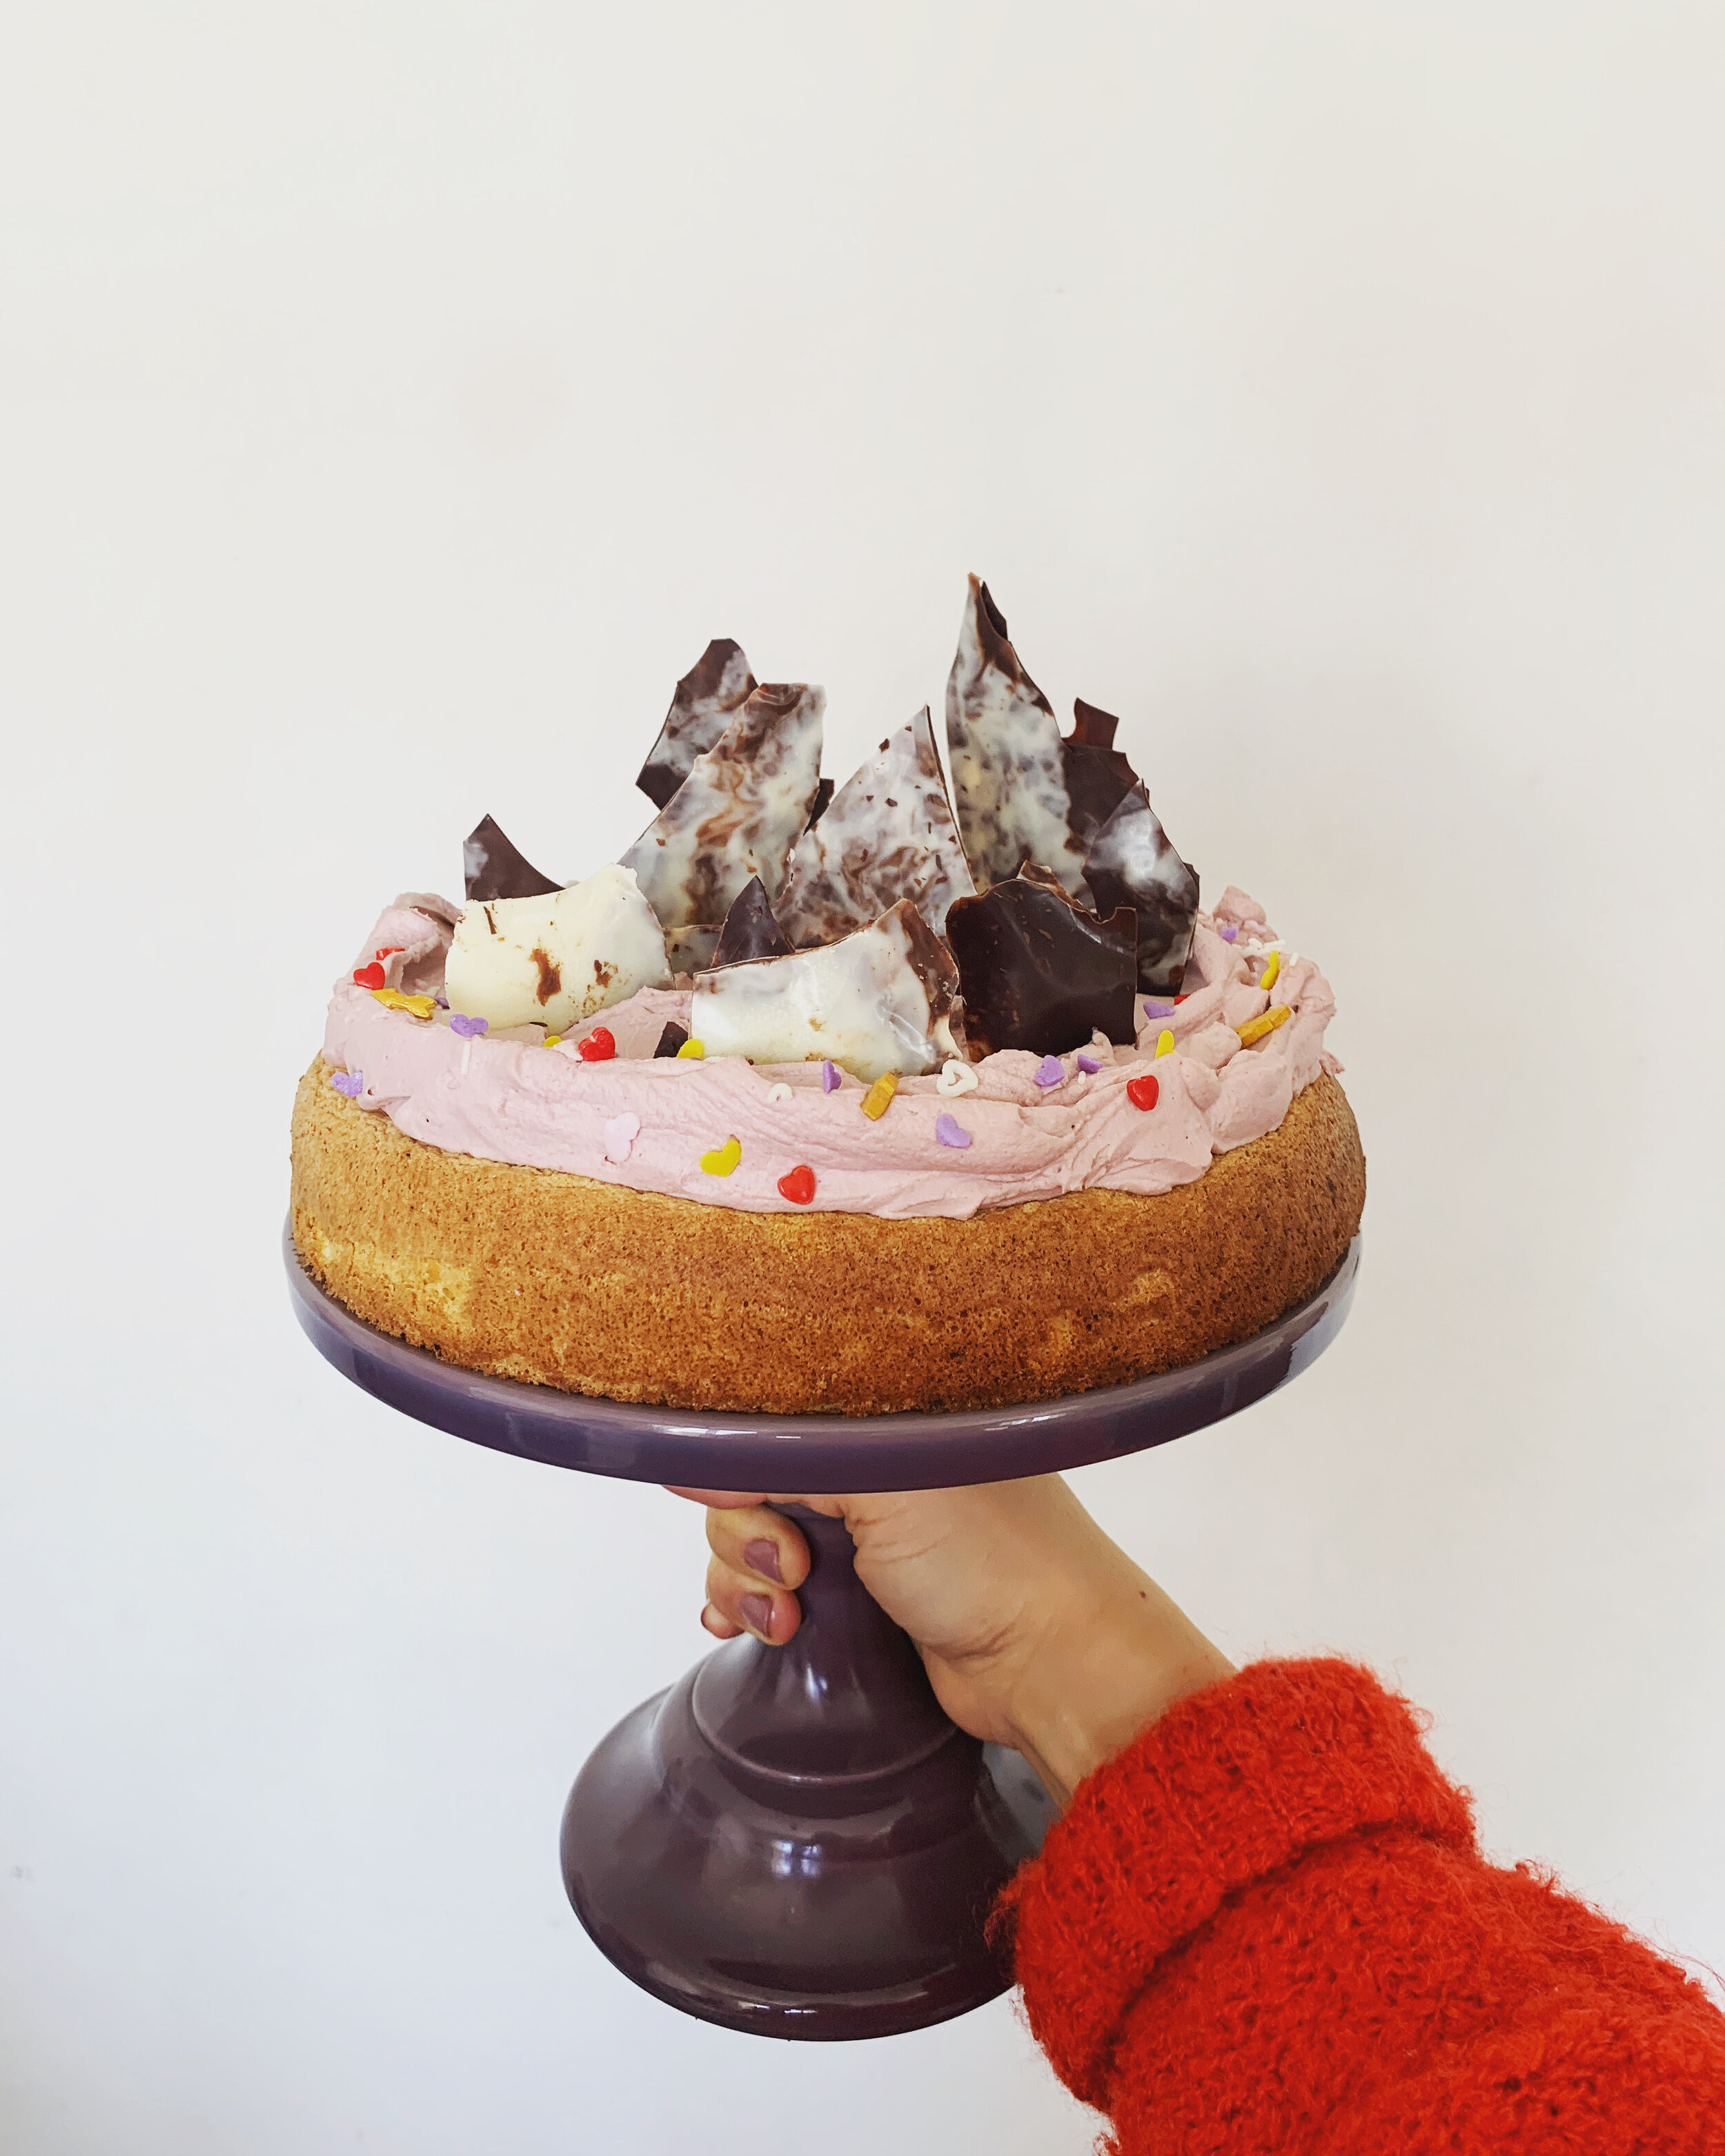
a chrismukkah kransekake

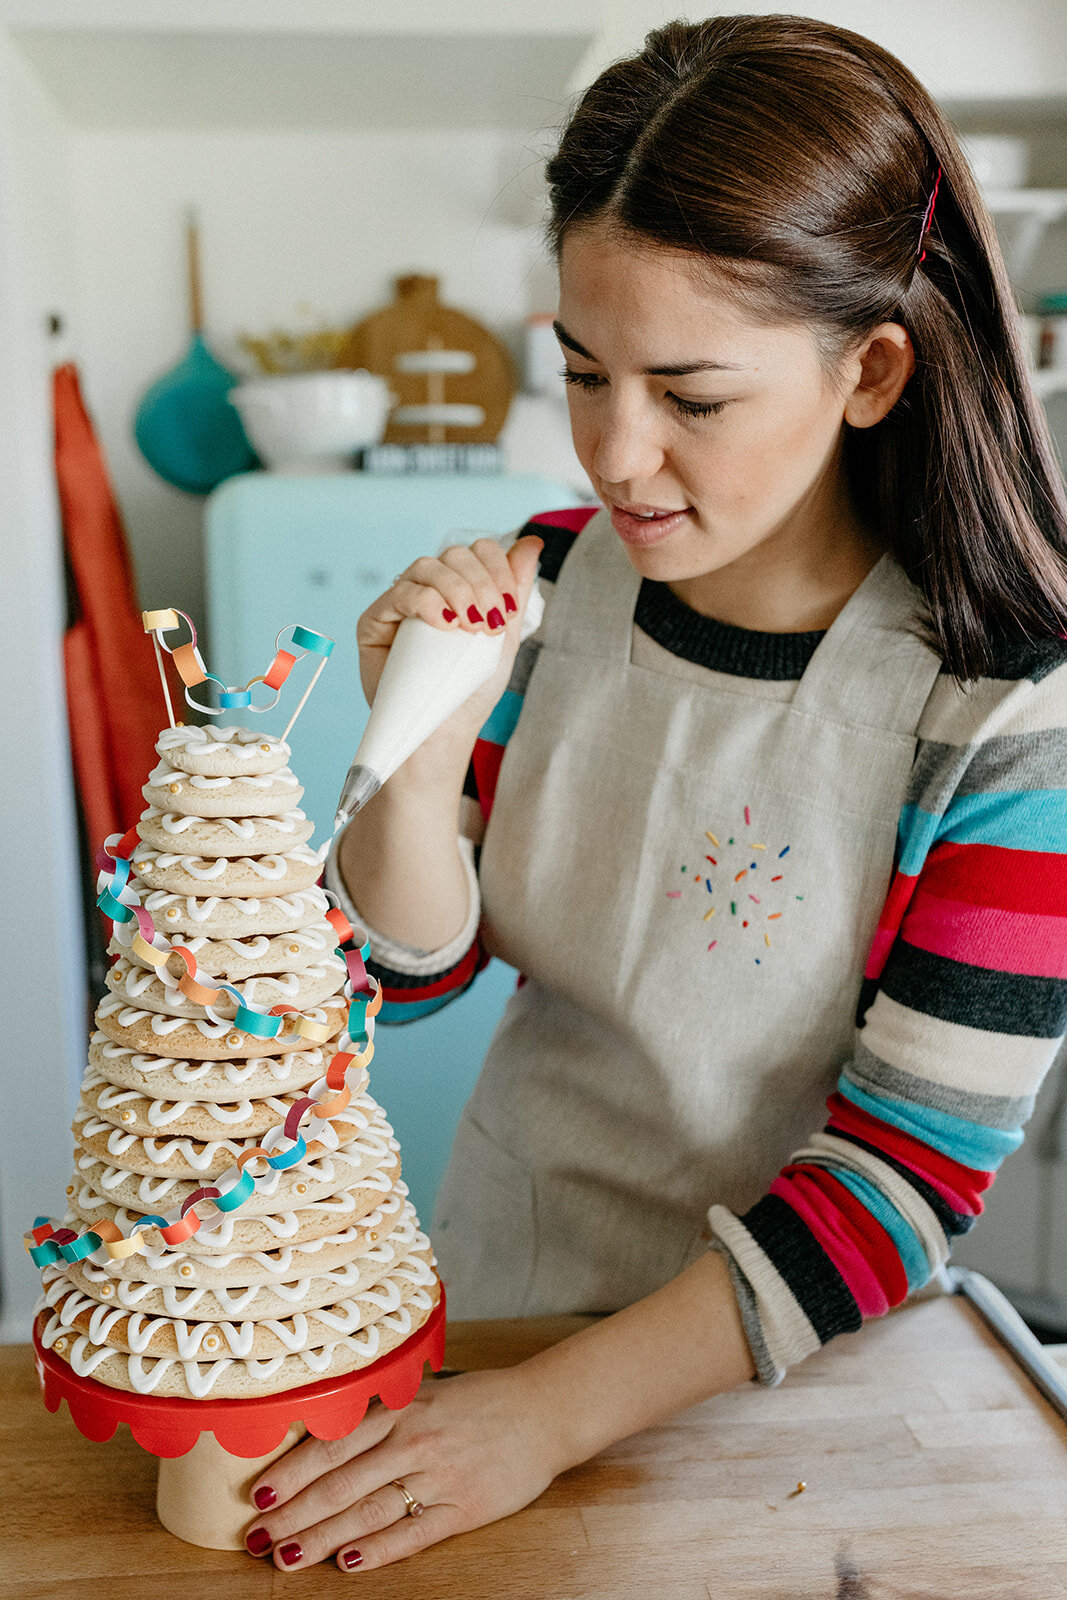
Around here, it just isn’t the holidays if, after being buried under a mountain of cookies all month, I don’t then emerge to make a holiday cake. It usually has marzipan or a storm of coconut snow or some type of gingerbread house-inspired element, and it’s typically my contribution to Nick’s extended family’s holiday party. This year I decided that it was time to tackle the magical Kransekake!

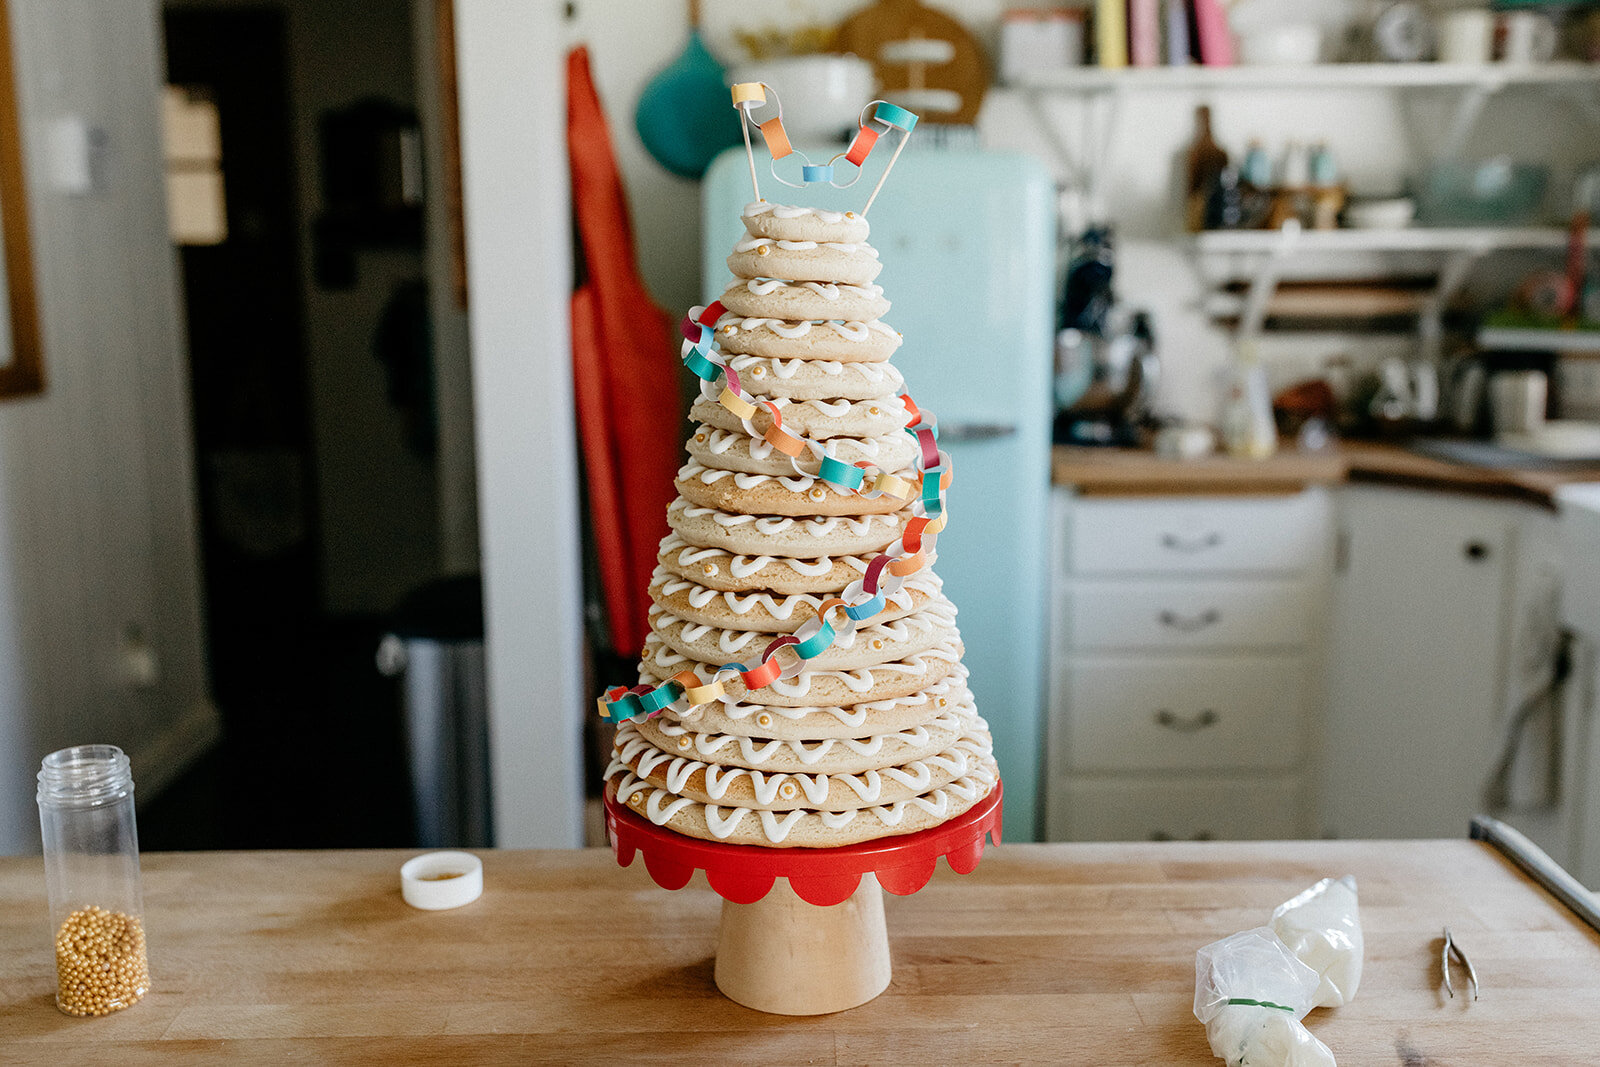
Kransekake is a Norwegian and Danish cake that’s traditional to have at big celebrations like weddings, Christmas celebrations, and Syttende Mai (Norwegian Constitution Day). In my eyes it’s the centerpiece of the celebration. It presides over the party. Whenever I’m in the room with one I just gaze at it with heart eyes because it’s so stunning and geometrically pleasing. The circles stacked up look so clean and pretty and I just always assumed that it would be extremely complicated and time consuming to make. So I started my research months ago and tapped friends and family for their recipes and tips. I learned of secret almond paste sources and admired Erin’s gingerbread version and got the story from Chantell and Brett on the wedding tradition of pulling off the top ring to see how many other rings stick to it and that symbolizes how many children you’ll have (!!!) Hah. I love it. 

Probably my favorite thing that I learned was [whispers] that it’s actually easy to make. It may look delicate and time consuming, but in reality it’s quite sturdy and pretty difficult to screw up. The dough is easy to work with and there’s no gluten in it so you don’t have to worry about overworking it. The only thing that requires pre-planning is ordering the molds on Amazon. Past that, you don’t need a stand mixer or fancy ingredients or days and days of time. With good time management, you can crank one out in a day. 

Also!!!! It’s so tasty!!! It’s basically baked marzipan. Crisp on the outside, super chewy on the inside, it bursts with almond flavor, and it also kinda lasts forever so you can totally make it far in advance. I can’t sing enough praises about Kransekake. It’s officially my favorite Norwegian thing since Bernie. 

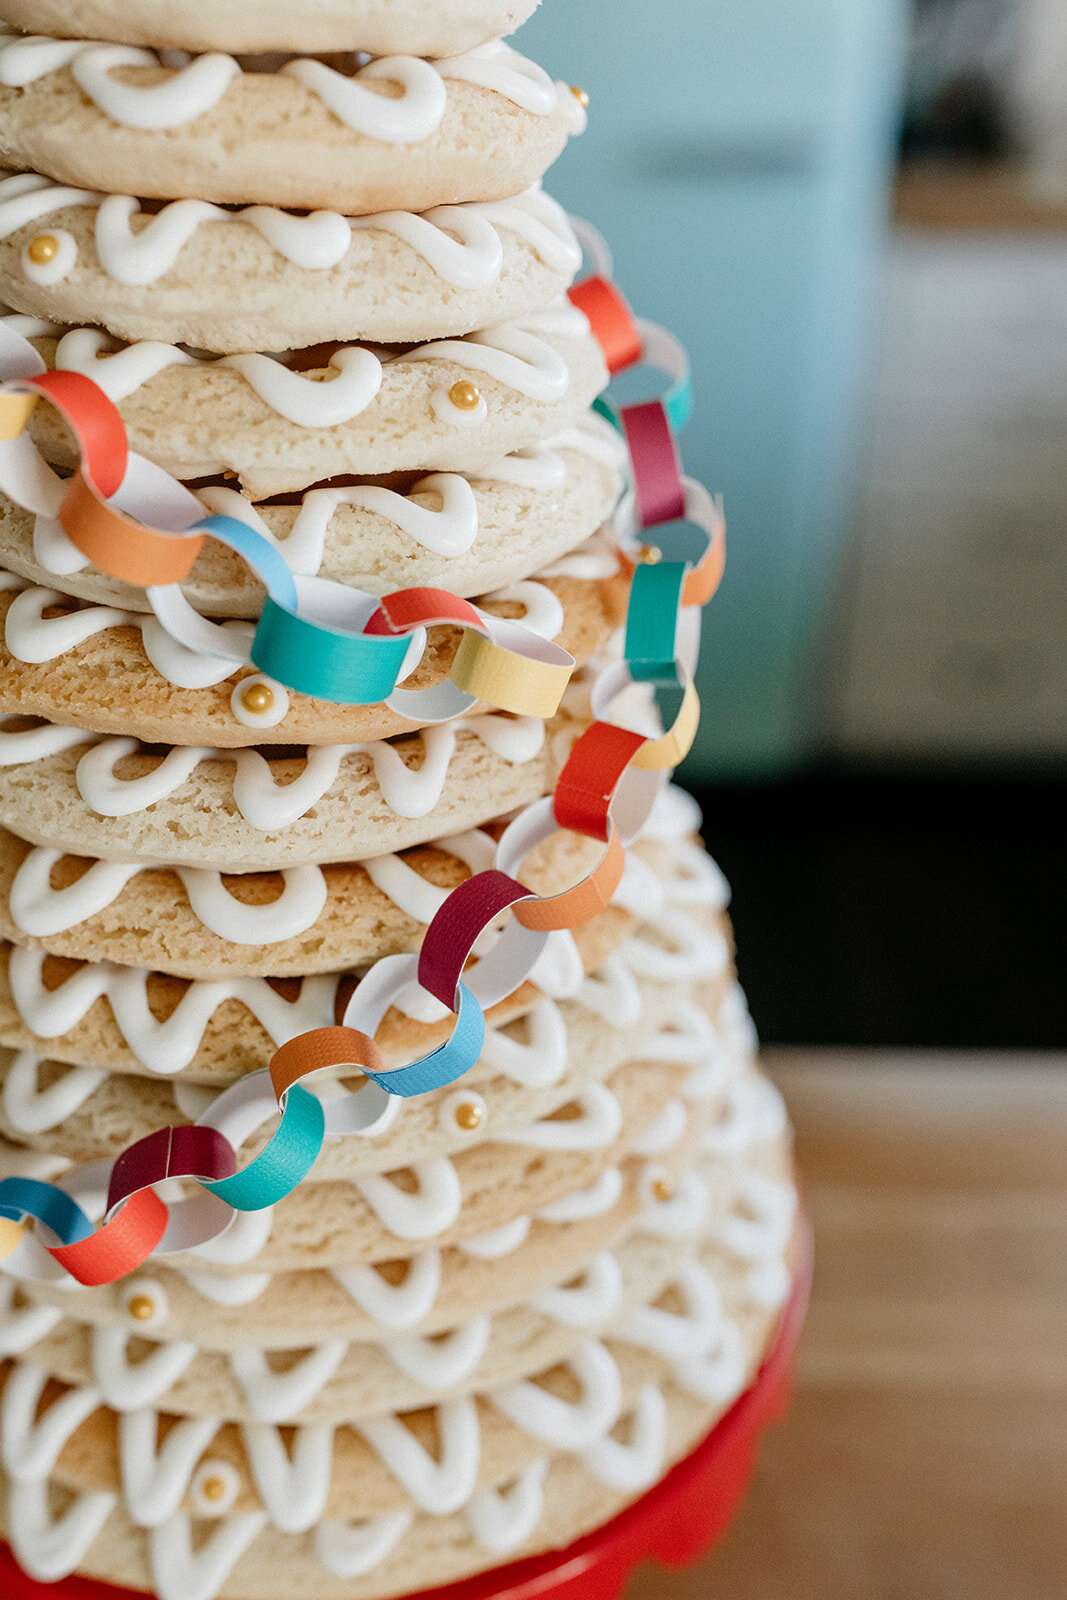
My version is a Chrismukkah Kransekake. It’s decorated with a paper chain that’s a miniature version of the rainbow felt chain that Nick and I made years ago for our Chrismukkah bush. (It’s rainbow because rather than going with a red/green Christmas theme or a blue/white Hanukkah theme, we just went with all of the colors!) It’s a pretty standard Kransekake recipe that I’ve embellished slightly with rosewater or orange blossom (both go so well with almond) and I like to grease the pans with coconut oil for a hint of coconut flavor. You could always go with butter though.

So if you’re looking to impress all of your fronds with a holiday party centerpiece that’s less labor intensive than a gingerbread house (and, well, much tastier), make this!!!! 


Kransekake

Makes 1 large Kransekake

Ingredients

500g (4 c + 7 tb) almond meal, plus more for dusting

500g (4 c + 3 tb) powdered sugar

1/2 tsp kosher salt

4 large egg whites

1 tsp almond extract

1/2 tsp orange blossom water or rosewater, optional

Softened butter or coconut oil, for greasing

For assembly

Royal icing (I just bought meringue powder from my local grocery and followed the recipe on the back!)

Sprinkles, paper chains, flags, any other fun decor!

Clues

In a large bowl, whisk together the almond meal, powdered sugar, and salt. Add the egg whites, almond extract, and orange blossom water or rosewater (if using) and stir with a spatula to combine. At first it will seem like there is not enough liquid to hold everything together but just keep on mixing and it will eventually form a dough. Pat the dough into 2 discs, wrap in plastic wrap, and refrigerate for 2 hours or up to overnight.

Preheat the oven to 400ºf and position the racks in the center of the oven. Use your hands to grease your kransekake molds liberally with butter or coconut oil and set aside. I prefer to set the molds on large baking sheets so that they’re easier to move around. 

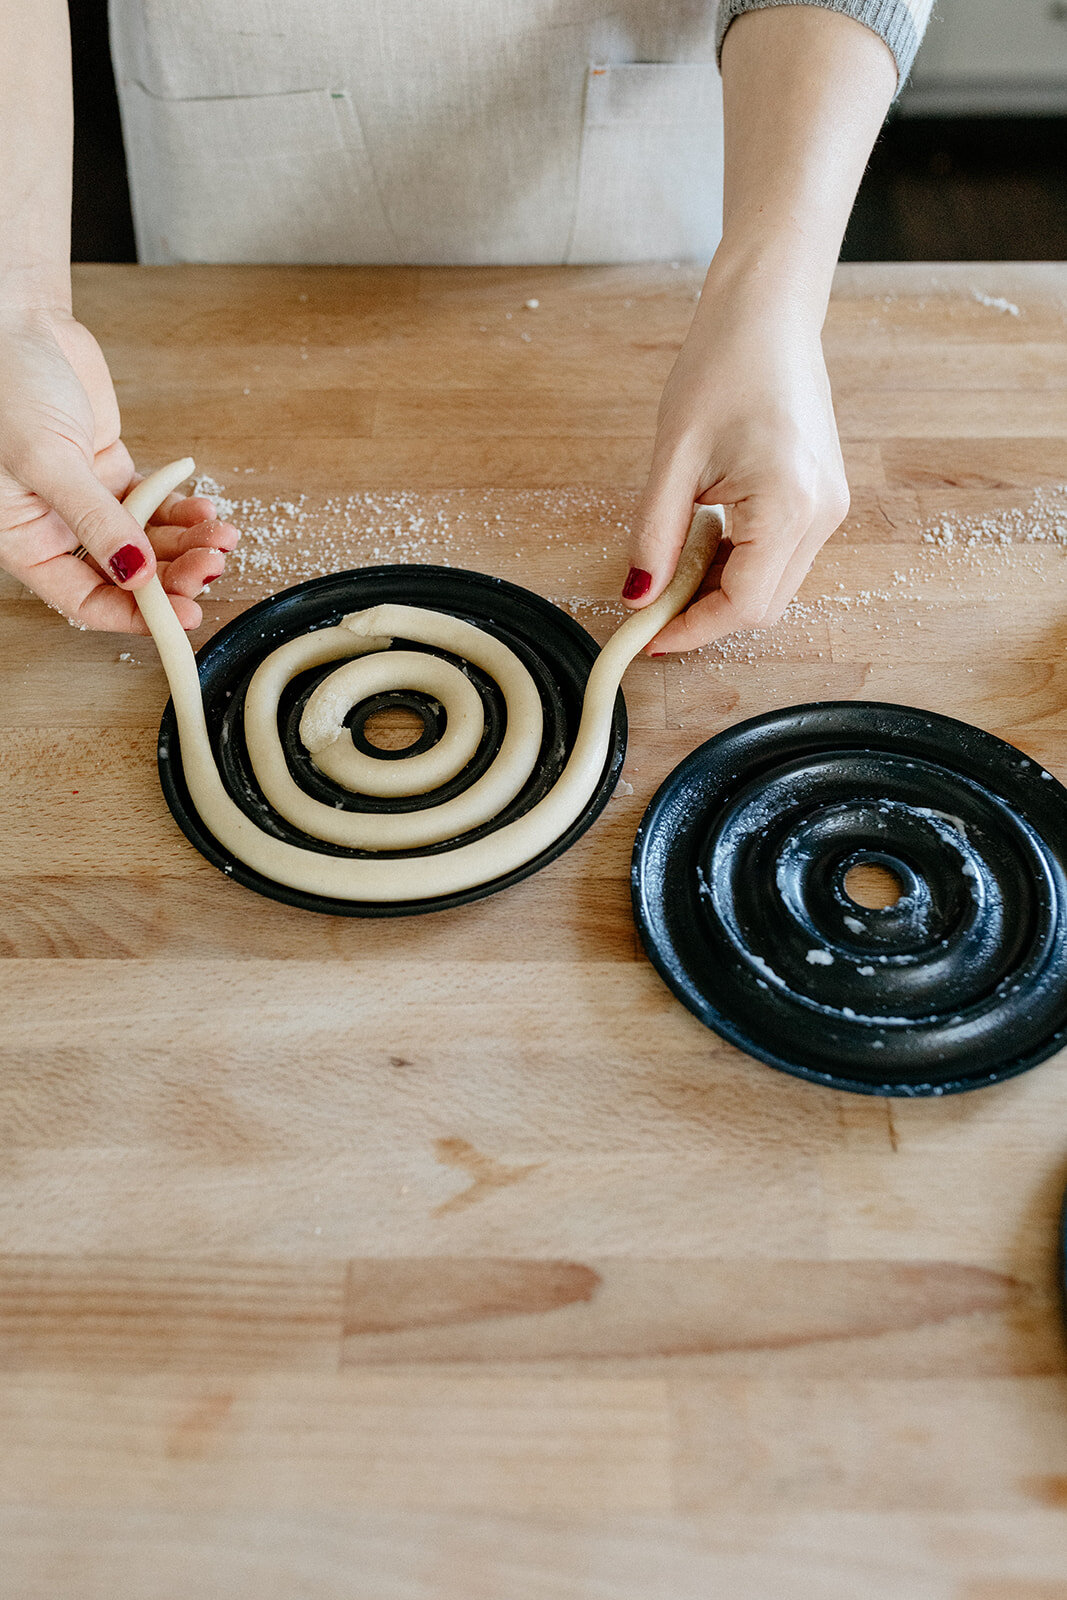
Working with one dough disc at a time, chop off a piece of dough and roll it into a rope that’s a generous 1/2” thick (or, if you’re pulling your kitchen ruler out, just go with 5/8” thick…), dusting with additional almond flour if the dough is sticky. Coil the rope into the molds, pinch off any excess dough, and pinch the ends to seal them together. Continue this, re-rolling scraps as needed, until all of the molds are filled. Don’t worry about overworking the dough! Bake until golden; begin checking for doneness at 9 minutes. You’ll likely need to bake these layers in batches, which is totally fine, just keep any dough that you’re not working with covered and in the refrigerator. 

Let the rings cool in the pans and then carefully pop them out (a small offset spatula or butter knife will help) and transfer to a baking sheet or wire rack. 

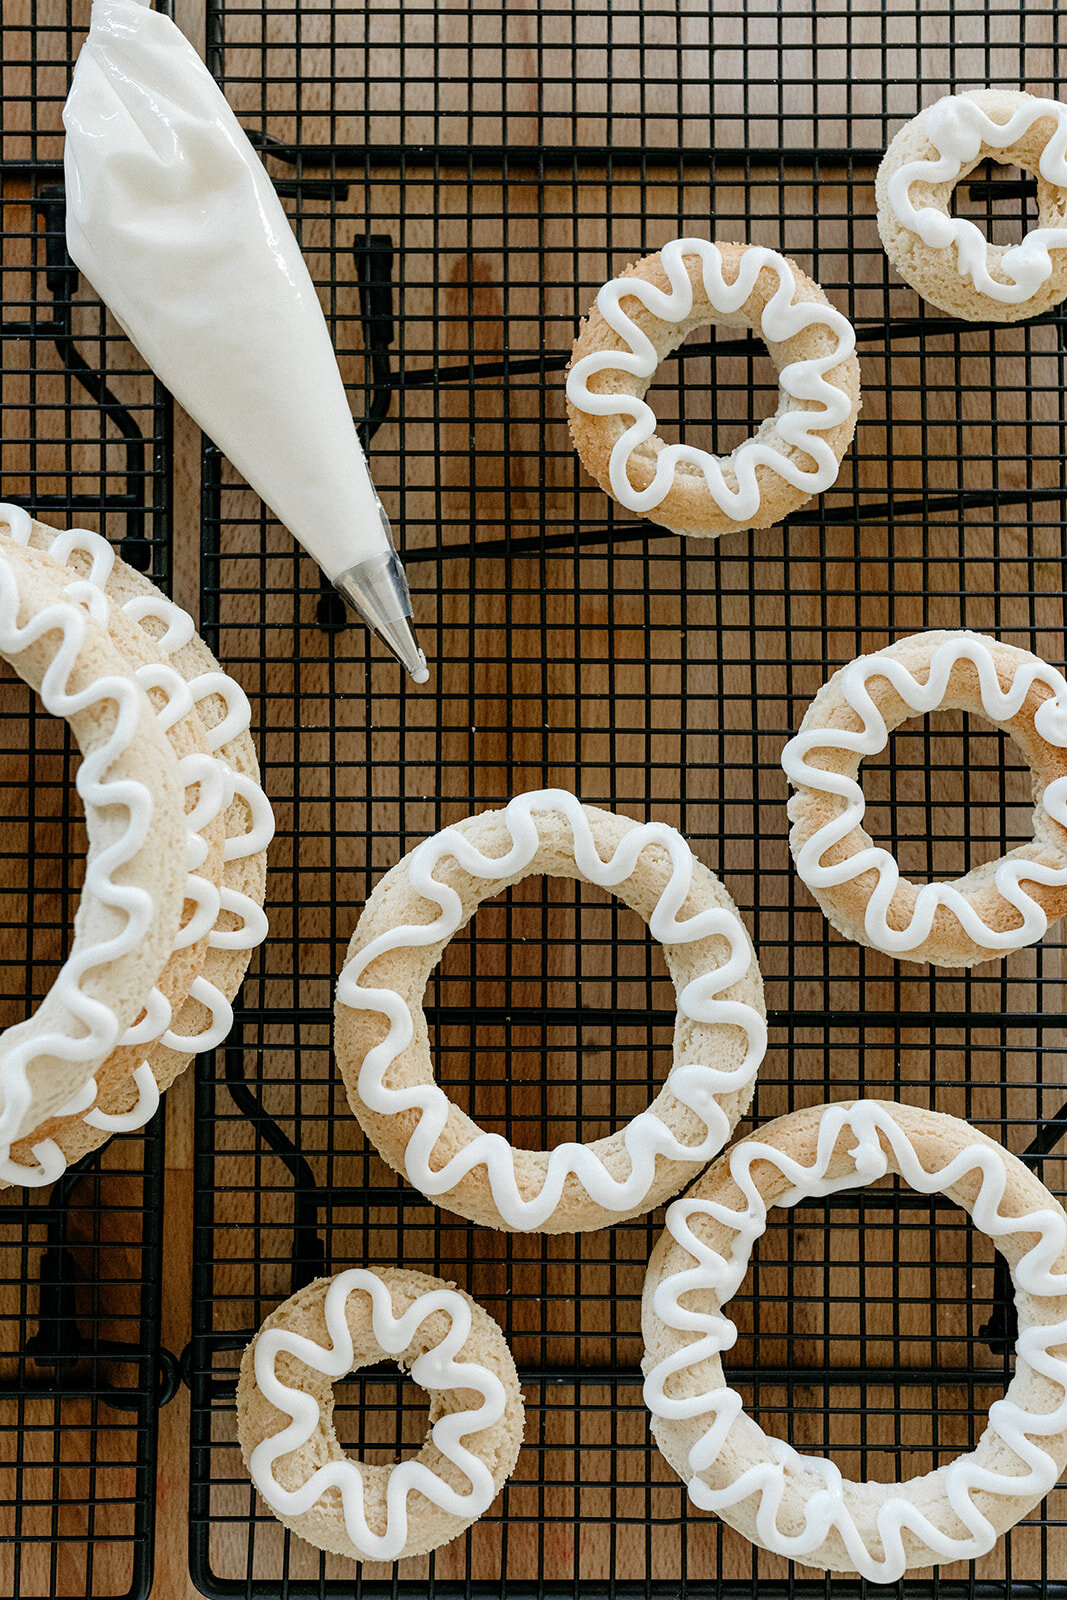
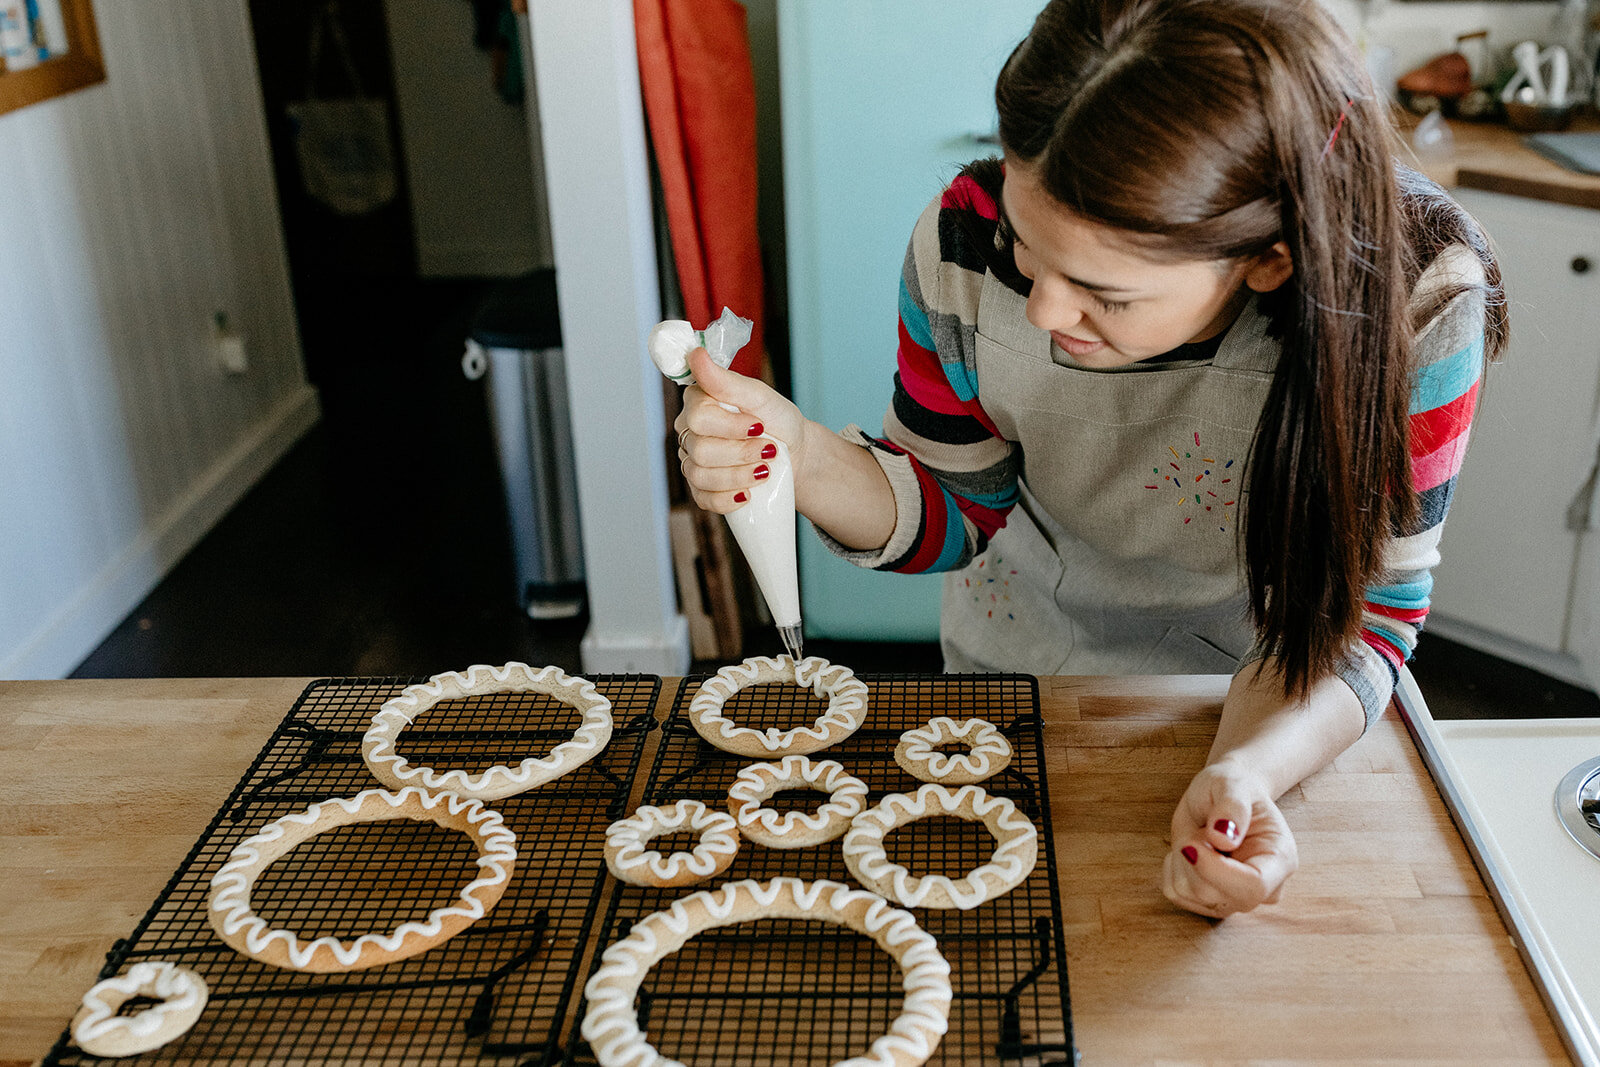
Make your royal icing and stack the rings up and then pipe on your decorations or pipe on your decorations, let them dry, and then stack them up. When you stack them up, “glue” them together with dots of royal icing (I do dots at 12 o’clock, 3 o’clock, 6 o’clock, and 9 o’clock). Let the icing dry and then decorate with sprinkles, paper chains, flags, or other decor as desired! This is good for at least a few days uncovered at room temperature, so feel free to make this in advance!


sumac snickerdoodles

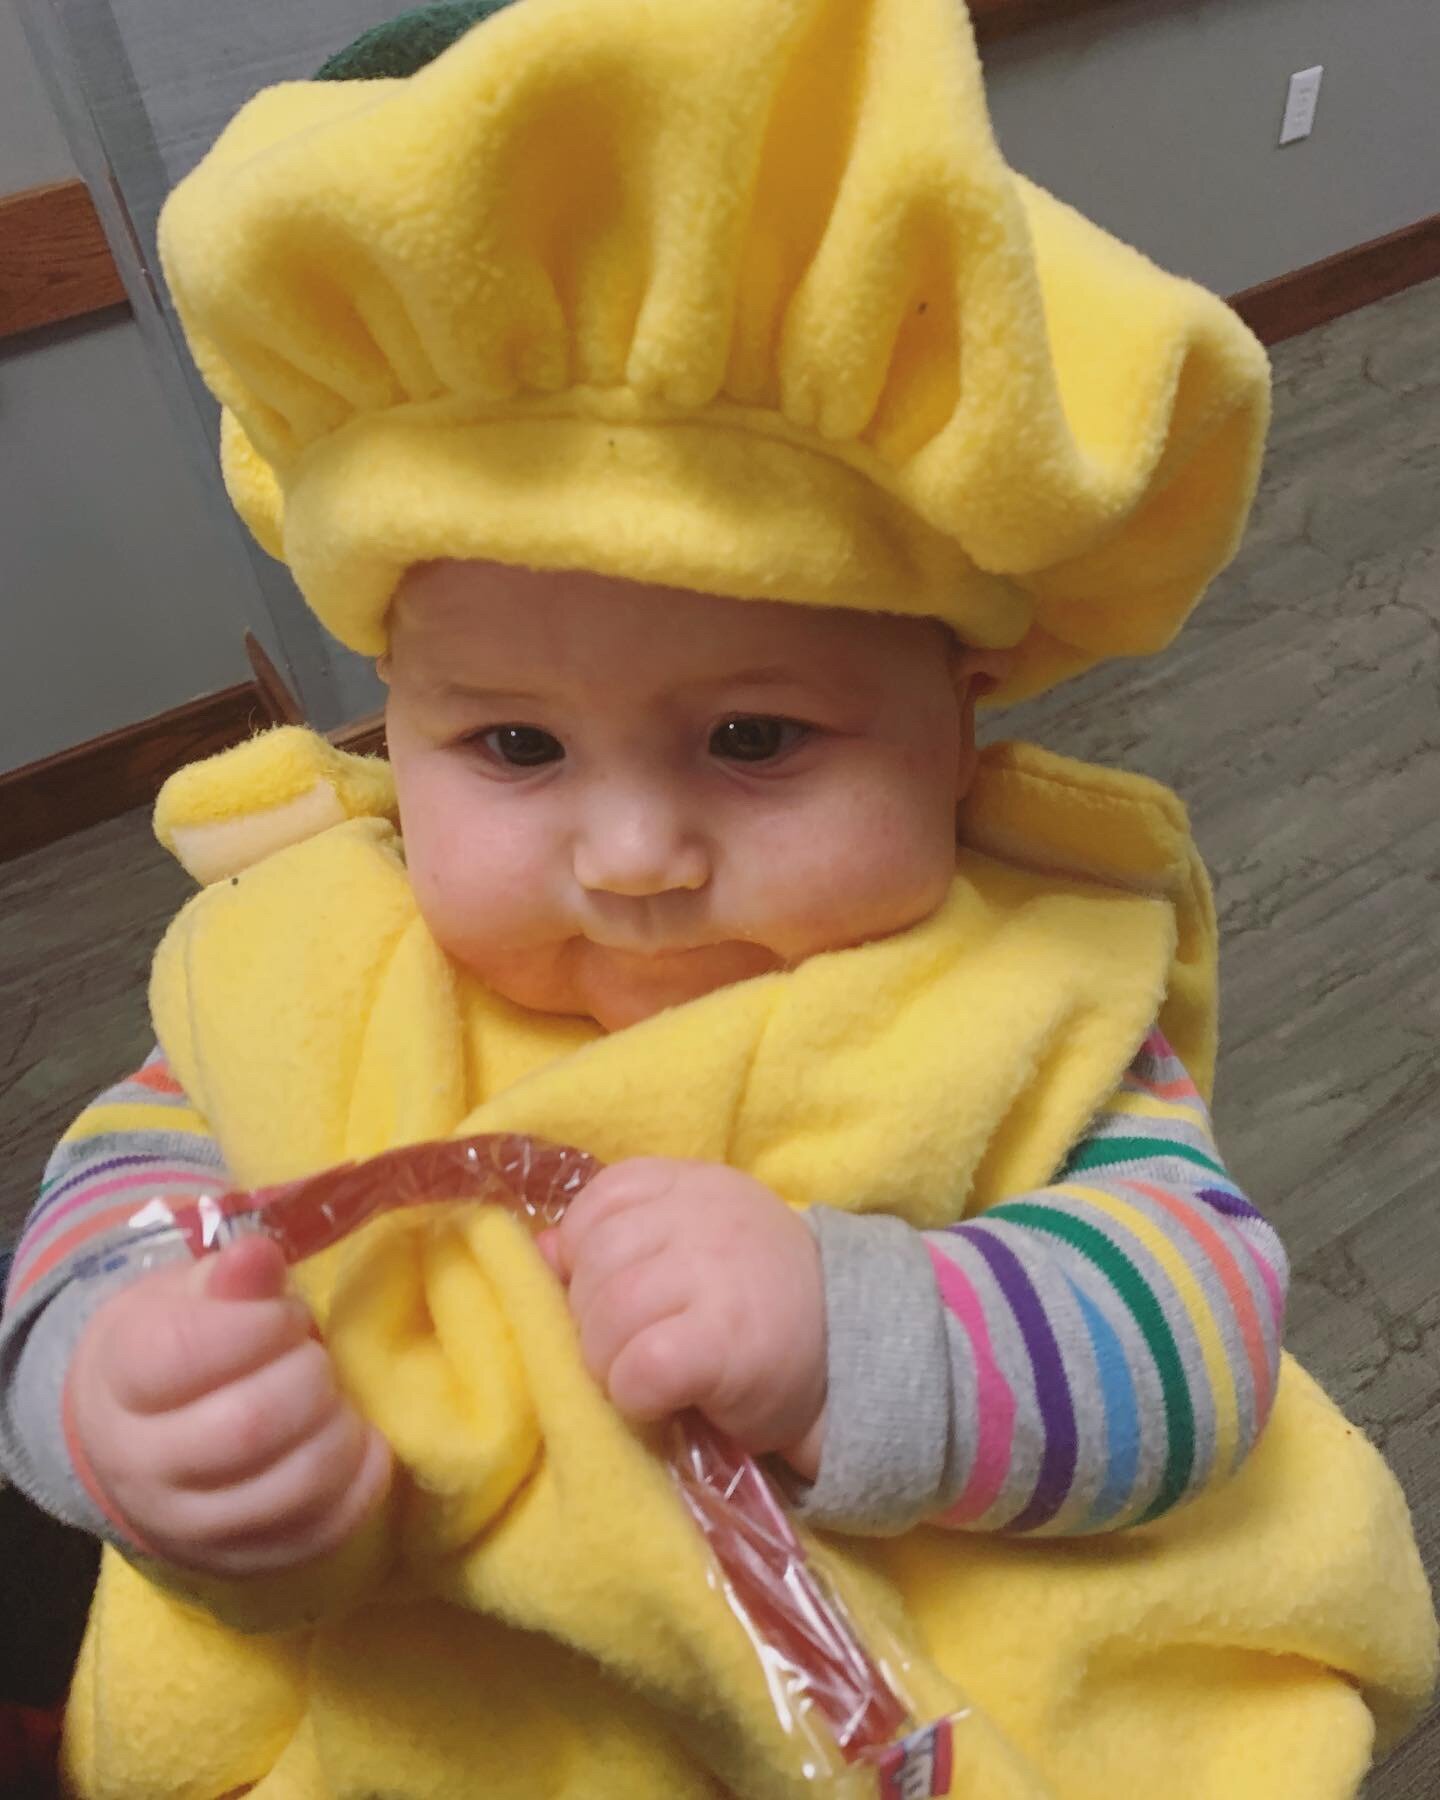
Hii!!!! How are you and how was your Halloween and are you in the holiday spirit yet?? We had such a fun first Halloween with Bernie!! She had a Halloween feast of squash (cause it’s orange!) and then donned her fleece lemon costume to trick or treat at Aunt Ethel’s building where she made friends with a Twizzler, or more specifically the crunchy wrapper of the Twizzler. It fascinated her all night long. Eggboy and I split a tiny box of Milk Duds and then ate spinach salads before going to bed by 9. 🤷🏻‍♀️ Going to bed by 9 is, like, how I get my thrills these days because being well rested is such an excellent high? Also, I’m now filming (season 5!) and my call time in the morning is very early o’clock, meaning I have to wake up six minutes before very early o’clock in order to brush my teeth and then commute from my bedroom to the kitchen. 

It’s gonna be a great season! It includes:

  1. A Passover episode, complete with our new Marian Bull Seder plate that I want to stare at all day long every day

  2. An appearance by one of my all time favorite bands

  3. Hockey, hockey stars (!), broomball, curling, Alana curling, and ice skating

  4. KNOEPHLA!!!!!

I know I say this about every season but I think this season is going to be the tastiest yet. And not just because it has the best mozzarella sticks and gruyere babka rolls of all time but also because Bernie’s cheeks have reached peak deliciousness (thank you to my grandpa and dad for those). 

Enough about me, I am going to talk about my frond Michelle now!!! Her book, Weeknight Baking, came out last week and it has SPRINKLE END PAPERS. And a recipe for one (1!) chocolate chip cookie that is just plain dangerous. And billions upon gajillions of tips for how to bake things in advance or speed things up or spread the work out over the course of a few days in order to make it fit any kind of crazy busy schedule. It’s baking efficiency at its tastiest and I love it. Like she’s even making me feel like I can bake a dang wedding cake over the course of a few Bernie naps. For those of you who liked the bake-ahead tips in this post, this book takes this type of thing to the next level. And all the while it offers deeeelicious ideas like halva blondies (!!!) and excellent styling tips like how to get perfectly straight edges when you cut cheesecake bars. This book is so clever, informational, beautiful, and delicious and I’m a proud kvelling frond right now.

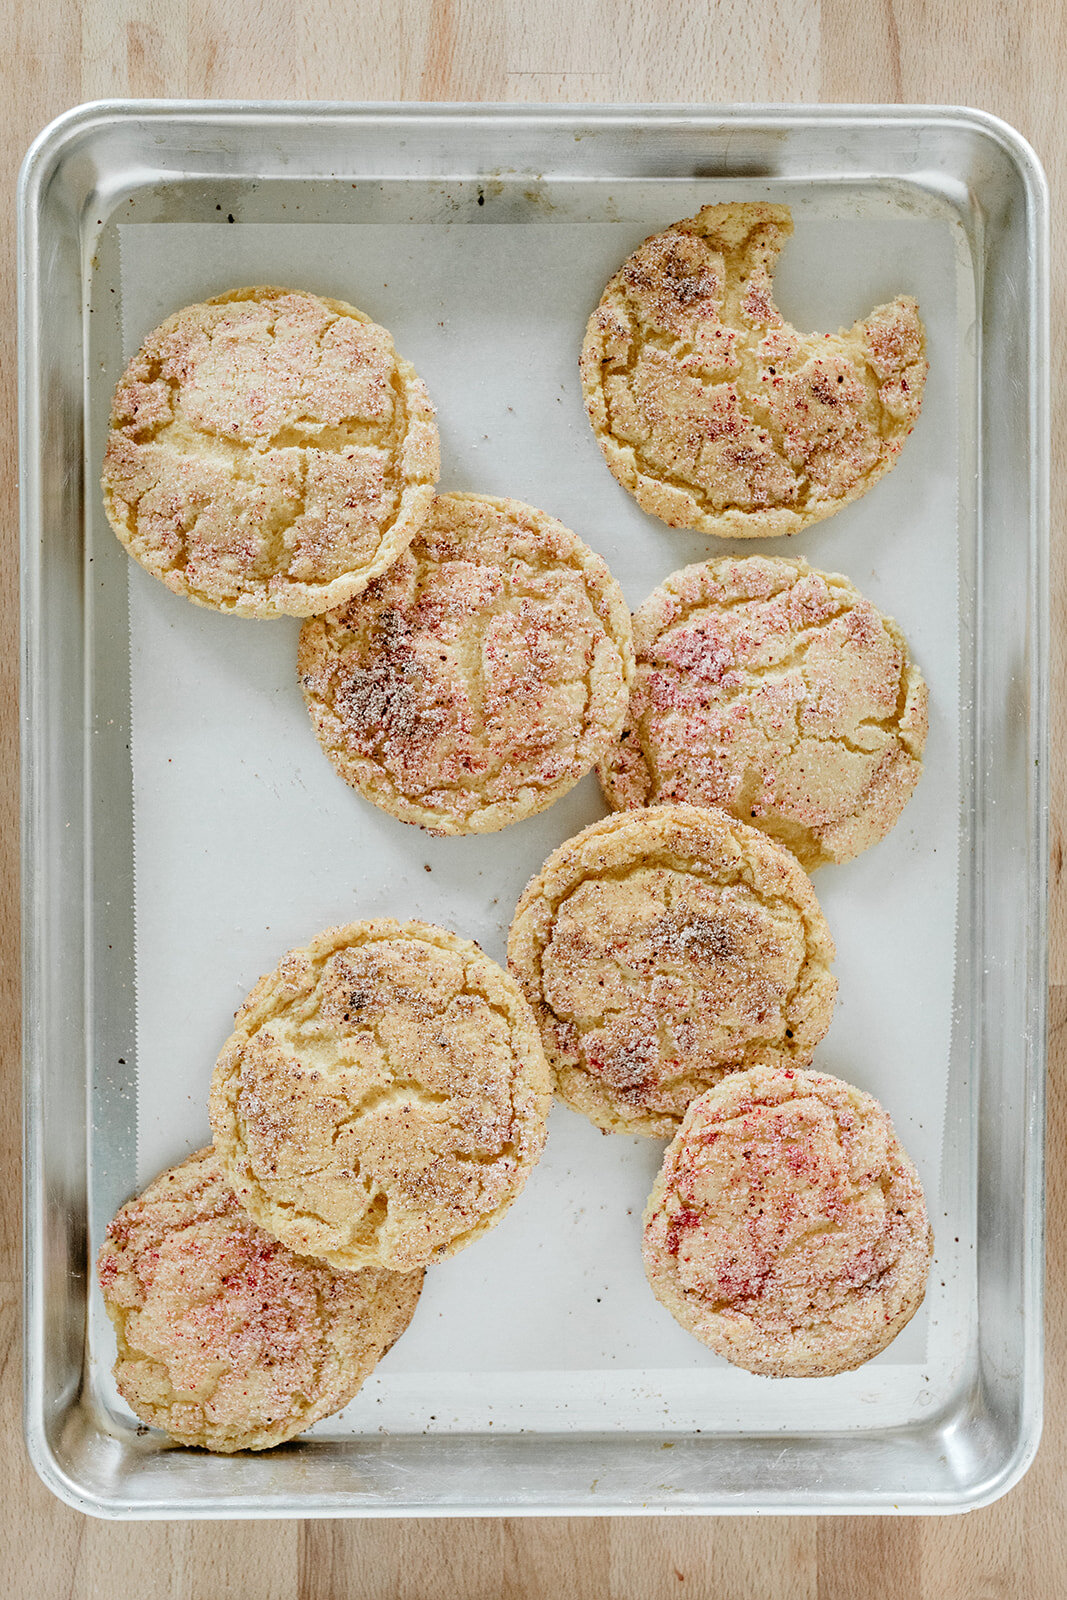
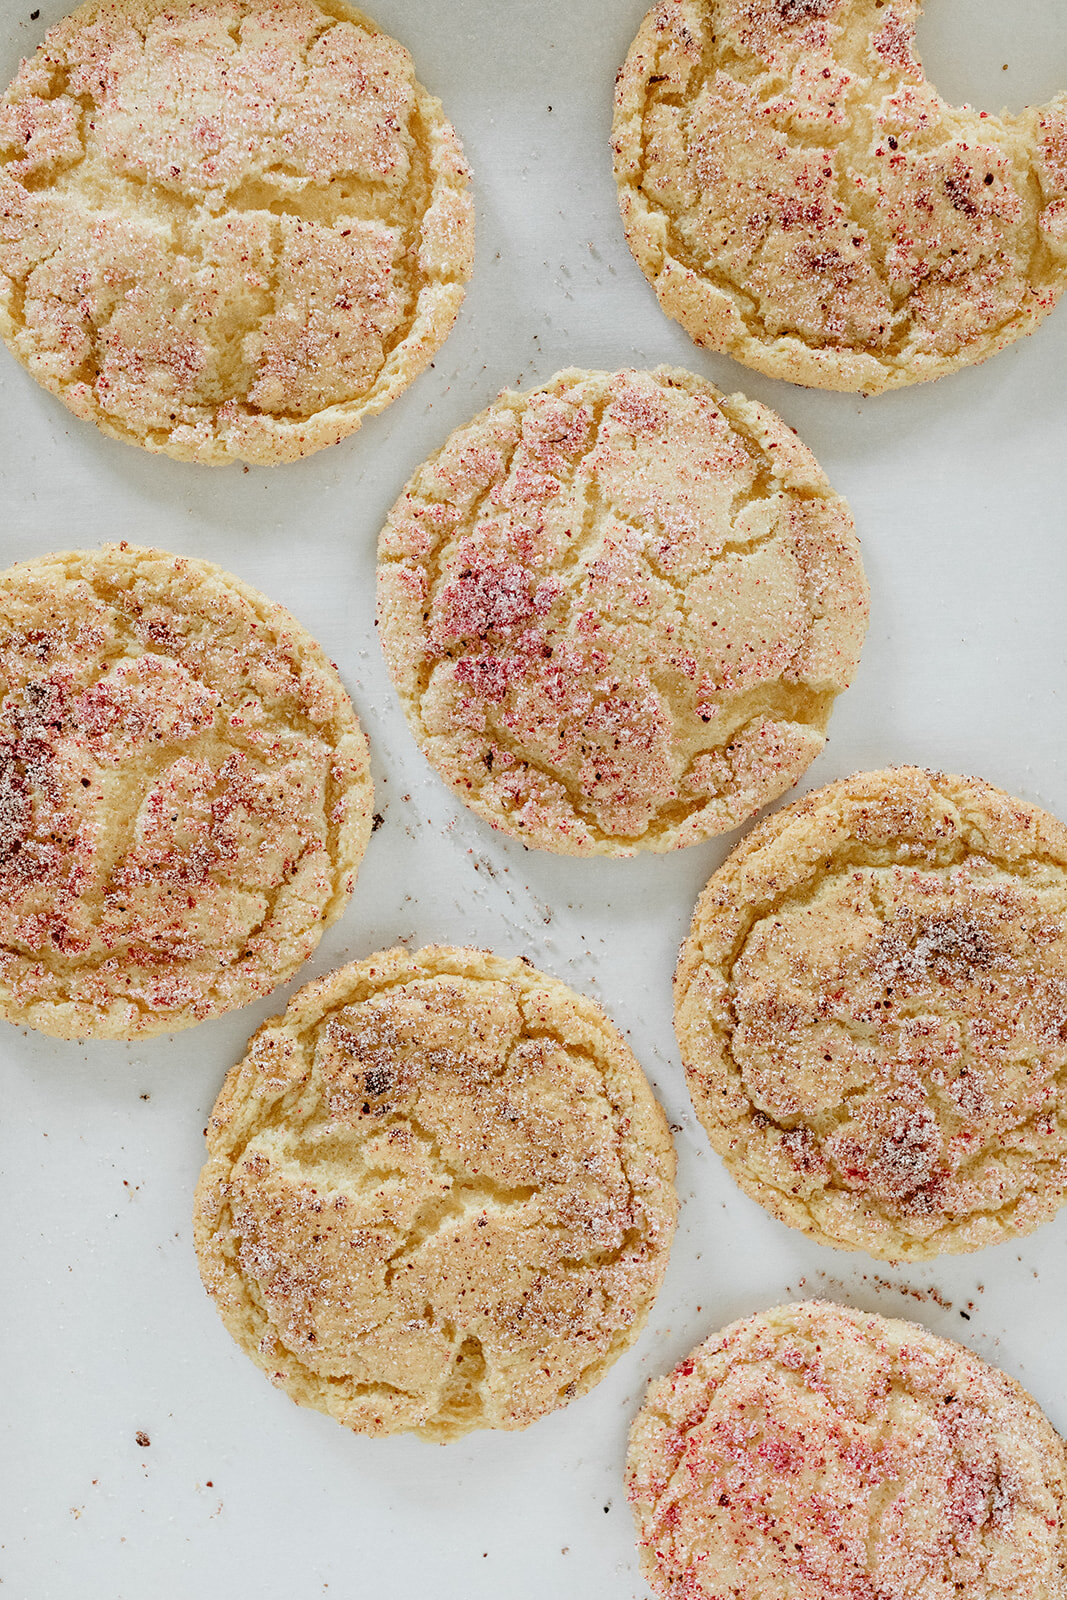
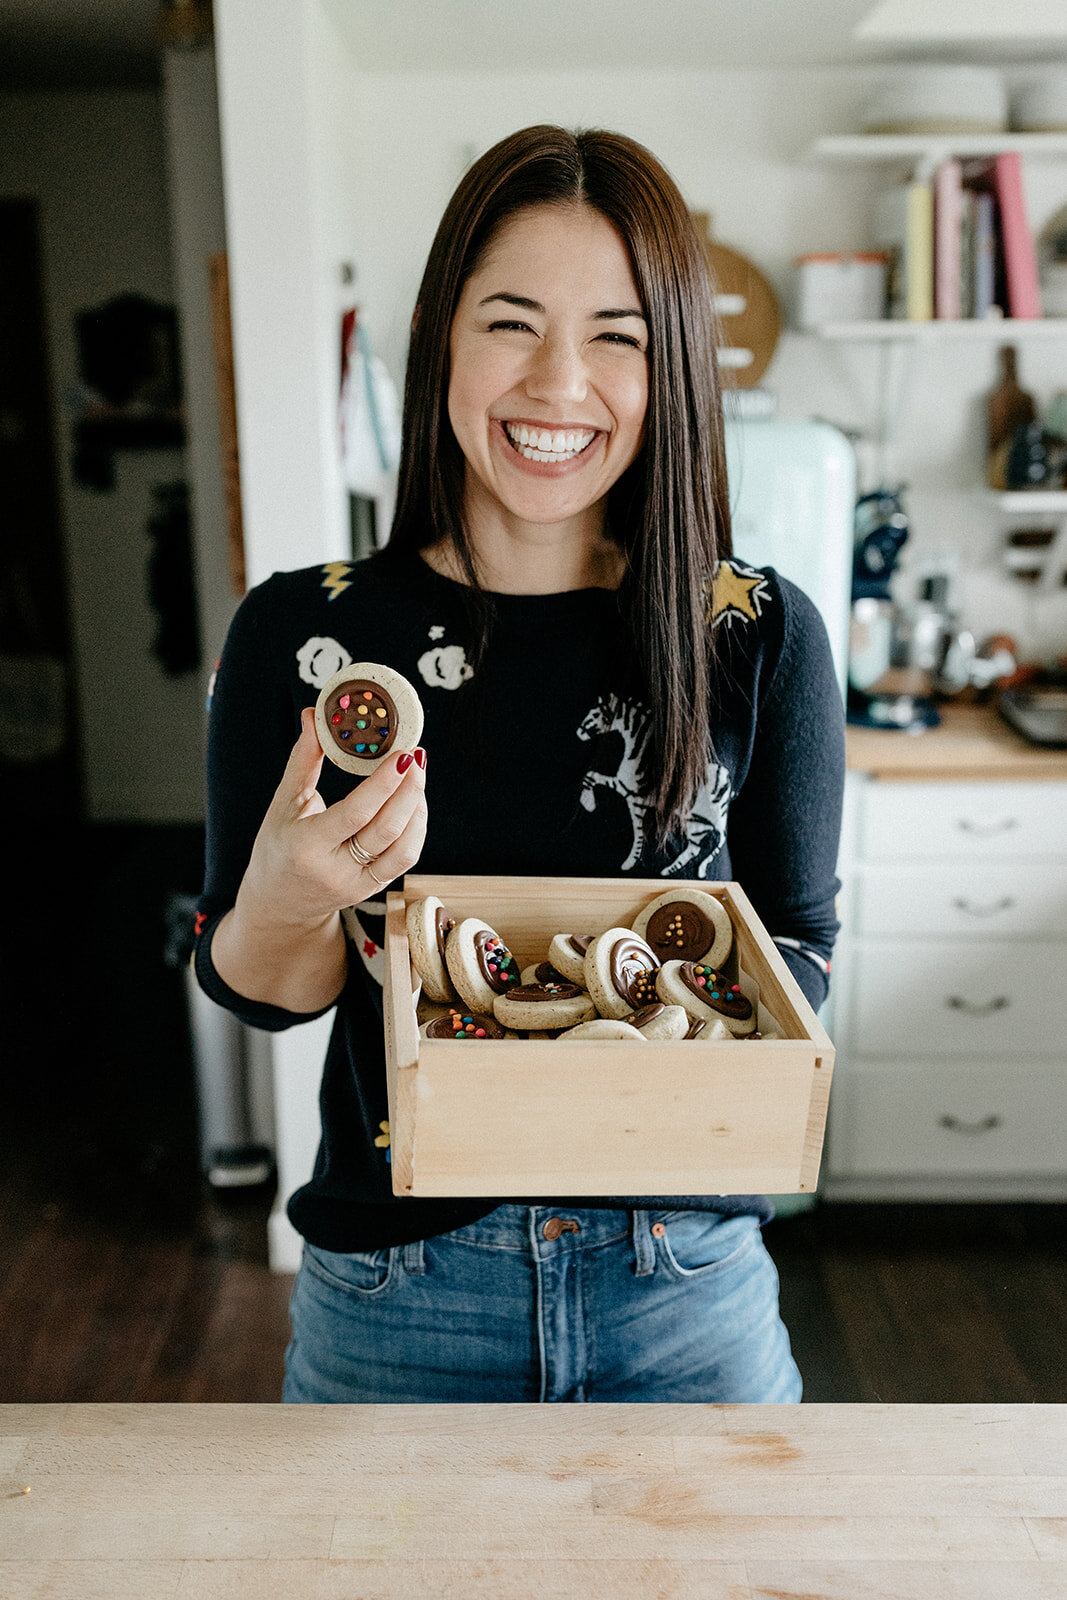
One thing that Michelle and I share, other than the fact that we both have quiet reserved Nordic partners, is a love of sumac. Specifically, sumac in sweets! It’s so bright and fun! I sometimes think of sumac as ground up lemony vinegar, if vinegar were a solid. So like if you’re into lemon sour patch kids, you will like sumac’d sweets. (NY Shuk makes a great sumac, by the way.) Michelle made a delicious move in her book and rolled snickerdoodle cookie dough in a sumac/raspberry magic dust and the world is a tastier place for it. These cookies are sweet, tangy bright, crisp around the edges, and soft and chewy in the middle. They’re sassier than you’re average cookie and so pretty! Look at that natural pink color! I love these. And I love Michelle and Weeknight Baking. Yay!!!


raspberry sumac snickerdoodles

makes about 20 cookies

from michelle lopez'weeknight baking: recipes to fit your schedule

ingredients

for the raspberry sumac topping

1/4 c (1.75 oz) granulated sugar

2 heaping tb freeze-dried raspberries, finely ground

2 tsp ground sumac

for the cookies

2 3/4 c (12.35 oz) all-purpose flour

2 tsp cream of tartar

1 tsp baking soda

1/2 tsp kosher salt

1 1/2 c (10.5 oz) granulated sugar

1 c (8 oz) unsalted butter, at room temperature

2 large eggs

2 tsp pure vanilla extract

clues

position a rack in the center of the oven and preheat the oven to 400ºF. line two half sheet pans with parchment paper.

in a medium bowl, combine all topping ingredients and set aside.

in a medium bowl, whisk together the flour, cream of tartar, baking soda, and salt.

in the bowl of a stand mixer fitted with the paddle attachment, combine the sugar and butter. beat on medium-high until light, fluffy, and doubled in volume, 2 to 3 minutes, using a rubber spatula to scrape down the bottom and sides of the bowl as necessary. reduce the mixer to low and add the eggs one at a time, adding the next egg only after the previous one has bee fully incorporated. add the vanilla and beat until just combined. scrape down the bottom and sides of the bowl. with the mixer on low, gradually add the dry ingredients and beat until just combined. scrape down the bottom and sides of the bowl once more, and beat on low for an additional 30 seconds.

use a 3-tablespoon cookie dough scoop to portion the cookie dough into balls. roll each in the snickerdoodle topping, covering them completely. place the coated cookies at least 3 inches apart on the prepared sheet pans. bake one pan at a time for 10 minutes, or until the edges have set but the centers are still gooey. the cookies will look puffed when you pull them out of the oven, but will fall and crack into the perfect cookies as they cool. cool the cookies on the pan on a wire rack for 20 minutes, or until the edges and bottoms of the cookies have set and feel firm to the touch. repeat with the remaining cookie dough (or freeze it to bake later). serve warm or at room temperature. the cookies can be stored in an airtight container or zip-top bag at room temperature for up to 3 days.

Homemade Snickers

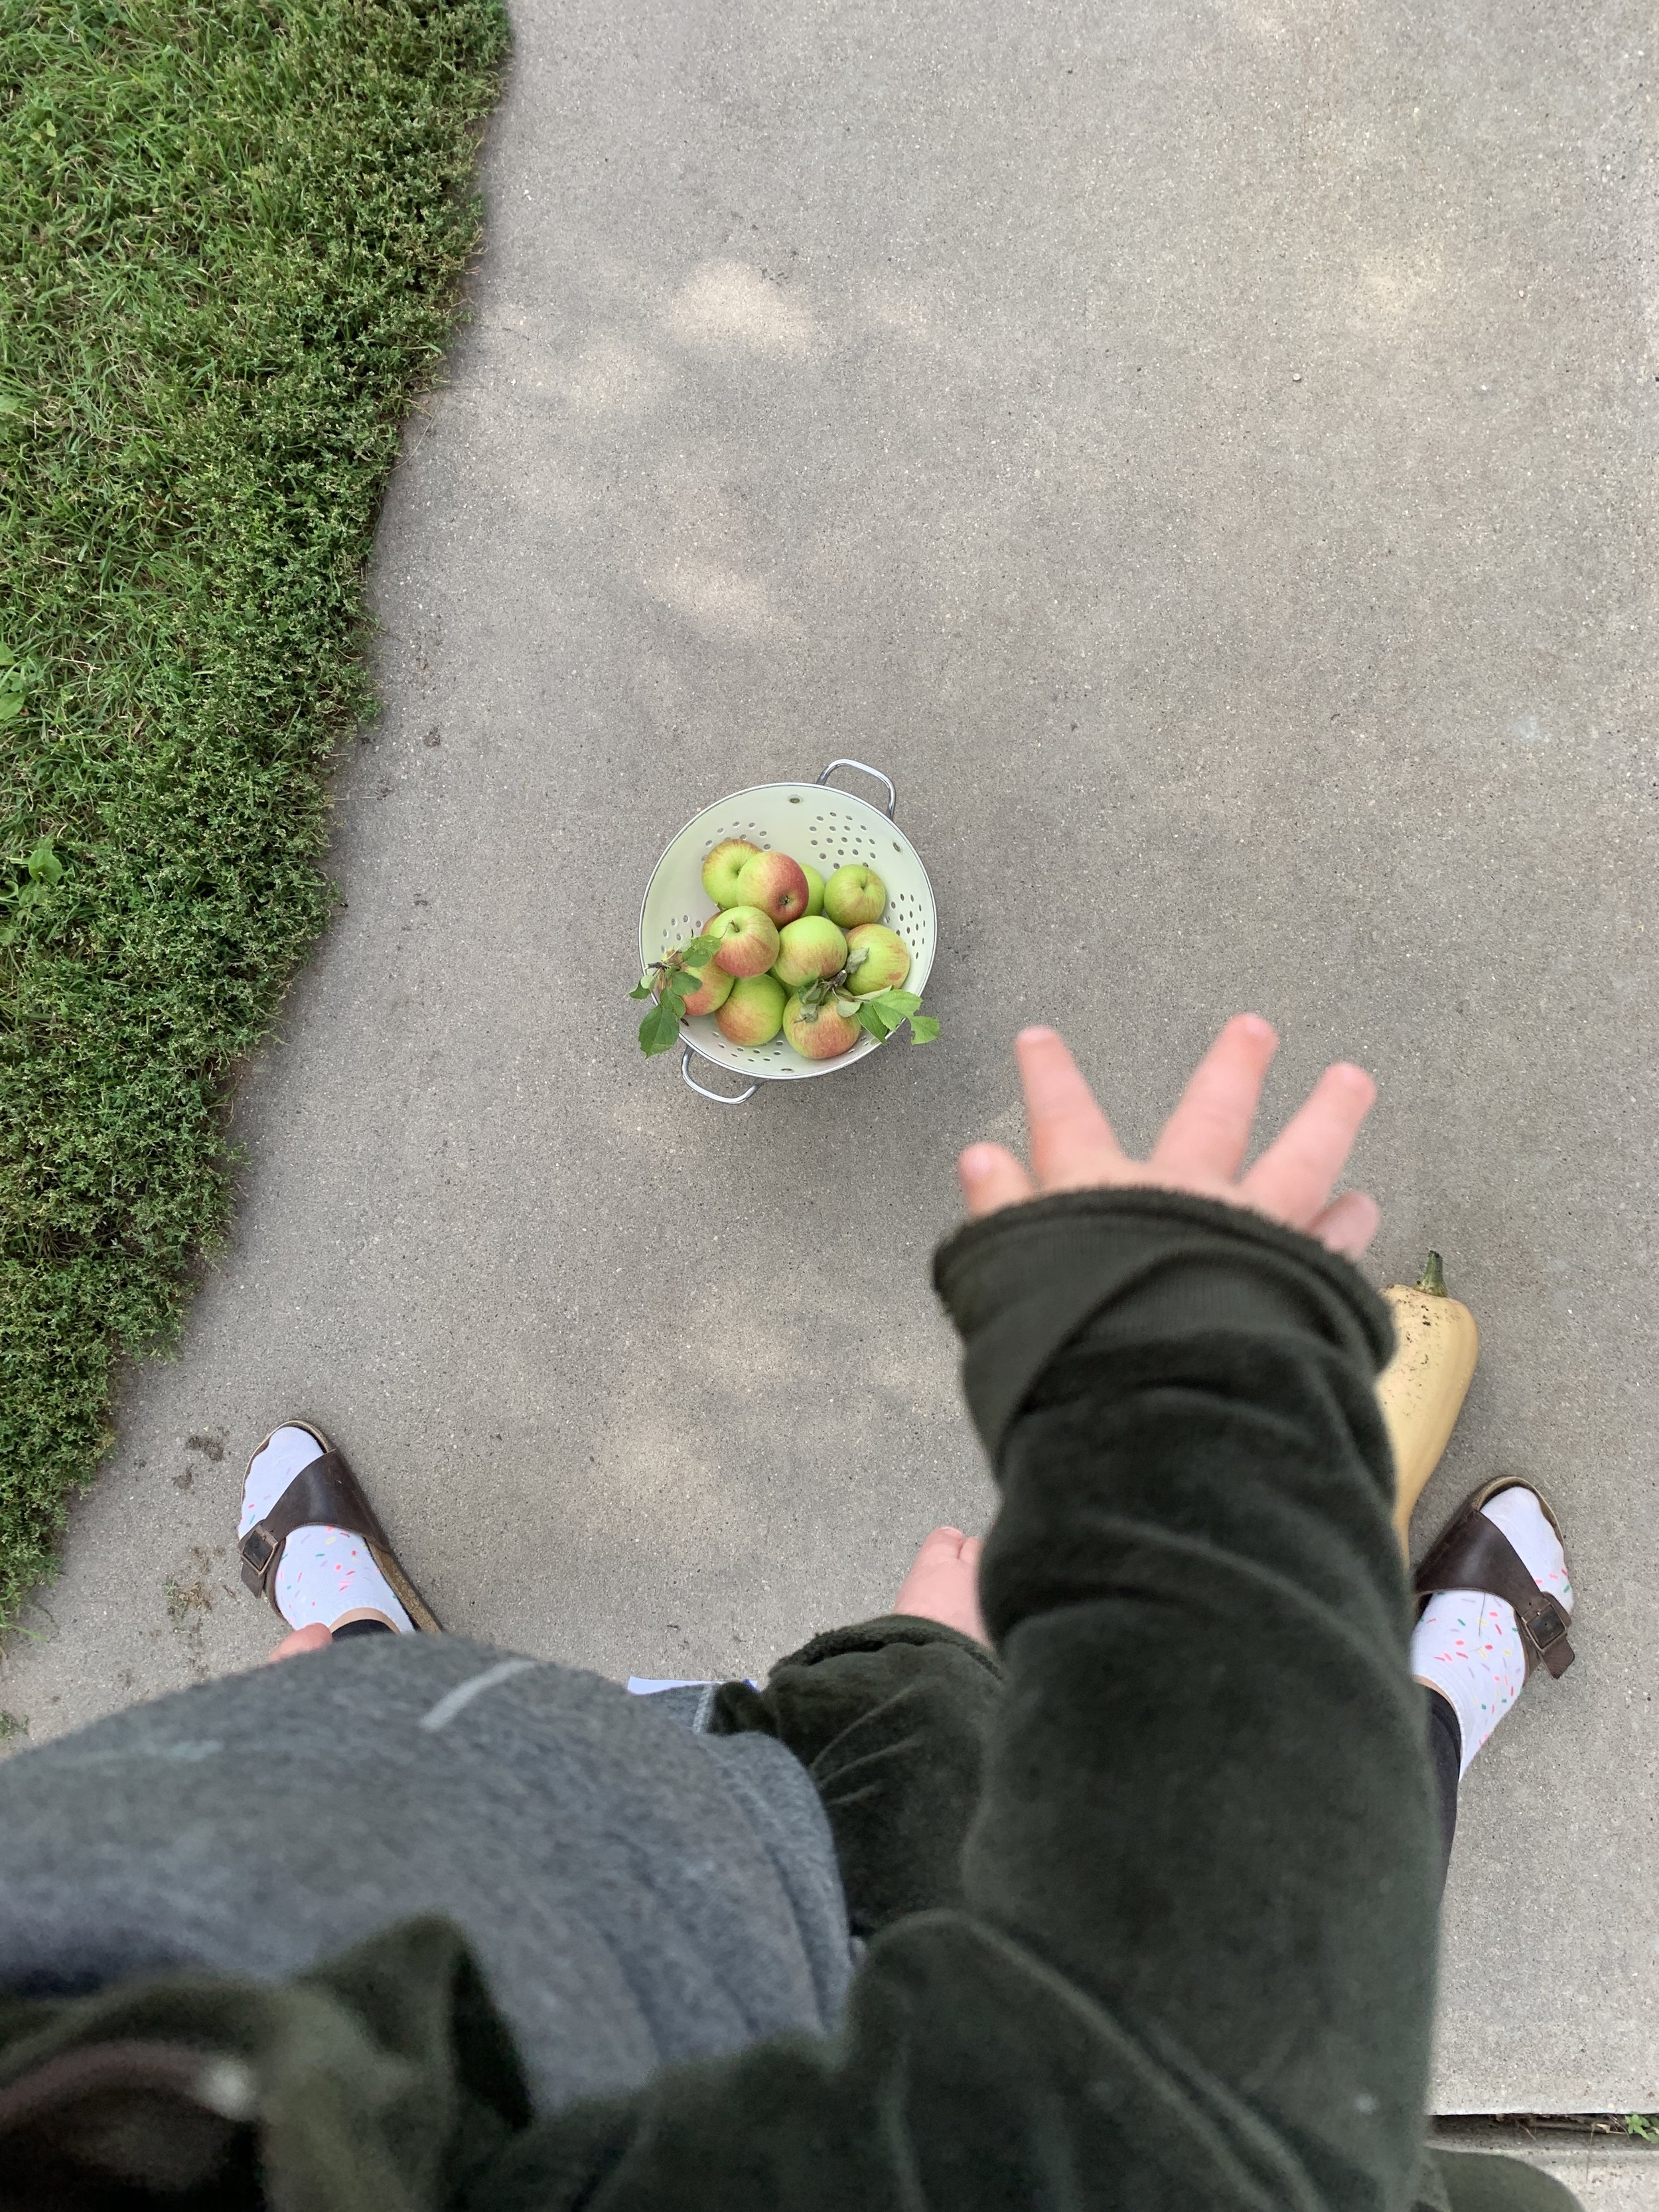
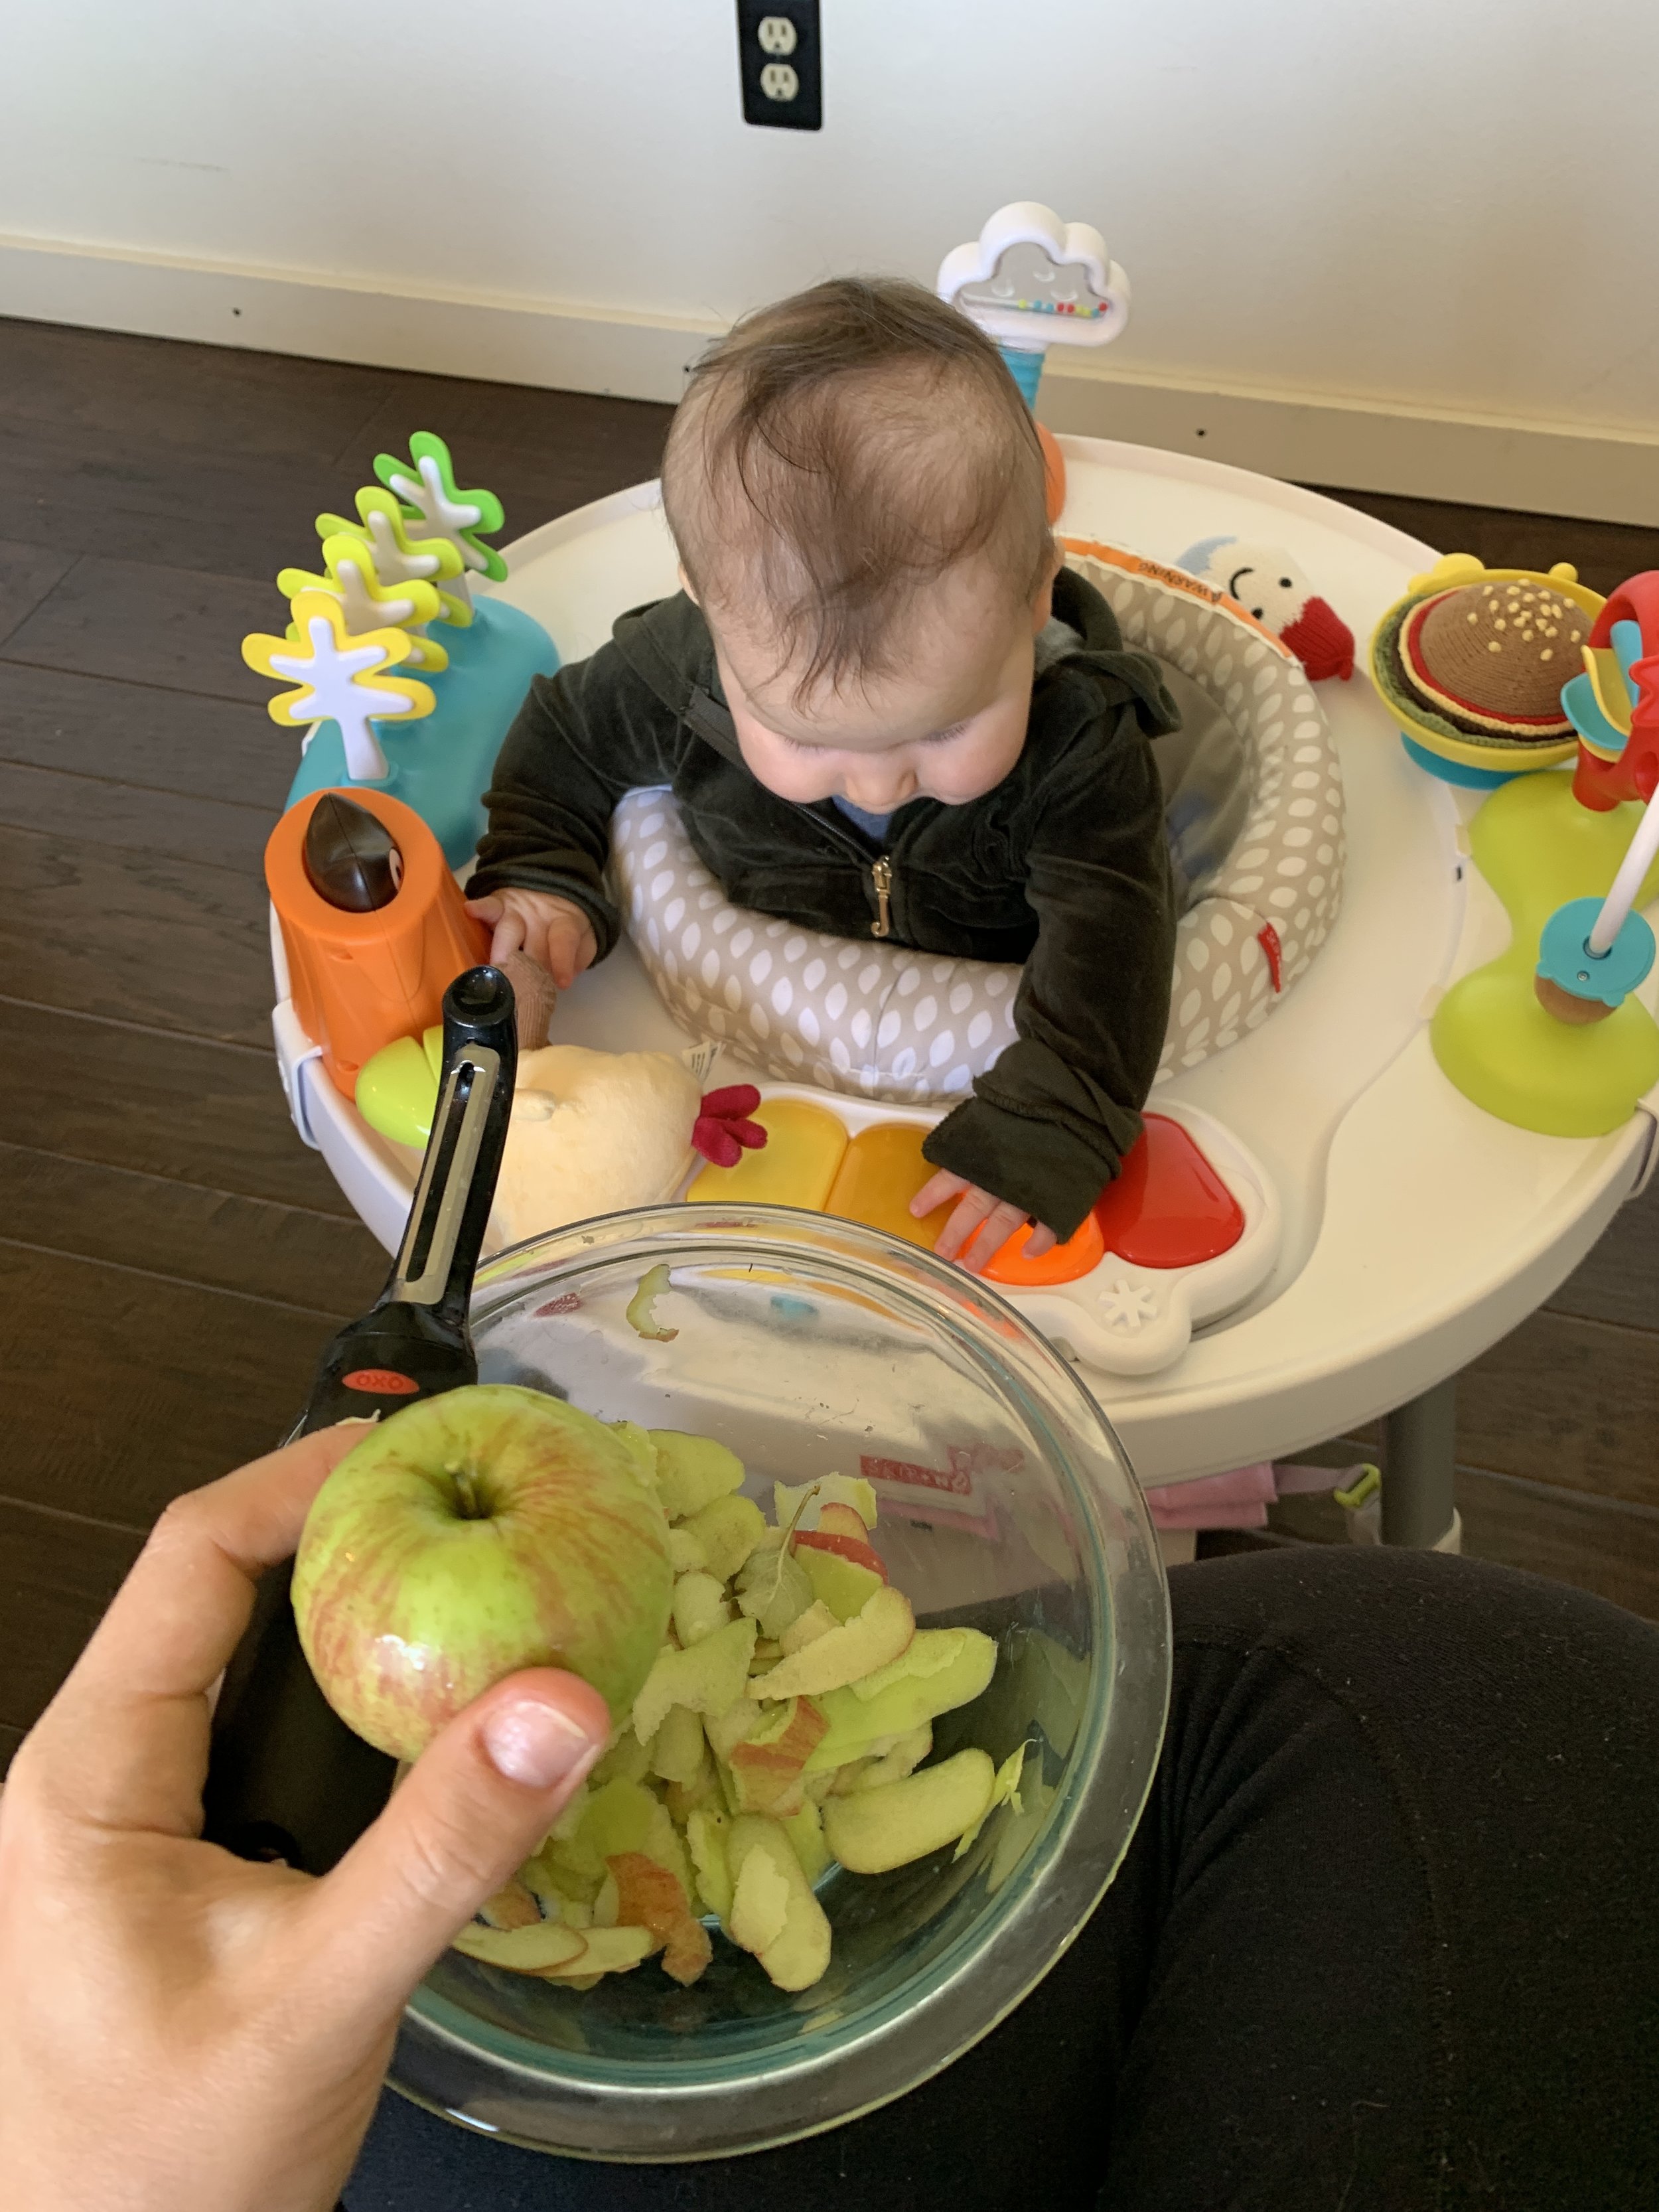
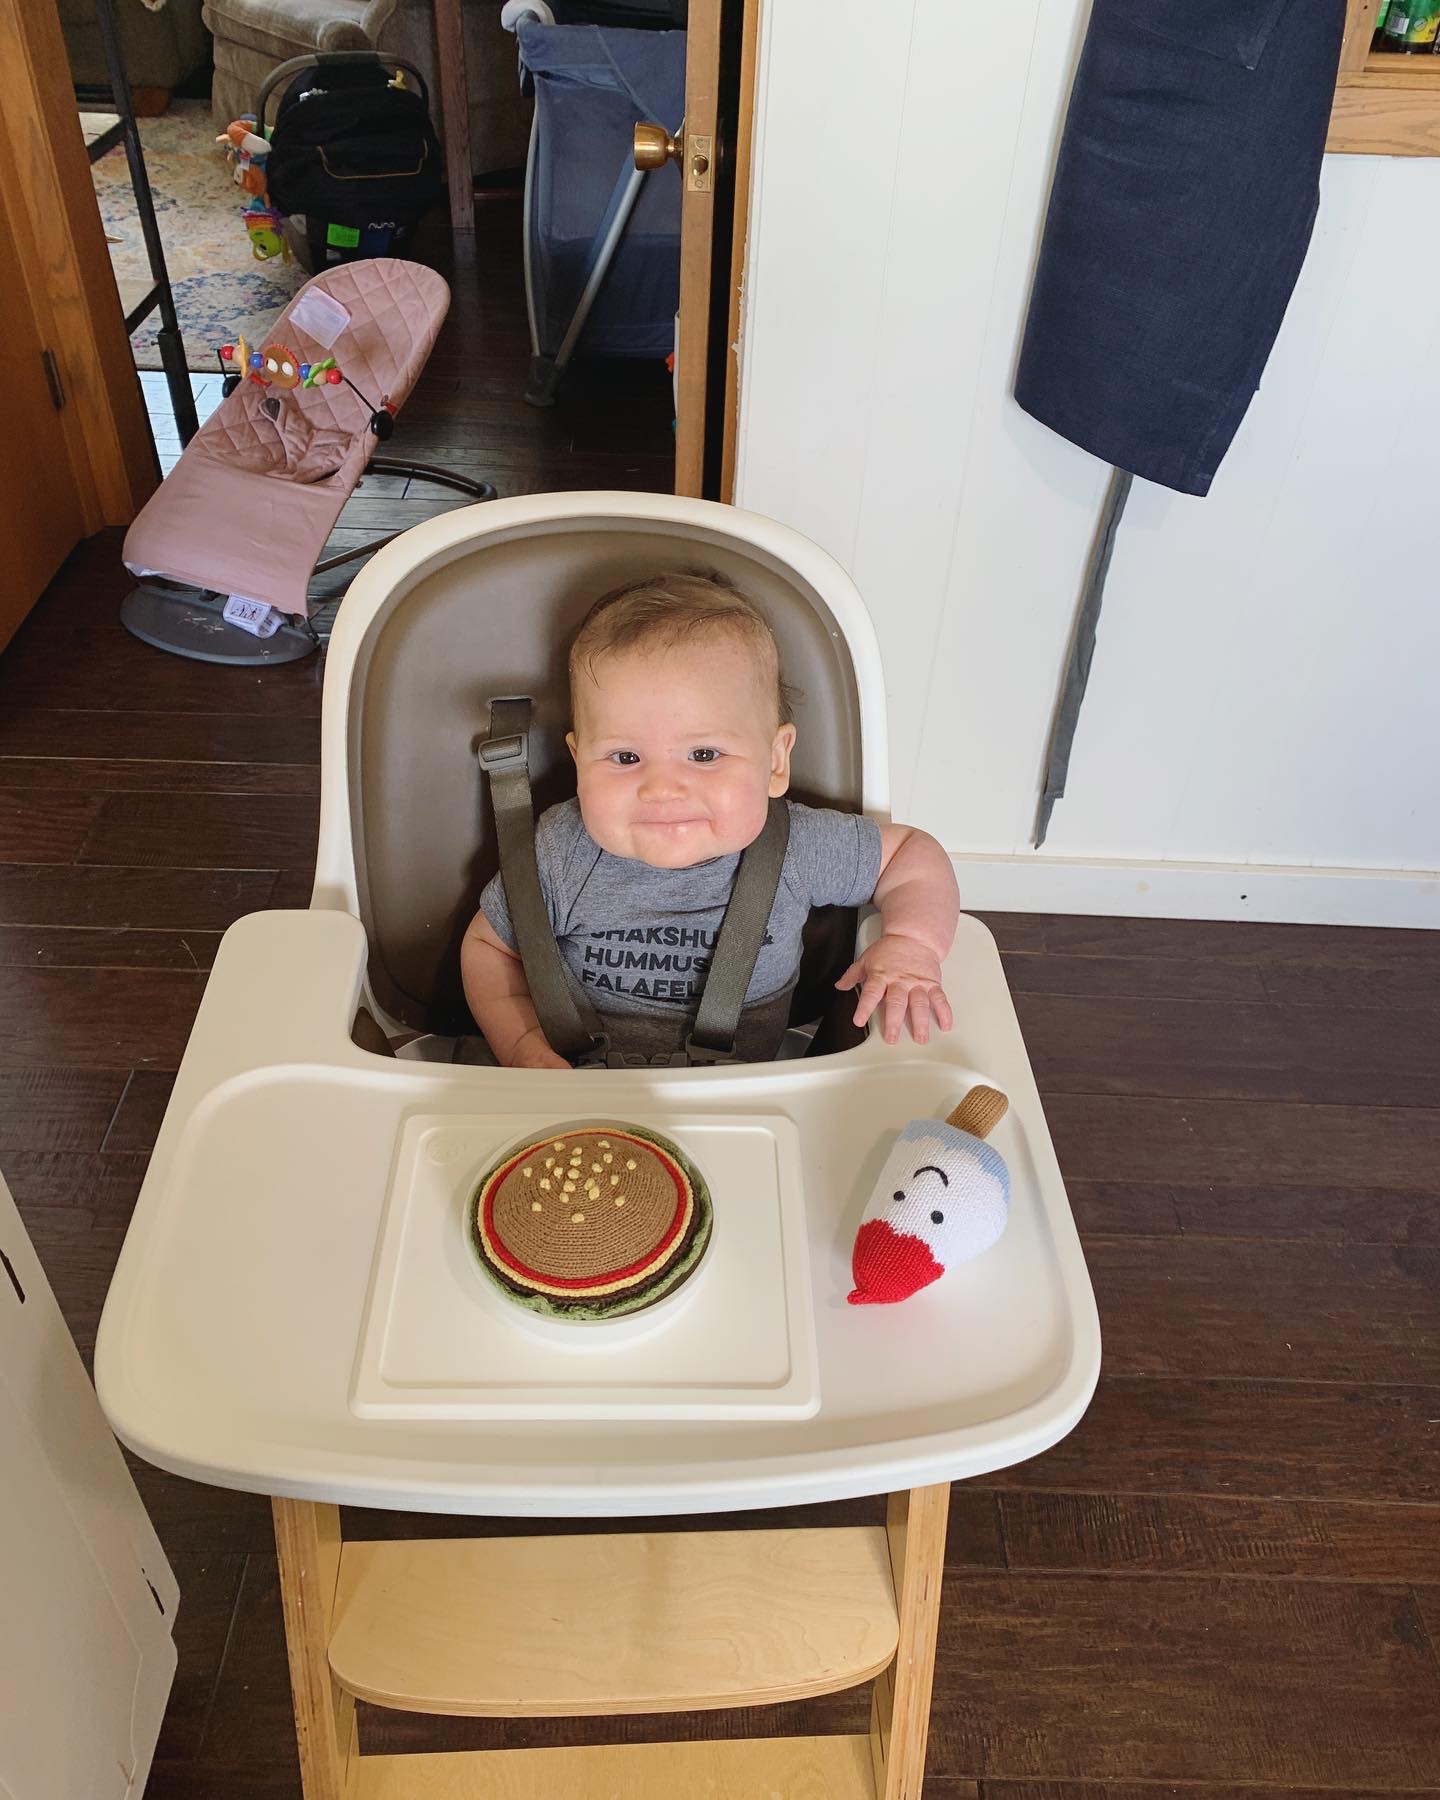
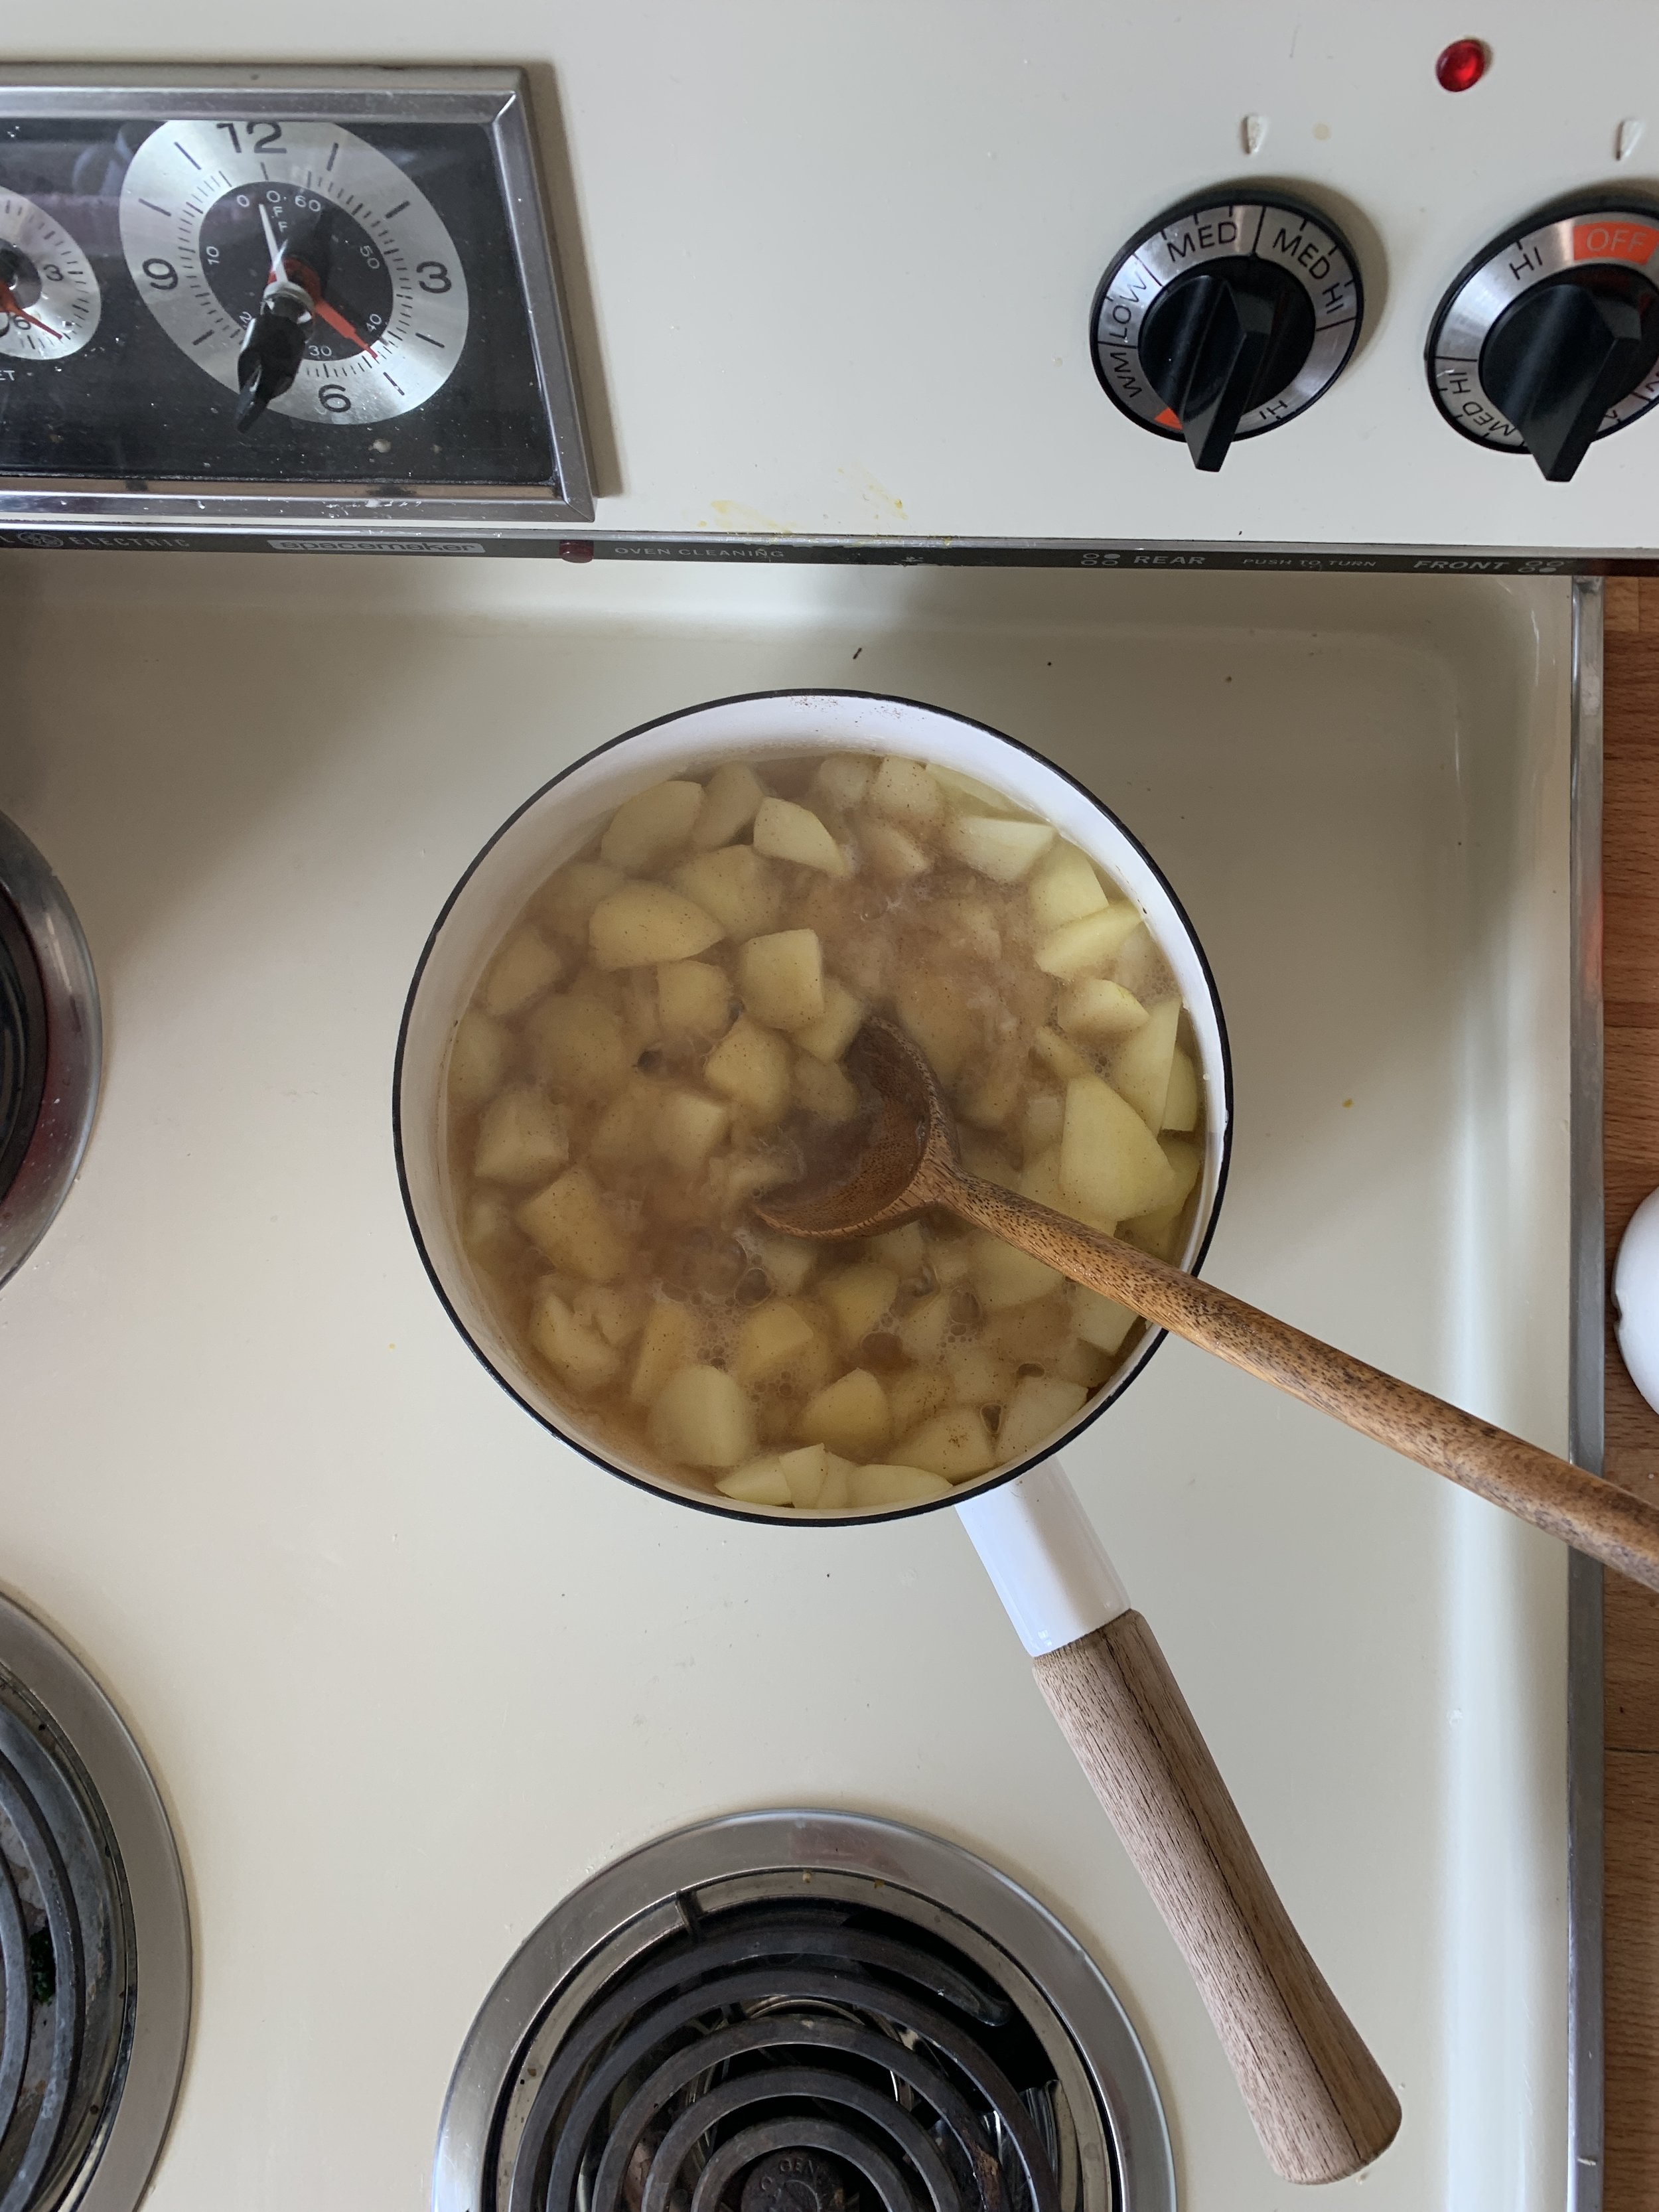
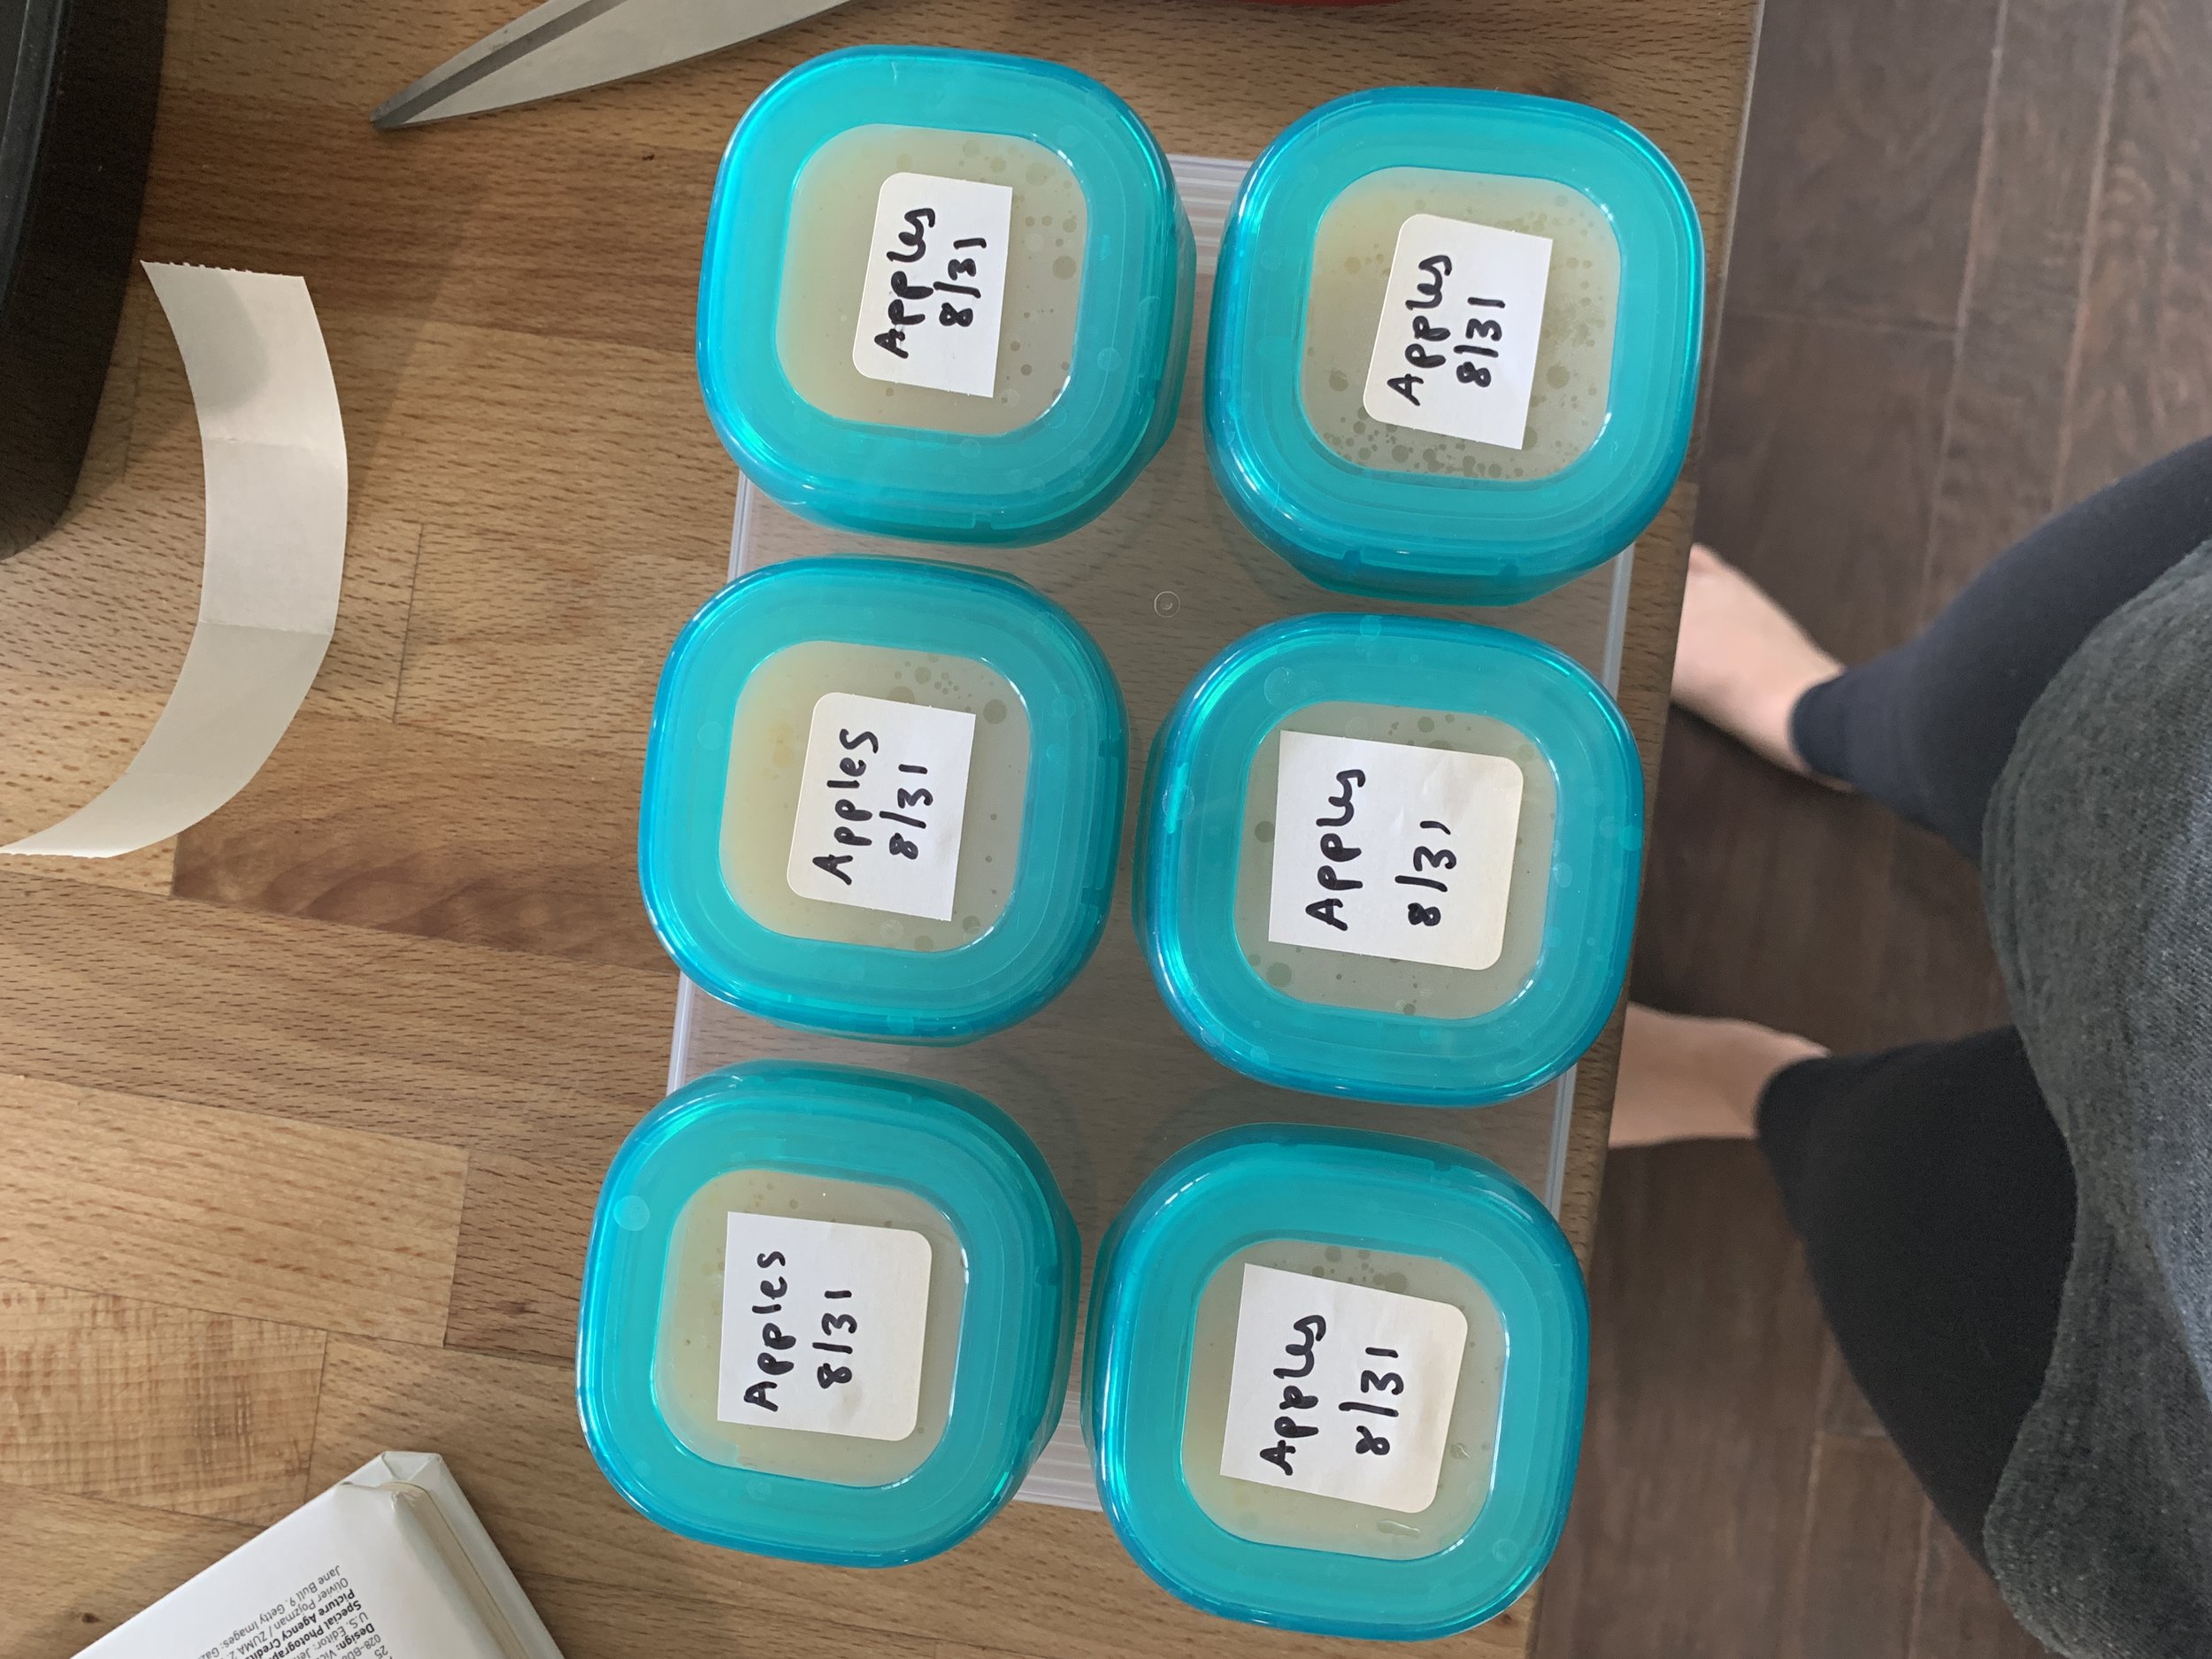
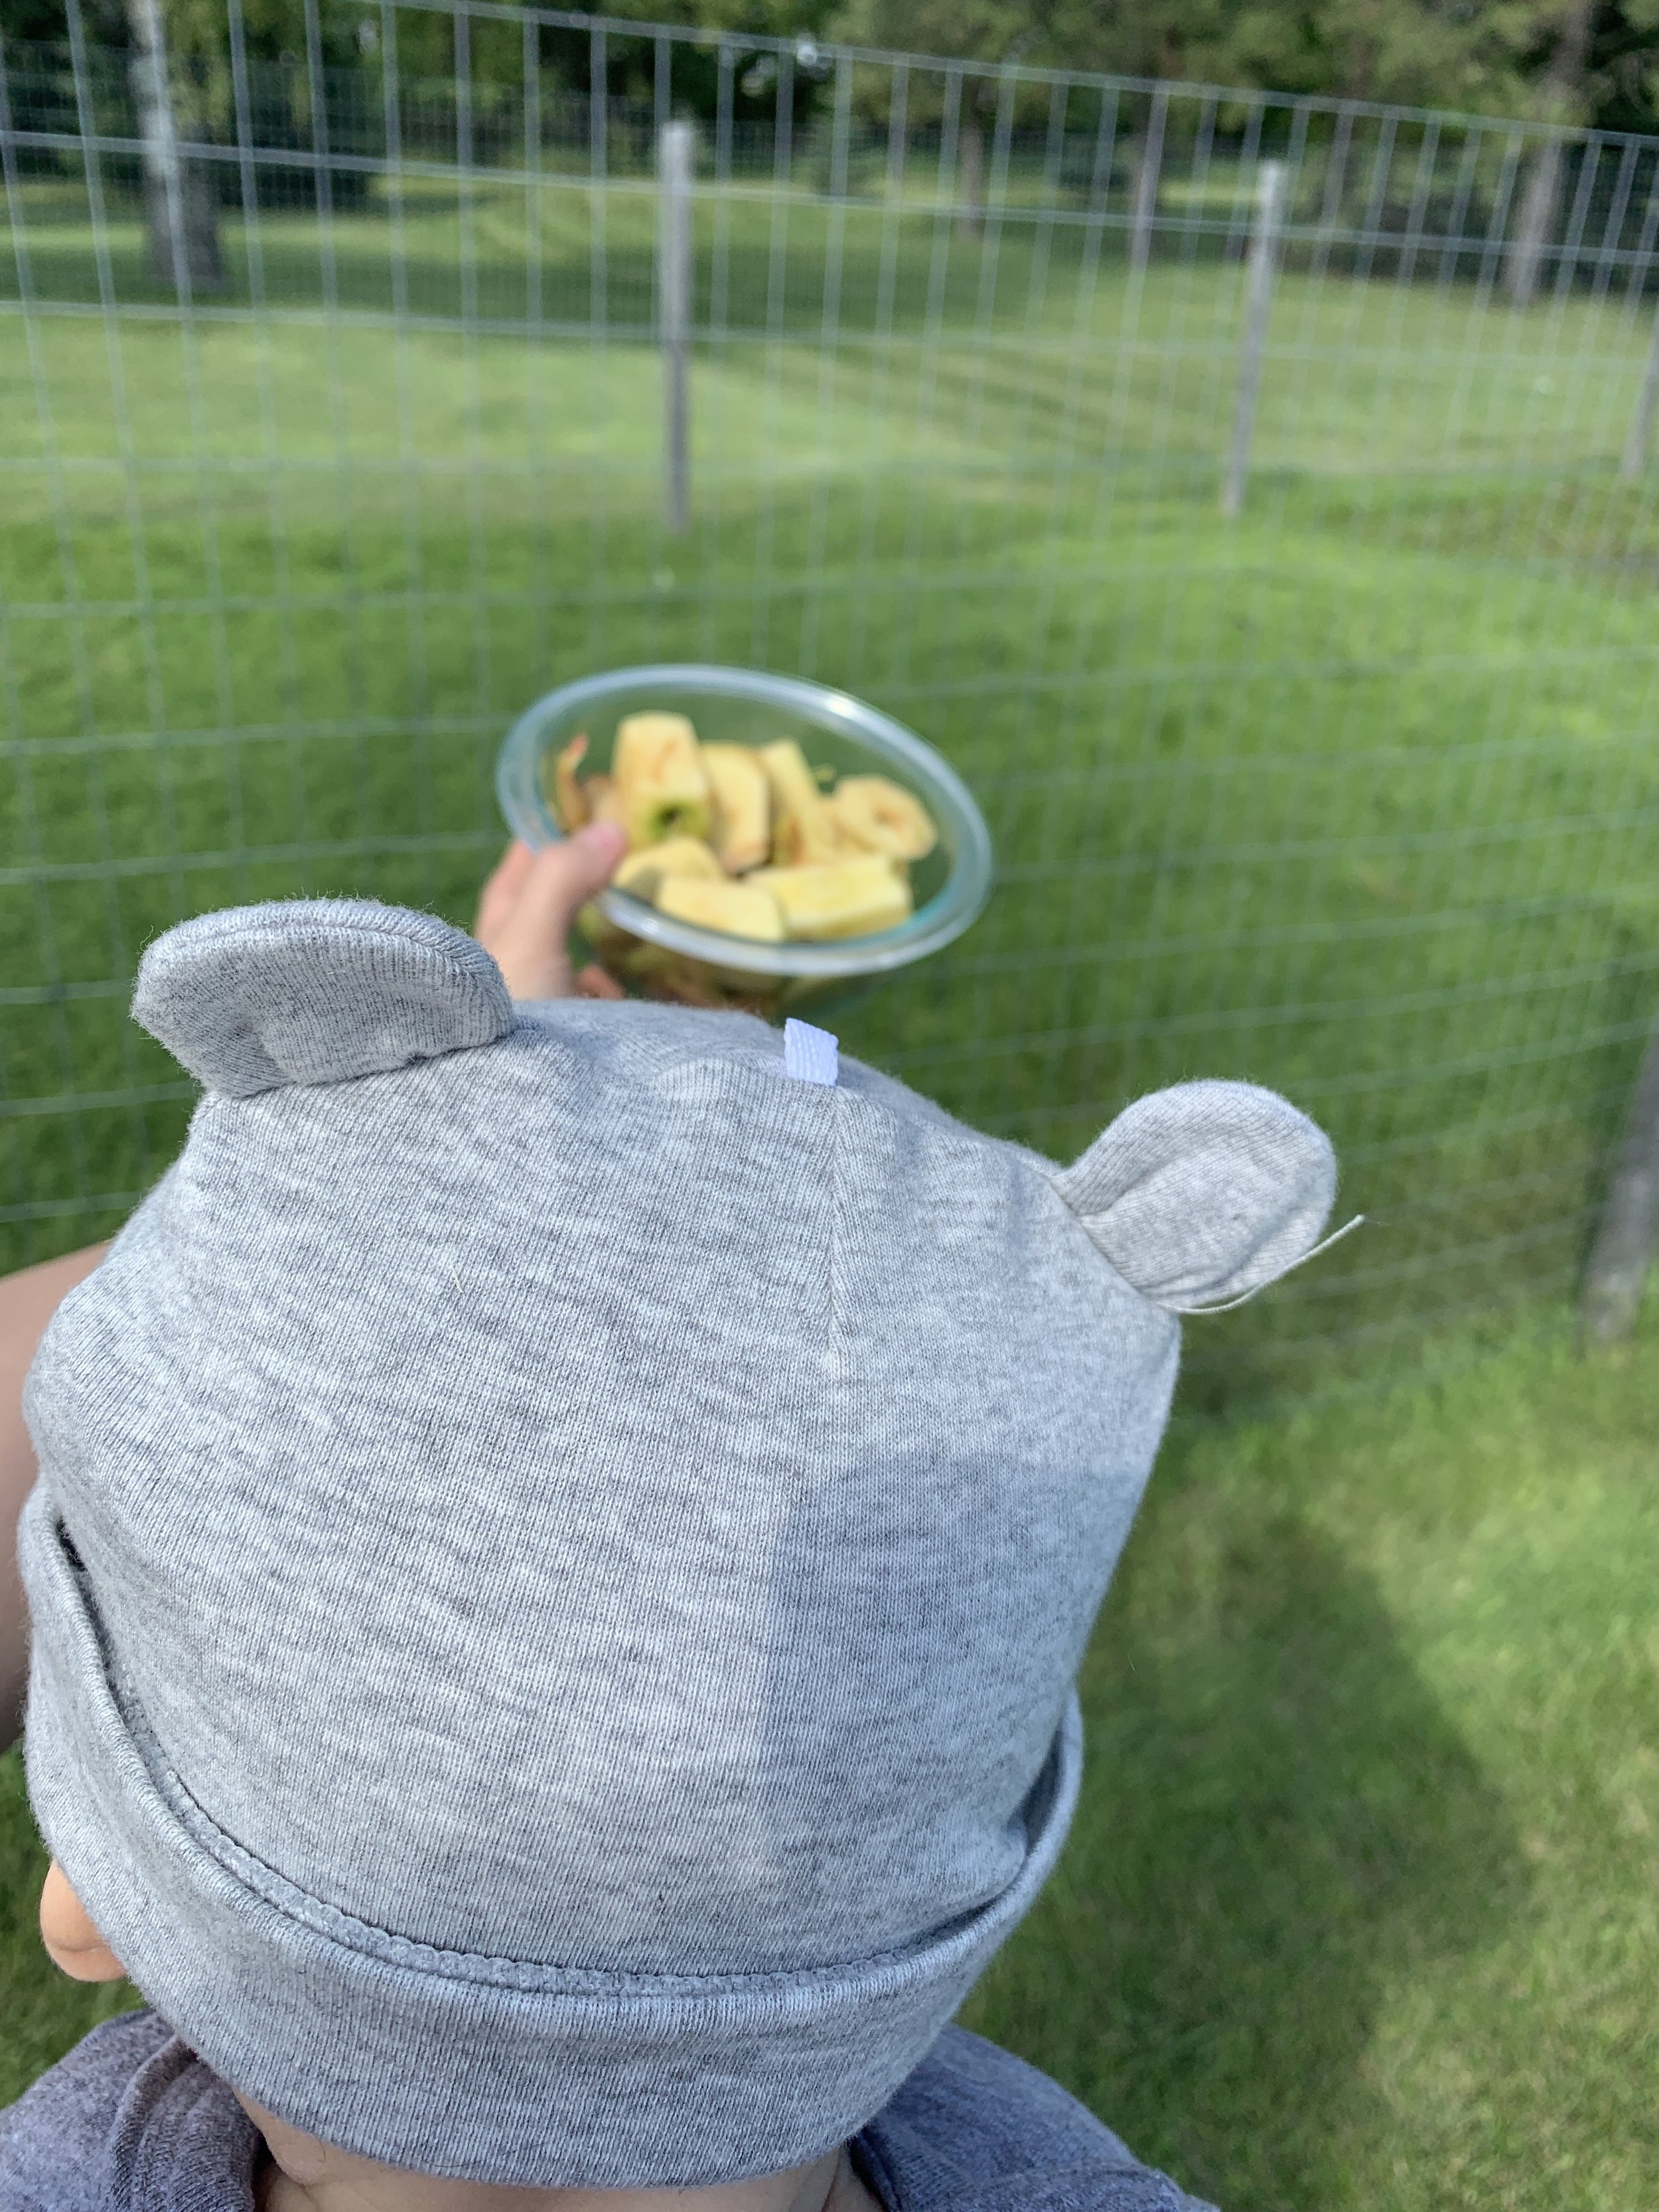
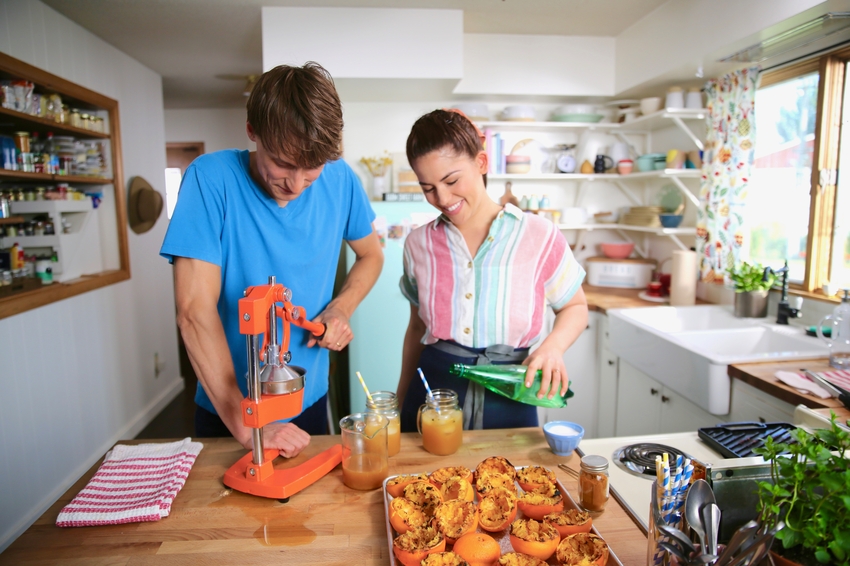
We had a very big weekend! Bernie had her first solid food!!! Our apple trees were ready for their first little harvest, so we zipped up in our matching green hoodies, I strapped her in her carrier, and together we walked outside and picked a basket of apples. Then we peeled them, chopped them into pieces, and simmered them with a little cinnamon as we sang that we like to Oat Oat Oat Opples and Banonos. The apples were still a little tart (I’m pretty sure they’re Gala apples but they don’t get that sweet until the first frost) so I added a chopped Honeycrisp to the mix. Once they got very soft, I pureed them with a stick blender and then poured them into her cute baby blocks. Then we fed the apple cores to the chickens!

We also made squash puree! Peeling a butternut squash with a five-month-old takes half a day but we did it and steamed some for Bernie food to stick in the freezer and used the rest for grownup supper.

I’m inspired by Bringing Up Bébé to try to serve Bernie the same foods that Eggboy and I eat, so on Monday night we sat down for supper and all ate apples! Apple squash hotdish for us, applesauce for Bernie. Sitting down to our first real family dinner was a dream come true. And, ok, Bernie’s reaction to the applesauce wasn’t exactly the same excited reaction that she had after slurping up grape flavored Tylenol back when she got her four-month shots, but she went back for a second bite! And almost a third. And then made a face that said you overdid it on the acidity, mommy, you’re chopped. I’m pretty sure the apples were just too tart for her. Oops. I think I’ll add another Honeycrisp next time. Anyway, it’s all just going to get better from here and I’m sure it’s only a matter of time before she’s opining on my cake textures and soup seasoning! Wouldn’t it be funny if her first word was “moist.”

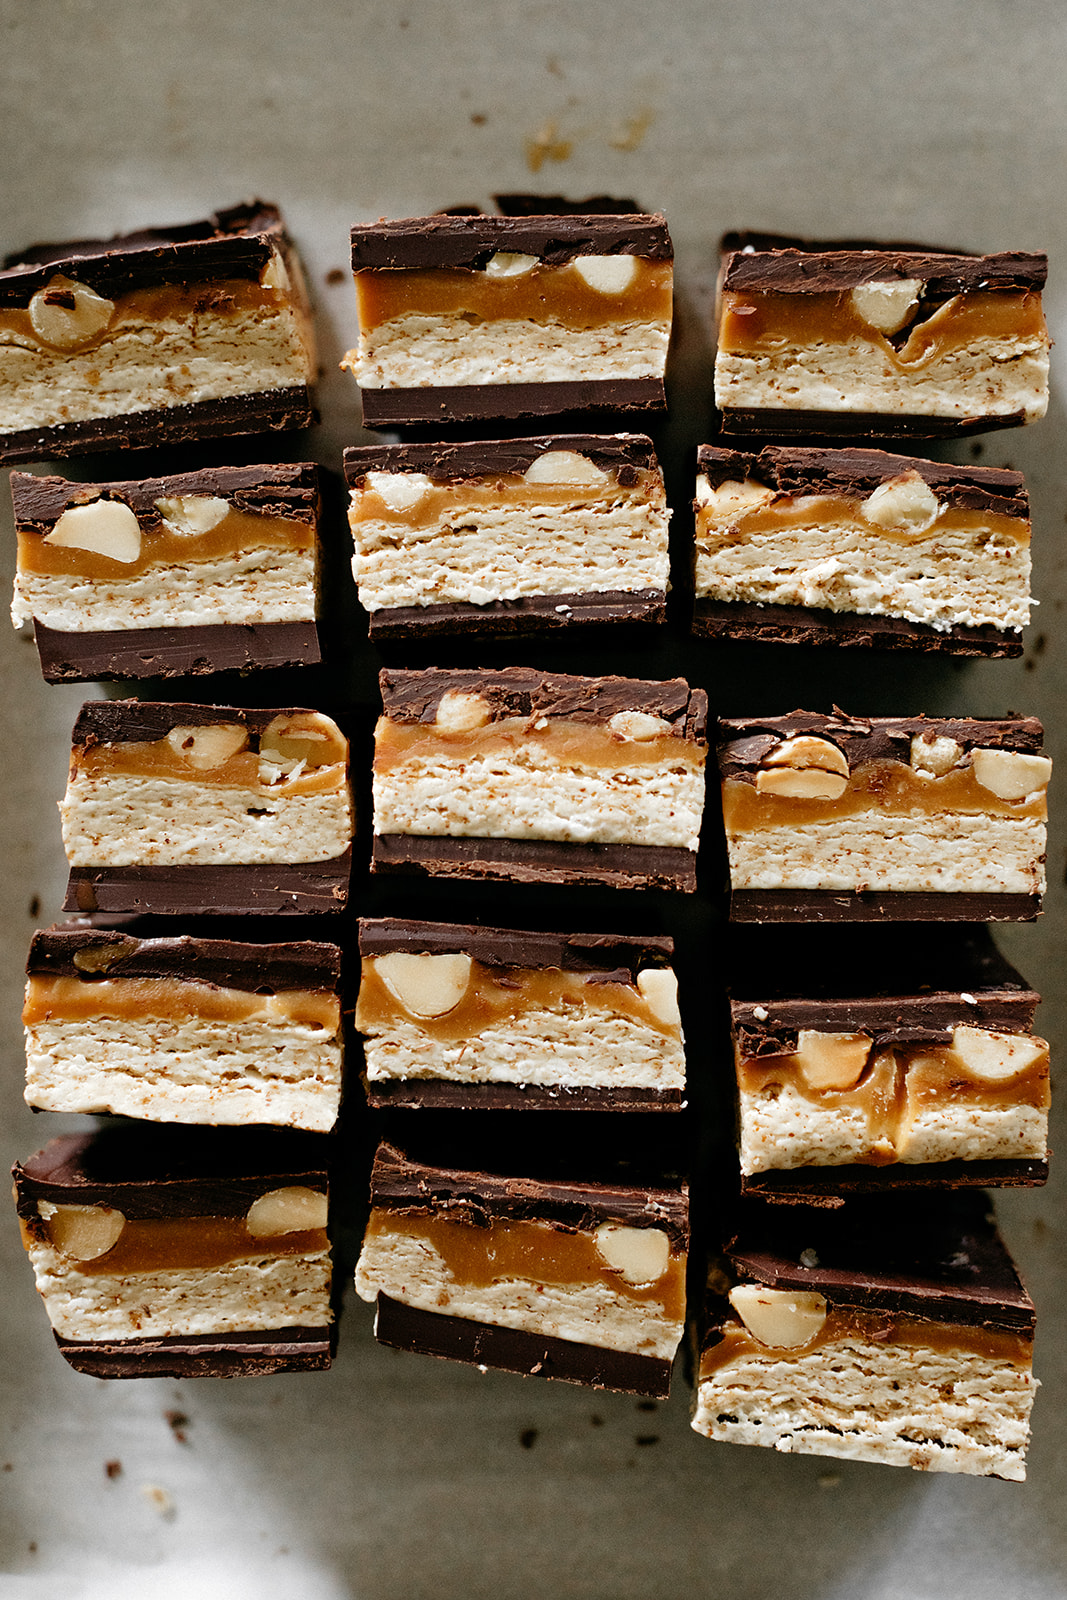
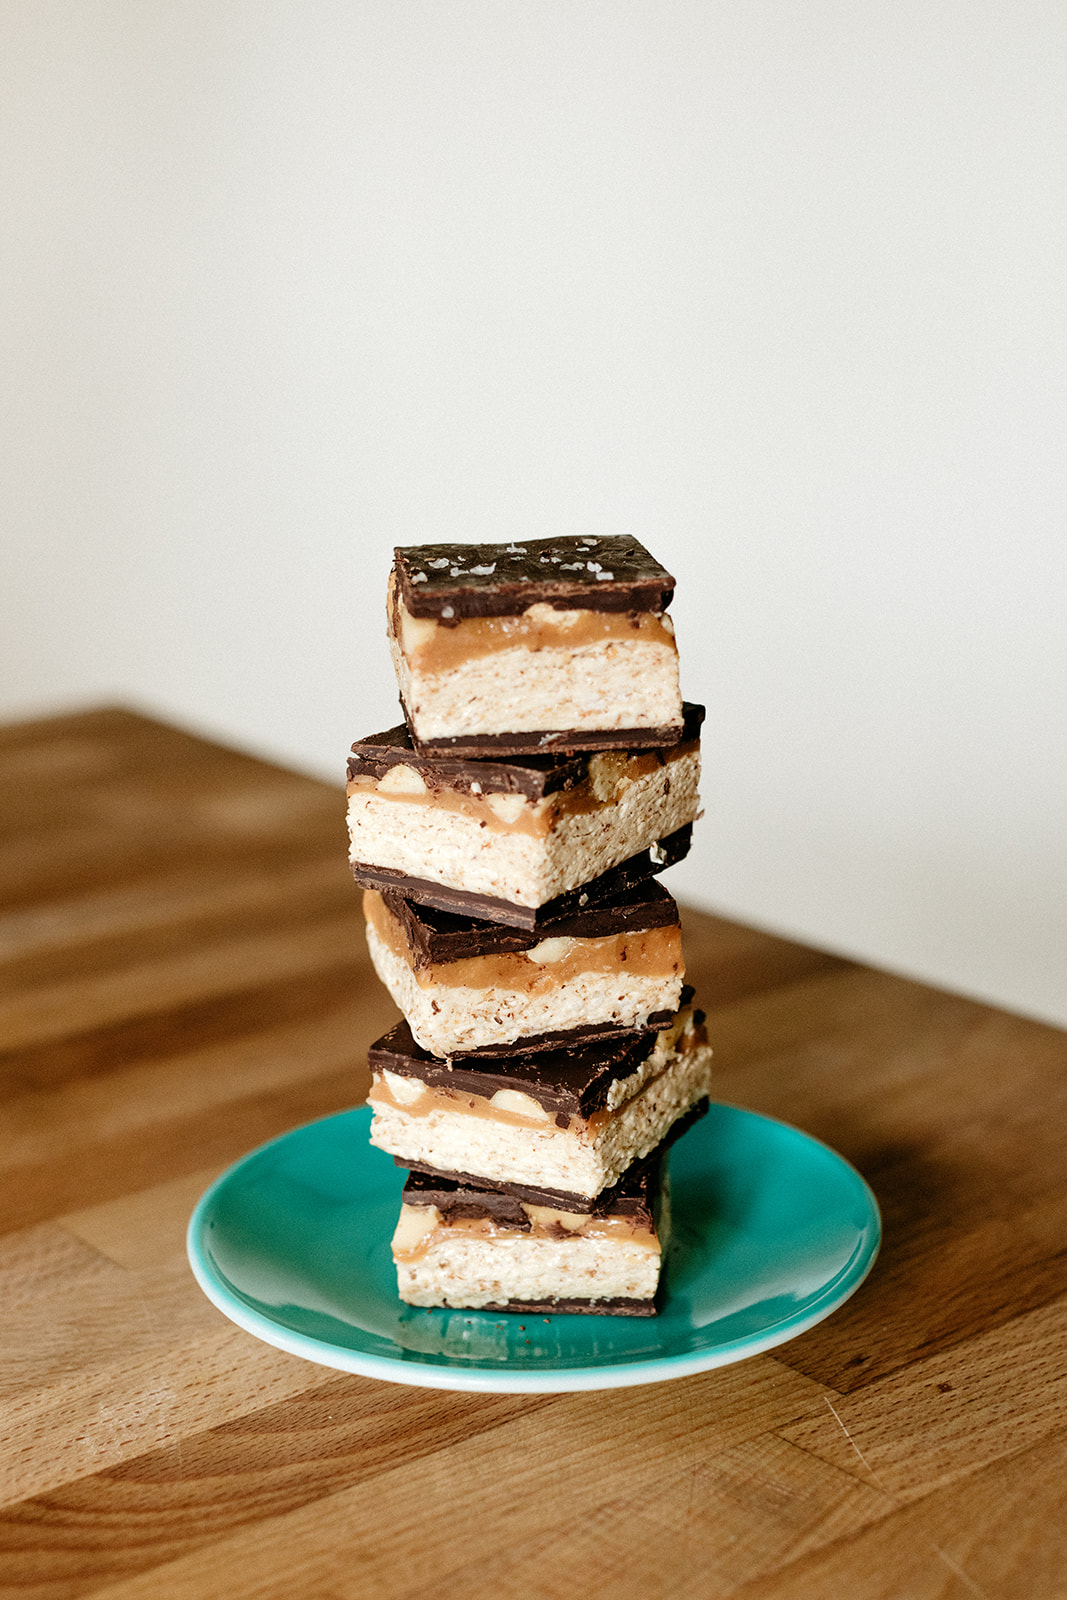
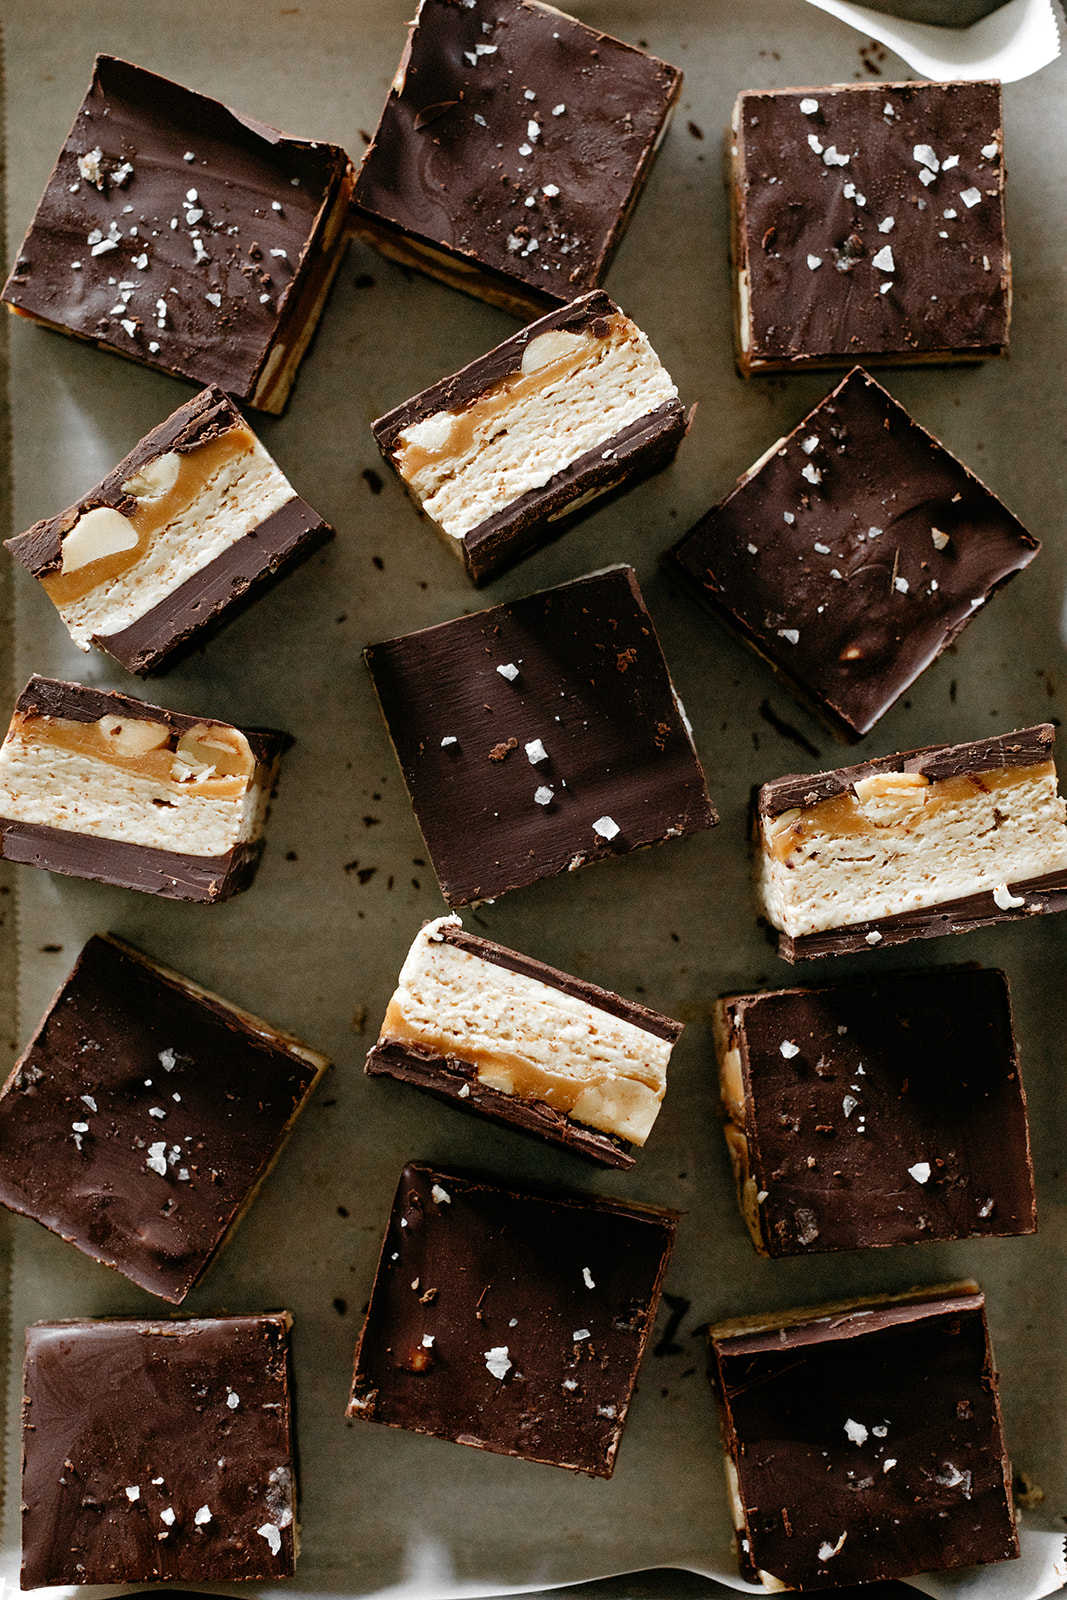
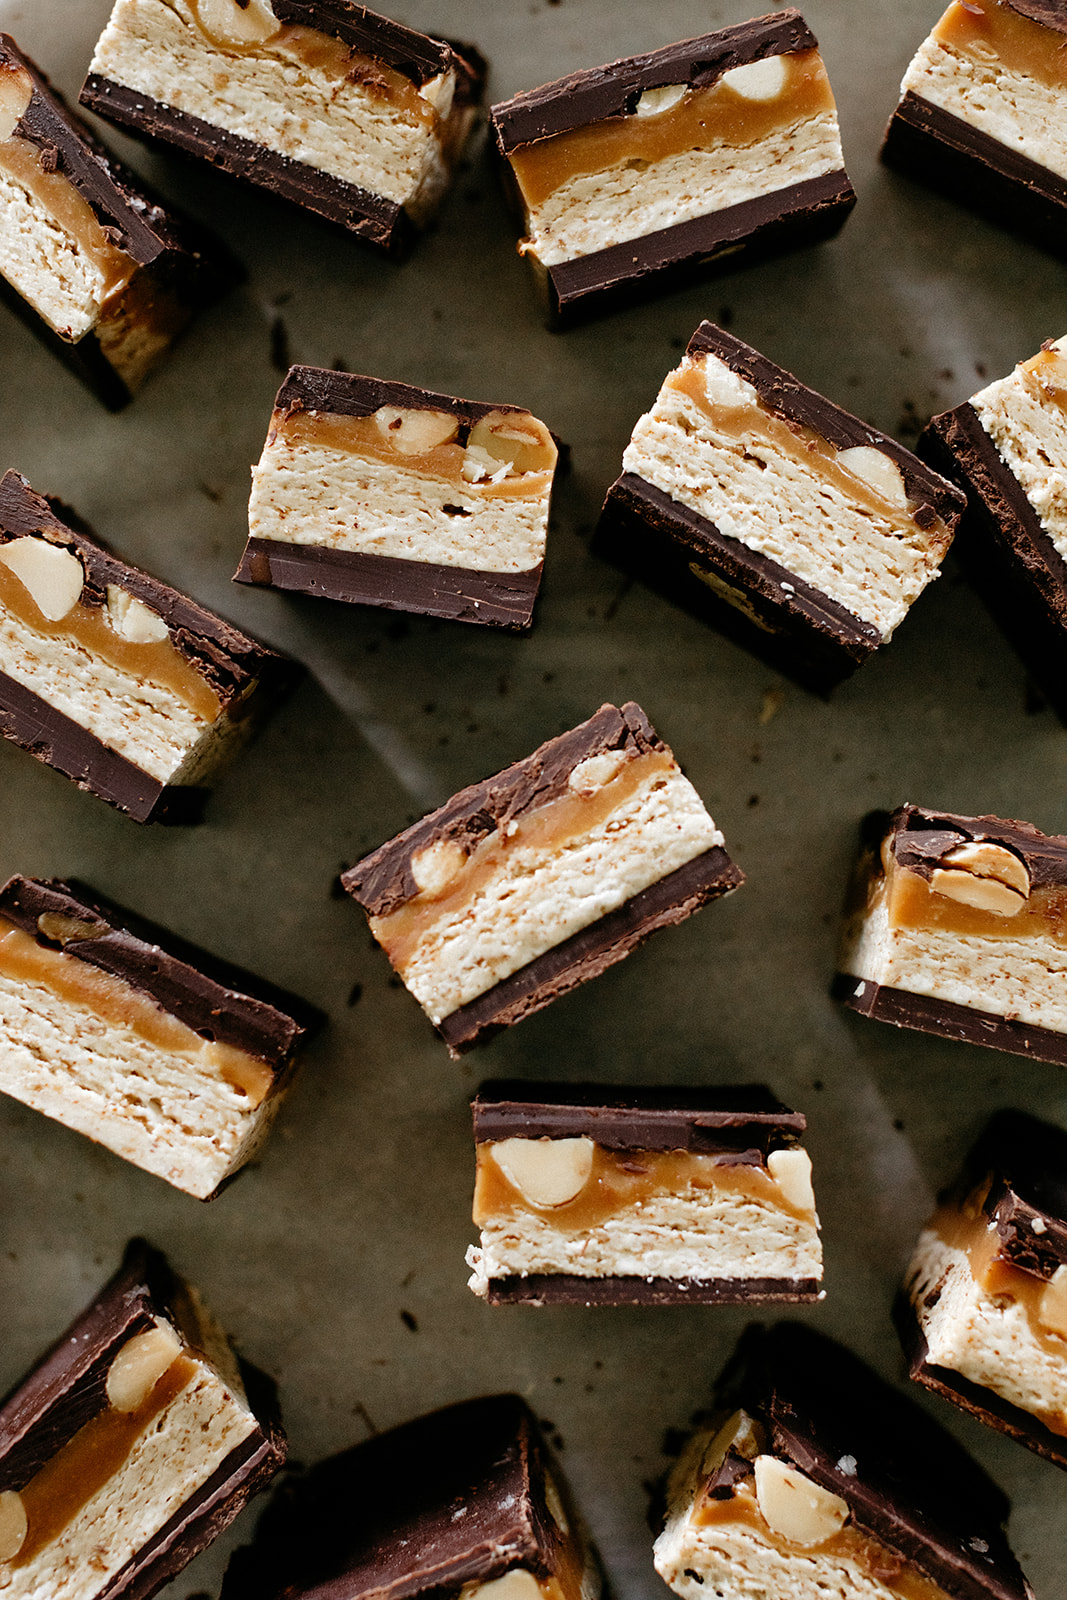
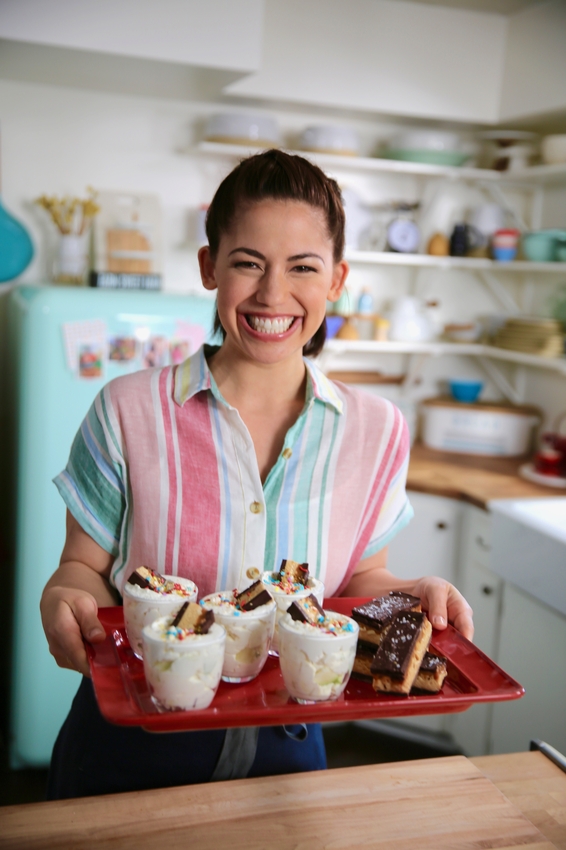
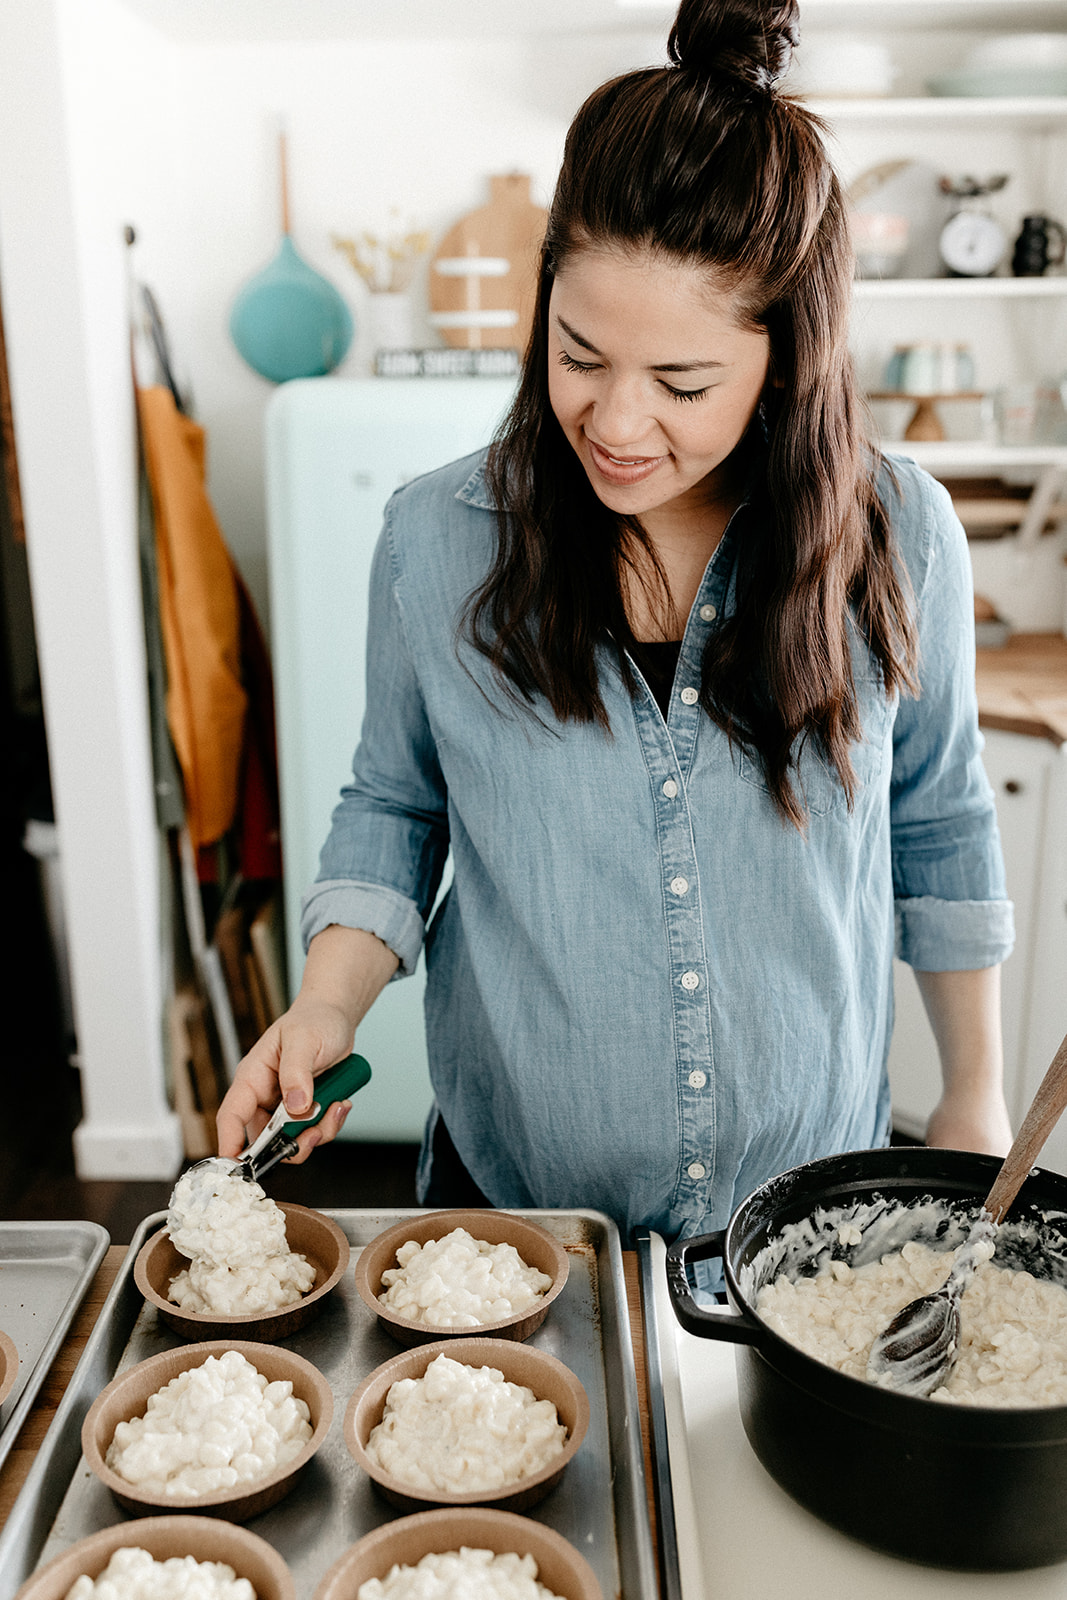
We have another very big weekend coming right up: Bernie’s TV debut along with the debut of season four of Girl Meets Farm on Sunday!! Not to give away any spoilers but the season premiere is hella cute. Because Bernie. And also because it features one of my new favorite dessert recipes, homemade Snickers!! Ugh they are so dangerously good and easy to make. Really surprisingly easy. When I think of Snickers bars, I think of nougat and caramel and when I think of nougat and caramel I think of candy thermometers and time-sensitive things and too many pots and then having to scrub too many pots of sticky stuff and it strikes fear! But it turns out that there’s a perfect hack for the nougat, which is marshmallow fluff. Marshmallow fluff + nut butter + sugar = Snickers nougat but better because you can use any nut or seed butter you want and you just mix it up in one bowl, no thermometer needed. And with the caramel thing, I’ve decided I’m probably only using store bought caramel from now until Bernie and any future younger siblings of hers go off to college. Another thing that’s fun with these is that you can change up the nuts, as long as they are salted and roasted since they need to balance out the sweetness of the nougat and caramel. Over the summer, my mom and I made tahini snickers with pistachios, almond butter snickers with macadamia nuts (that’s what’s pictured here), and the classic peanut butter with peanut scenario. It’s truly a Choose Your Own Adventure recipe. You could also theoretically use different types of chocolate with these but I’d recommend sticking with dark because, again, the nougat and caramel are indeed quite sweet. These little guys come together really quickly, they might be my new favorite no-bake dessert, and they keep really well in the fridge. So yeah, I can’t stress enough their element of danger because of how good they are, but if you learned anything from your halva bars, just keep them next to the carrots. Carrot, Snickers, carrot, Snickers, balance. 


Homemade Snickers:

Makes 16 Candy Bars

ingredients

3 c (720g) dark chocolate chips, divided

1 tb refined coconut oil, divided

½  c (128g) unsweetened nut or seed butter

2 c (192g) marshmallow fluff

3 c (360g) powdered sugar

2 tb whole milk or almond milk

3/4 c (84g) roasted salted nuts

11 oz (312g) caramels

2 tb heavy cream or almond milk

Flaky salt, for topping

clues

Spray the bottom and sides of an 8” x 8” square pan with cooking spray and line with parchment paper that hangs over the edge of the pan by an inch on two sides.  Add 1 ½ cups of chocolate chips and 1 ½ tsp of coconut oil to a glass bowl and place the bowl over a simmering pot of water. Stir the chocolate until it has melted completely, about 5 minutes.  Pour it into the pan and use an offset spatula to spread it evenly in a thin layer all over the bottom. Place in the freezer to set.

Meanwhile make the filling.  In a large bowl mix together the marshmallow fluff, nut or seed butter,  powdered sugar, and milk. Mix well until it becomes a soft dough-like consistency (this mixture is incredibly sticky and you may need to use your hands).  Remove the pan from the freezer, wet your finger tips and press the fluff filling down over the chocolate in an even layer. Sprinkle the nuts on top and press lightly into the fluff.  

Add the caramel and cream to a small sauce pot and cook over low heat, while stirring.  Cook until the caramels are melted, 5-8 minutes. Spread the caramel over the fluff and place in the refrigerator for 5 minutes.  Meanwhile, melt the remaining chocolate and coconut oil. Spread the chocolate over the top of the caramel and sprinkle with flaky salt. Place back in the refrigerator until chocolate is fully set and hardened, about an hour or up to overnight.

Using the parchment, pull the bars out of the pan and transfer to a cutting board. Run a sharp knife until warm water and then cut 16 bars. Enjoy! Store in an airtight container in the fridge. These should keep for a week or even longer, if they last that long.


-yeh!

photos by chantell and brett quernemoen

P.S. Don’t forget to tune in to Food Network this Sunday at 11a/10c for the season premiere of Girl Meets Farm! Here are some pics from this episode!

halva magic bars

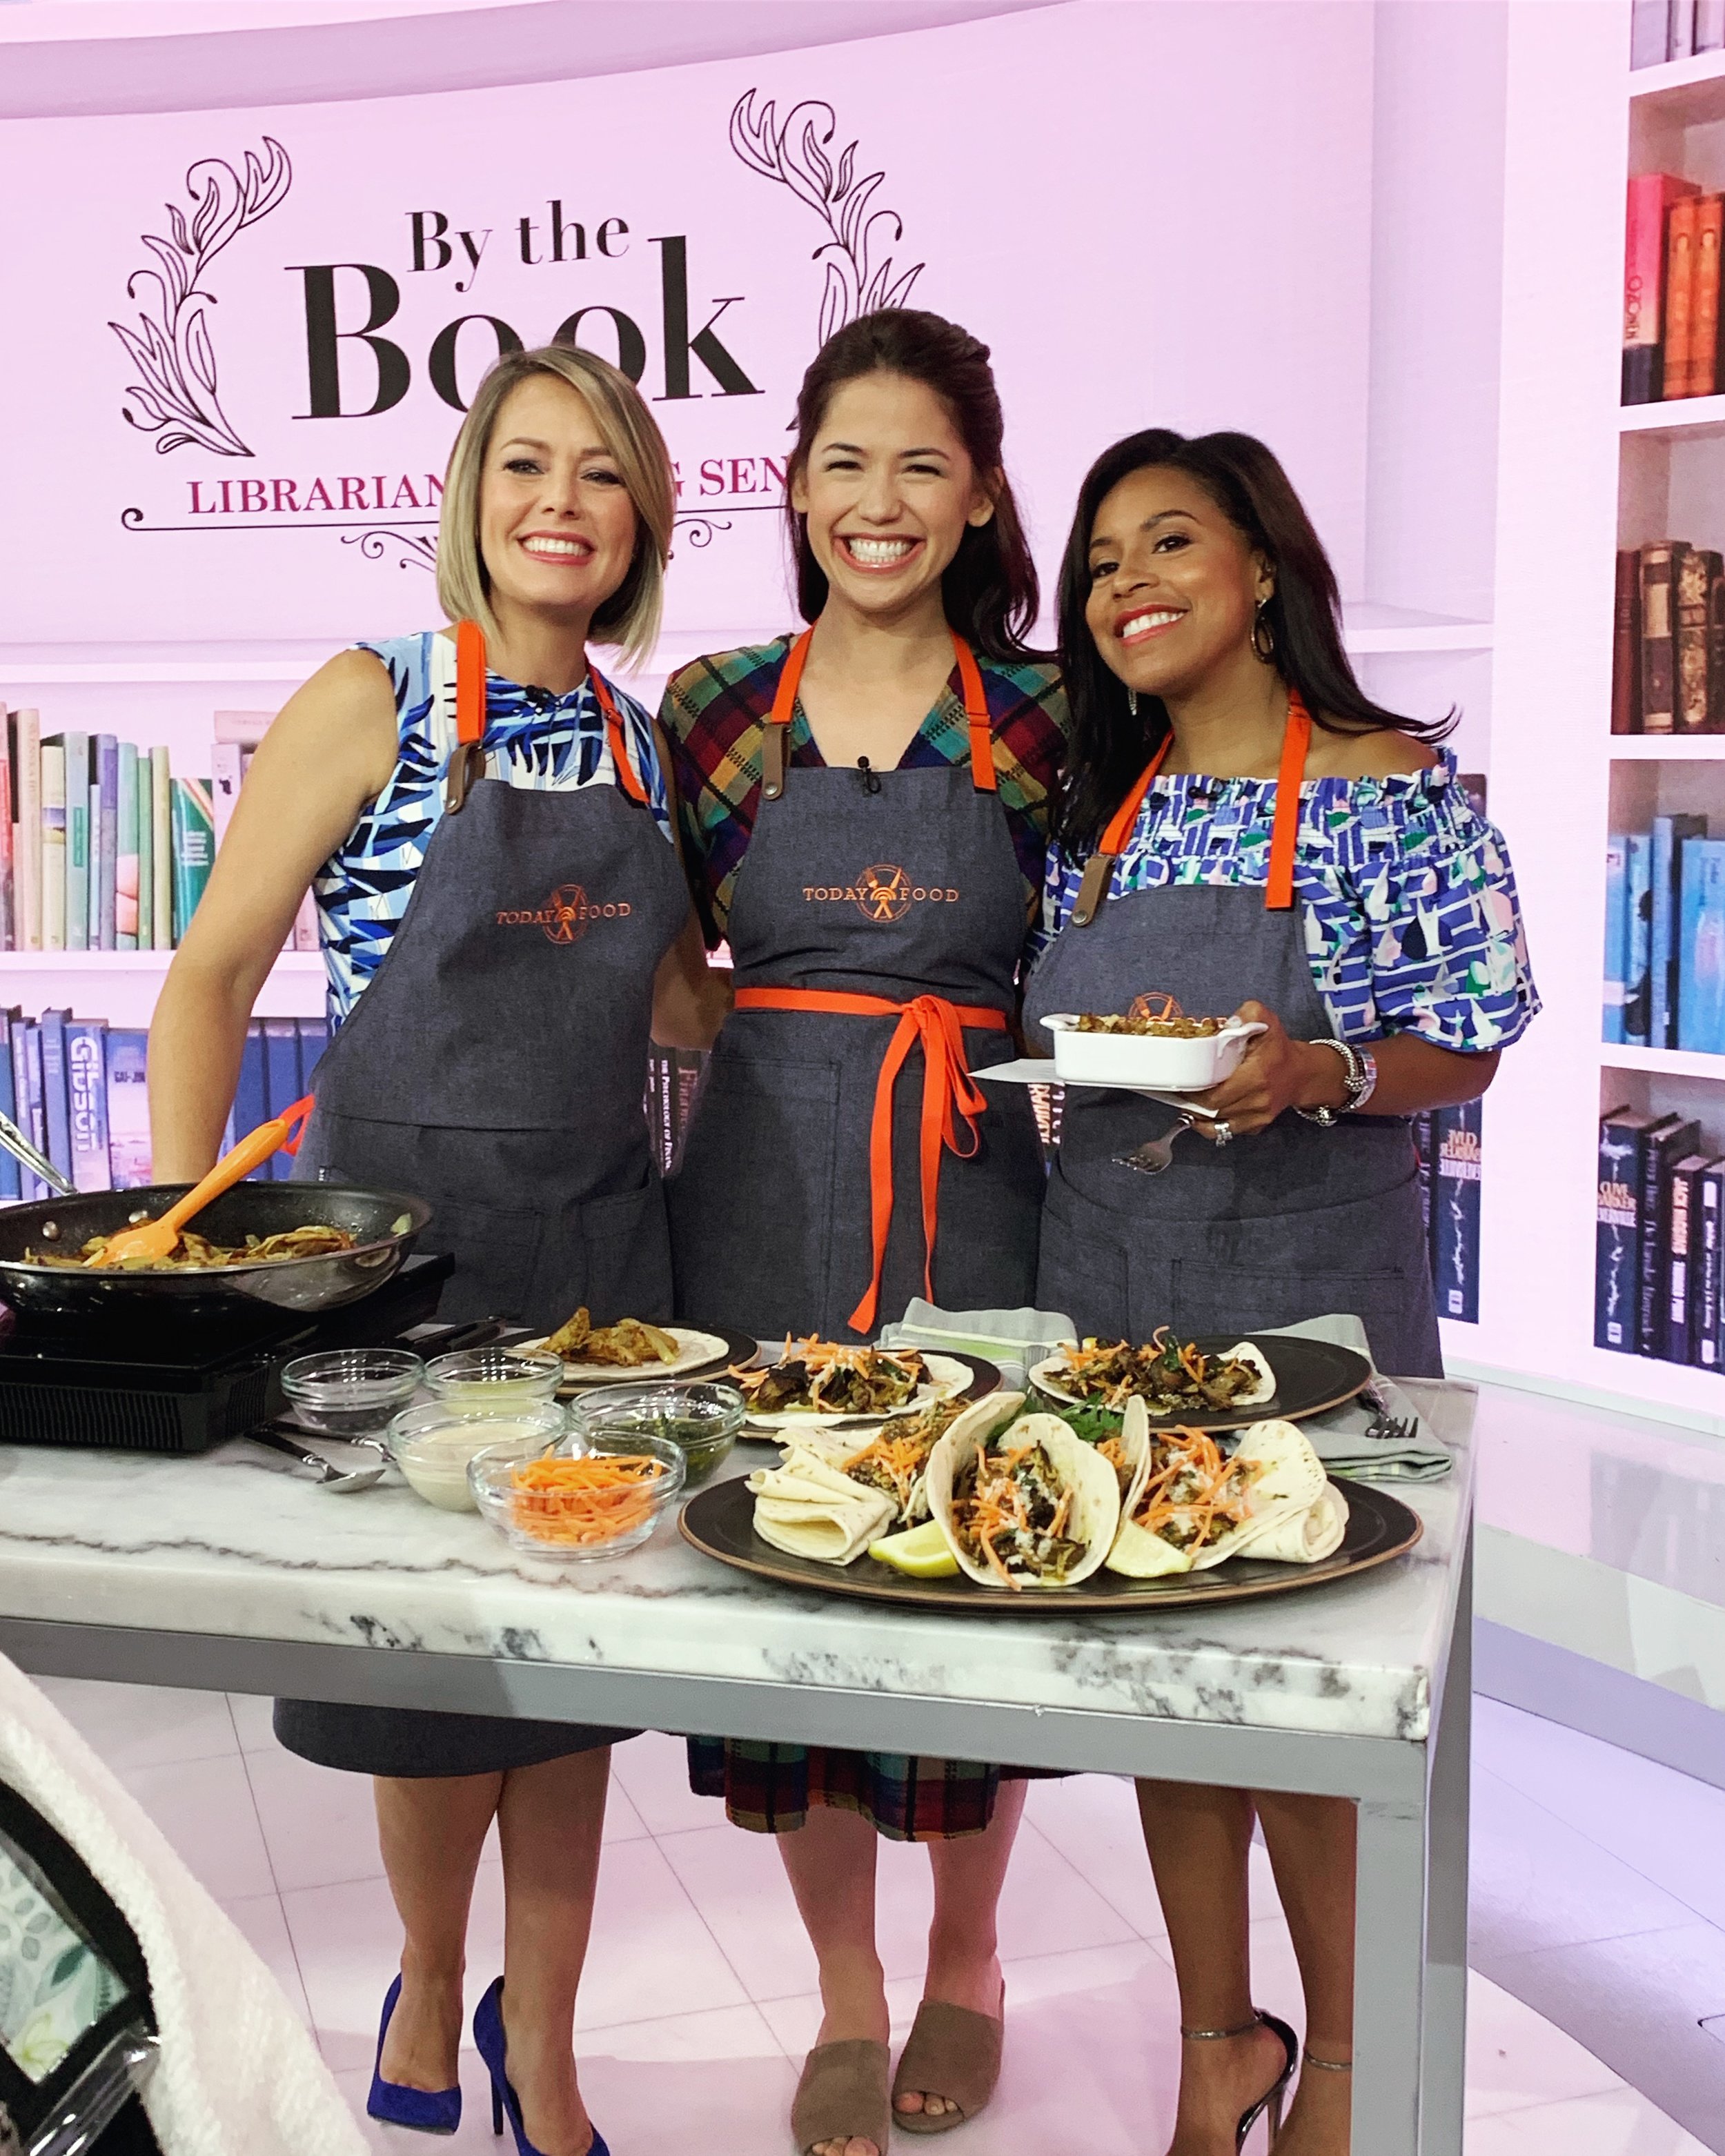
Hello from my first week back to blogging life after seven weeks of filming and three months of maternity leave! Season 4 is officially in the bag (and scheduled to premiere on September 8th!), and after a one-day trip to New York earlier this week to make turkey on the Today Show, I am home and ready to figure out this whole test-noodle-kugel-recipes-while-Bernie-is-singing-Baby-Beluga-with-Grandma-in-the-living-room thing. It’s gonna be great! I’m gonna squish her cheeks anytime I want!
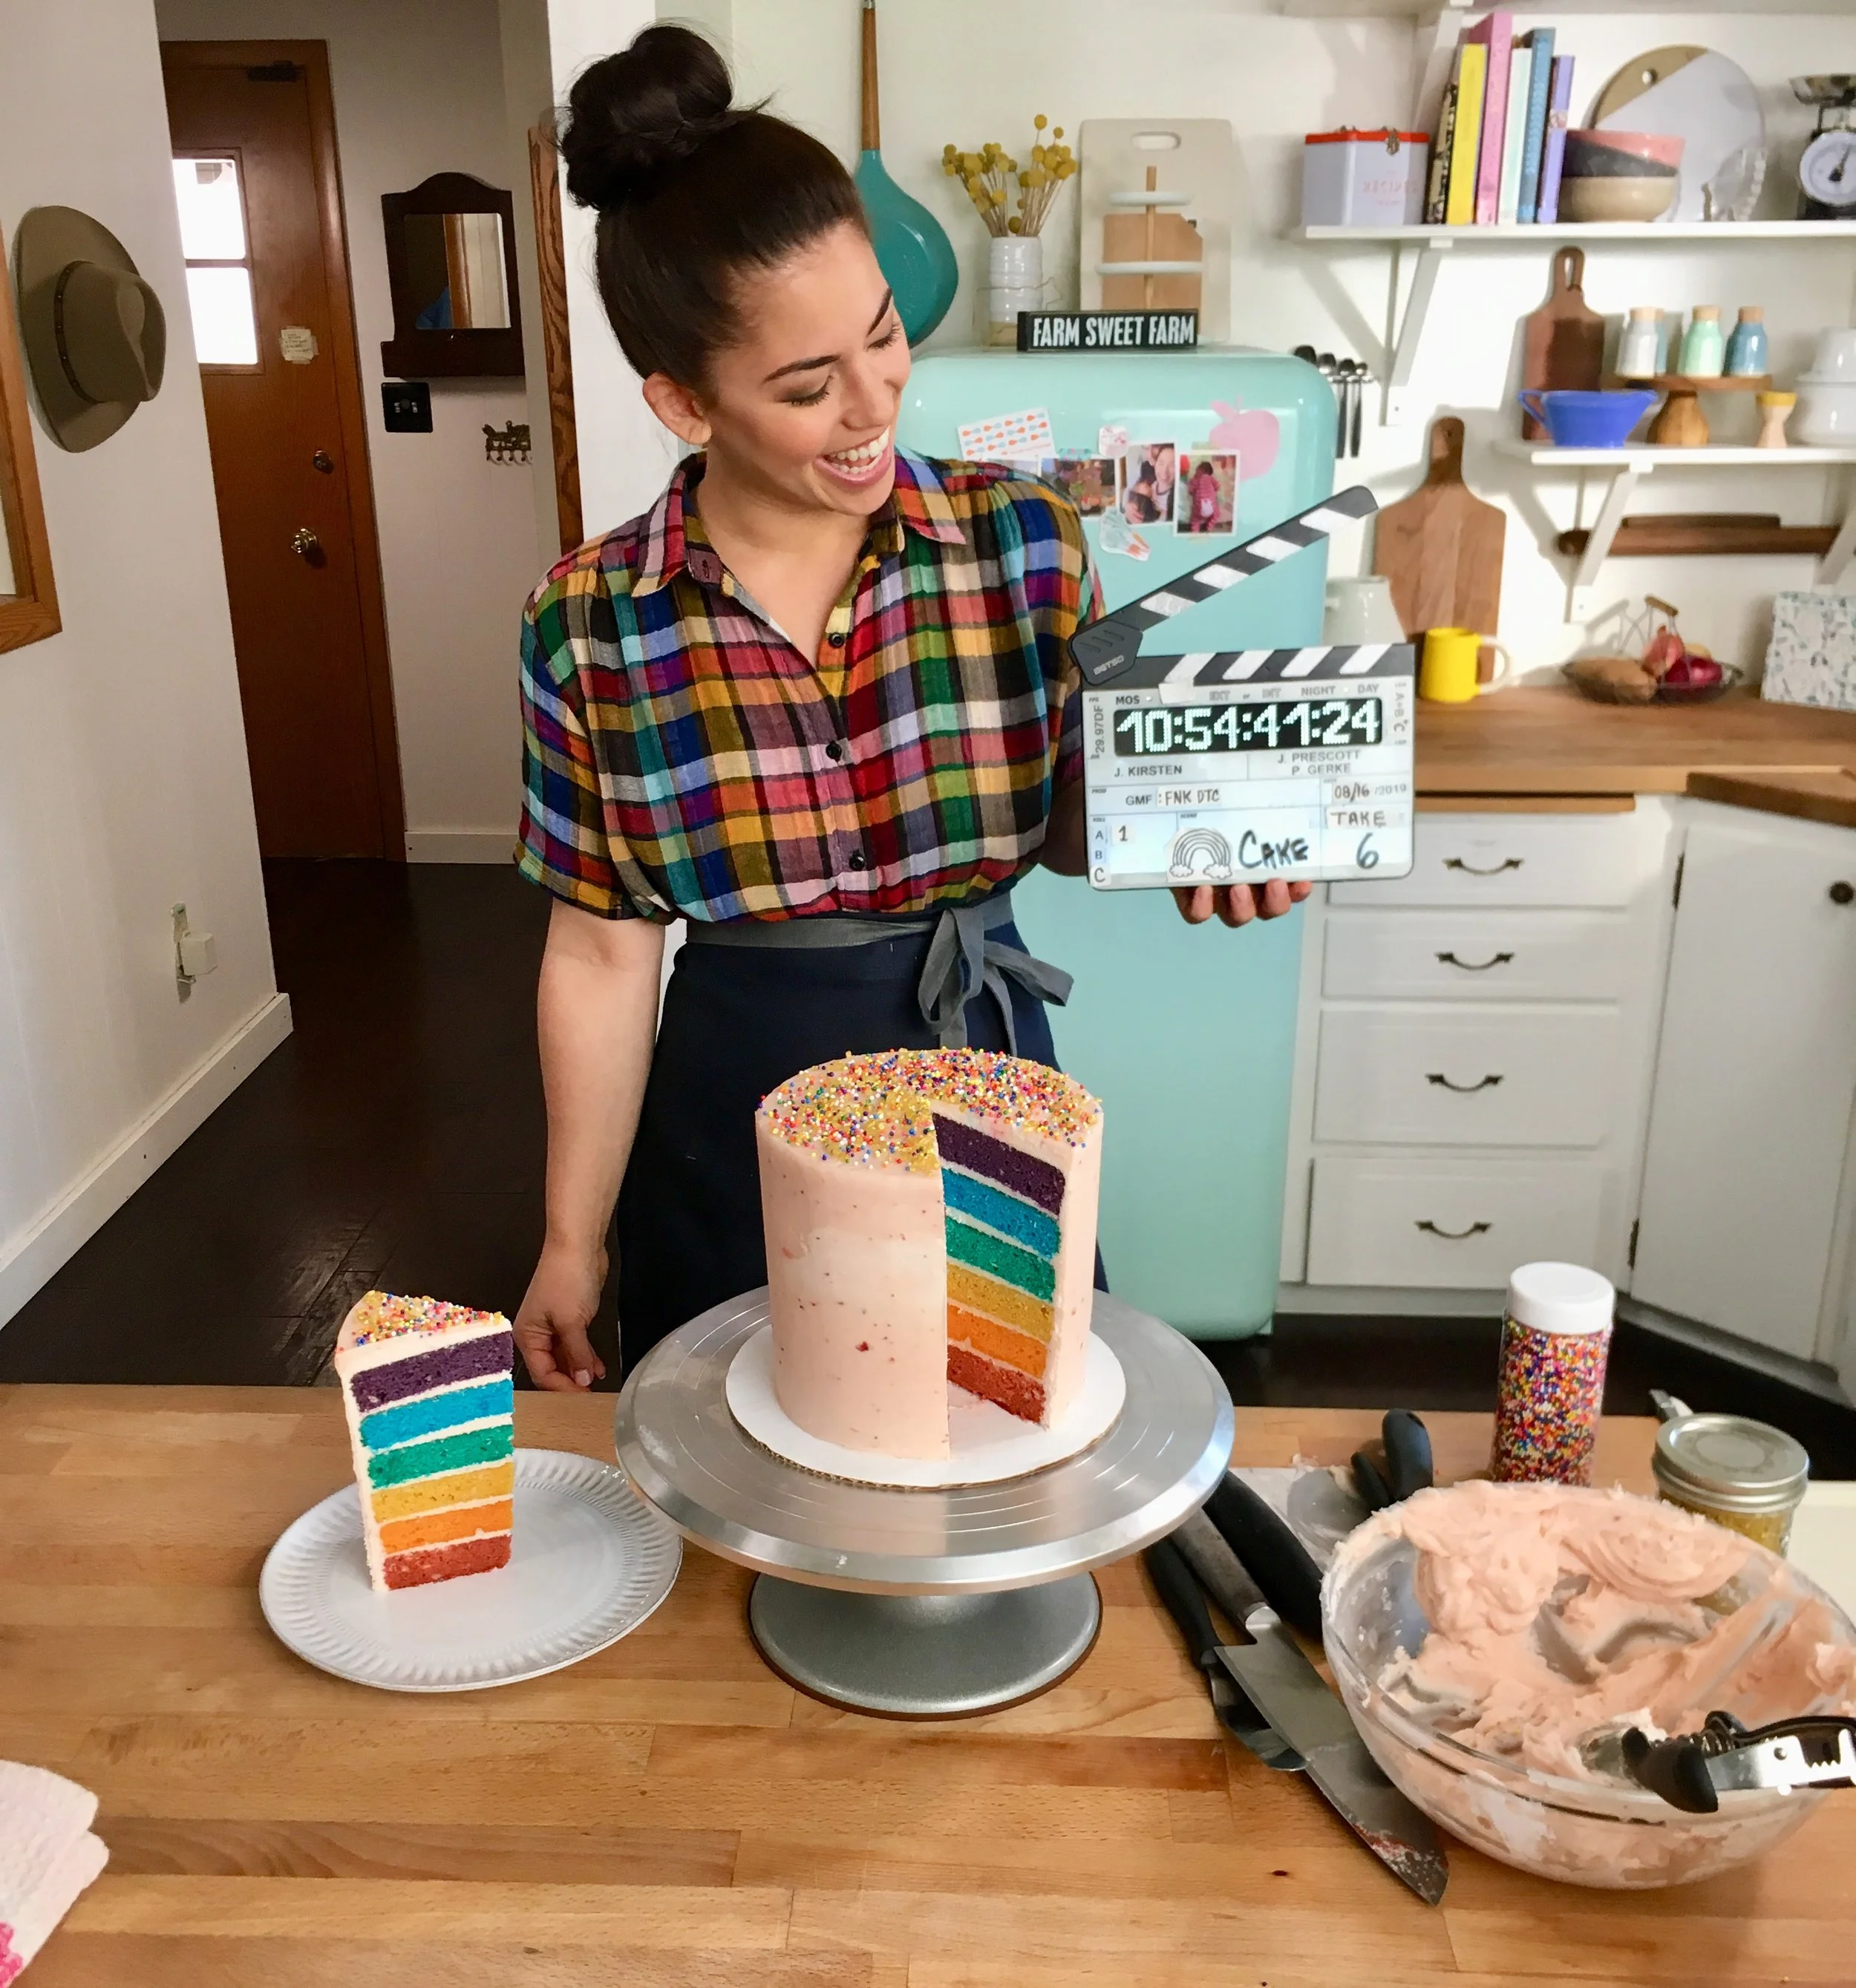
The Season 4 shoot was so much fun. It really was like summer camp: we had movie night under the stars, a wiener-fueled bonfire, bourekas in a wheat field, and a dance party with backstreet boys and a disco ball and everything. On the weekends we sat on the beach and invented new uses for the word gourmet. (“Are you wearing a Juicy velour robe? That is so gourmet!” “Did you just get very extravagant nail art? How gourmet!” Basically: fancy but not trendy, and nothing at all to do with food.) On the last day, I got Iced and that was that. I miss the crew so much already.

One of my faaaaavorite recipes from this season were the Halva magic bars that I made for an episode that’s an ode to Midwestern potlucks. Every potluck around here has to have a bar- a brownie, blondie, lemon square, cookie bar, etc. I grew up calling these desserts by their specific names but here they’re all just lumped into one big geometrically pleasing category that is the centerpiece for my go-to sample of a Midwest accent (“Are you going to bring the bars, Marge?” where the “ar” sounds a little pirate-y… aim for the back of your mouth and you’ll see what I mean.)

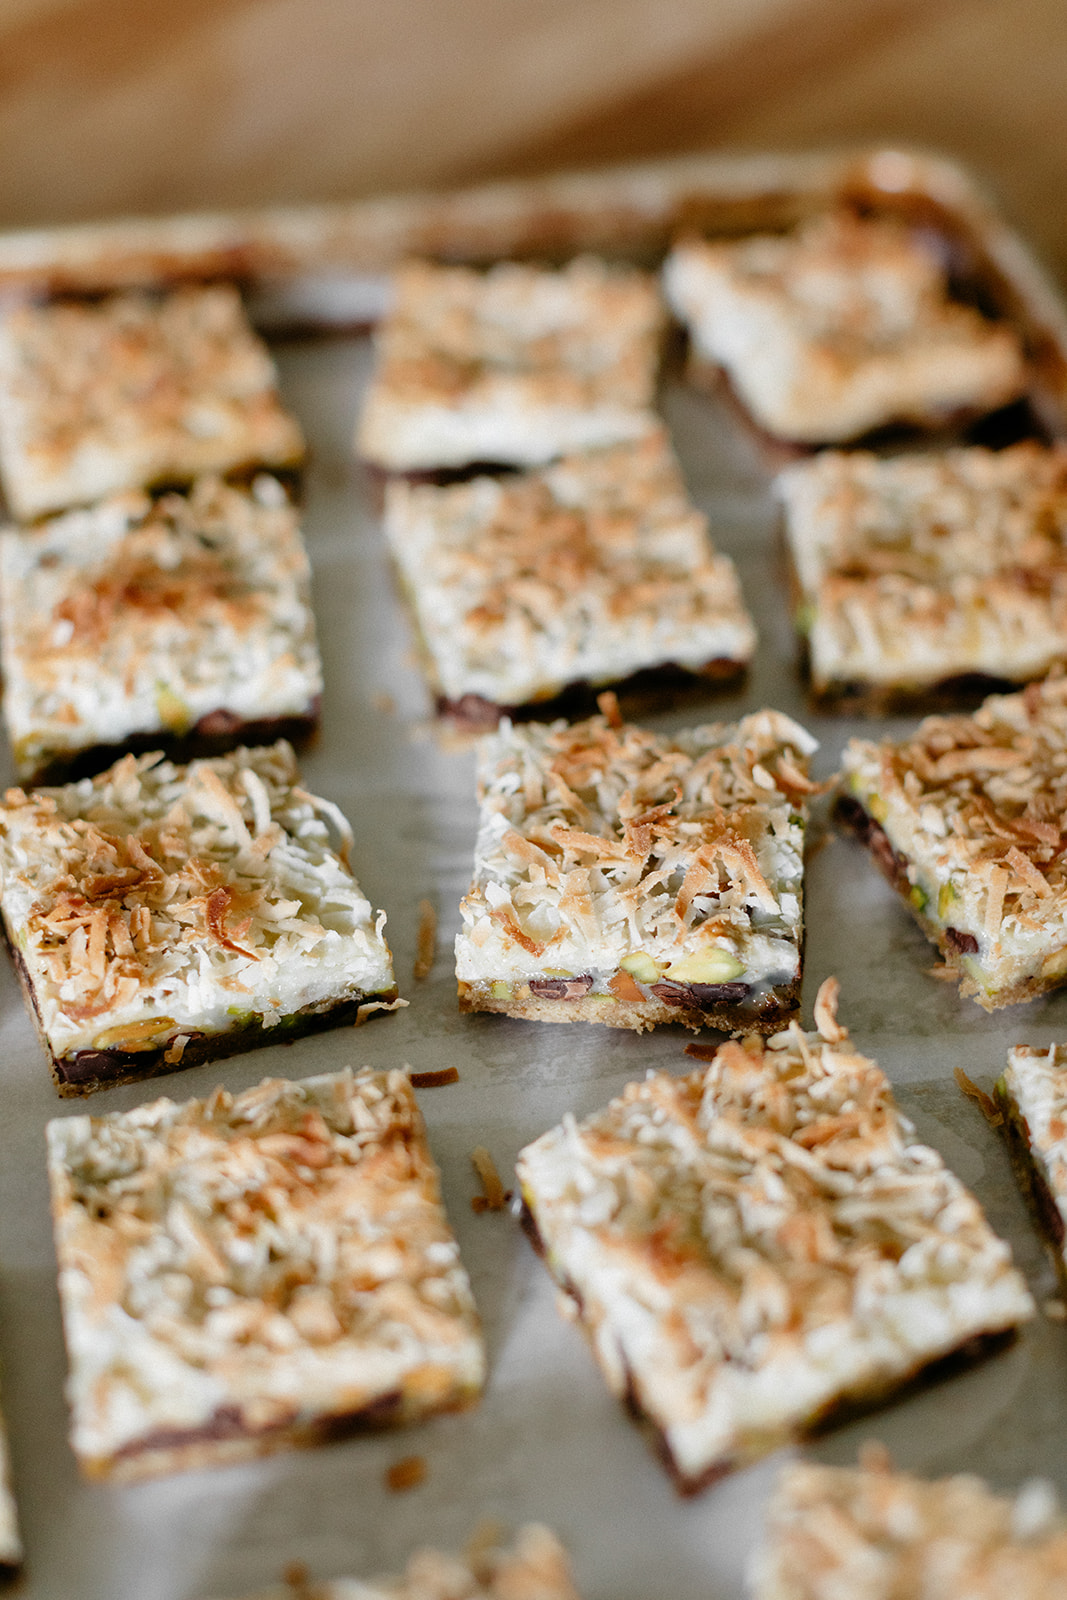
Magic bars, or 7-layer bars (tomato/tomahto), are one of the top three bars of all time. They are dangerously delicious and they’re magic because you make them by just piling everything into a pan. You don’t have to mix anything in a bowl or soften butter or commit any real effort, they’re so easy and the return is so great that it honestly feels like you’re cheating the world. 

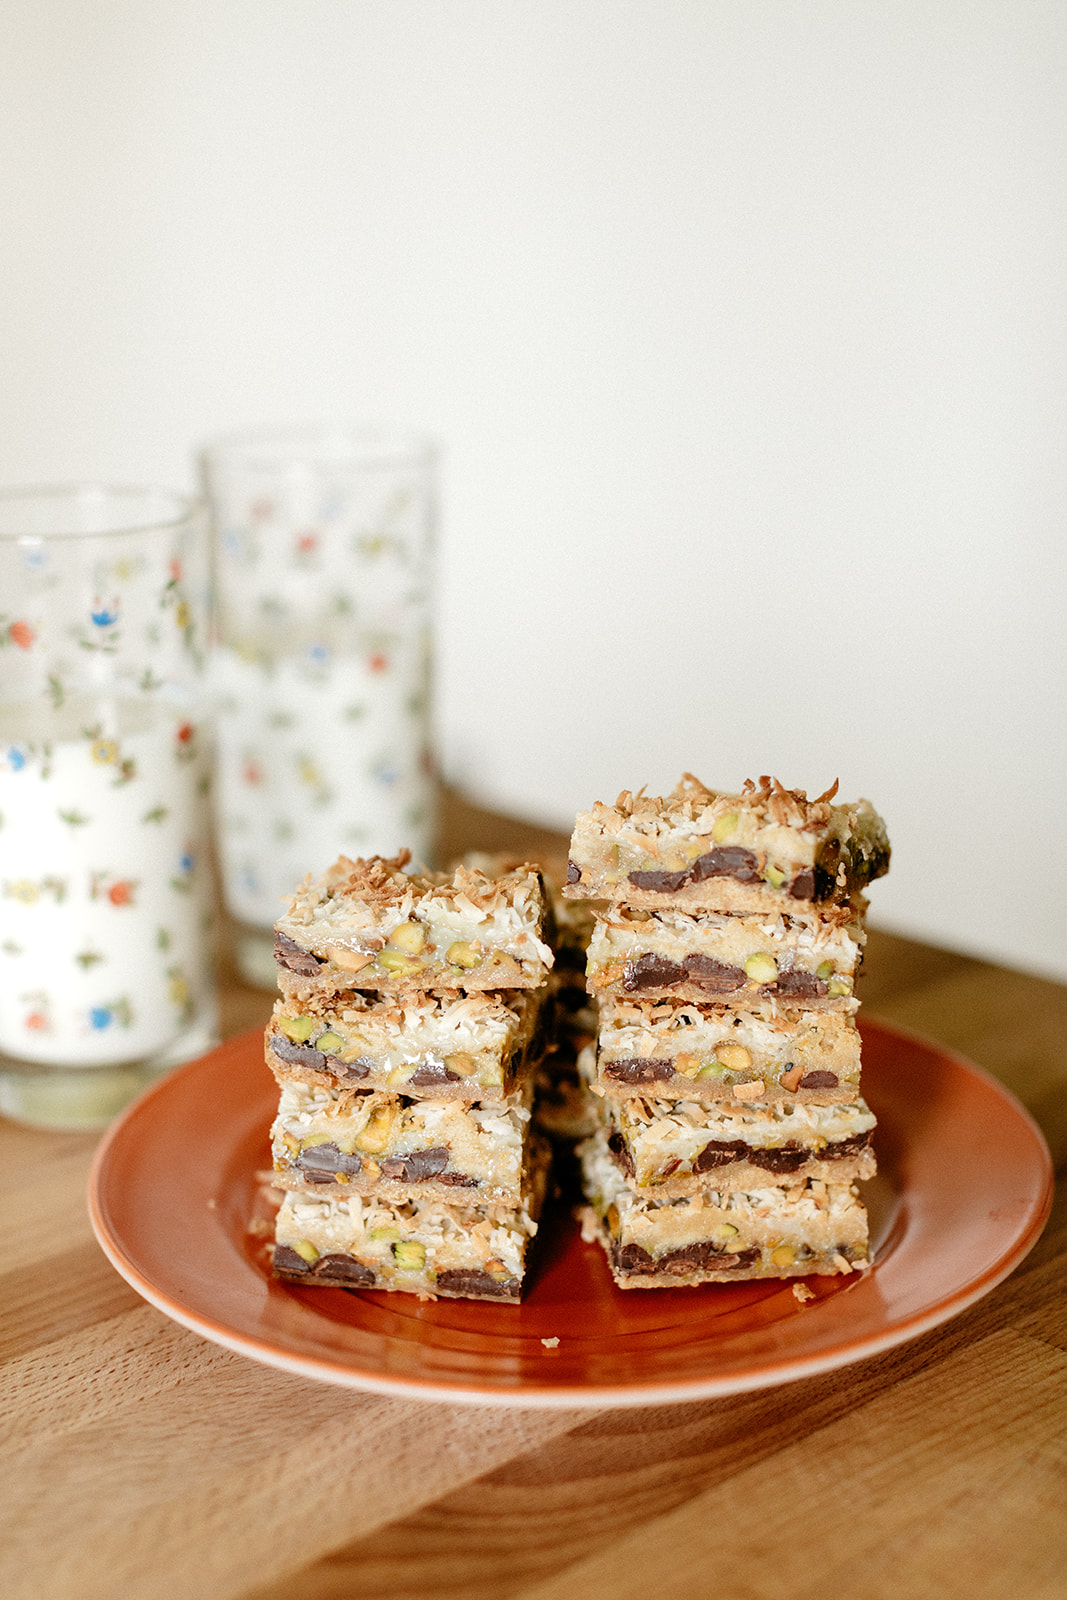
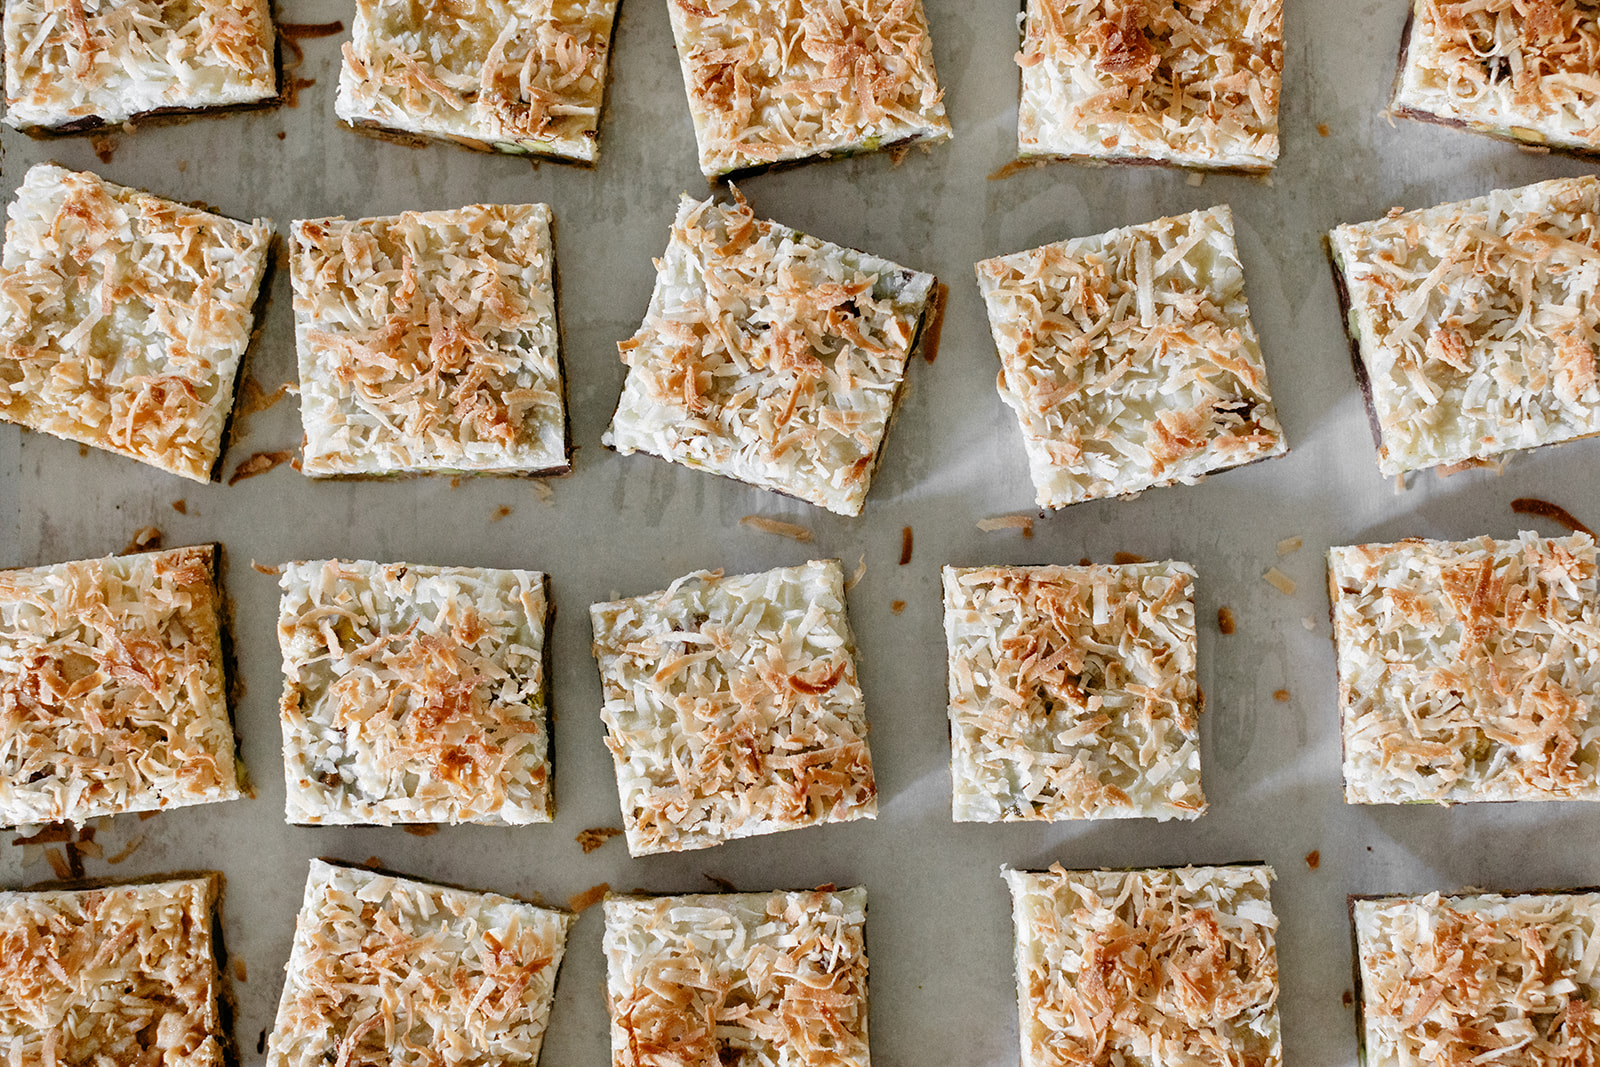
The classic magic bar has butter, graham cracker crumbs, chocolate chips, butterscotch chips, pecans, sweetened condensed milk and shredded coconut, but in a painfully predictable move, I’ve subbed out the butterscotch for crumbled halva and the pecans for pistachios. And of course the condensed milk was just begging for some rosewater (it gets topped with coconut, can you blame me?!). Listen, one day I’ll make something that doesn’t feature the holy combination of coconut + rosewater + pistachio + halvah but, like, today’s not that day. And neither is tomorrow. 

The result is a bar that’s just as chewy and gooey and amazing as the original, but with a little more color: nuttiness and flakiness from the halvah, greenery and saltiness from the pistachios, floral notes from the rosewater, and pretty pops of pink from the optional rose petals on top. It’s a Midwestern/Middle Eastern mashup that was bound to happen at some point because all of these flavors work so darn well together. Proceed with caution because you will want to eat the whole batch immediately. Luckily storing them in the fridge makes them even better because it makes them chewier, so hide them in the back behind the carrots and just eat a carrot every time you go in for a bar. They’ll cancel each other out.


Halva Magic Bars

makes 20

ingredients

1/2 c (113g) unsalted butter

9 graham cracker rectangles (1 package)

1/4 tsp kosher salt

1 c (175g) chopped dark chocolate or chocolate chips

1 1/2 c (226g) crumbled halva

1 c (120g) roasted pistachios

1 (14 oz) can sweetened condensed milk or sweetened condensed coconut milk

1 tsp rosewater

1 tsp vanilla

1 1/3 c (160g) sweetened shredded coconut

2 tb dried rose petals, optional

clues

Preheat oven to 350ºf. Grease a 9 x 13 pan and line the bottom with parchment. Add the butter and stick it in the oven for a few minutes so the butter melts. Meanwhile, crush the graham crackers by putting them in a large ziploc bag and smashing with a rolling pin or blending in a food processor. When the butter’s melted, swirl it around the bottom of the pan and scatter the graham cracker crumbs evenly all over (you’re not actually making a full on graham cracker crust, don’t worry about packing it down or anything).  Sprinkle with salt, then sprinkle the chocolate chips, halva, and pistachios all over. Pour a little of the condensed milk on top and then add the rosewater and vanilla to the remaining condensed milk and mix it in. Pour it evenly all over the pan. Sprinkle the coconut on top and rose petals, if using. Bake until edges are golden brown, about 20 minutes. Let cool fully (ideally overnight or for a few hours in the fridge) before cutting into bars. Enjoy!

Store in an airtight container in the fridge for a good few days.